
Woodworking cabinet assembly jigs -16, 18mm, 3/4"




Print Profile(6)


Description
Membership
Want to sell my models - become a member and start earning money
Do you want custom jig dimensions?
Check out my NEW CUSTOMIZABLE JIG VERSION 3 >> CLICK HERE <<
You can customize the jig dimensions like material width, jig height, guiding slots width and depth in this new version 3 I've created. Head over to Customizable cabinet assembly jig by graffoo MakerWorld: Download Free 3D Models
Boost Me (for free)
If you find this or my other stuff useful, consider boosting the model. It's a great motivator and helps me come up with more helpful tools.
==================================================================
This version works just fine if you don't need a specific material width
- Same functionality with less material = faster printing compared to the old version
- Print profile also for 18 mm DTD, plywood, etc - should also work for our US friends when using ¾" thick materials - please let me know in the comments
- Each print plate has now 2 copies. Easy to print a pair of these jigs right from mobile app
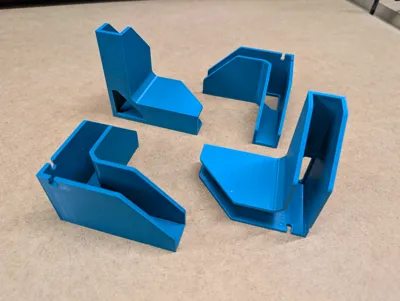
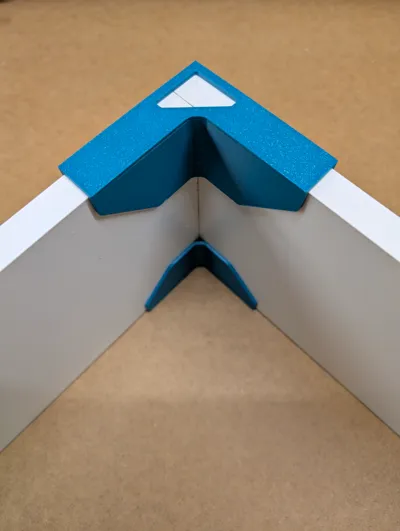
- Everything in one file - 18 mm (¾") and 16 mm version, both for corners and shelves.
Usage instructions
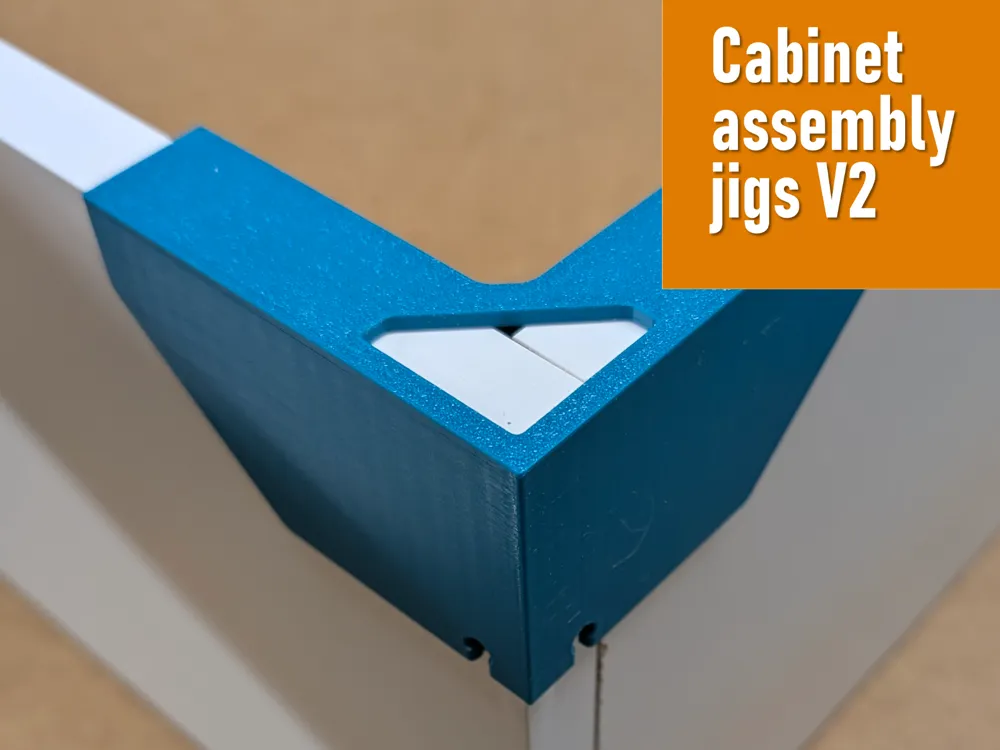
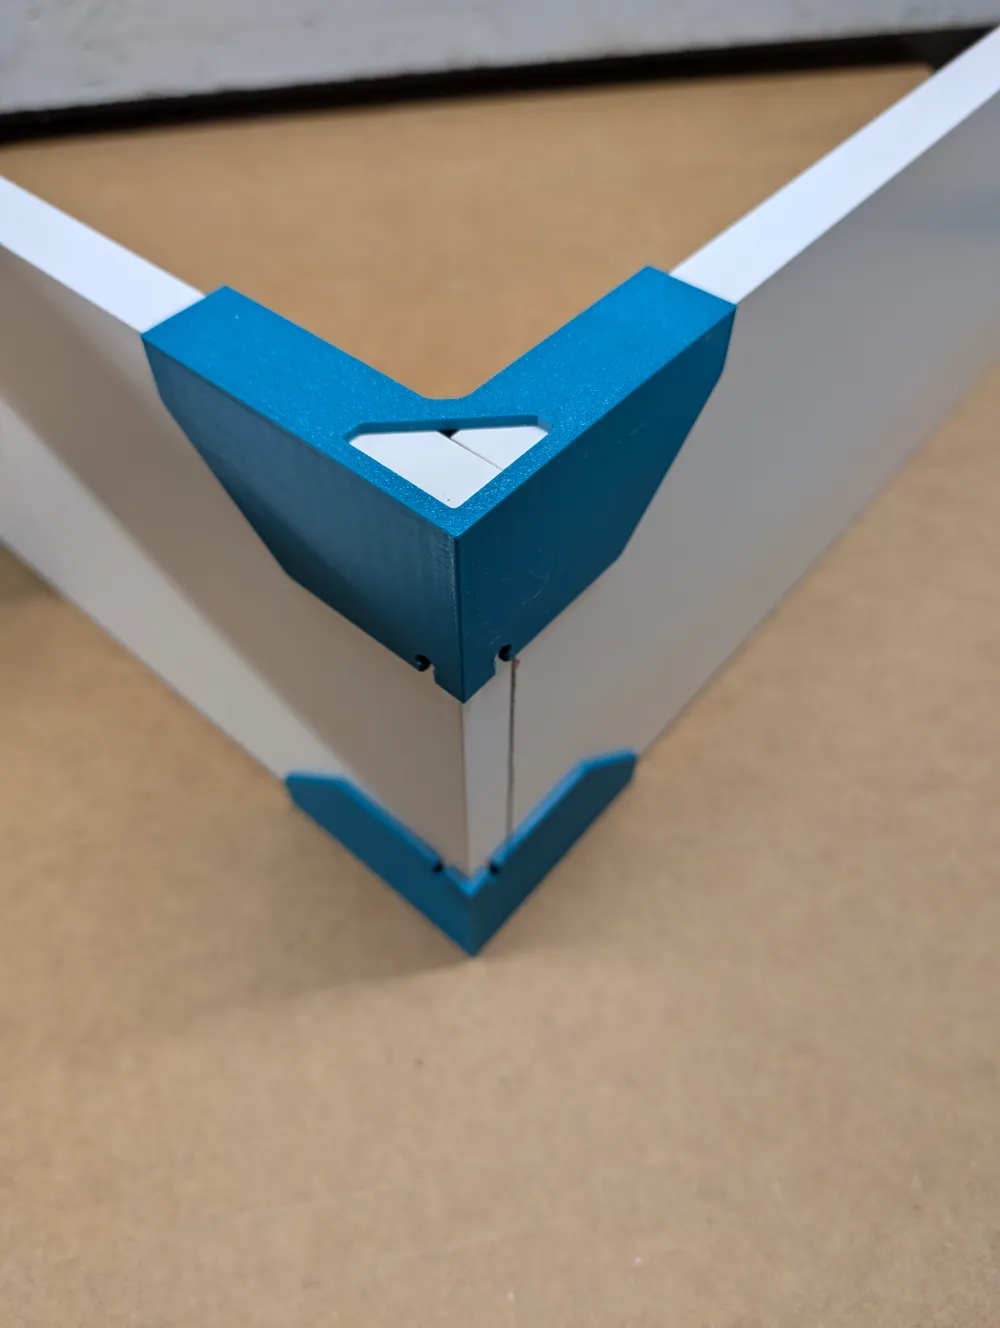
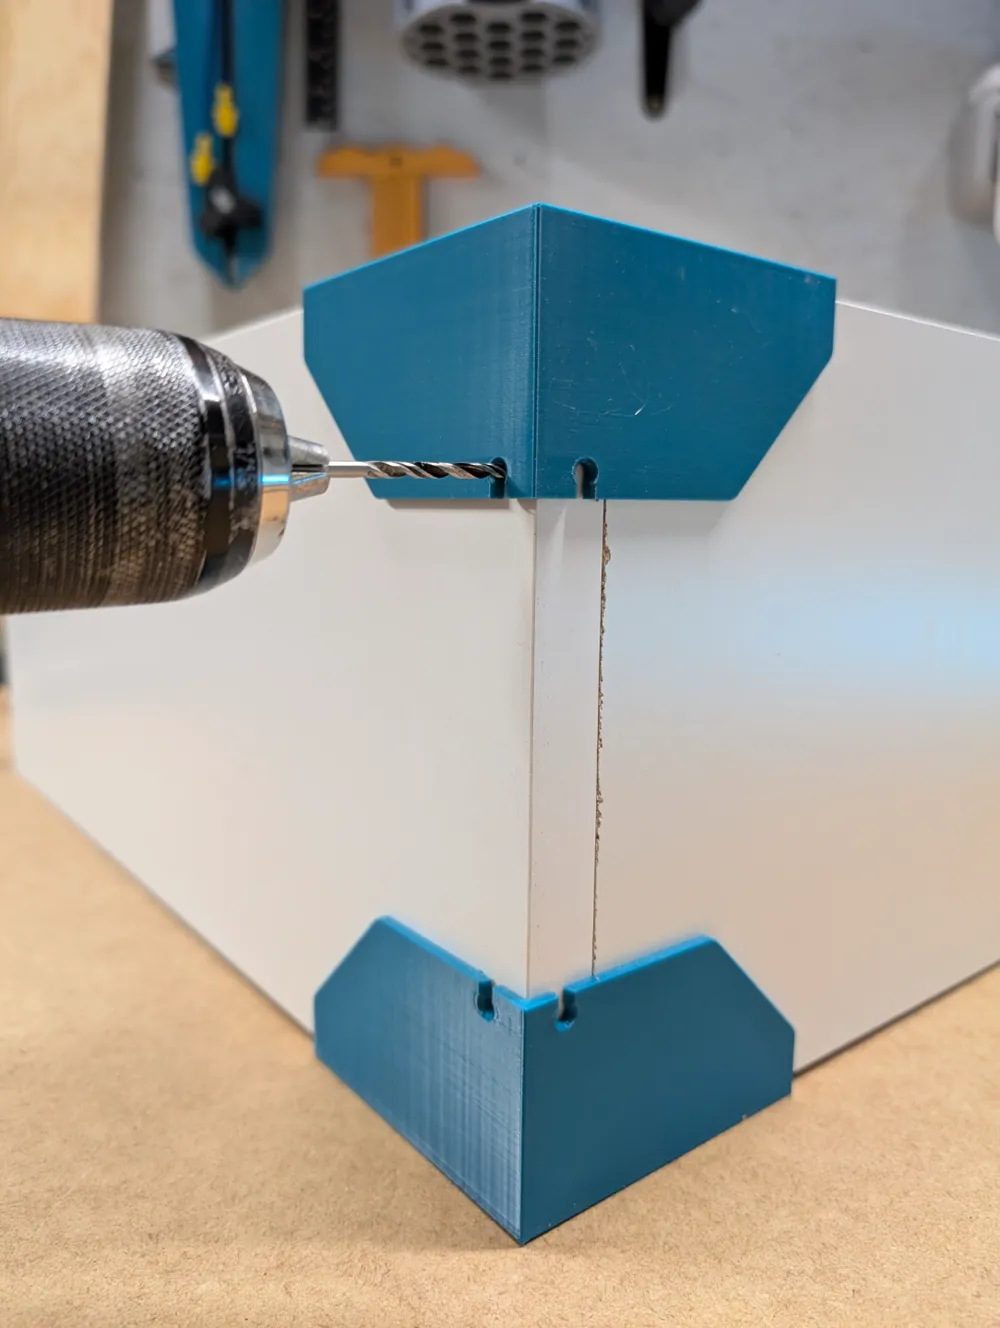
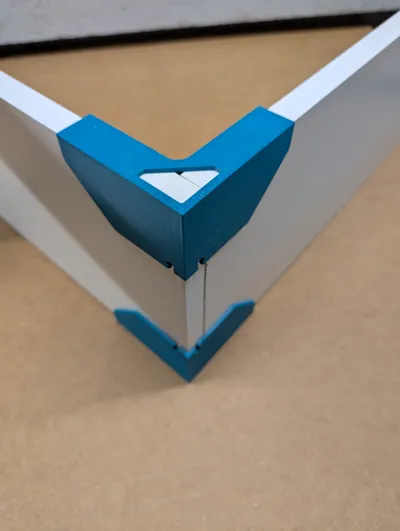
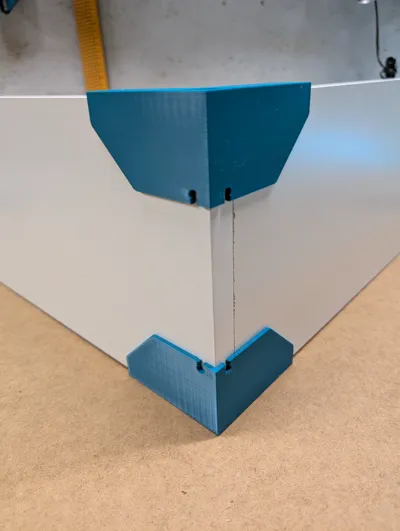
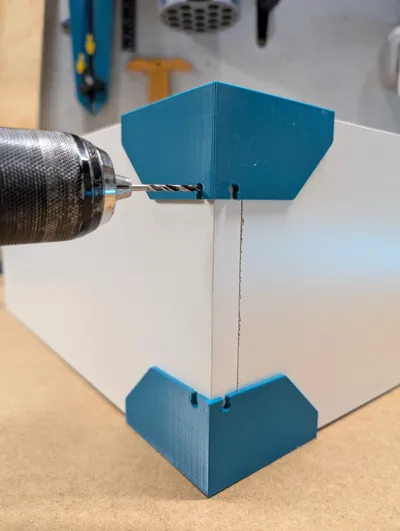
- Place the two pieces of DTD, plywood, etc. together in the jig like in the image:
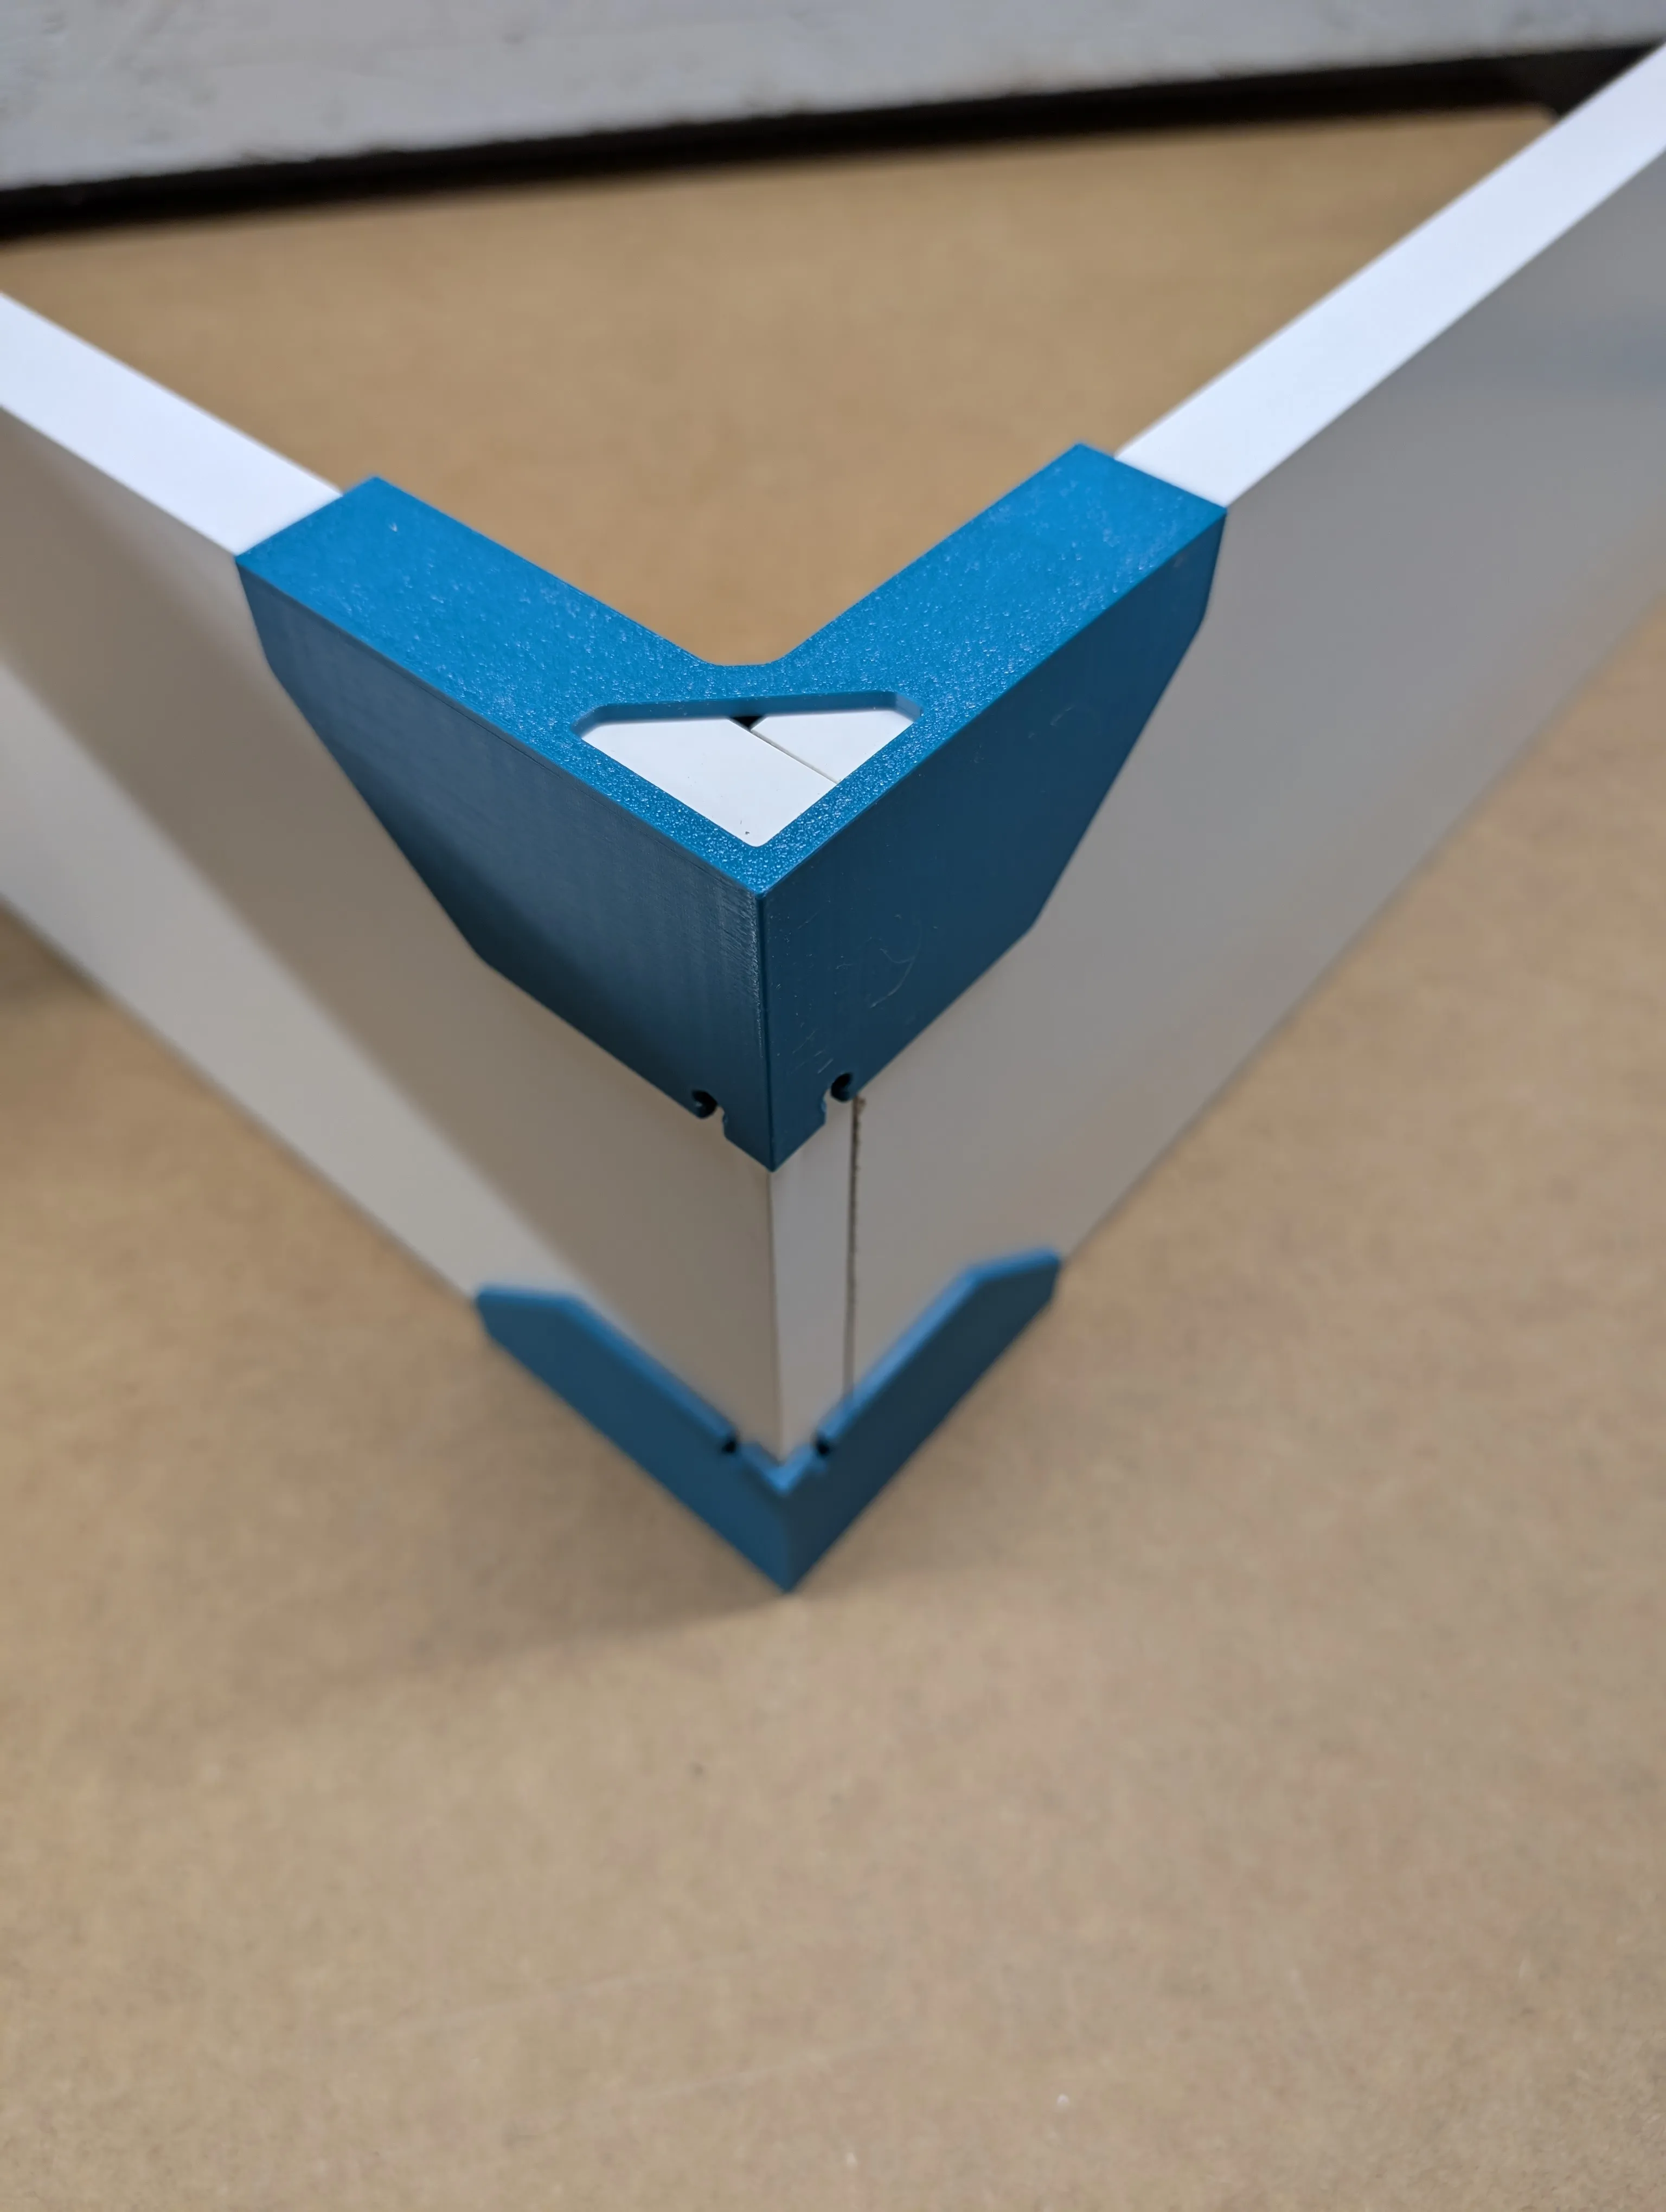
- Drill the pilot holes using the holes in the jig
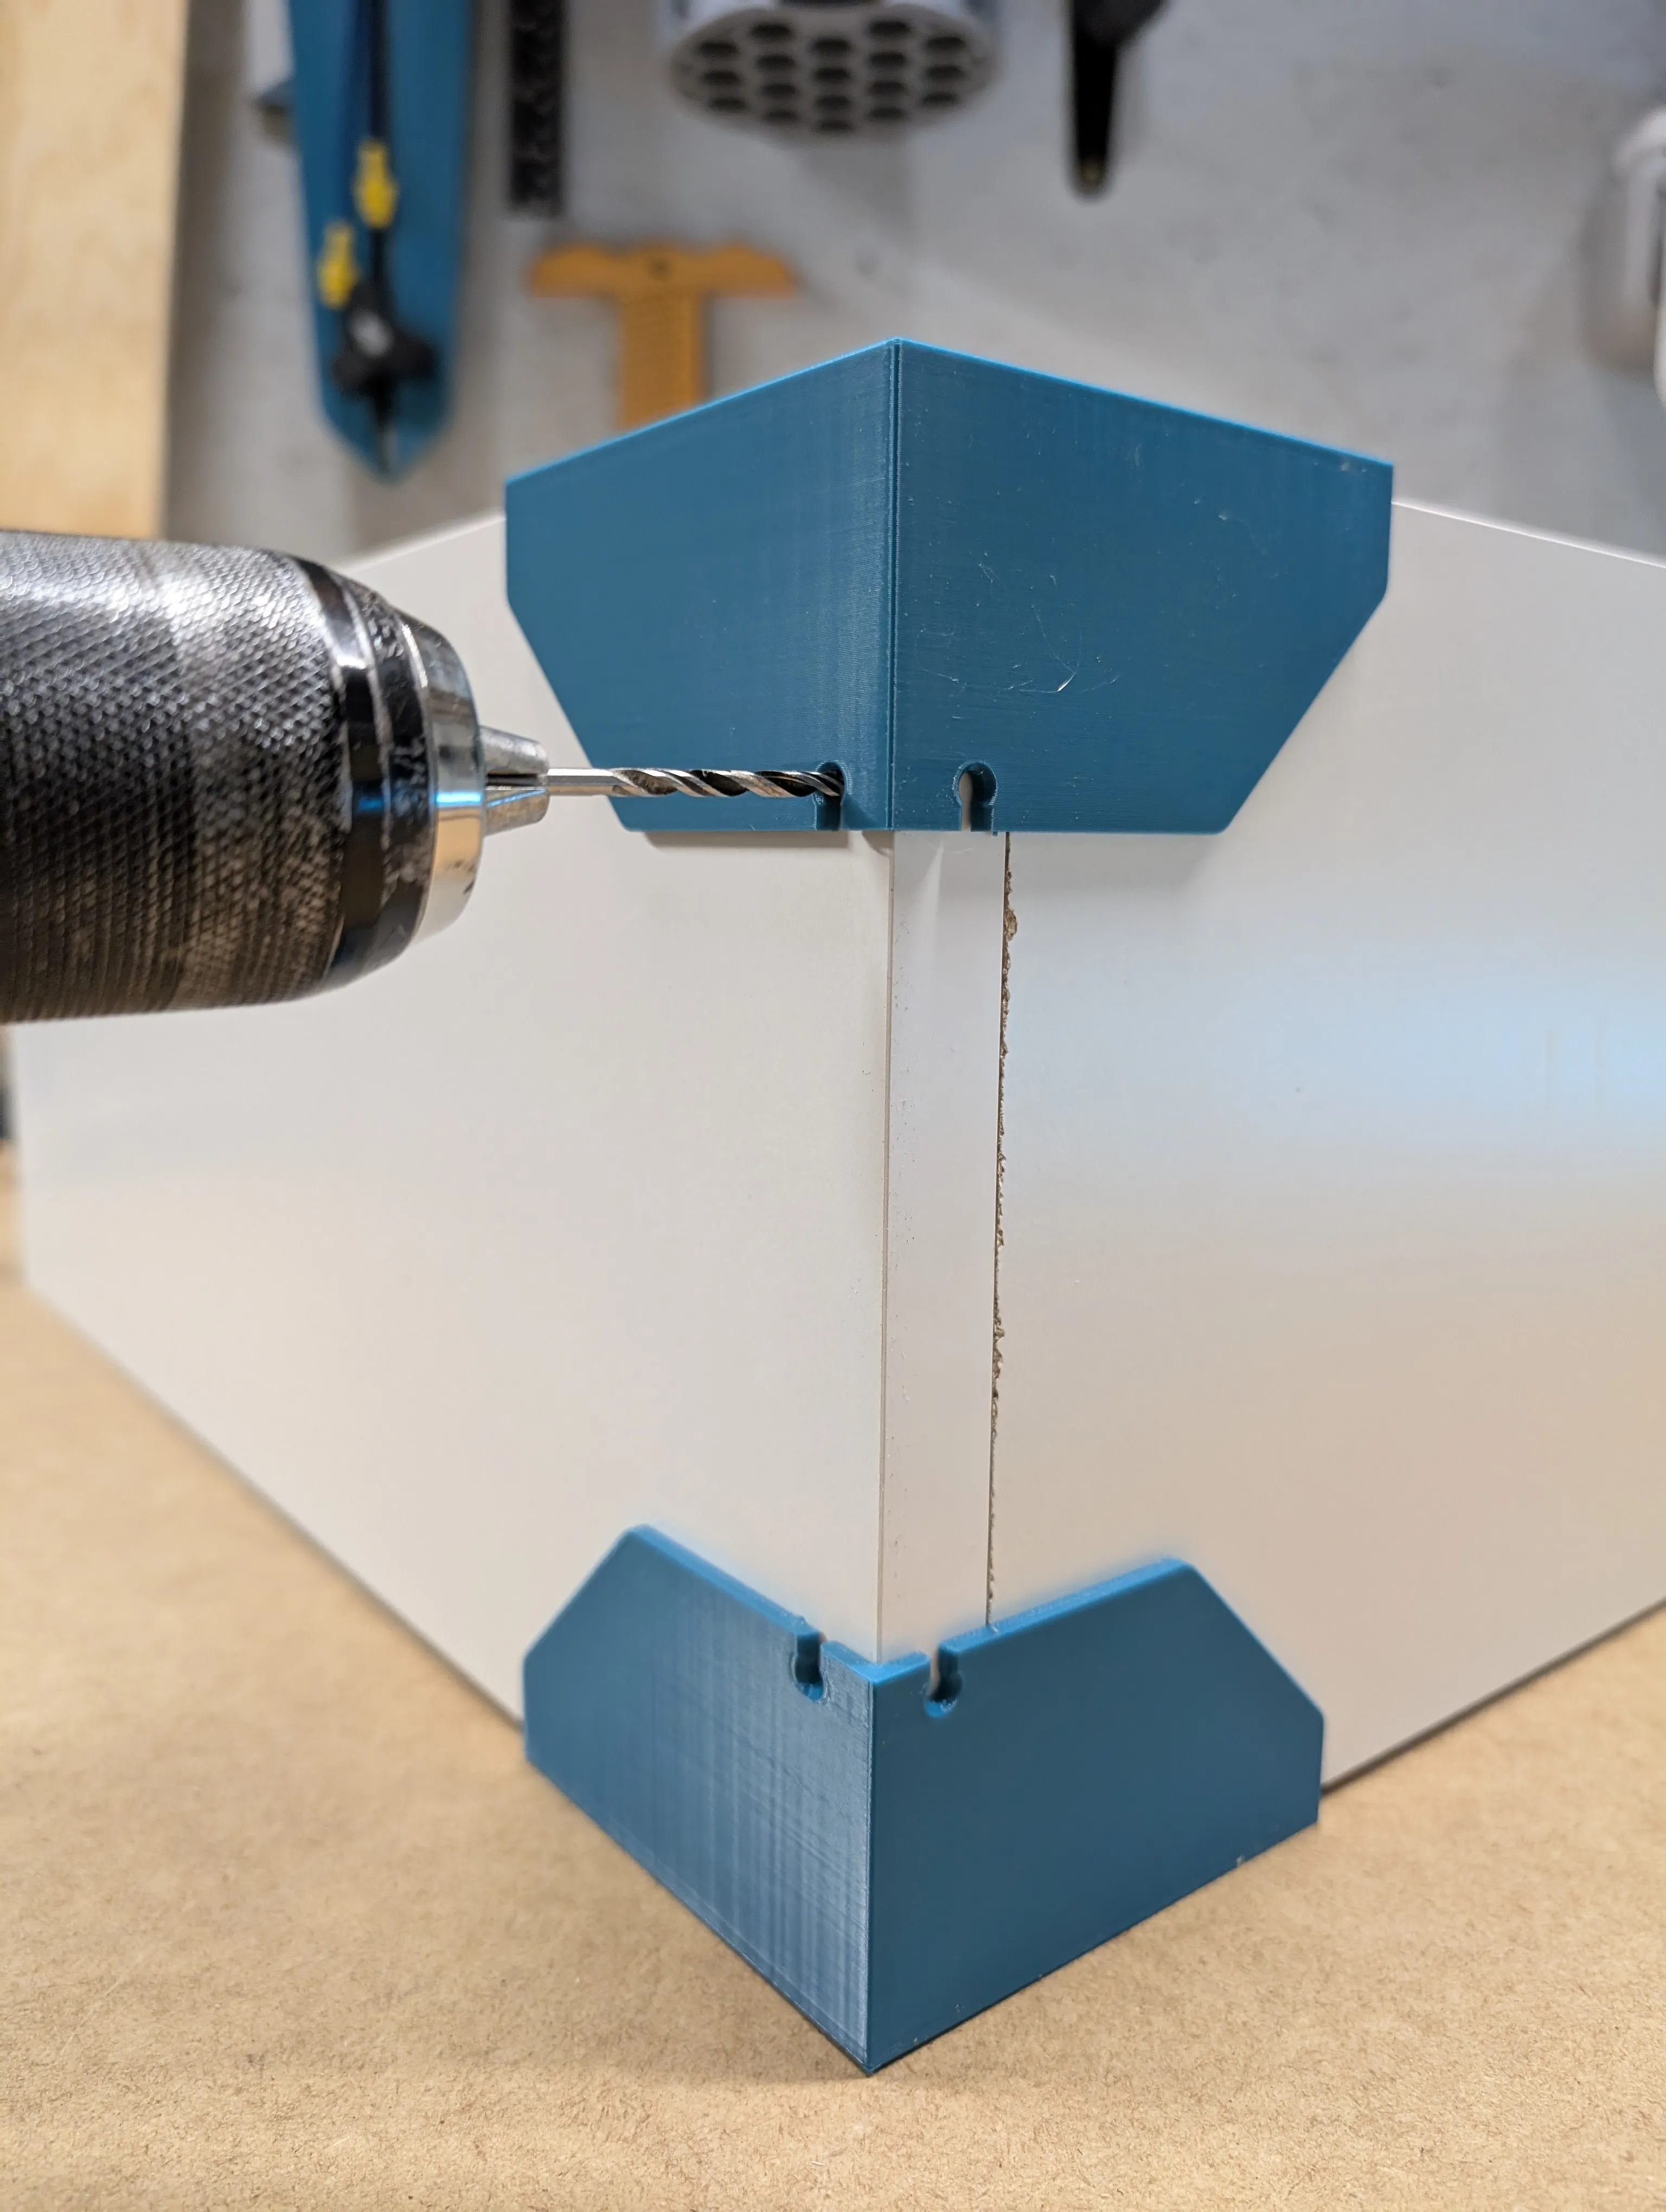
- Screw the pieces together with the jigs still in place - DO NOT tighten the screws - just enough to connect the pieces together!
- Remove the jigs
- Tighten the screws.
- Repeat for each corner - or print more jigs for all four corners and do it all at once :)
Shelf jig
After using the corner jig I think using the shelf jig is almost self-explanatory. The only addition is to use clamps. I think one picture shows it better than description. So here it is :)
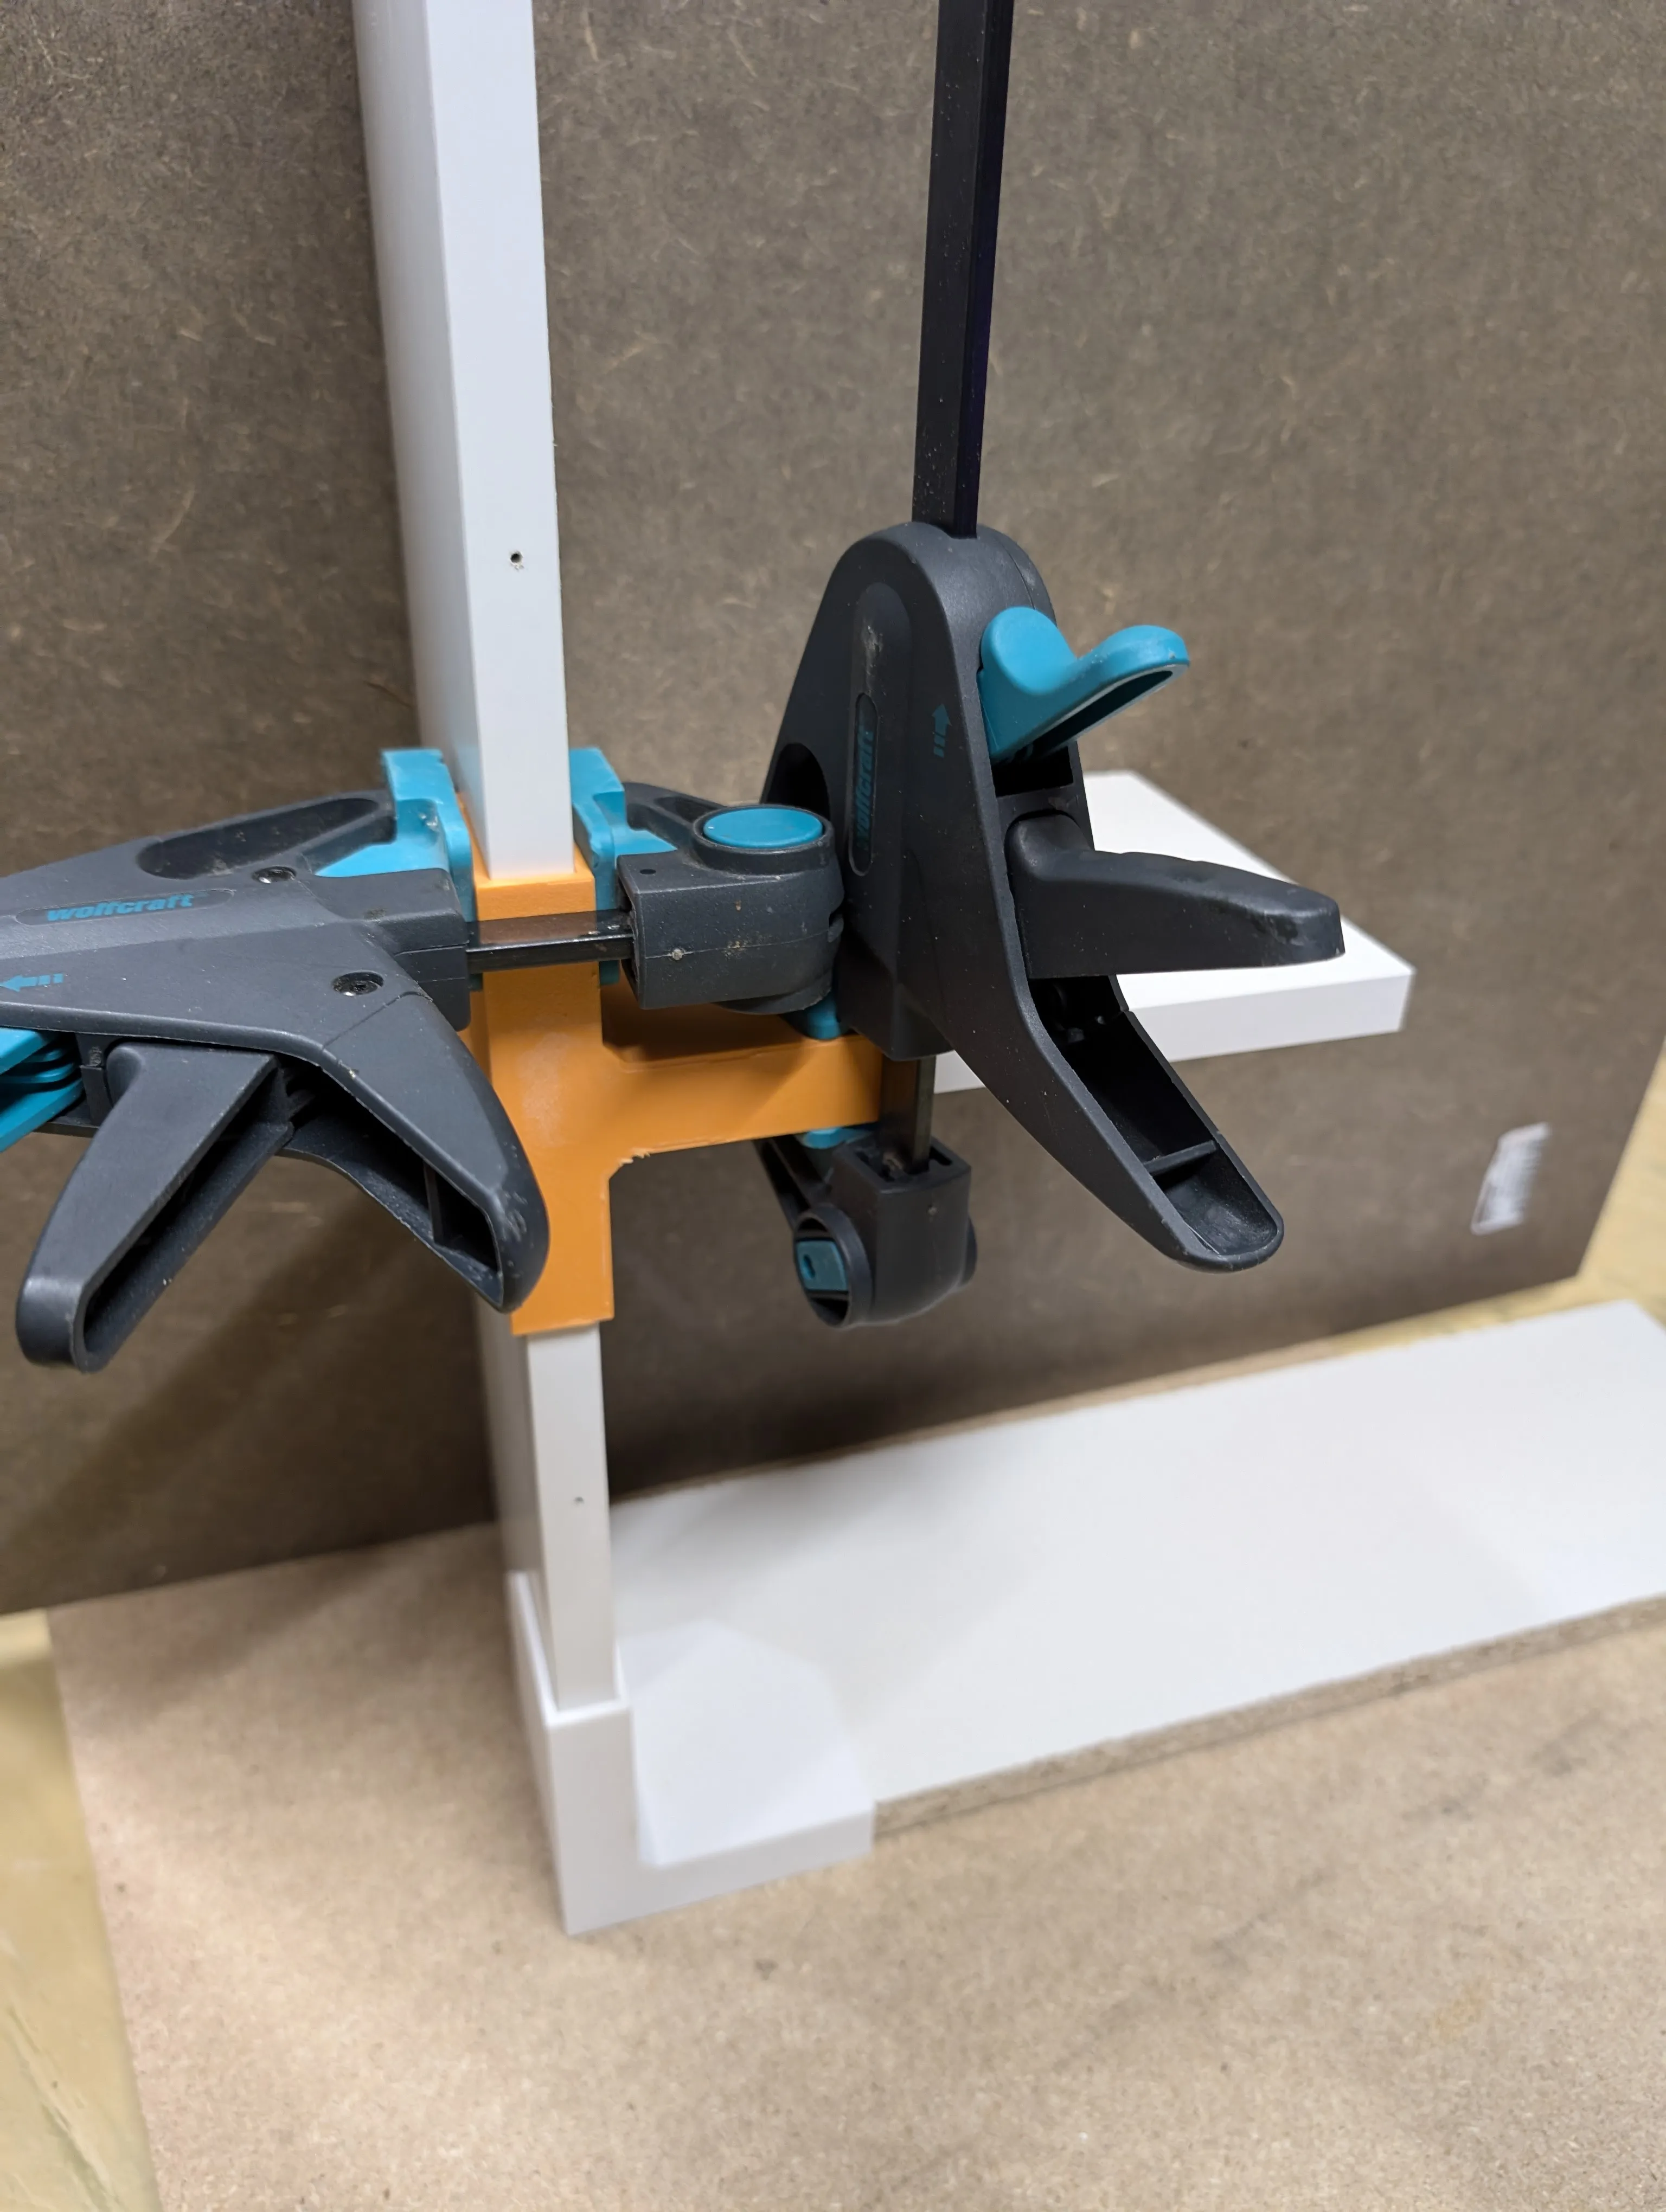
Hope you find useful as much as I do. I use it every day to assemble various cabinets. I've printed 8 pieces of the corner jig. This way I dry-assemble the whole cabinet using the jigs, then drill the holes in one pass and then put in the screws. The basic cabinet carcass is assembled in a matter of 1-2 minutes.
Boost Me (for free)
If you like the jig, consider boosting me. It will help me to create other useful jigs.
License

You shall not share, sub-license, sell, rent, host, transfer, or distribute in any way the digital or 3D printed versions of this object, nor any other derivative work of this object in its digital or physical format (including - but not limited to - remixes of this object, and hosting on other digital platforms). The objects may not be used without permission in any way whatsoever in which you charge money, or collect fees.


Comment & Rating (282)