
Simple Indoor Glider V2

Print Profile(5)


Description
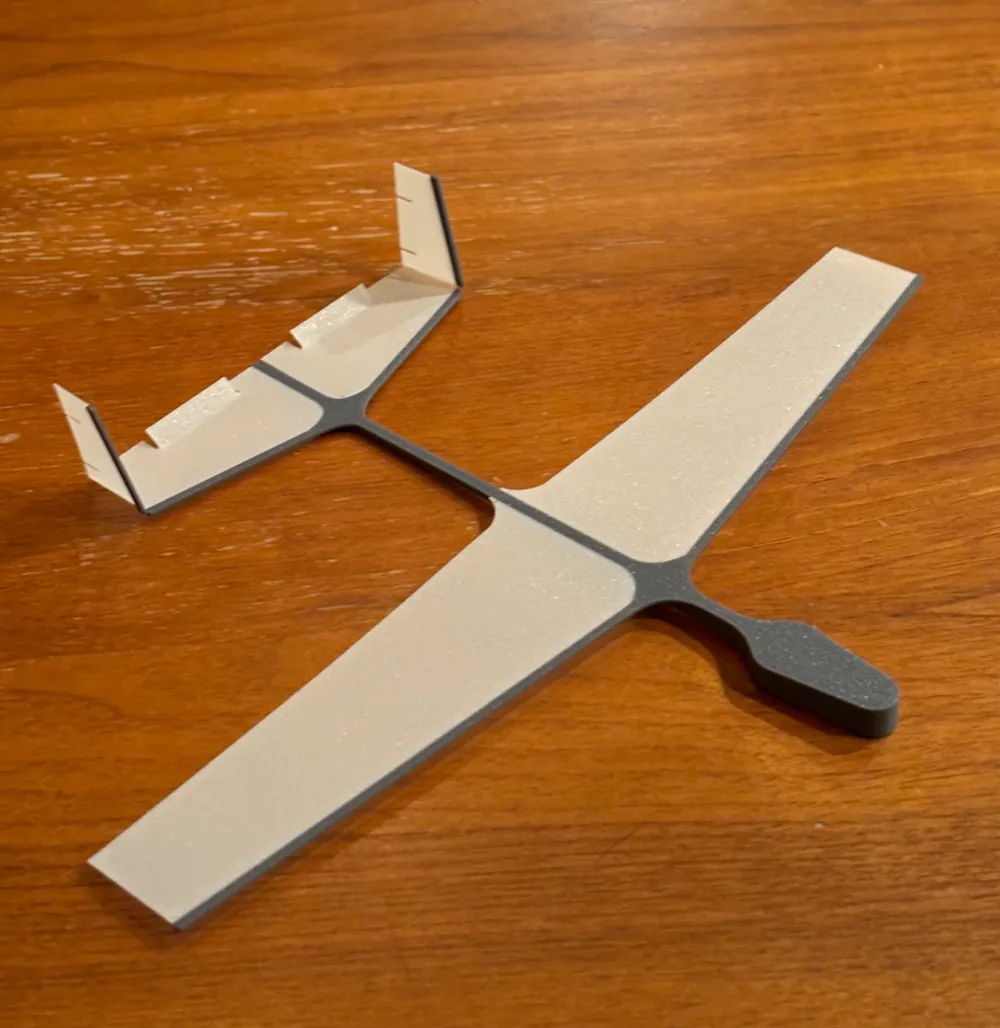
This project is the culmination of 100+ hours of remodeling and printing.
There was no miniature handheld glider that could be printed and thrown straight all in less than a half hour, which I wanted to change
The main features of the glider are its unparalleled accuracy and consistently, allowing a skilled used to soar the plane 30 feet before it lowers by even an inch.
Pitch Stability Yaw Stability Ease Of Use Consistency Durability Airtime
★★★★★ ★★★★★ ★★★★ ★★★★★ ★★★ ★★★★★
This was printed on the Bambu P1P and printed in 23 minutes(17 minutes of actual printing) with white PLA basic. It used just under 10 grams of filament.
Instructions-
Print in PLA at 100% infill with no brim or raft. Wait for the hotbed to cooldown before gently using a scraper tool to remove the glider.
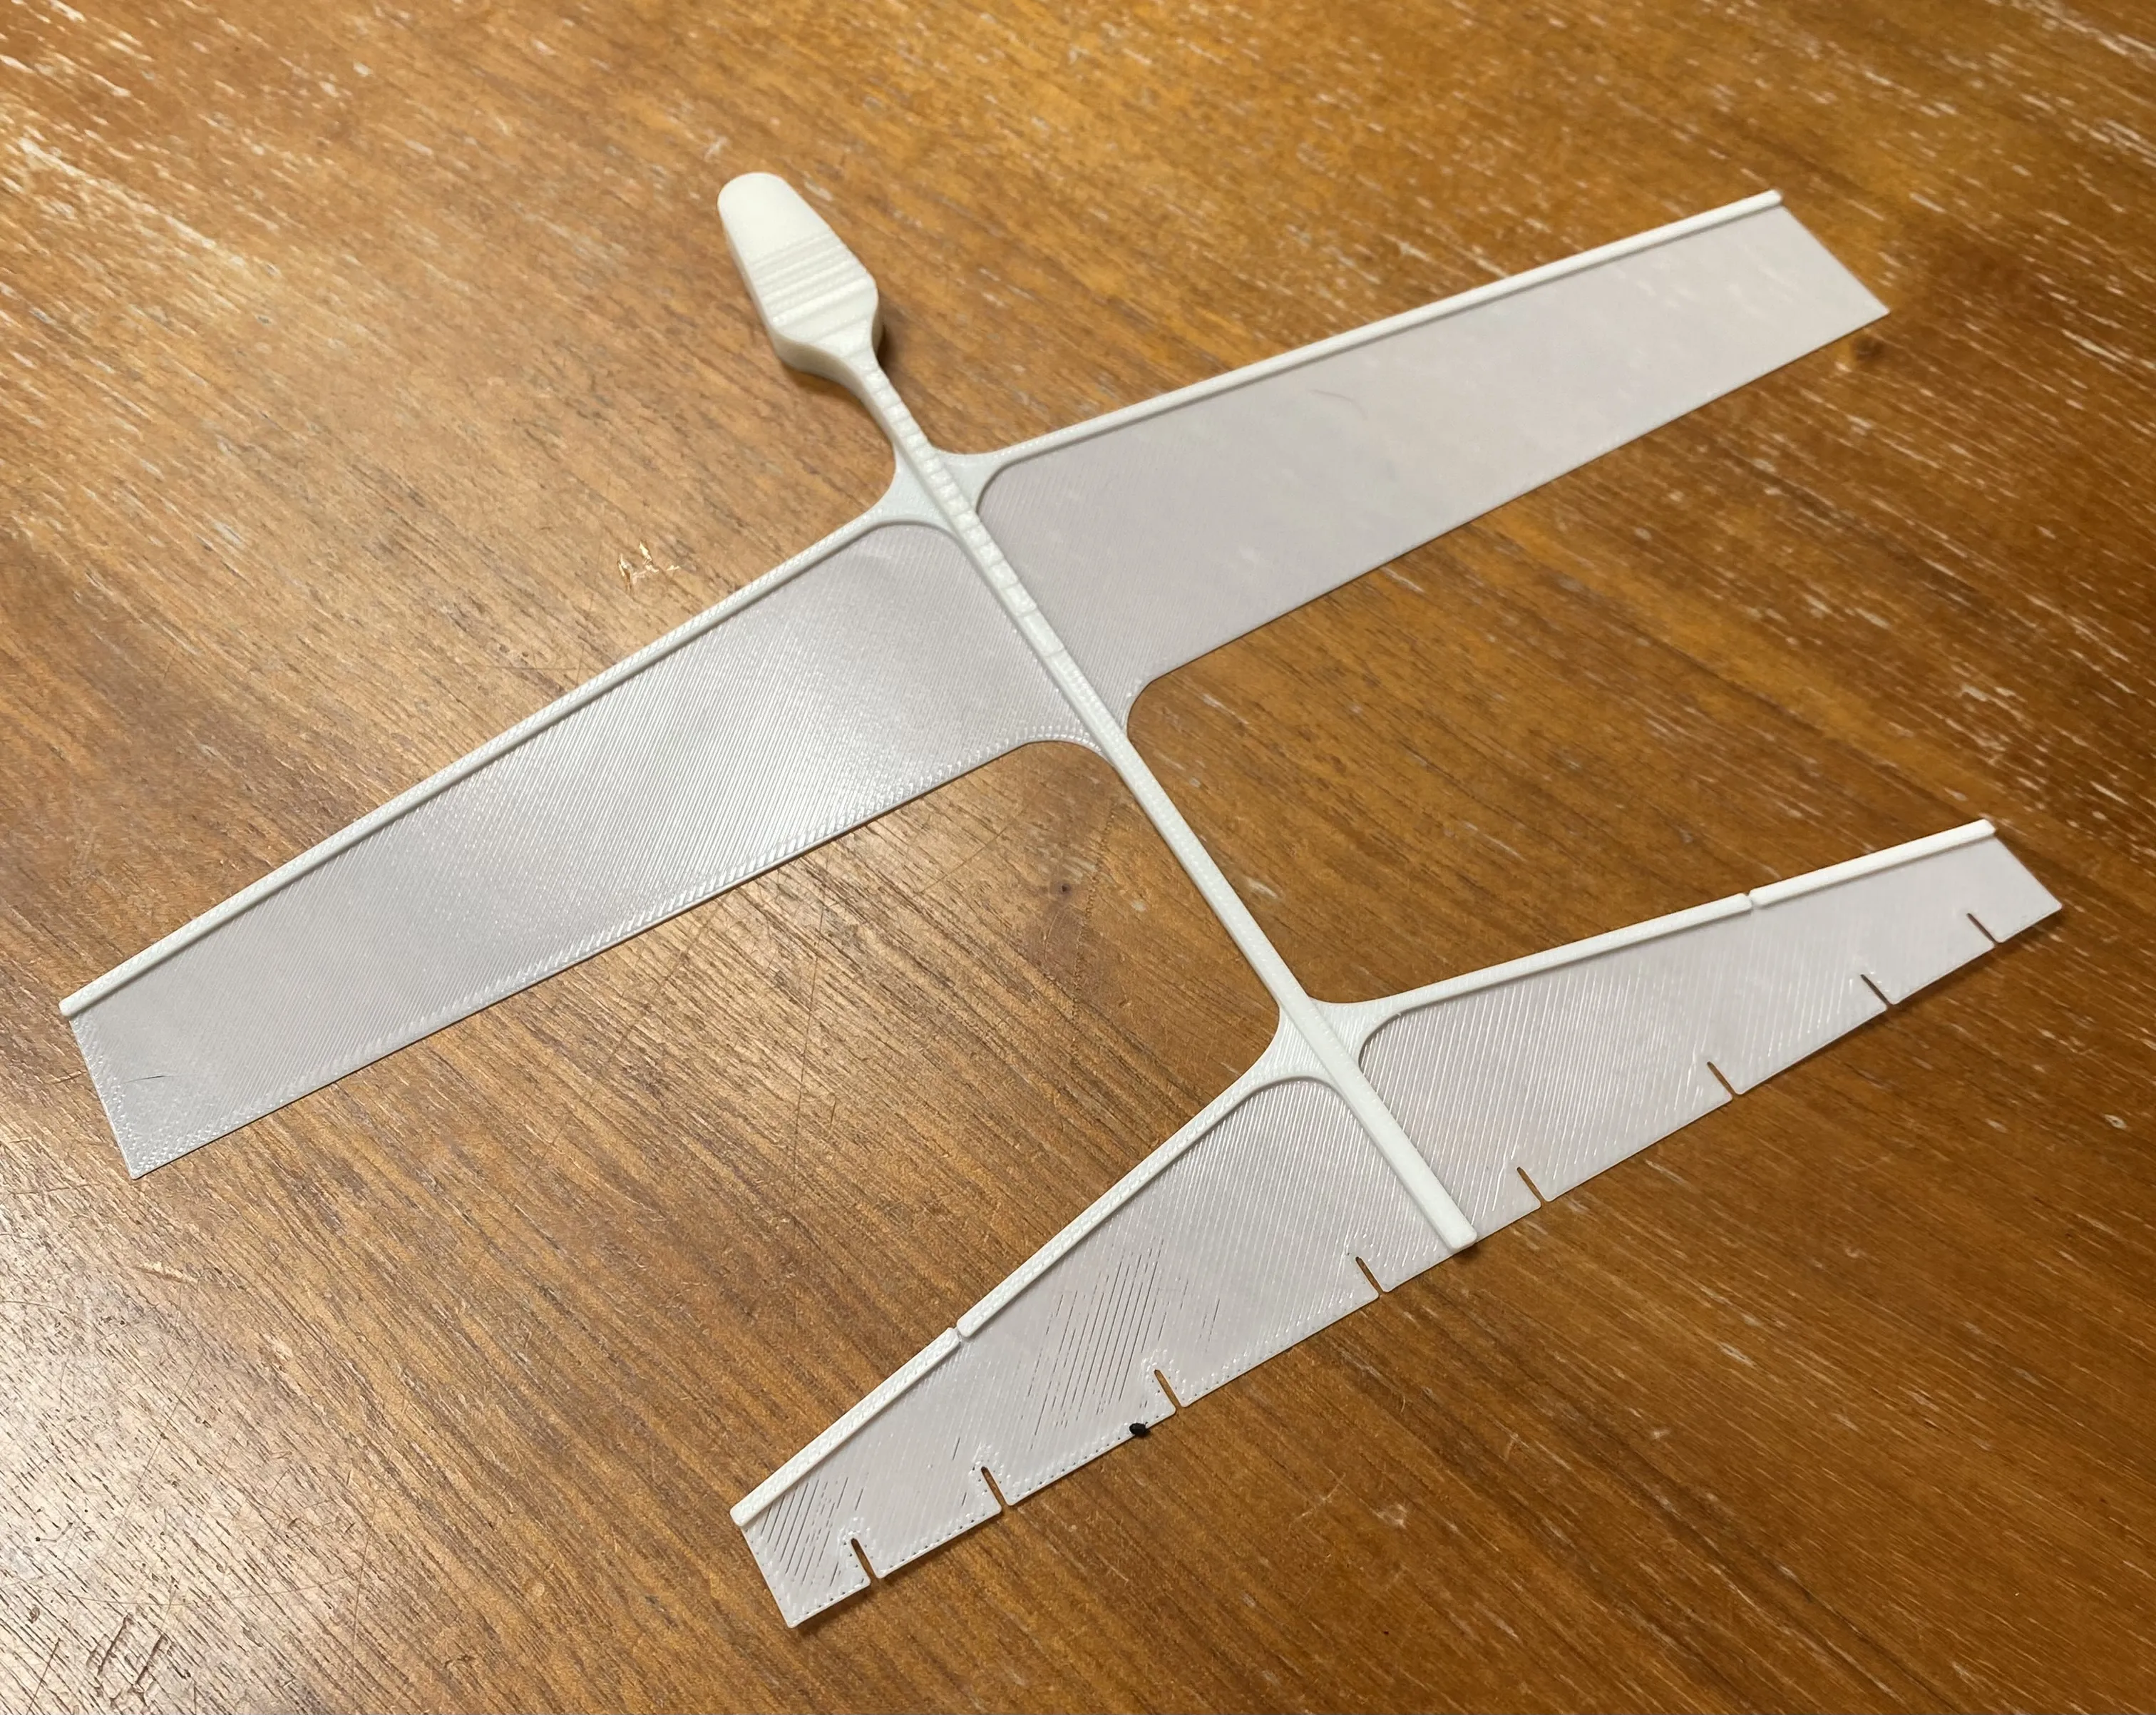
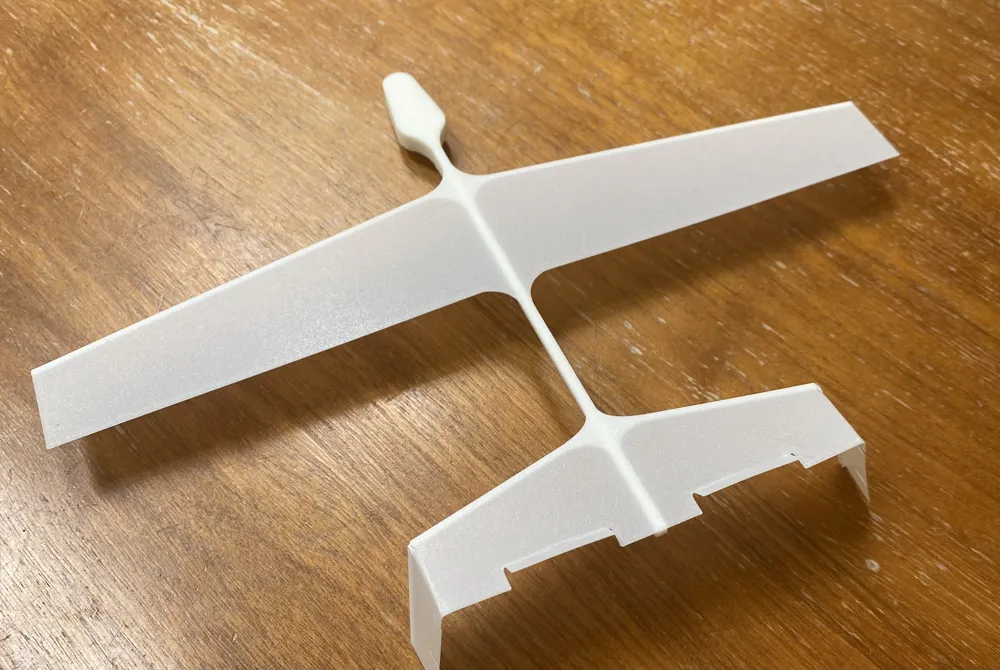
Bend the tail segments up 90 degrees.
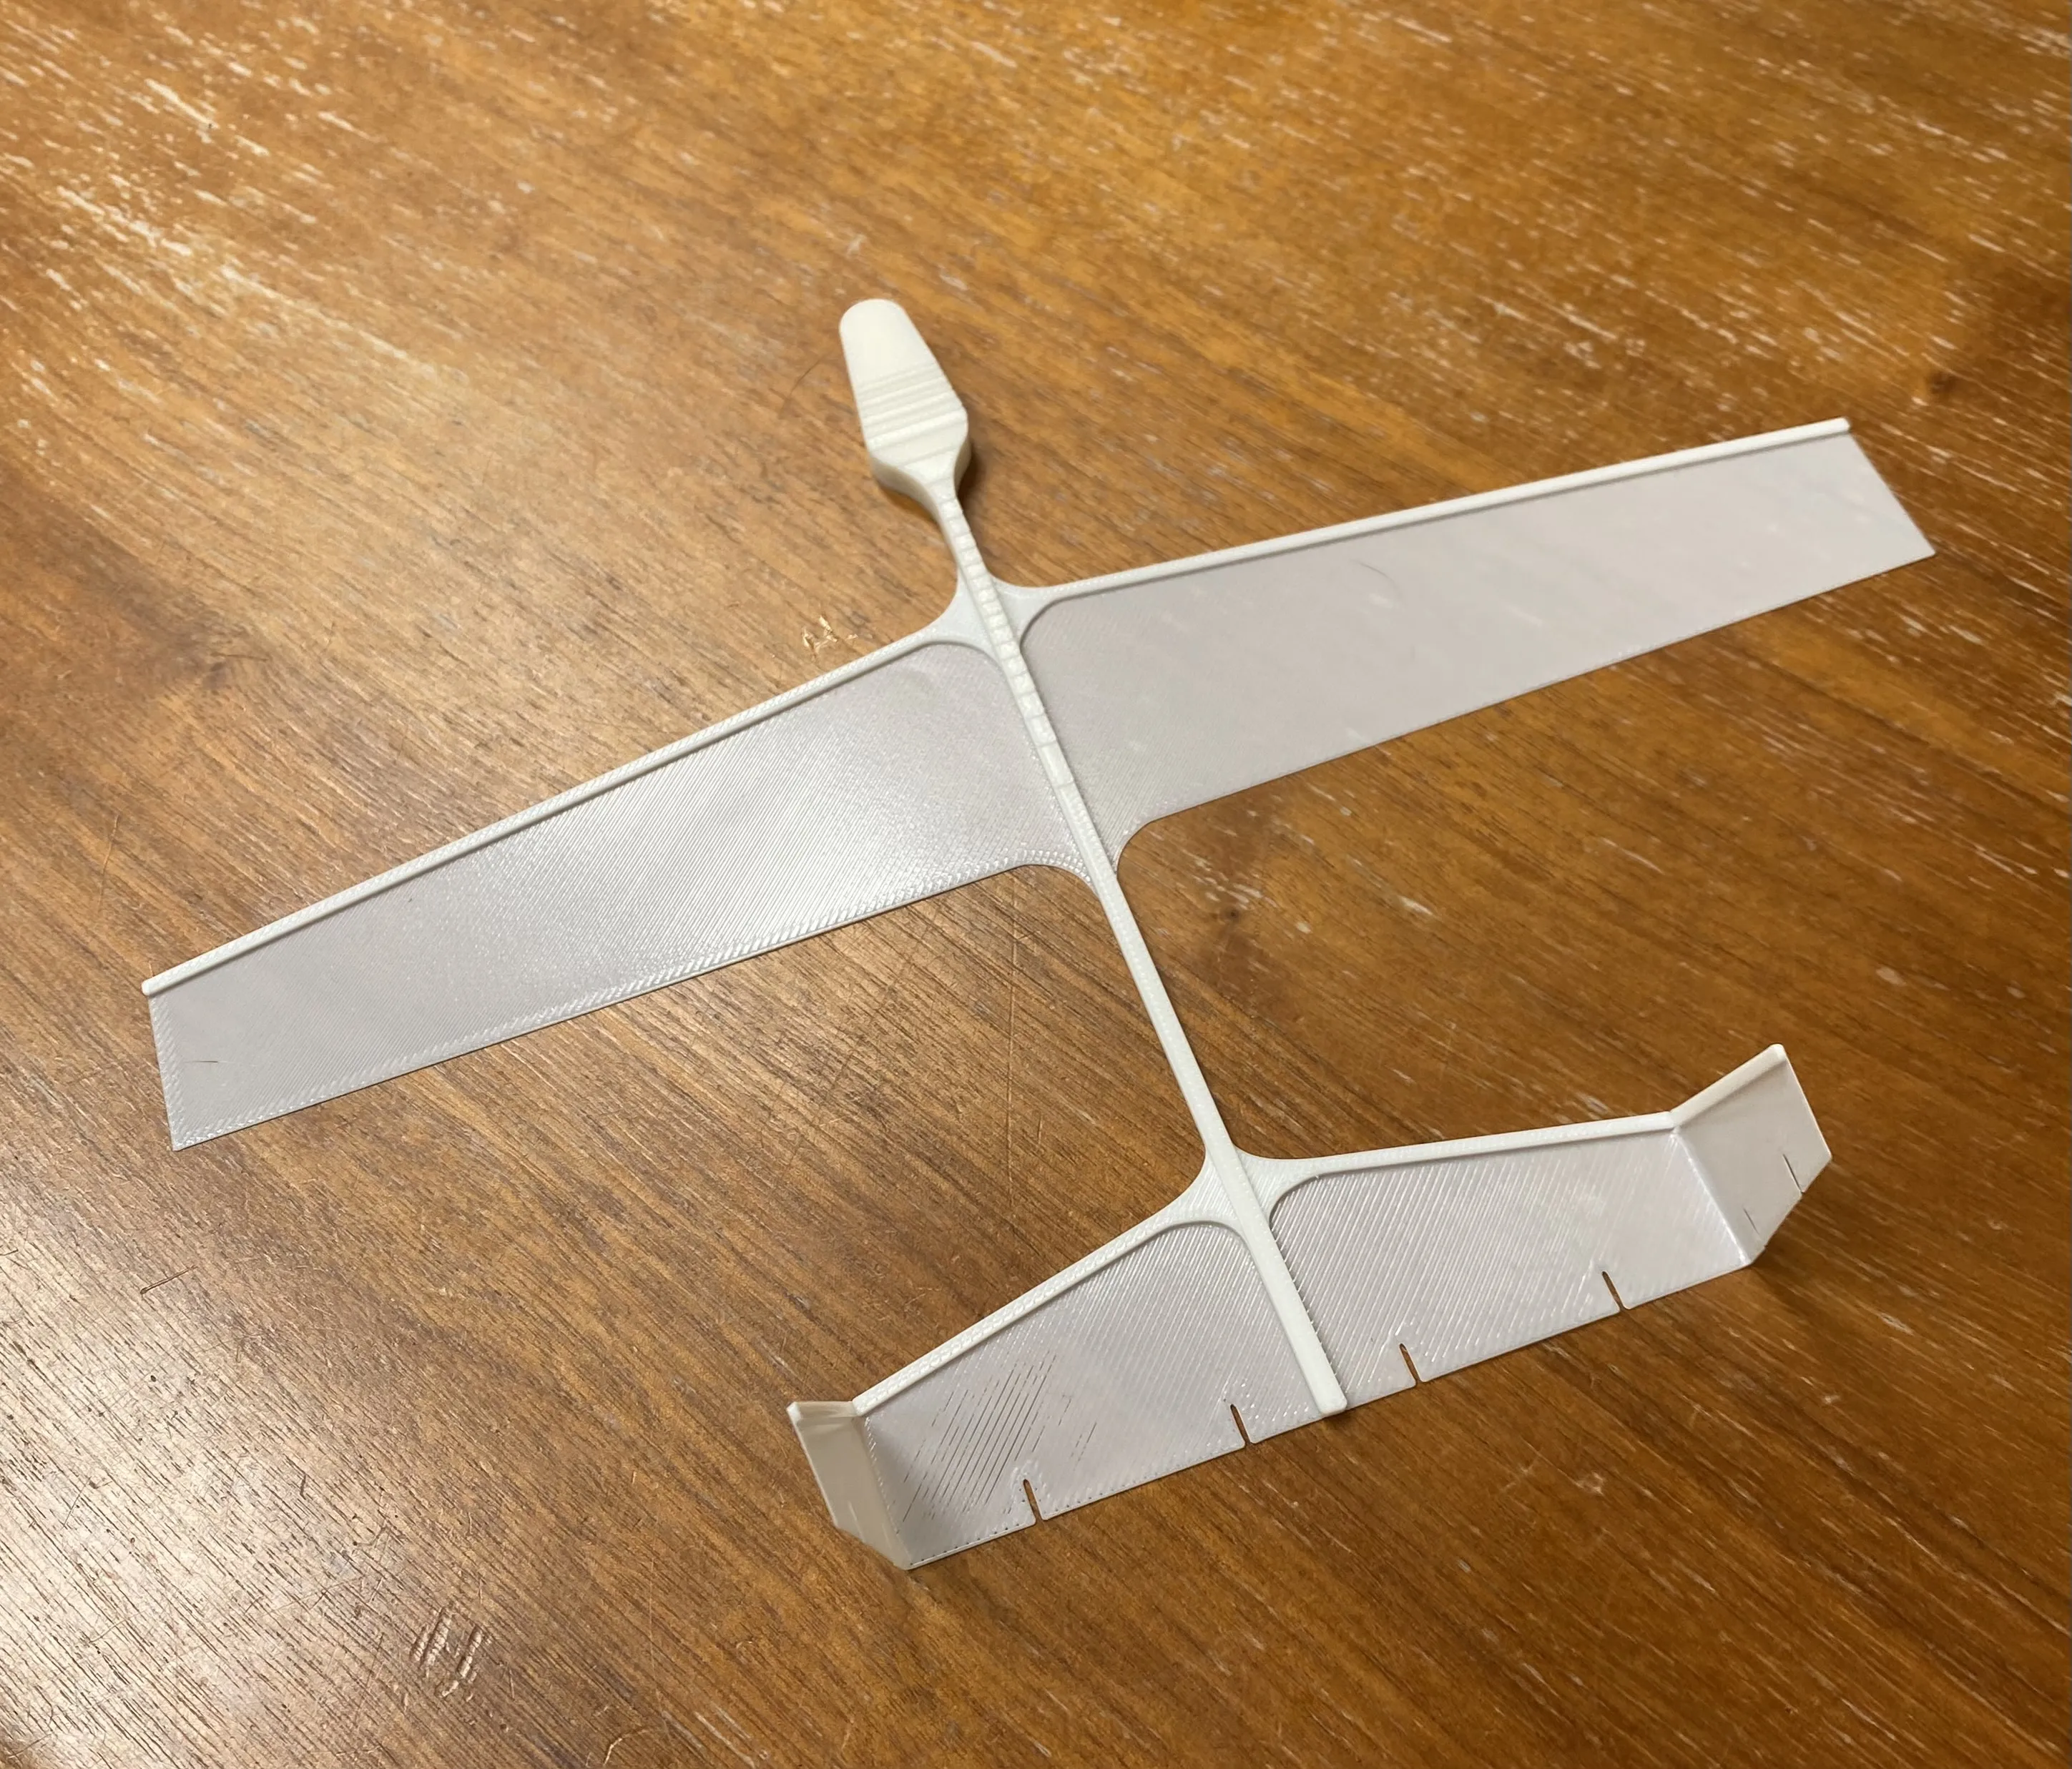
Bend the elevators down about 25 degrees, and flip over the plane.
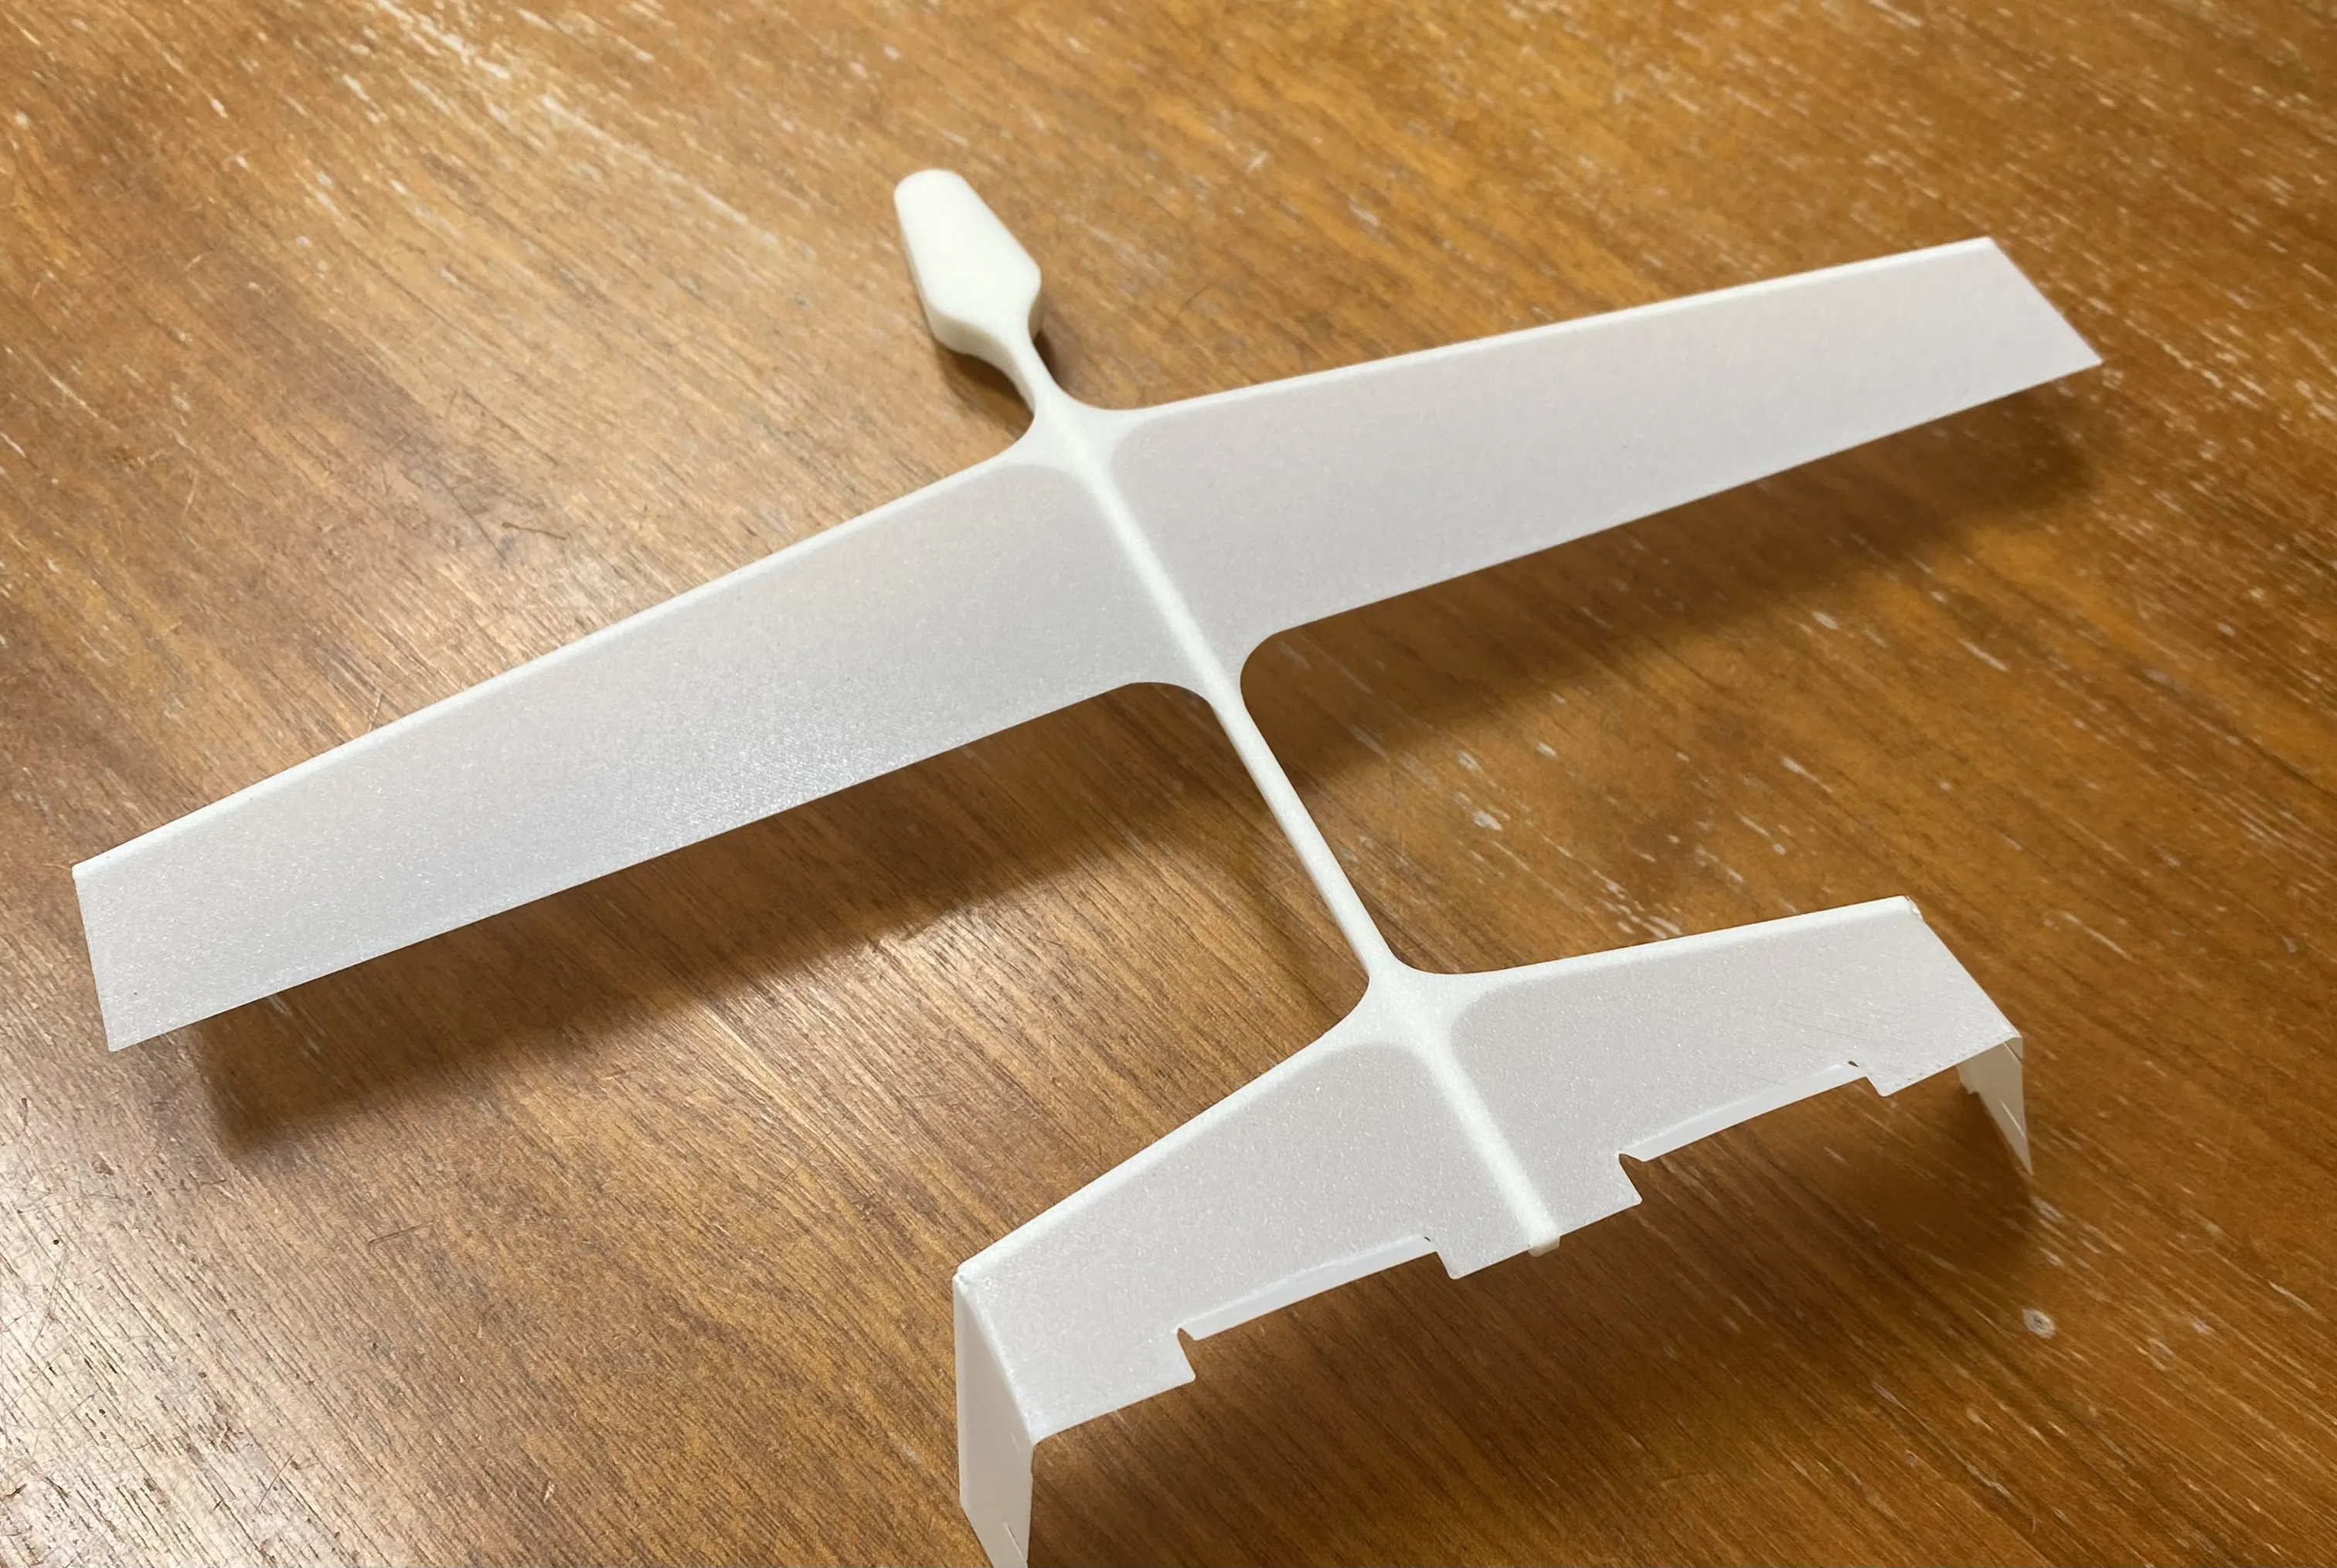
Hold the glider from between the main and tail wings, and throw lightly. The tail segments should be facing downwards when thrown, and the elevators should be facing up. If the plane seems to lean to one side, try to throw the plane with more power.
The design fits on most build plates if positioned diagonally, but if it doesn't fit, print Left Simple Indoor Glider V2 and Right Simple Indoor Glider V2 separately and glue them together with hot glue or a 3d pen. Tape or rubberbands could also work.
You can reverse the tail wings if you want the plane to look better and land more smoothly at the cost of slightly worse performance. Just make sure the weight on the front of the plane is facing downwards to increase stability.



Comment & Rating (315)