
Spool Winder remix with ballbearings
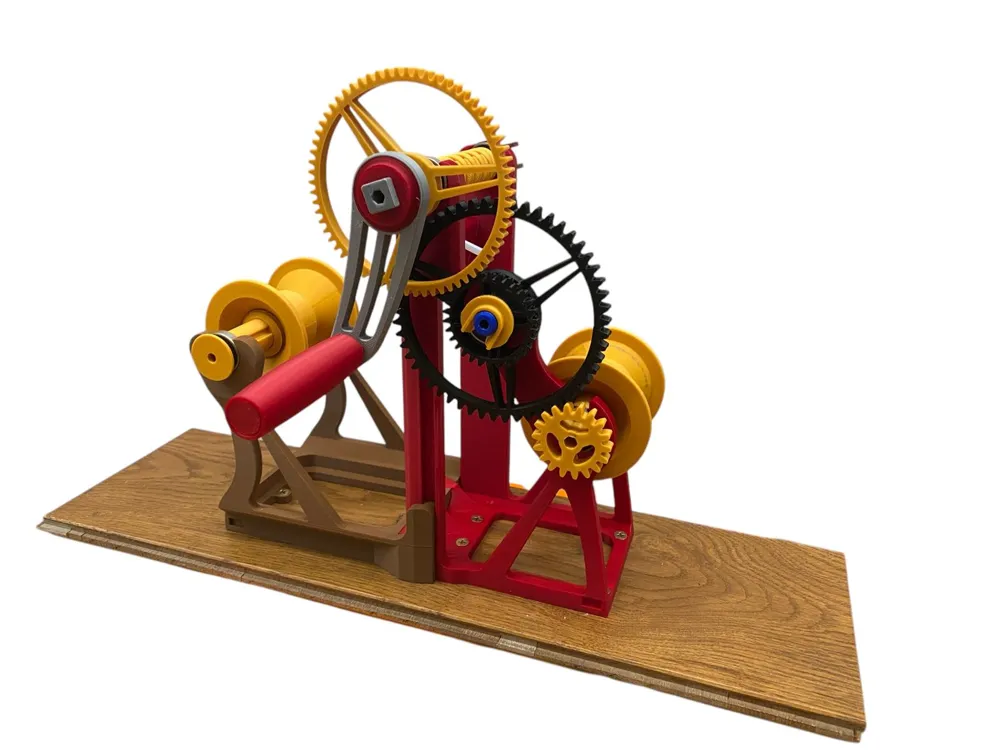



Print Profile(1)
Description
***Update 12/2024***
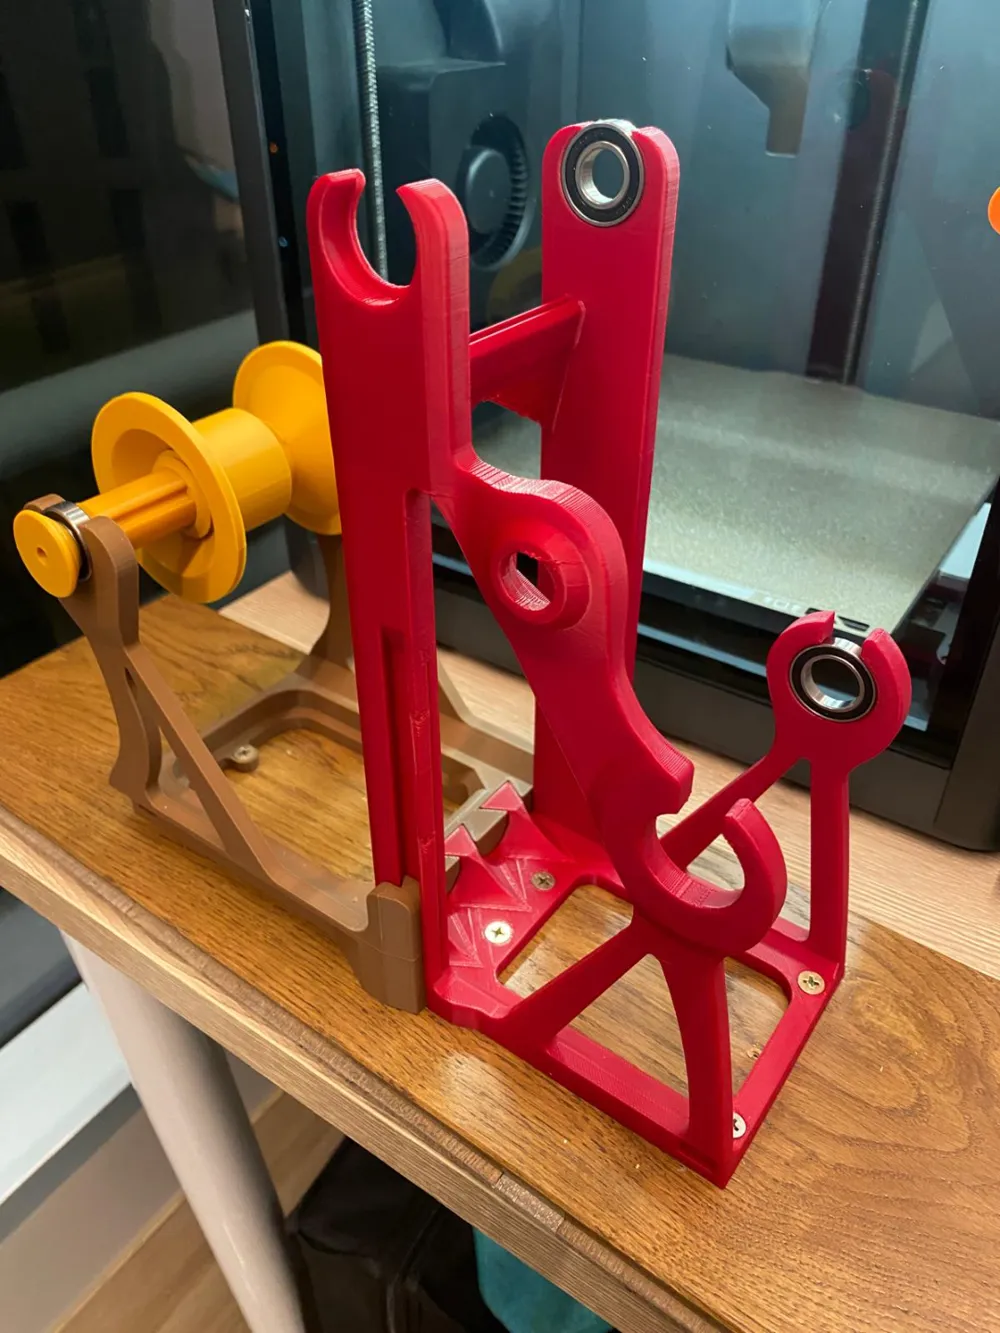
Some feedback I got from the community show that base1 prints can fail in non core machines.
Though I recommend to print this piece it only in P1P, P1S or X1C or other XYcore machines
***Update 01/2025***
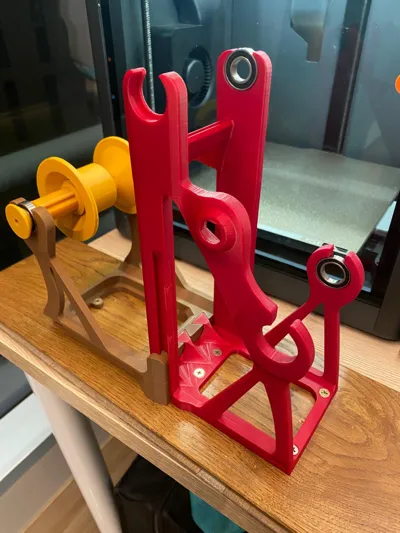
Considering the decembre update and other requests, I did modify the base1:
- to reinforce it while printing
- to reduce the body shaking while spooling manually
- to reduce the structure eight under 240mm for other machines.
PLA+ at 0,20 higly recommended for the rigidity (feedback from the community and my own tests = PETG is too flexible... it twists under load which causes gear skips)
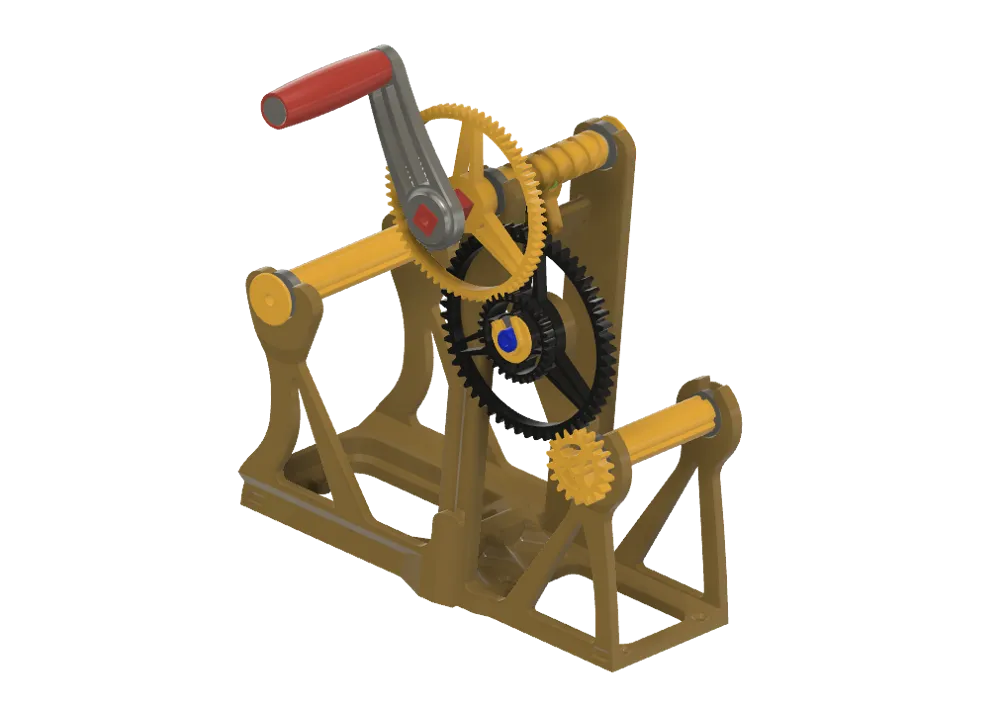
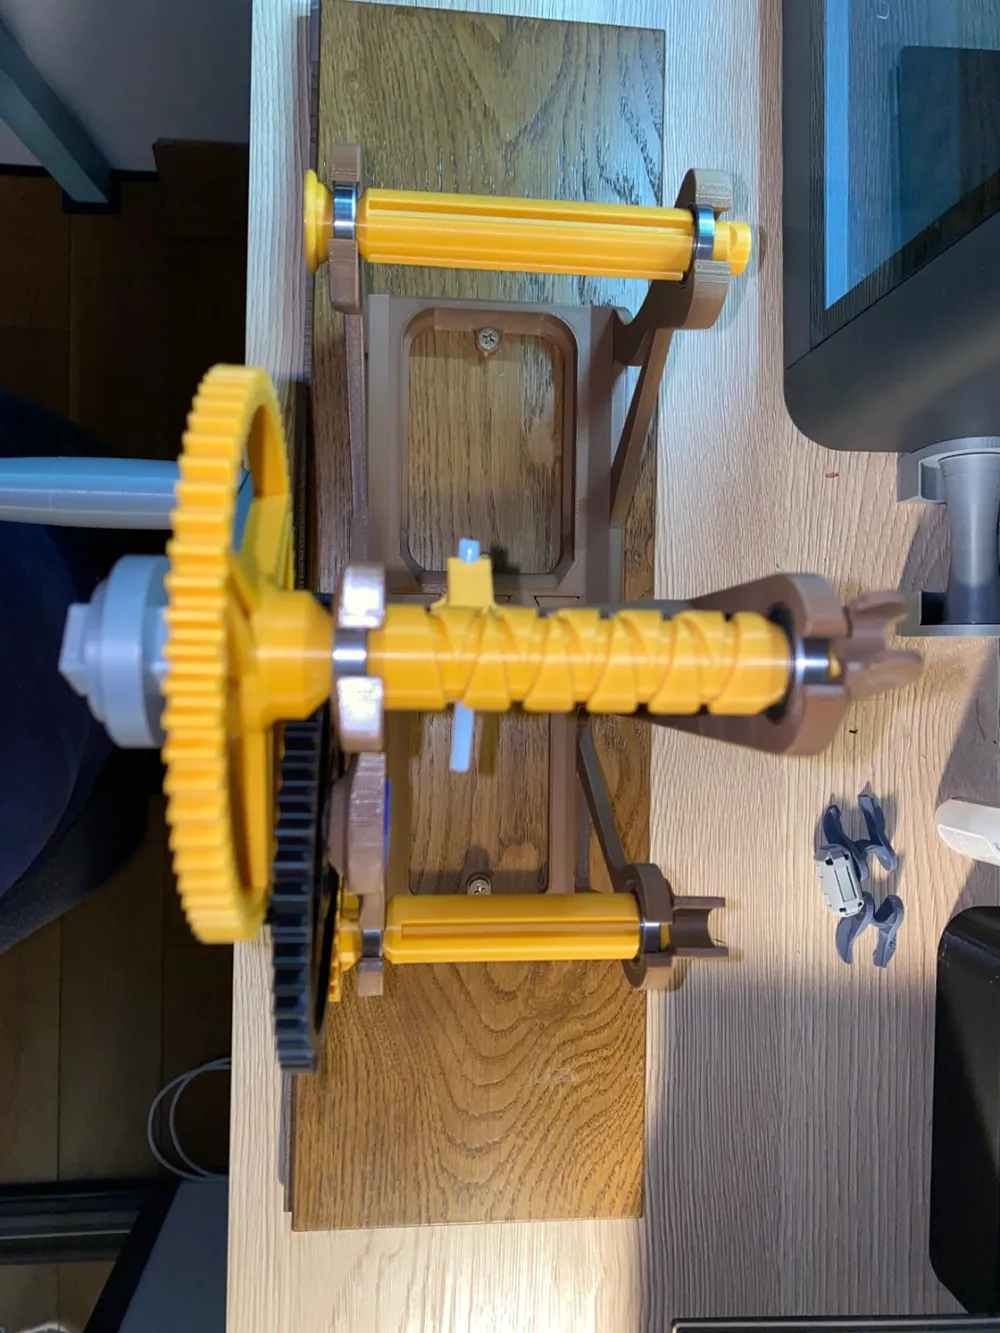
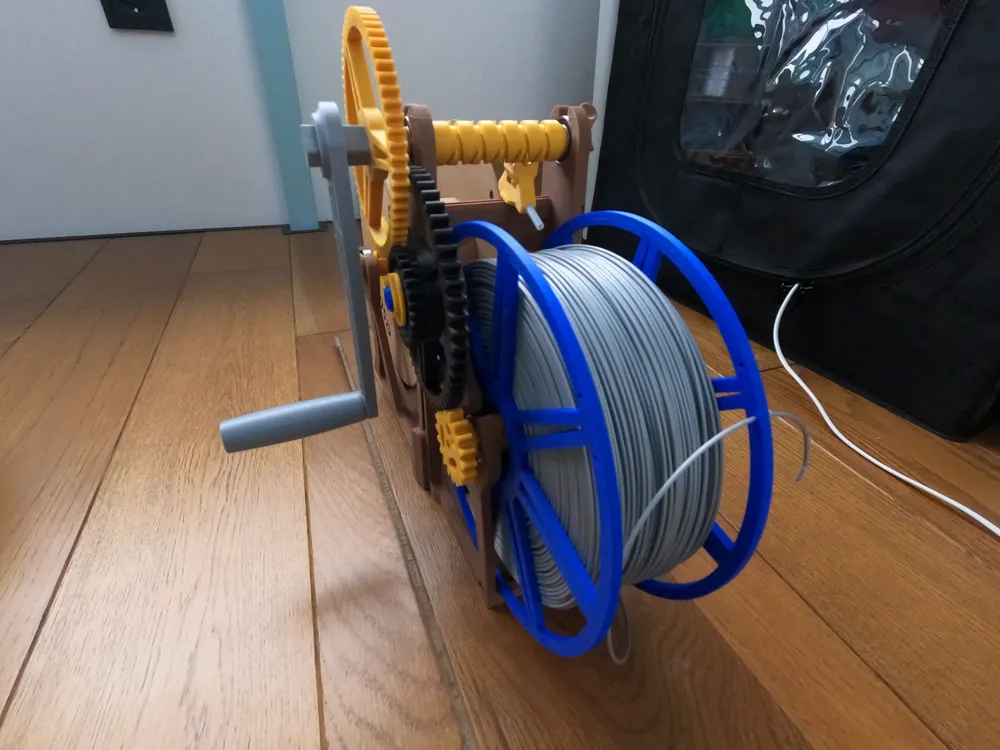
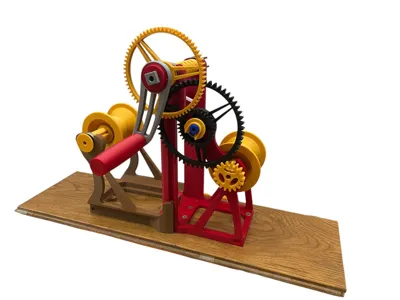
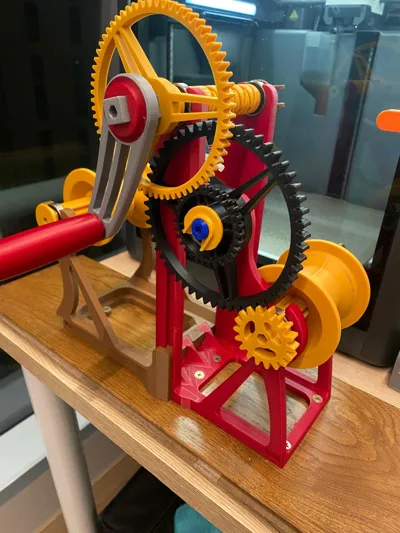
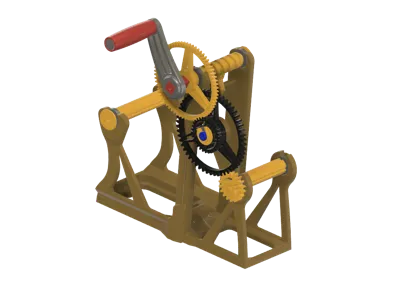
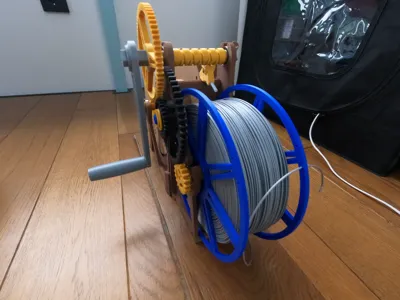
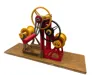
Spool Winder Upgrade with bearings from Sergiu’s model
Hi everyone.
Like many of you, I use an AMS and as much of you, I got trouble with carton spools. So, I needed a spool winder for filament transfers.
After looking at all the existing models, I finally chose Sergiu’s one. It seemed to be pretty good, and it is so far.
However, after a couple weeks I had to admit that although Sergiu’s spool is super, I could improve it. Though I dreamed of a major upgrade… adding ball bearings on the axis.
THANKS TO SERGIU who agreed on transferring to me his own original 3D files to be directly reviewed onto my 3D software, I could start the remodeling process. Foir reference Sergiu's models can be found here https://makerworld.com/fr/models/604481?replyId=757864&replyType=4#profileId-527156 and https://makerworld.com/fr/models/561571#profileId-481024
So bad his policy on the website didn't allow me to post a remix of his model. I could only do it as original… but the base is trully his.
So…
After long hours reviewing, print pieces, test, modify more, then again print, test… etc. I finally got my new winder.
The improvements are:
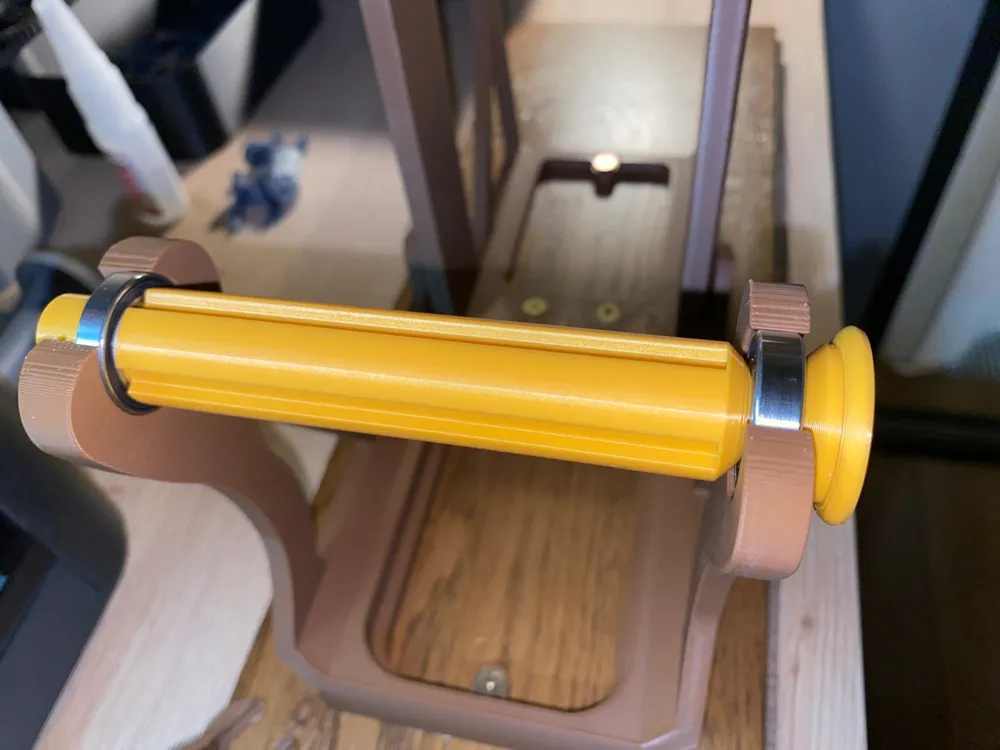
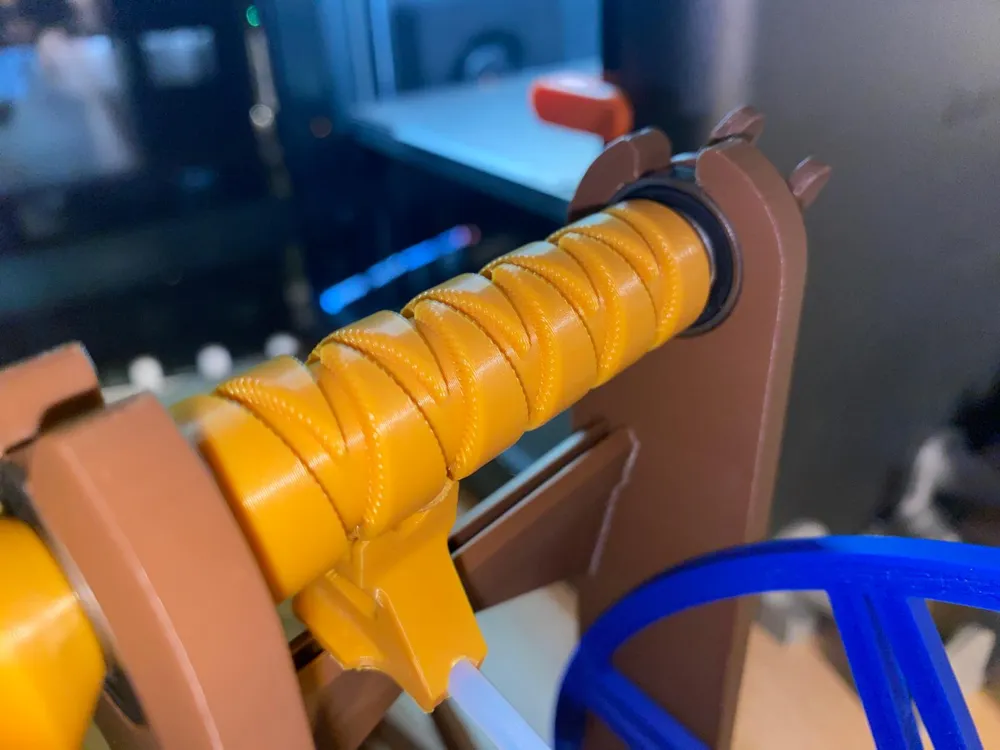
- 2 ball bearings on each axis. Quiet, smooth and fast. No oil needed.
- no more need for sanding the holes after printing. No dust.
- around 15 ½ hours printing for the full version. Not 36 hours = time saving.
- feet not needed anymore. But you can still add them, my model kept compatible.
- consumes less than 450g plastic needed. Half of the original version.
- full PLA+ made. No need for abs or petg.
The result is a full 1kg transfer in less than 1mn50s… manually. See by yourself
The basic printing setup is:
- PLA+ at 0,20 higly recommended for the rigidity (feedback from the community and my own tests = PETG is too flexible... it twists under load which causes gear skips)
- 3 walls,
- 4 bottoms
- 20% infill
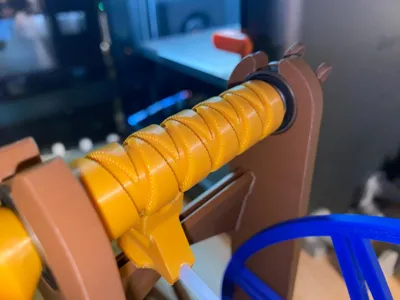
- no support needed (except for the slider)
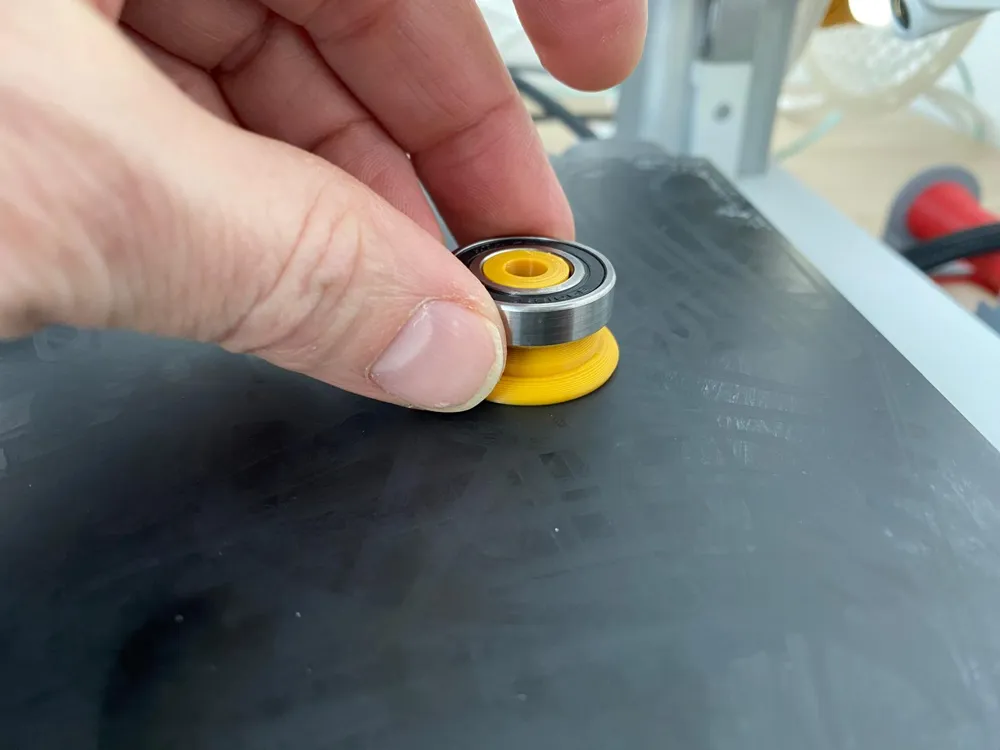
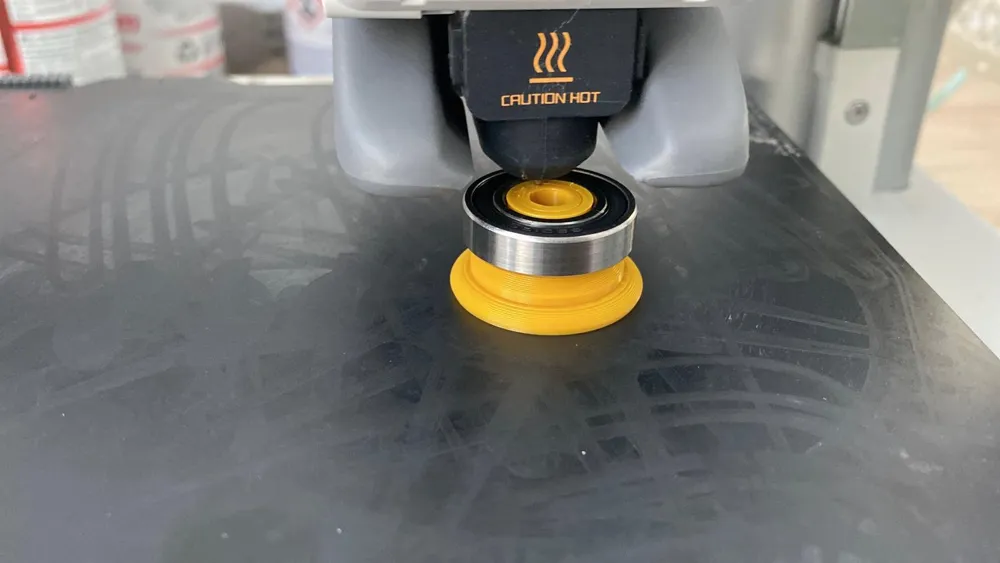
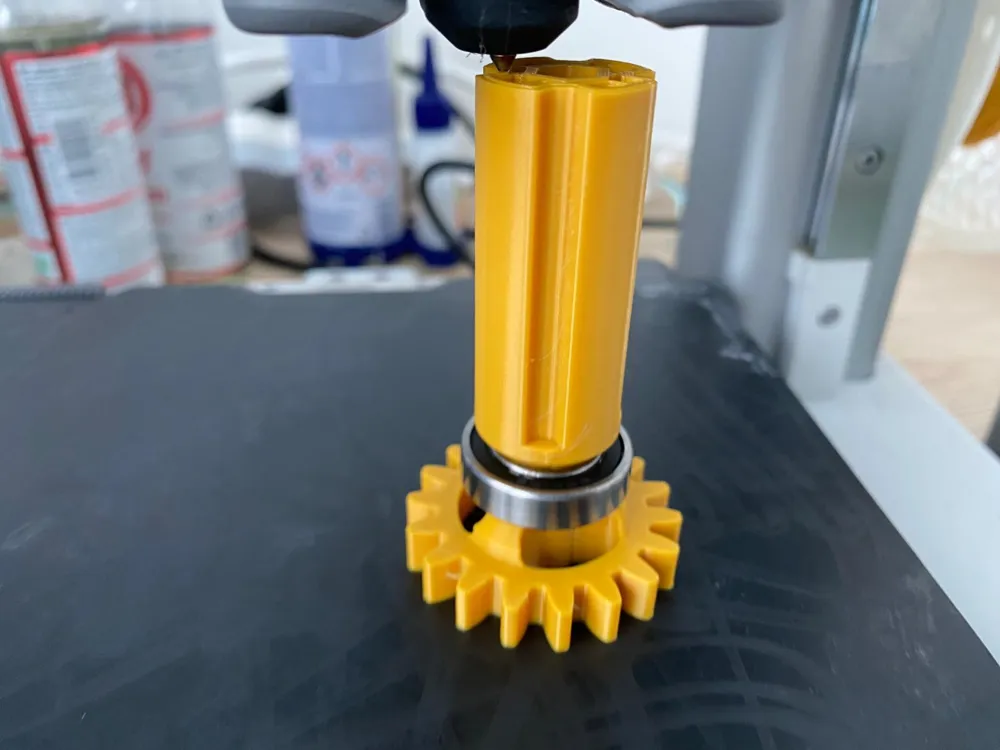
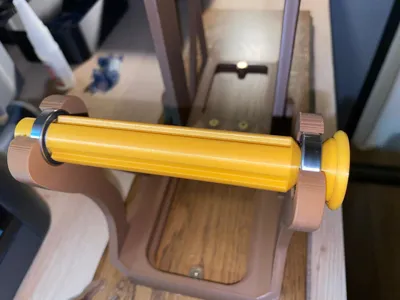
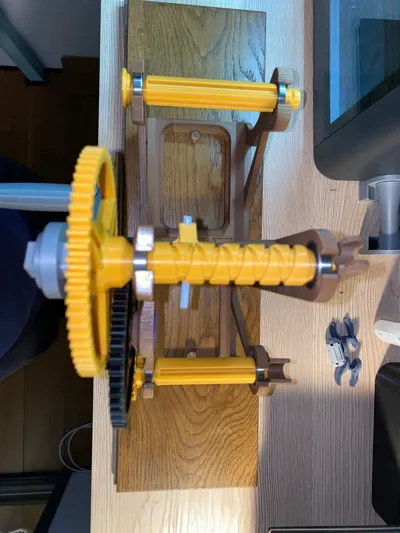
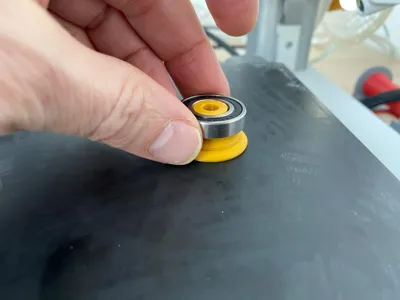
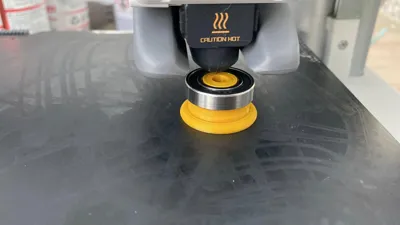
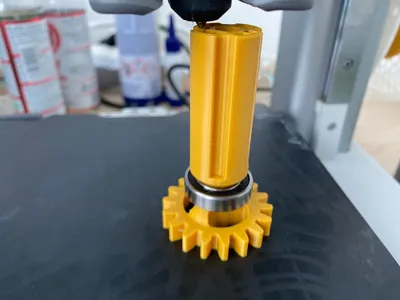
Don’t forget to check the PAUSE for the bearings insertion on the axis. Bearings 12mm type 6901 (12*24*6)
- Worm axis pause at layer 127
- Reception axis pause at layer 97
- Doner axis pause at layer 69
Another three 6901 bearings will be needed:
- 2 for the middle gear
- 1 to insert directly on the winder body for the worm axis tip.
The 2 last bearings are 15mm type 6802 (15*24*5) needed to be inserted on the winder body for both the reception and the doner axis tips.
To resume, you'll need to buy 8 bearings appart:
- 6 pieces of 12mm diameter - type 6901 (12*24*6)
- 2 pieces of 15mm diameter - type 6802 (15*24*5)
Although the spool winder is compatible with every kind of spool thanks to the adapters, you can find the spool specially made for it here:
https://makerworld.com/fr/models/835924#profileId-781185
License



Comment & Rating (284)