
Hueforge Minimal Infinity FrameV2
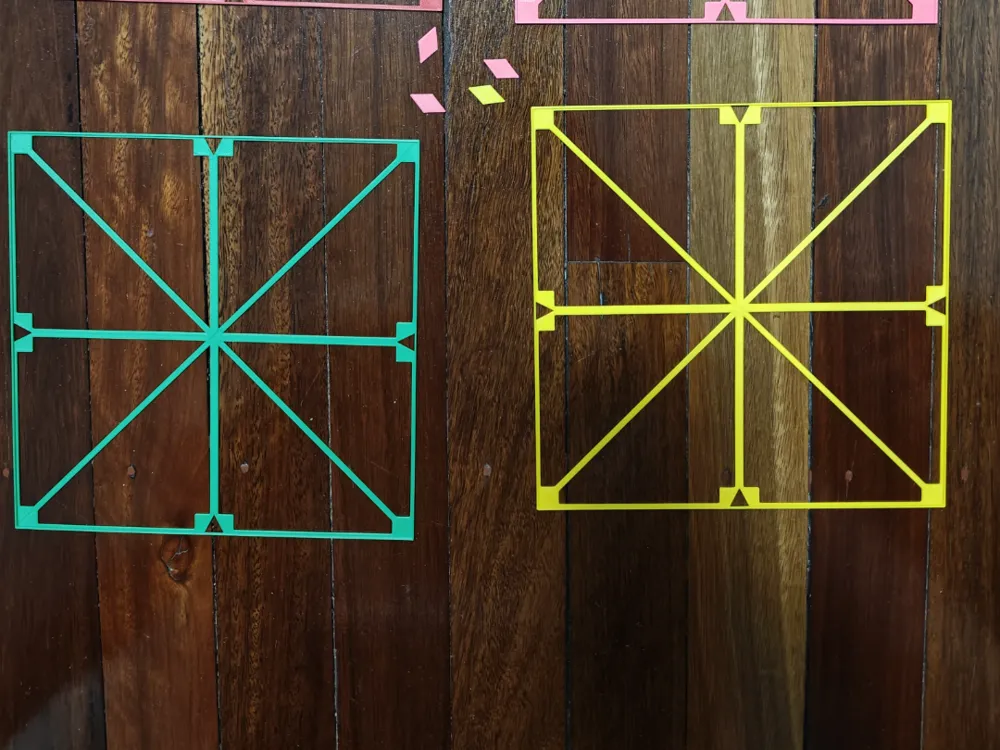
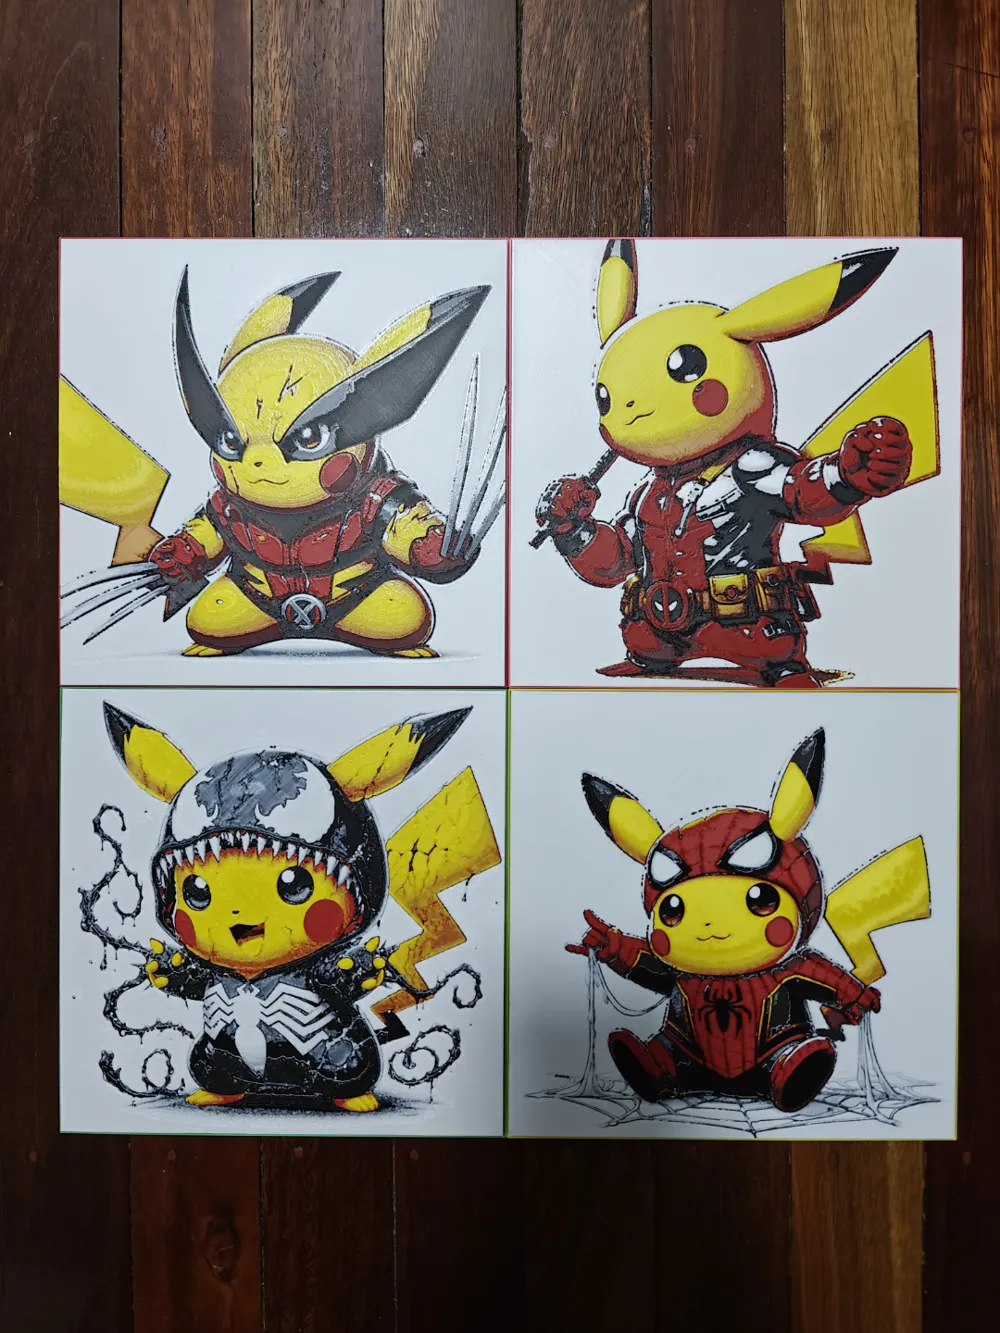
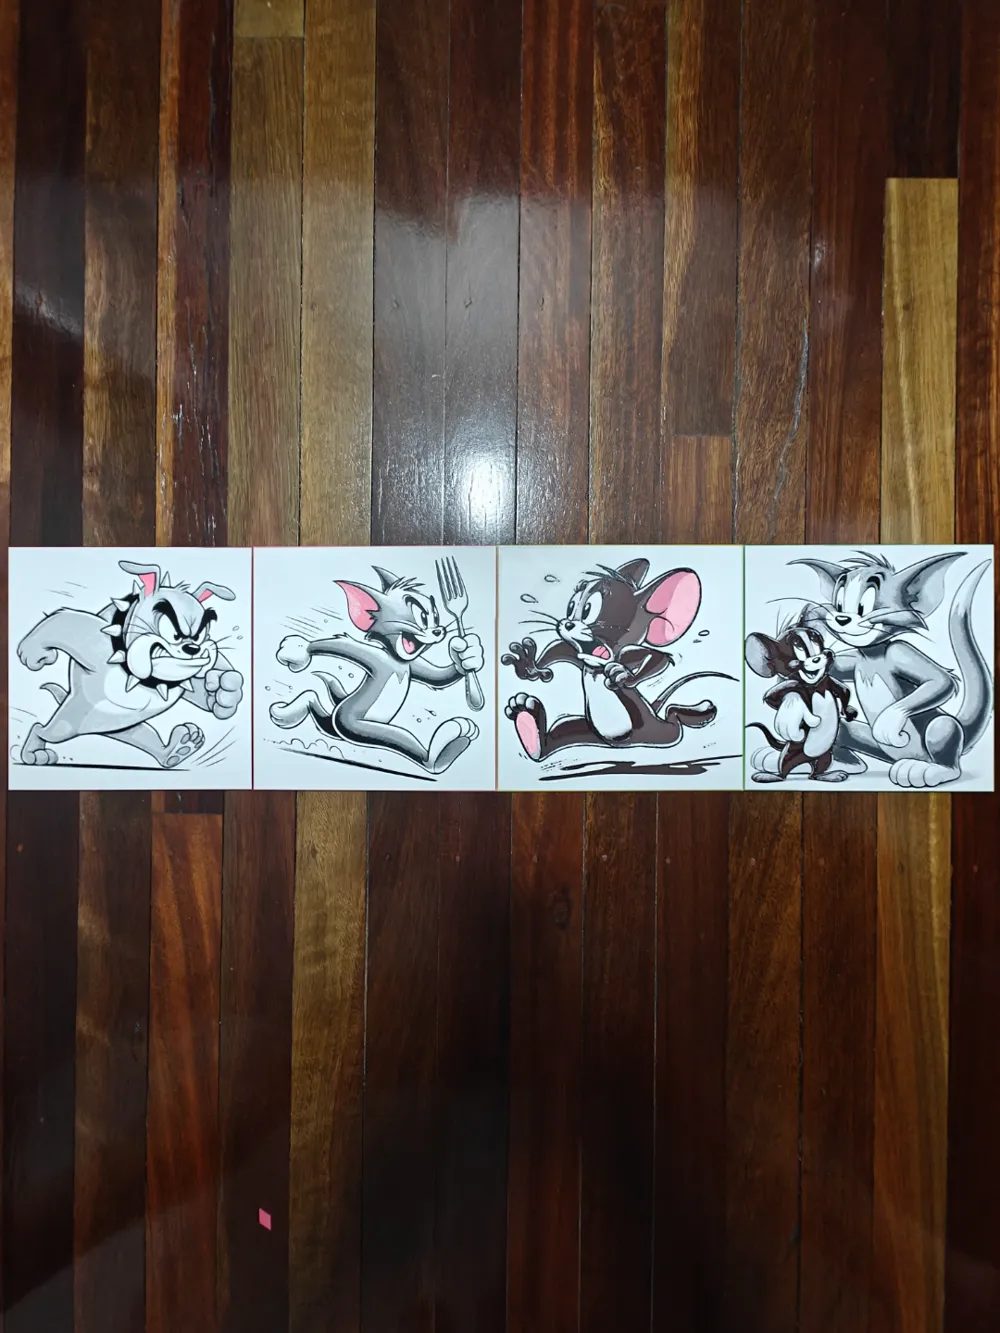
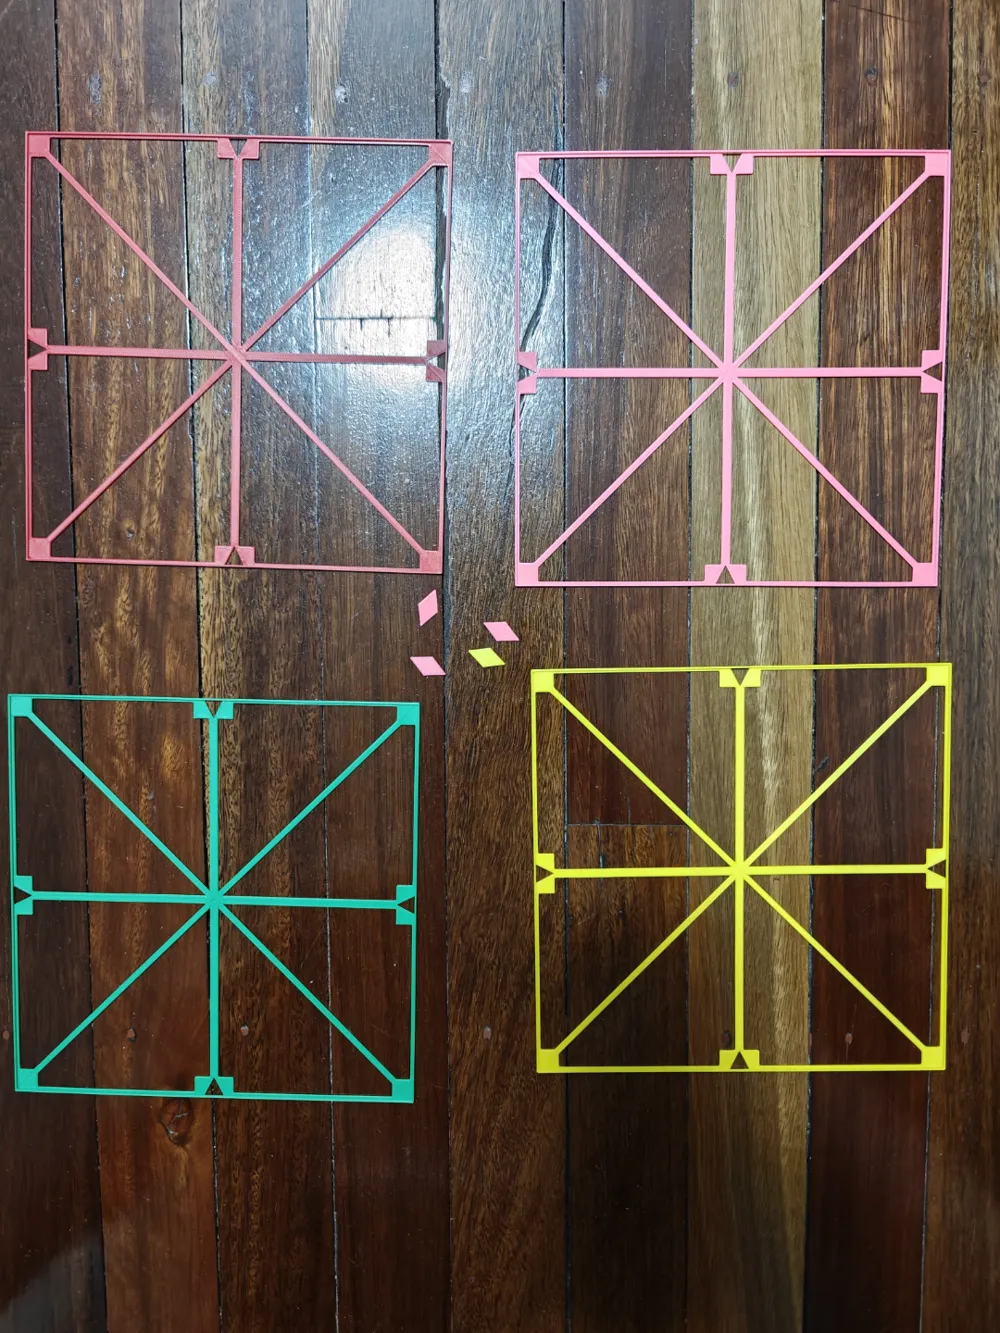

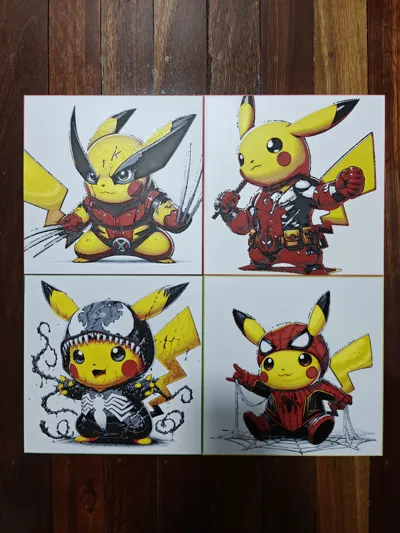
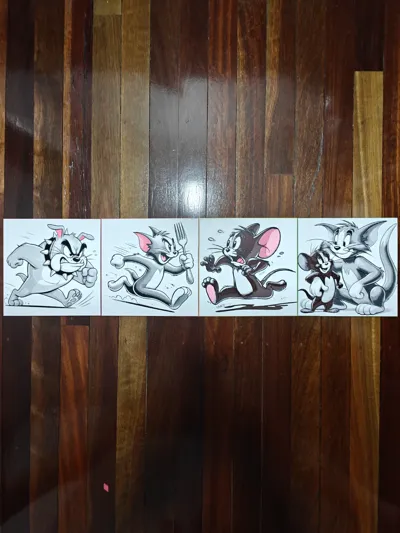
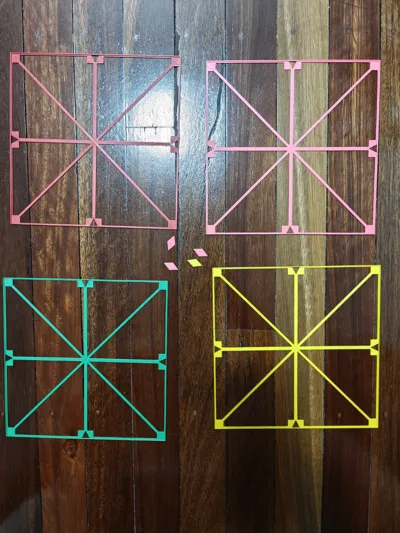
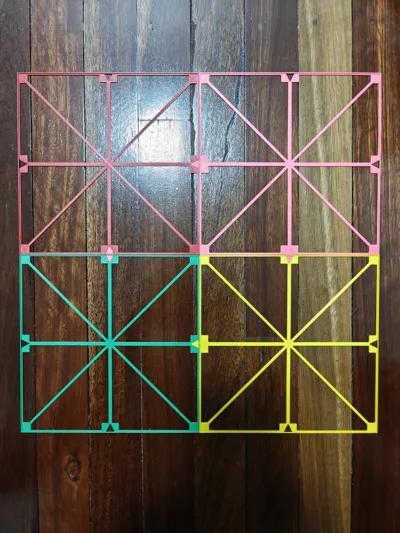
Print Profile(2)


Description
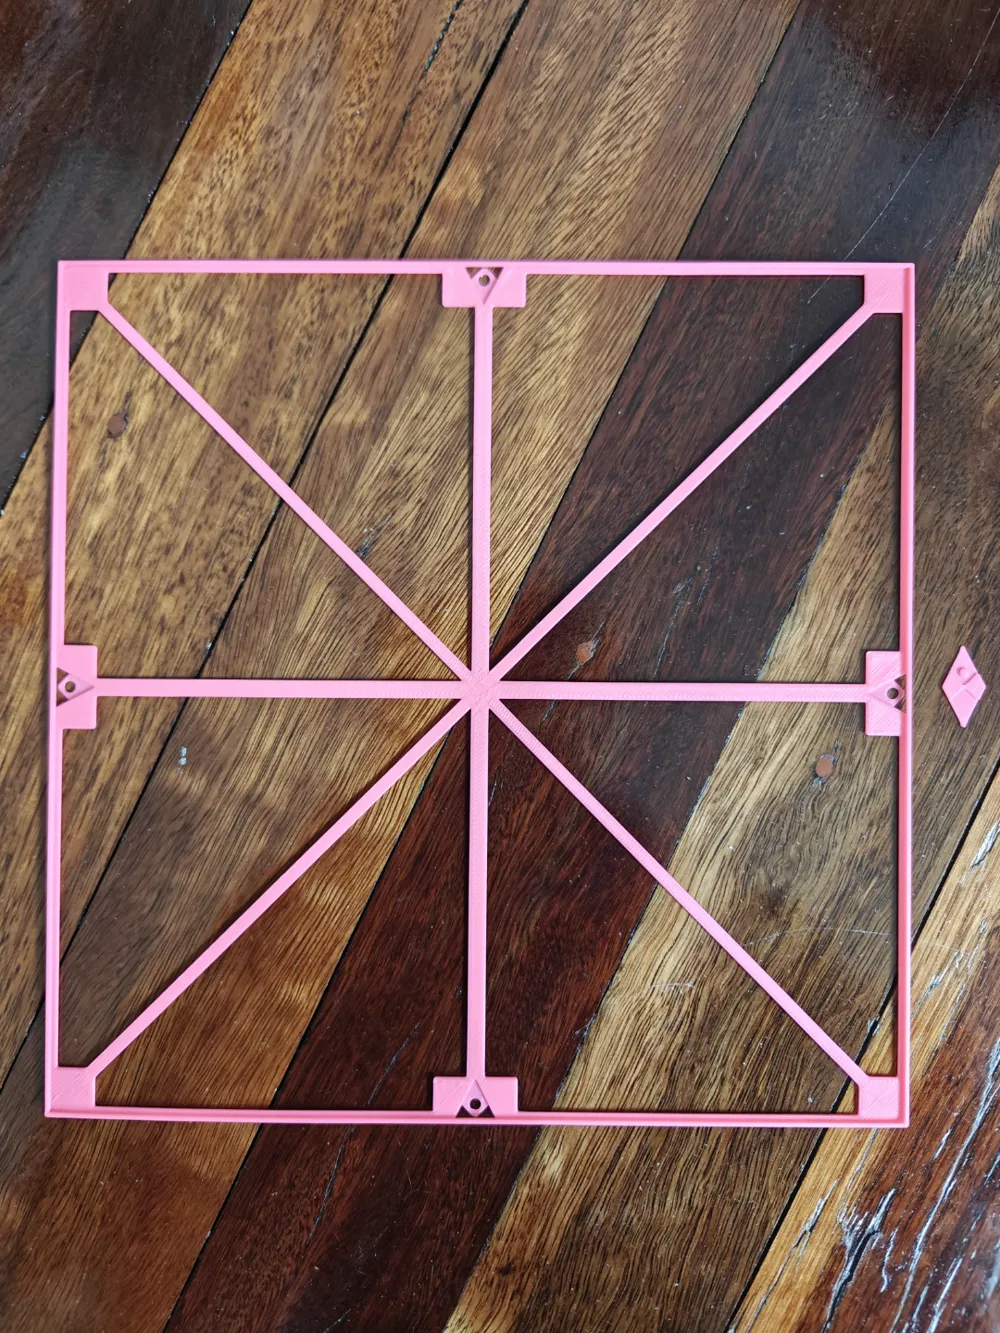
UPDATED: V2 version now available for download!
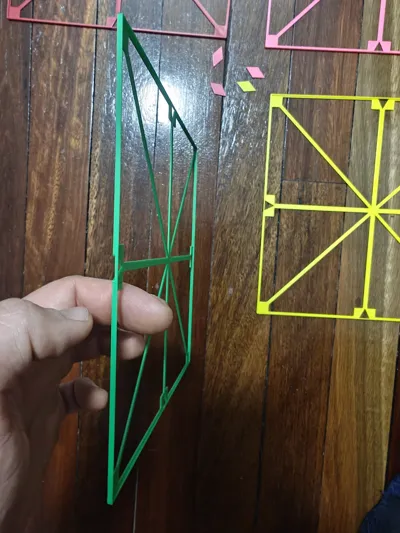
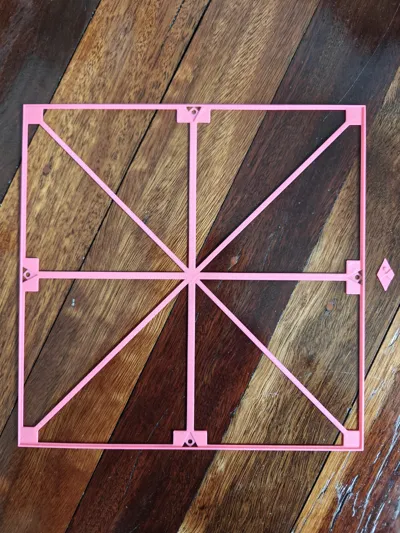
This version includes a small modification that makes gluing the pin much easier. You can see the V2 version in the last picture.
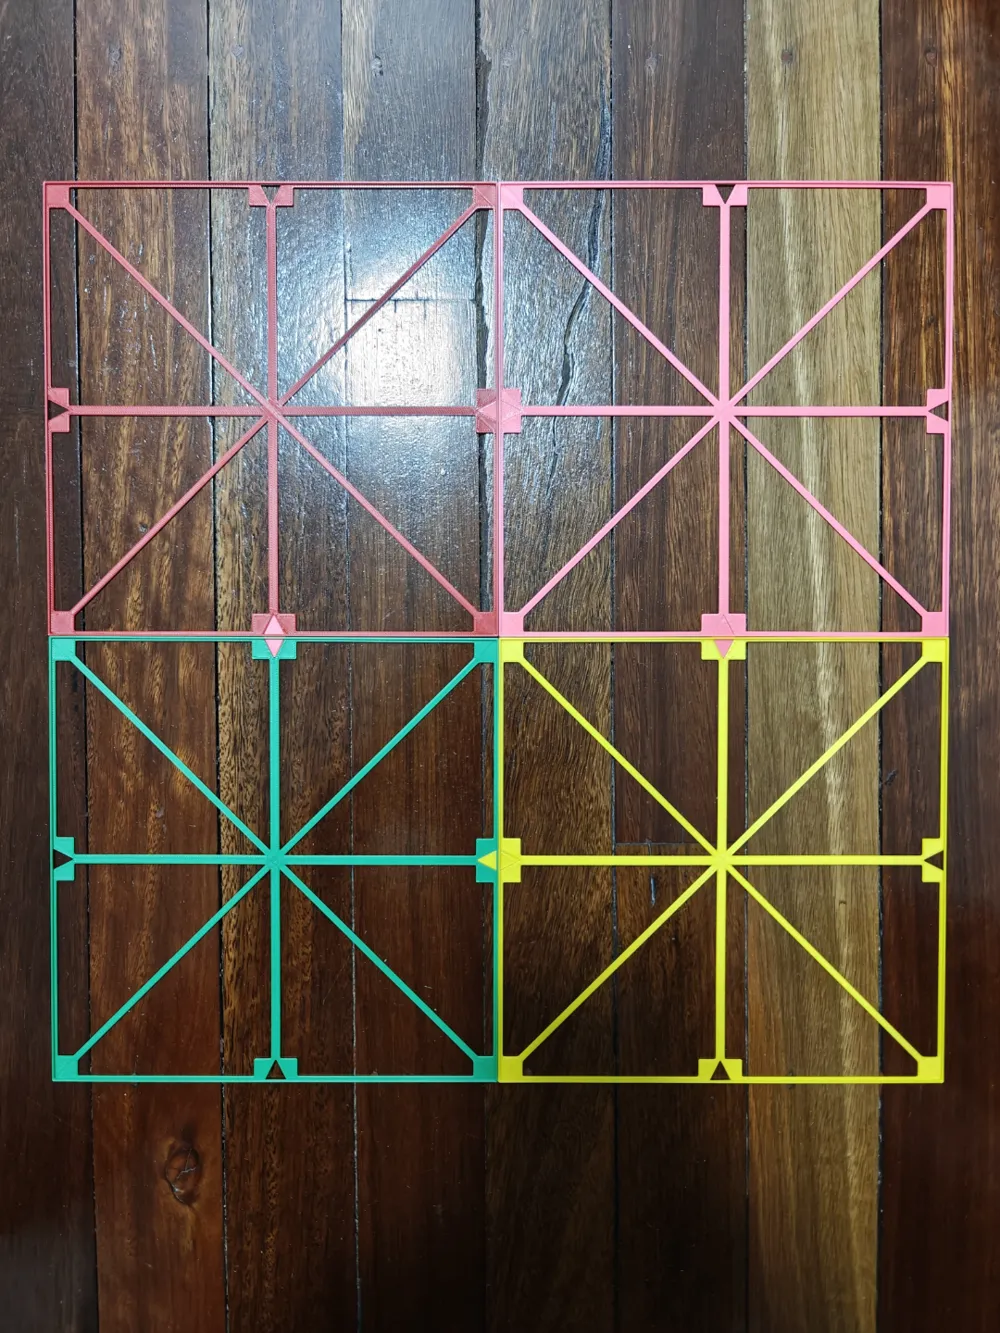
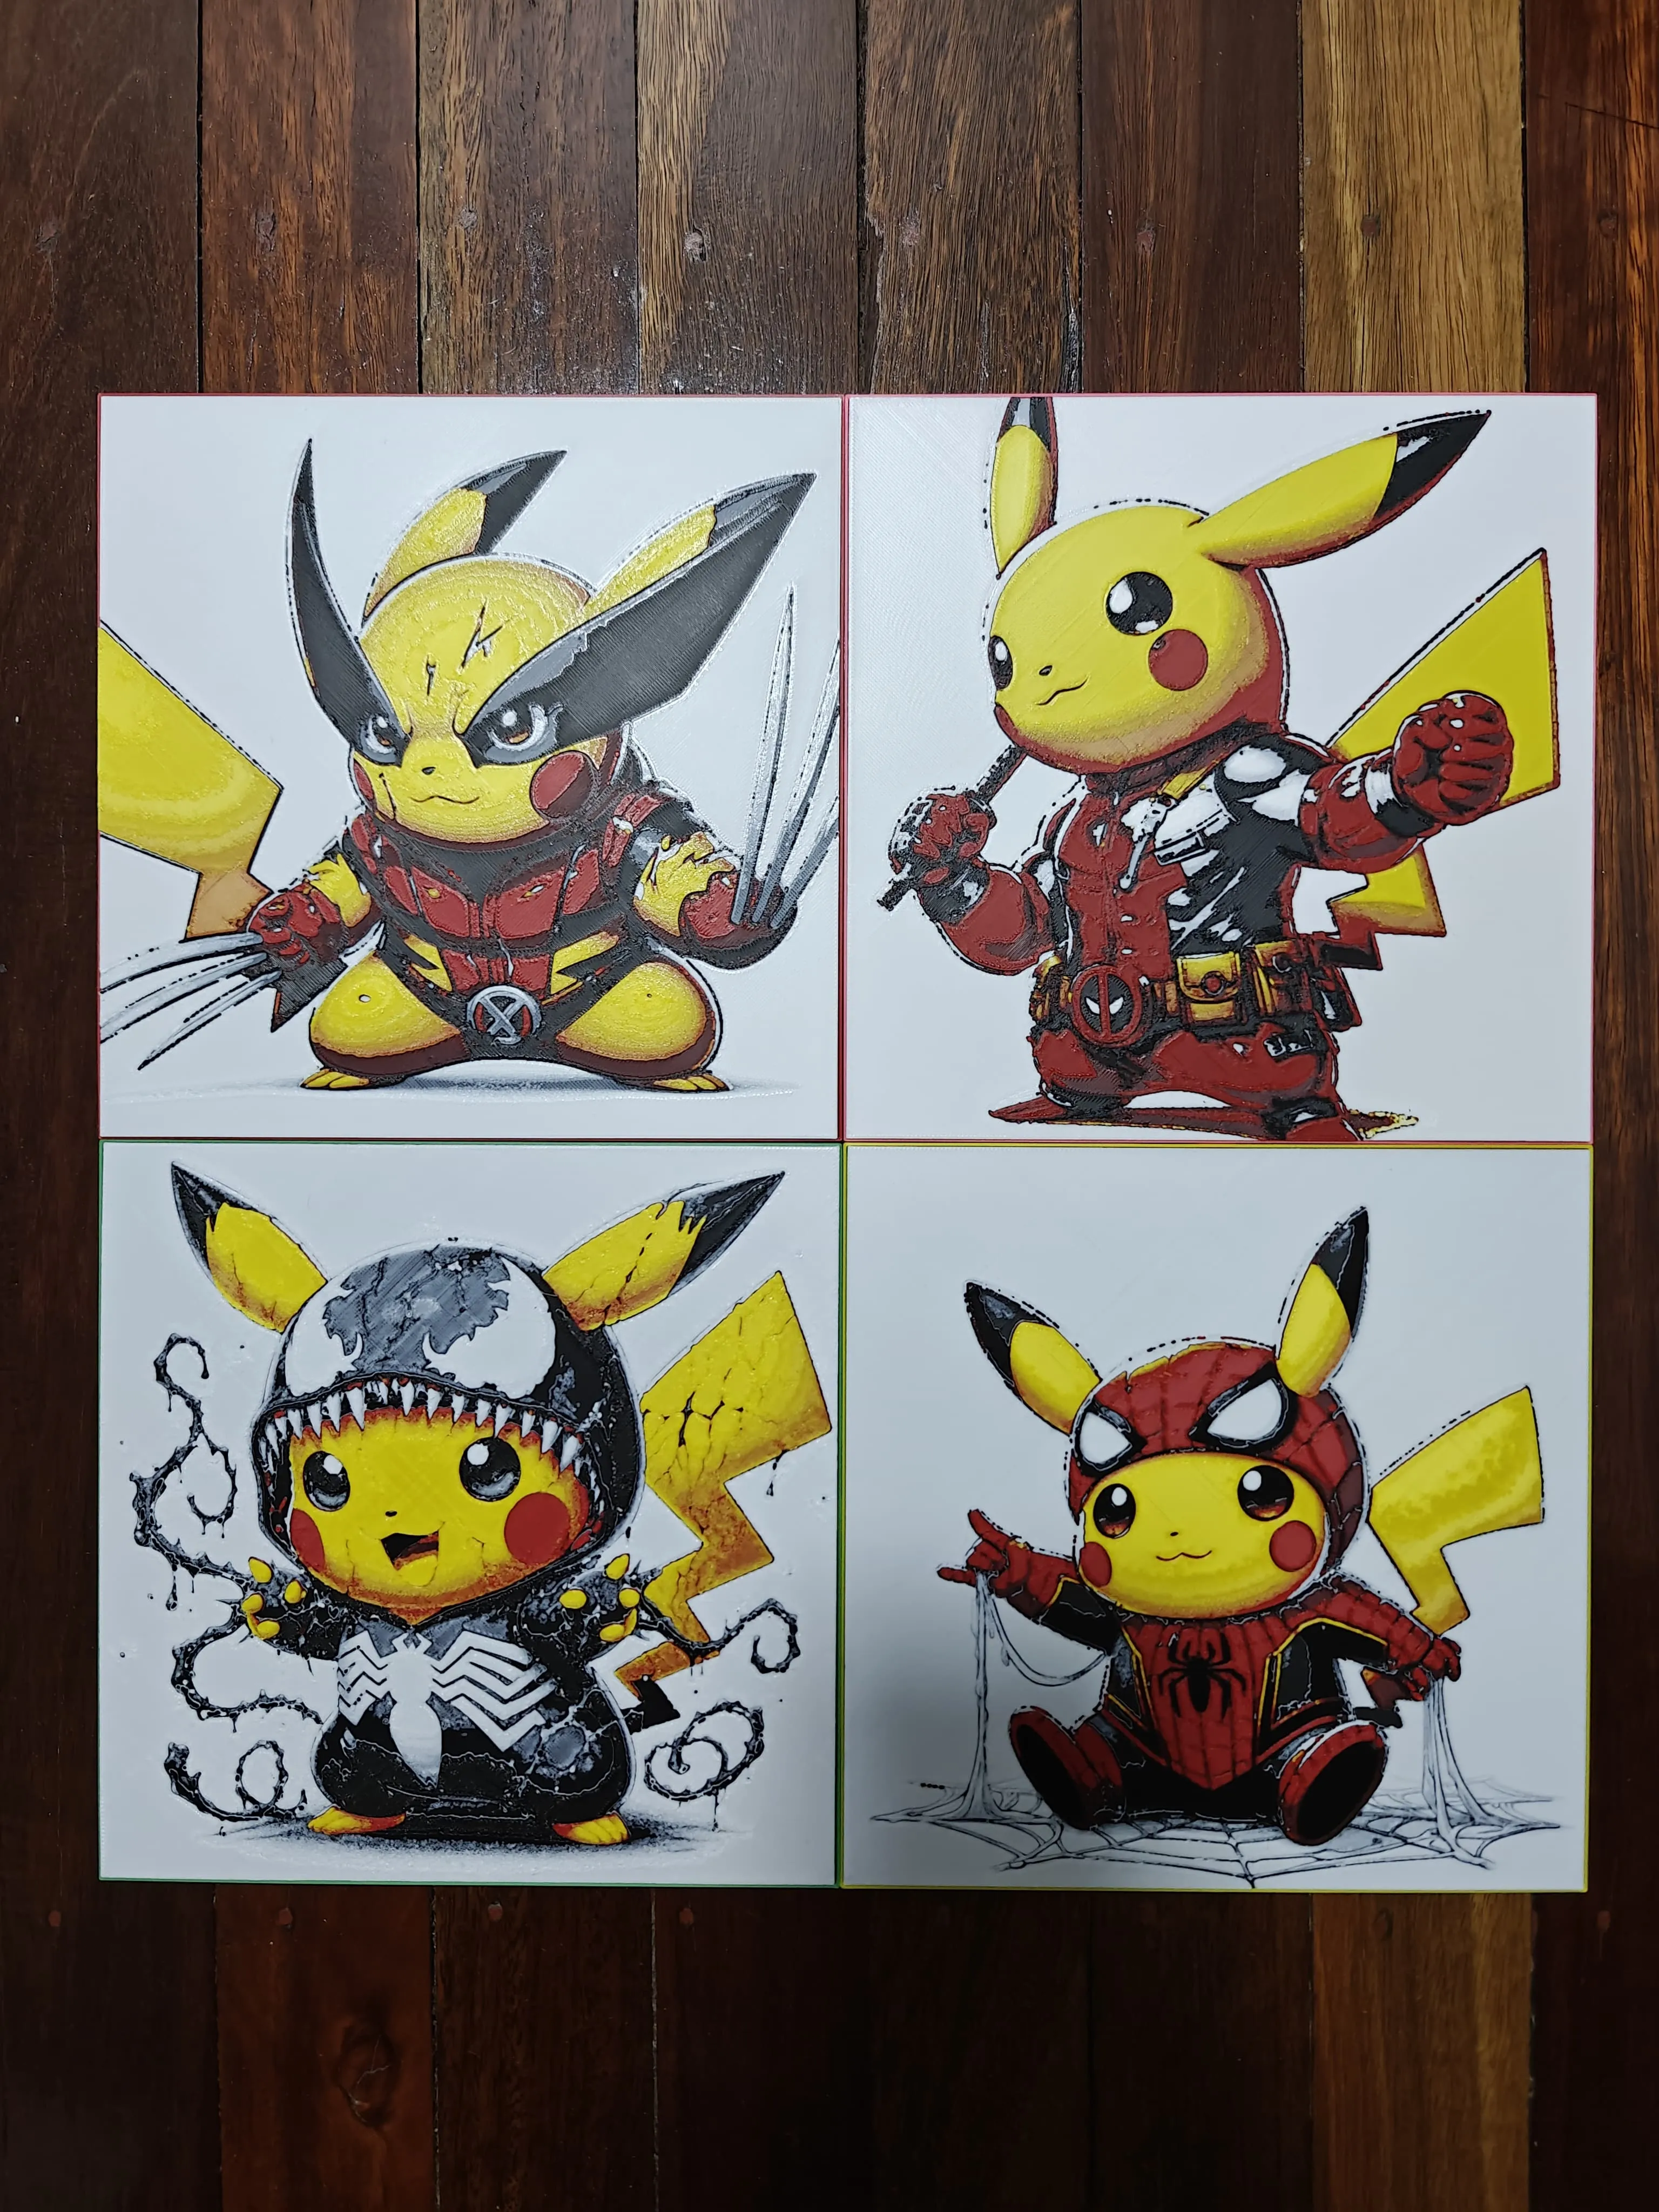
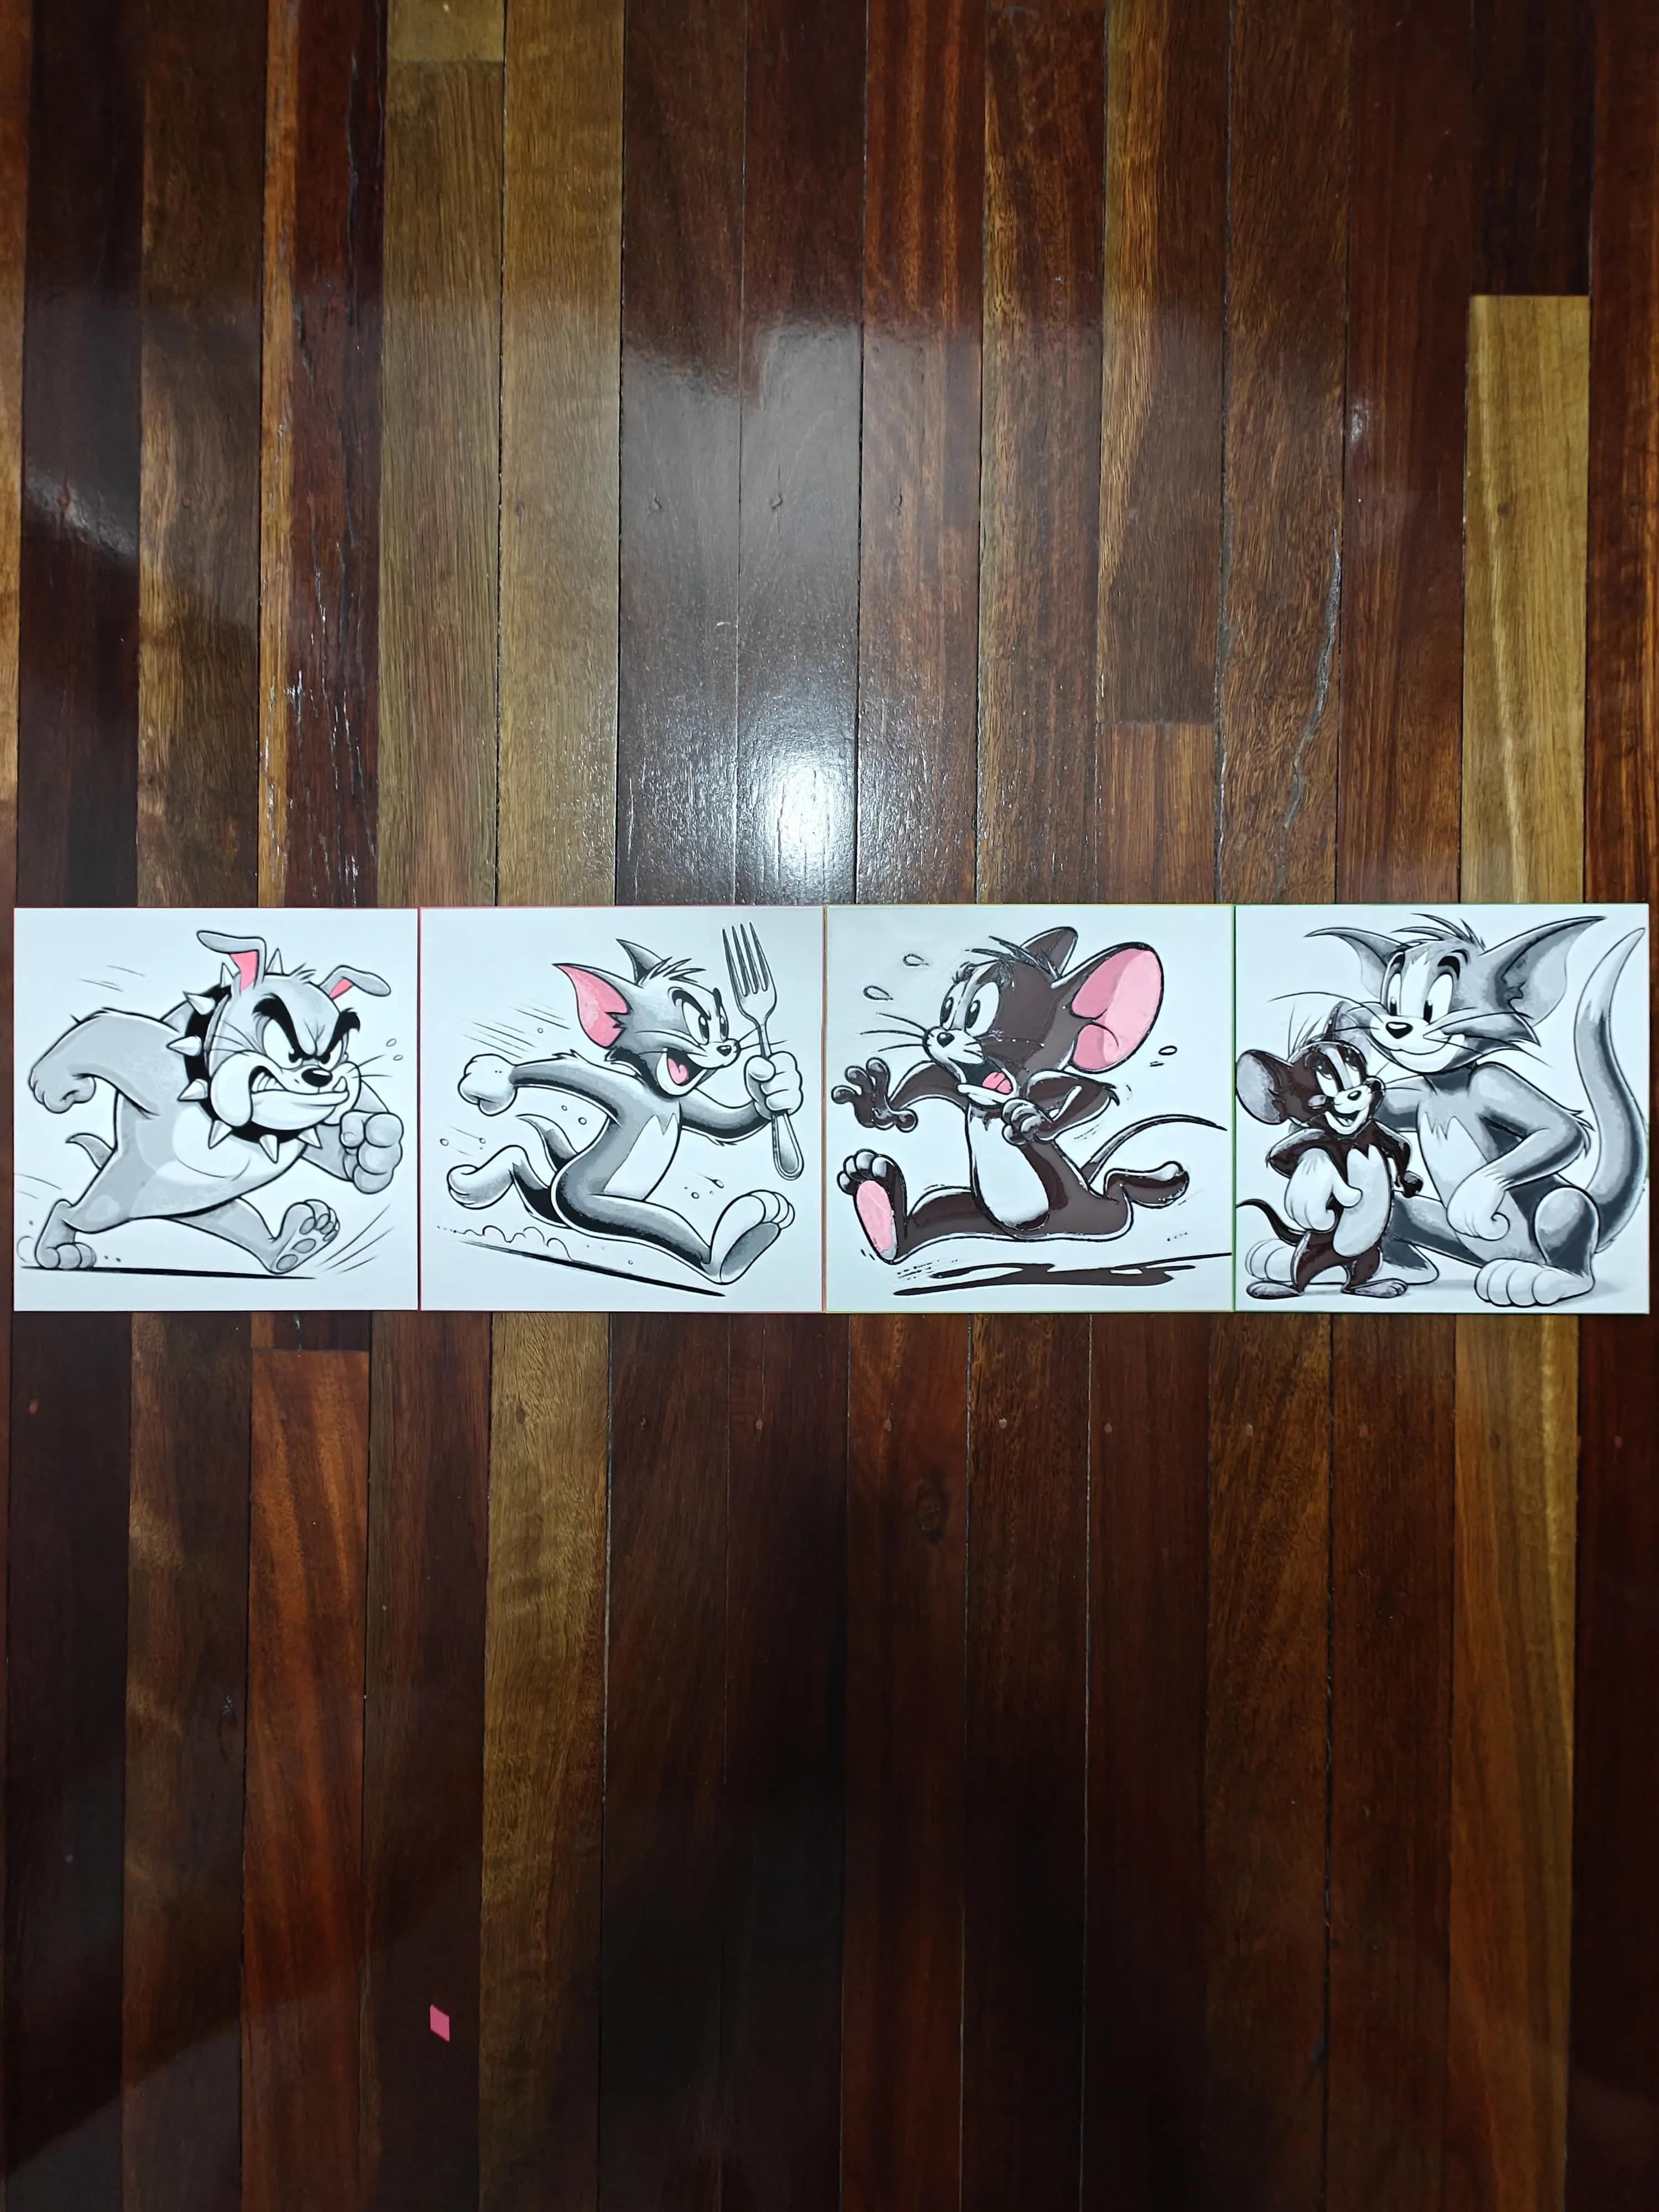
I’m thrilled to announce my official frame for displaying Hueforge art! I wanted an affordable, simple wall frame that could showcase hueforges neatly without requiring excessive time or material to print. While I found some other frames online, I couldn’t find anything that fully met my specific needs.
I also wanted the frame to be able to display a single Hueforge resised at at a bigger size and splitted into pieces with minimal gaps between sections. So, I designed this frame to be infinitely expandable, allowing you to create sets of your favorite works. These frames are highly configurable, letting you achieve the desired effect for your Hueforge prints.
The frames are perfectly sized for 200x200mm and 120x120mm Hueforges, but they can also accommodate larger sizes like 400x400, 200x400, 600x600, or even bigger.
If you encounter any issues while printing, feel free to reach out, I’m happy to help! So far, the frames have been printing smoothly without needing brims or supports. Even the larger frames use just over 8g of filament and take less than 25 minutes, including calibrations.
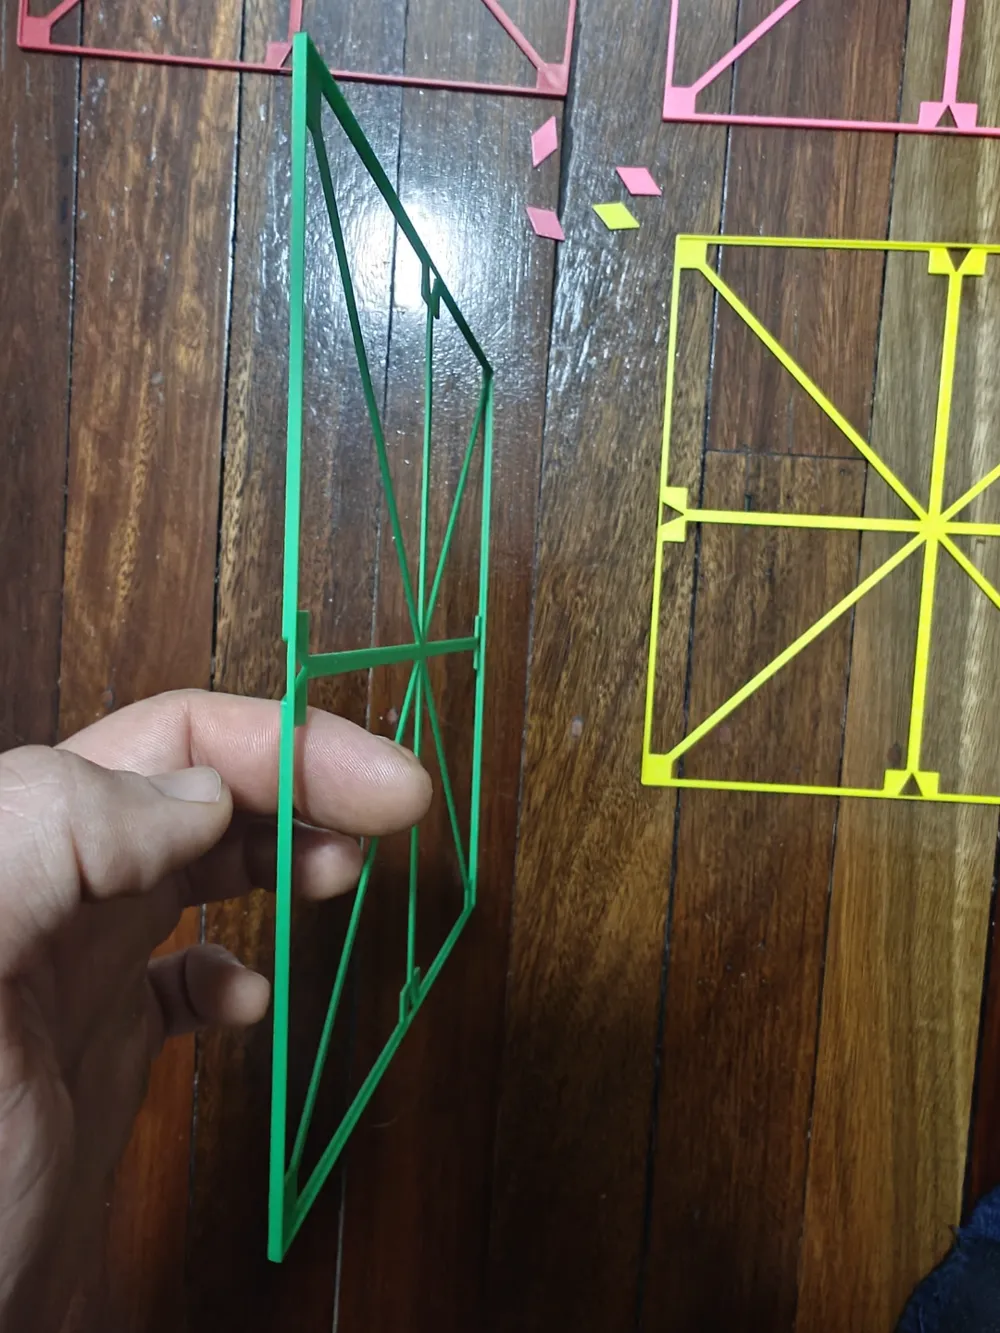
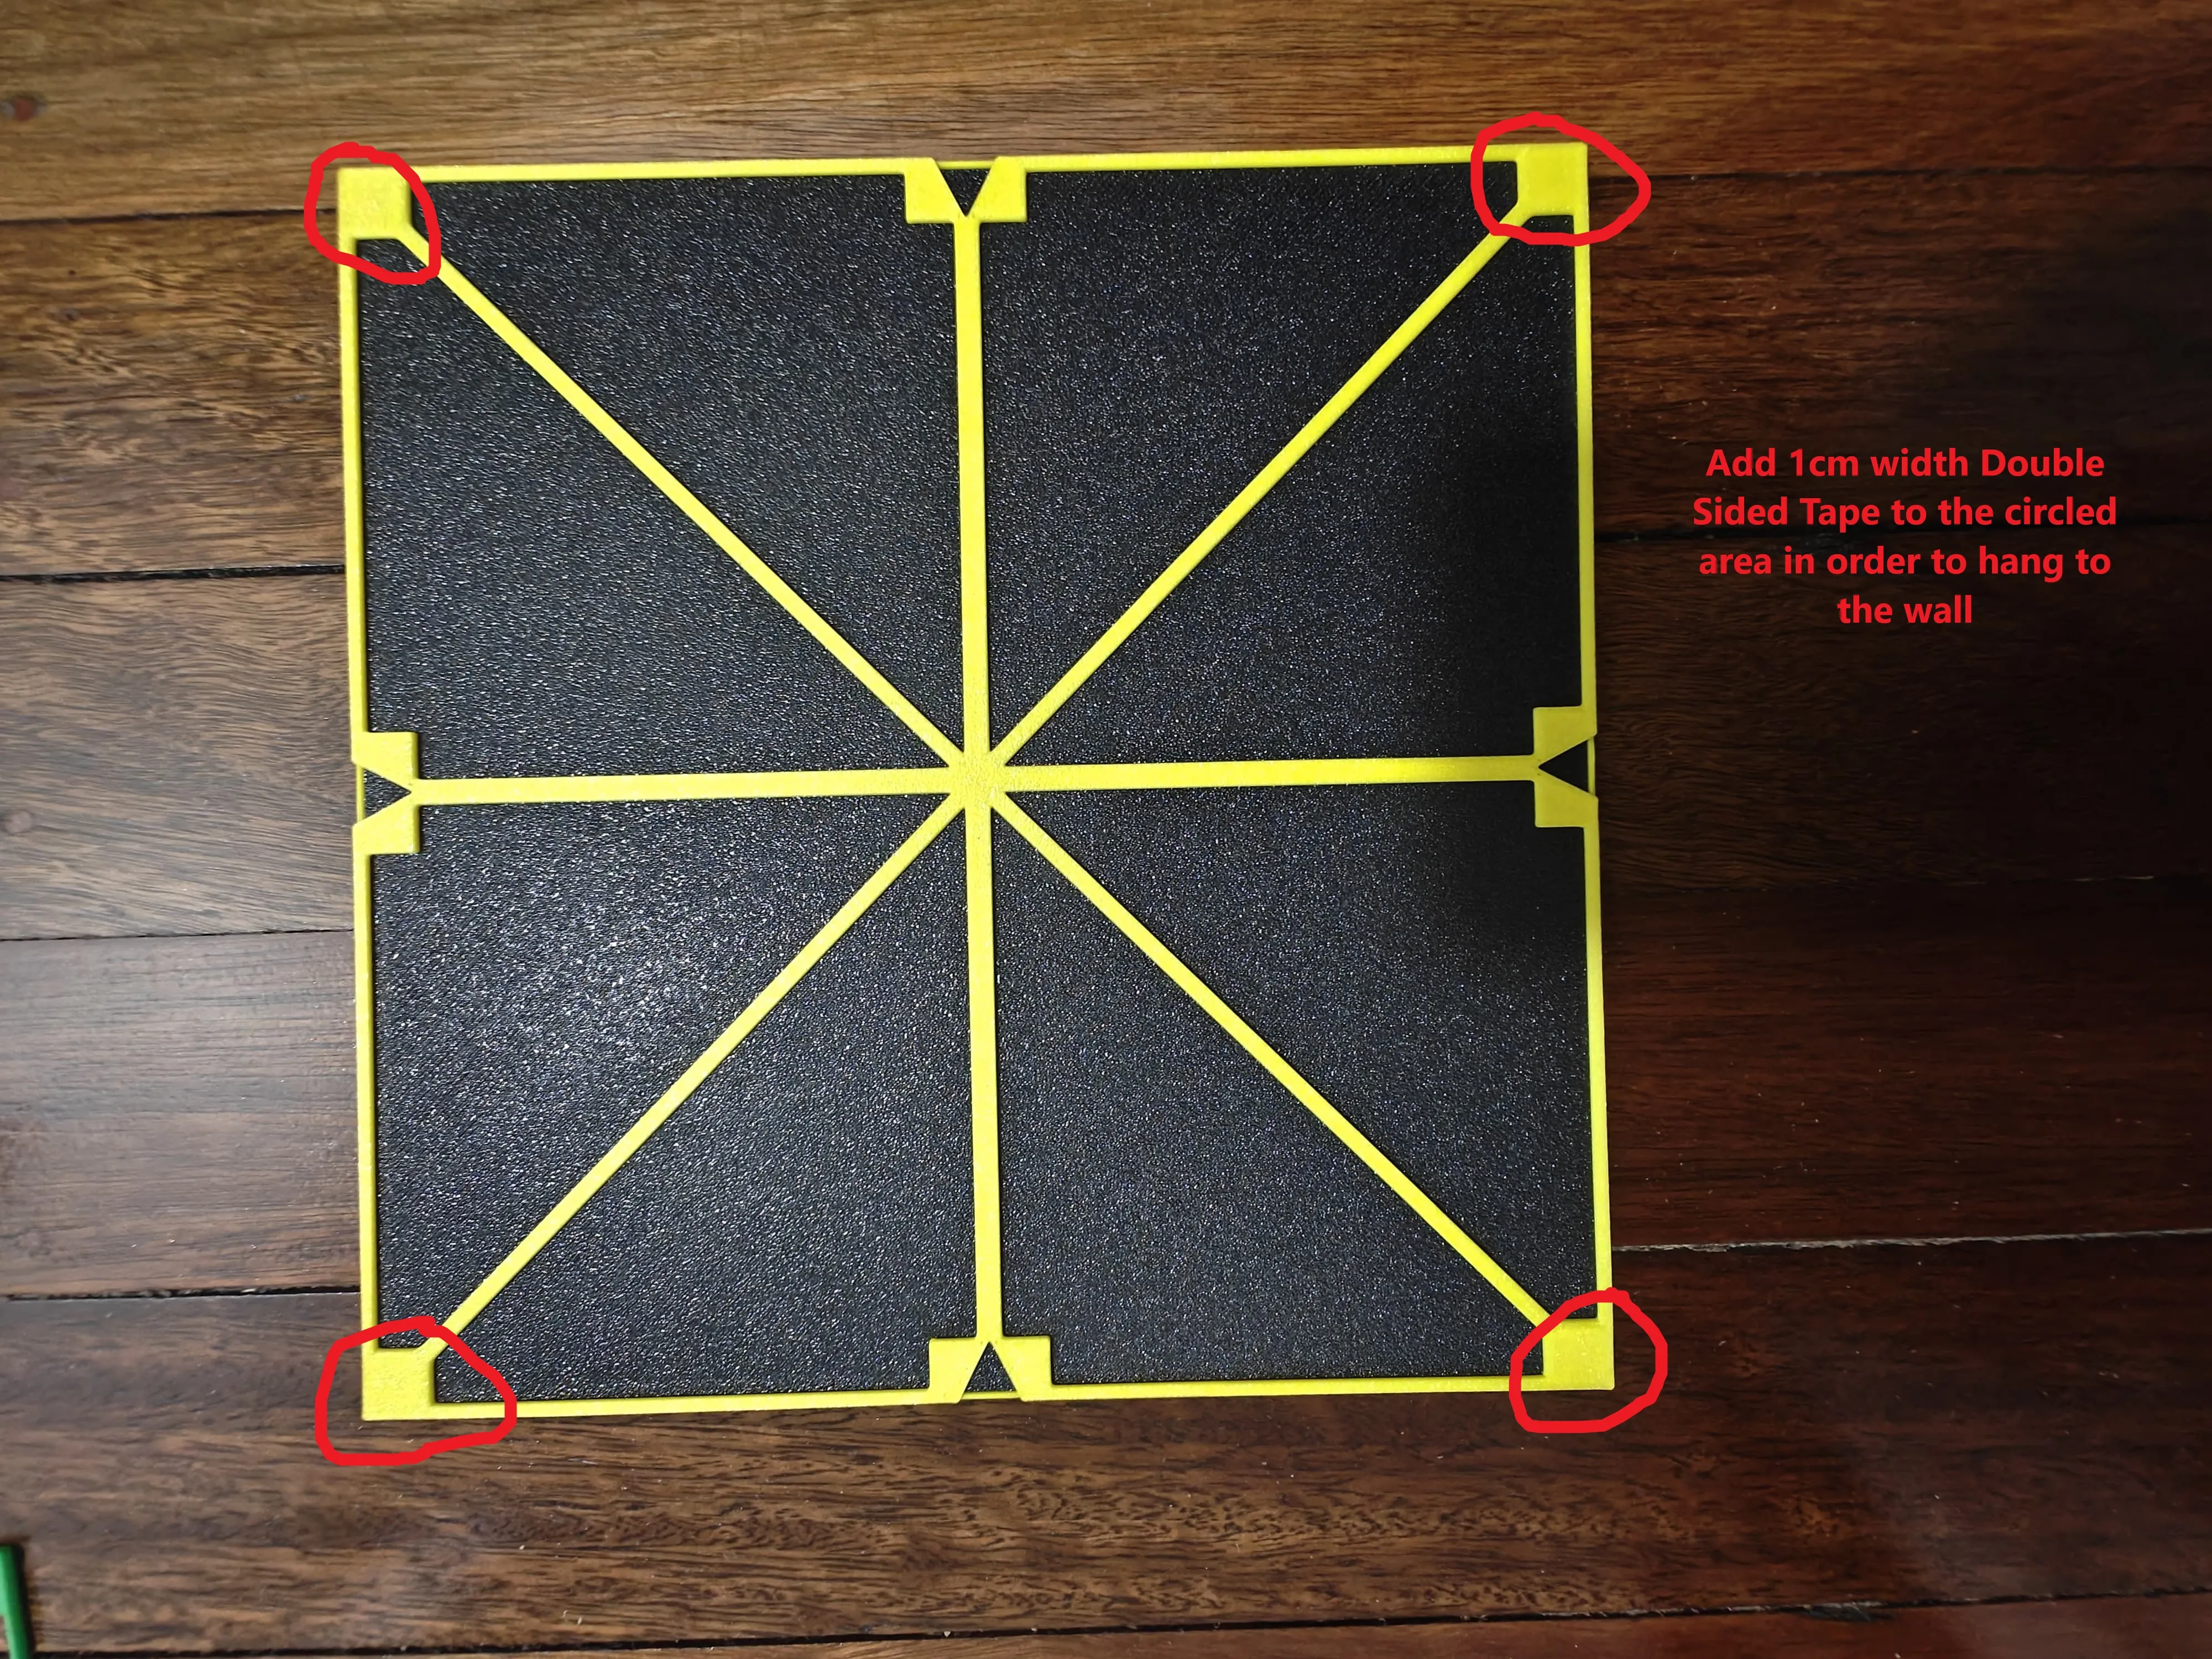
The pin simply slides into place, making it super easy to position the next frame. The pin has a small protrusion on one side, slide that side into the frame you’re adding, apply a drop of glue to hold it in position, and let it dry. Once secured, slide the new frame and pin into the previous frame for perfect alignment.
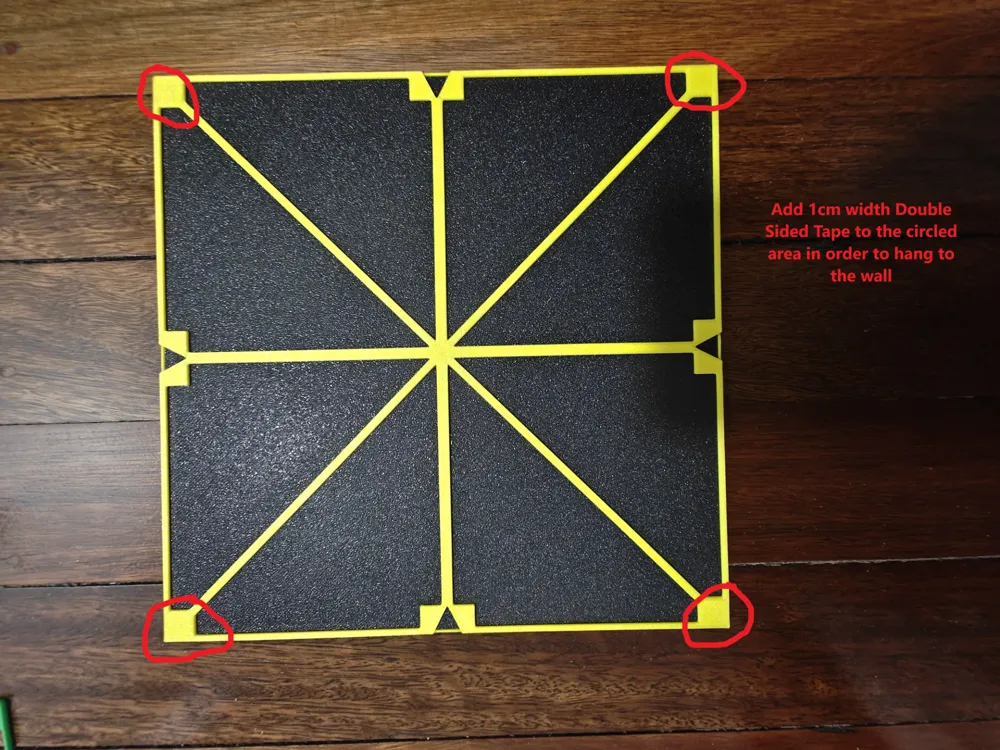
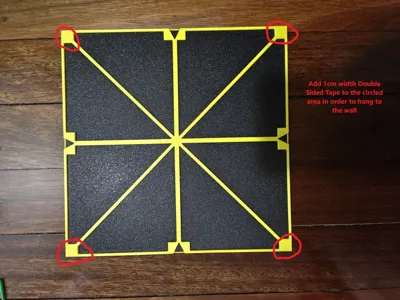
The Hueforge lock into place if the sizing is perfect, but I recommend applying a drop of glue to one or more corners as a precaution (on the opposite side of where you’d place the double-sided tape).
For more details, check the model pictures on Makerworld, where you can also preview my latest creations!
License

You shall not share, sub-license, sell, rent, host, transfer, or distribute in any way the digital or 3D printed versions of this object, nor any other derivative work of this object in its digital or physical format (including - but not limited to - remixes of this object, and hosting on other digital platforms). The objects may not be used without permission in any way whatsoever in which you charge money, or collect fees.


Comment & Rating (46)