
Functioning Switchblade
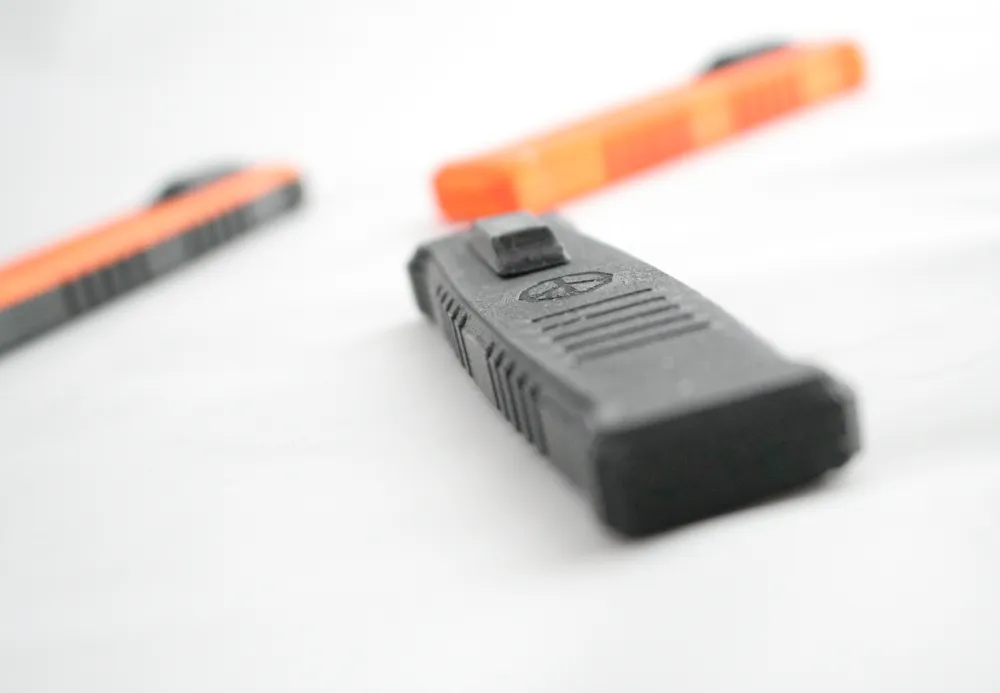
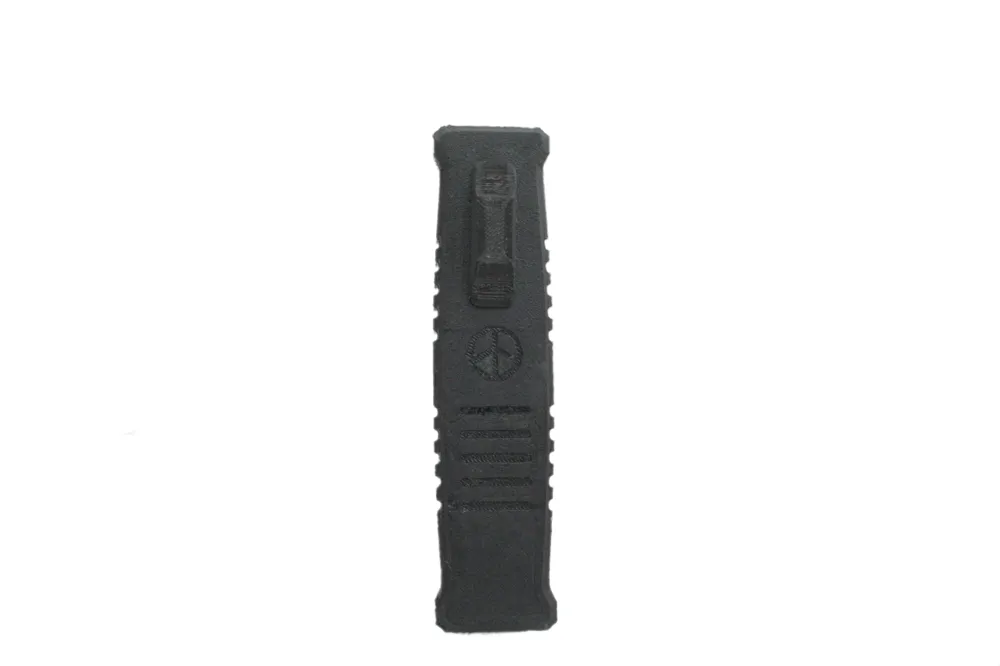
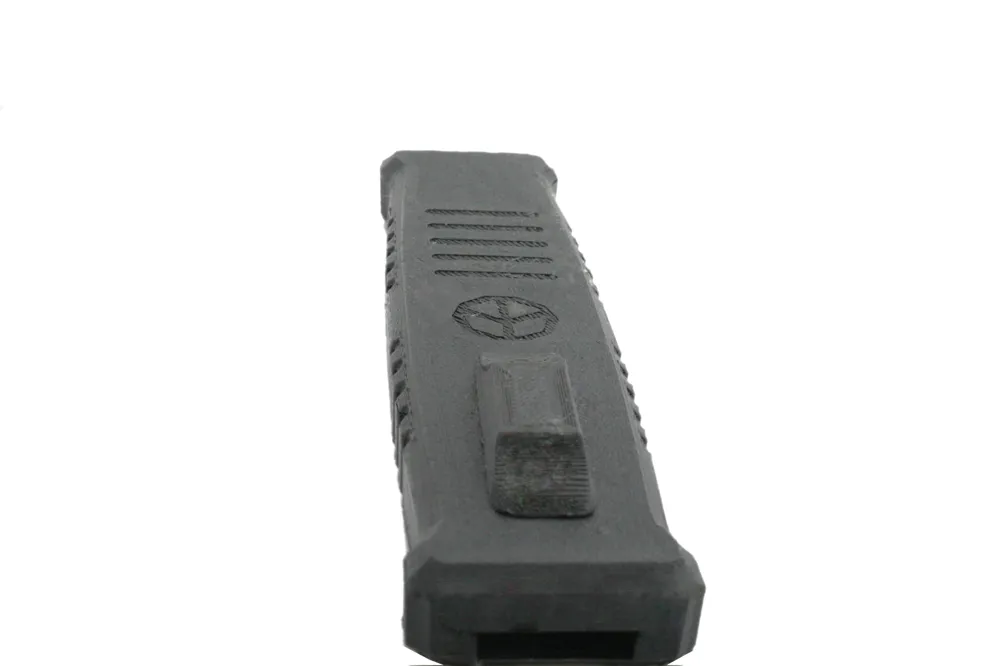
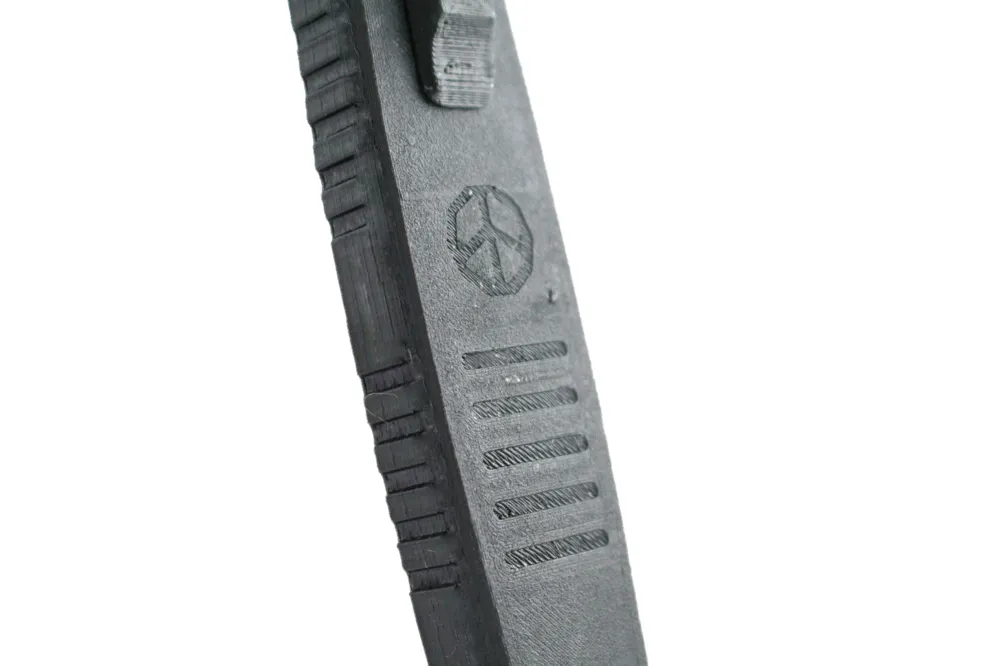
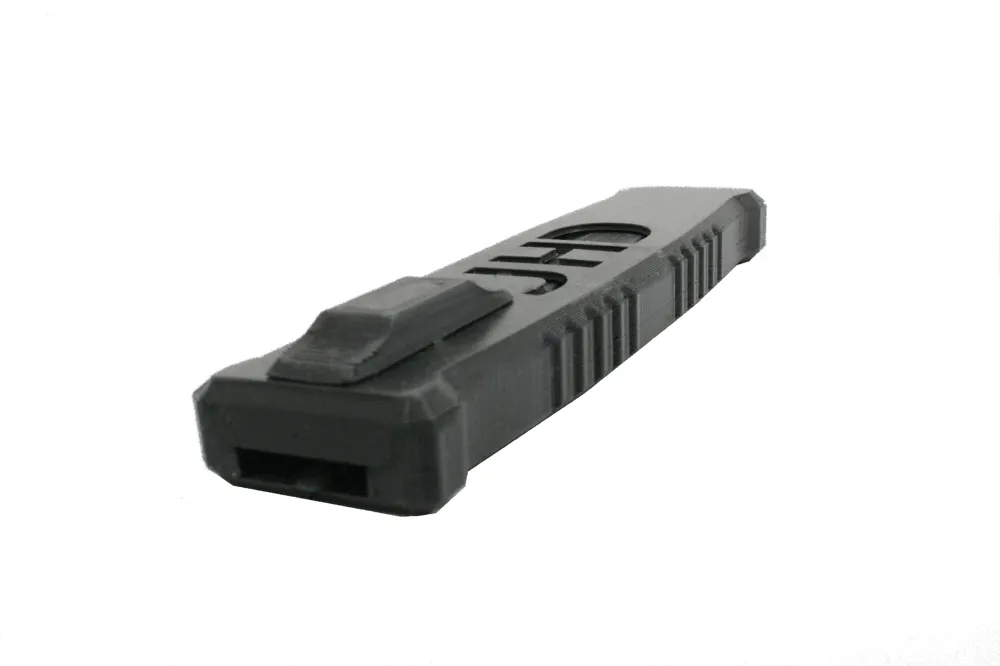
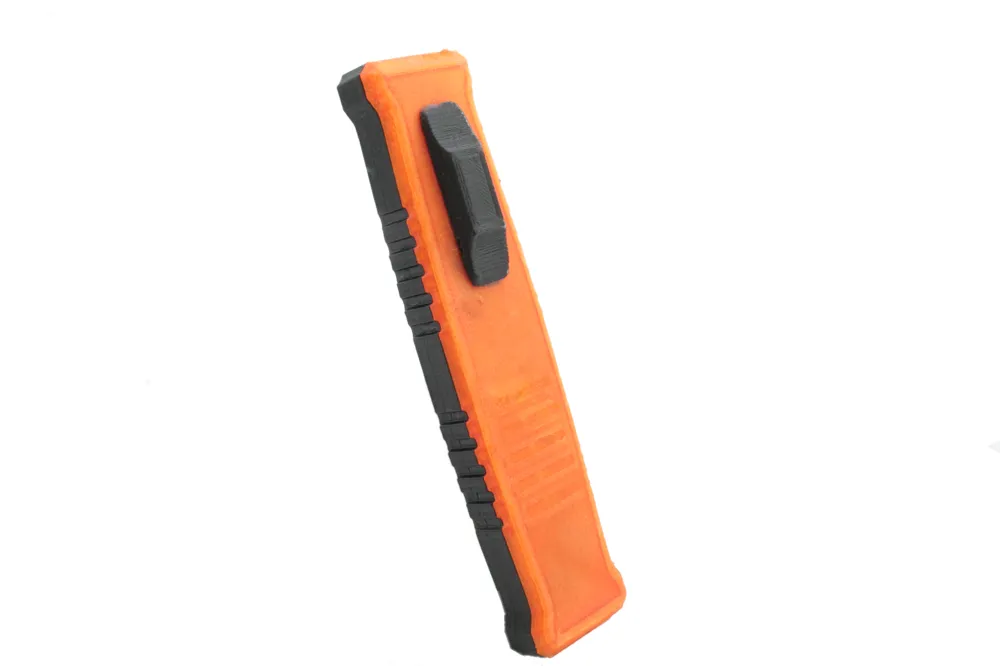
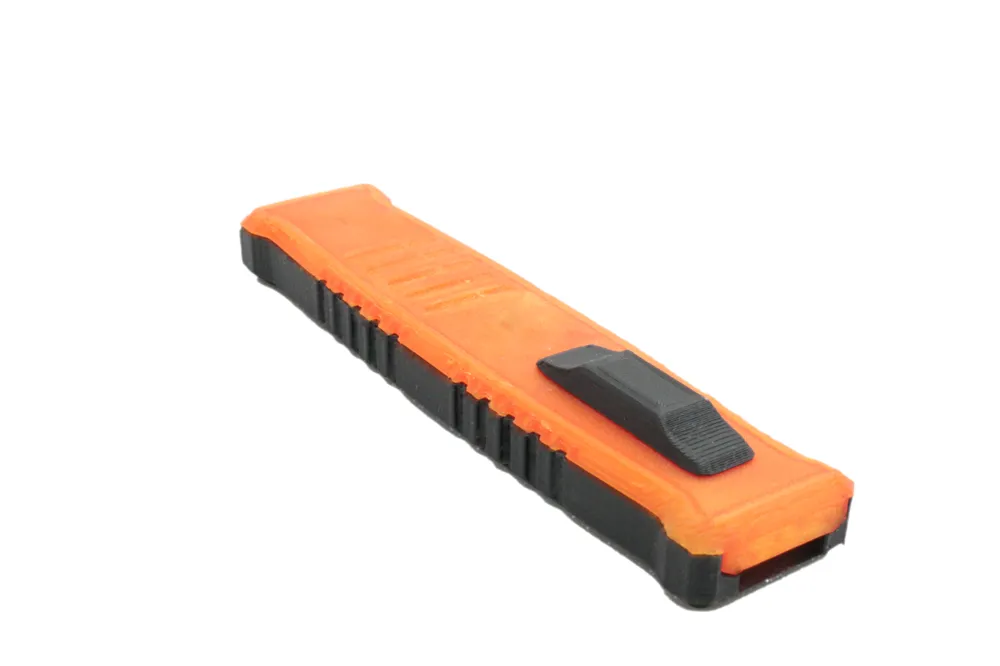
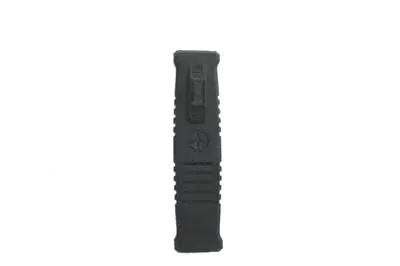
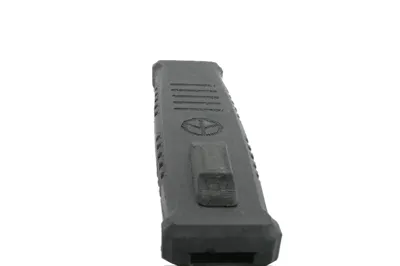
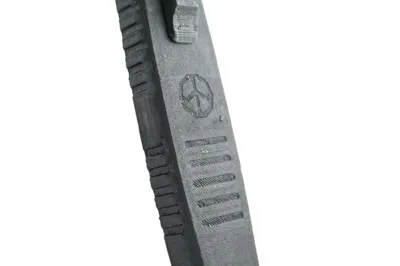
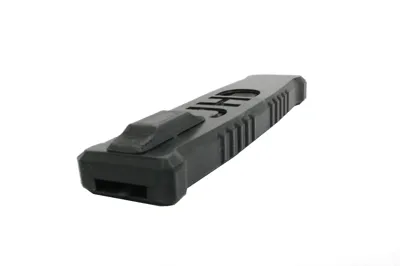
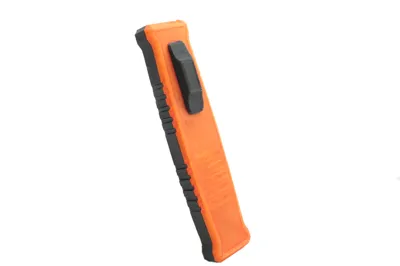
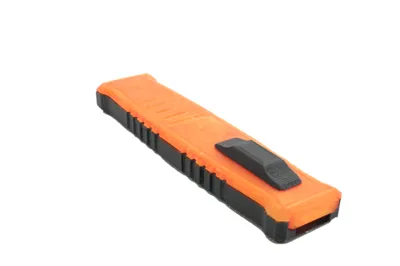
Print Profile(3)



Description
ASSEMBLY:
(VIDEO found at bottom)
Attach both Springs into the Bottom Case
Place Rubber Band/s around the Slider
Place The Blade with the middle in the centre of the Springs so it sticks slightly out
Place The Slider on top of the Springs making sure the springs separate when pushed forward/back
Place The Top Case on the bottom case and click it in
Push the Button over the protruding piece from the Top Case
2023 (V2 (Use) FILES UPLOADED):
I looked back on this project and how Francis_MK3S remixed it to make it even better, I printed the files and realised it only worked after heavy modification so I made my own again, this time its near perfect. The button is tall enough so it cannot interfere with the slider and the blade, the case top slider gap was extended, the slider feet were cut down more, the blade rubber band latch was shortened so it would not be touched by the slider, Finally I added a "Hellhound blade" with the correctly sized latch to the rest of the files if you would rather use that. However for this to work you must print the blade & the springs without any elephants foot whatsoever. You could use a raft as this will mostly fix it.
Remixed from: https://www.thingiverse.com/thing:4394741
the original barely worked and you had to file loads of it down. With this remix you can print all the parts with a very high success rate and not have to do any post-processing apart from assembly.
(assembly video on original thing: https://www.thingiverse.com/thing:4394741 ) however I recommend 2 loombands or ones at that size
PETG works the best, but you can print all of the following parts in PLA successfully:
. Top case
. Bottom case
. Blade
. Button
It works better if you print these parts in PETG:
. Slider
. Springs
All parts explained:
. Case2: the case on the bottom that houses the blade, slider, springs and top case
. Casetop2: top half of the case, goes in-between the button and slider
. Slider: holds a rubber band and moves the springs apart for the blade
. Comb blade: the blade but with a comb so its practical
. Original Blade: pointy blade with sharp edges
. Springs: both go inside the triangular gaps in the bottom case
. Button2: goes on the slider above the top case
Parts that may need changes in the slicer:
. Button - you may need to scale this to ~102% if it doesn't fit well
Assembly Video (Not Owned By Me):




Comment & Rating (56)