
Vertical Rack for Clamshell Boxes
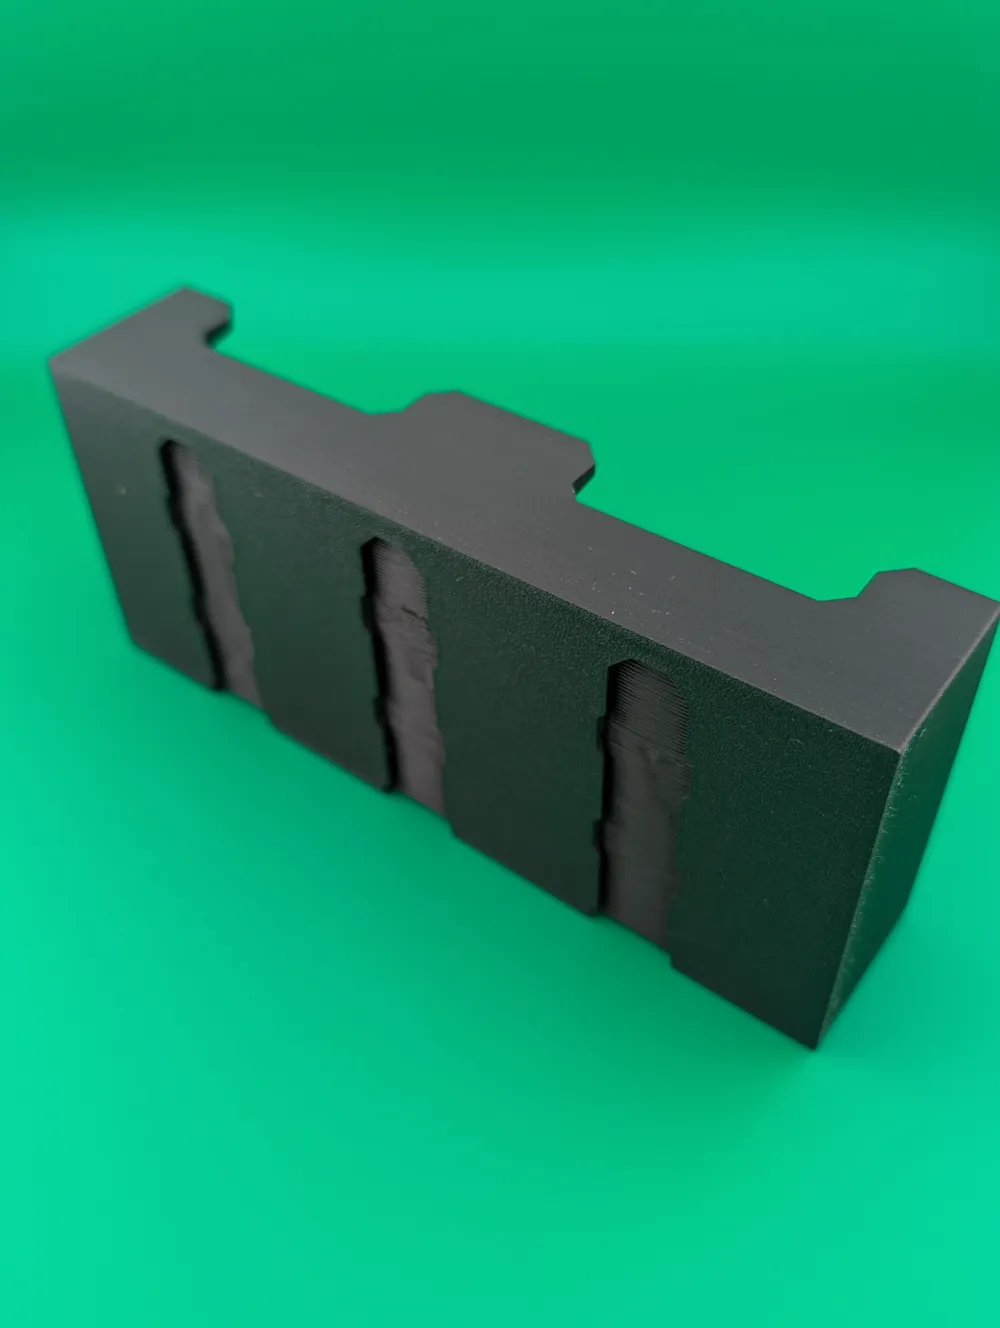
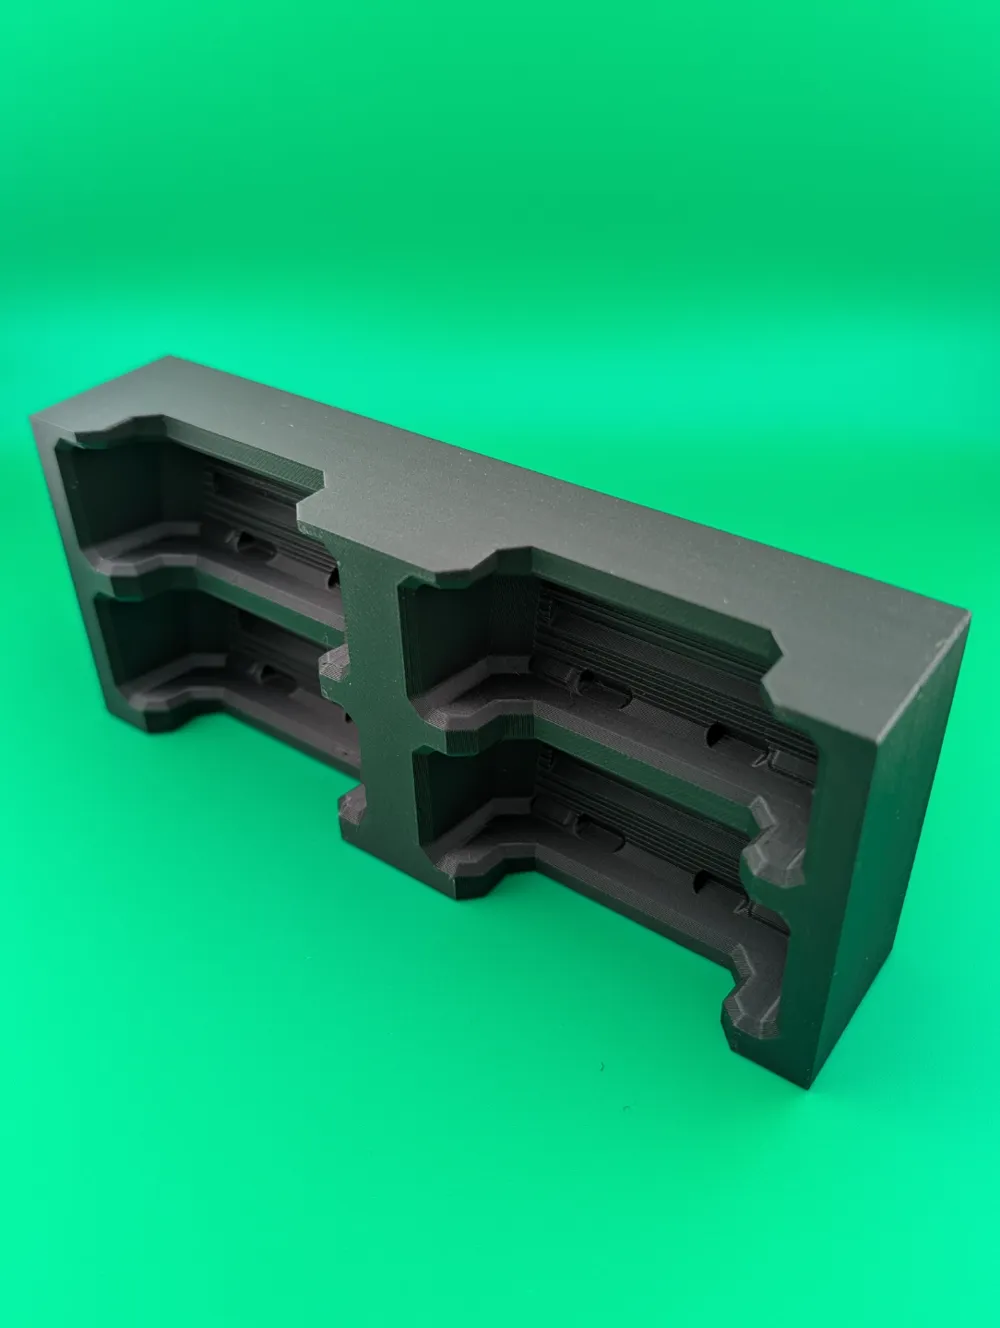
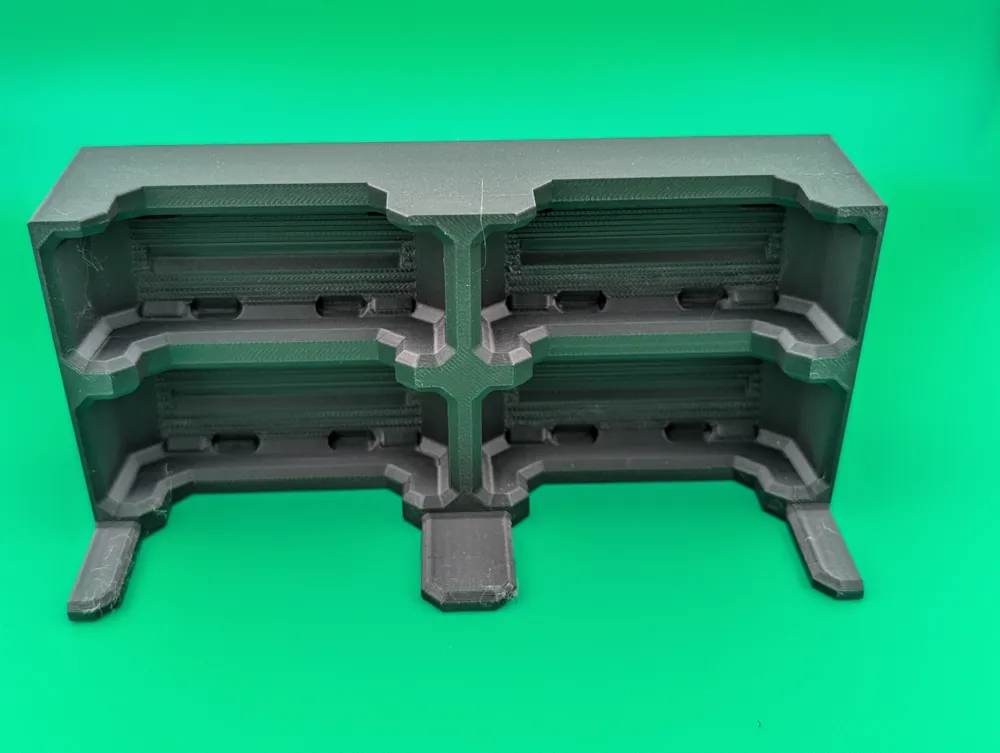
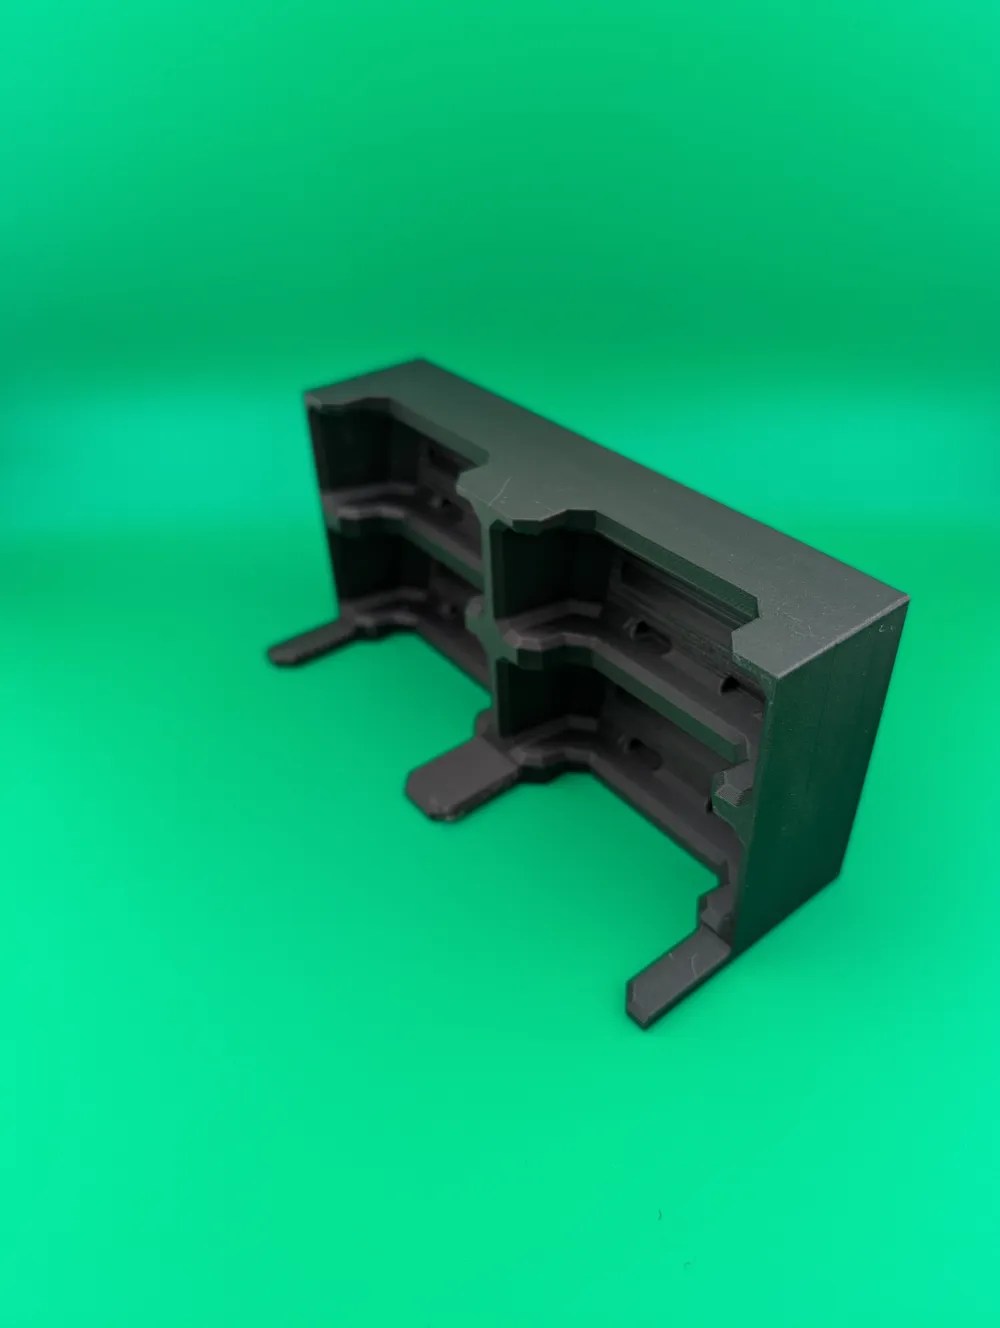

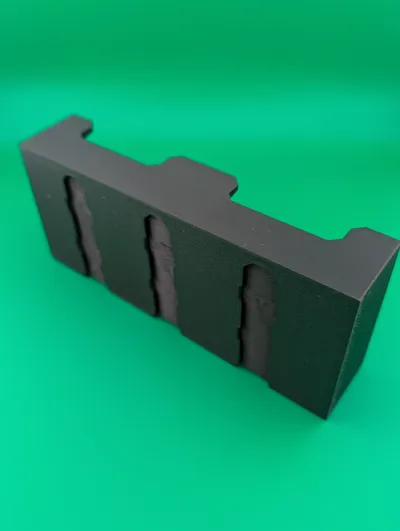
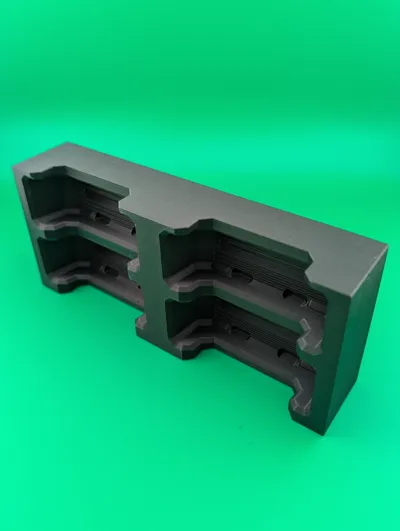
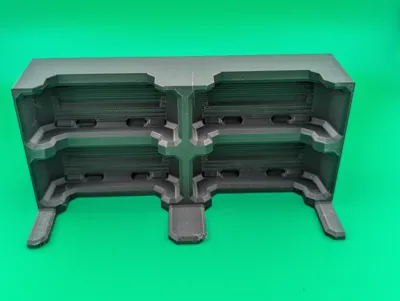
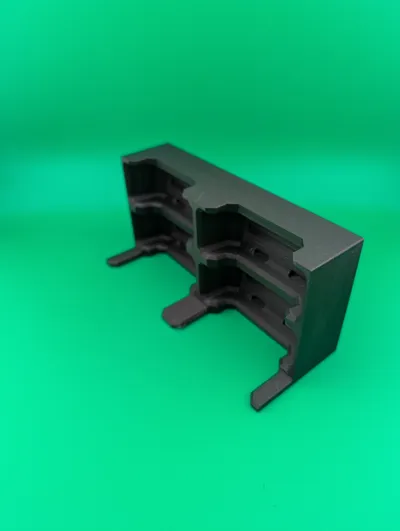
Print Profile(3)



Description
Boost Me (for free)
A boost is a free way for you to show appreciation for my models - and helps me improve my 3D printing setup and experiment with more novel mechanisms to turn into useful tools.
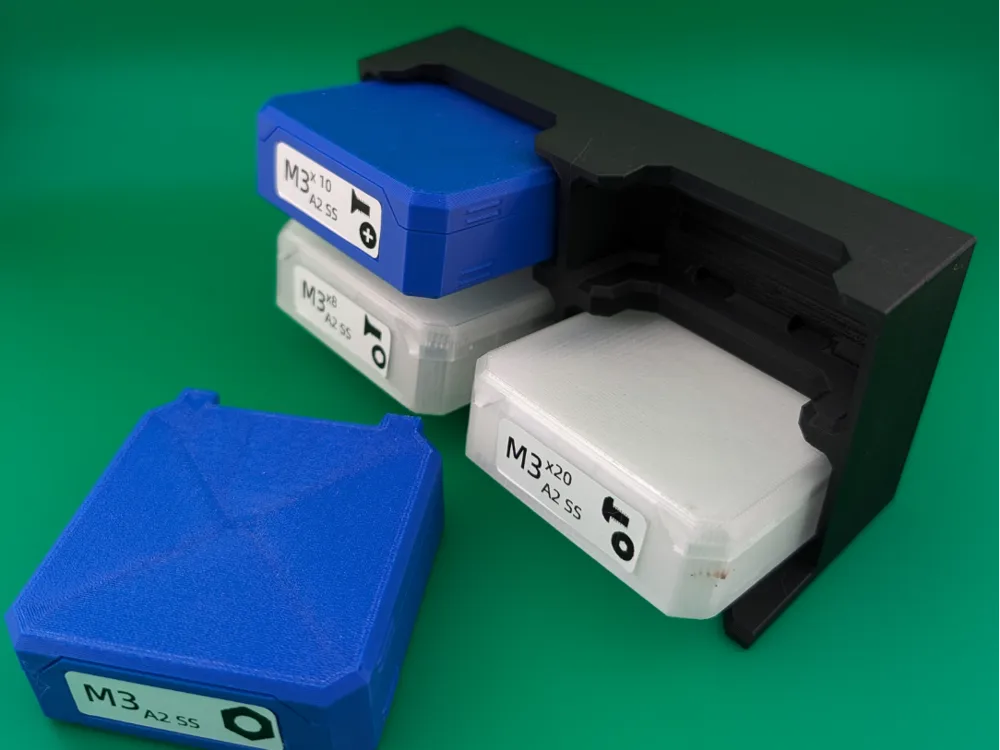
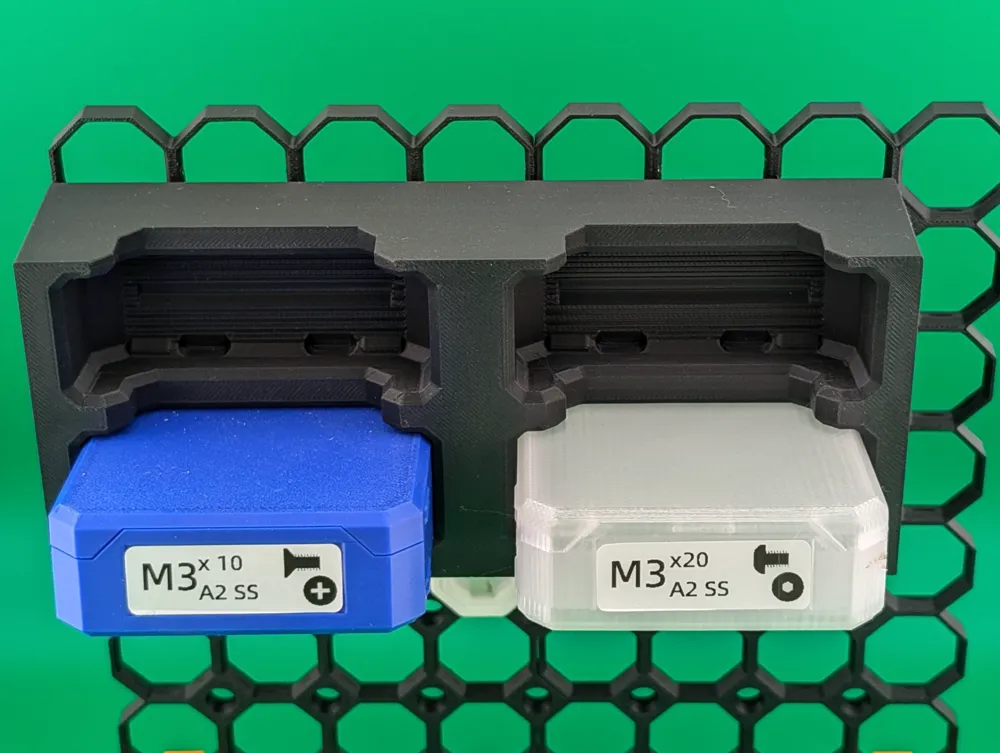
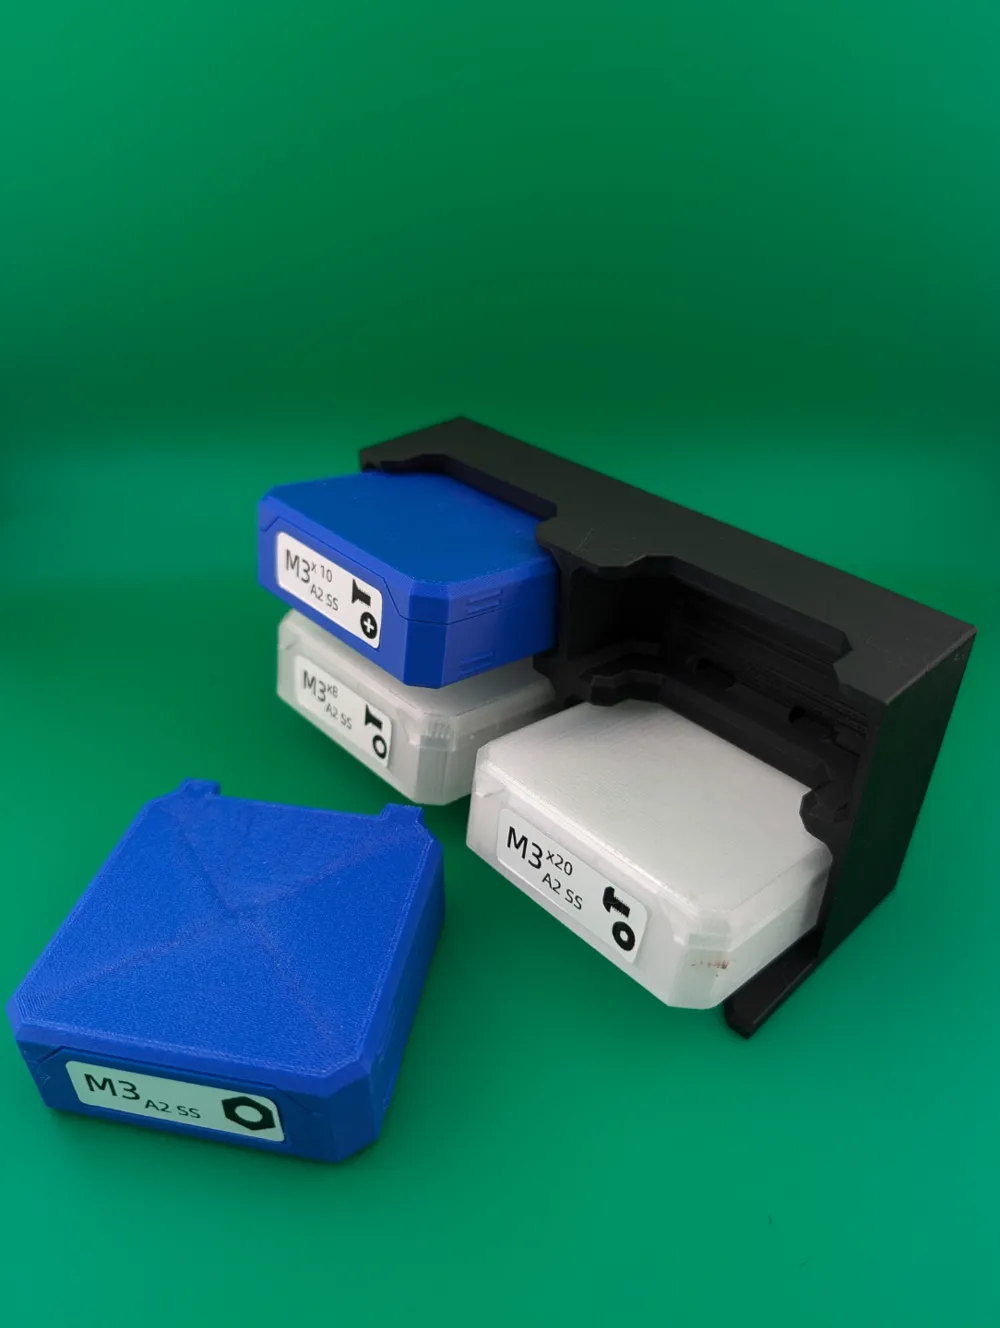
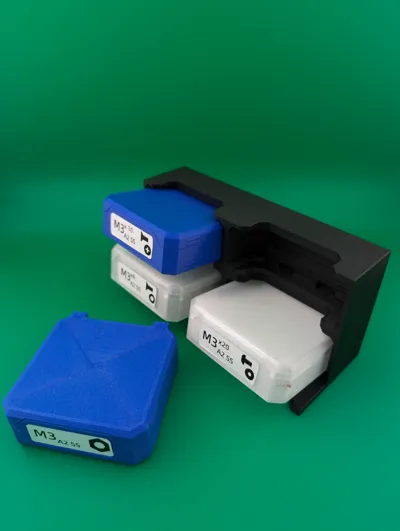
Looking for a way to store and organize your clamshell parts boxes? This organizer lets you store them vertically on your wall or workspace, and comes in over 40 different variants for every combination of size, quantity, and freestanding vs wall-mounted.
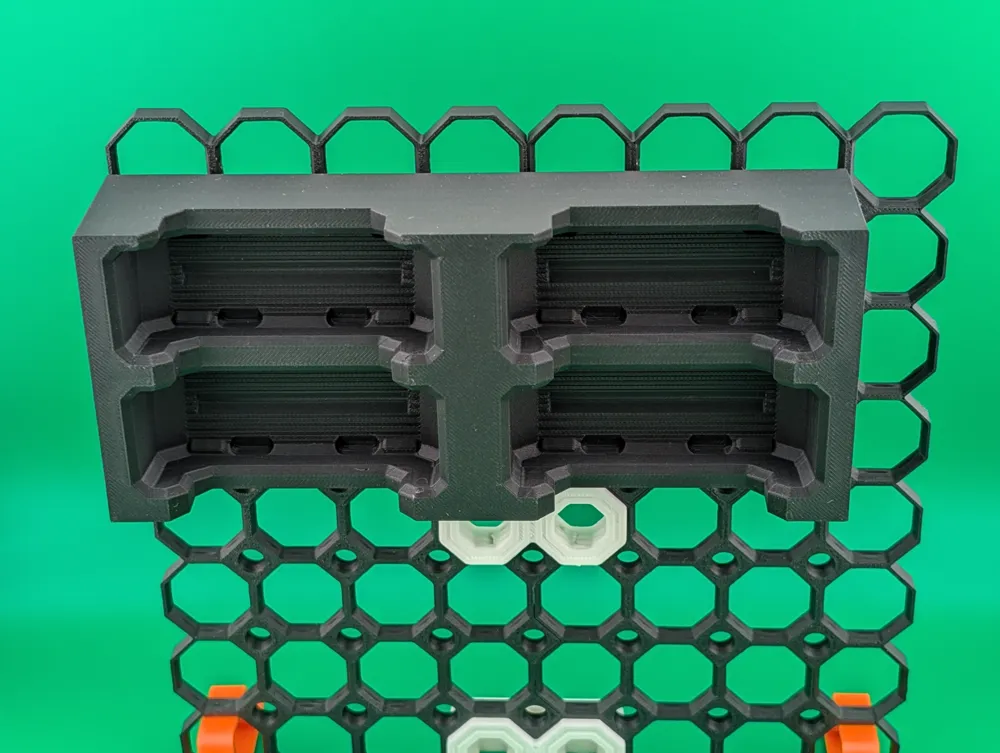
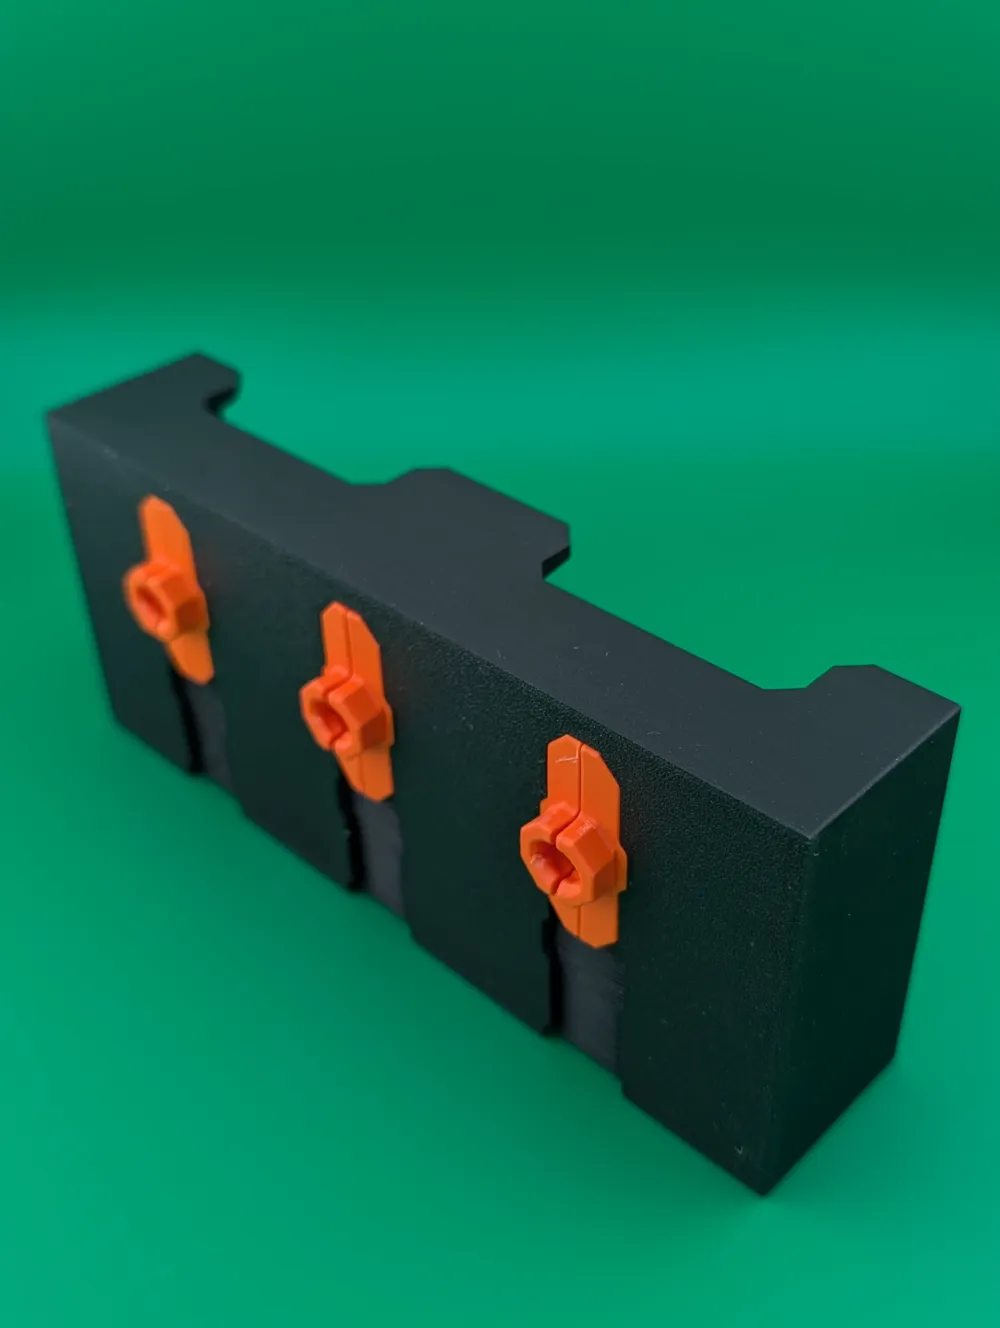
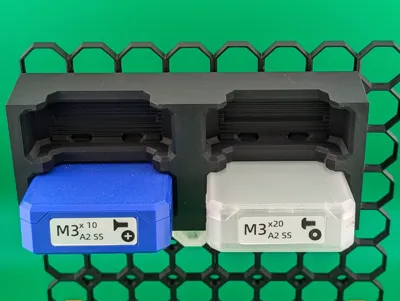
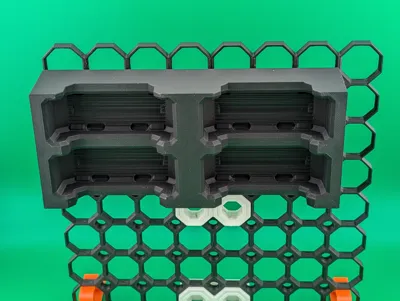
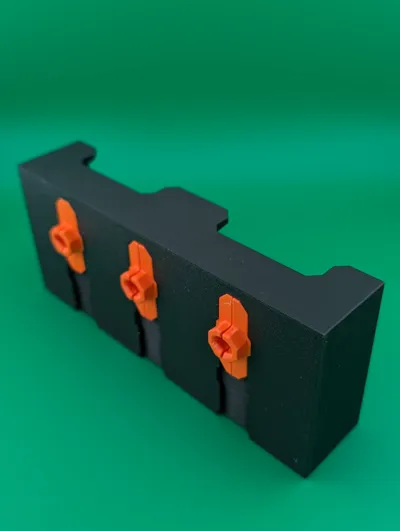
Racks are available in two main types: freestanding, with a support foot at the bottom for stability, and wall mounted, with multiboard rail slots on the back. Variants are provided for each of the clamshell box sizes - standard, extra tall, extra wide, and extra wide extra tall - and in different quantities depending on how many boxes you need to organize.
I've tried to minimize filament usage as much as possible; the largest standard freestanding organizer comes in at about 17 grams per box and the smallest at 23 grams per box (the boxes themselves are 33 grams).
Freestanding Racks
This table summarizes the available sizes for freestanding racks:
| Standard | Extra Tall | Extra Wide | Extra Wide Extra Tall | |
| 1 x 3 |
|
| ⬤ | ⬤ |
| 2 x 2 | ⬤ | ⬤ | ⬤ | ⬤ |
| 2 x 3 | ⬤ | ⬤ | ⬤ | ⬤ |
| 2 x 4 | ⬤ |
| ⬤ | ⬤ |
| 2 x 5 |
|
| ⬤ | ⬤ |
| 2 x 6 |
|
| ⬤ |
|
| 2 x 7 |
|
| ⬤ |
|
| 3 x 3 | ⬤ | ⬤ |
|
|
| 3 x 4 | ⬤ | ⬤ |
|
|
| 3 x 5 | ⬤ | ⬤ |
|
|
| 3 x 6 | ⬤ |
|
|
|
| 3 x 7 | ⬤ |
|
|
|
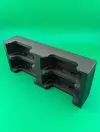
If you're slicing these yourself from the STL files, you will need to first ‘split to parts’; each STL contains two shells. The first shell is the rack itself, while the second shell is a modifier; after splitting you can right click on the modifier in your slicer's object list and choose ‘Change Type’. Select ‘Modifier’ for the type, and set the modifier to 100% rectilinear infill. This costs a tiny amount of extra filament but substantially strengthens the support feet. If you are using the 3mf, this has already been done for you already.
Wall Mount / Multiboard Racks
This table summarizes the available sizes for wall mount / multiboard racks:
| Standard | Extra Tall | Extra Wide | Extra Wide Extra Tall | |
| 1 x 3 |
|
| ⬤ | ⬤ |
| 2 x 2 | ⬤ | ⬤ | ⬤ | ⬤ |
| 2 x 3 | ⬤ | ⬤ | ⬤ | ⬤ |
| 2 x 4 | ⬤ |
| ⬤ | ⬤ |
| 2 x 5 |
|
| ⬤ |
|
| 2 x 6 |
|
| ⬤ |
|
| 3 x 3 | ⬤ | ⬤ |
|
|
| 3 x 4 | ⬤ | ⬤ |
|
|
| 3 x 5 | ⬤ |
|
|
|
| 3 x 6 | ⬤ |
|
|
|
Note that the largest sizes are unavailable; this is due to the extra margin added to make multiboard racks fit neatly together, which makes the largest sizes larger than a standard build plate.
If you're new to multiboard, there's a dizzying number of options for mounting these, so here's a few quick options:
- Print off some Multiboard Tiles and mount them to the wall with the countersink mount. Put these pop-ins into the back of the rack. Use snaps to attach rack and countersinks to the tiles.
- Use multipoint screw-on mounts to put fixing points directly on the wall, and then just slide the bins onto them. You may want to use a jig to get the spacing right.
- Use screw-on rails on the wall, and slot these rail sliders onto the racks. Similar result to the above, but less worry about getting spacing right.
- Use these pop-ins on the back of the racks so you can mount them directly to any standard pegboard.
This is far from an exhaustive list - the system is extremely versatile. Take a look at multiboard.io for more mounting options.
License



Comment & Rating (207)