
Ultimate Filament Spool Cabinet - Dehumidifier DIY
Print Profile(1)

Description
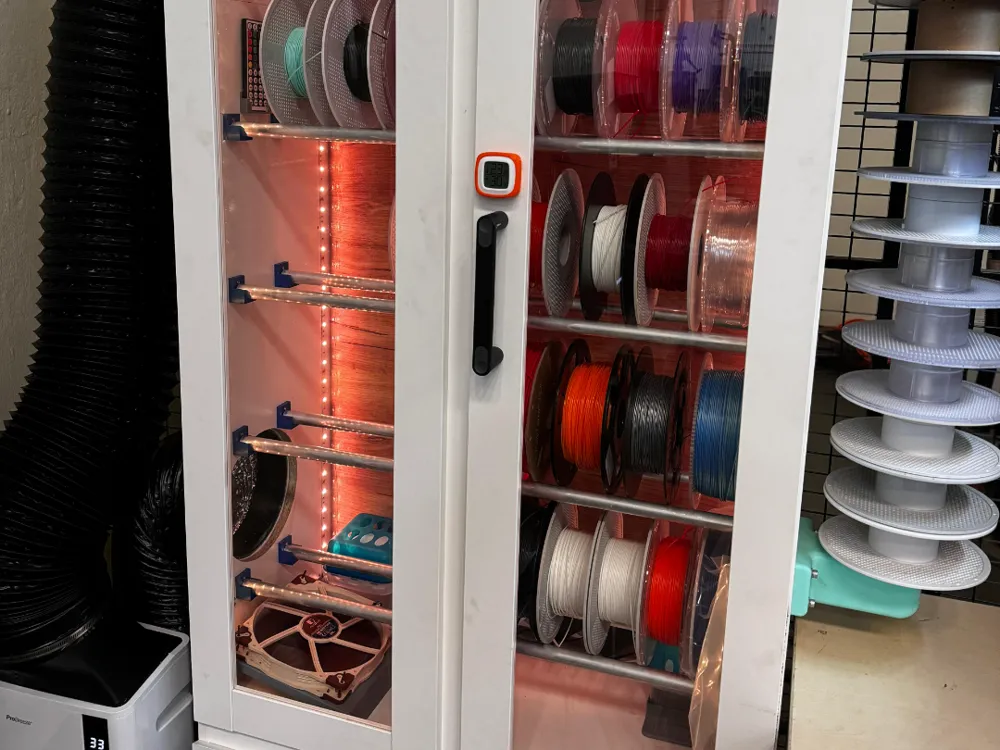
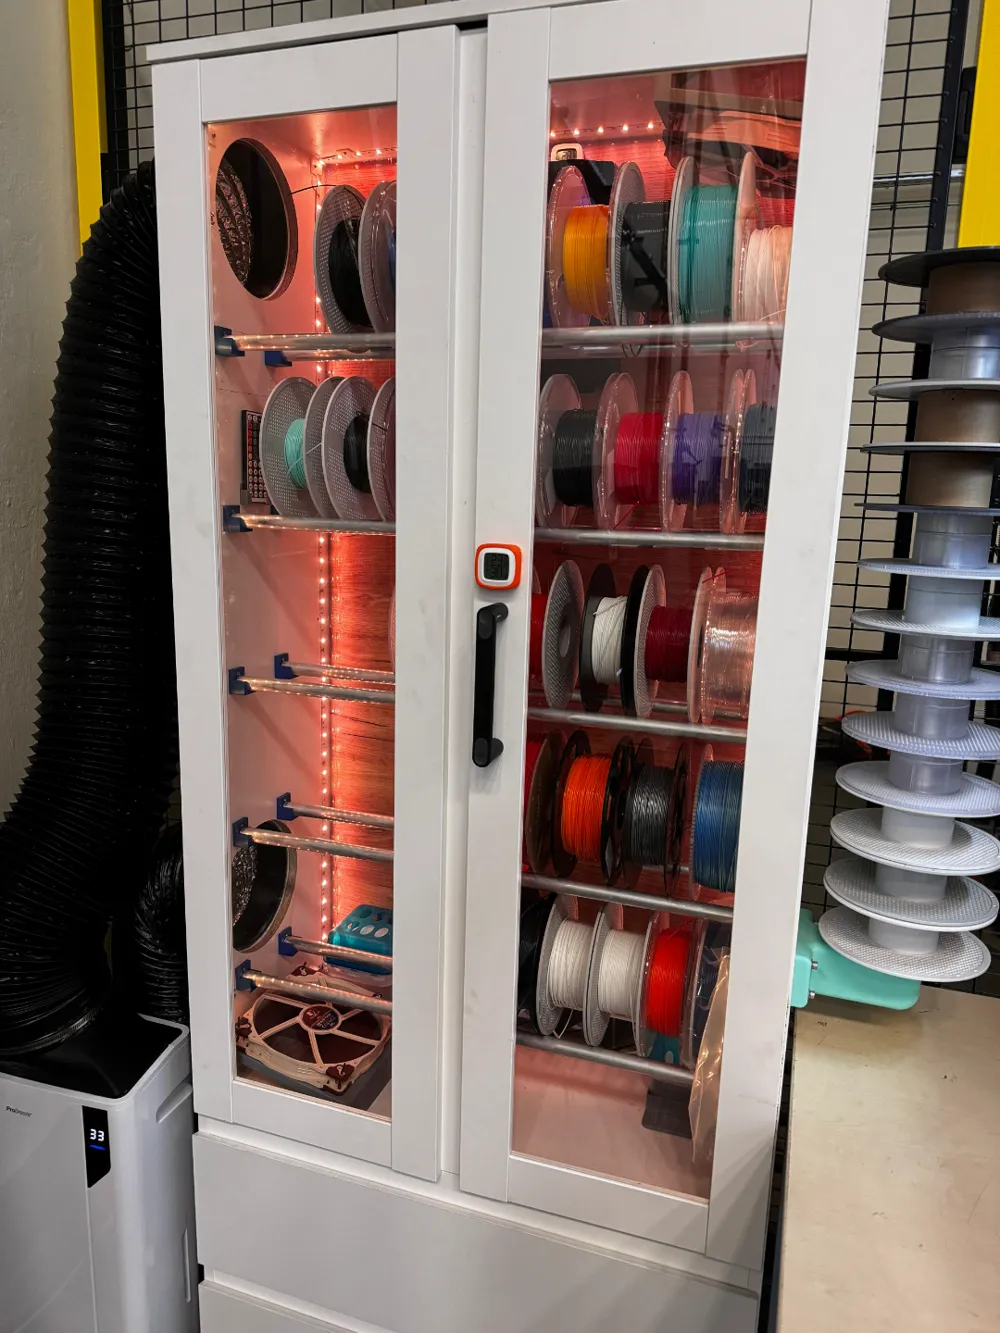
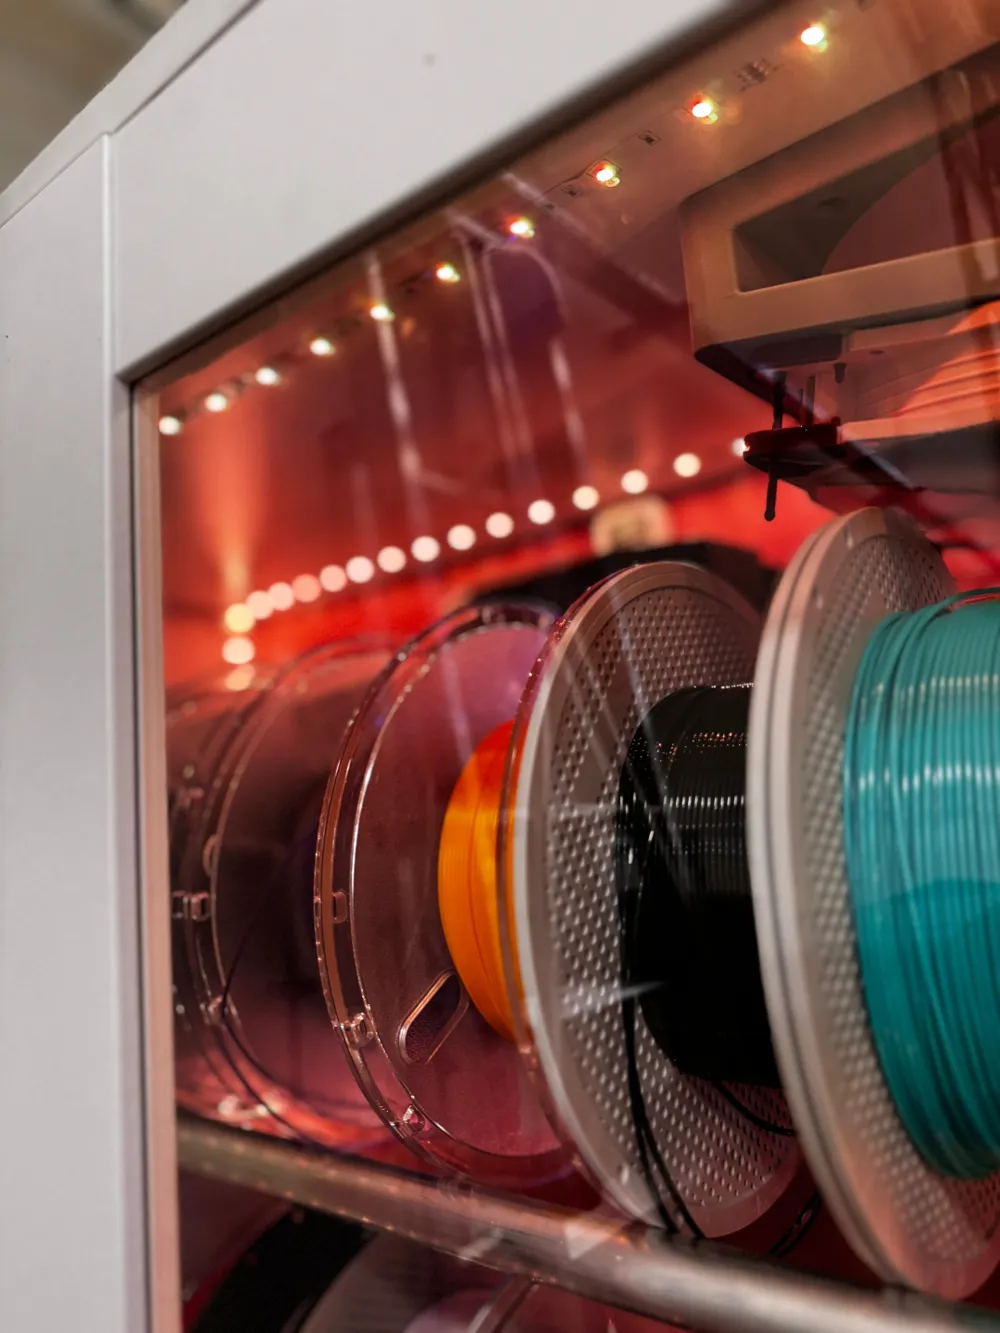
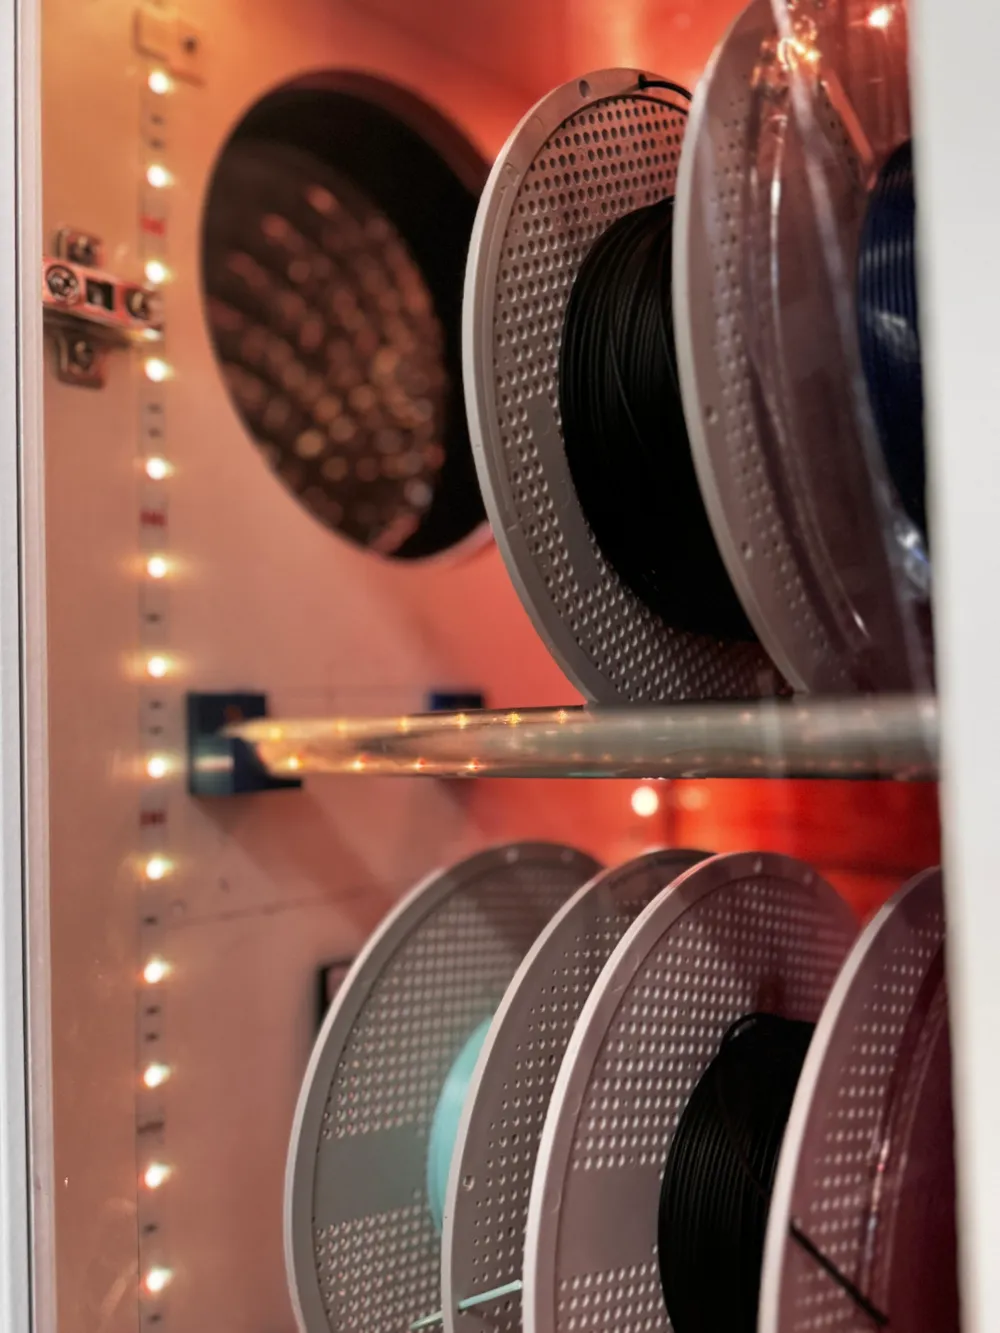
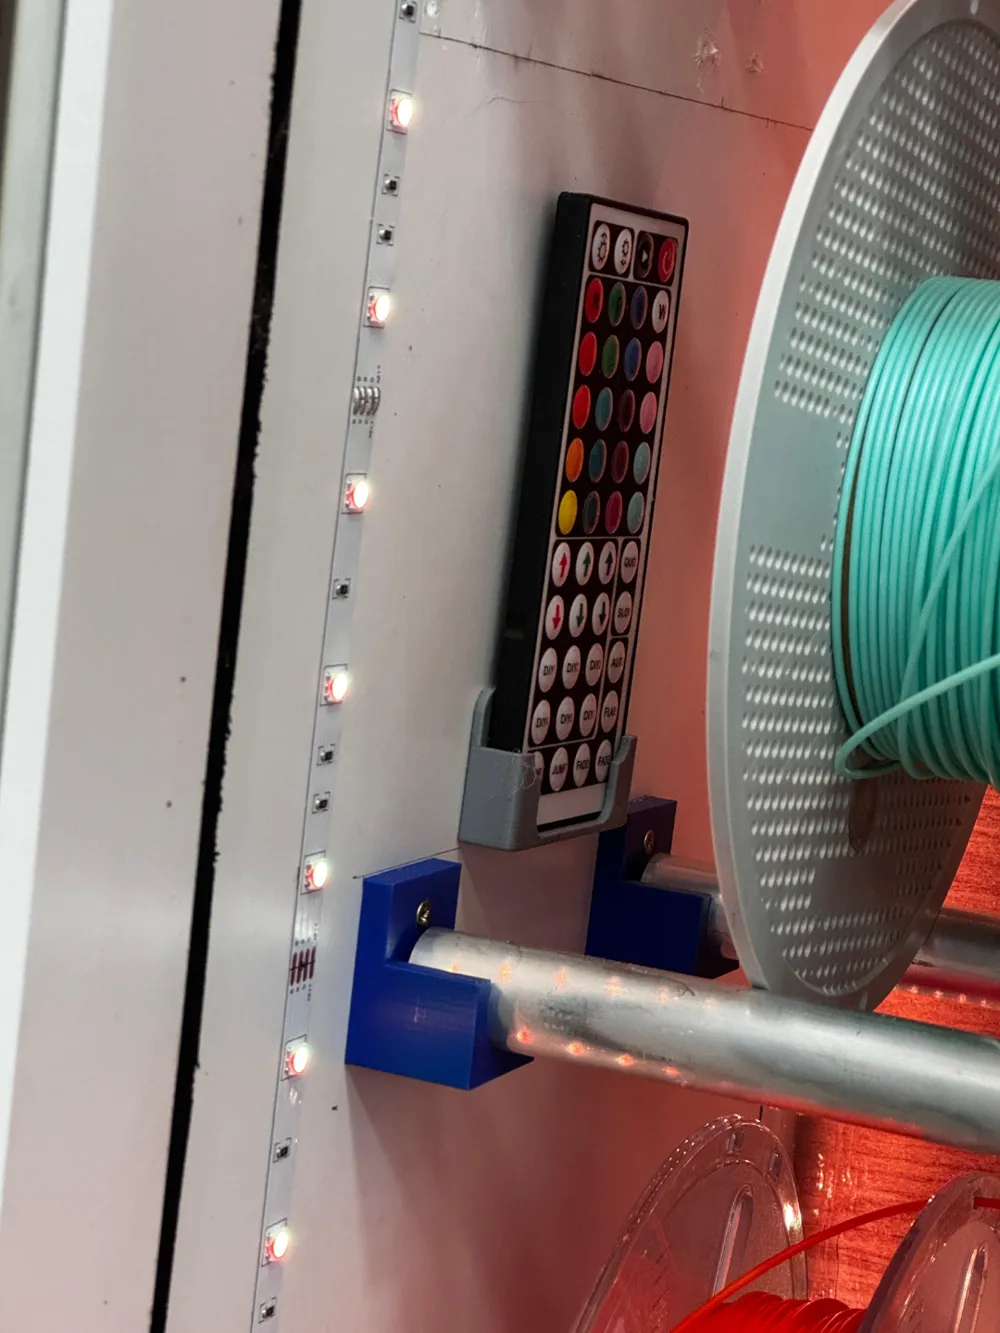
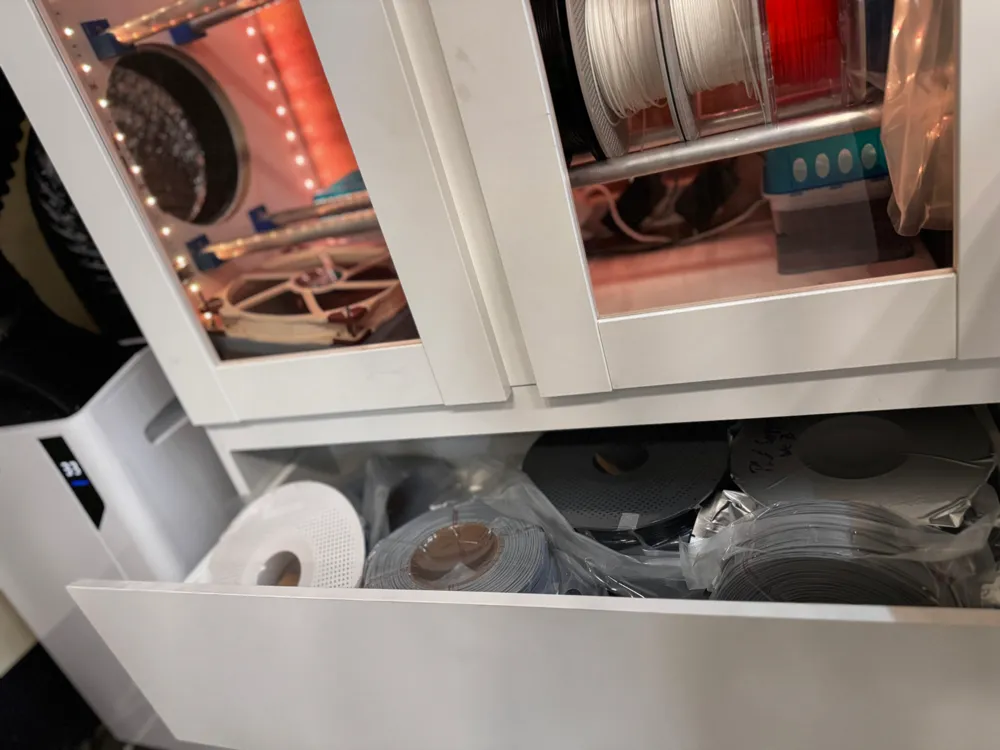
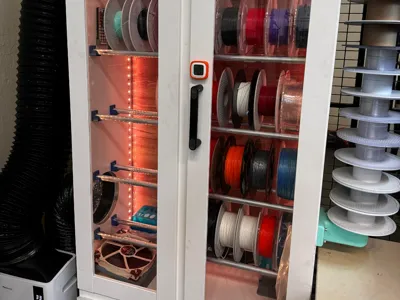
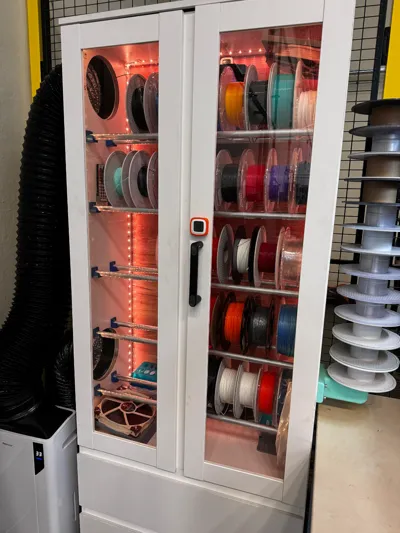
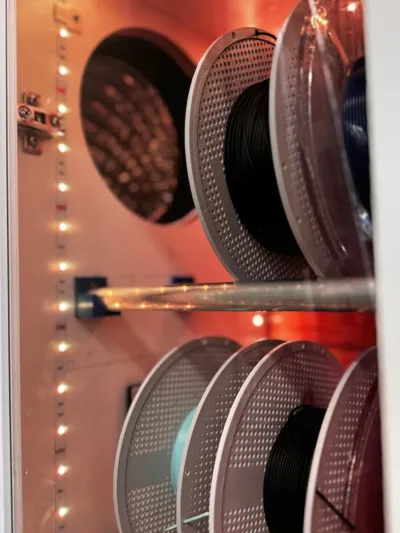
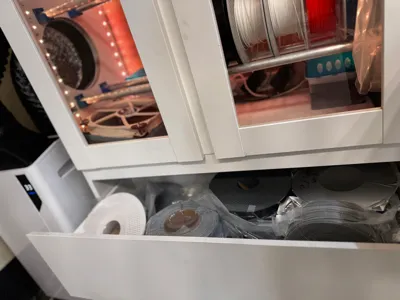
This is my own Filament Spool Cabinet Storage and Dehumidifier that I built for myself.
NOW ADDED THE SHOPPINGLIST FOR EASY BUY! (SEE DOCUMENTATION)
Pre-built versions in this size can cost anywhere from €2,000 to €4,000, so I designed and DIYed my own for around €900. While €900 is still a significant investment, this is essentially the “ultimate” version. You can easily create your own for considerably less.
For example, you don’t need the Noctua fans or LED lights, and you can use a smaller cabinet. With those adjustments, you can get the cost down to €600-€700 when buying new materials, or even cheaper if you already have some items lying around.
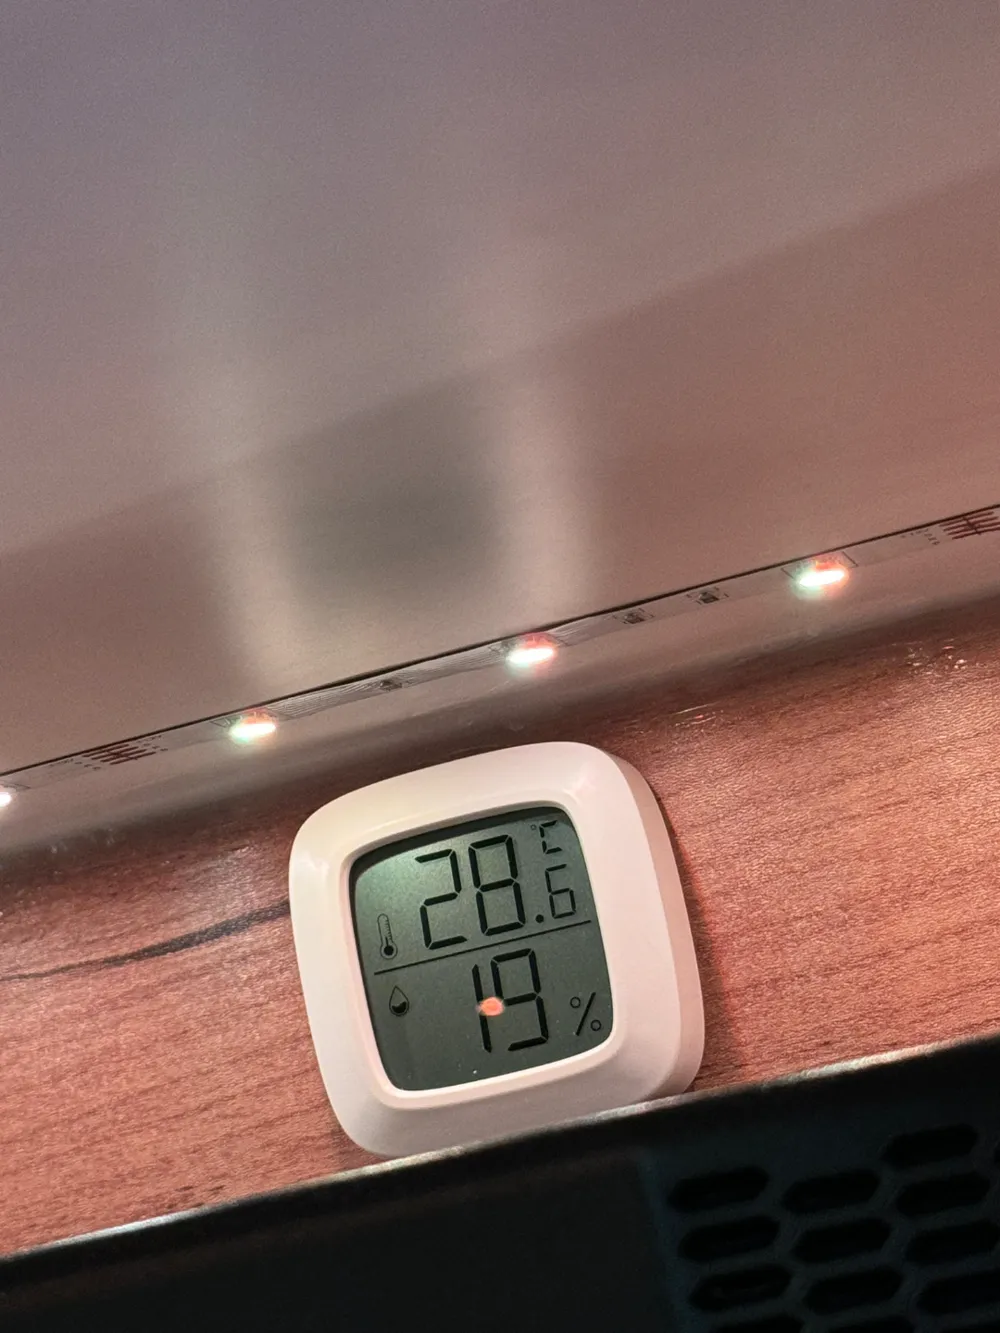
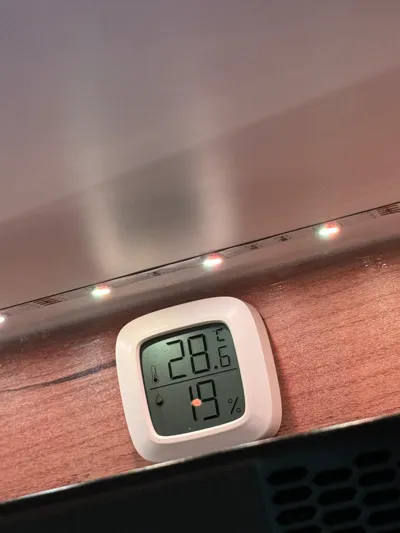
My cabinet now maintains around 15% humidity, ensuring that my filament stays dry and ready for use.
Boost Me (for free)
A heart for a boost <3. I appreciate it!
Build Details
I’m providing all the STL files and resources you’ll need to build your own cabinet. With proper curing time and all parts ready, it’s a great weekend project. Keep in mind, some parts are quite large and not the easiest to print, but with my X1C and A1, I had no issues.
Materials and Parts
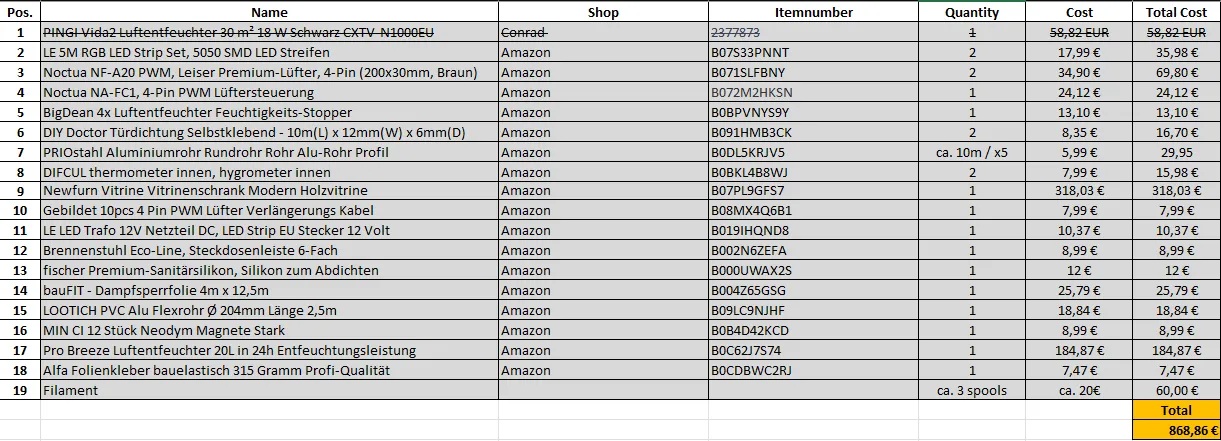
You’ll find the complete list of parts I bought from Amazon and those shown in the photos within the documentation.
Step-by-Step Build Process (My Version)
- Assemble the cabinet itself.
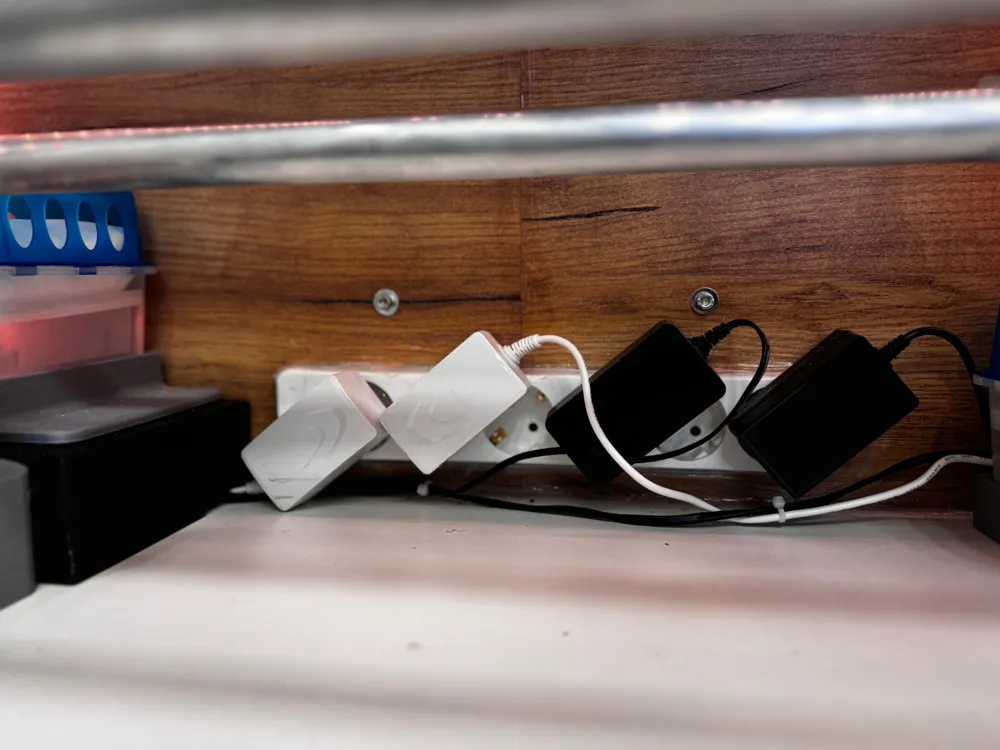
- Cut out an area in the back for the power strip.
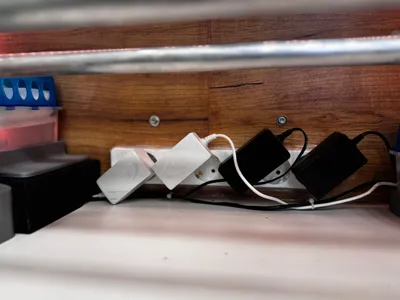
- Insert the power strip and add the power strip holder to keep it secure.
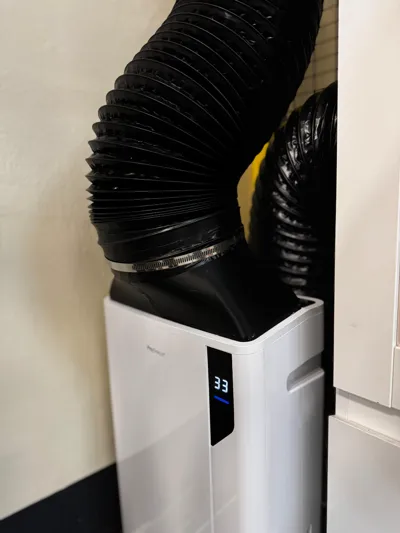
- Cut two holes on the sides for the external dehumidifier.
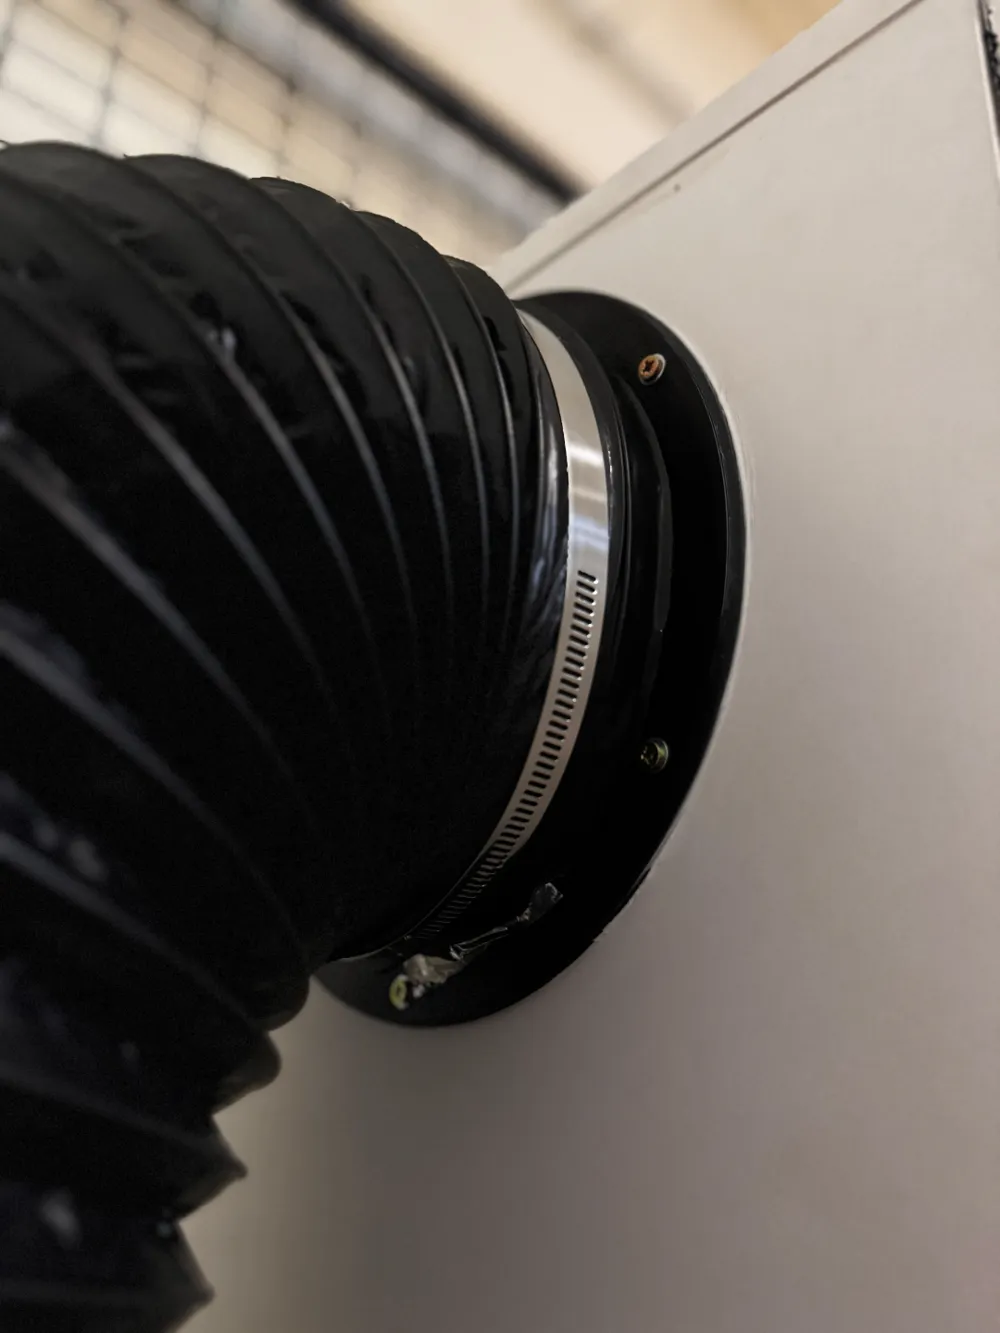
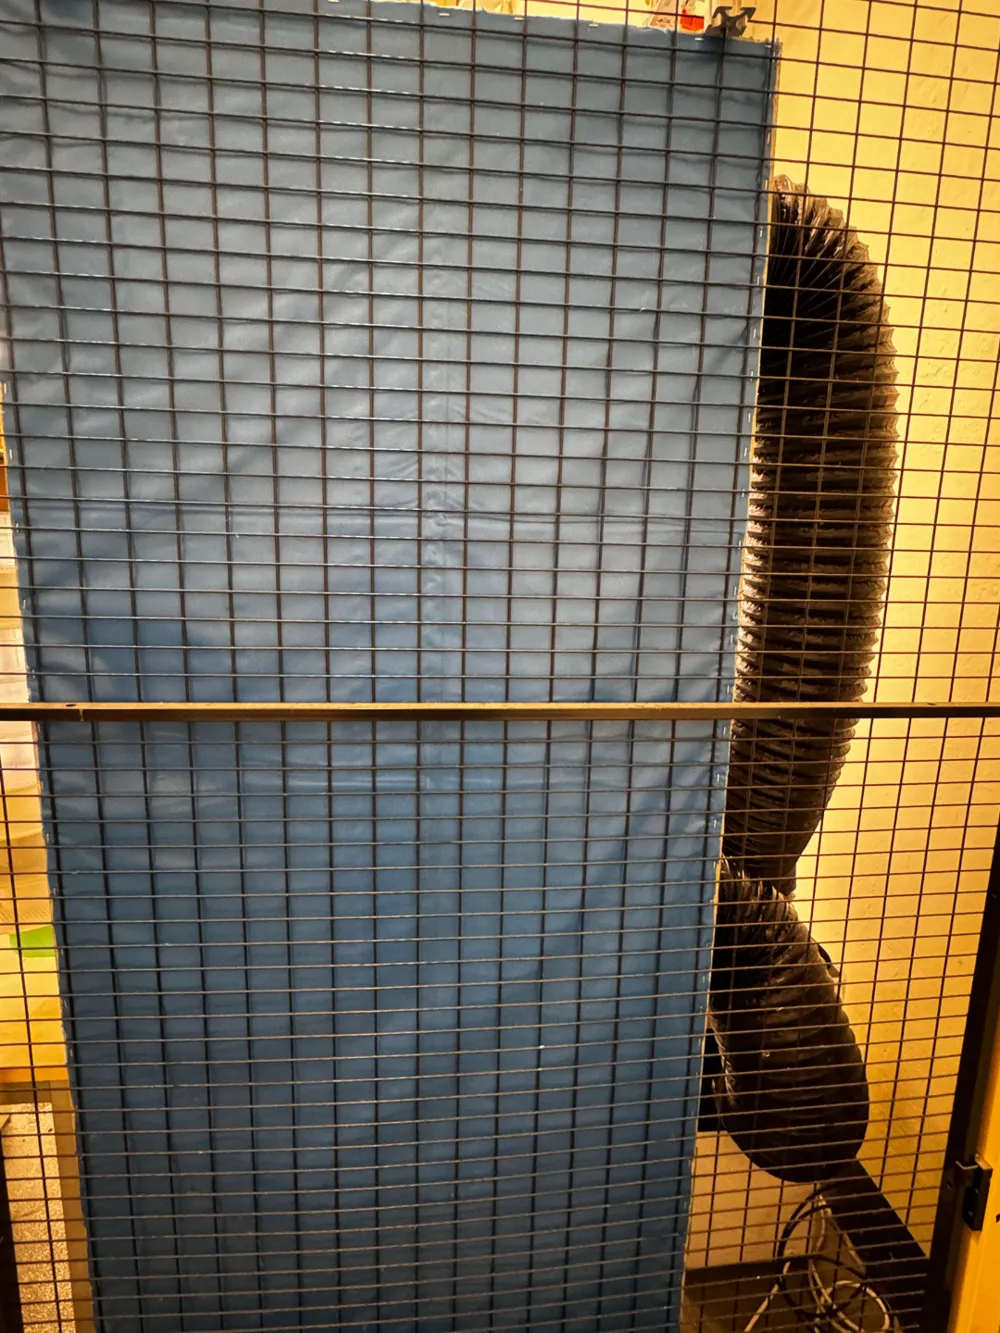
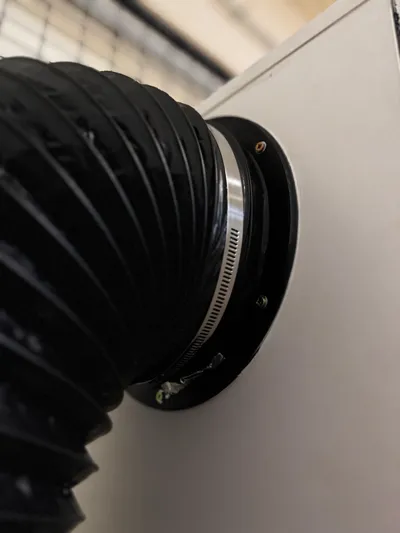
- Clean off any debris and mount the two warm hose adapters.
- Use silicone to glue the power strip and warm hose adapters in place, sealing any gaps.
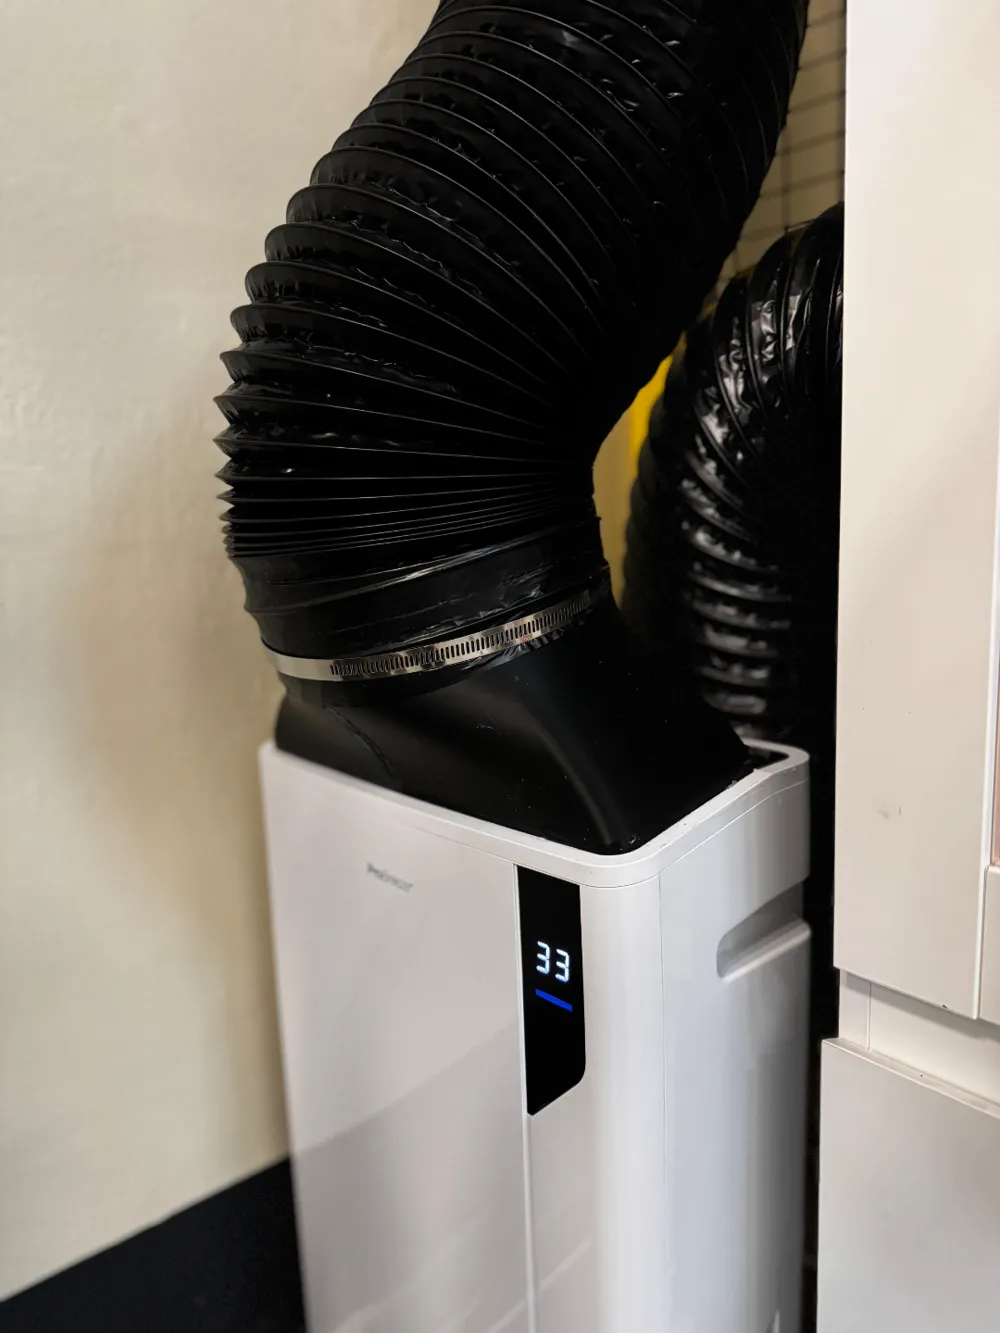
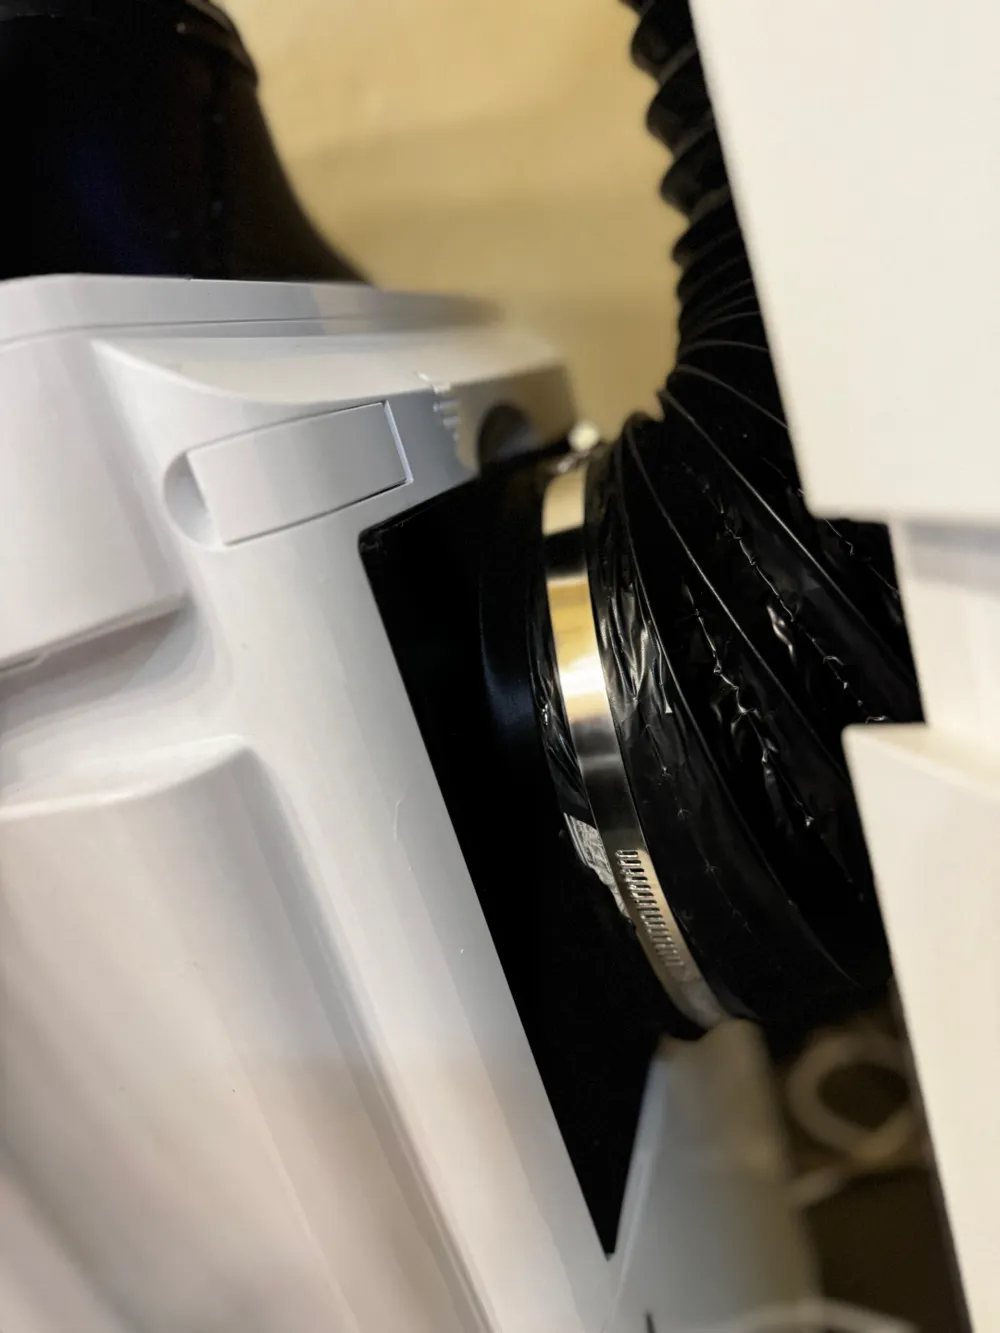
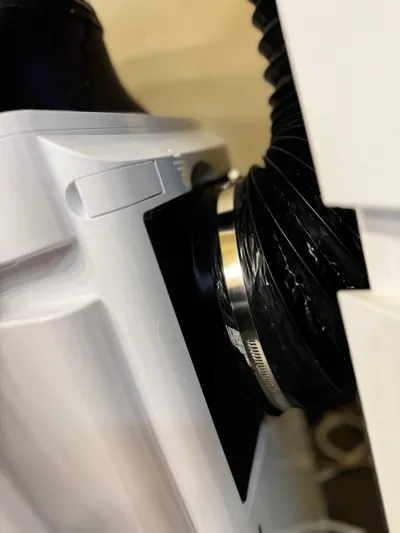
- Apply silicone to the dehumidifier to attach the back and top adapters for the warm hose.
- Use silicone around the cabinet—excluding the doors—to seal all possible air gaps.
- Let it dry for 24 hours and test if the power strip still works.
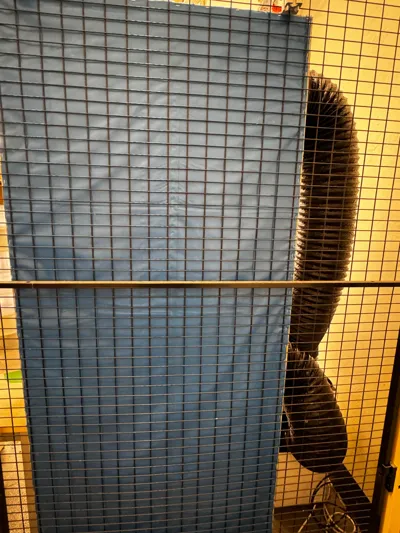
- Cut the vapor barrier foil slightly larger than the back and staple it in place, using foil adhesive for additional security.
- Let the foil adhesive dry for 24 hours.
- Attach the door seals around the edges, top, bottom, and center to ensure an airtight seal.
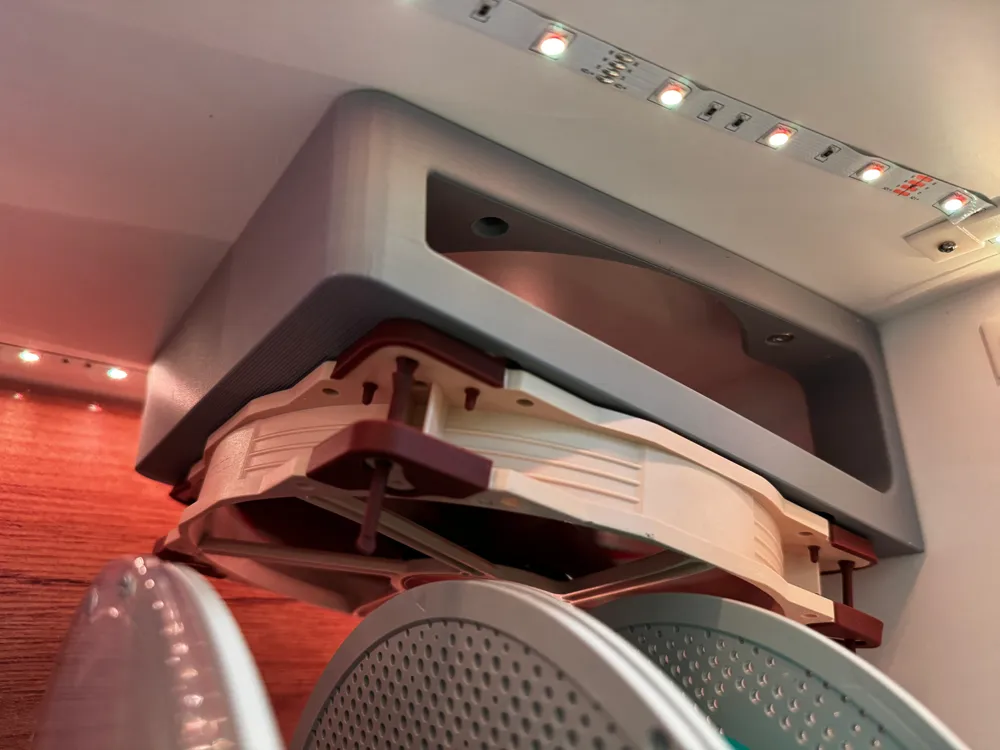
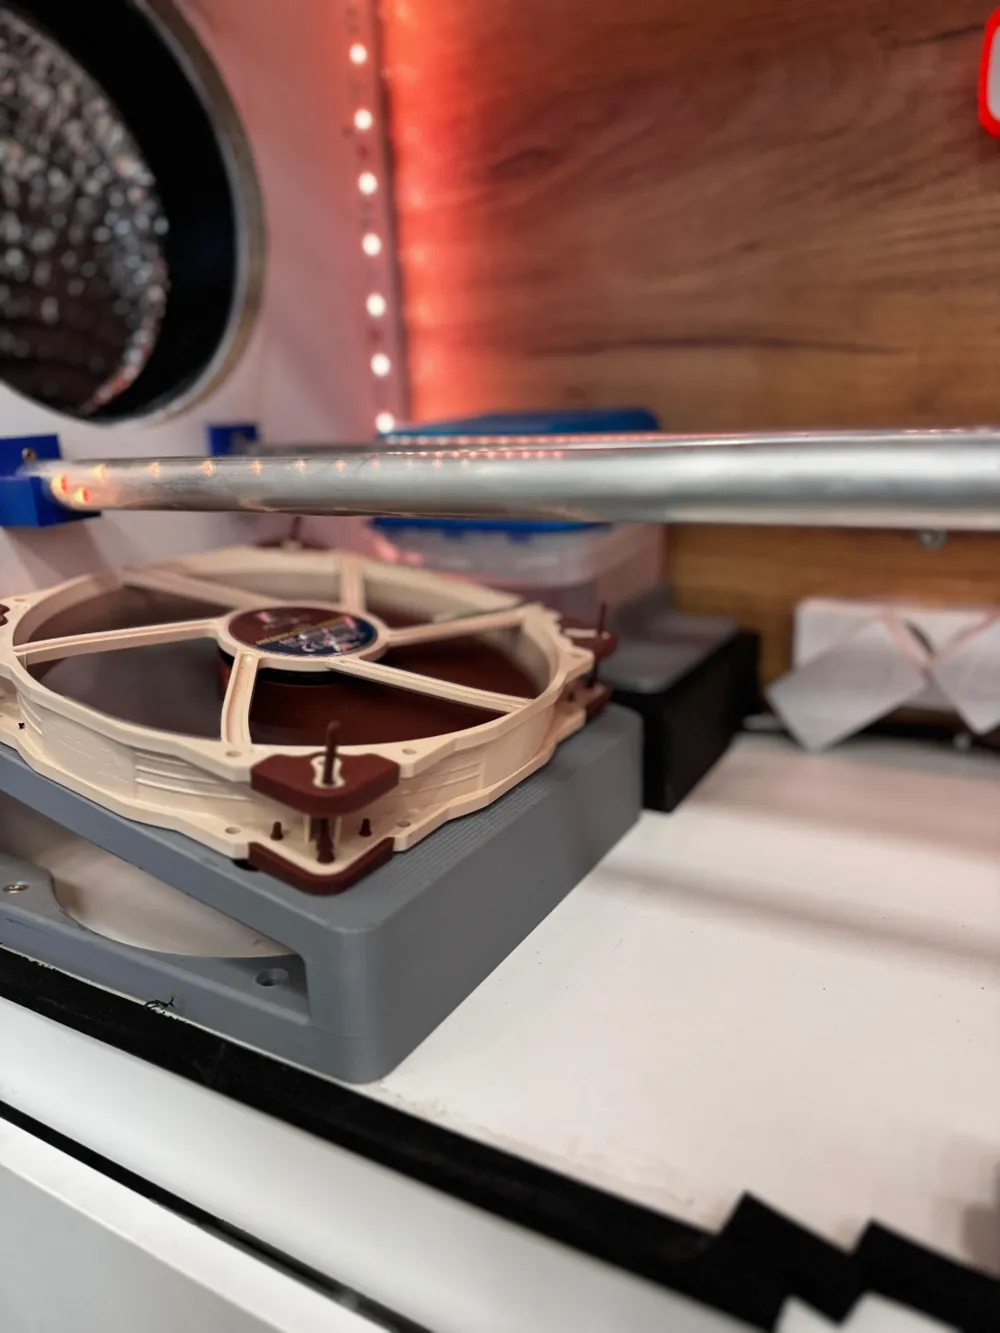
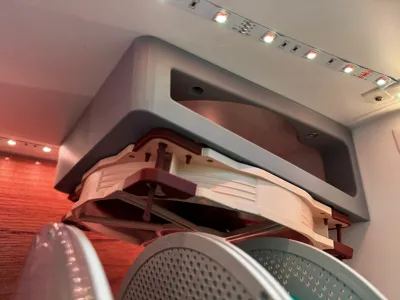
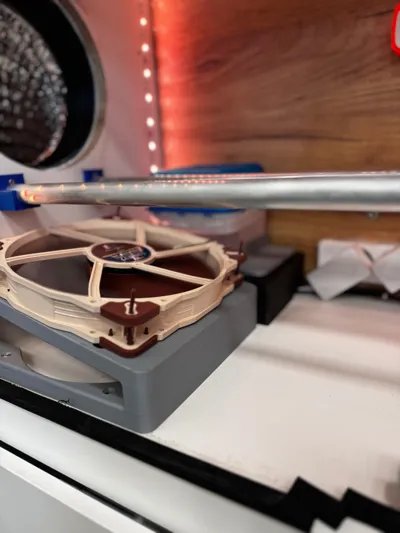
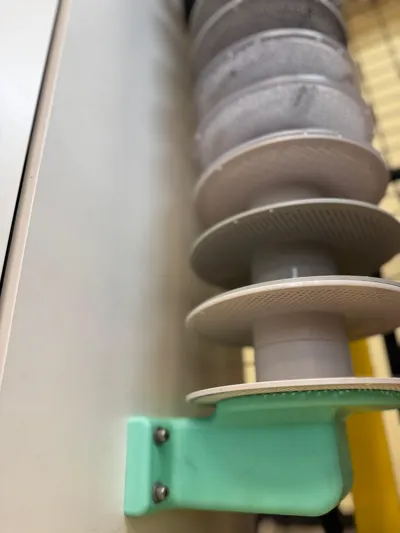
- Mount the Noctua fan holders in the corners.
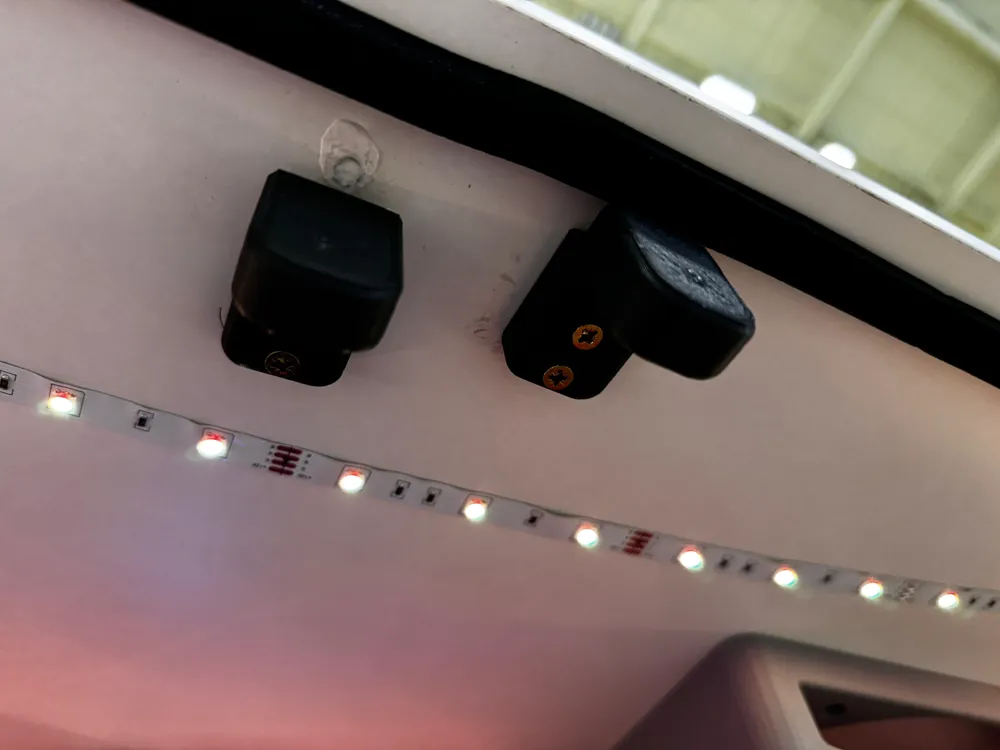
- Install magnet mounts for the doors.
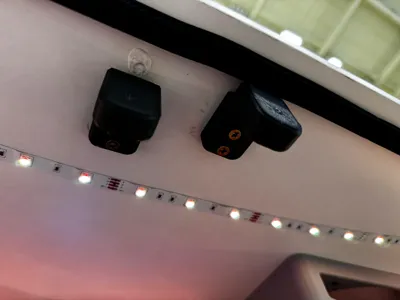
- Attach the thermometer holders inside and outside.
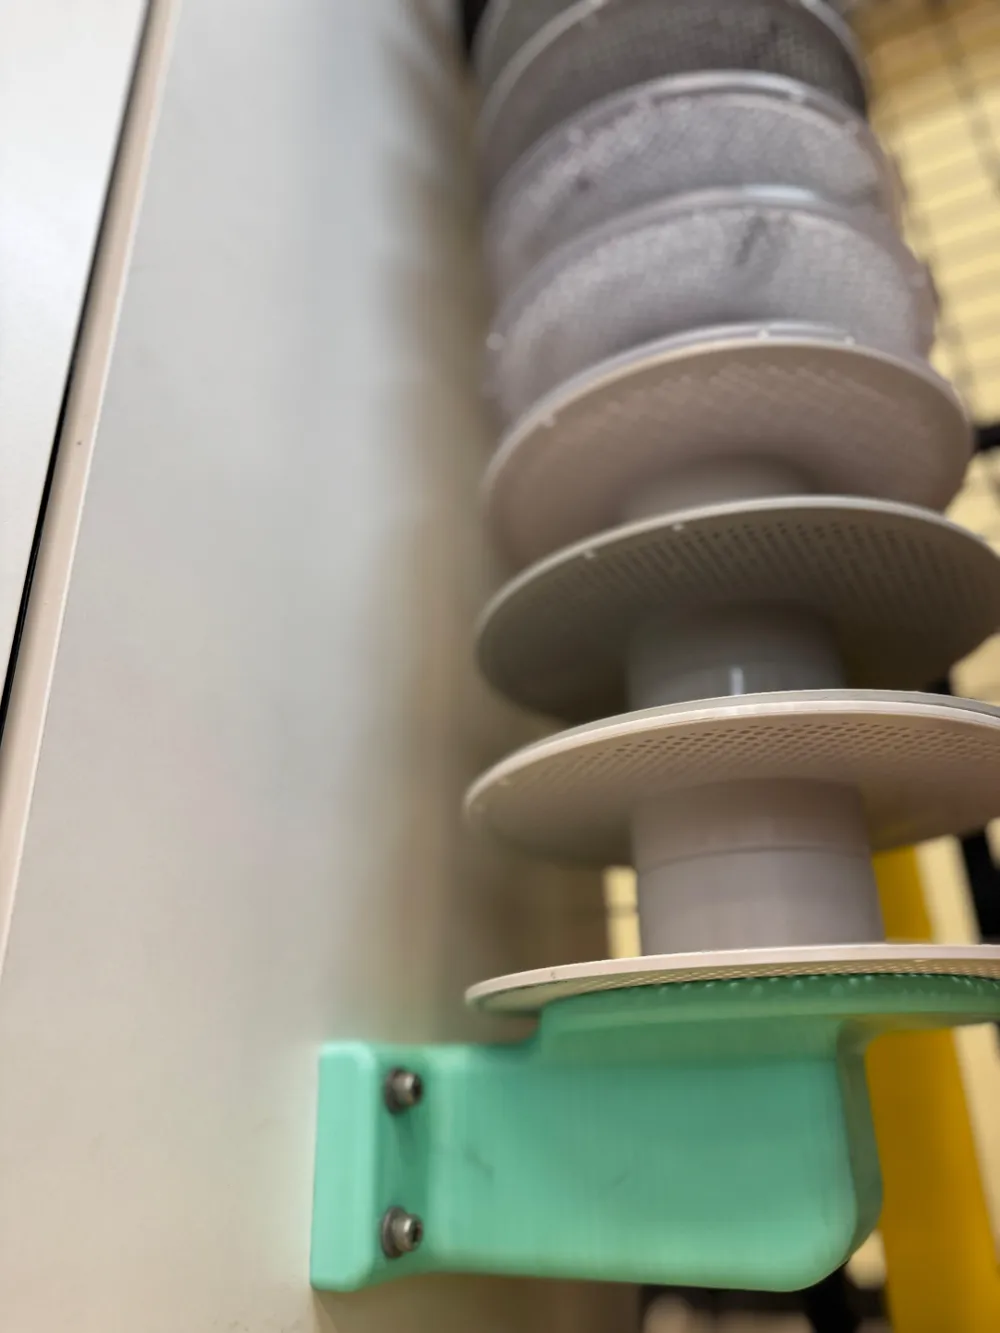
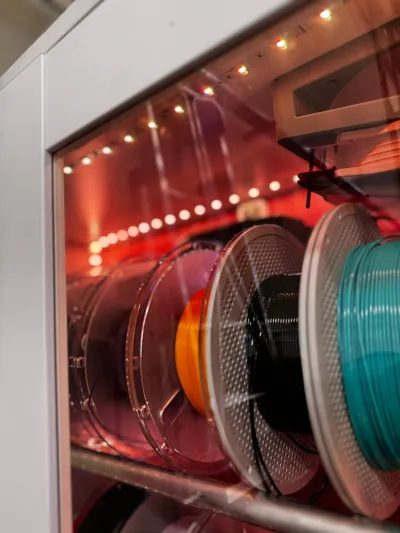
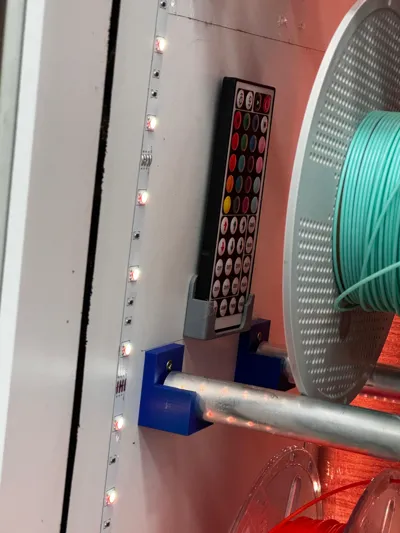
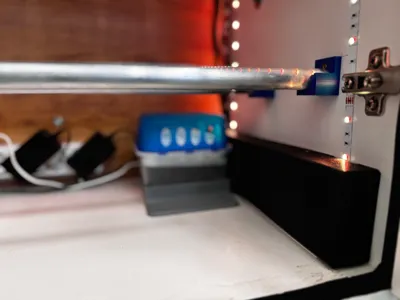
- Insert the spool holder and aluminum tube.
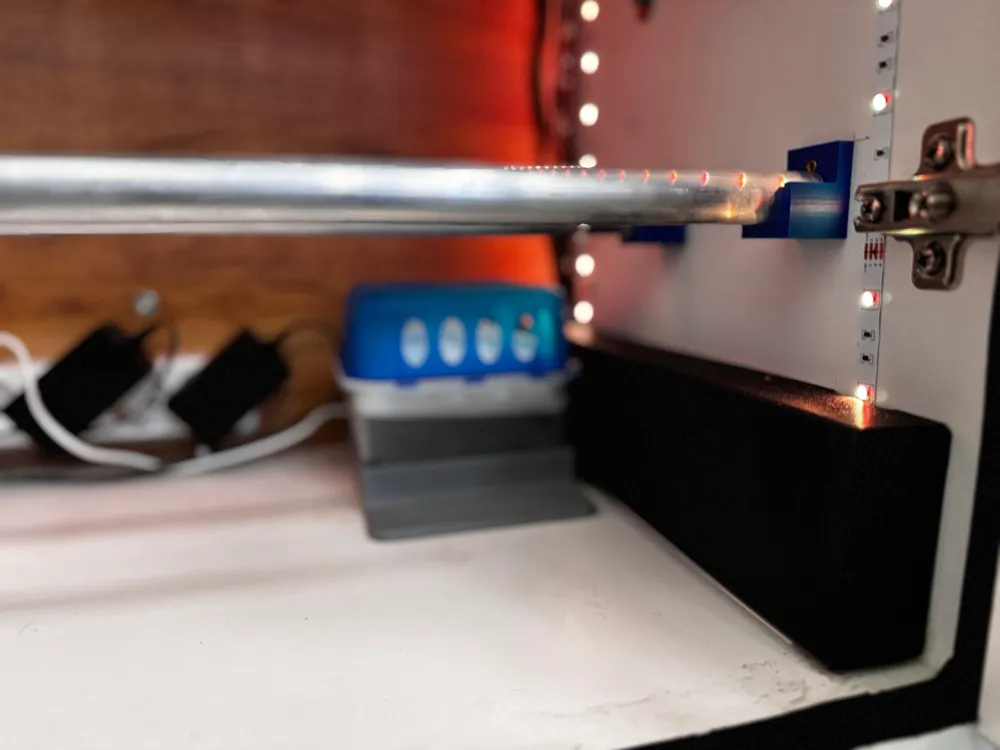
- Mount the aluminum tube holders inside the cabinet. I used five rows and 20 mounts in total.
- Insert the aluminum tubes.
- Install the LED strips.
- Cover the cables with cable covers.
Attach the warm air hose to the dehumidifier.
And that’s it! You’re done. Enjoy your new cabinet and say goodbye to moisture-compromised filament.
Share Your Builds
I’d love to see your completed cabinets and hear your feedback!
Happy printing!
Documentation (2)
License

You shall not share, sub-license, sell, rent, host, transfer, or distribute in any way the digital or 3D printed versions of this object, nor any other derivative work of this object in its digital or physical format (including - but not limited to - remixes of this object, and hosting on other digital platforms). The objects may not be used without permission in any way whatsoever in which you charge money, or collect fees.


Comment & Rating (20)