
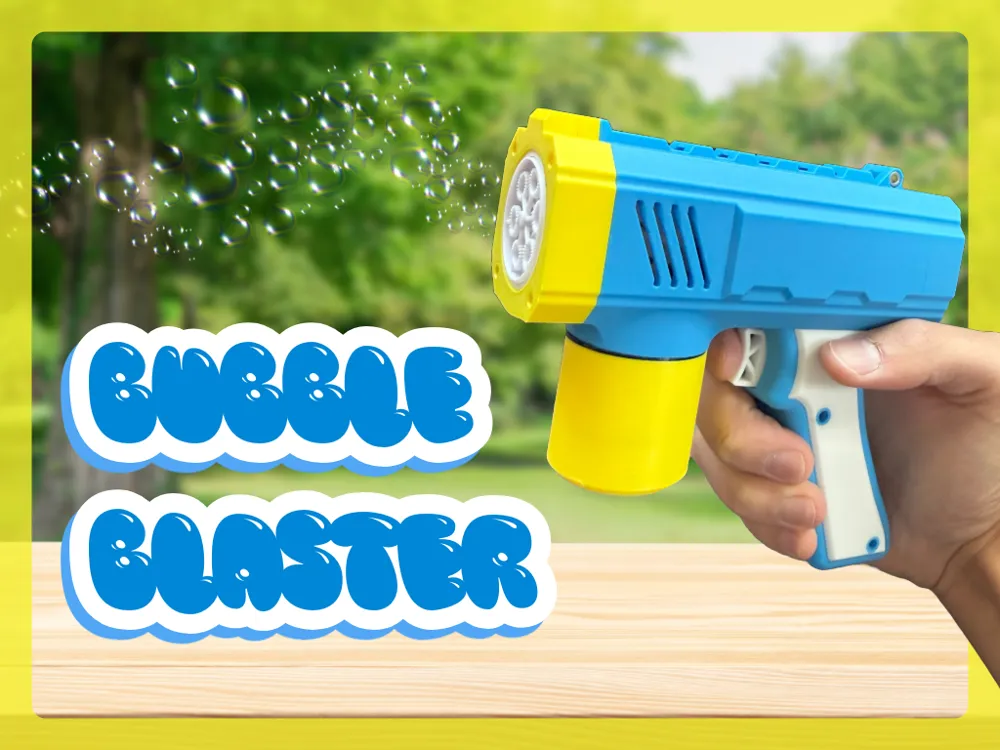
Bubble Blaster
Print Profile(3)


Bill of Materials



- Super Glue x 1:
Description

Boost Me (for free)
If you enjoyed the design, drop a boost! Thank you!
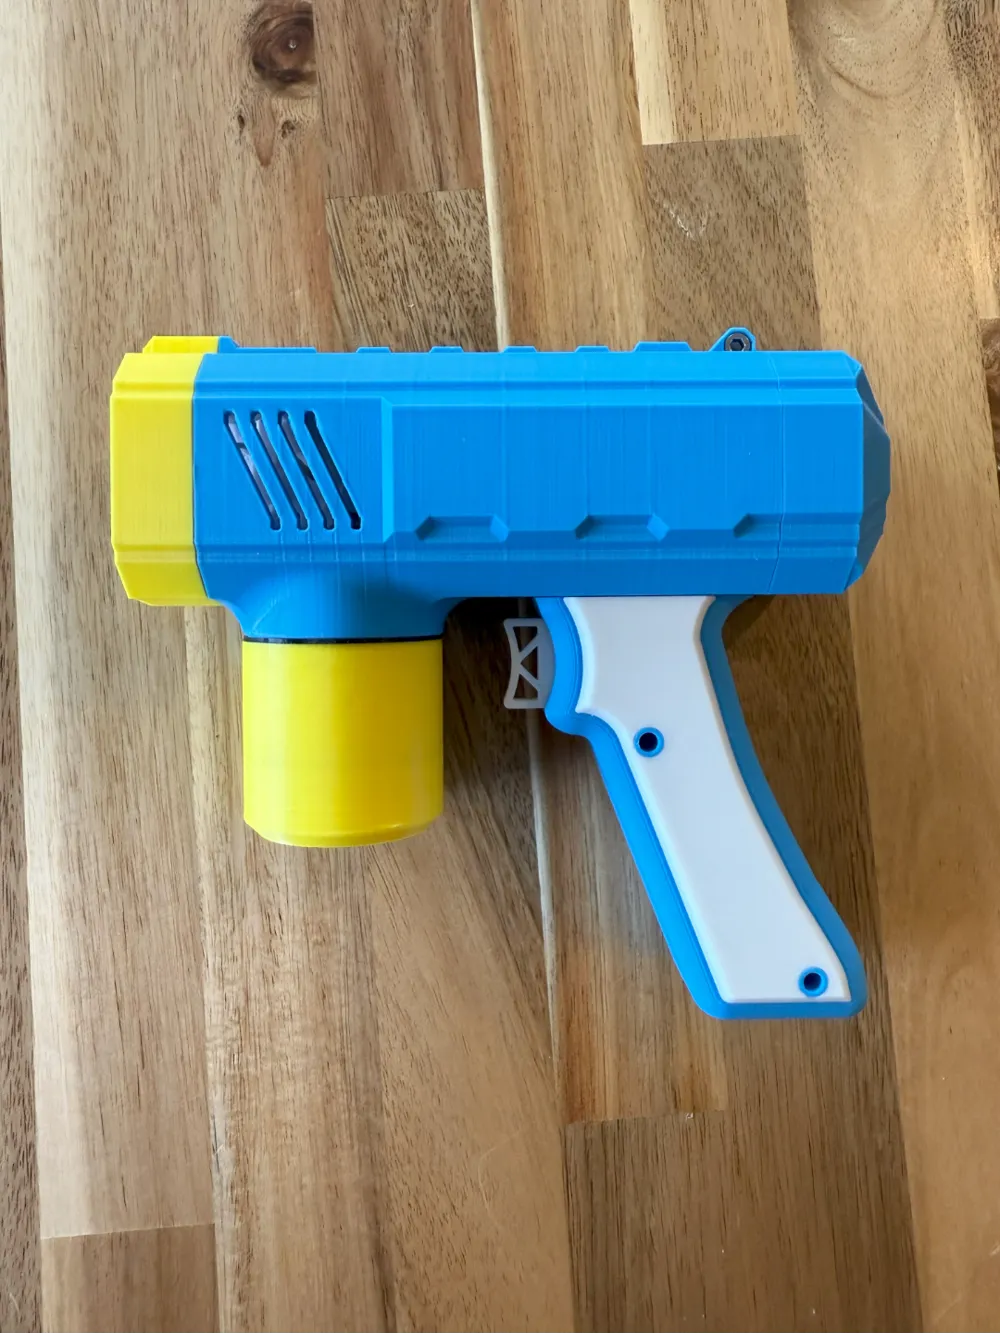

Designed for the Electric Bubble Maker Kit 01 (NO AMS), this easy-to-use bubble toy will light up your child’s imagination as they create streams of glimmering bubbles at the press of a button. Perfect for outdoor adventures, parties, or backyard play, this bubble gun guarantees hours of entertainment for kids and the young at heart!
Let the bubbles soar and the laughter roar with the Bubble Blaster!
Assembly
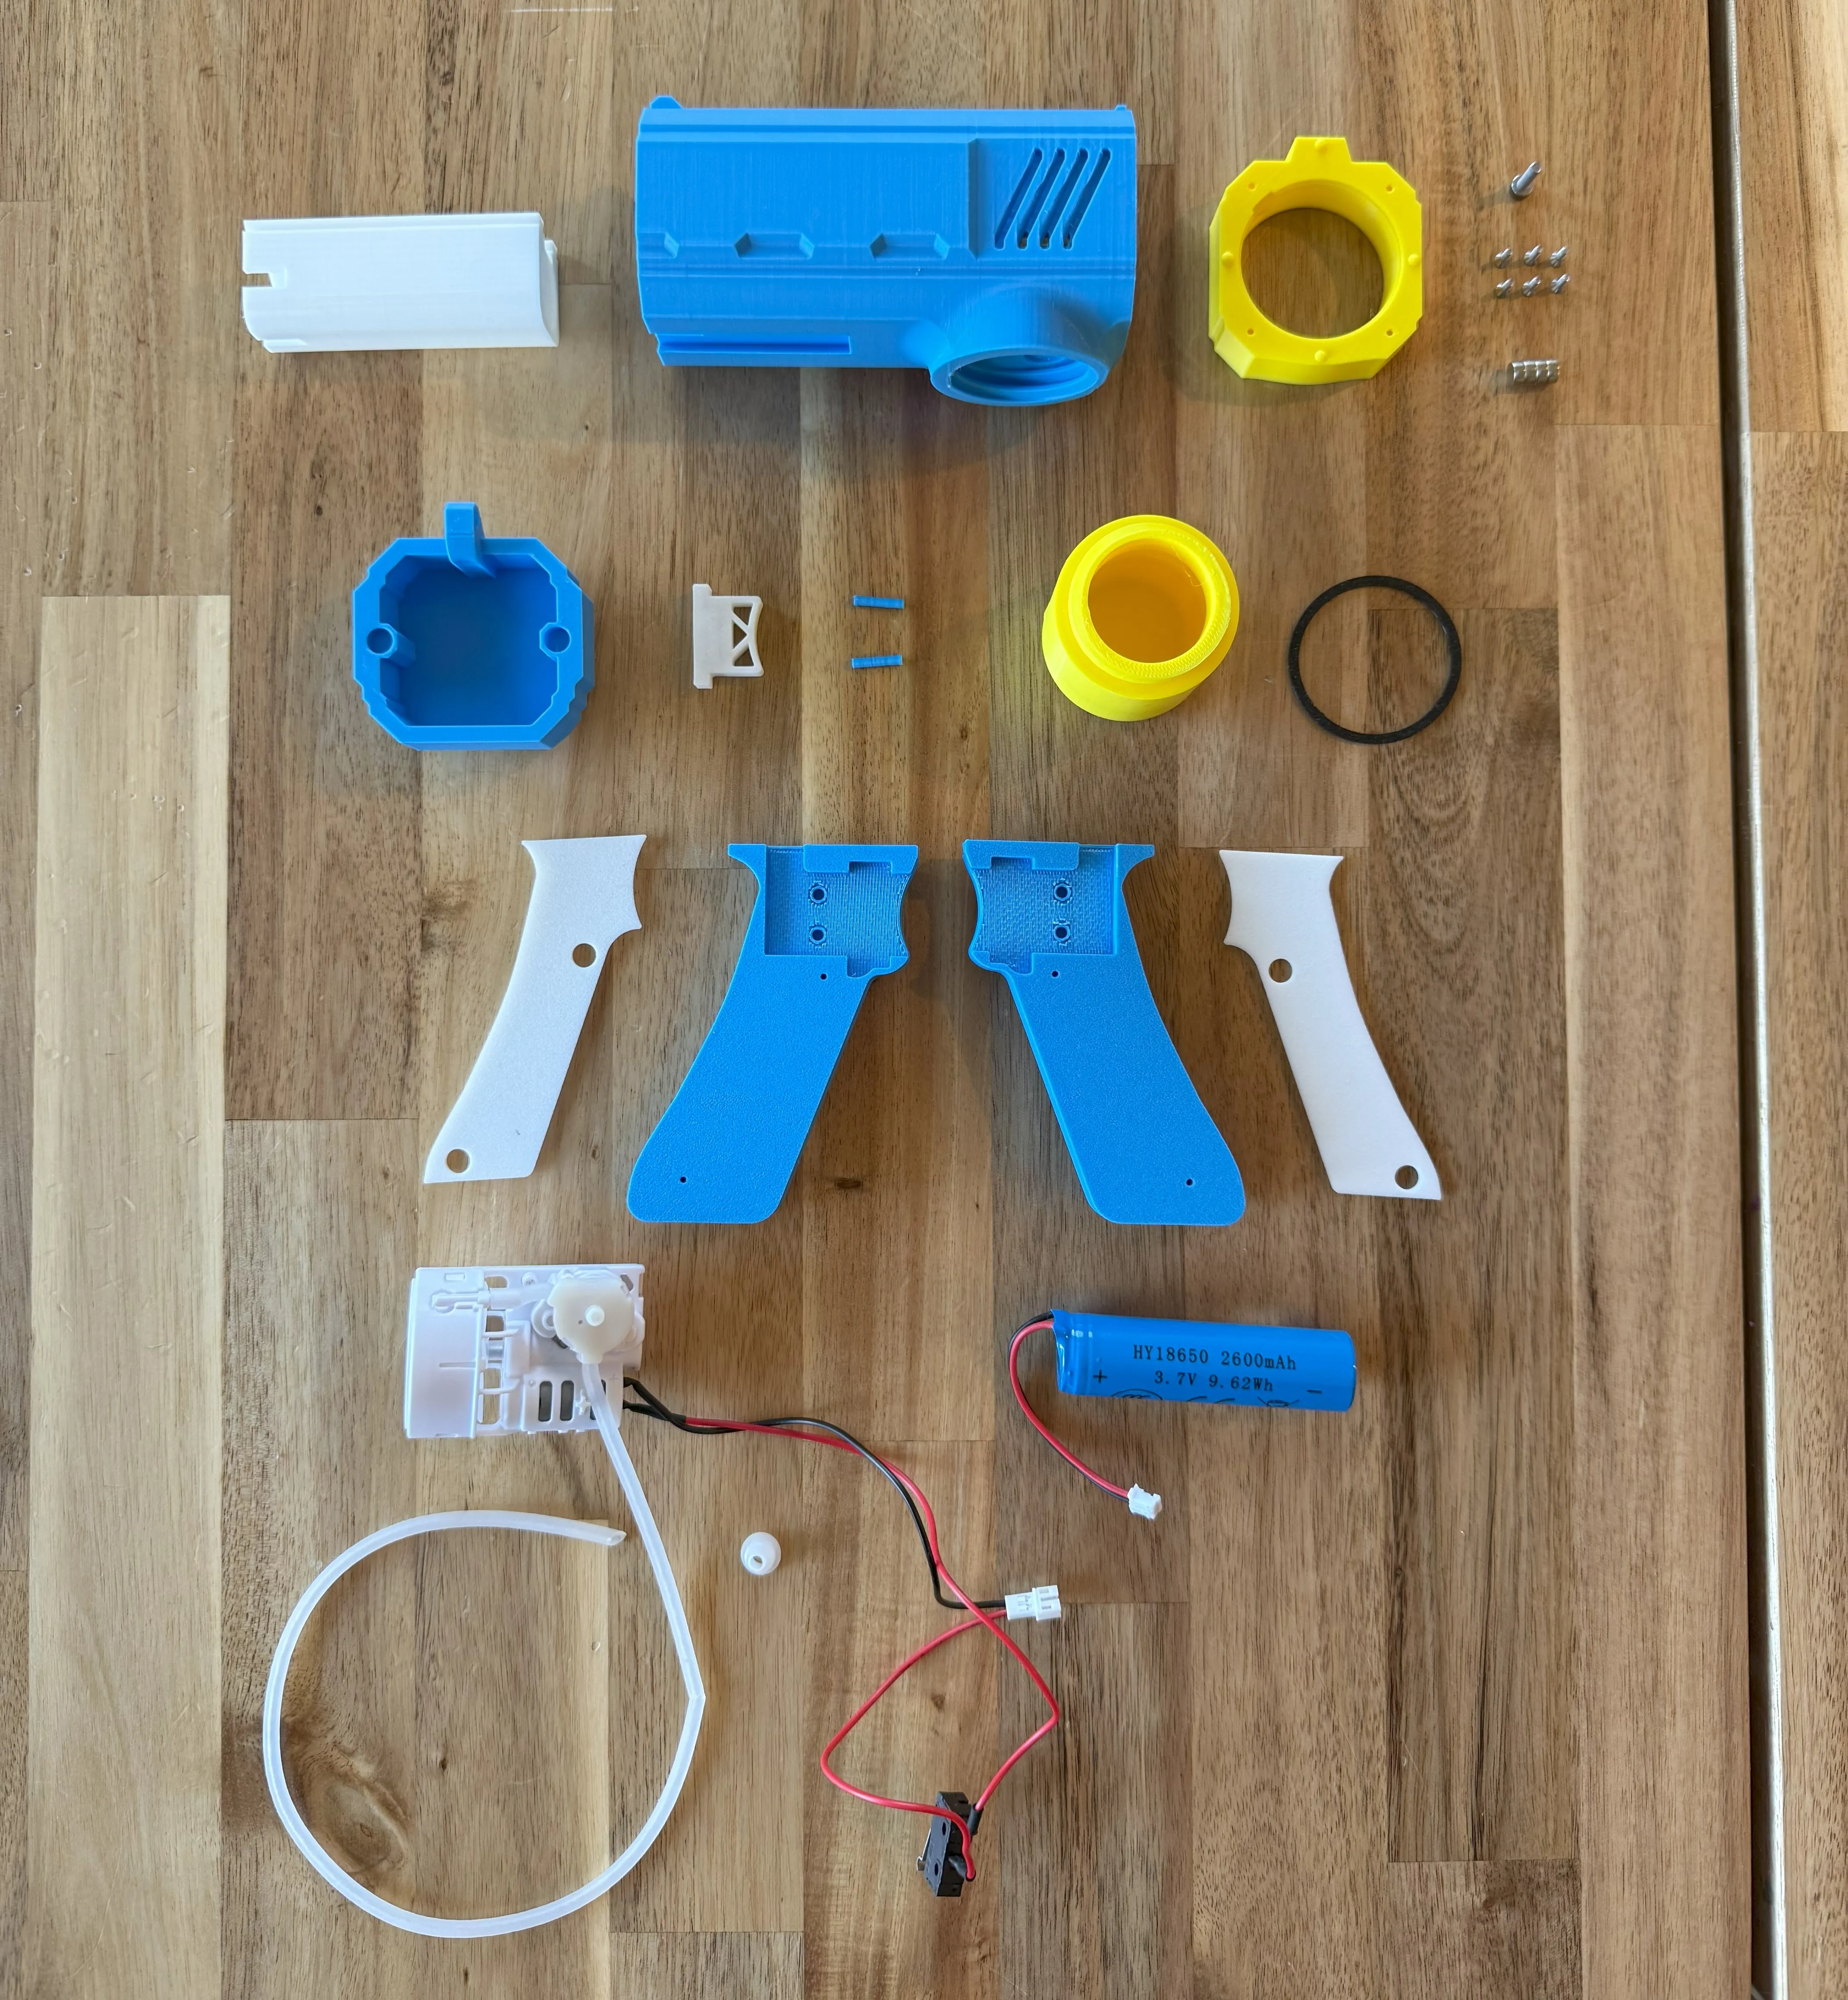
Feed the wires through the barrel and feed the tube through the hole.
Slide one of the rubber pieces on to the tube.
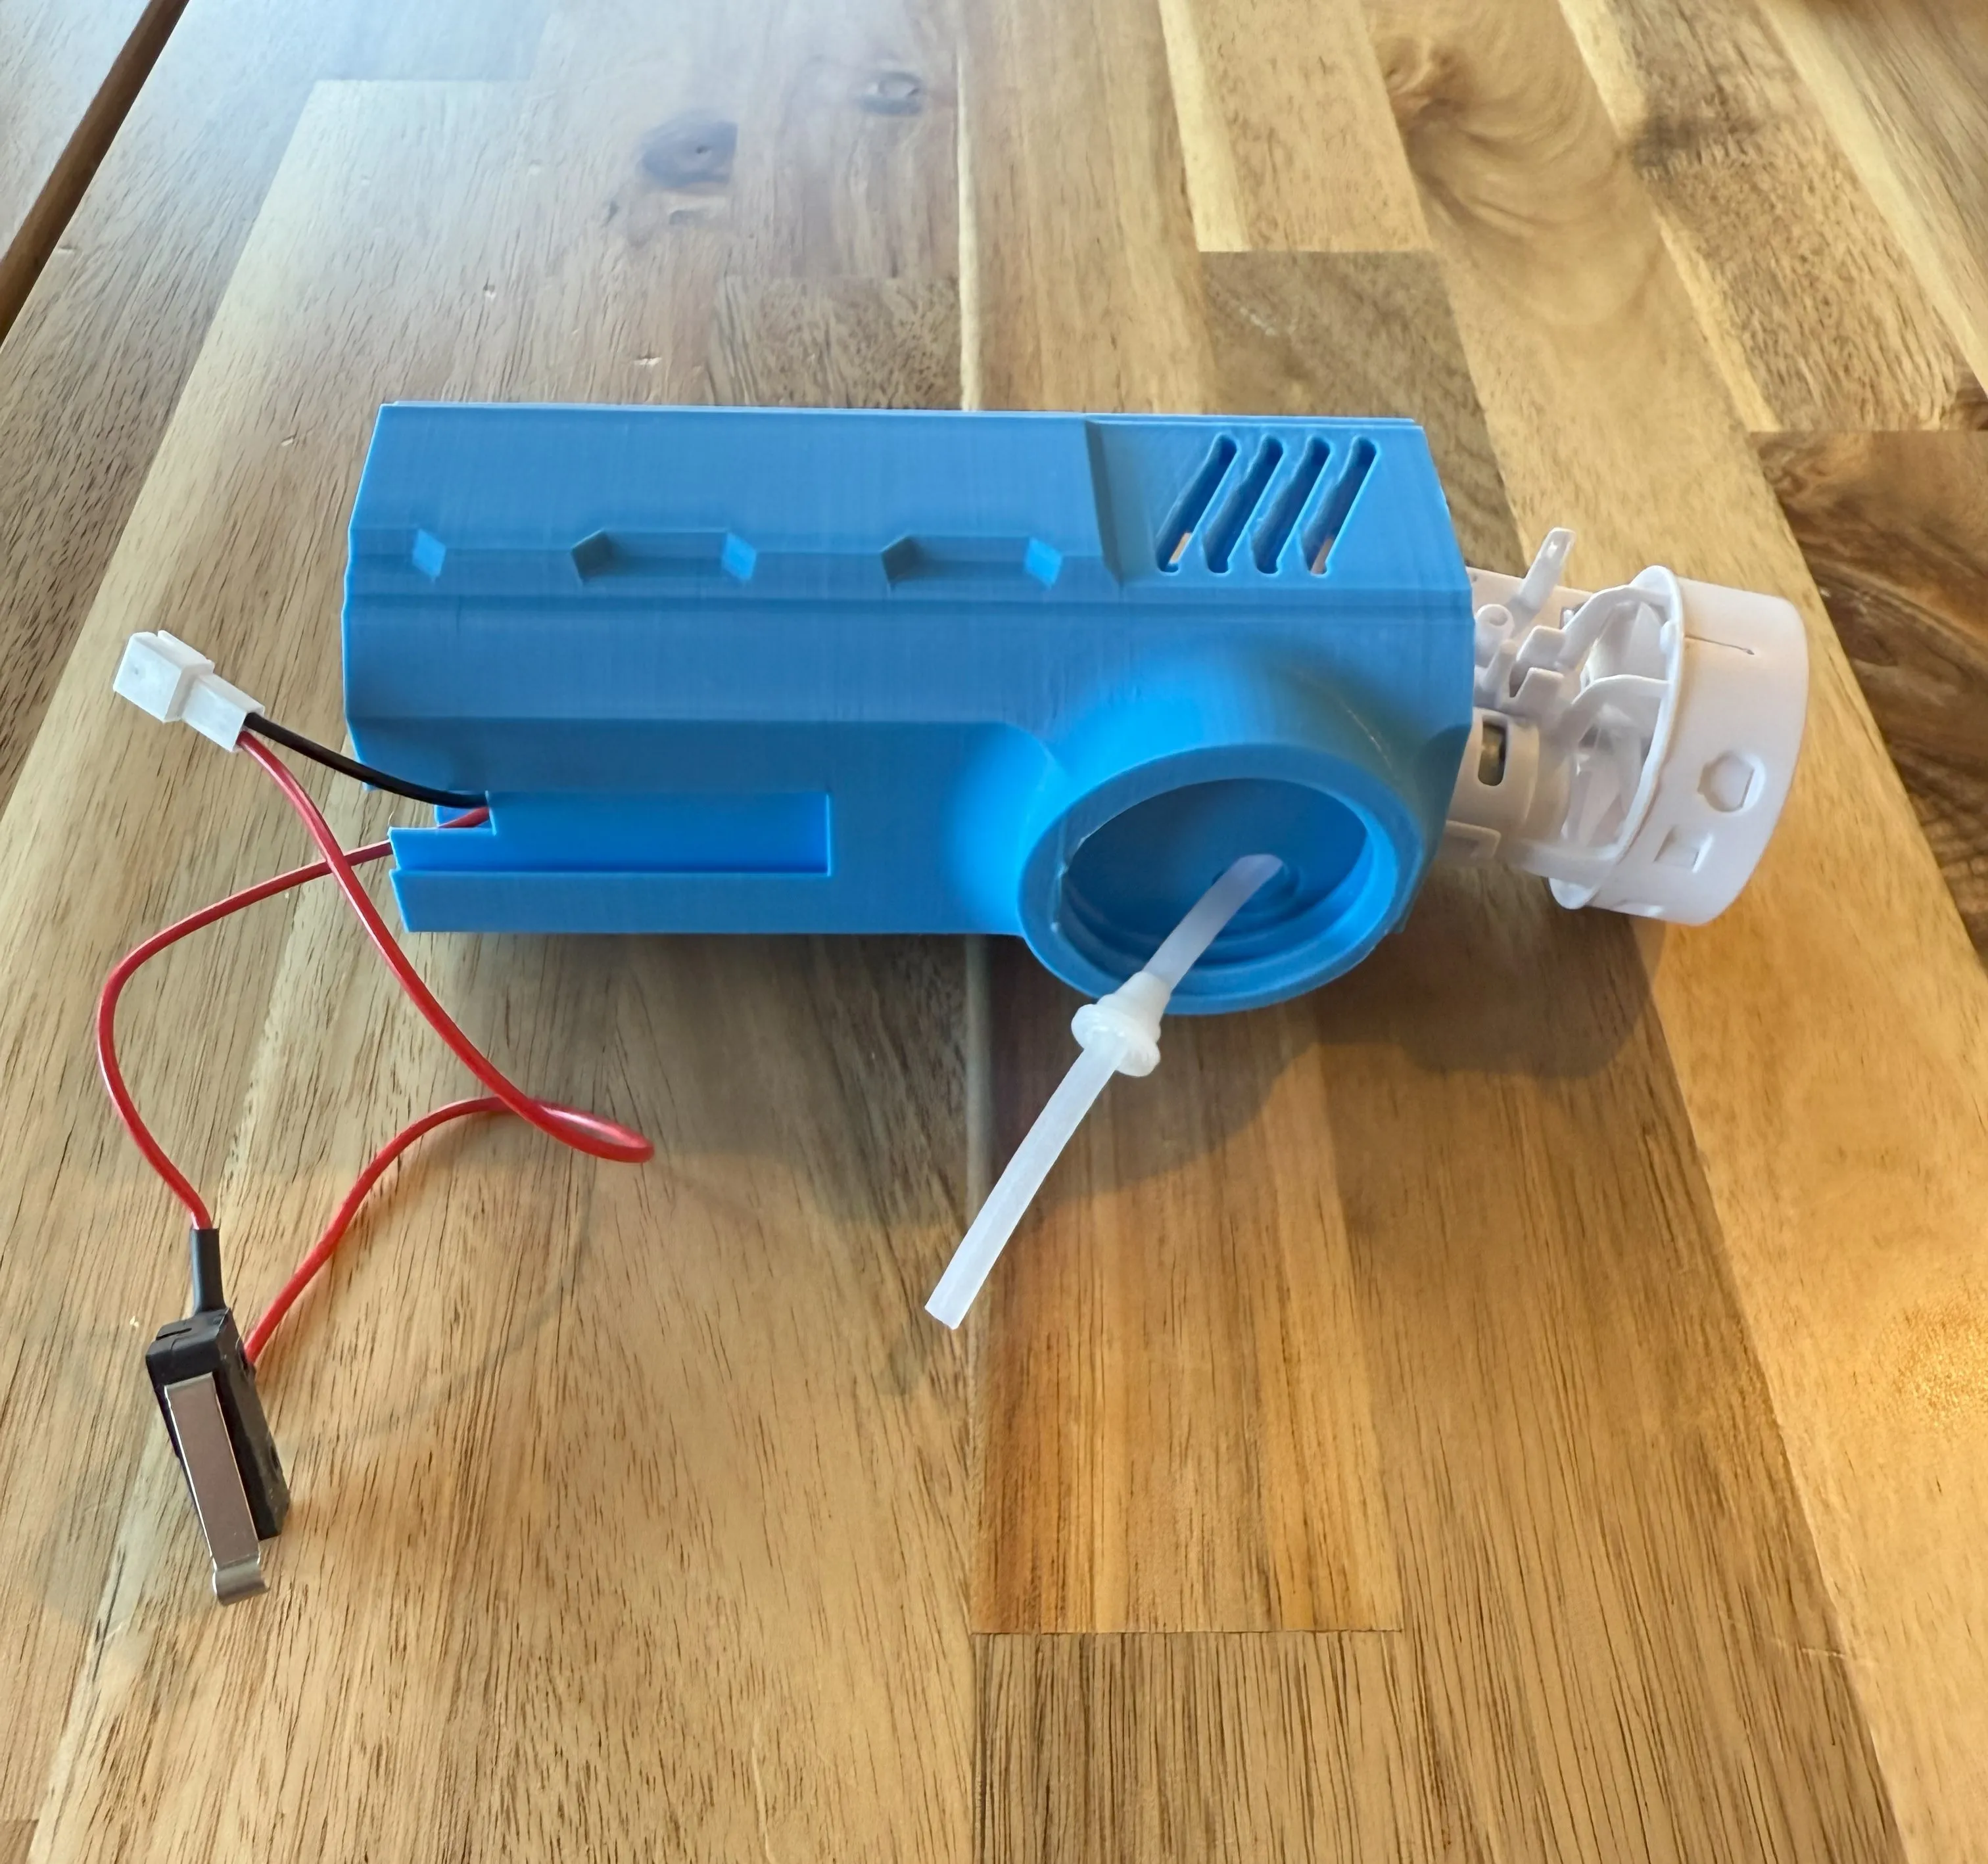
Put the nozzle on front of the electric bubble maker where the slot goes over the tube.
The two pieces should be flush if inserted correctly.
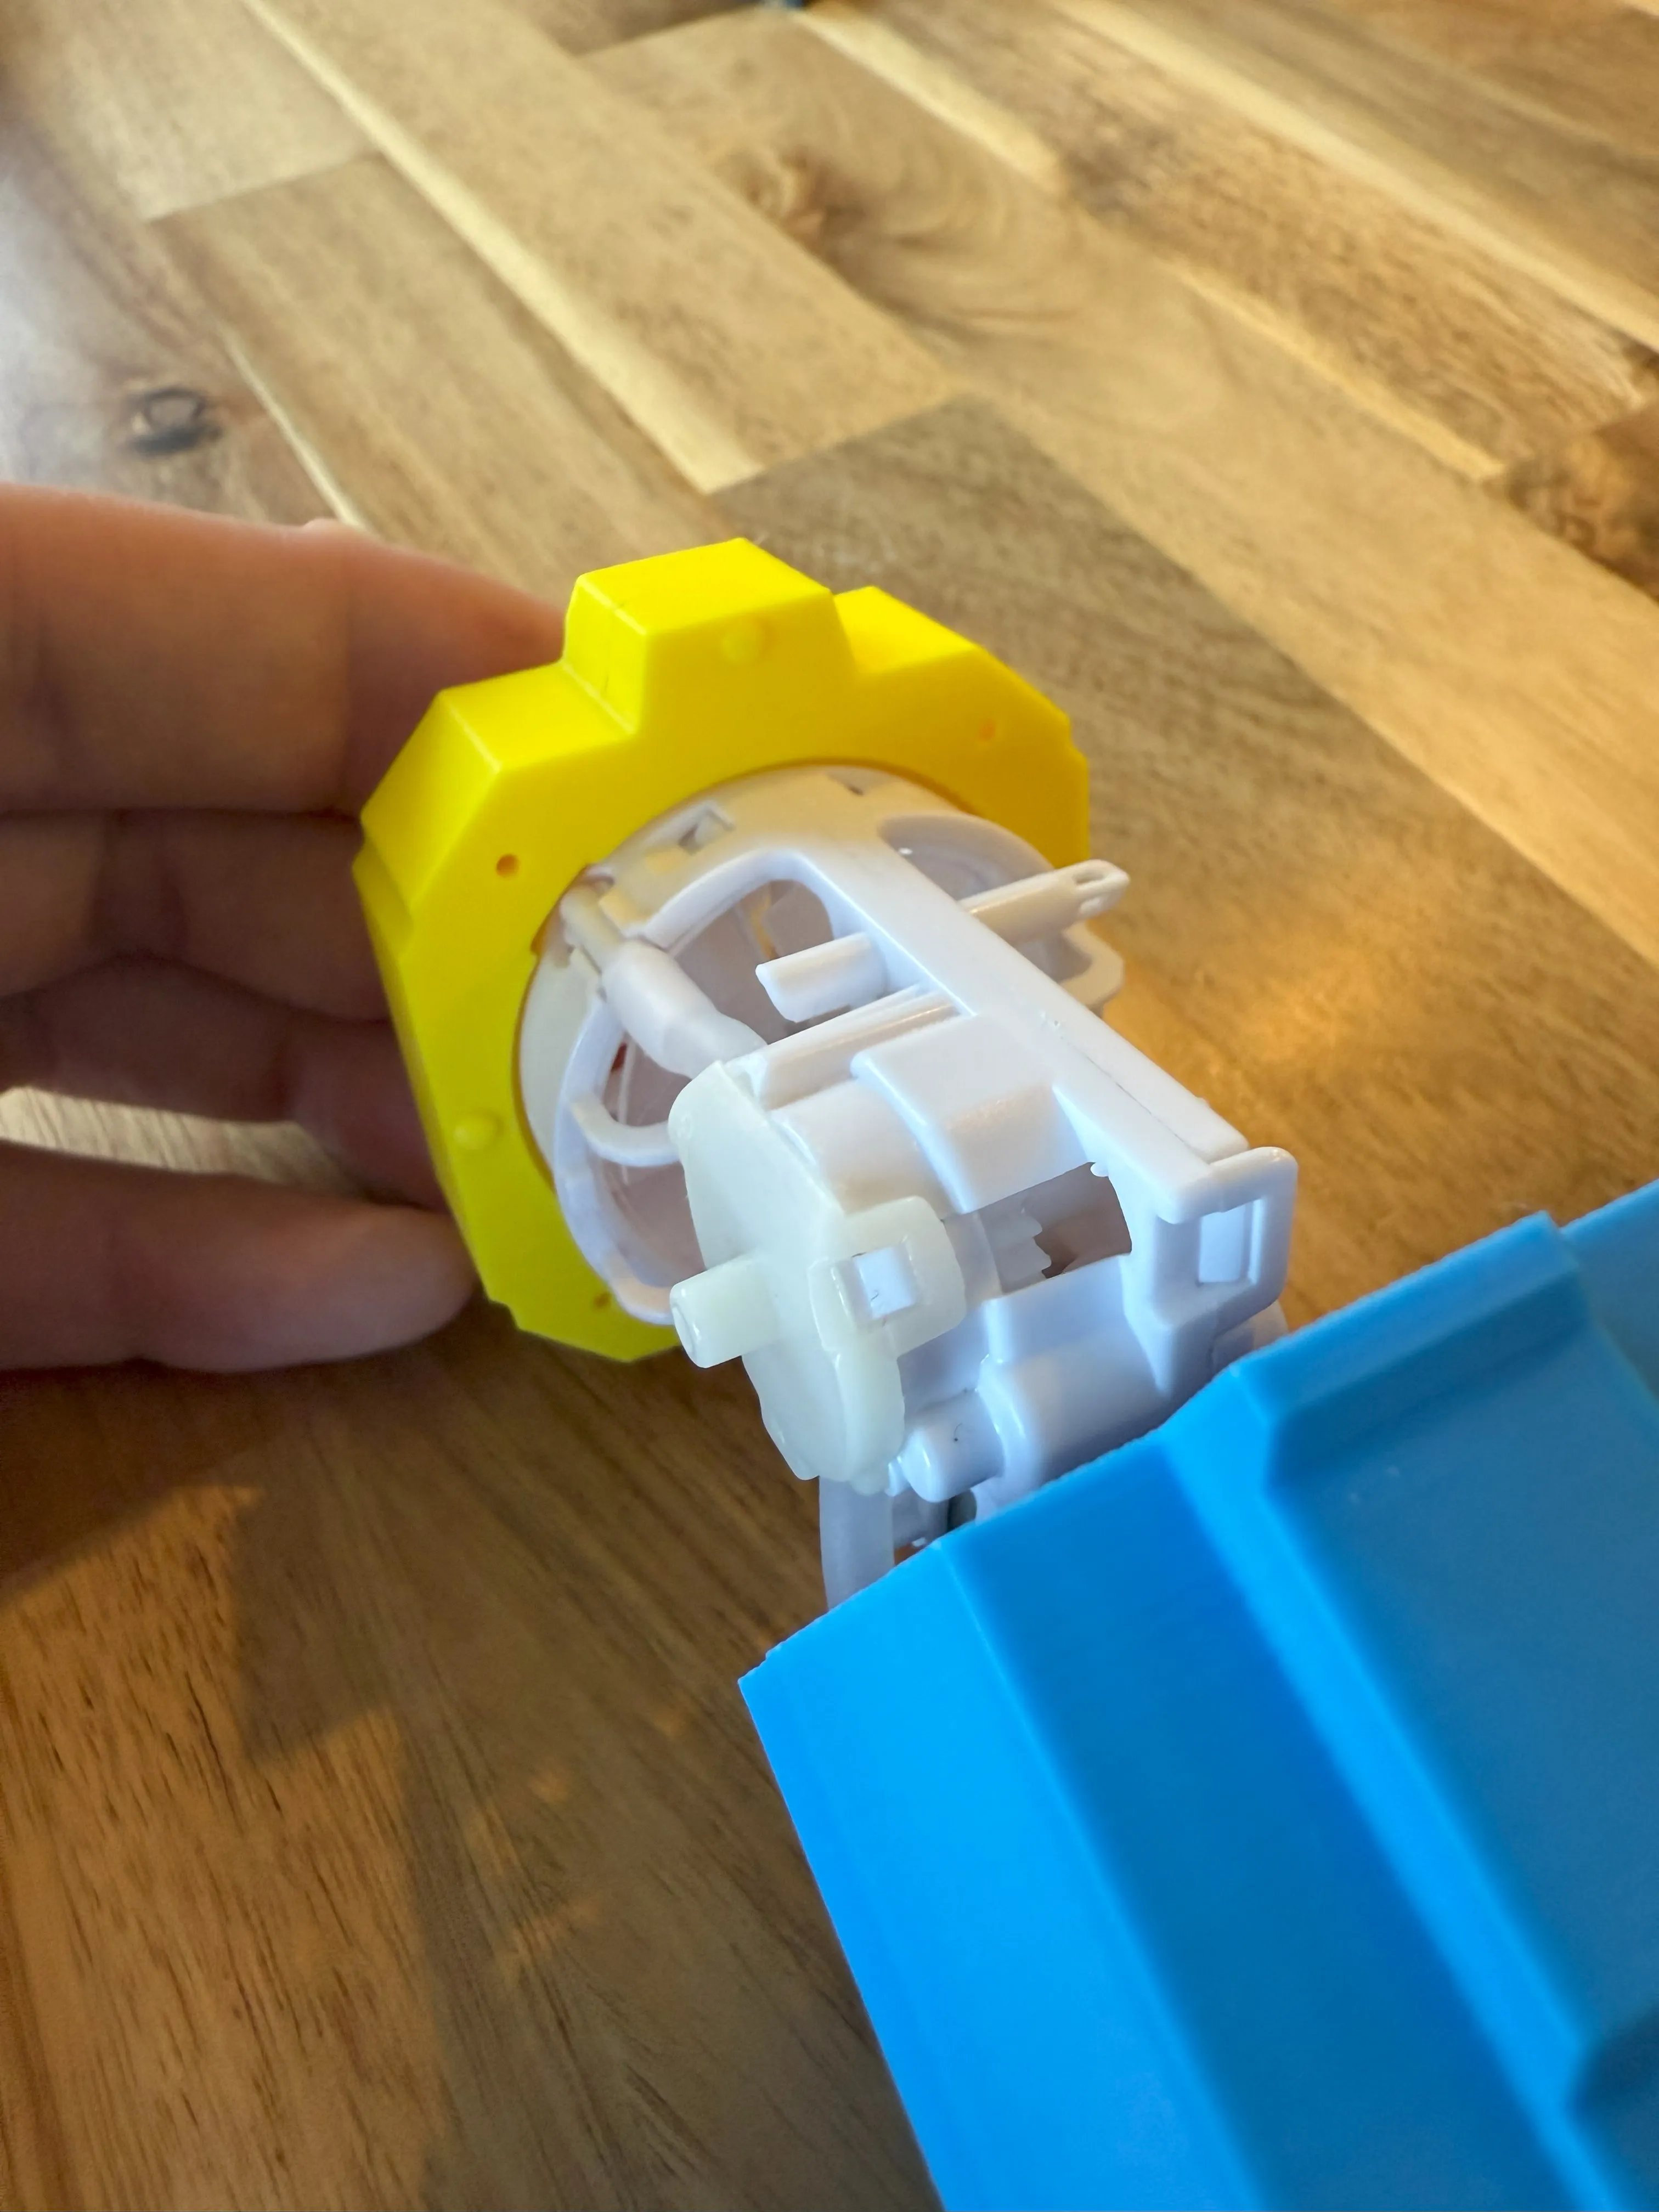
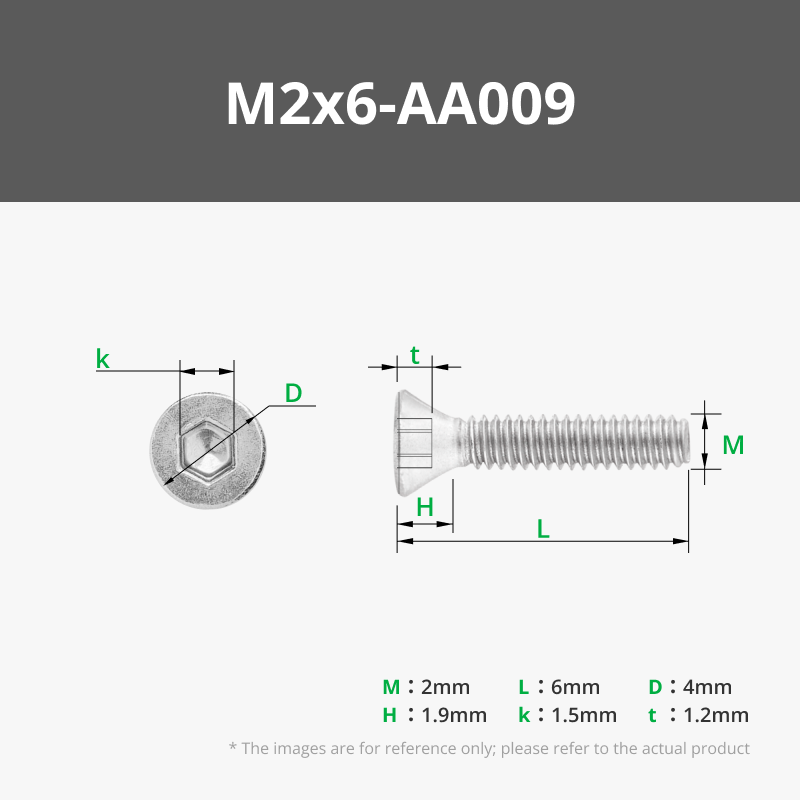
Screw 4x M2x6mm screws into the top of the nozzle to connect to the barrel.
This will secure the motor.
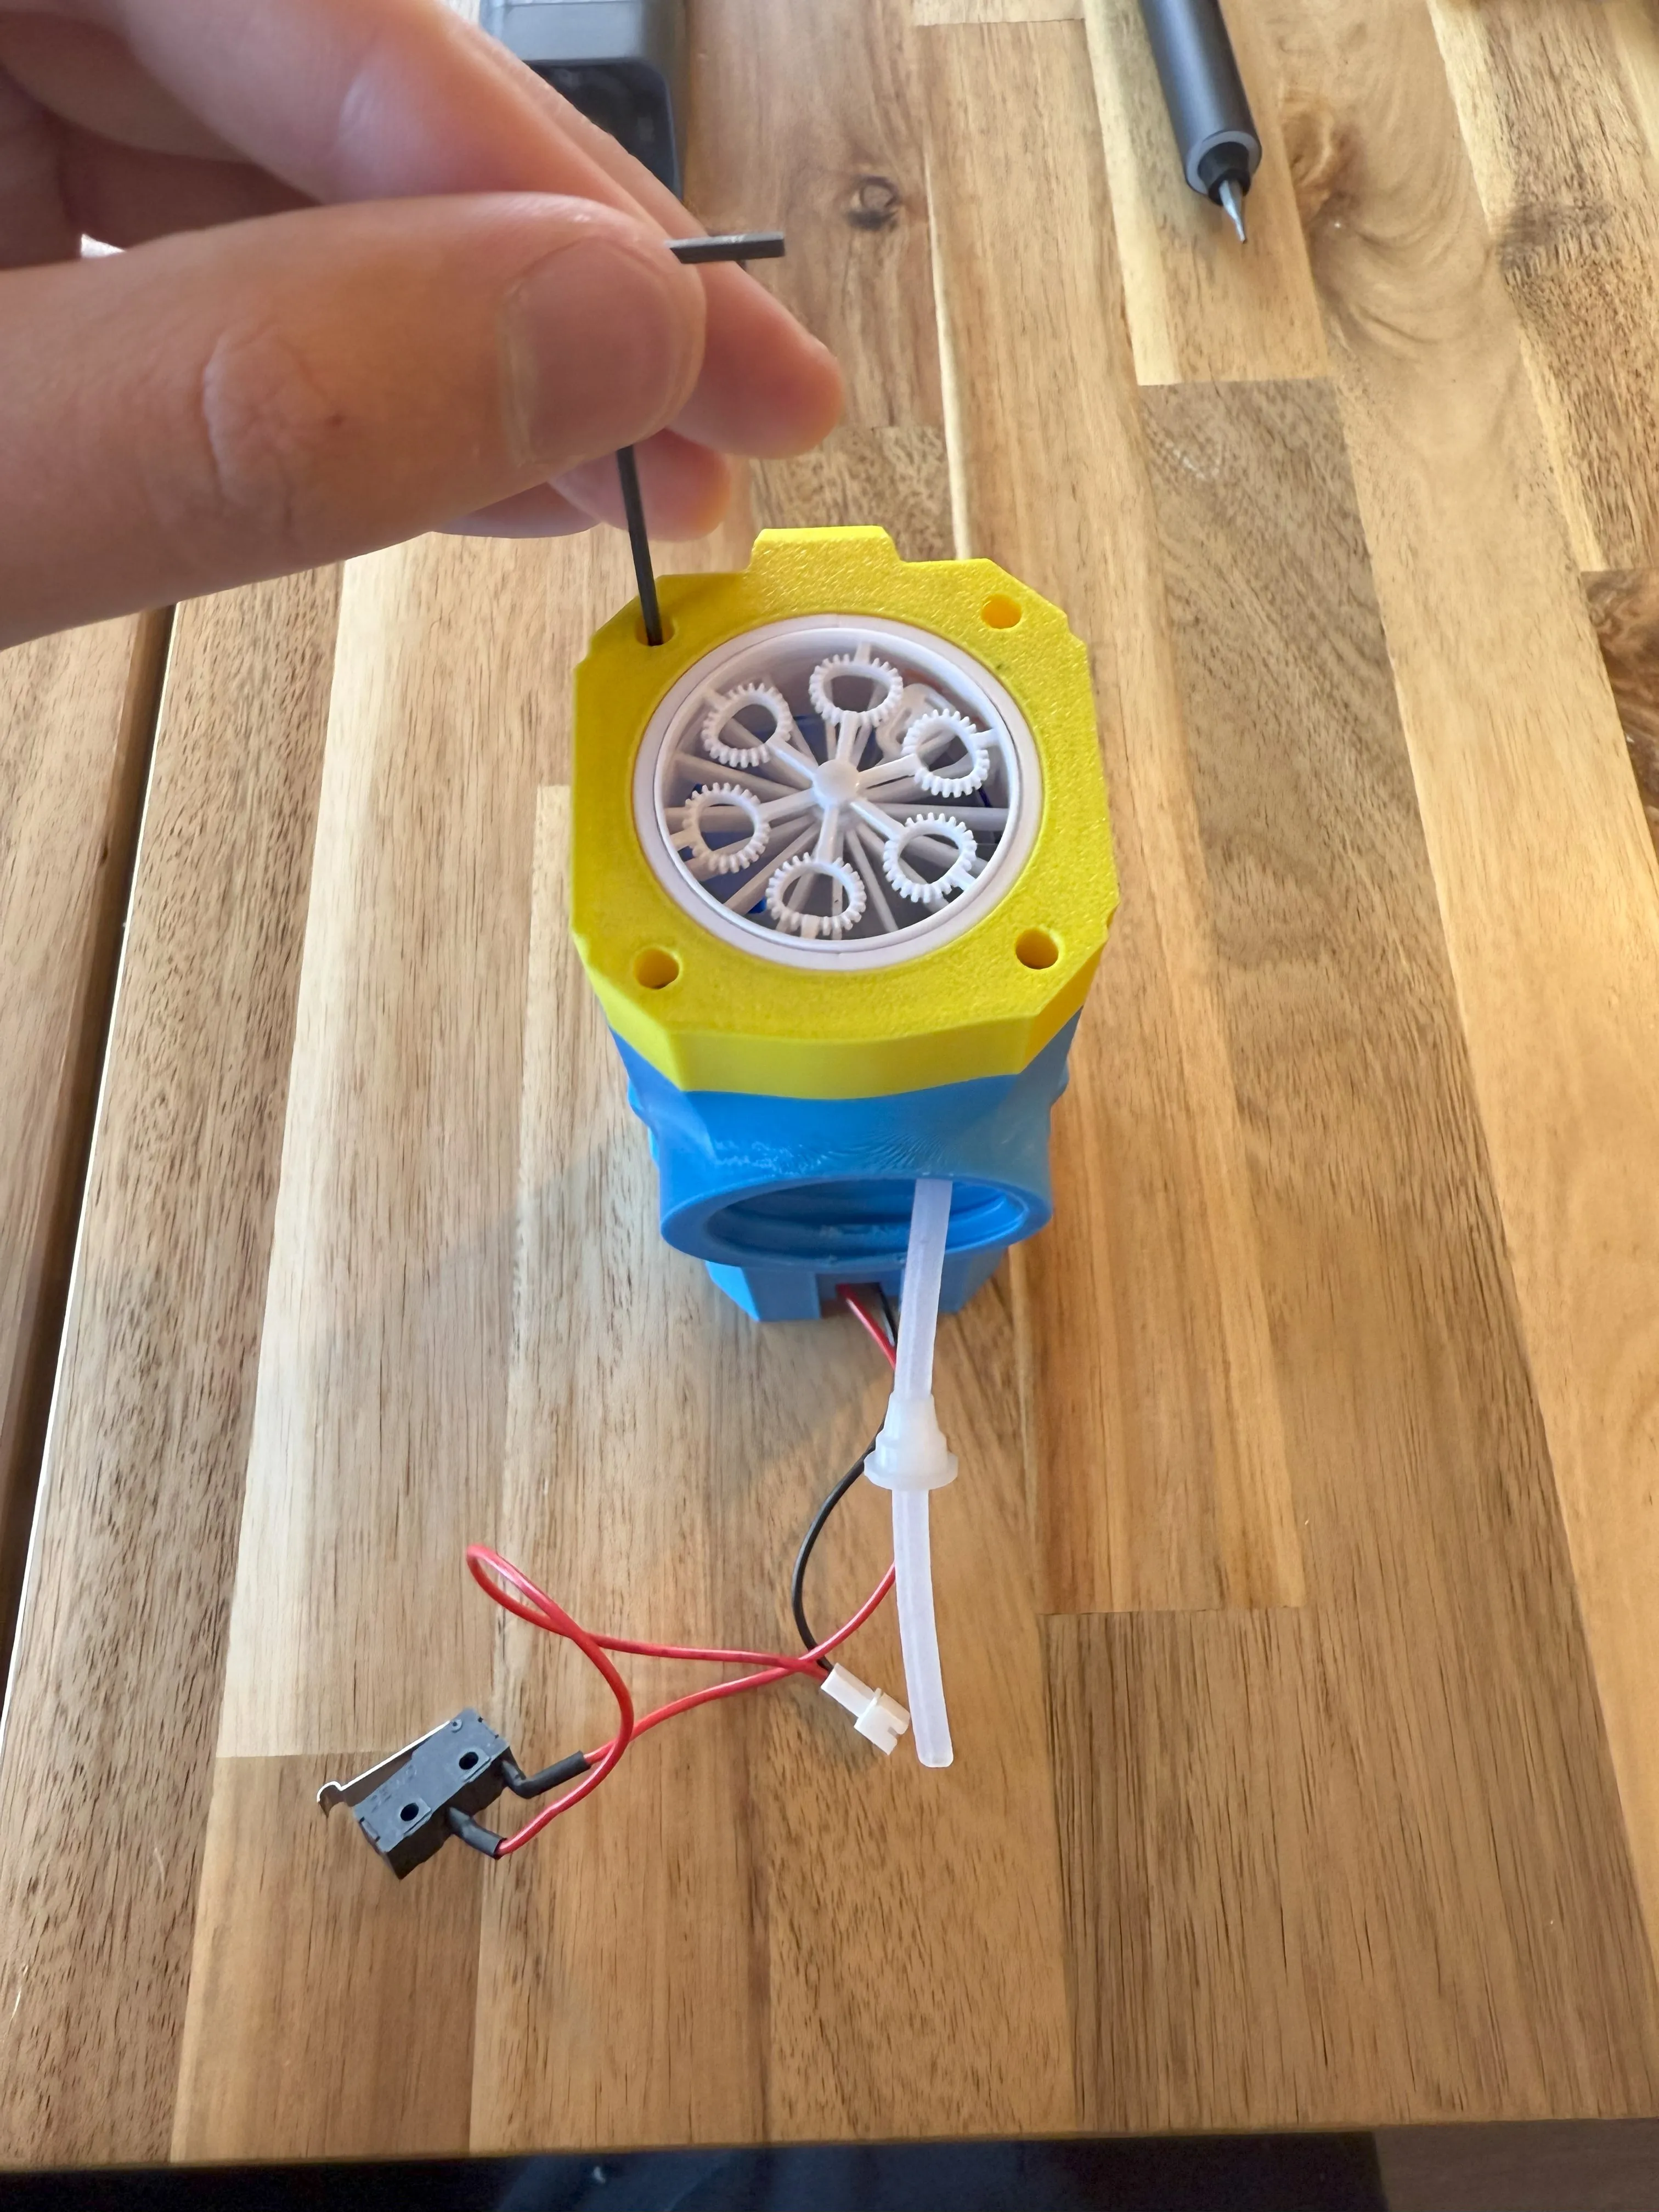
Slide the rubber piece into the hole so it is flush to prevent water leaking into the barrel.
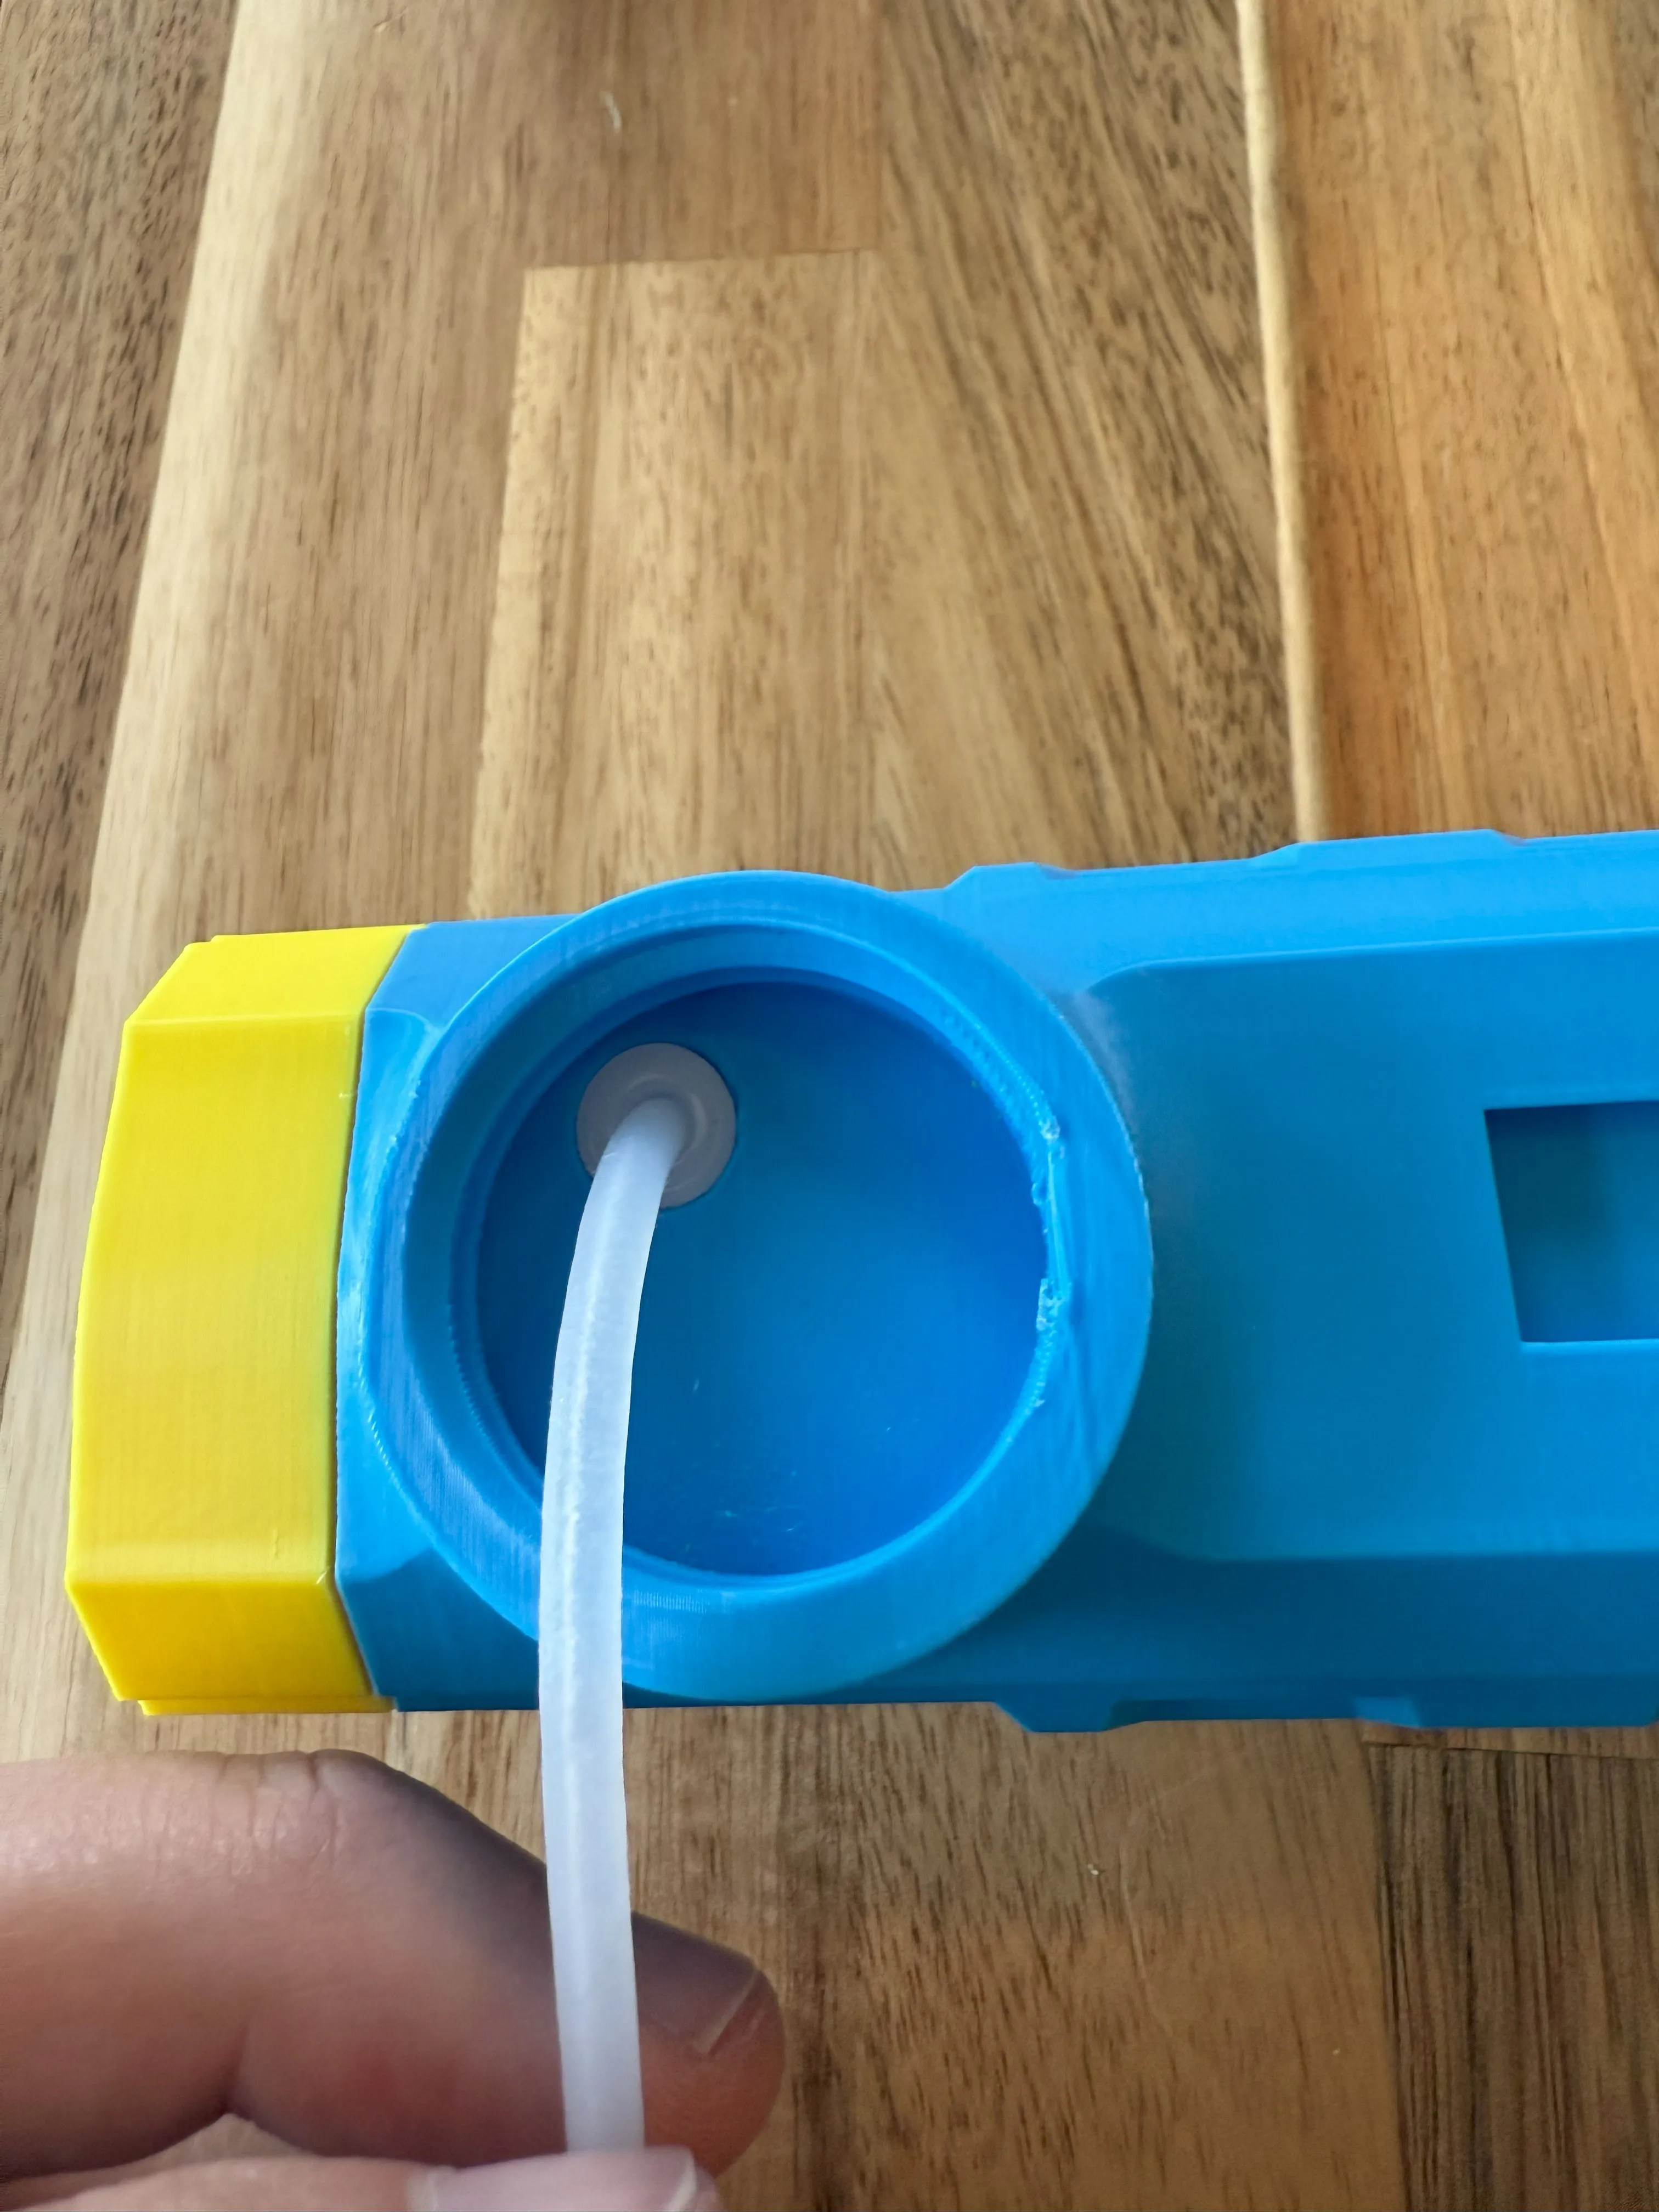
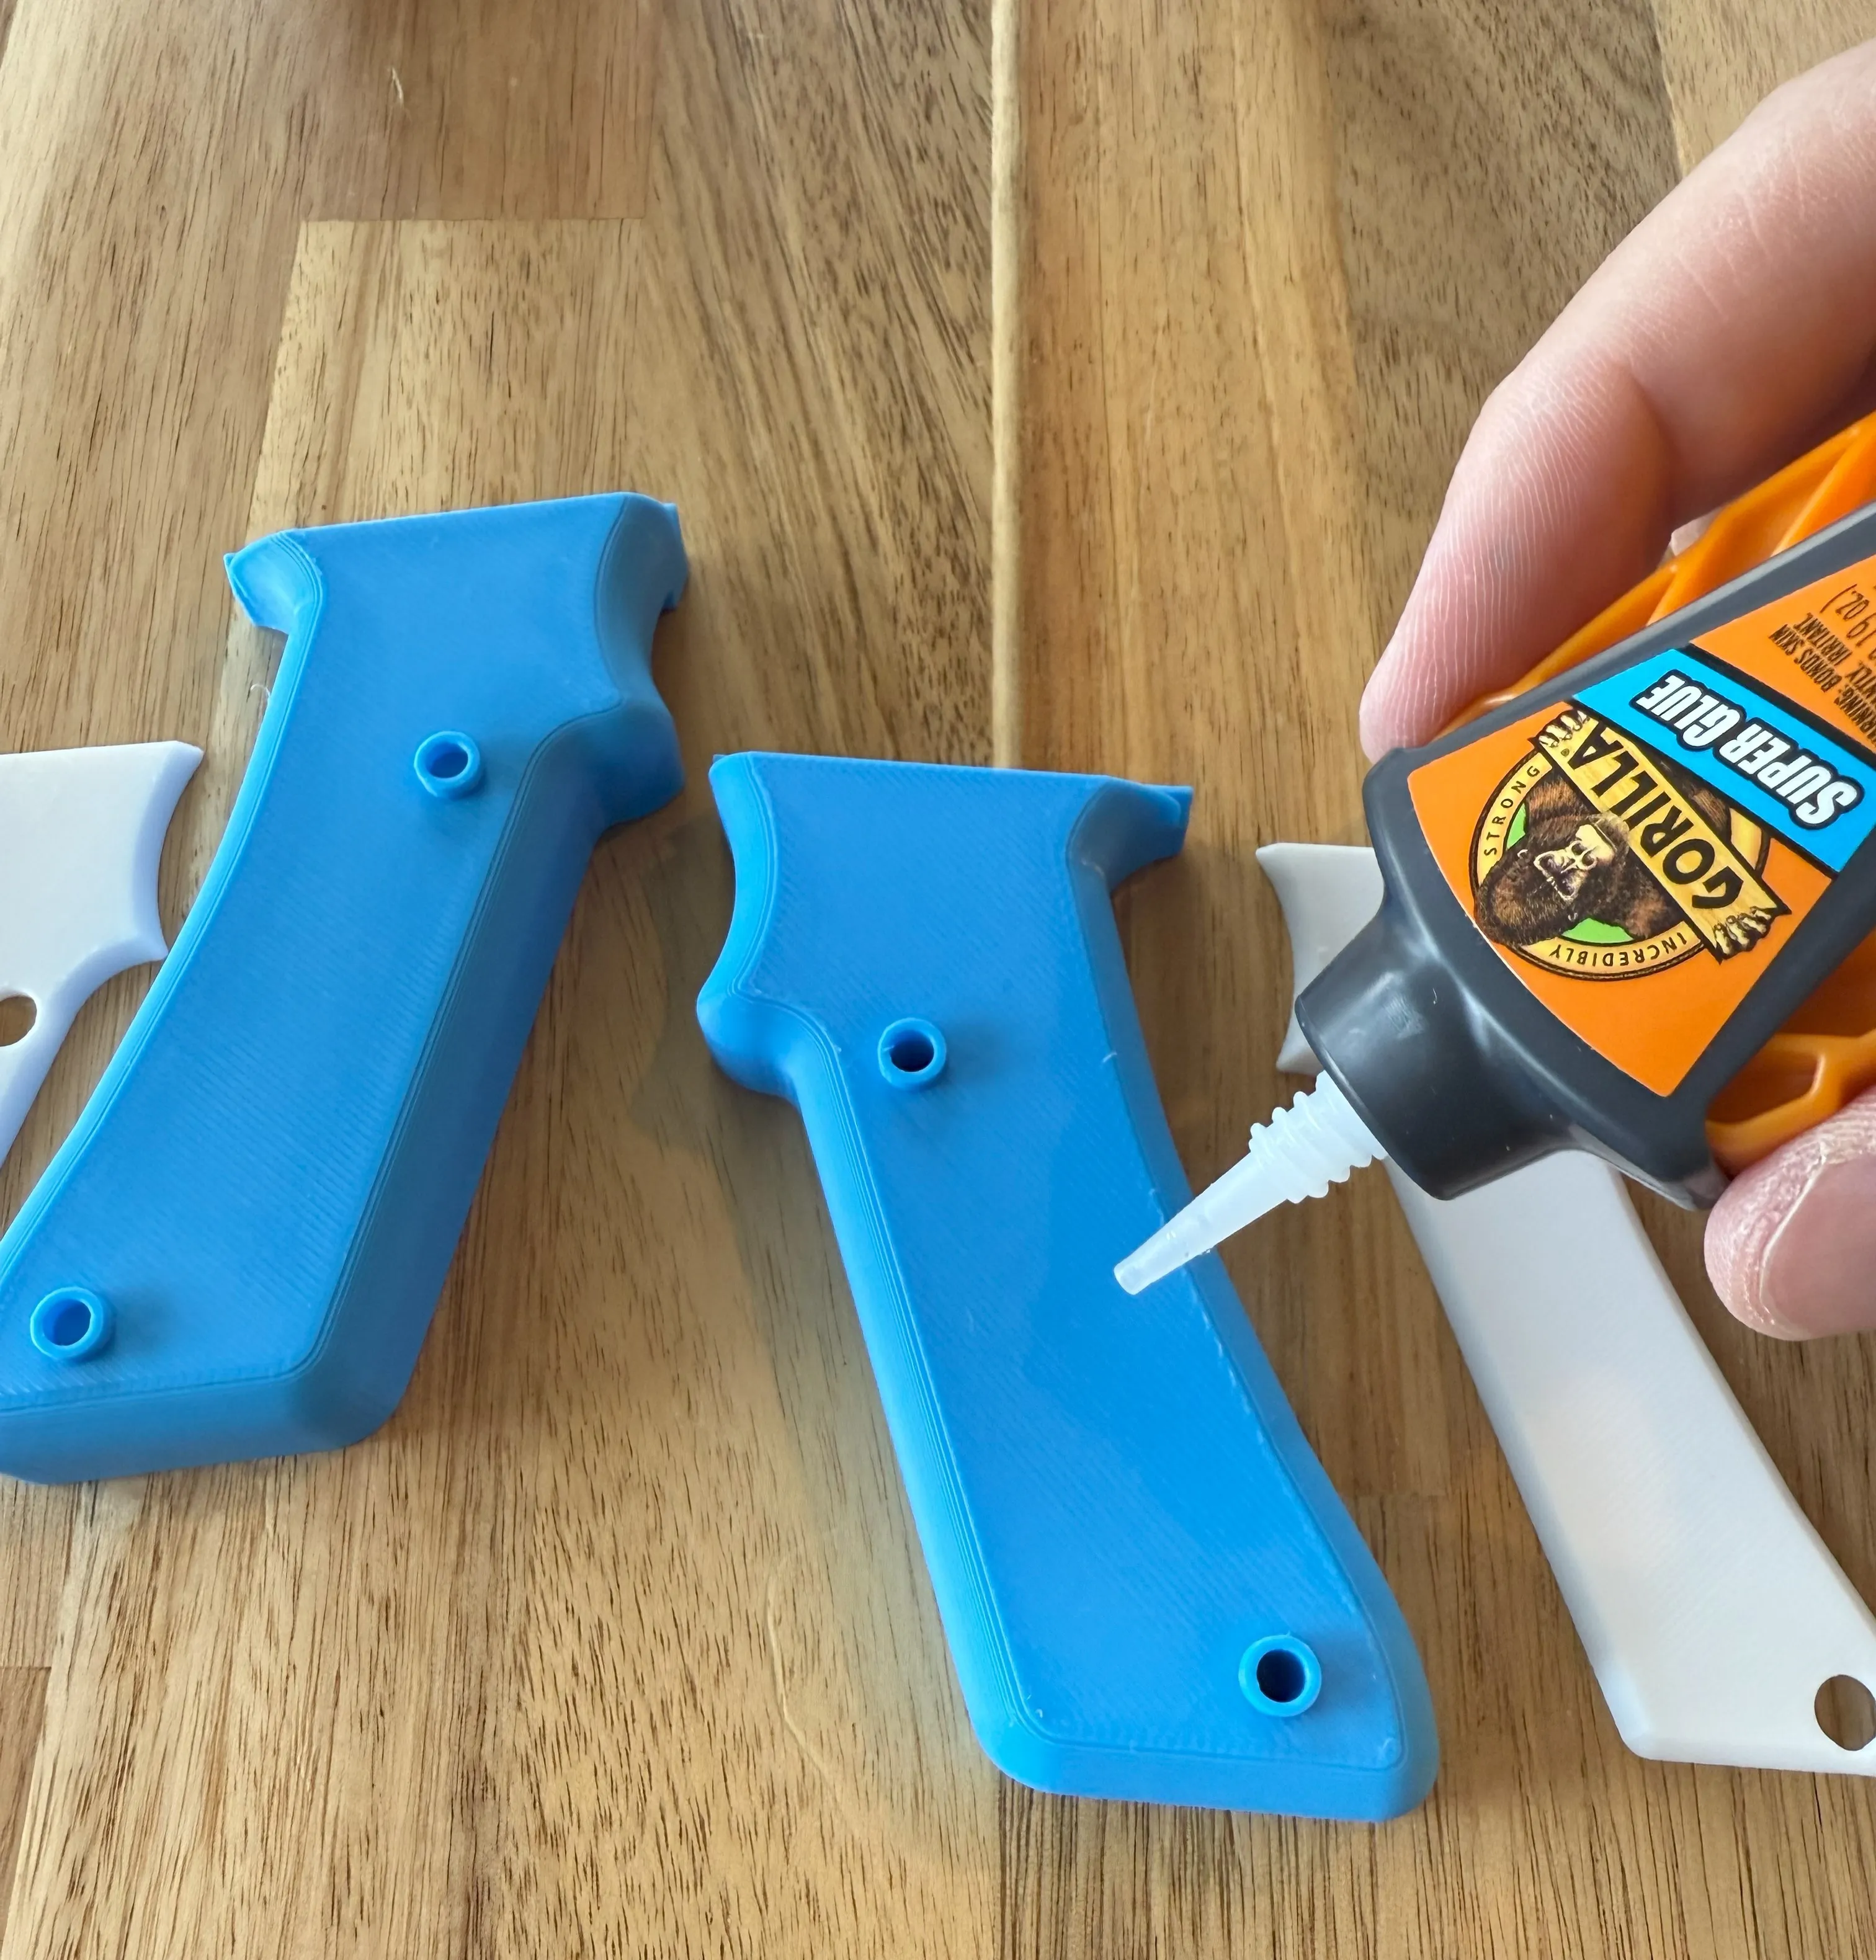
Glue the grips to the handles.
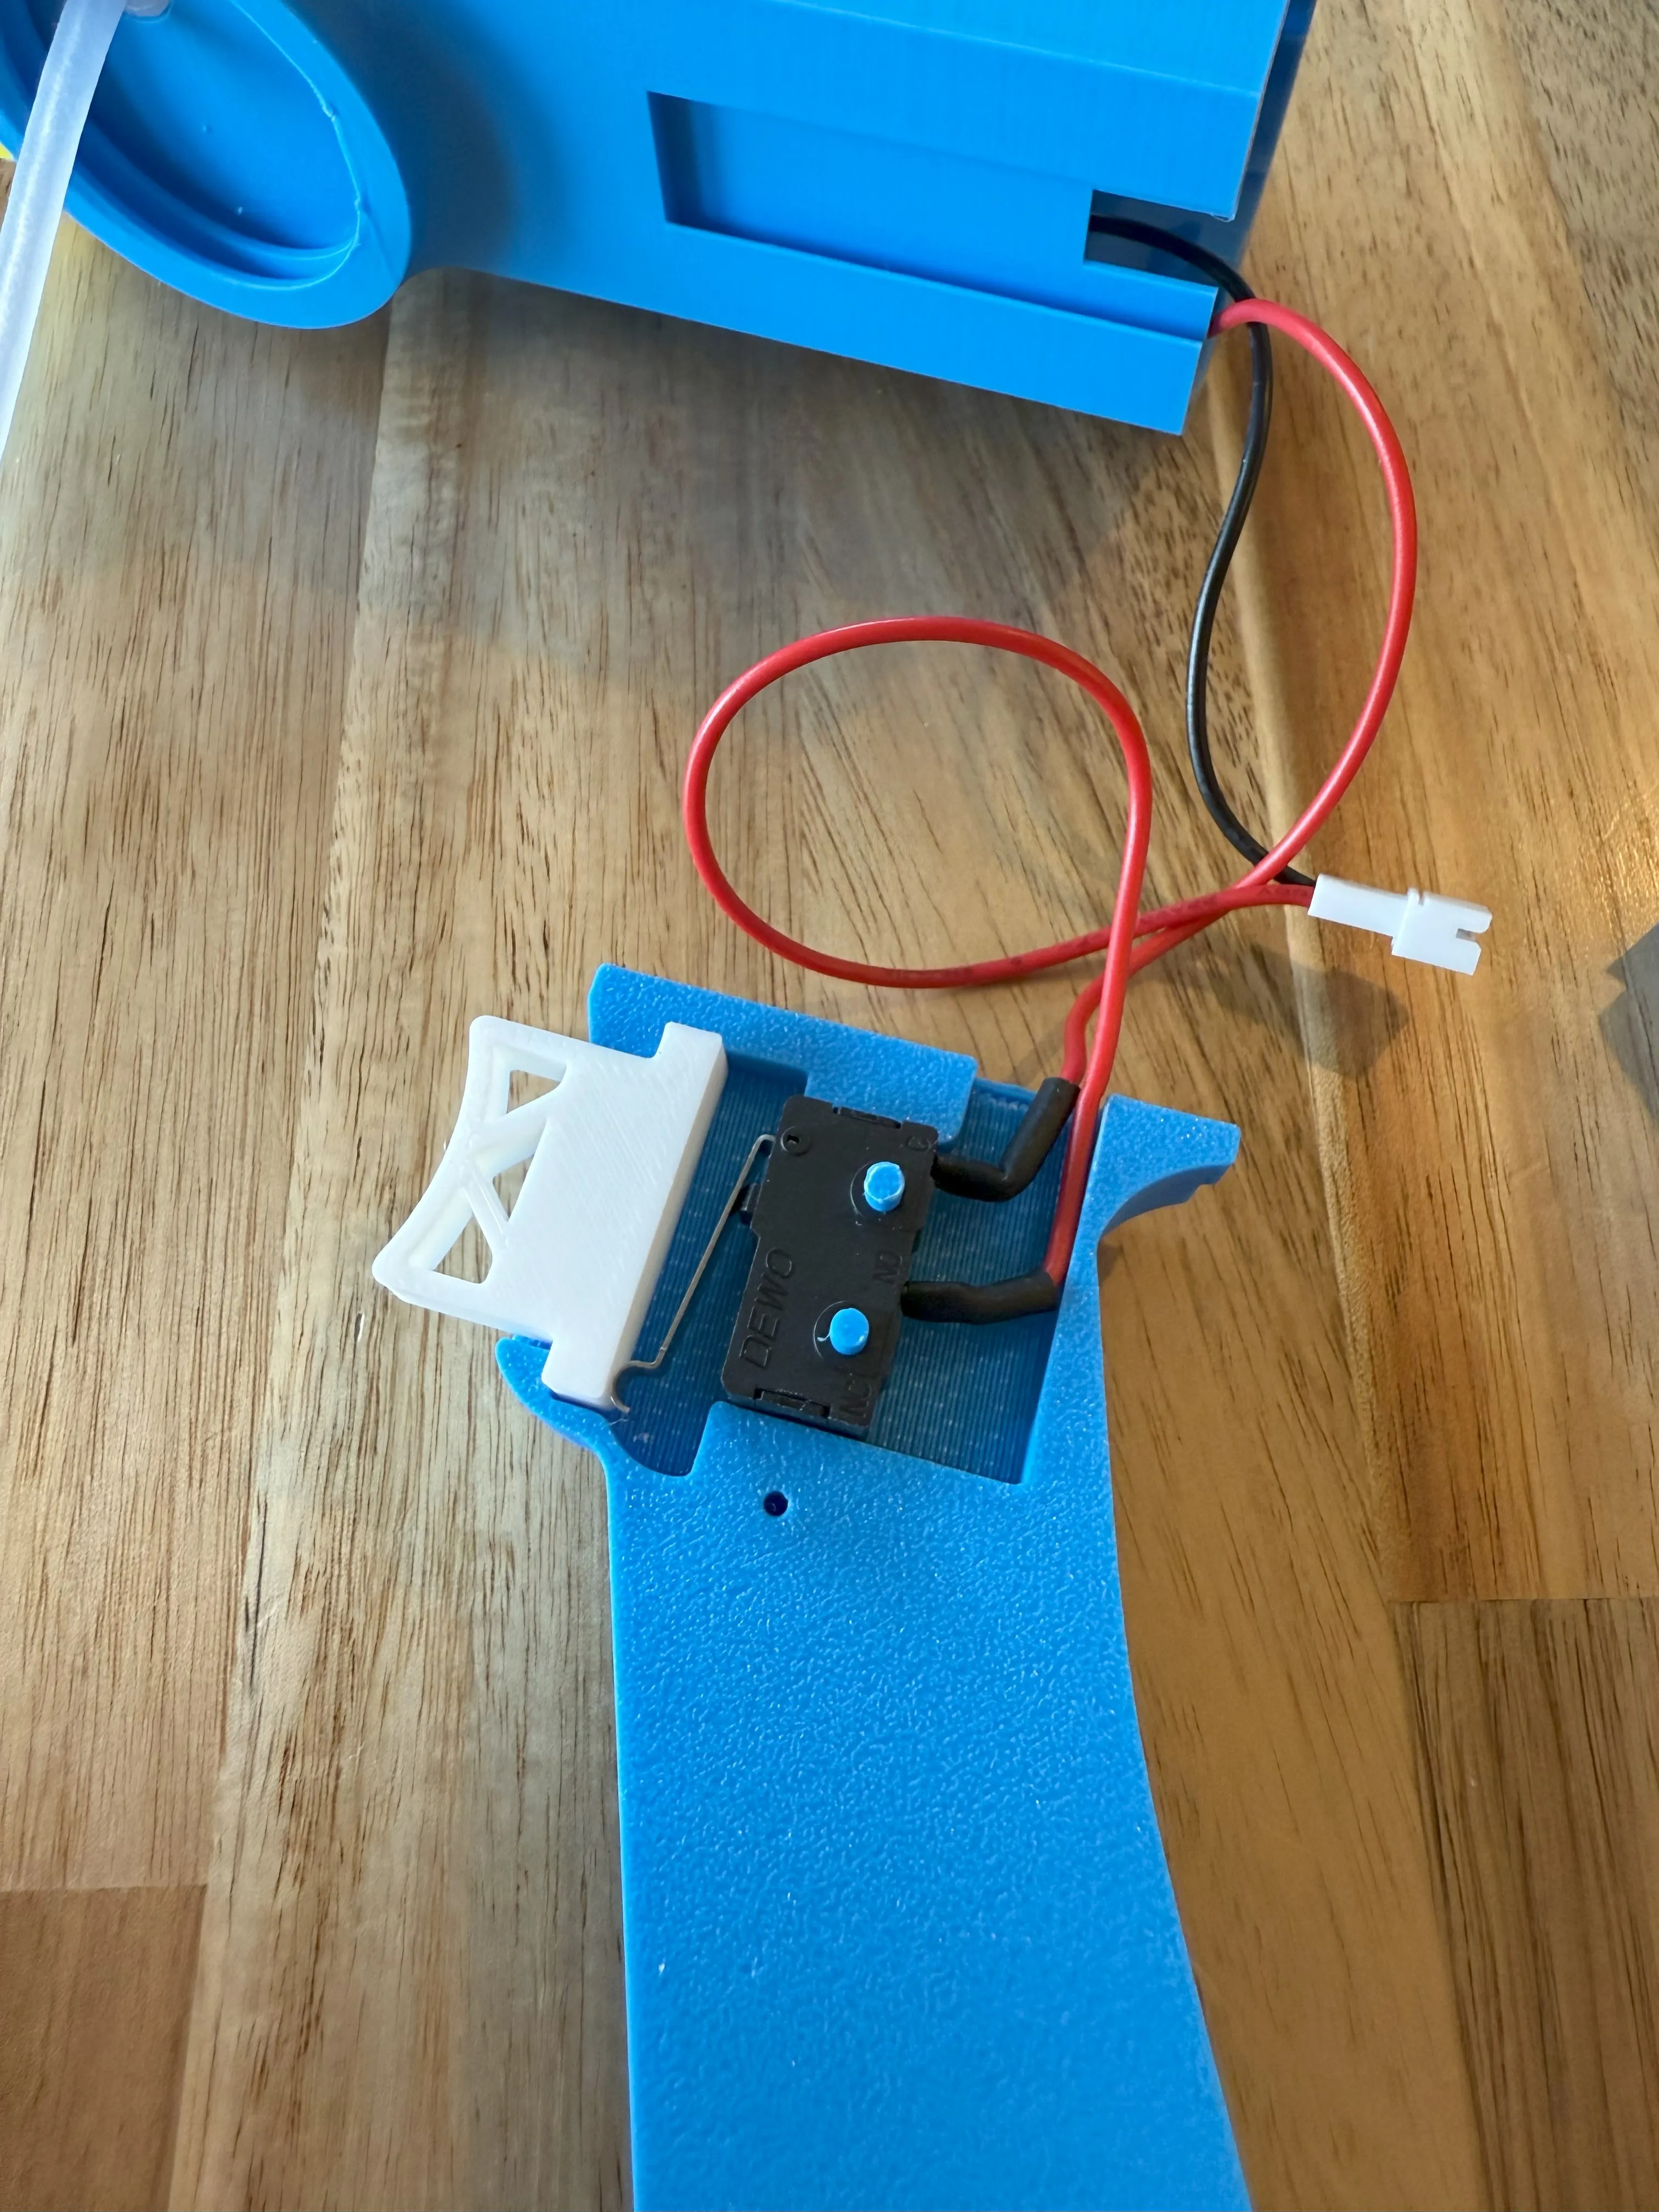
Insert the switch into one of the handles with the two dowels. Make sure the cables are properly tucked in the slot.
Insert the trigger.
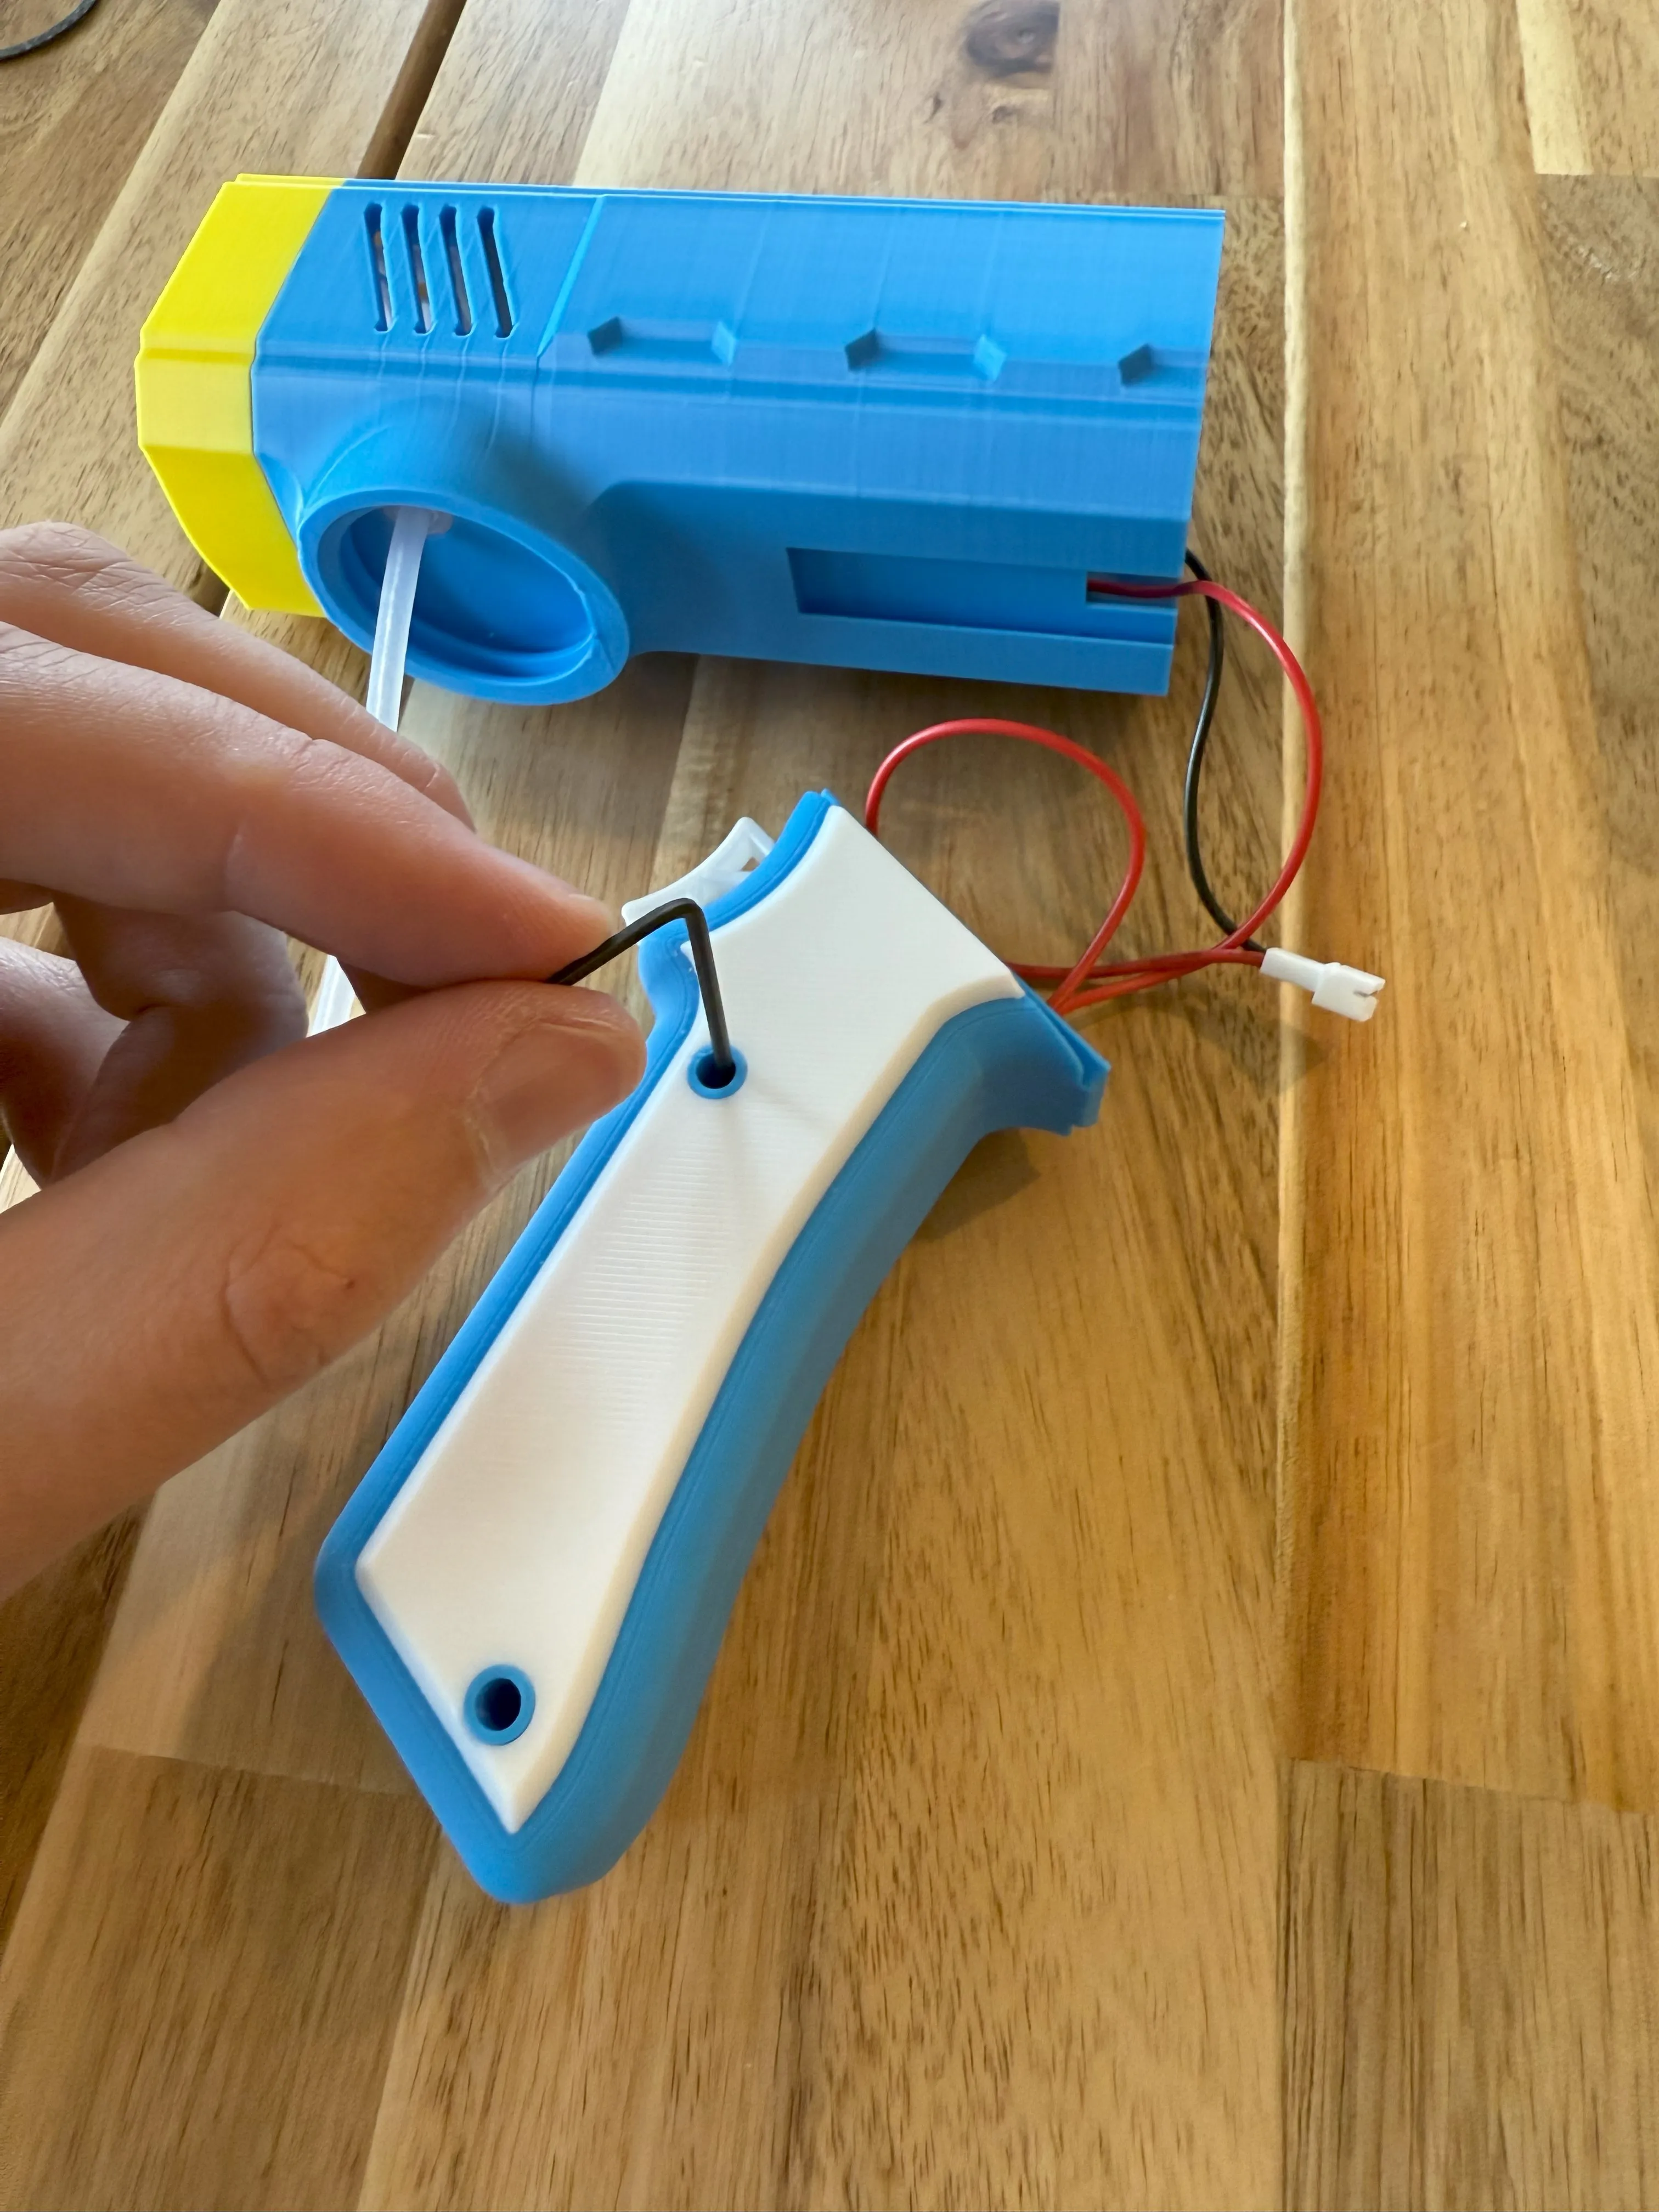
Connect the other handle.
Screw 2x M2x6MM screws into the handles.
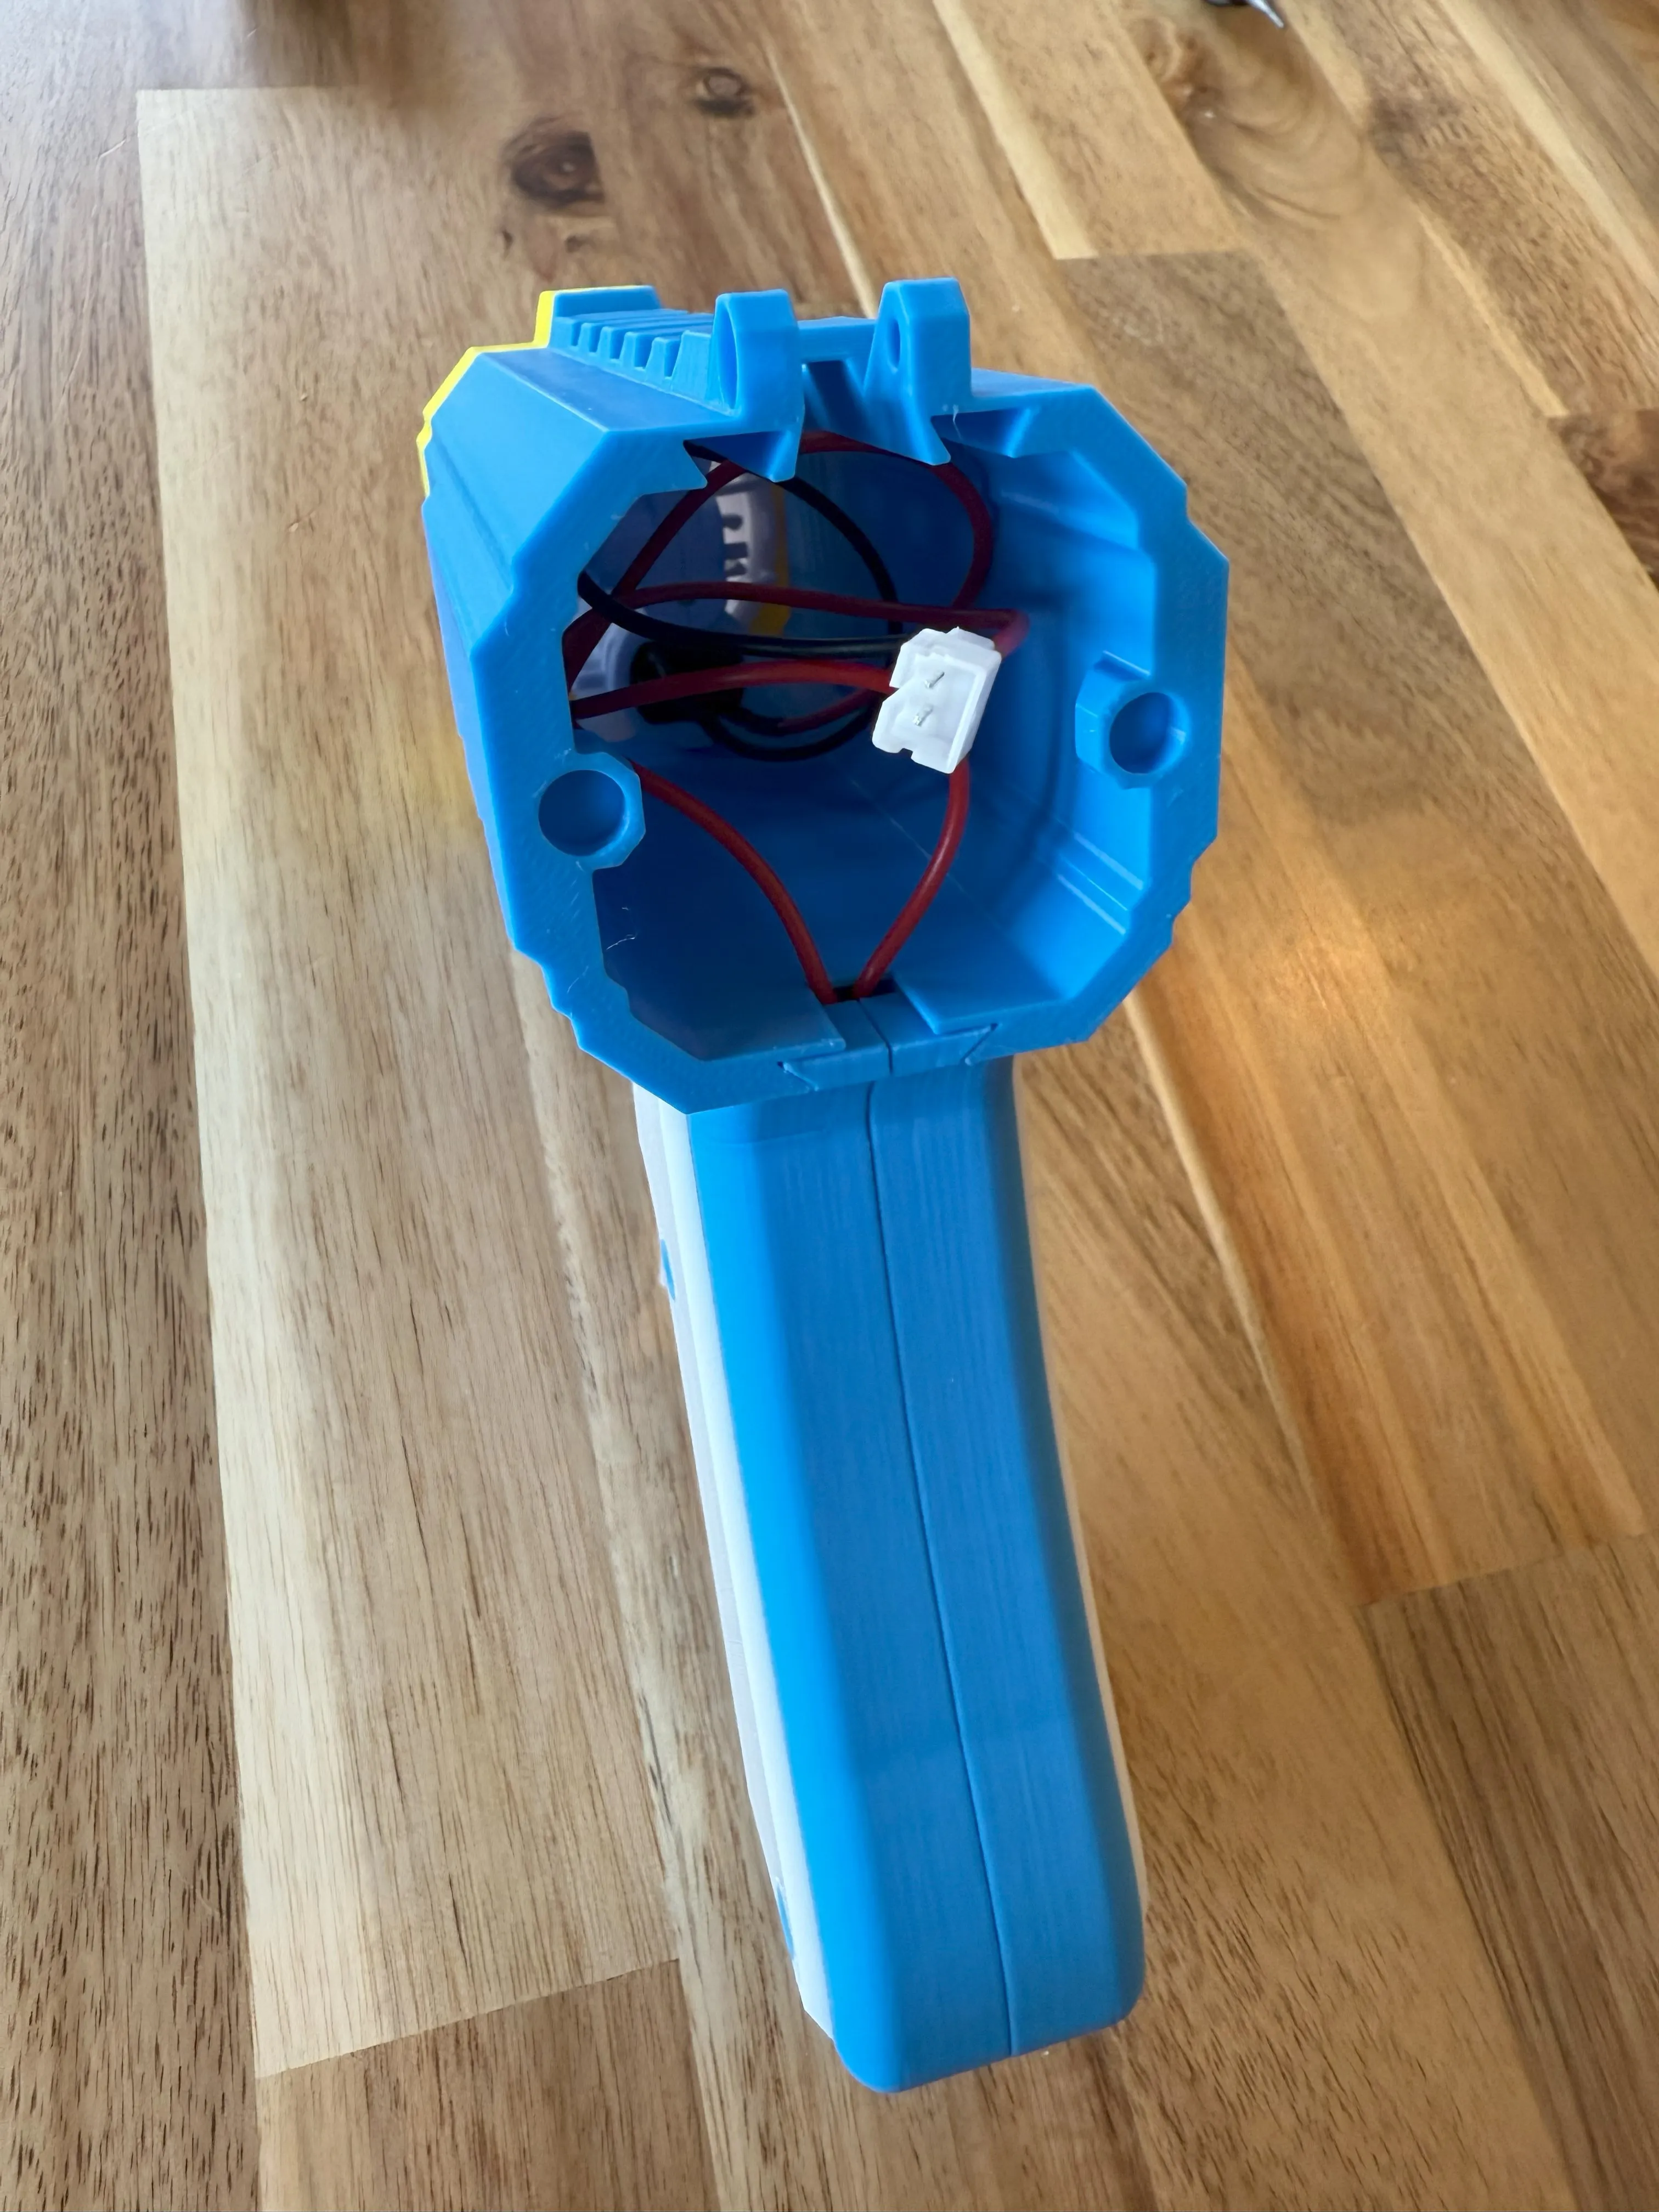
Slide the connected handles into the bottom of the barrel.
Slide the battery mount into the top of the barrel.
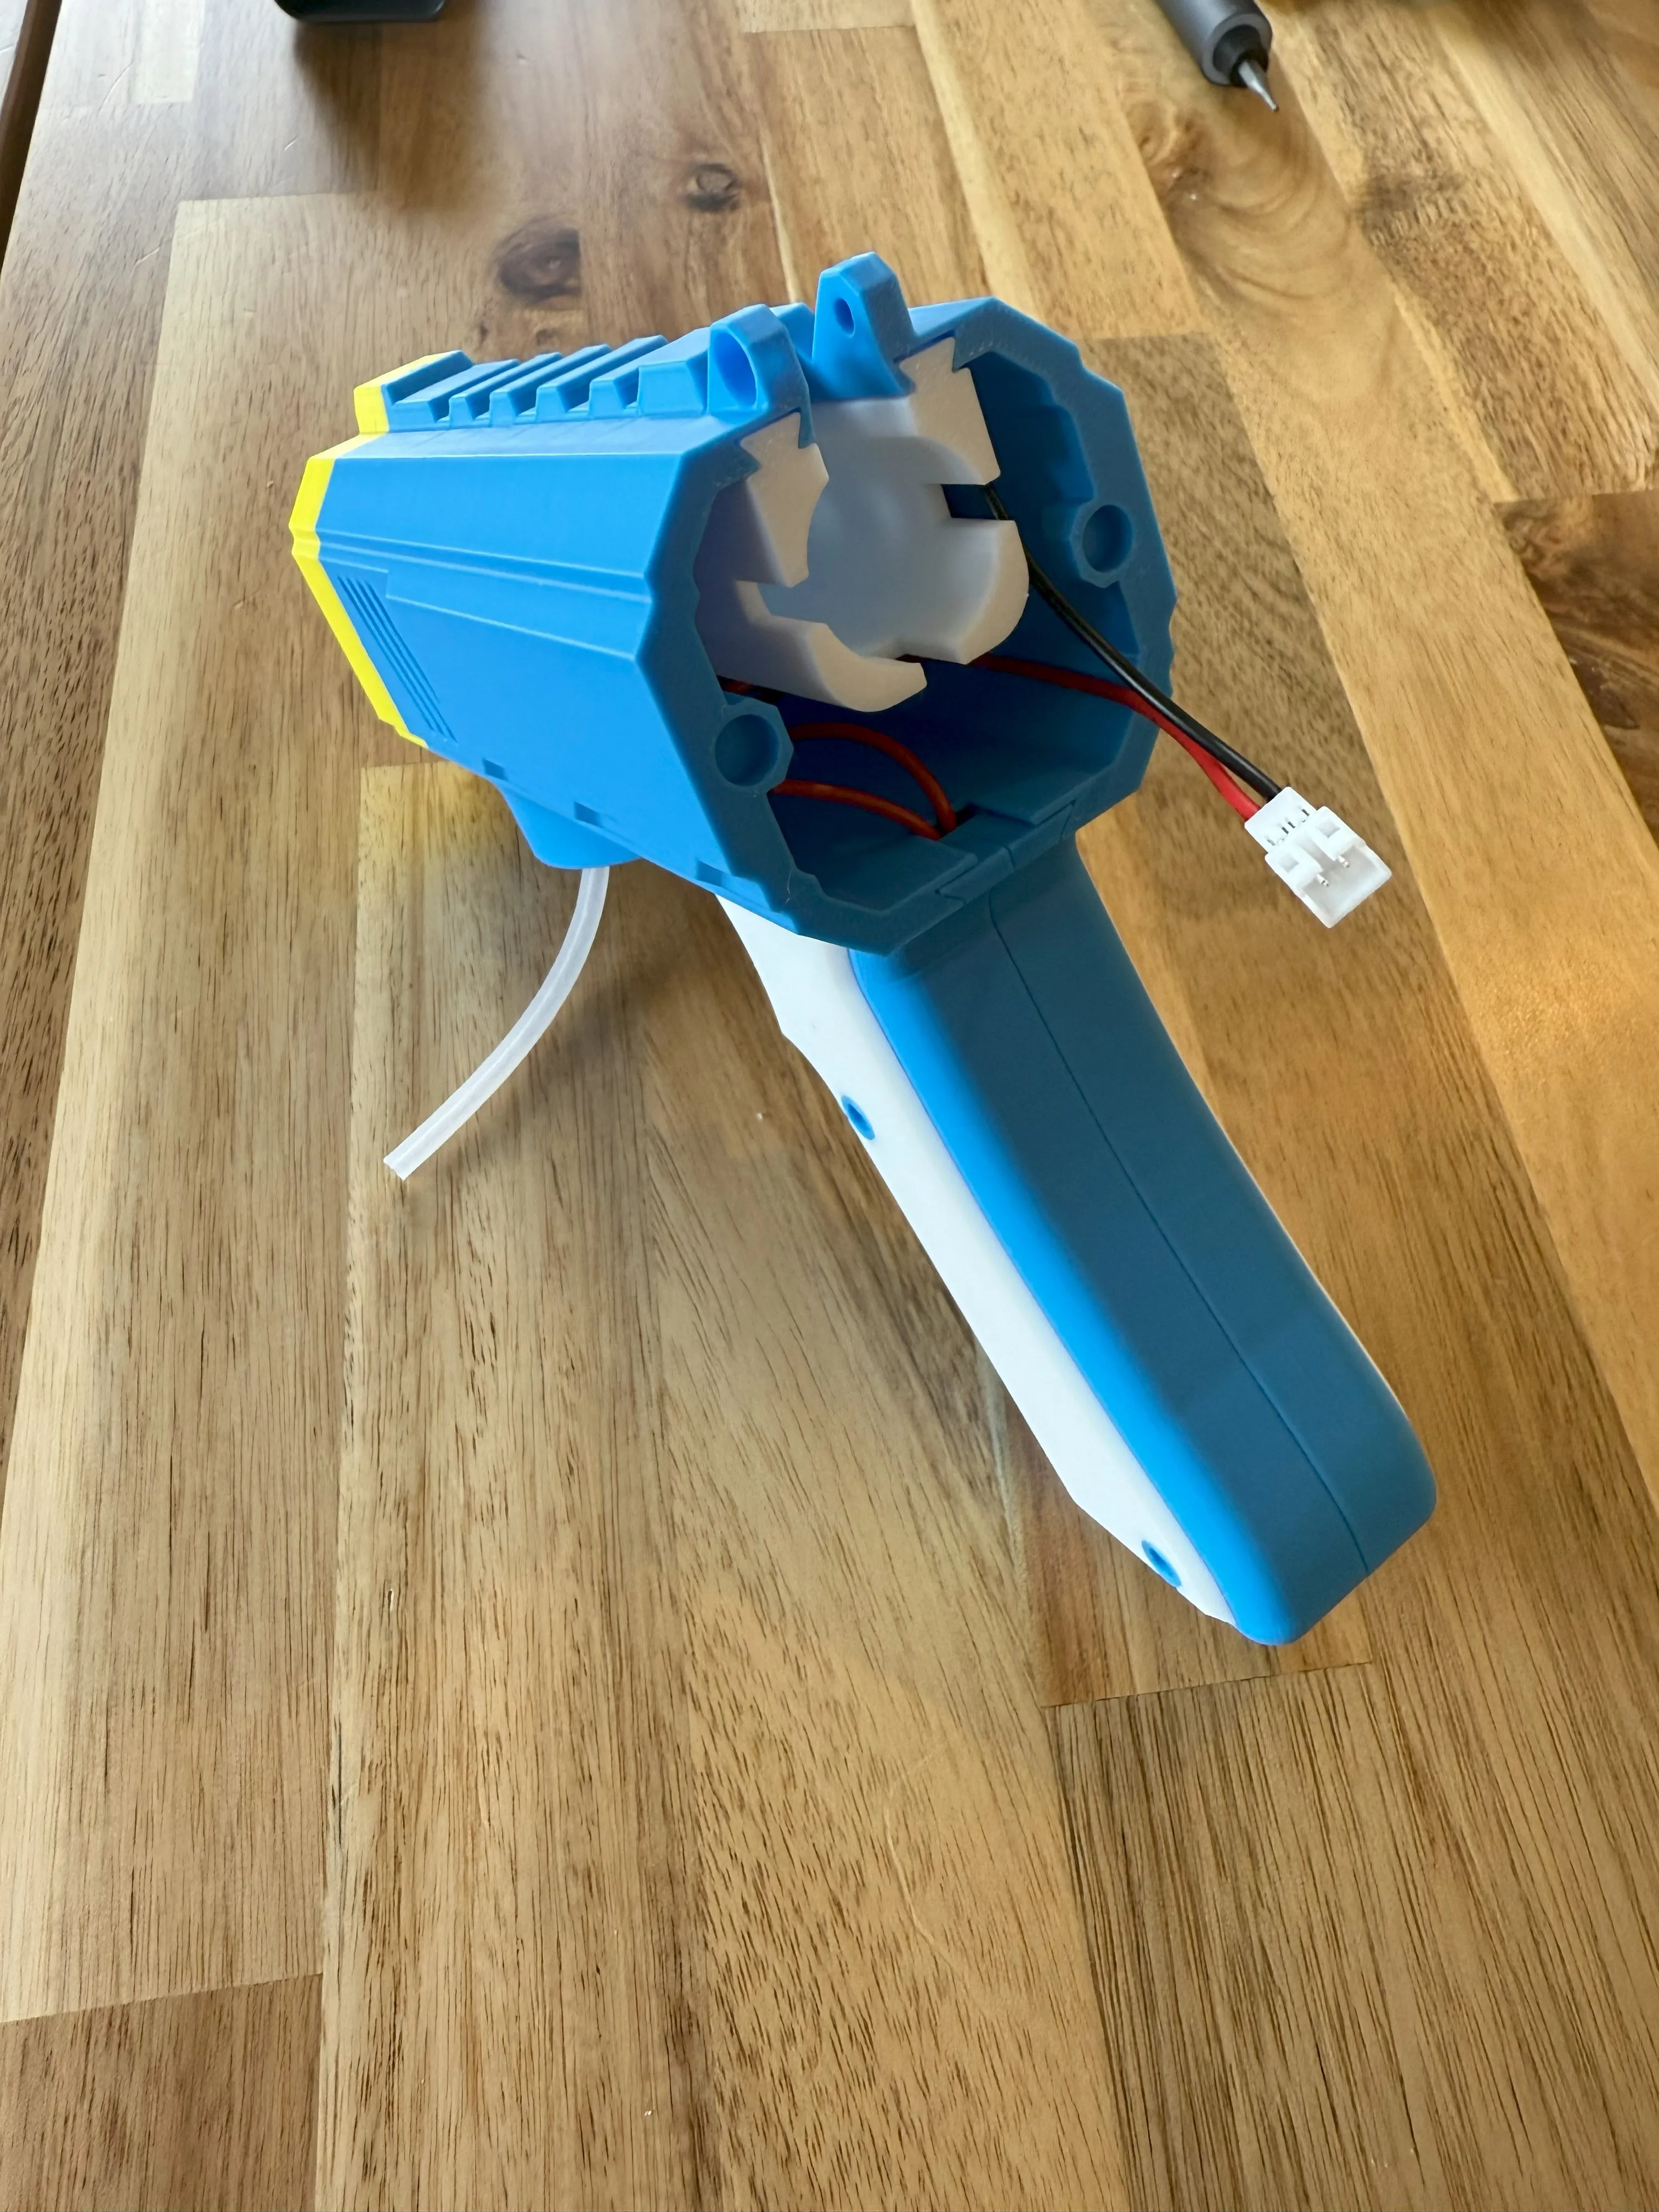
Glue 2x magnets to the back cover.
Glue 2x magnets to the back of the barrel.
These two pieces will connect, so make sure the magnets attract!
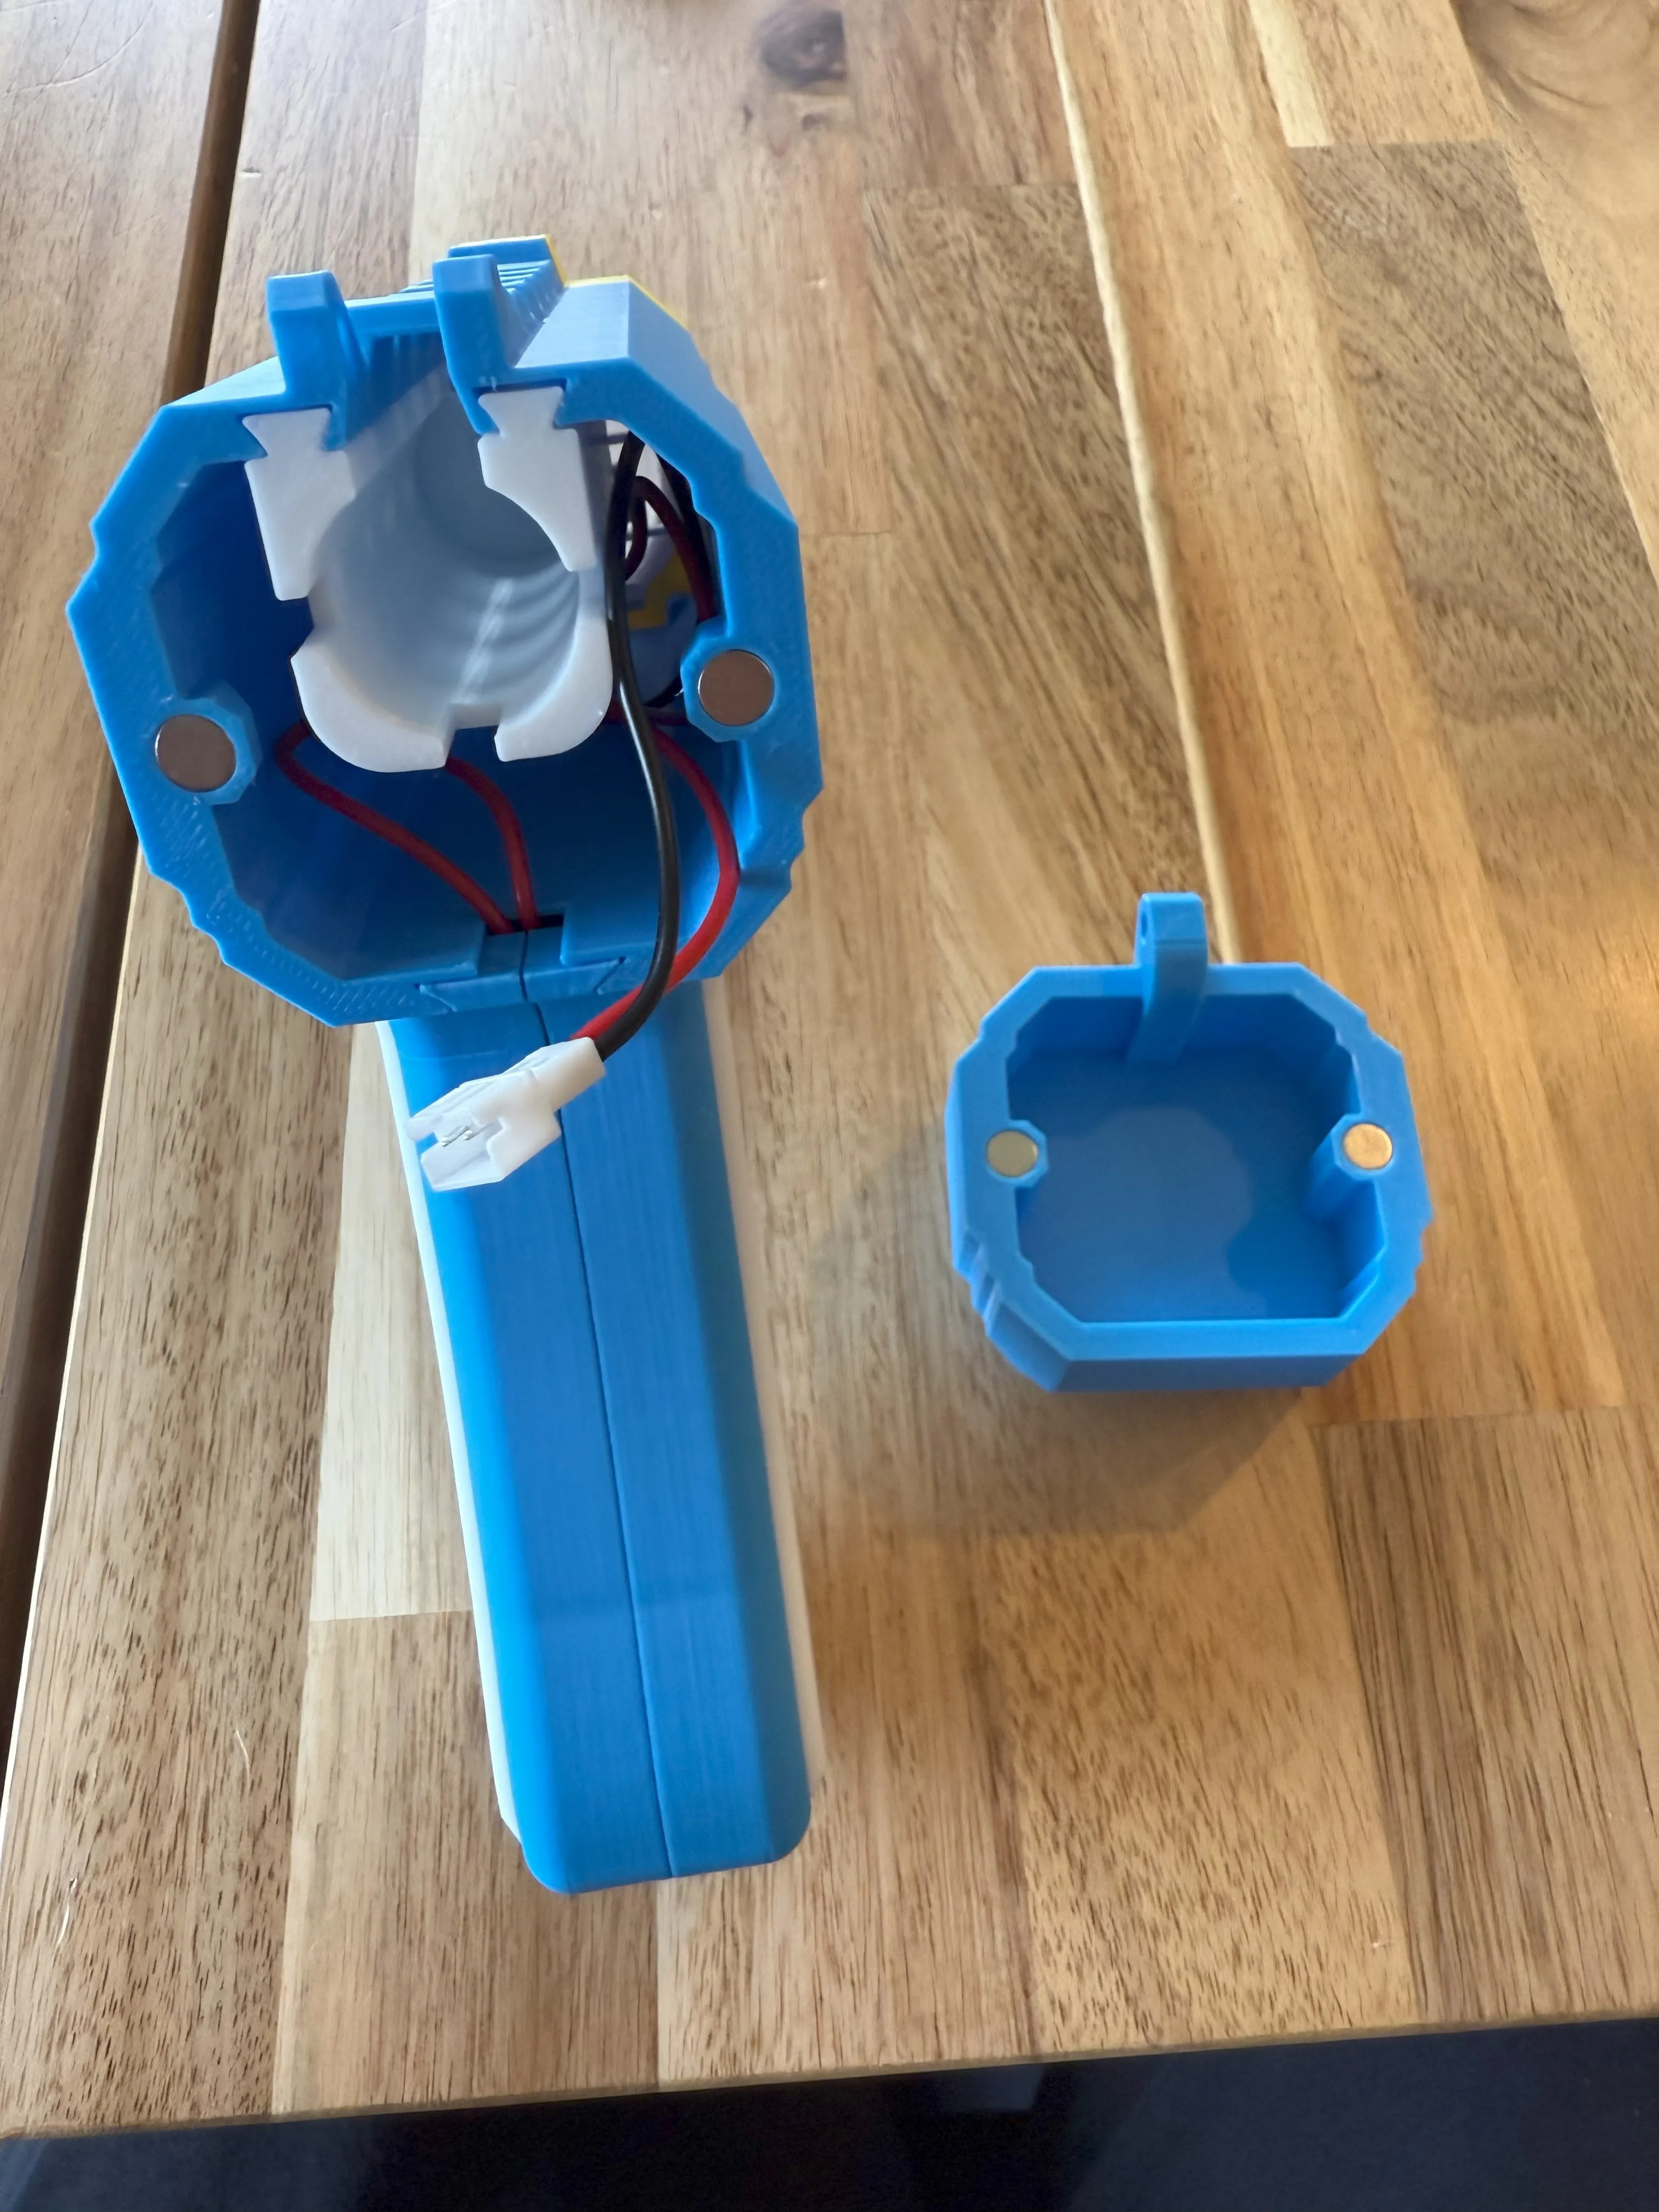
Screw 1x M3x10mm screw through the slot at the top of the barrel to secure the back mount.
The screw should be flush.
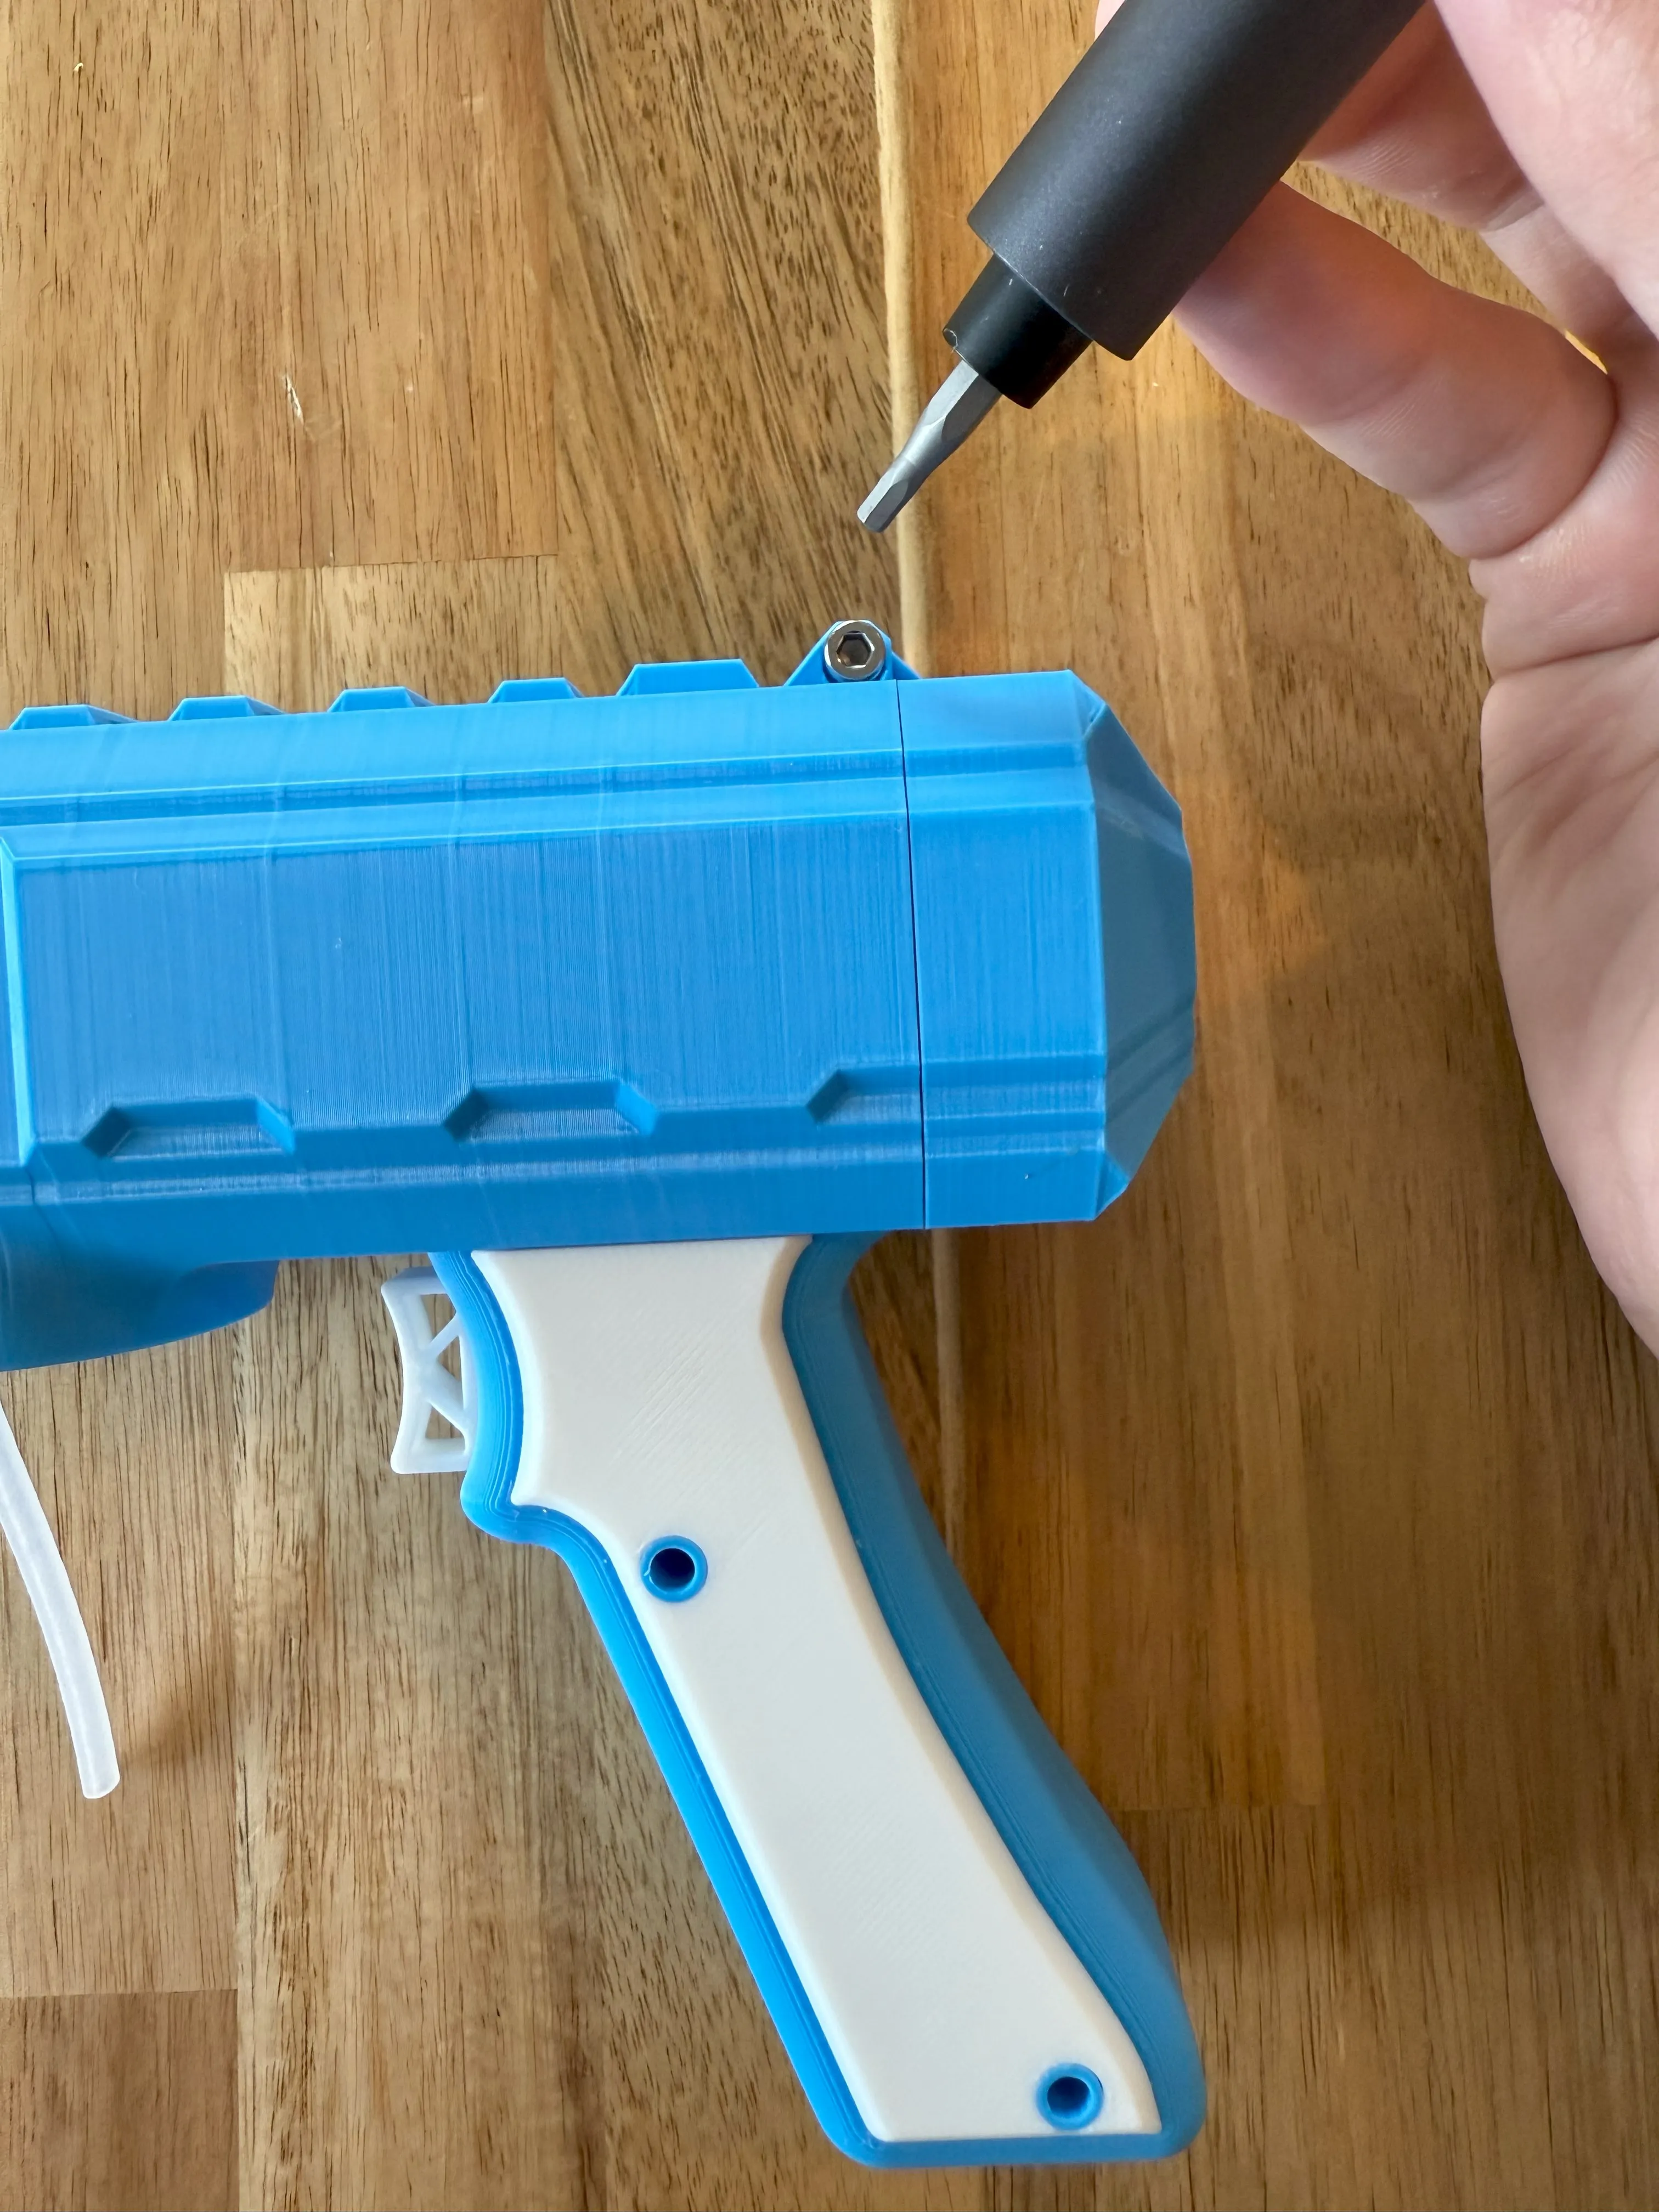
Connect and insert the battery.
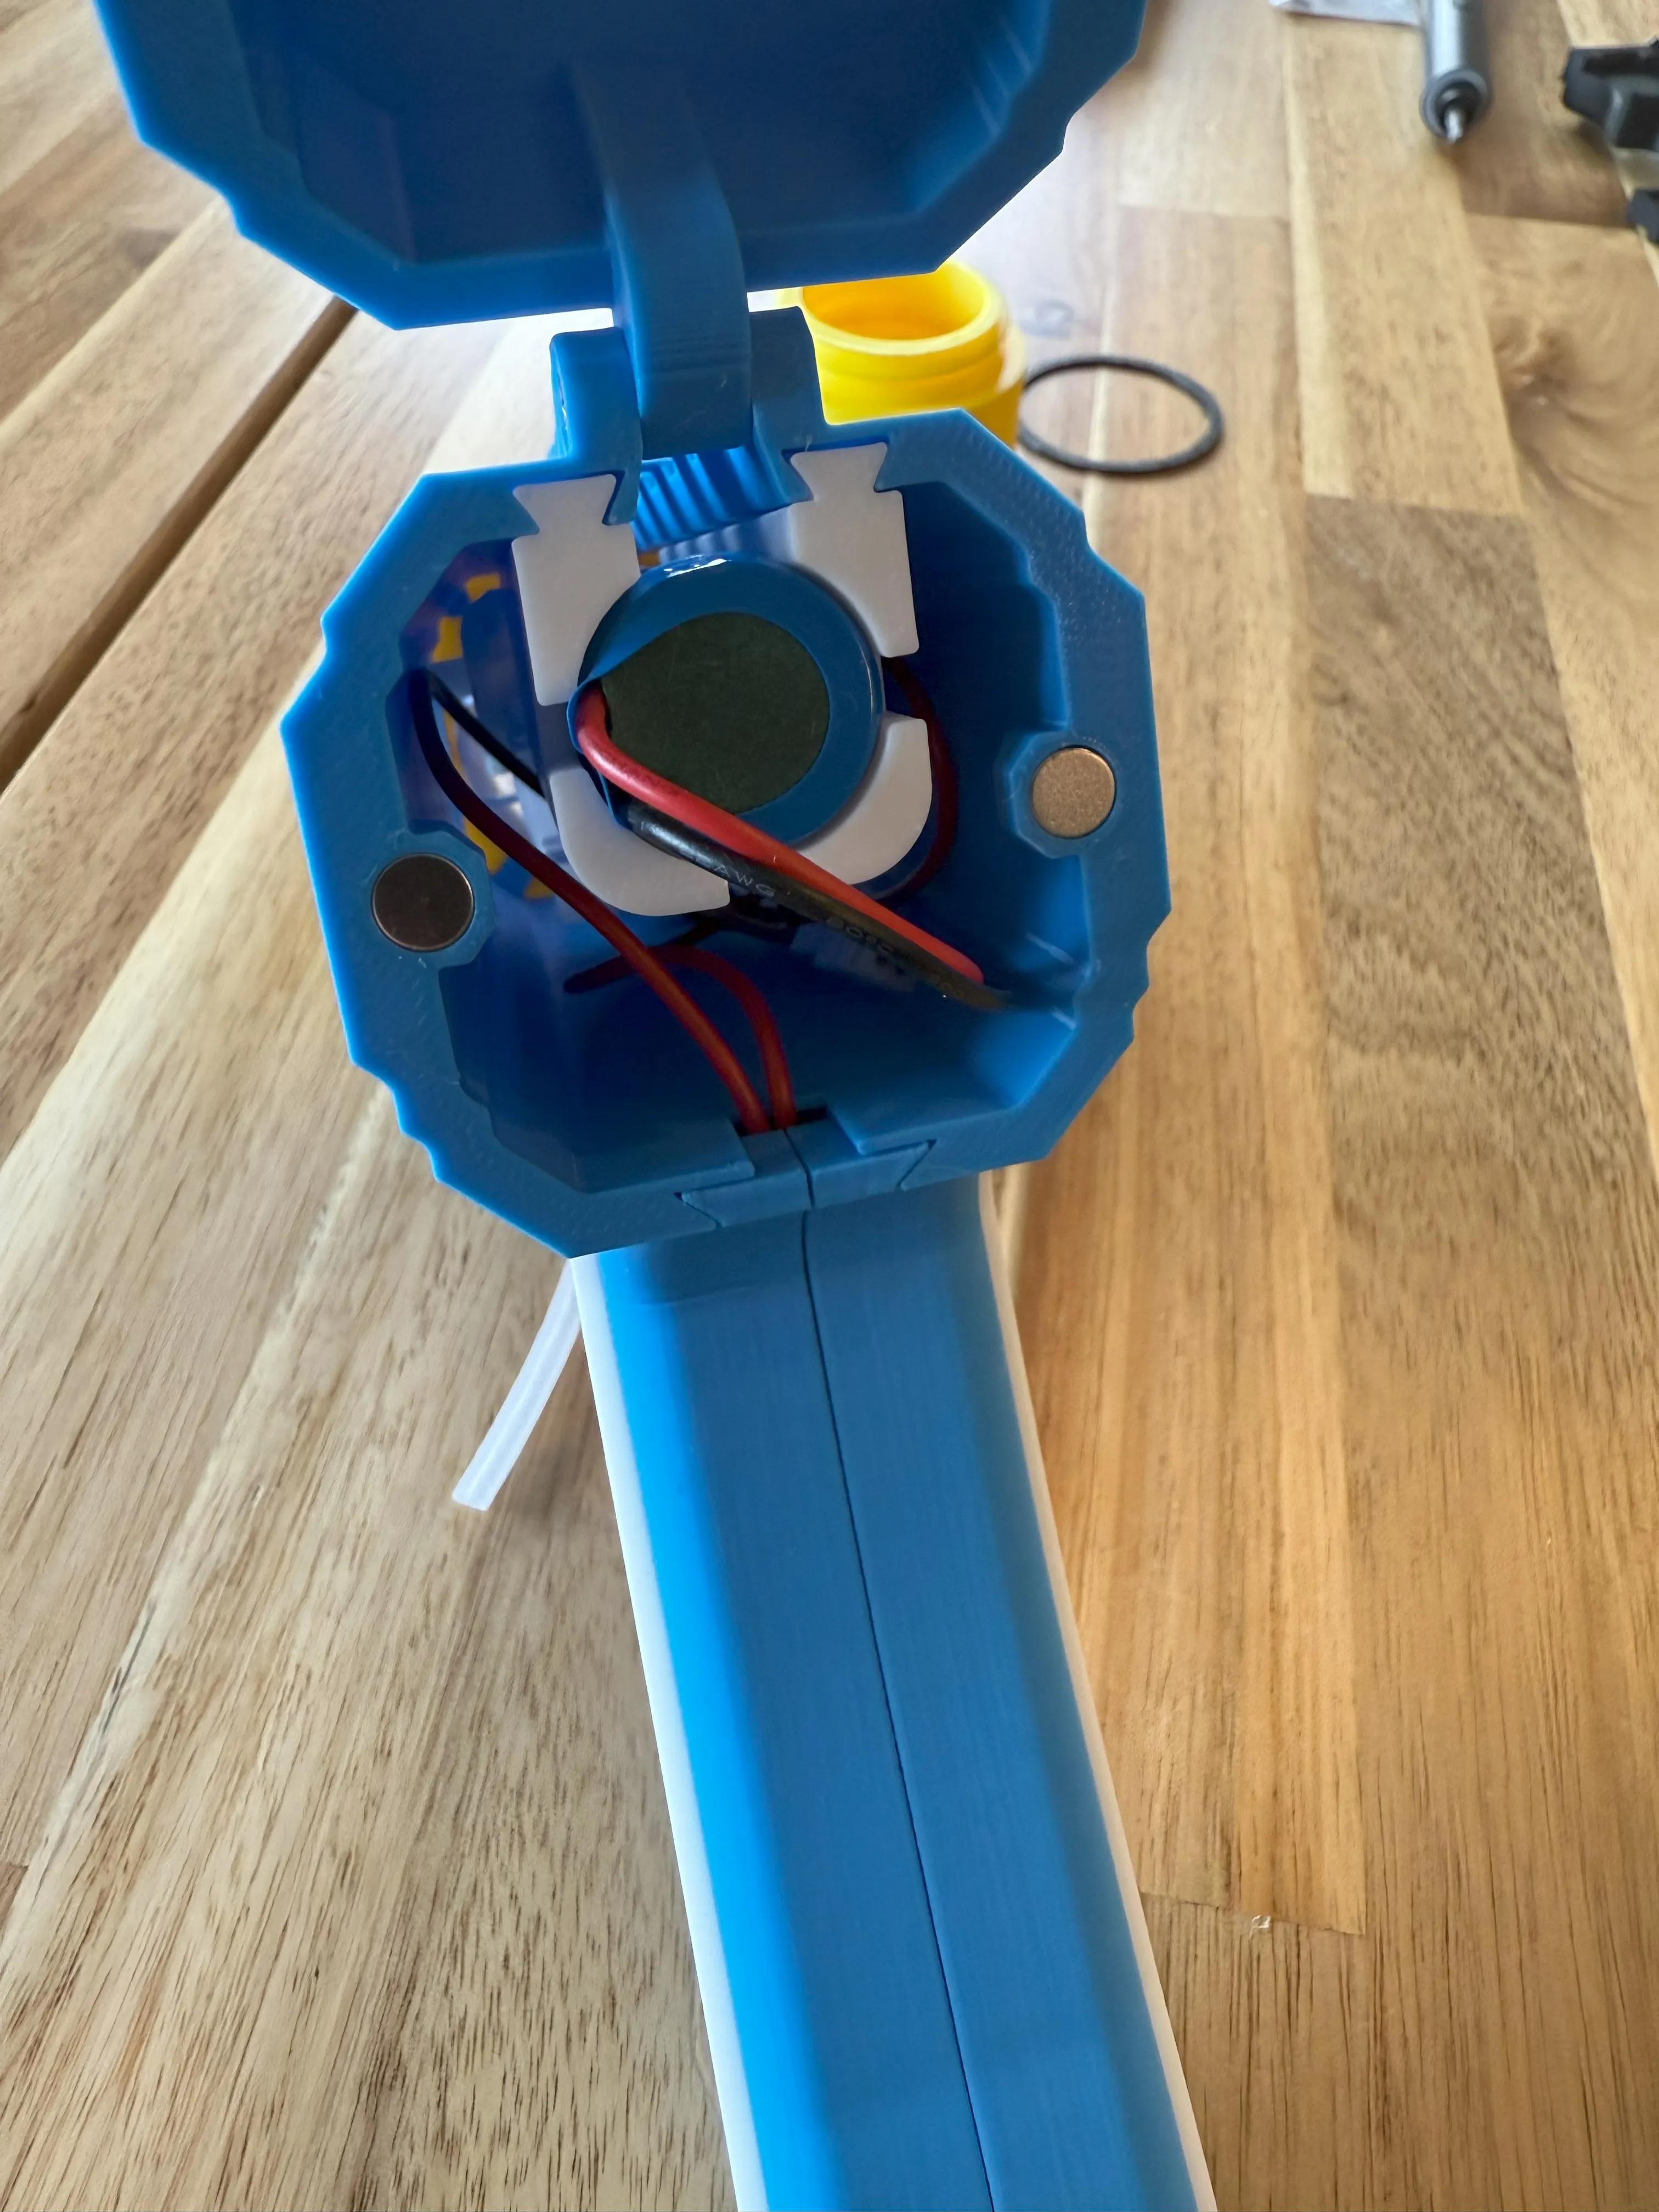
Cut the length of the tube to properly fit into the bubble tank.
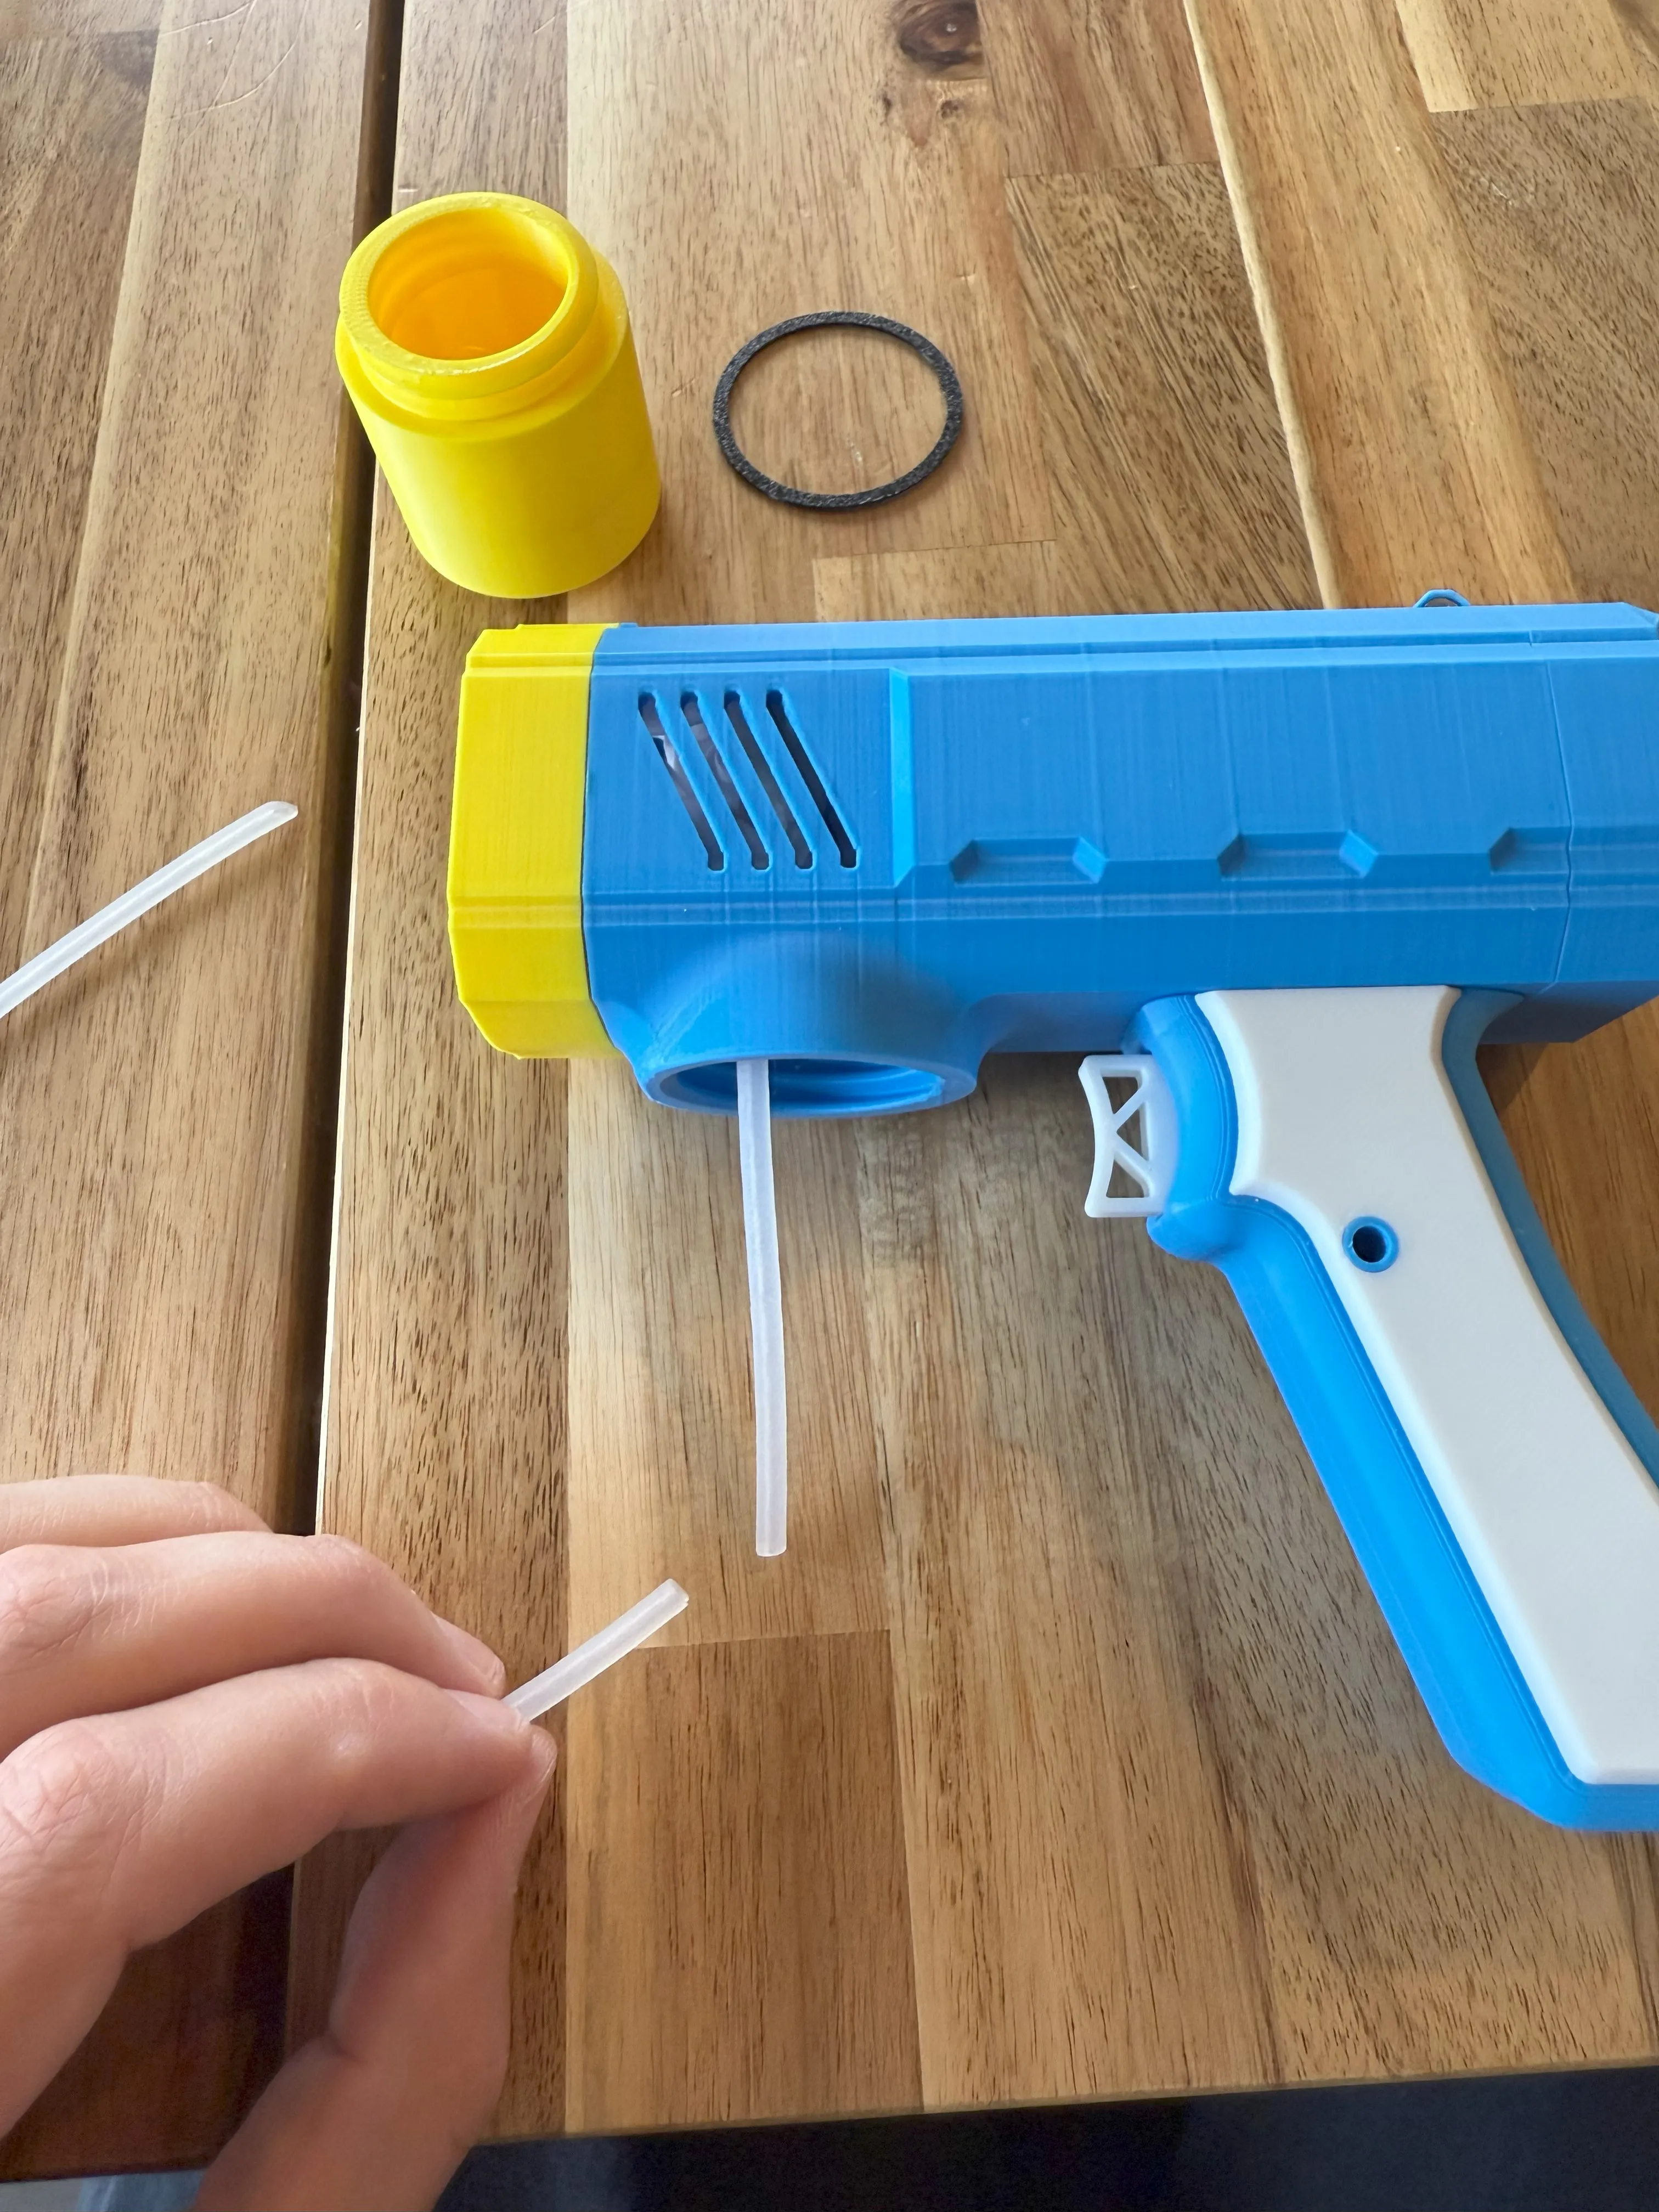
Add the gasket to the bubble tank.
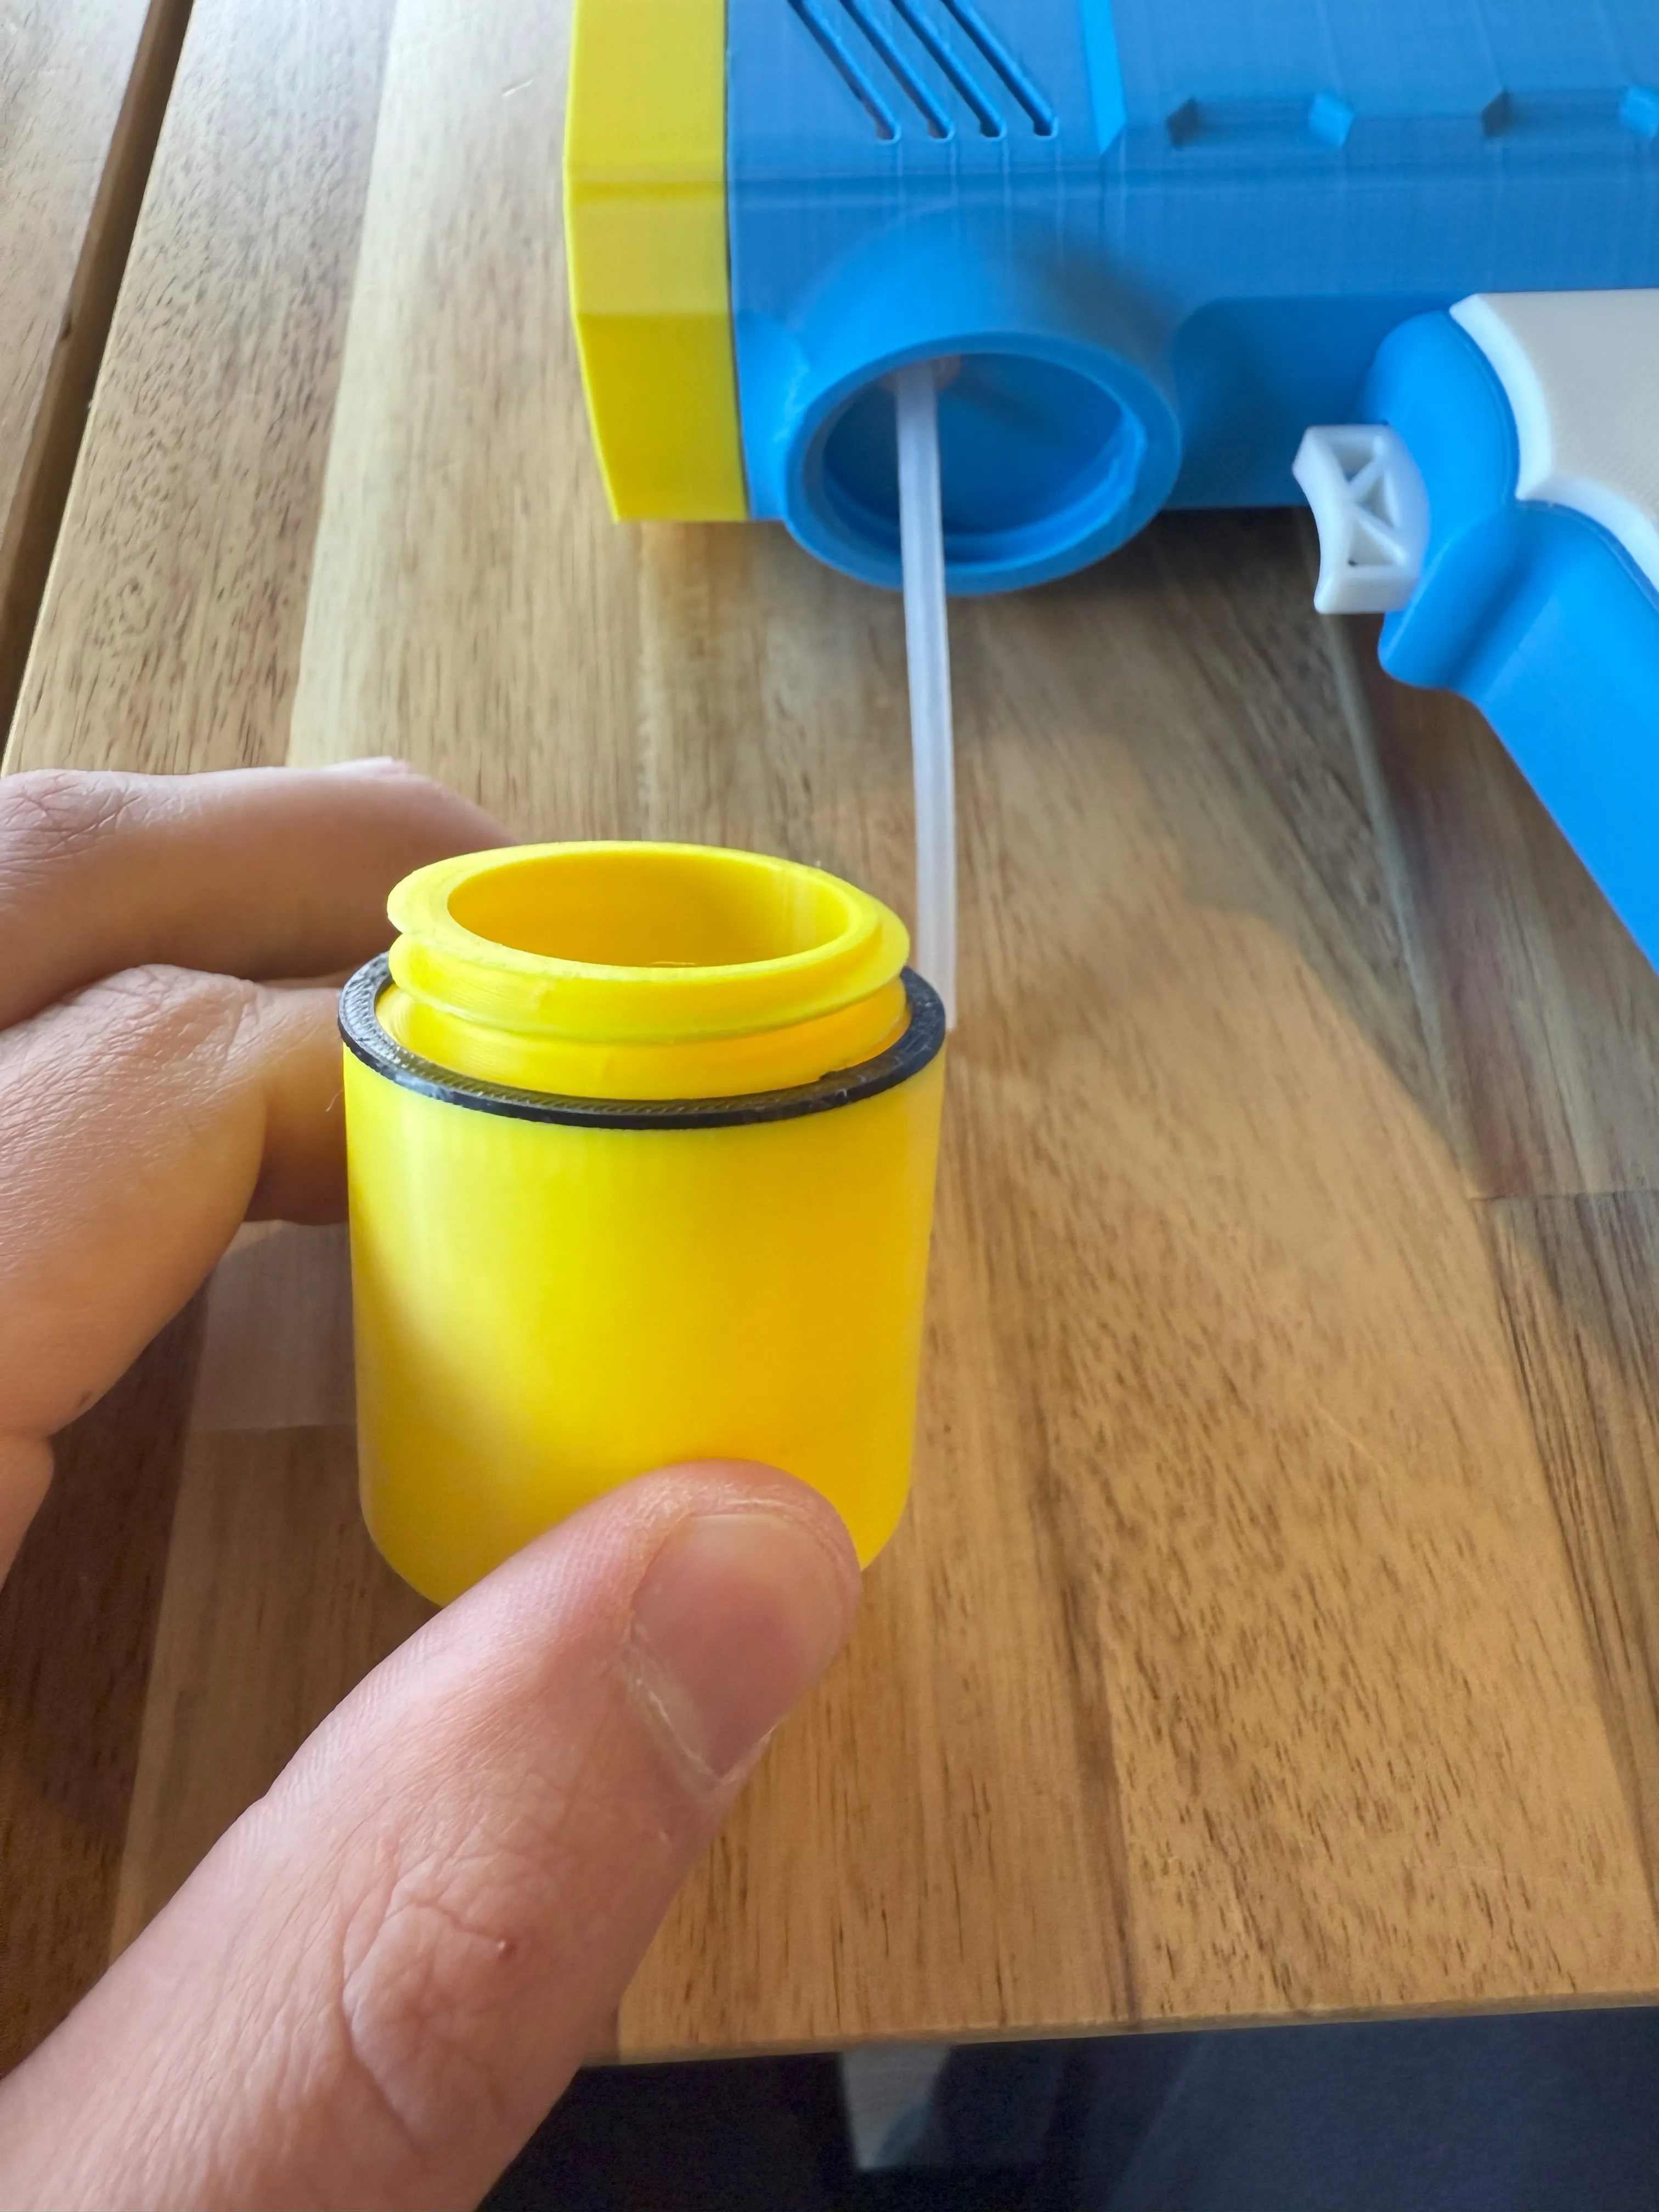
Screw the bubble tank to the bottom of the barrel.
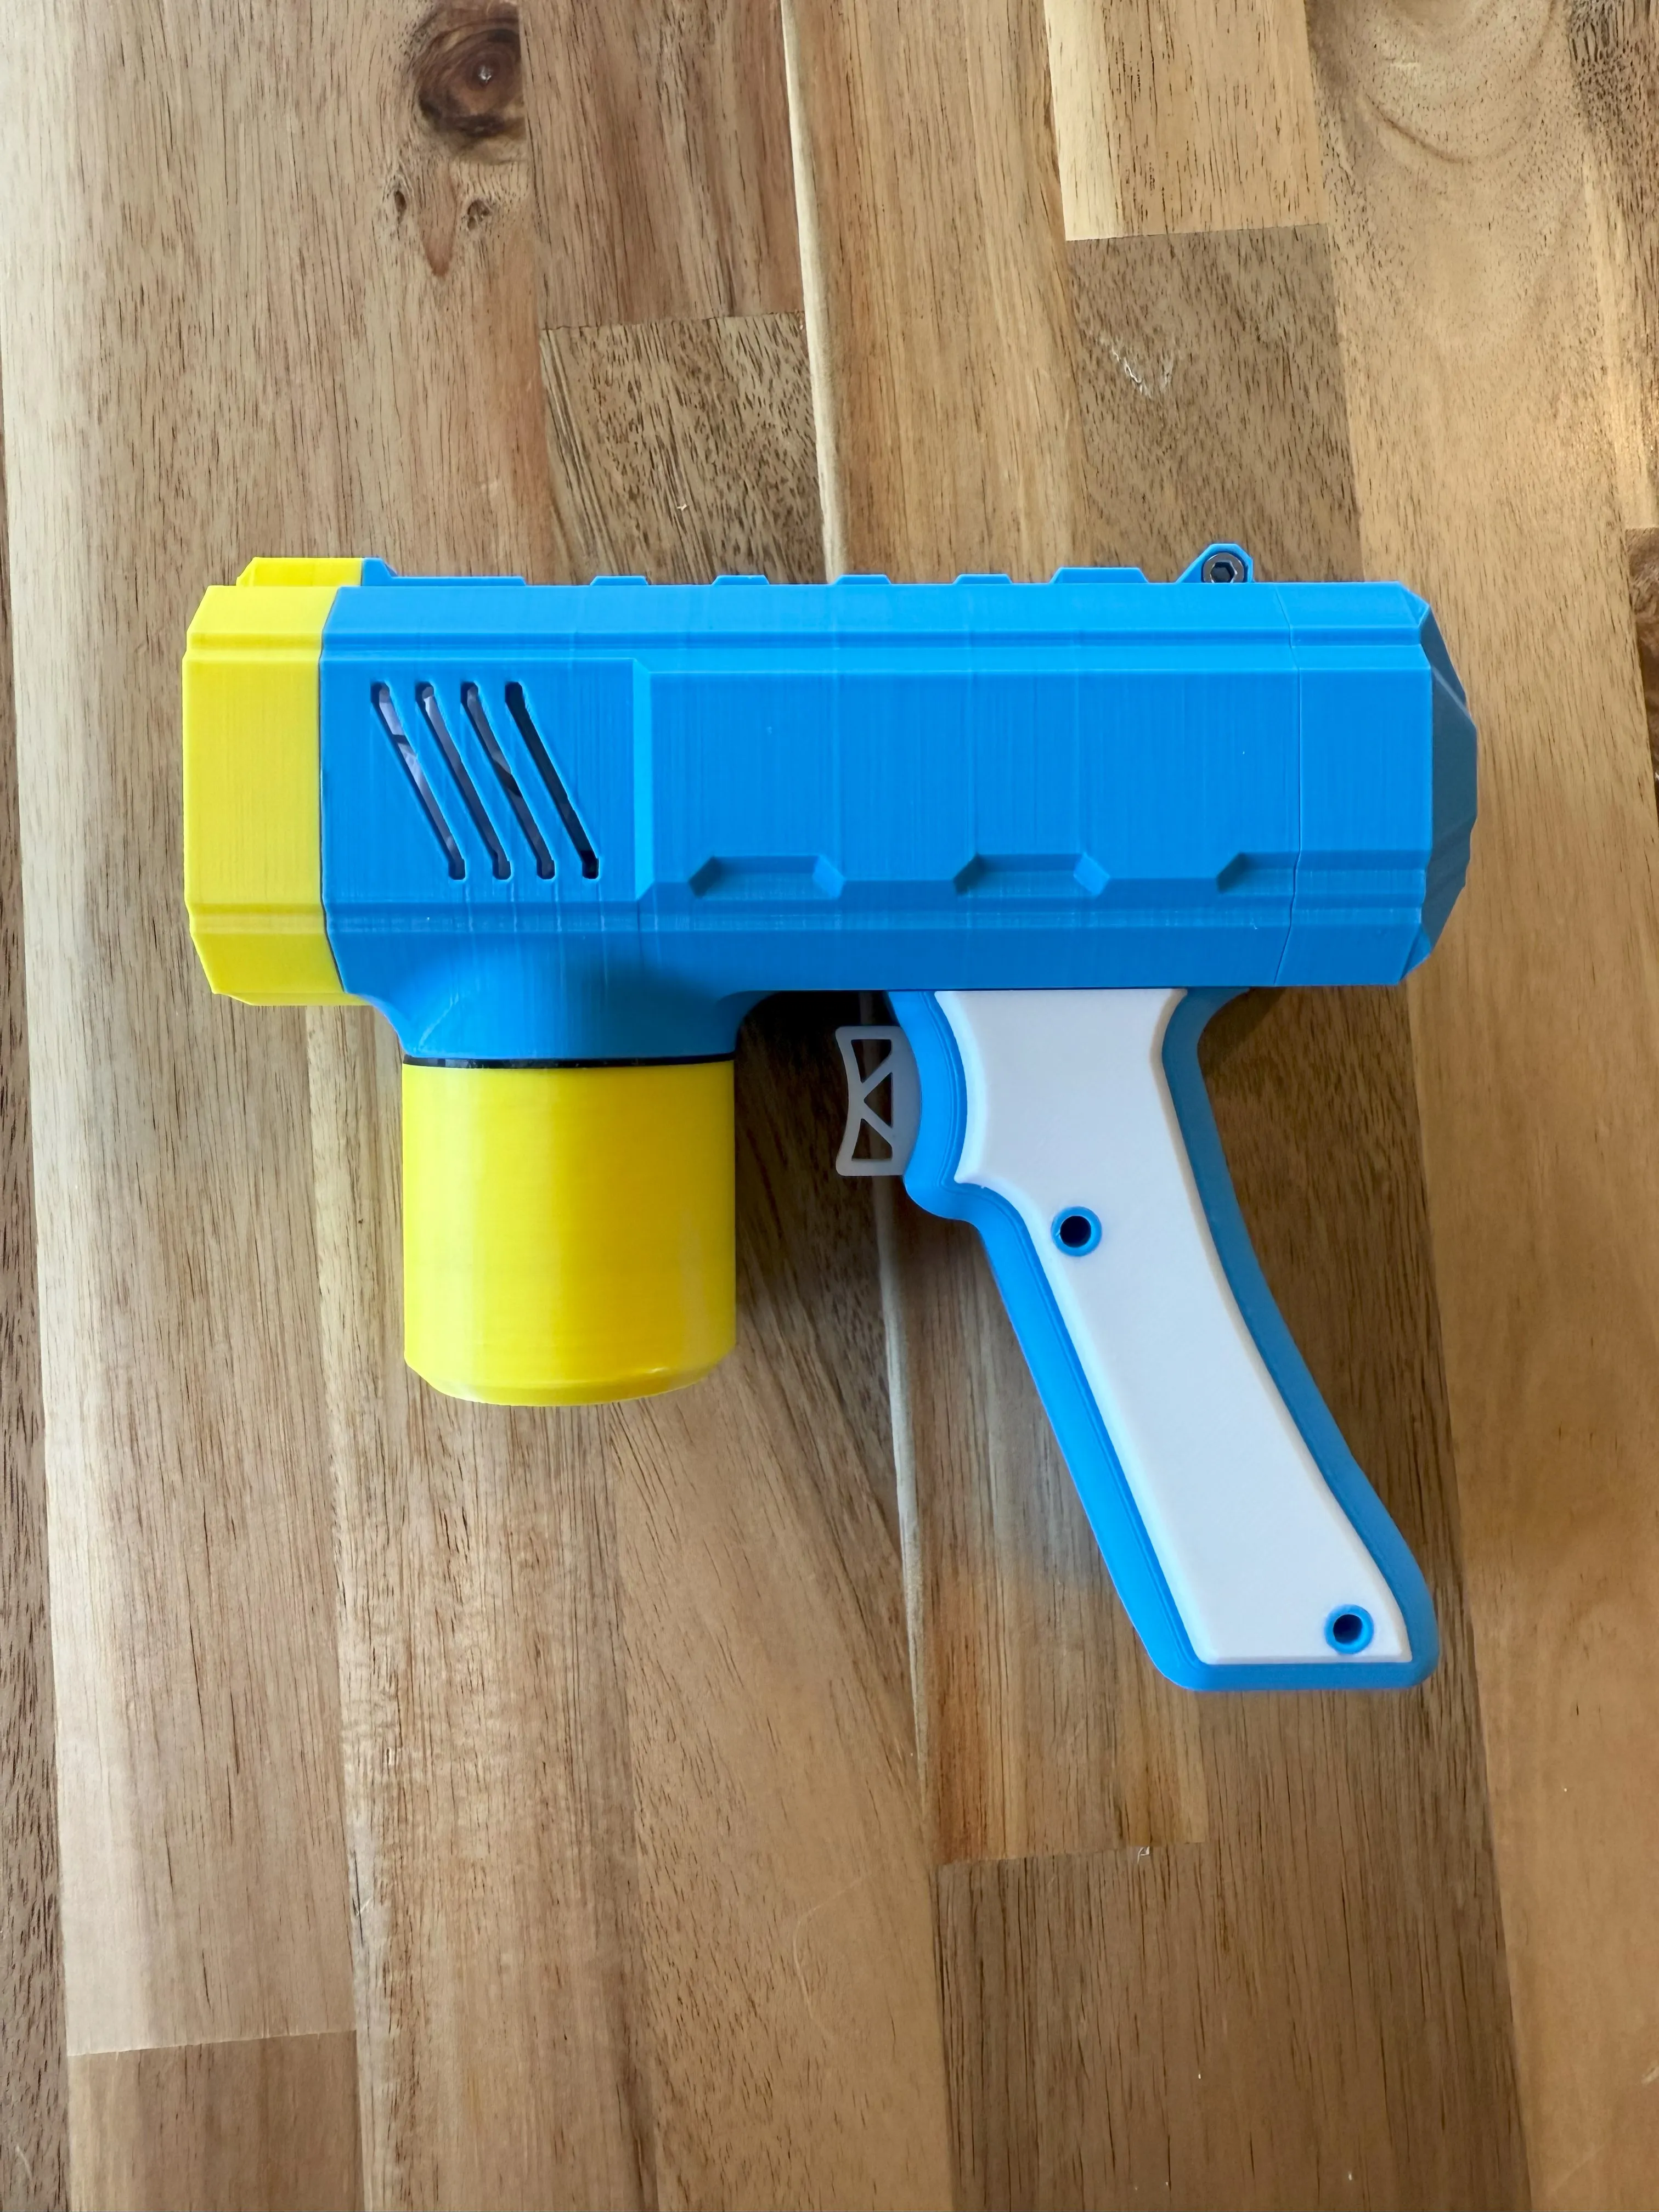
Add warm water & soap to the bubble tank and enjoy!!!!
License

You shall not share, sub-license, sell, rent, host, transfer, or distribute in any way the digital or 3D printed versions of this object, nor any other derivative work of this object in its digital or physical format (including - but not limited to - remixes of this object, and hosting on other digital platforms). The objects may not be used without permission in any way whatsoever in which you charge money, or collect fees.


Comment & Rating (361)