
Display Case
Print Profile(1)

Bill of Materials
- Clear Acrylic Sheet x 1:
Description
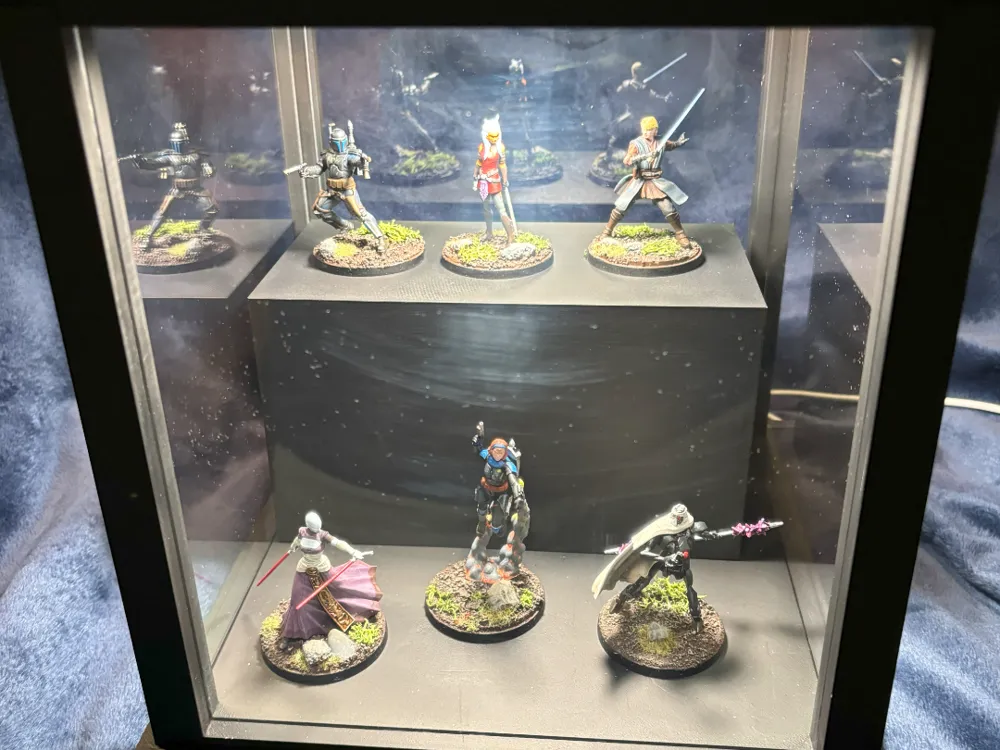
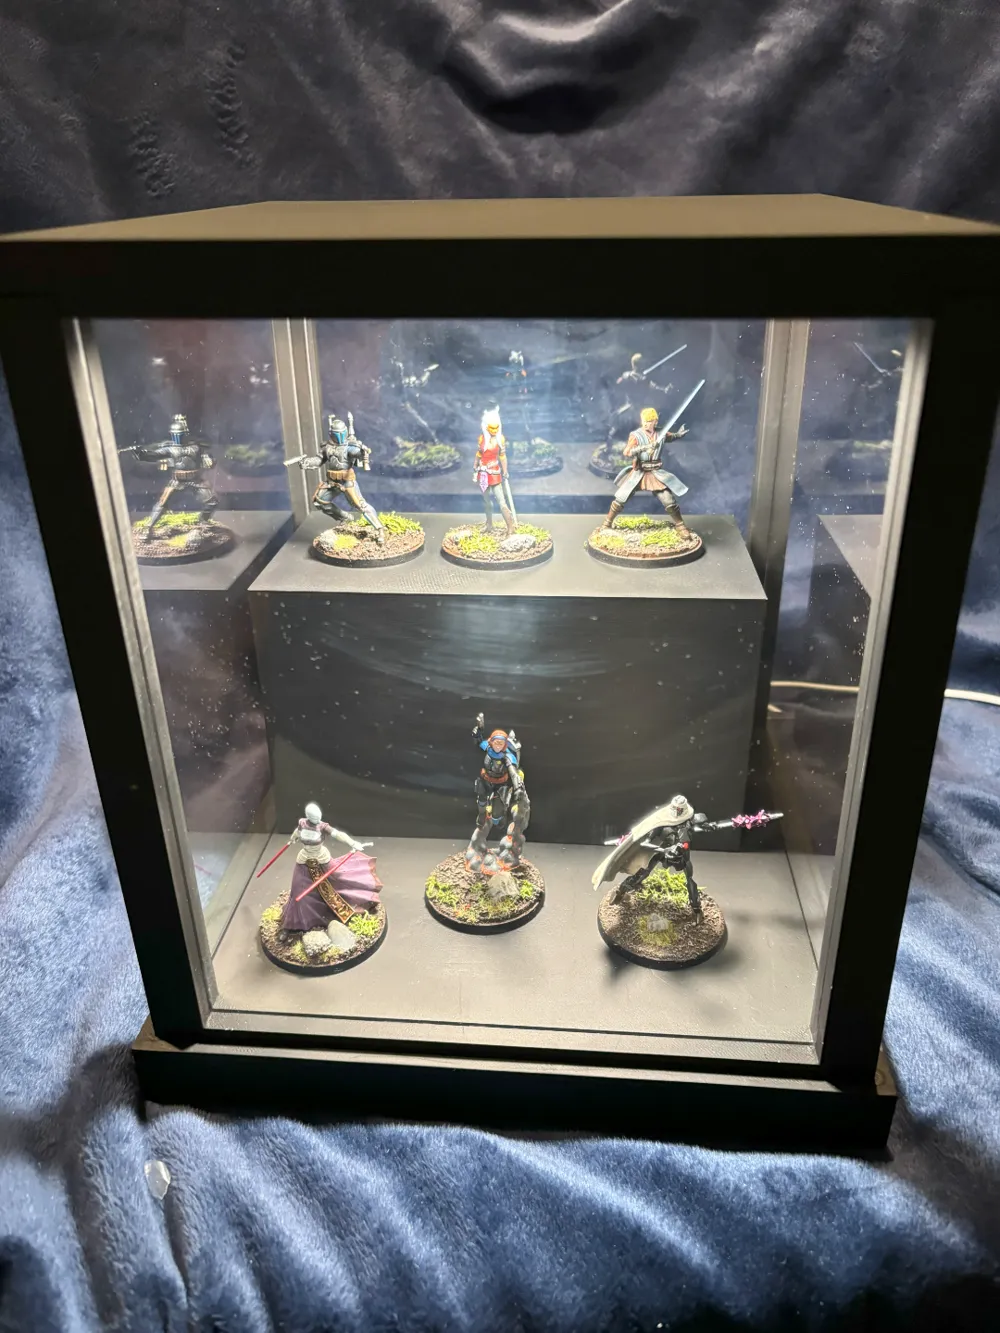
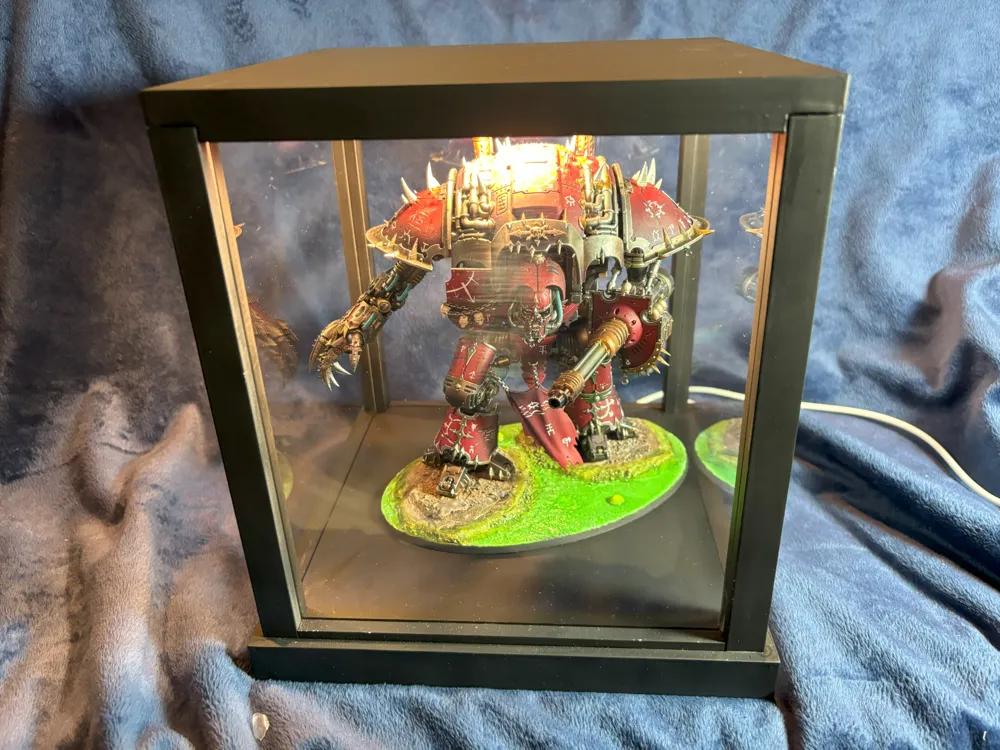
Showcase Your Masterpieces: The Ultimate Display Case for Miniatures
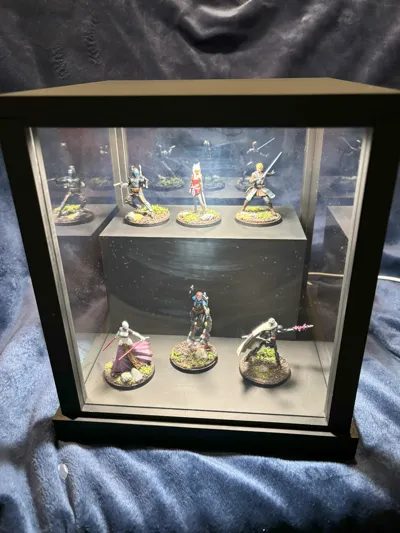
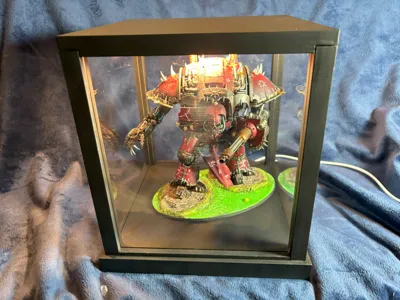
You've spent countless hours painting and detailing your miniatures—whether for board games, tabletop RPGs, or strategy games like Warhammer 40K. Now it's time to give them the spotlight they deserve! This custom display case is designed to highlight your painted figures in all their glory, with a sleek, modern design that protects them from dust and damage. Featuring built-in LED lighting, your miniatures will shine brightly, with no shadows to hide their details!
Key Features:
- Versatile Design: Perfect for displaying one large model or a collection of smaller miniatures.
- Dust Protection: The enclosed design keeps your figures pristine and safe from dust and damage.
- Integrated LED Lighting: Illuminates your miniatures with brilliant, even light—no harsh shadows!
- Easy Assembly: Clear, step-by-step instructions for a smooth build with minimal tools required.
Additional Supplies Needed
- Clear Acrylic: Four pieces, 2mm thick (dimensions: 174mm x 205mm). An included template file makes it easy to cut the pieces from a full acrylic sheet.
- LED Lamp Kit: Compatible with Bambu Labs' P1S.
Assembly Instructions
Preparation
- Surface Prep: Sand and fill any print imperfections before assembly. Some areas may be difficult to reach later, so take your time to smooth these out. Avoid excessive sanding, as it could damage delicate parts.
Step-by-Step Assembly
- Base Assembly:
- Insert the switch and USB plug through the hole in the Base Stand.
- Glue the Base Layer to the Base Stand, aligning the holes. Apply weight on top while the glue dries to ensure a secure bond.
- Wiring Setup:
- Position the switch on the base, pulling the slack from the light wire through the hole between the Base Stand and Base Layer.
- Frame Construction:
- Attach the three square frame pieces to the base, aligning the holes and ensuring the channels are correctly aligned.
- Feed the light wire through the central channel of the two half-frame pieces, then glue them together, ensuring the ends with holes face downward.
- Finalizing the Frame:
- Secure the frame to the base, ensuring that all slack from the light wire is pulled through to the top.
- Glue the Top Base piece to the four frame sections, aligning the holes. Ensure the notched corner is aligned with the frame containing the light wire. Apply weight to hold in place while drying.
- Acrylic Fit Check:
- Test the acrylic sheets for proper fit. Make adjustments if needed to ensure everything fits neatly.
- Final Sanding:
- Sand any rough spots on the assembled pieces for a clean finish before continuing.
- Optional Painting:
- If you wish to paint, cover the light, switch, and USB plug to prevent paint contamination.
- Light Installation:
- Attach the LED light to the Light Mount and glue the mount to the Top Base, aligning with the designated holes.
- Wire Management:
- Lay any extra light wire flat on the Top Base, ensuring it remains in a single neat layer. Use tape to secure the wire if necessary.
- Place the switch in position and run the wires through the channels under the Base Stand.
- Glue in the Switch Border and Wire Cover to secure the wires in place and tidy up the assembly.
- Acrylic Assembly:
- Insert the acrylic pieces for the sides, leaving the front and back open for now.
- Position your miniatures inside the case for optimal display.
- Insert the acrylic pieces for the front and back, securing them in place.
- Finally, attach the Top Frame piece to seal the display case.
Printing Details
- Printer: Bambu Labs P1S with a 0.04mm nozzle.
- Printing Plate: Most parts printed on the Textured PEI plate for enhanced adhesion. The Top Frame, Wire Border, and Switch Border were printed on the Bambu Smooth PEI Plate. If you prefer to use the Textured PEI plate for the Top Frame, additional sanding will be required.
- Supports: Tree supports were used for the Base Stand to ensure clean printing of the wire and switch channels.
This elegant and functional display case will elevate your gaming experience and proudly showcase your meticulously painted miniatures. Whether you're displaying your latest Warhammer 40K army or custom-painted board game figures, your miniatures will get the attention they deserve. With dust protection and built-in LED lighting, they'll shine brightly for years to come. Happy printing!
License

You shall not share, sub-license, sell, rent, host, transfer, or distribute in any way the digital or 3D printed versions of this object, nor any other derivative work of this object in its digital or physical format (including - but not limited to - remixes of this object, and hosting on other digital platforms). The objects may not be used without permission in any way whatsoever in which you charge money, or collect fees.


Comment & Rating (2)