
Cylindrical Chess
Print Profile(3)


Description
Version 1.1.0 Update:
Print profiles for three different magnets 4mm x 2mm, 6mm x 2mm, 8mm x 2mm
Description


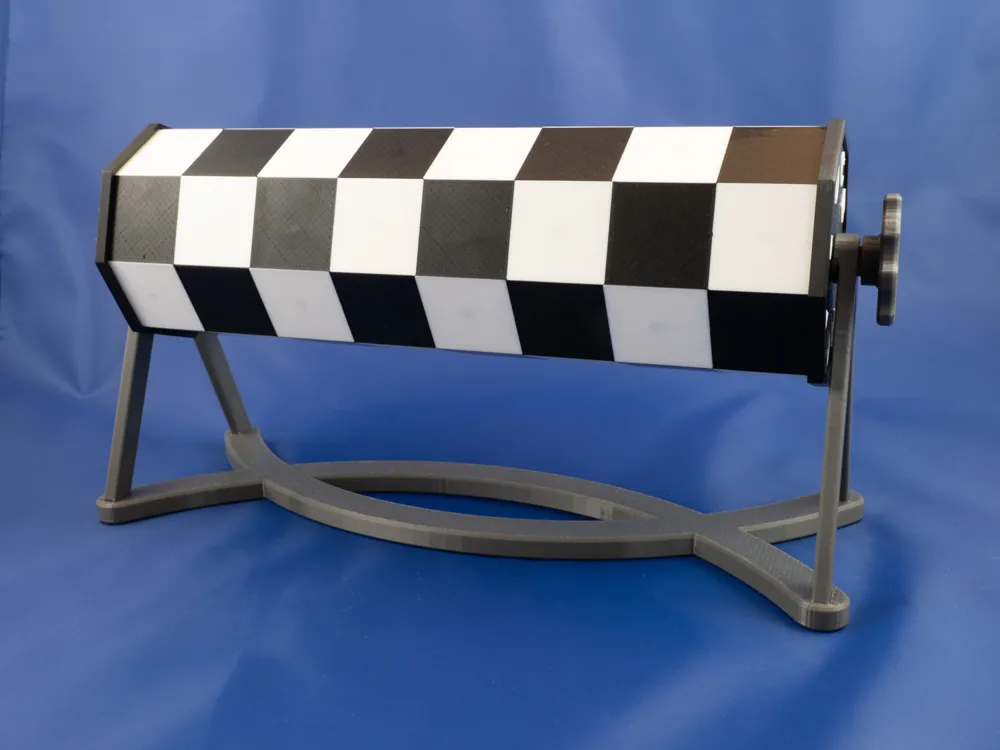
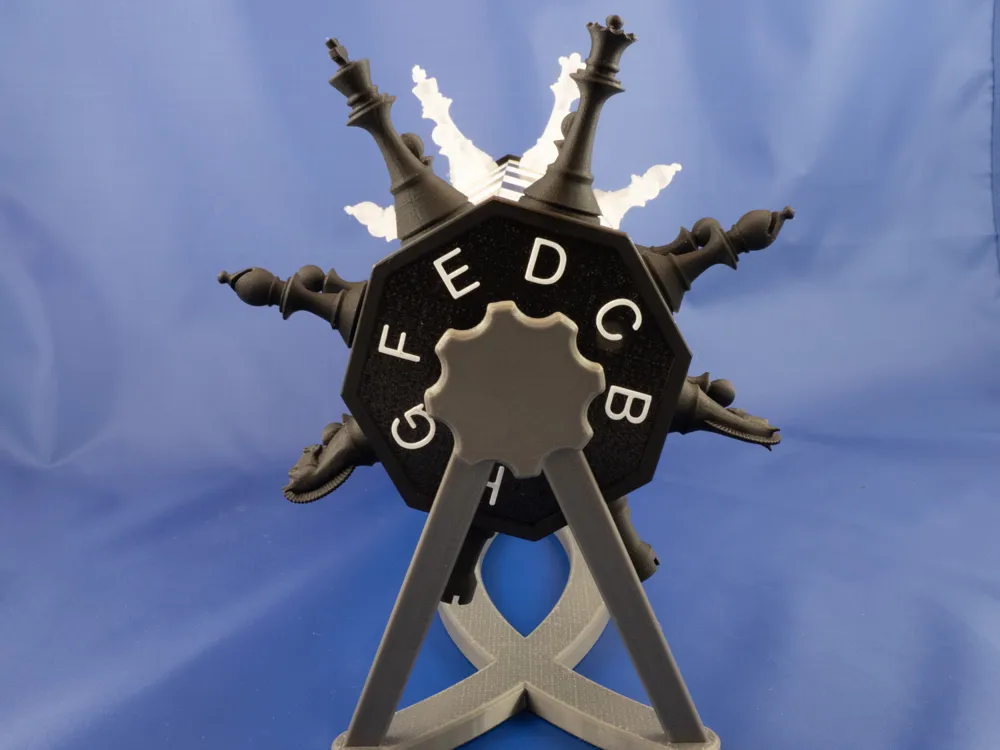
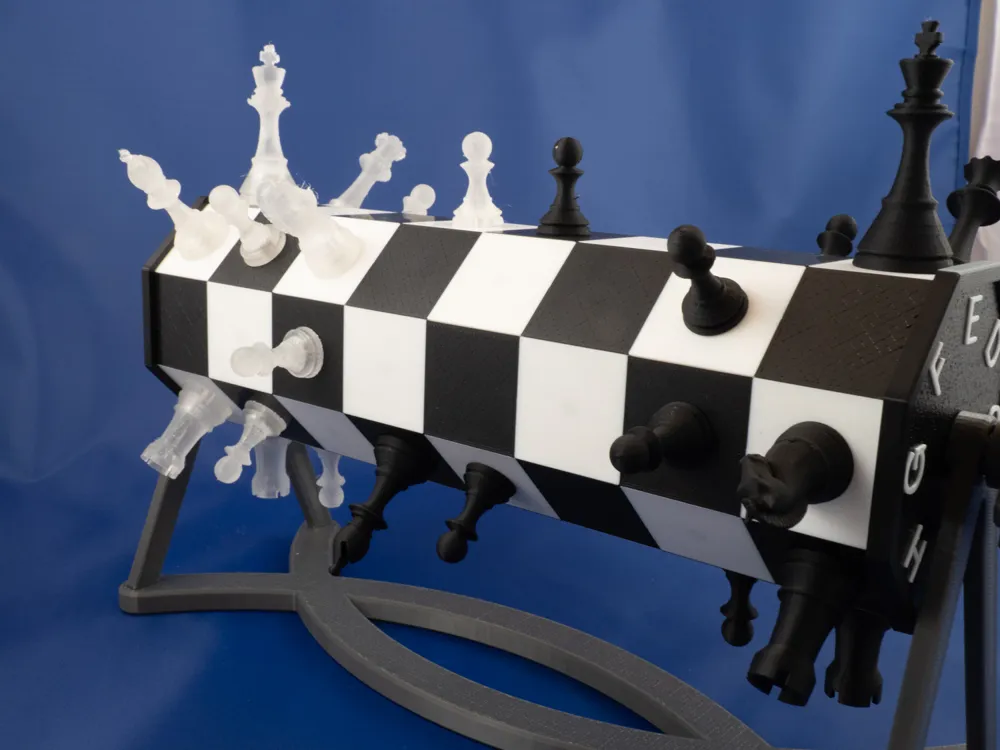
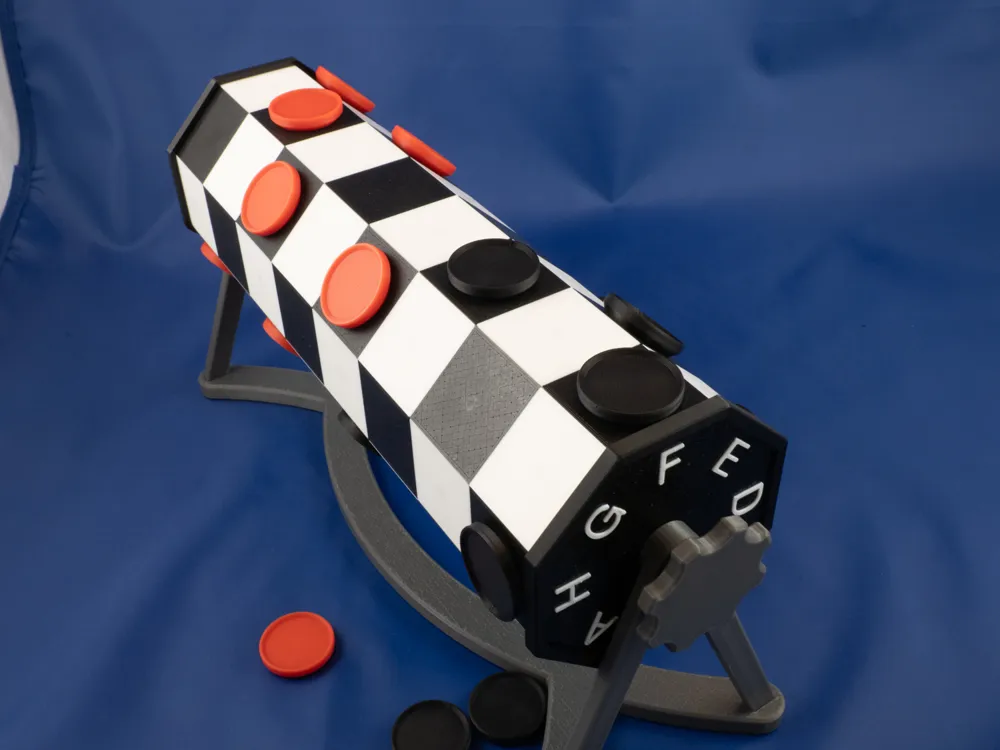
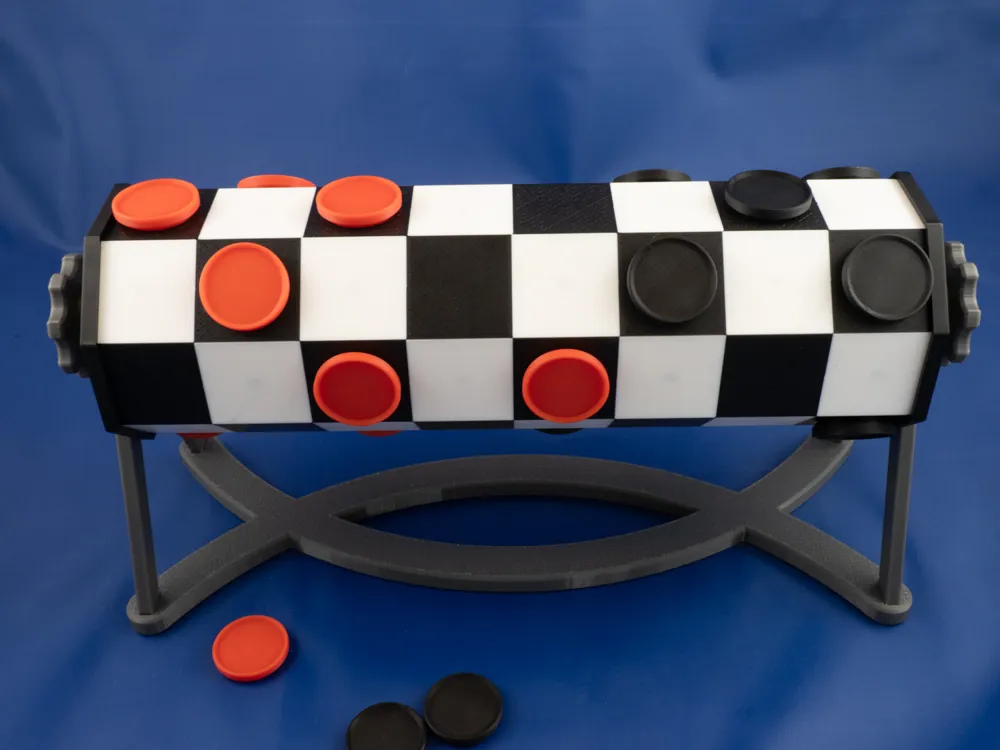
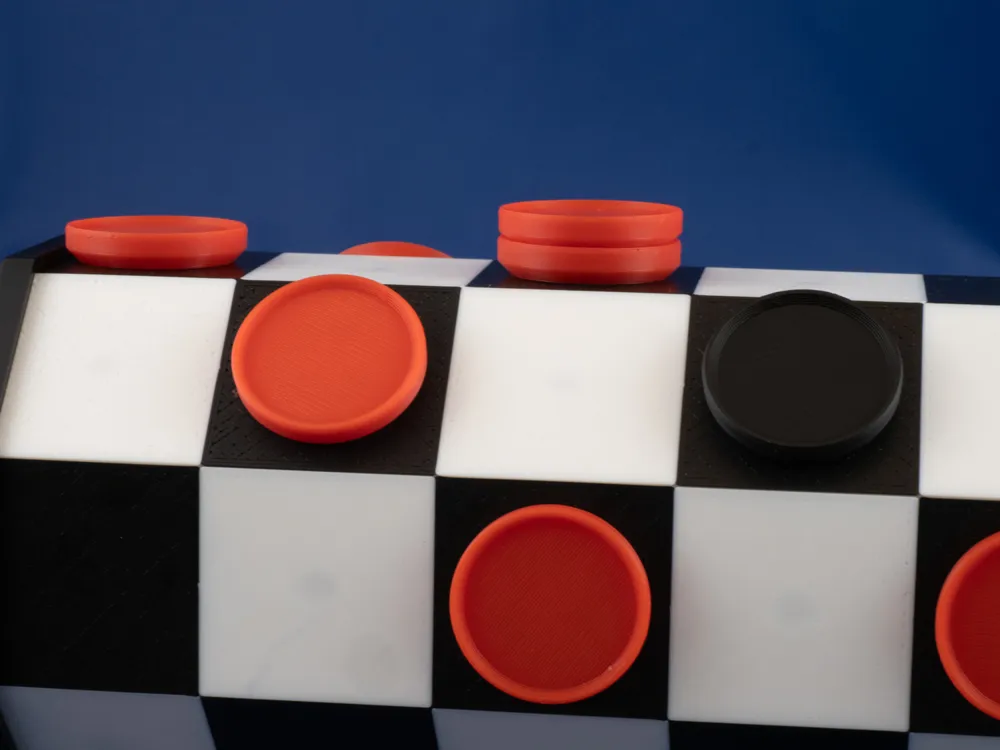
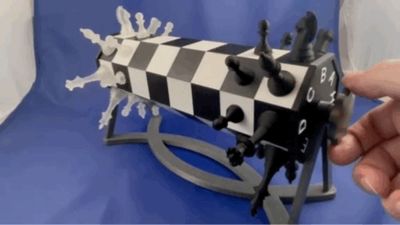
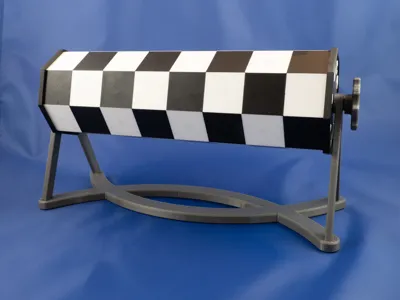
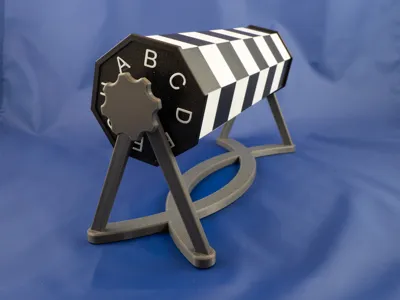
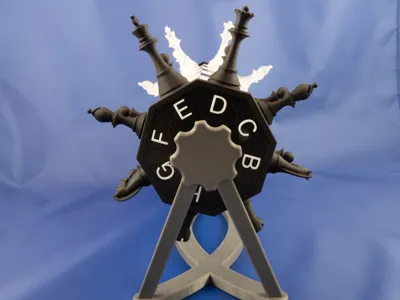
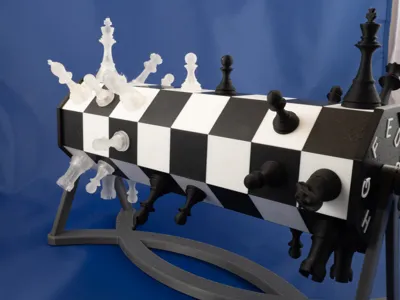
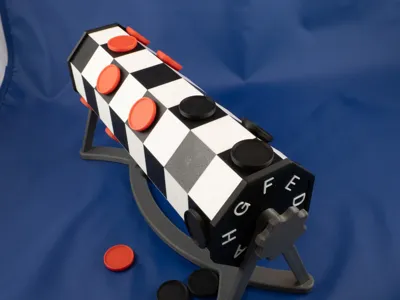
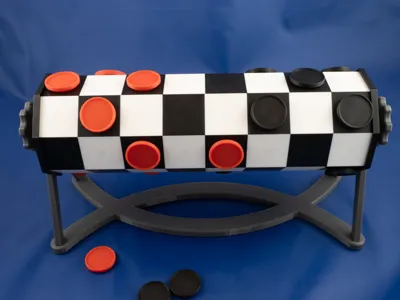
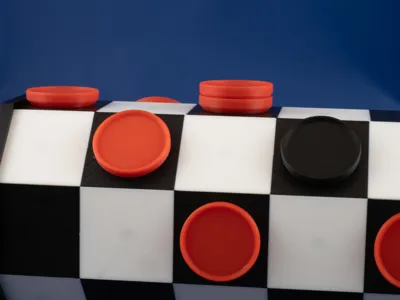
This model gives a new look and play for the classic game of Chess, but this is an old variant. Cylindrical chess is a chess variant. The game is played as if the board were a cylinder, with the left side of the board joined to the right side. The board has magnets to hold the pieces in place. You can also play checkers on this board. Links are provided below for compatible chess and checkers pieces with magnets in the base.
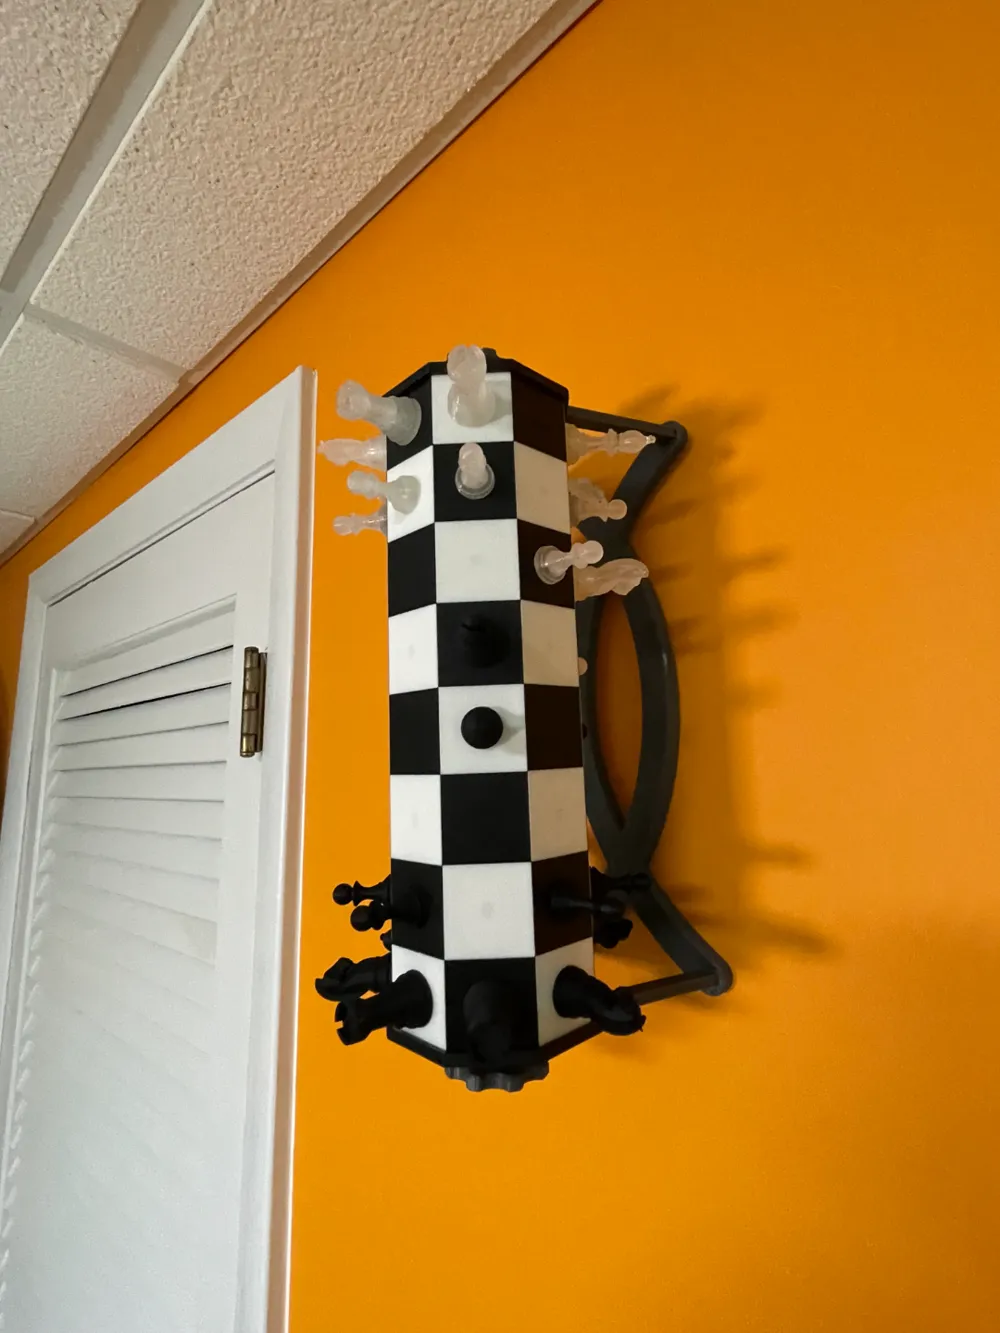
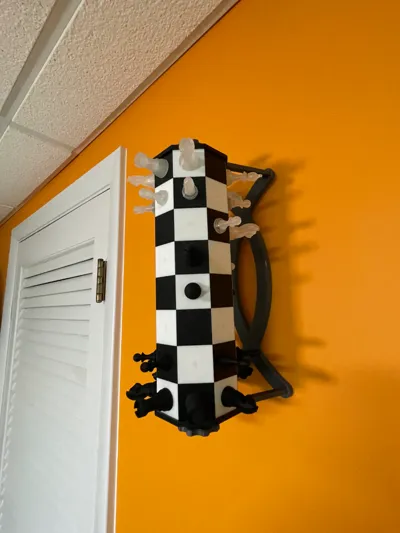
The base has a nail/screw slot to allow the board to be hung on a wall. See the images above.
Designed to minimize the number of color changes, a total of 11. With less than 4g of purge and tower filament for the entire print.
Chess pieces can be found here: https://makerworld.com/en/models/791163#profileId-729592
Checkers pieces can be found here: https://makerworld.com/en/models/791135#profileId-729541
Check out the Wikipedia article for rules and some strategy changes. https://en.wikipedia.org/wiki/Cylinder_chess
Dimensions:
Max Chess piece height: 55mm, Recommend no more than 52mm
Board Square 30mm x 30mm
Board length with bezel: 242mm x 77mm
Overall Size: 278mm X 102mm
Print Instruction
Requires a printer with 255x255 bed, and multi-color ability. If I get enough requests I may create a profile that does not require a multicolor printer.
IMPORTANT: For Bambu printers turn OFF flow dynamics calibration when printing plate 3 BASE. Otherwise, the lines will be embedded into the base. All other plates can be printed without change.
No support is required for printing.
The print time total for all plates is 14.5 hours
Filament amounts for the print as
267g white
93g black
Total 360g of material
This includes 2.7g flushed and 1.3g used in the prime tower.
Required hardware:
64 4x2 magnets for the board
Magnets are also required for the pieces that you choose to print.
Assembly Instructions:
- Magnet insertion for board strips:
- Make sure that all magnets are facing the same direction. Otherwise, chess pieces will not stick to those squares.
- Magnets must be pressed in so they are not above the bottom of the board. If the magnets are not pressed down enough they will bind when inserted into the core.
- TIP: once you have a strip completed you can place another strip on top of it to help align the magnets for next strip.
- Building the board
- Check for burrs or blobs of filament on the board strip and core. Use file, exacto knife, sandpaper to correct. Or reprint part.
- Board pieces should be inserted with alternating colors on top and bottom.
- Board Strips should slide in with a small amount of effort. If you have issues inserting check for magnets that are not flush with the bottom of the board strip. Look for burrs/blob on the board or filament. If you find one use a file, exacto knife, or sandpaper to trim.
- Letter plate and Bezel
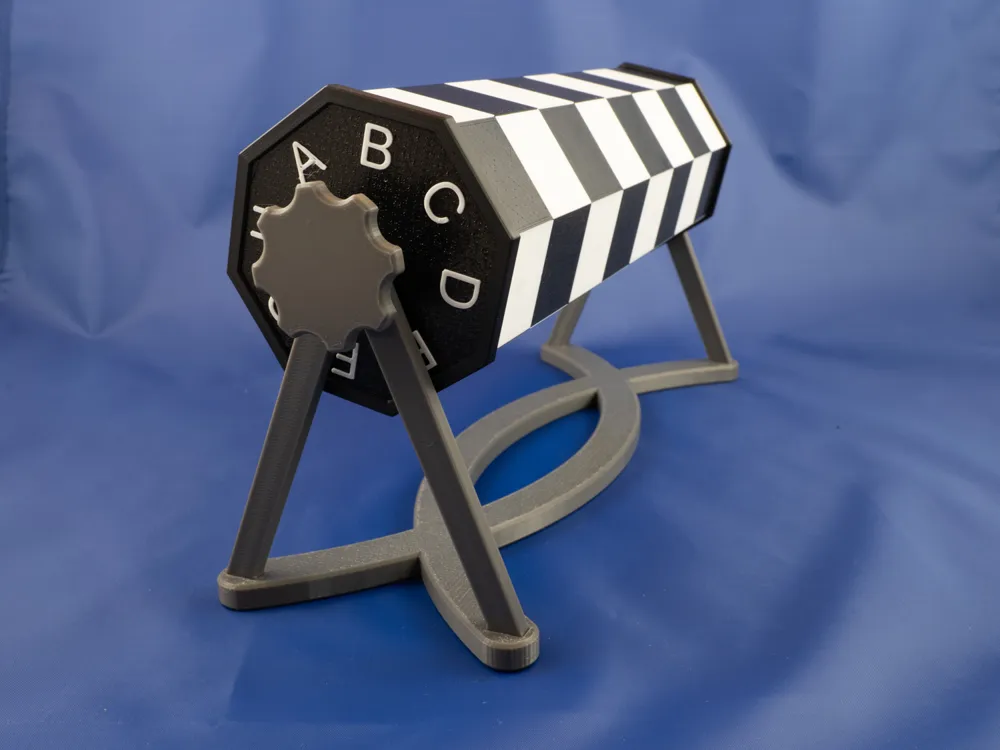
- Select the letter plate with A-H running clockwise. Place it on the side where the letter “A” is aligned with a BLACK square and the pin's hole opening matches the core. This will be the side where the white pieces are placed.
- Slide the Bezel over the end of the letter plate and board
- The second letter plate with letters running counterclockwise is placed on the opposite side of the board. The letter “A” will align with a white square. This will be the black side of the board.
- Slide the Bezel over the end of the letter plate and board
- Base
- Uprights should be inserted so the flat side is on the outside.
- Pin and knob
- Insert the pin into one side of the board.
- Slide pin and board into one upright.
- Insert pin thru upright into the other side of the board.
- Attach knobs.
License

You shall not share, sub-license, sell, rent, host, transfer, or distribute in any way the digital or 3D printed versions of this object, nor any other derivative work of this object in its digital or physical format (including - but not limited to - remixes of this object, and hosting on other digital platforms). The objects may not be used without permission in any way whatsoever in which you charge money, or collect fees.


Comment & Rating (24)