
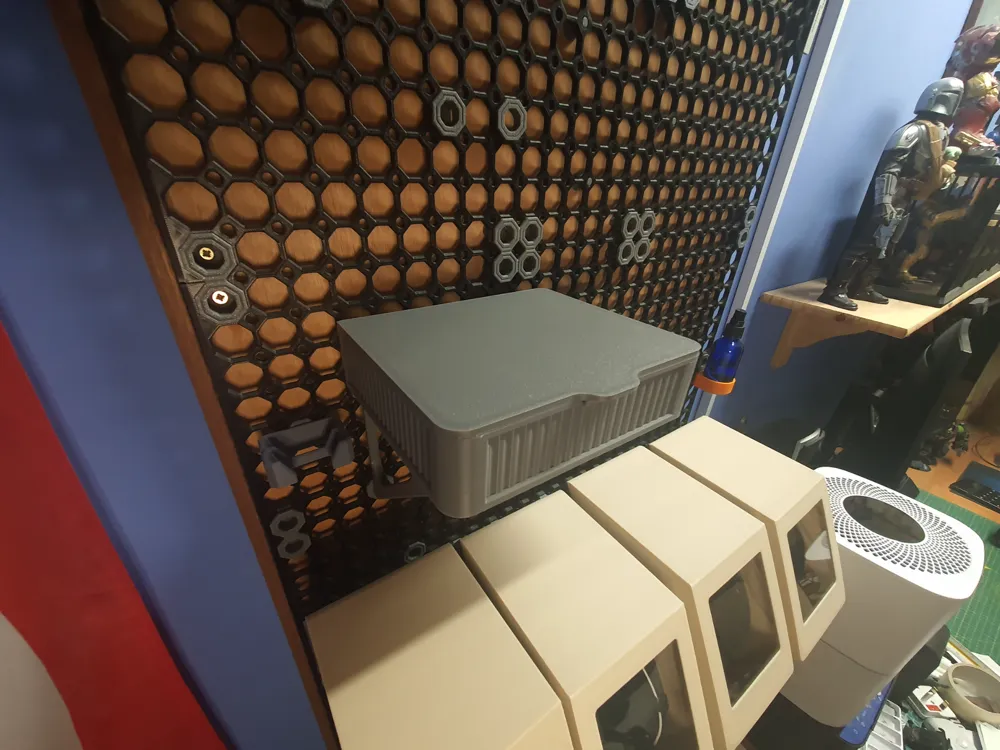
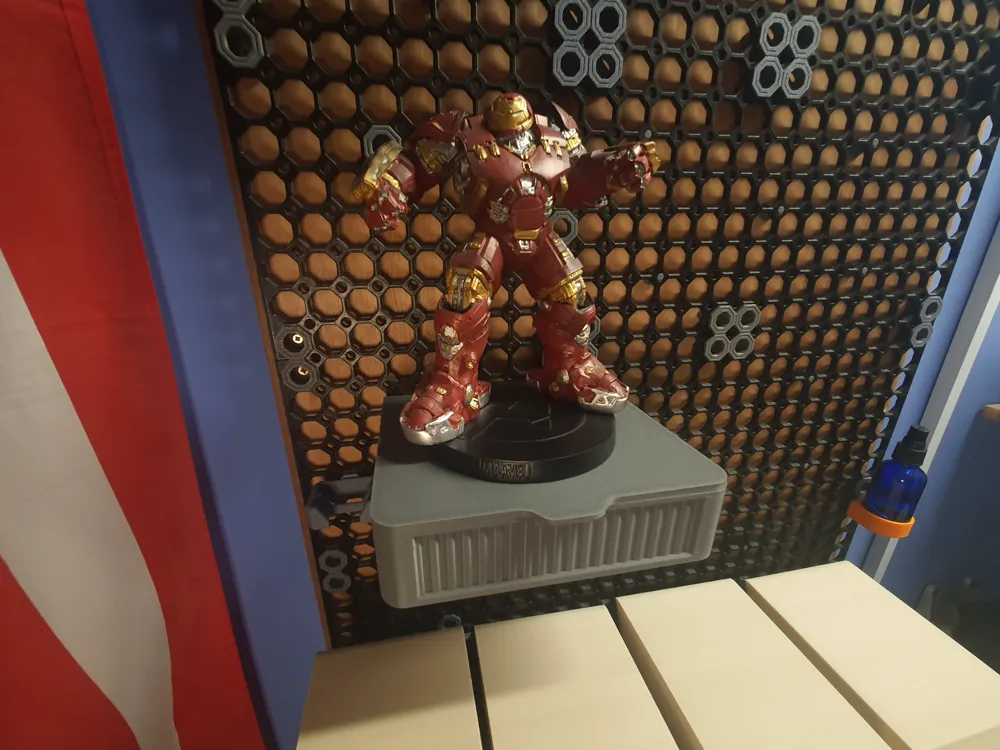
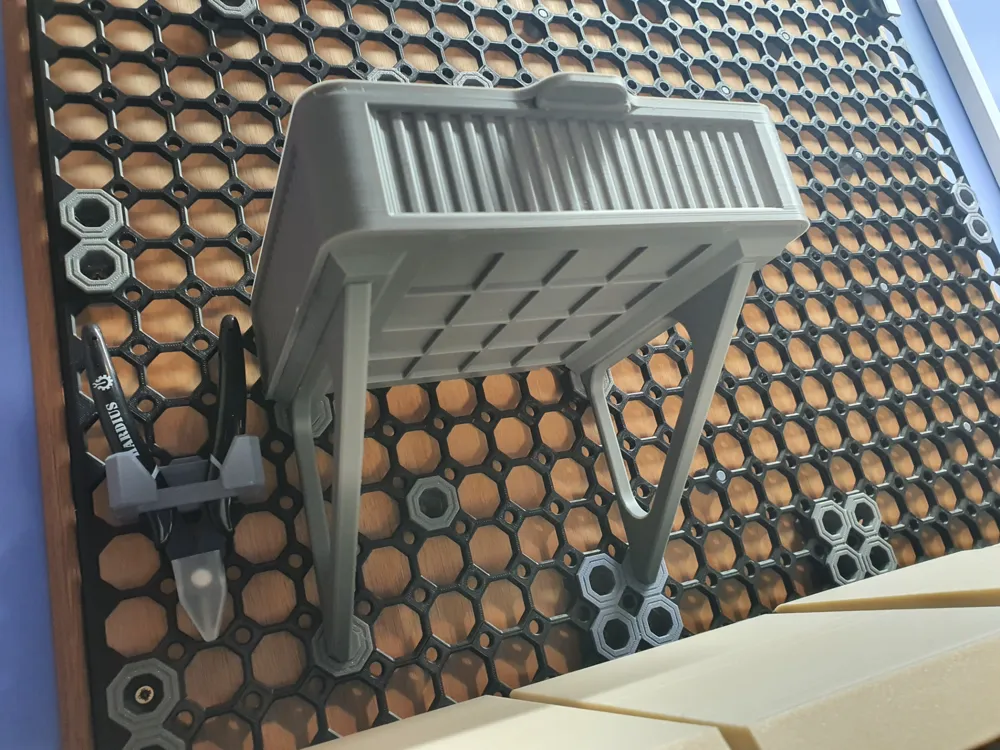
Large Multiboard Shelf with borders and Lid

Print Profile(4)



Description
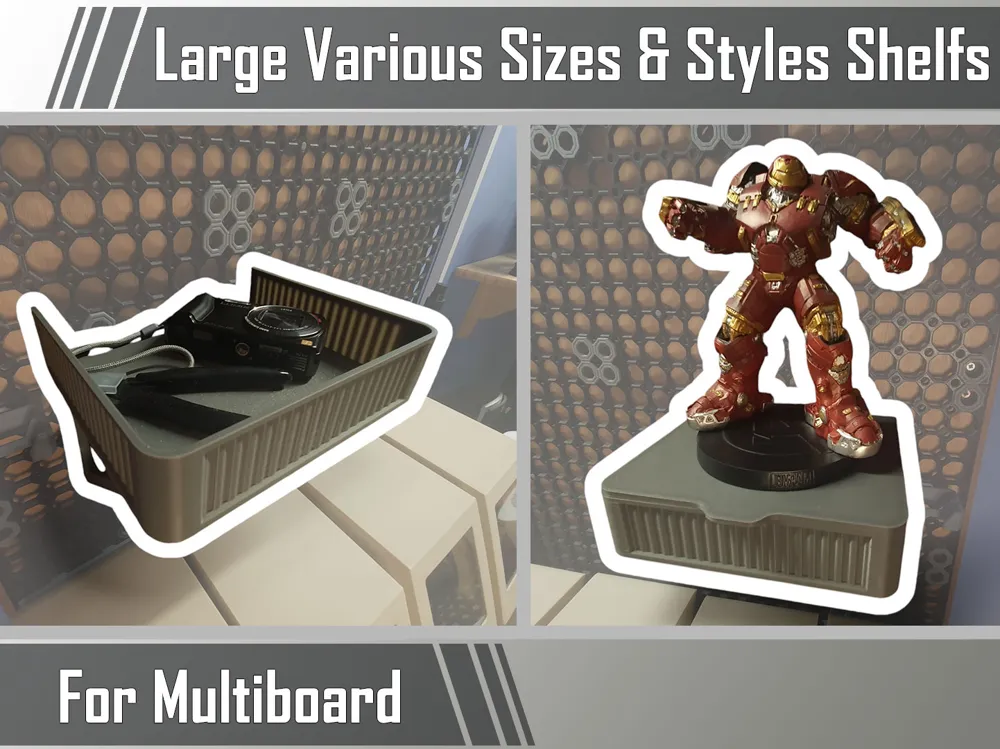
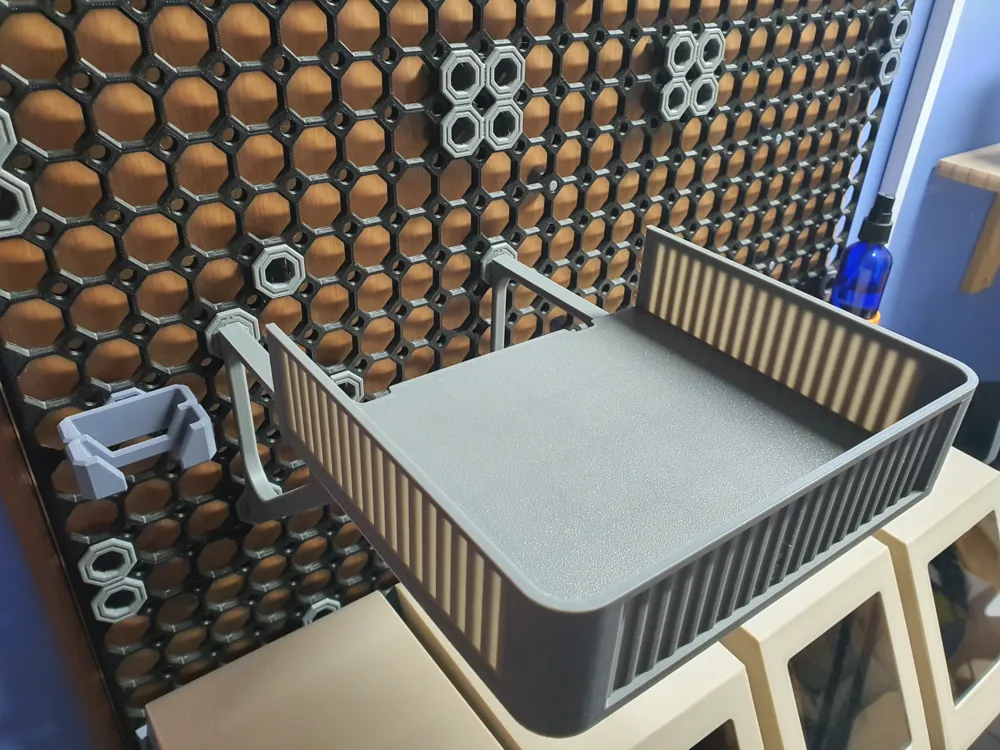
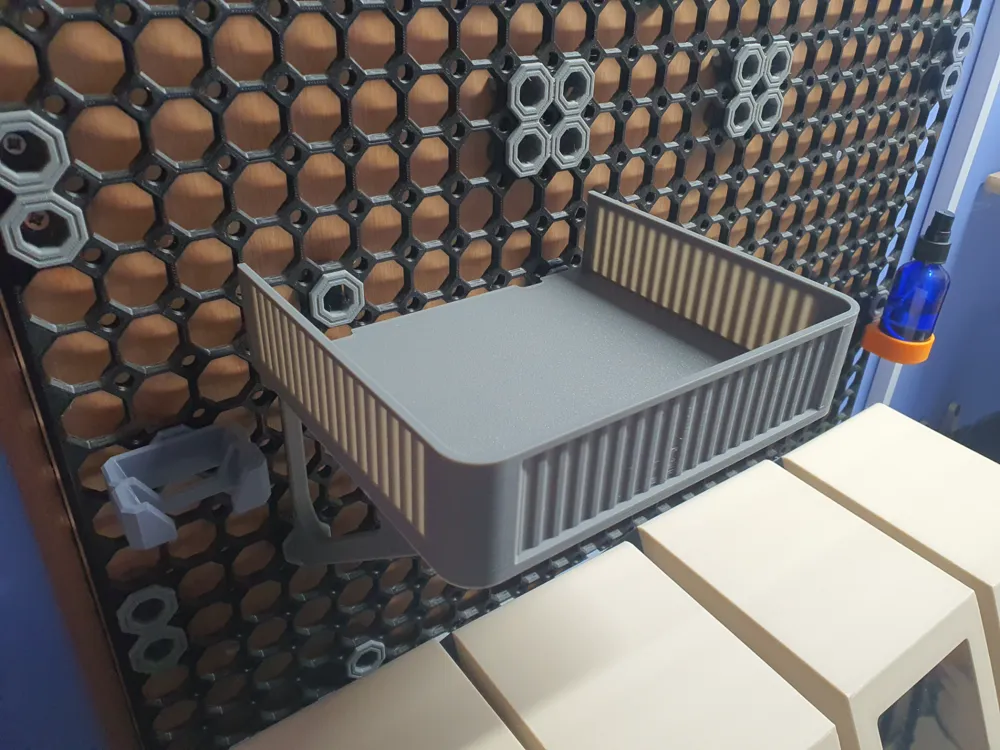
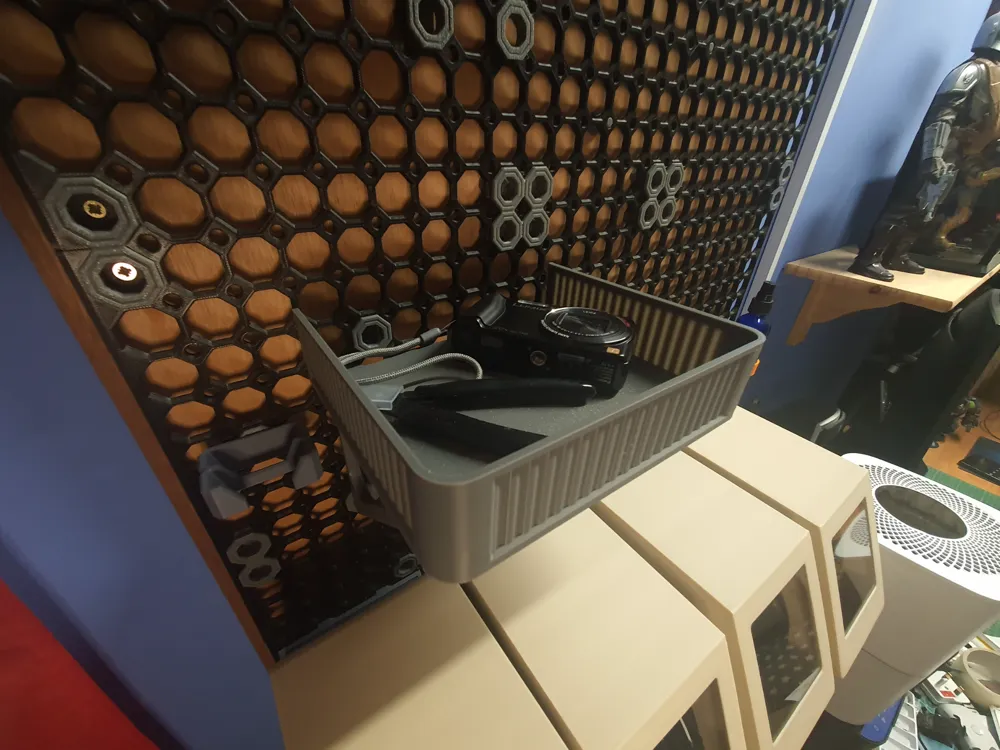
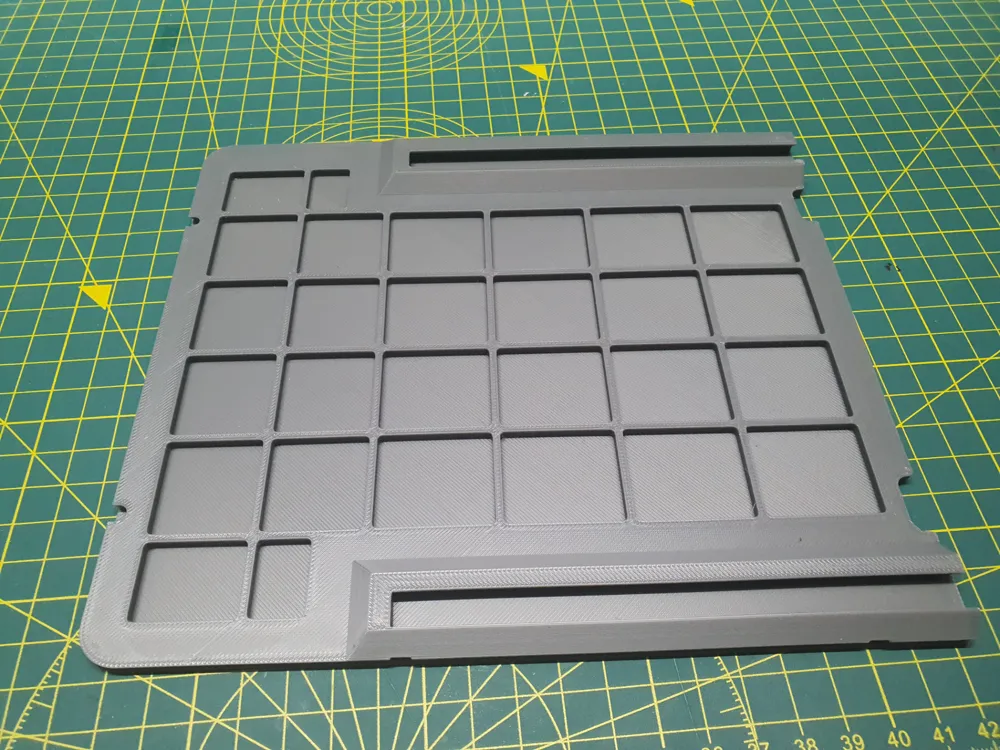
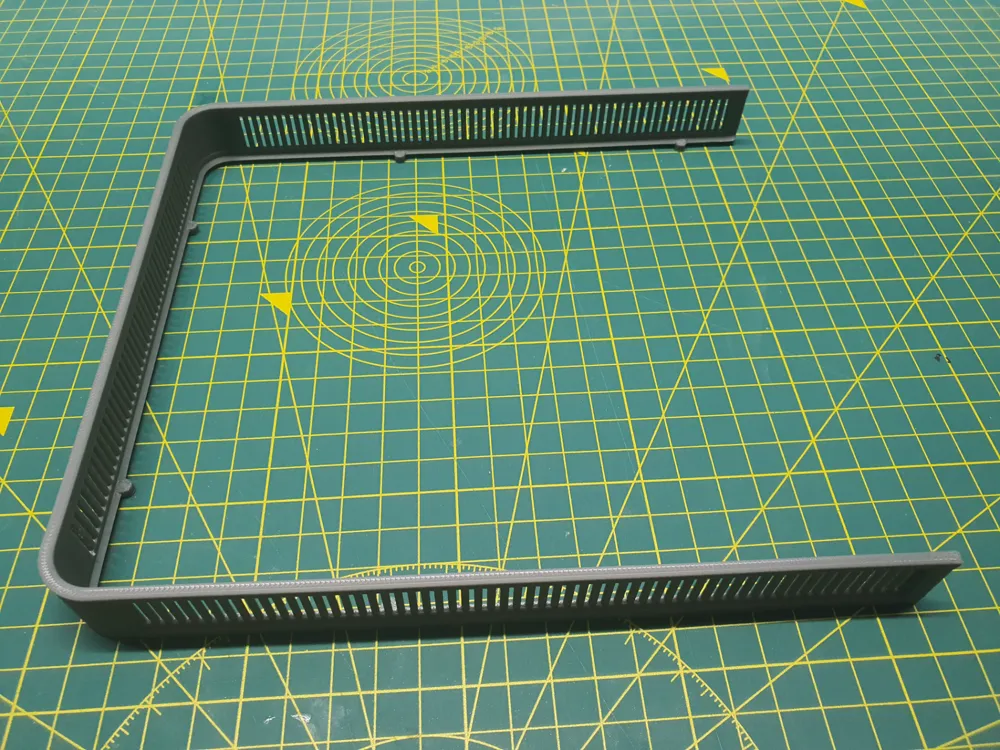
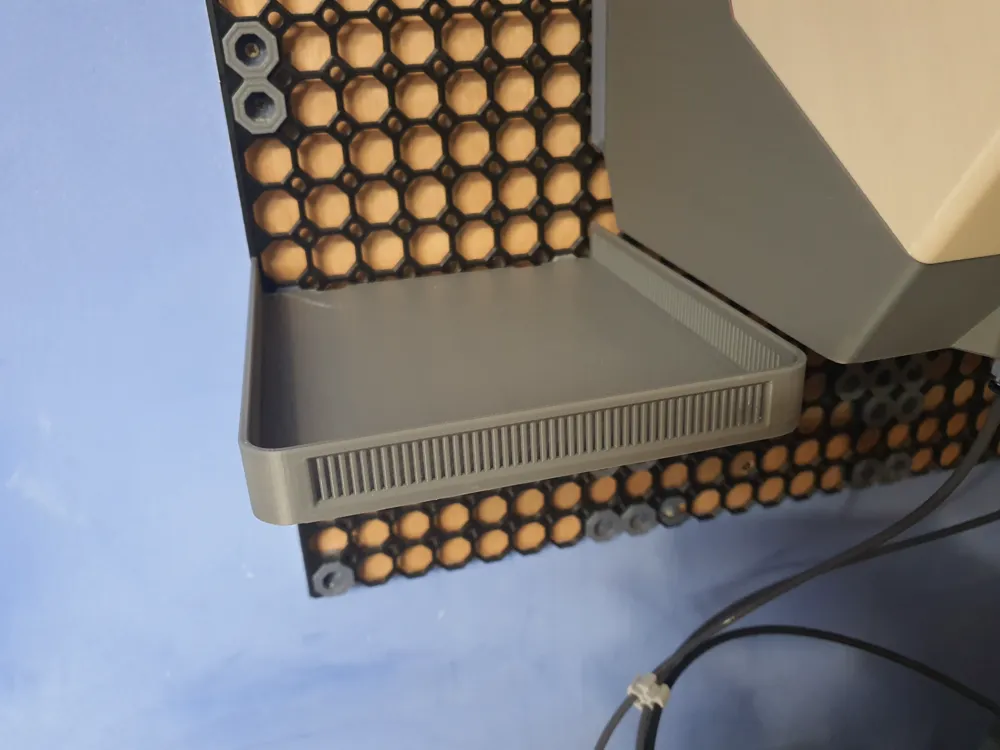
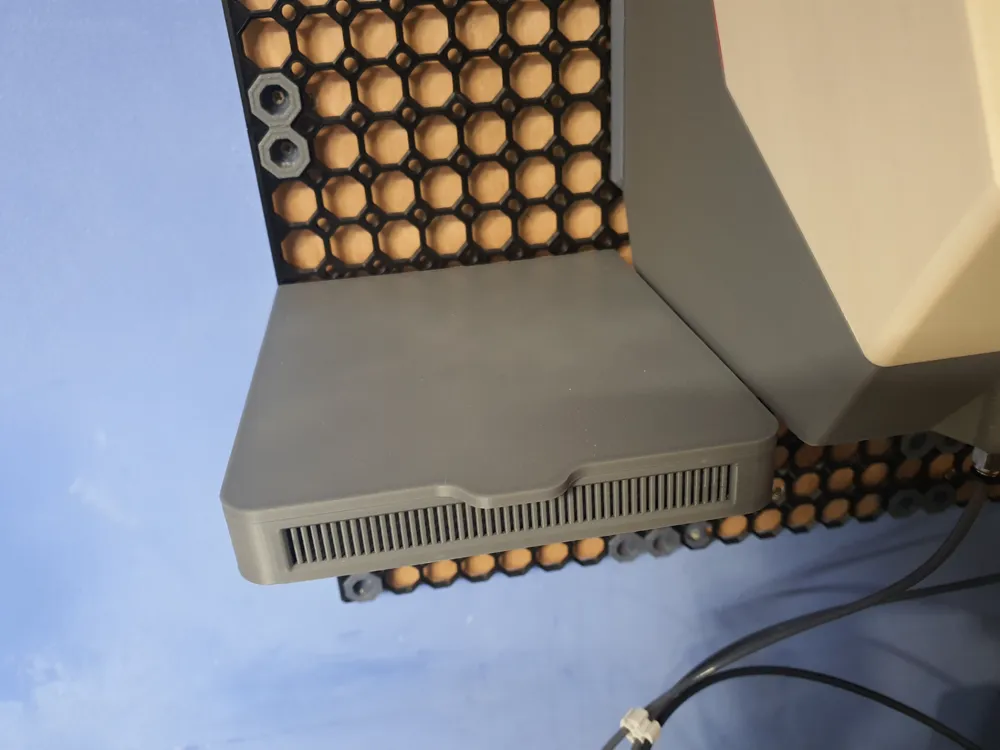
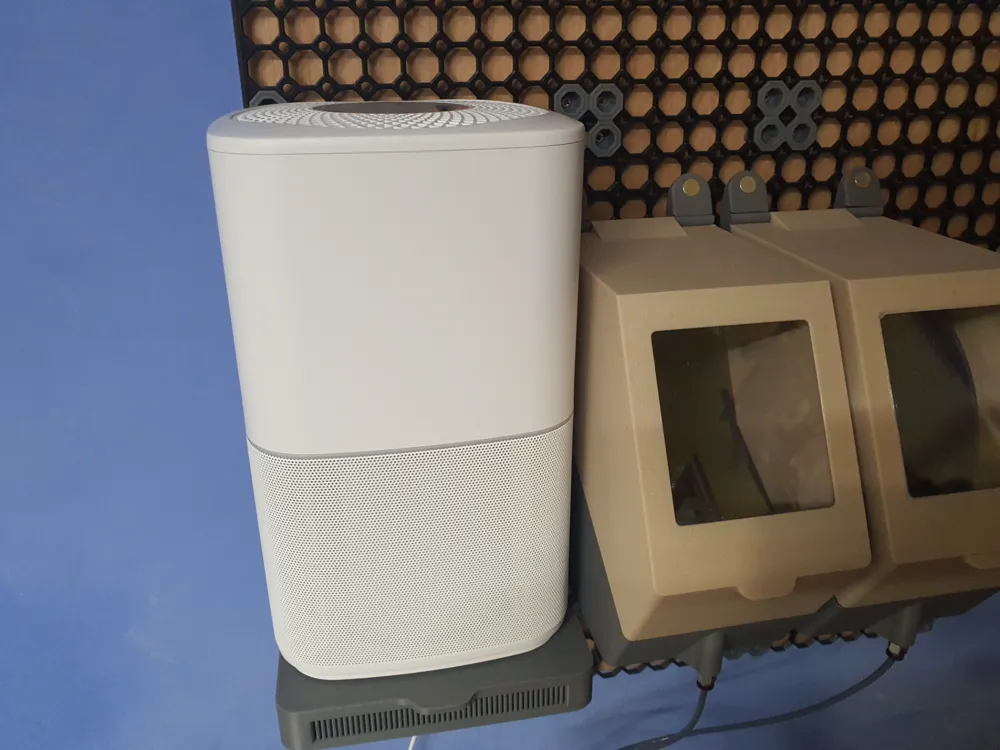
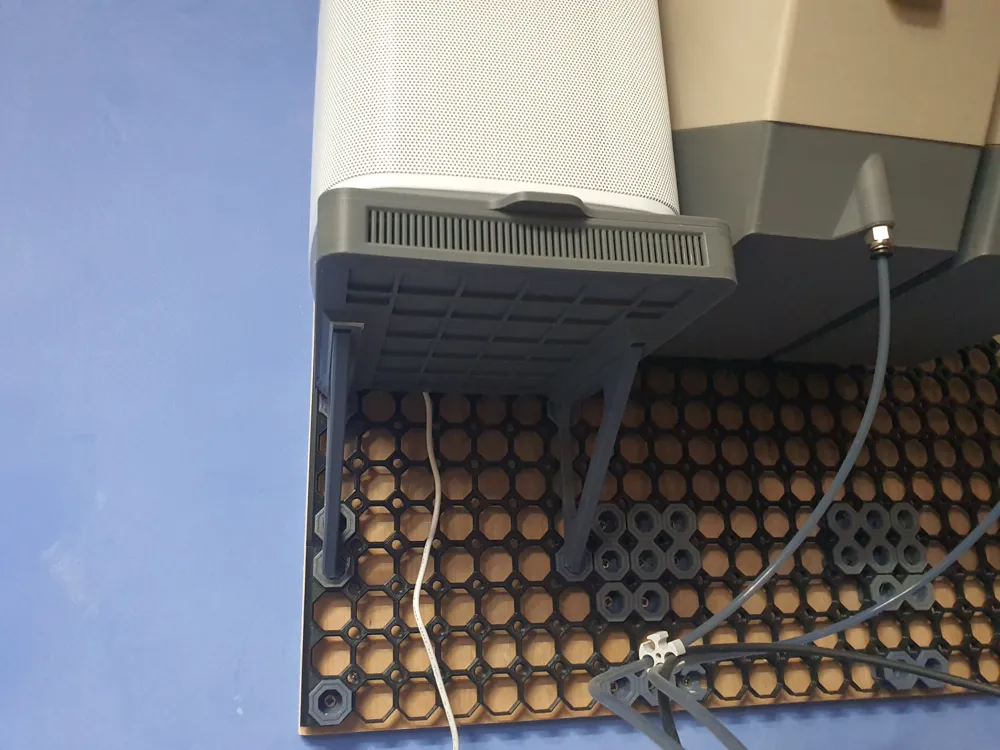
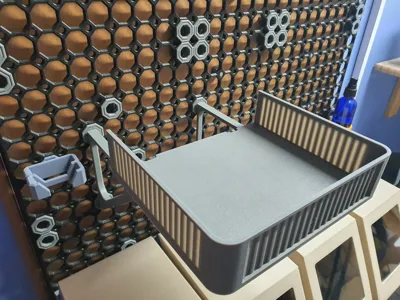
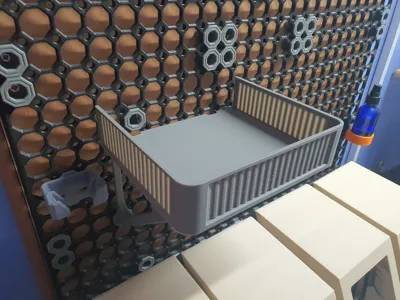
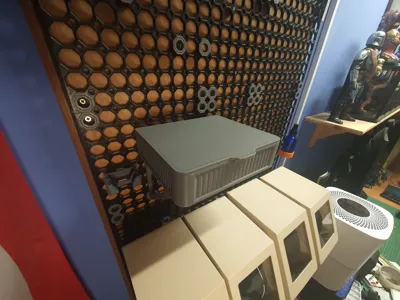
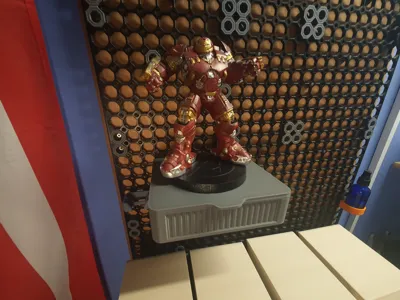
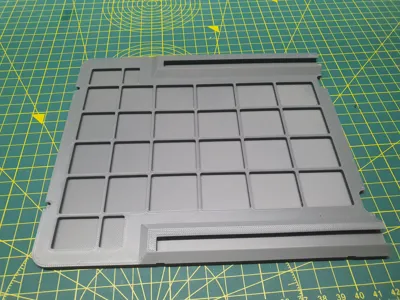
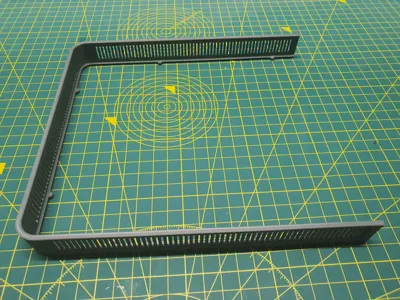
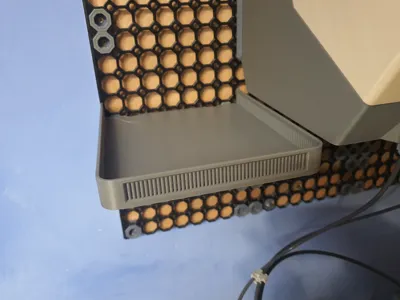
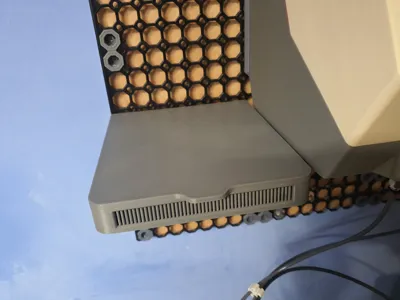
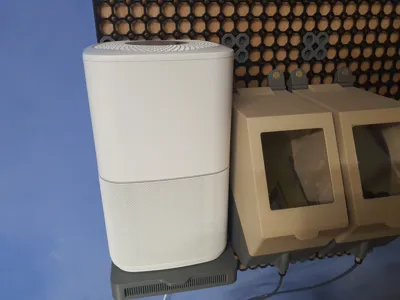
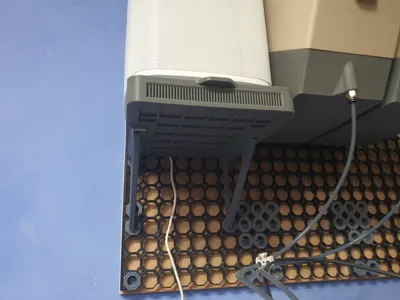
As my simple Large Multiboard Shelves Came useful for many people I decided to create a Bordered version with quite as many different options. You can choose few different styles and sizes of borders. Borders here are done to be fitted in rails and be glued on. Made them separate to avoid any use of supports on printing. If you have difficulties printing wide parts just add Mouse ears on corners and ends. I had no problems at all so I hope You won't have it as well. But if You will have any bed adhesion issues, give me a shout and I will give You problem parts enforced with Mouse ears.
All sizes and styles of parts are given in Profiles on Plate Descriptions. So check with them when Printing. Same as all Raw Files has as much information as possible in their names and they are sorted in folders by Shelve sizes. If something is You can't understand You are always welcome to PM me and I'll explain everything.
14.11.2024 Update
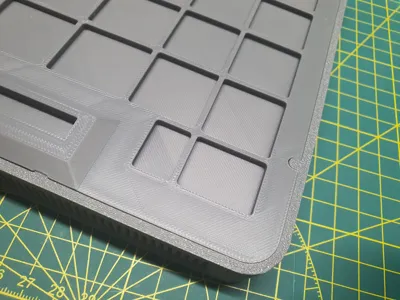
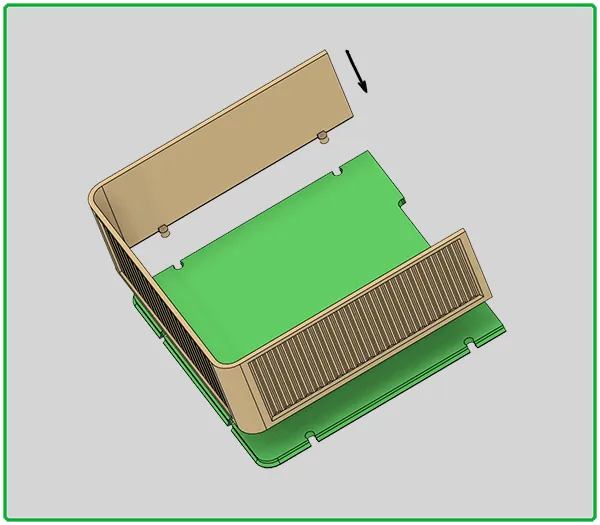
- Added Profile and Raw Files of 160mm x 150mm shelf which is compatible with A1 mini Printers. After some brainstorm session for this shelf I have redesigned a way how Borders are getting attached to the Shelf base plate. Border goes on from the top and there are pins, holding Border to the base. So use of glue here is not needed (but recommended anyway for even stronger bond). In the profile all Borders are reinforced with mouse ears for better adhesion to the Heat bed. So after printing remove them with hobby knife or deburring tool.
16.11.2024 Update
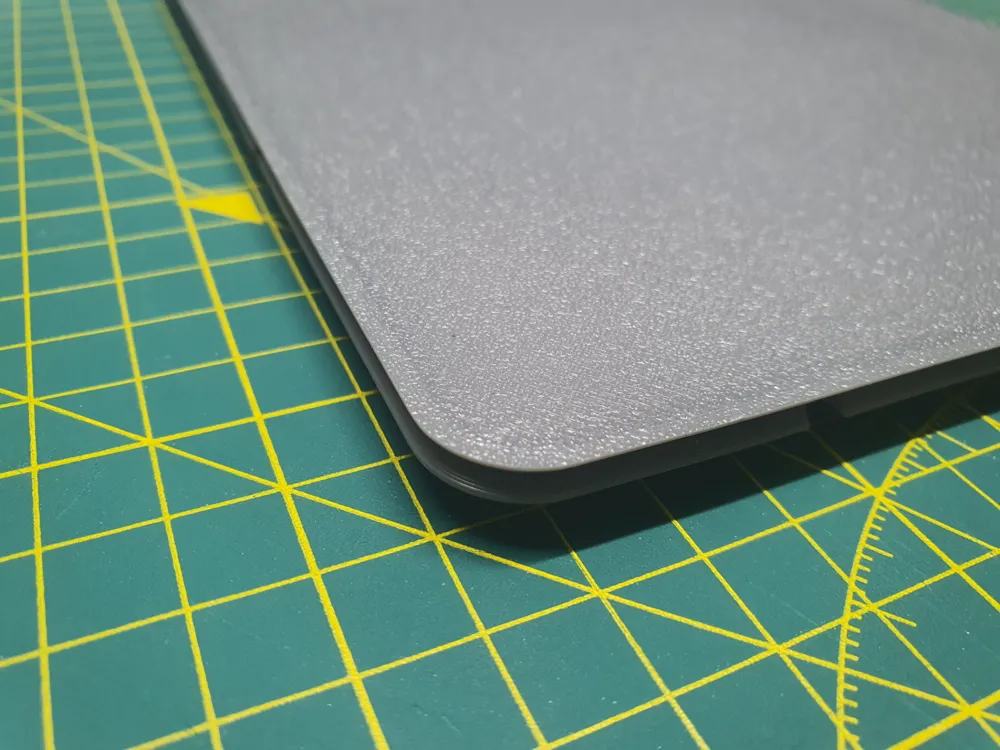
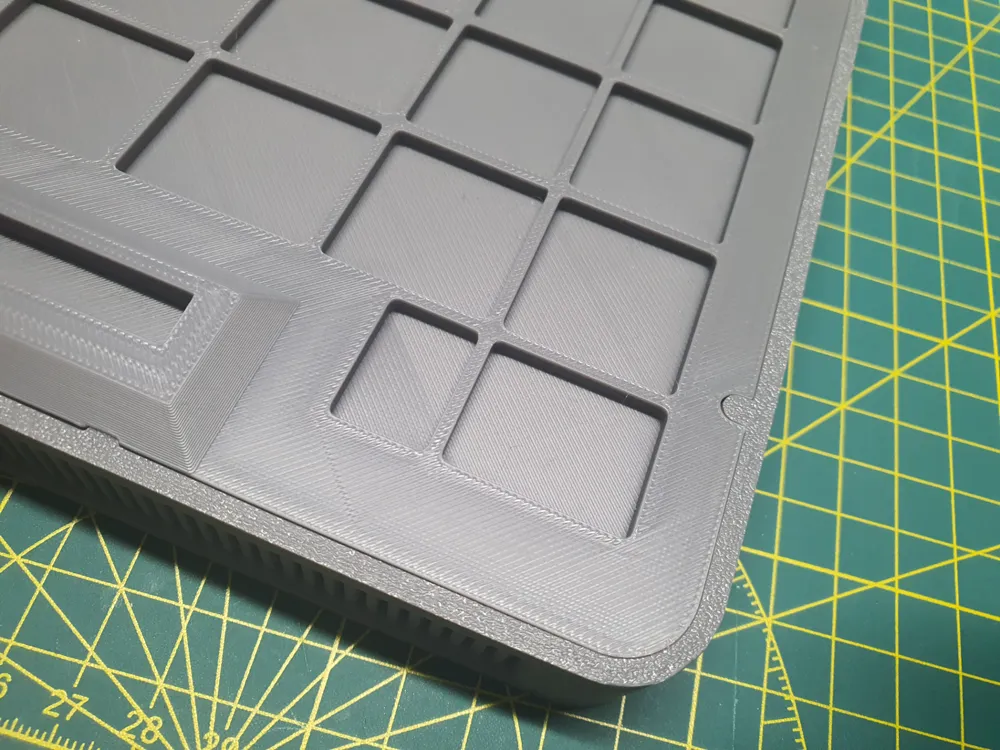
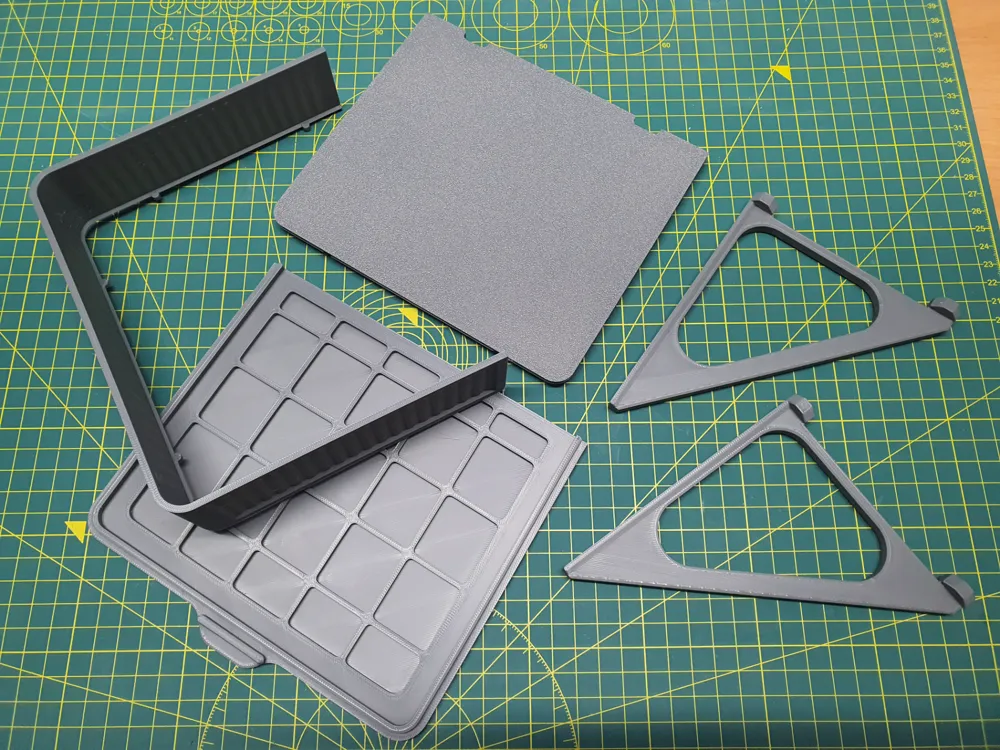
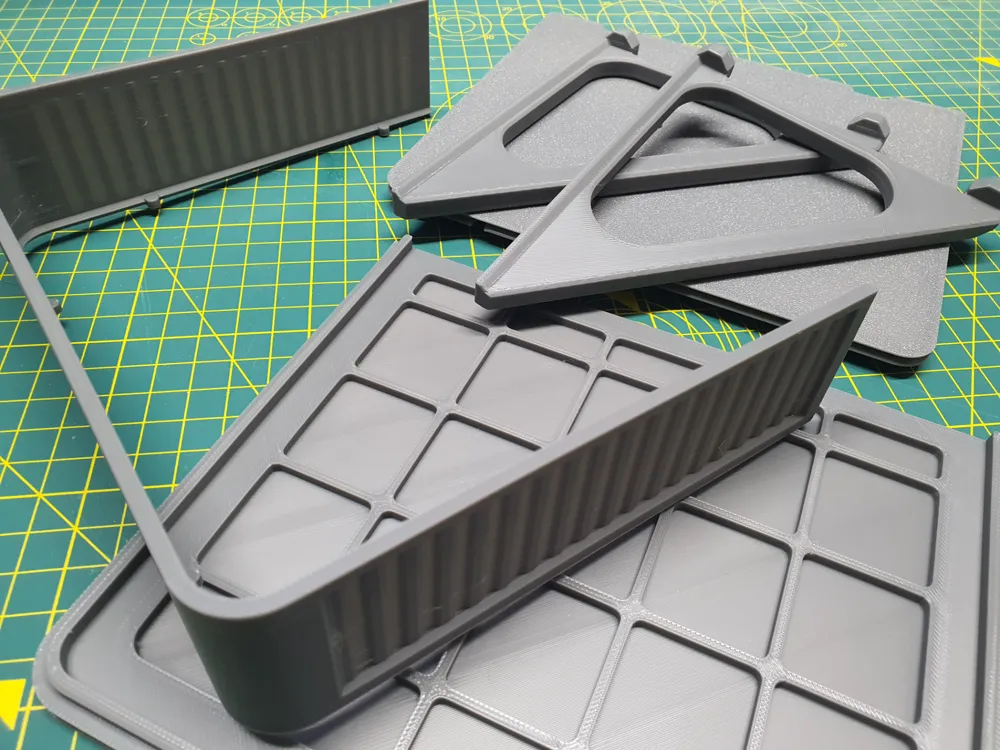
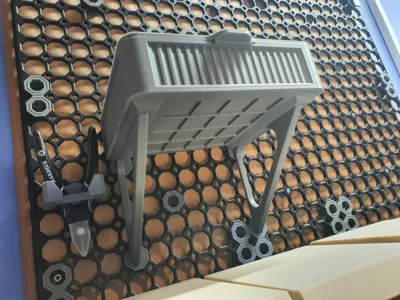
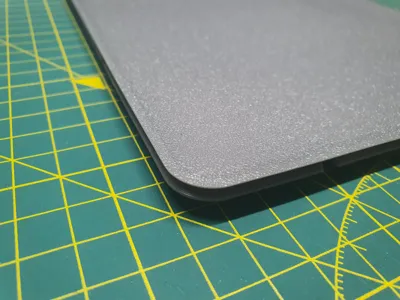
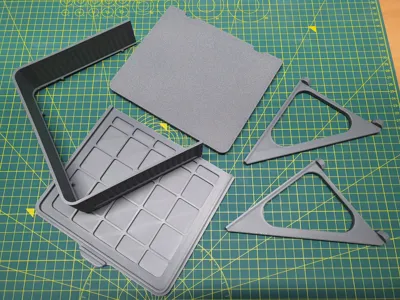
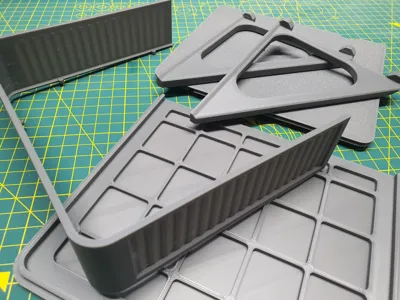
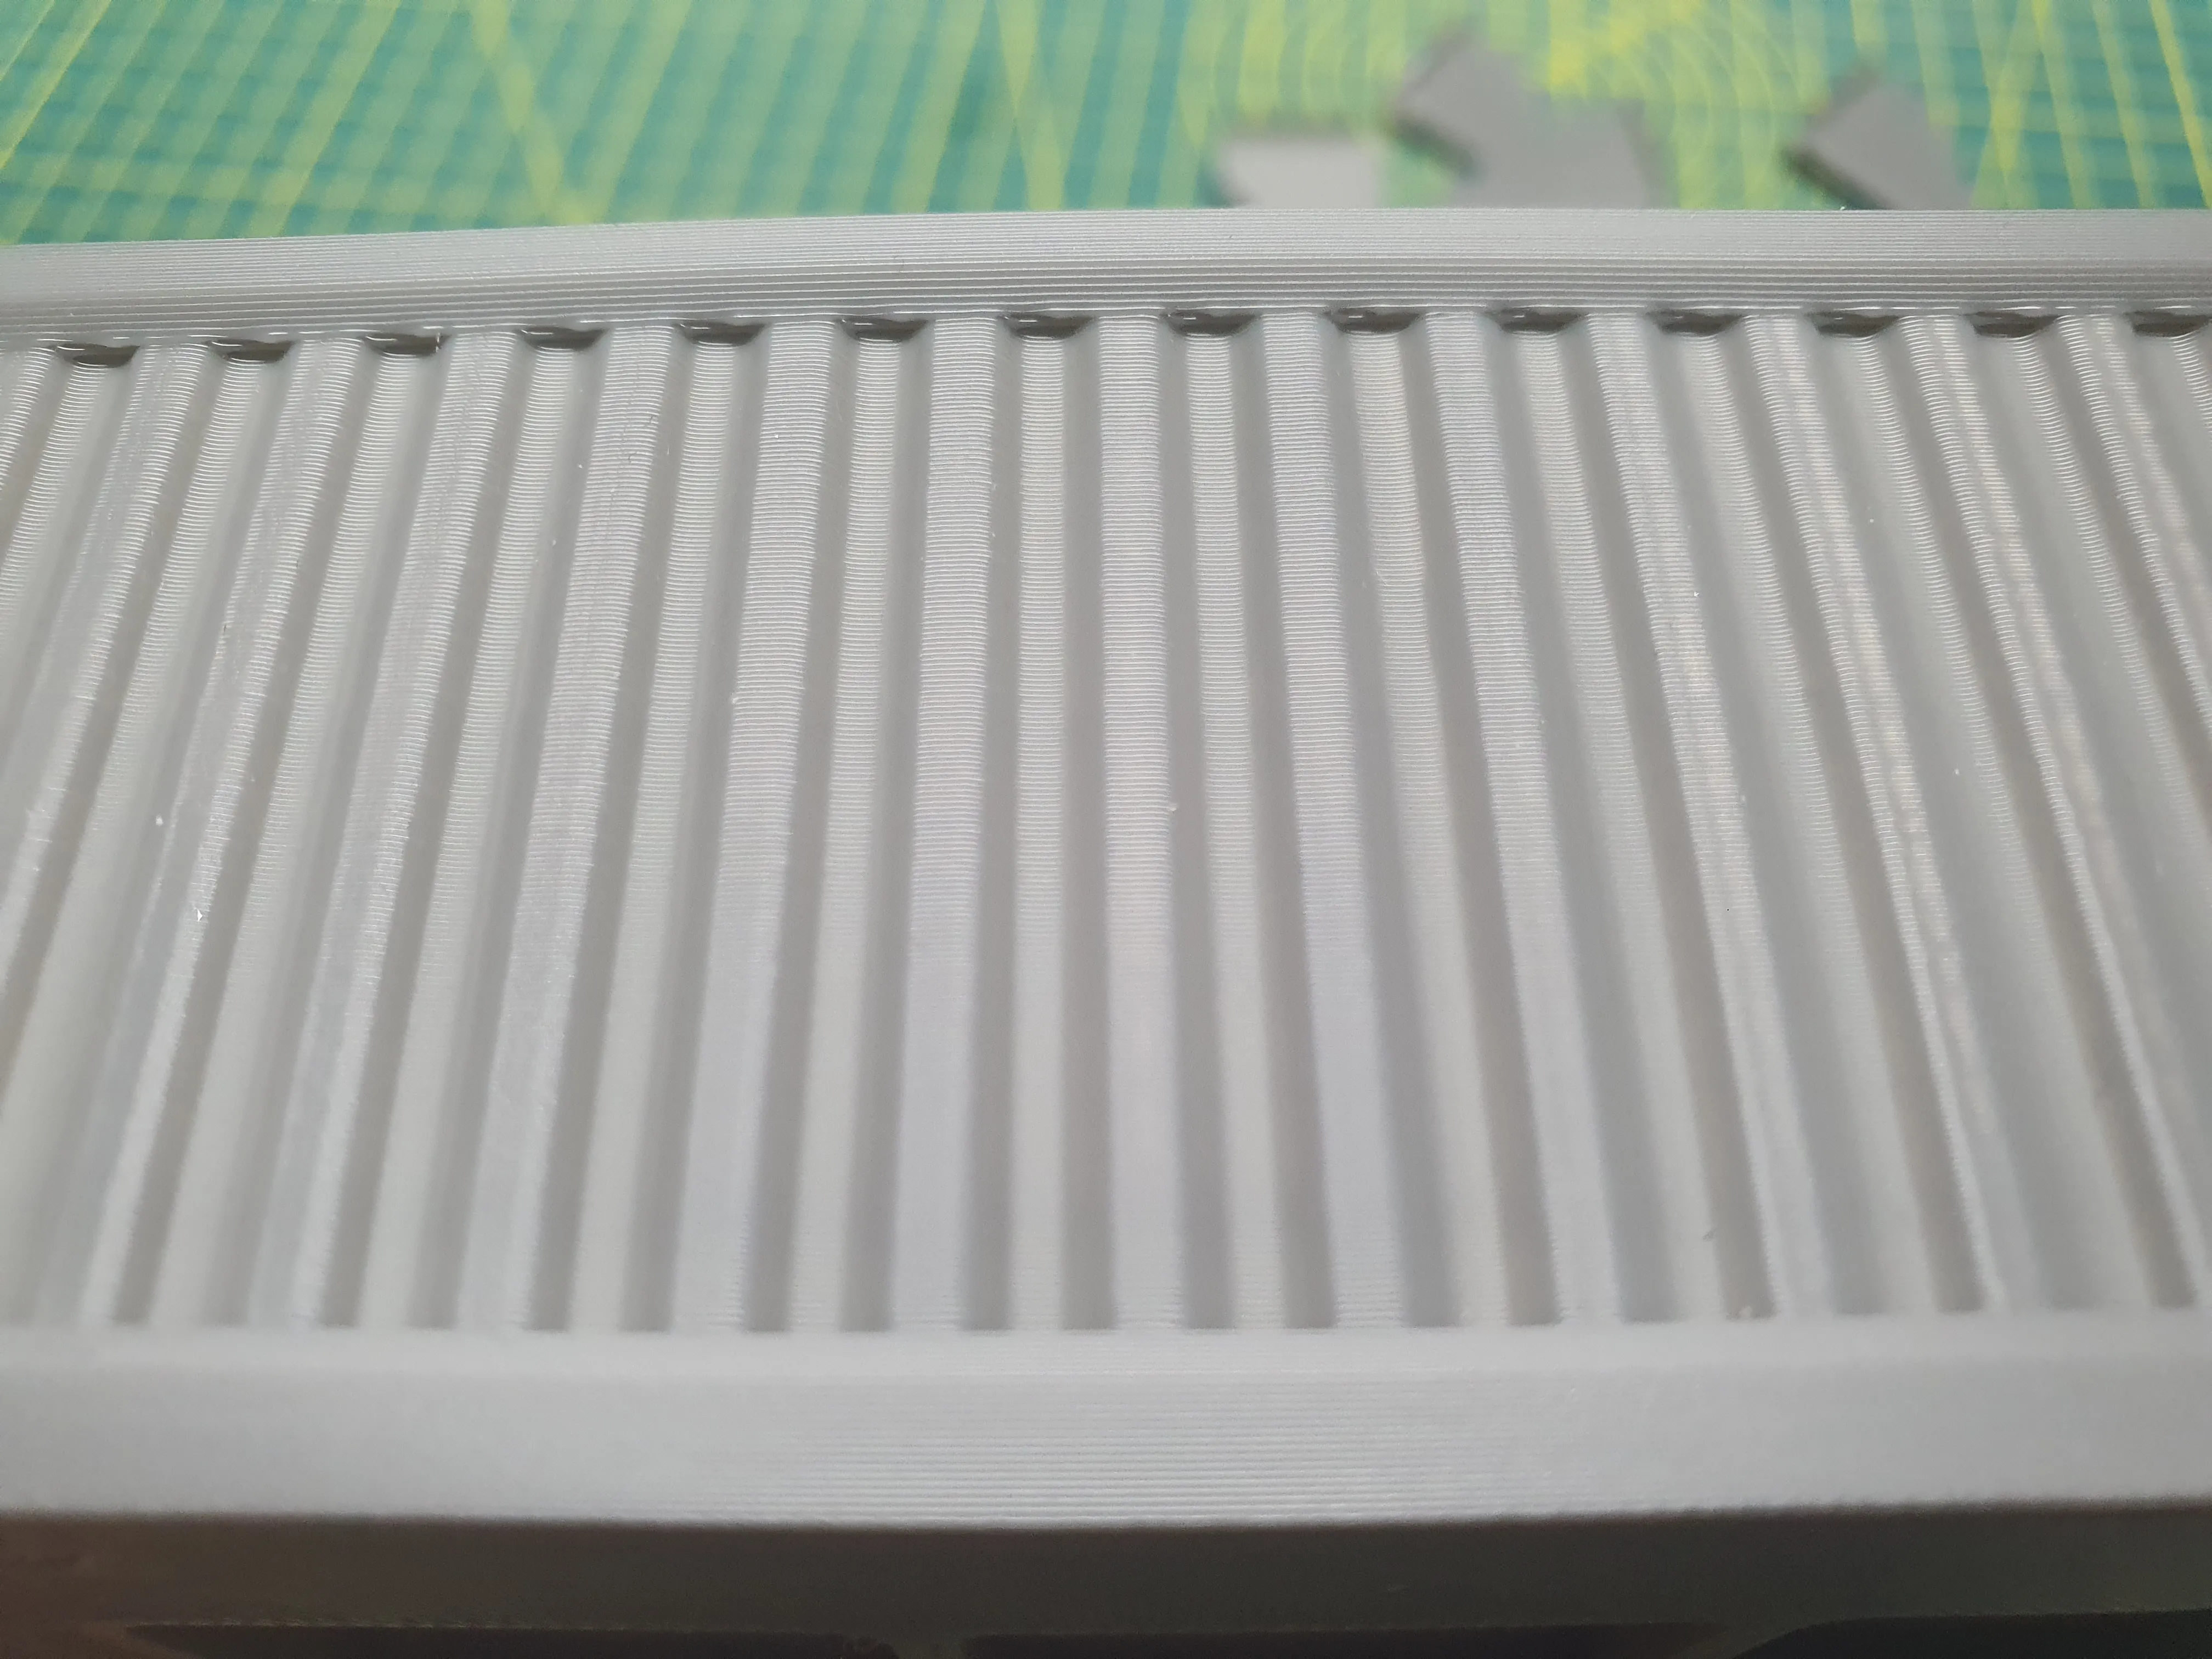
Had To put project on Hold as I found one issue (not affecting X and most possible P series). On A1 Series printers because of vibration, Textured version Borders came out in quite poor quality. So I Reinforced all Borders with supporting structures, just snap them off. Here are some photos what I mean:
Without Support Helpers
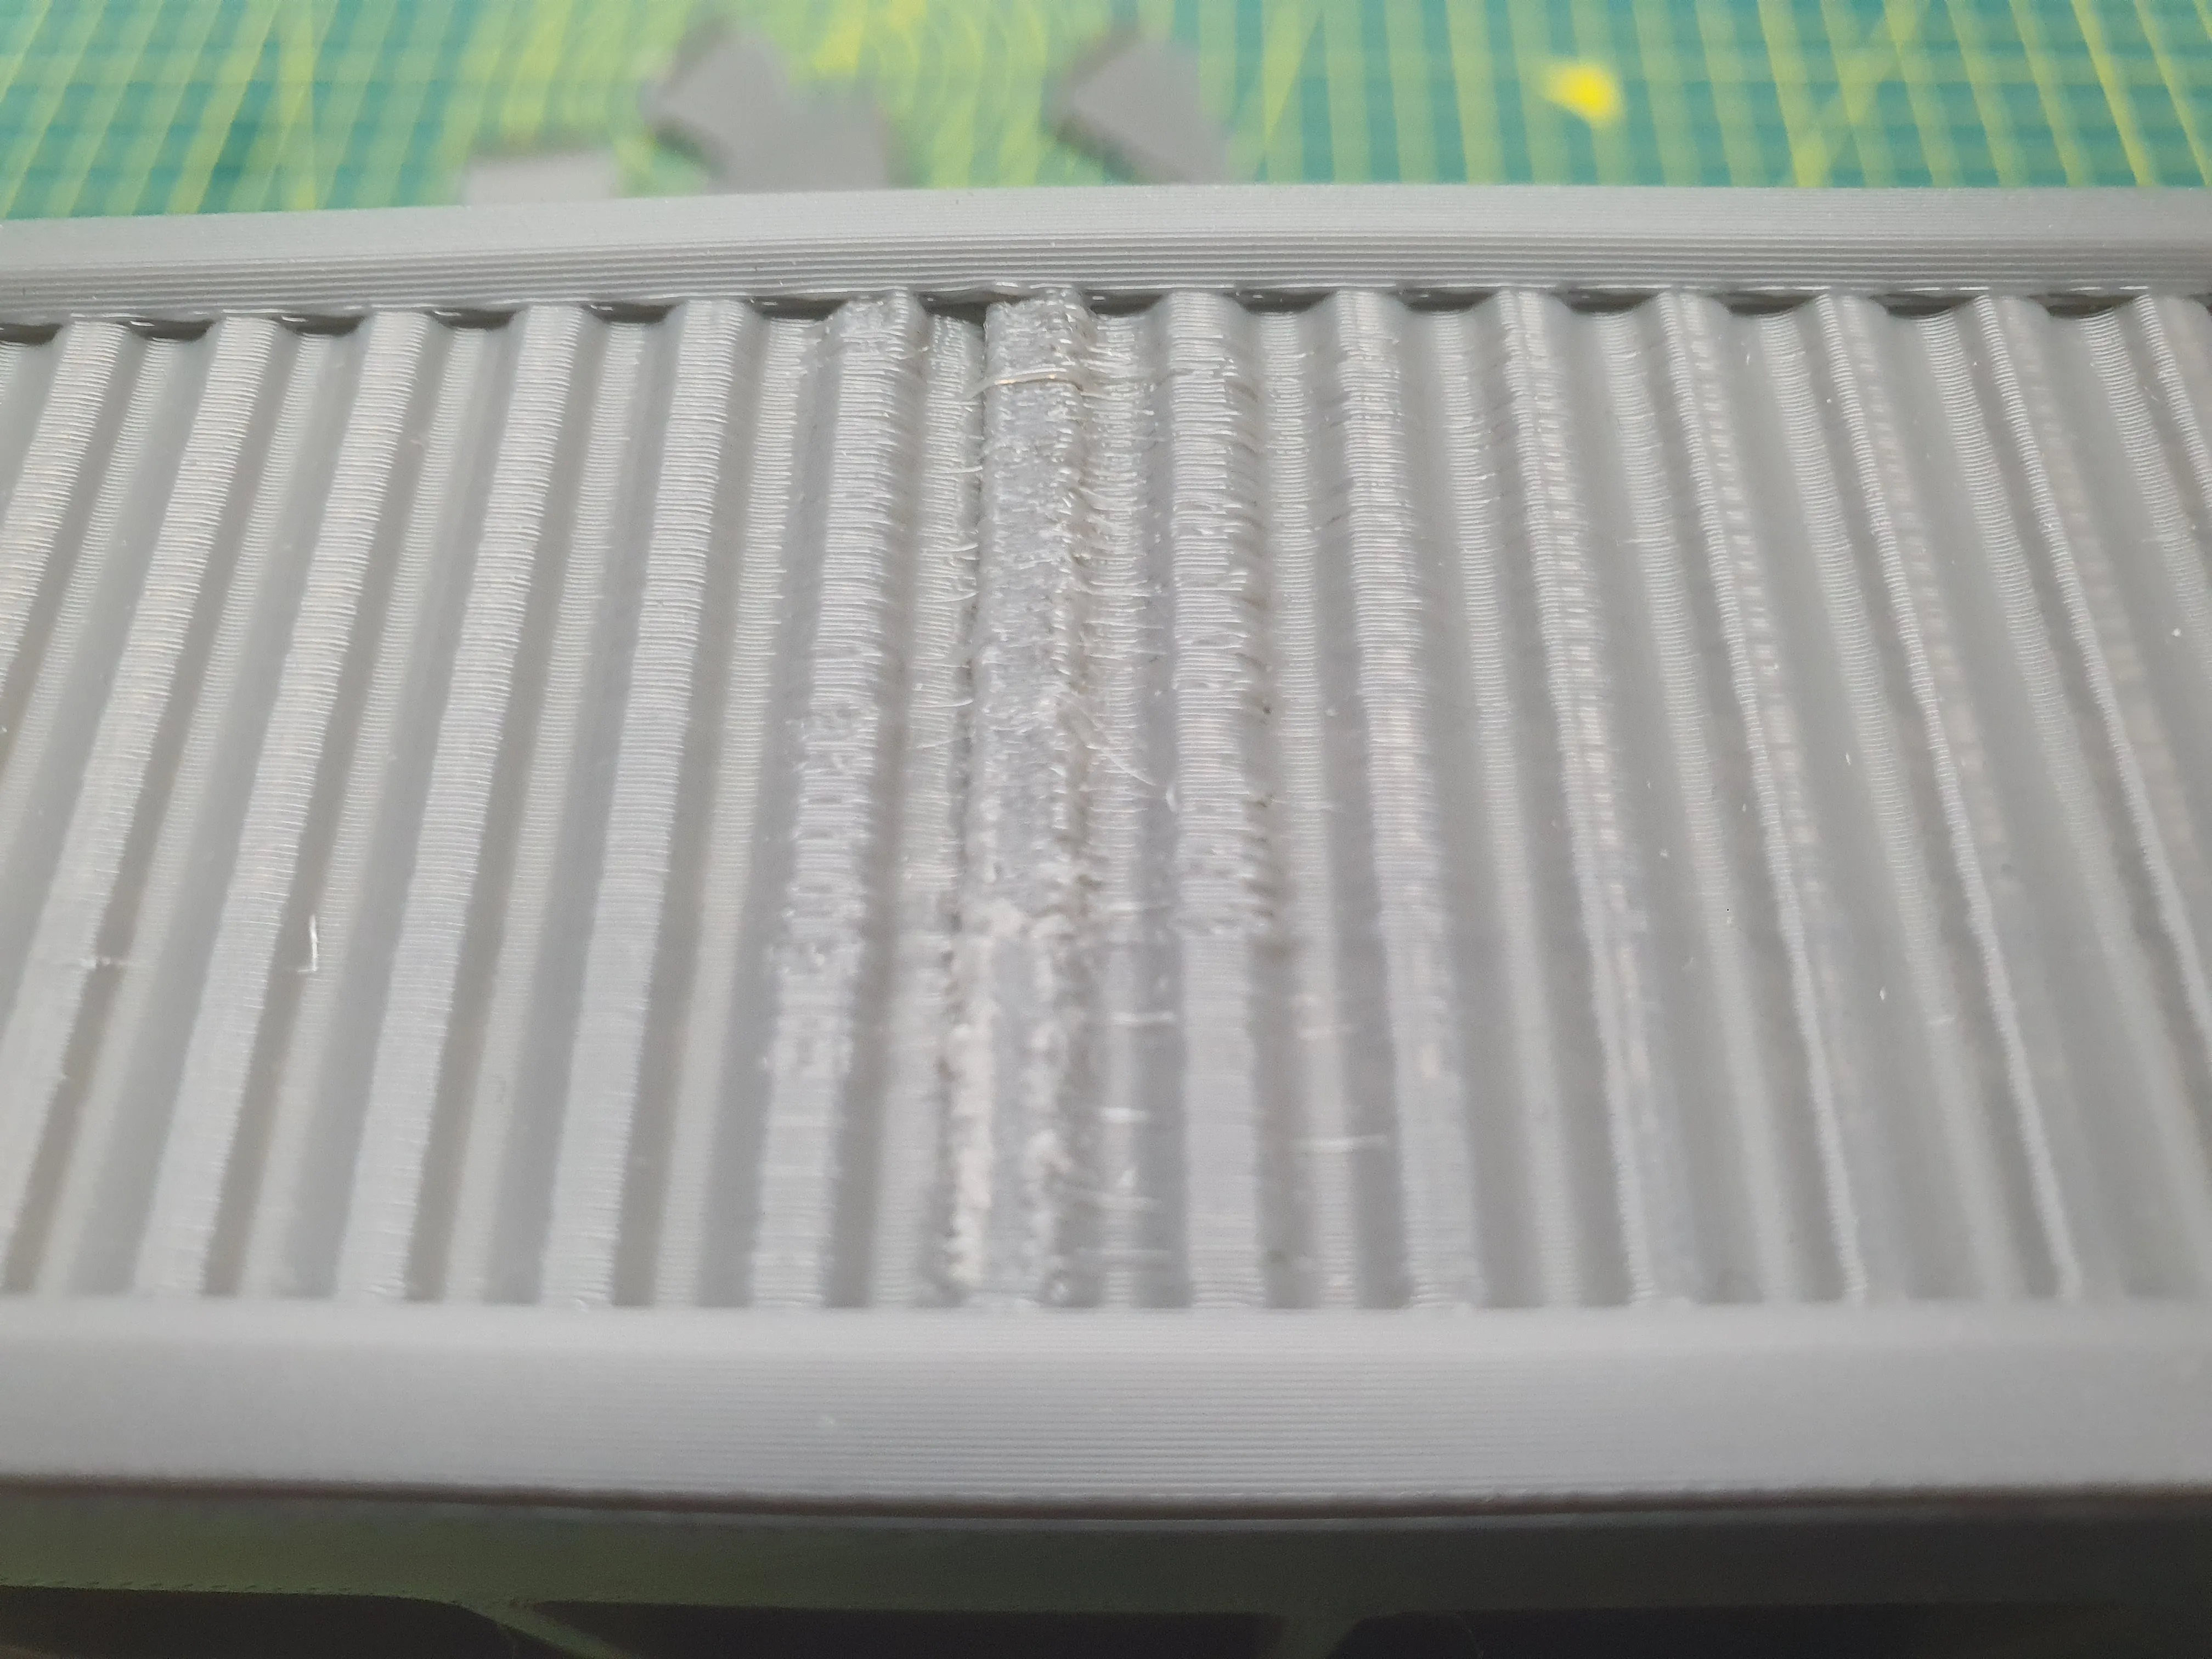
With Support Helpers
Other change made is even more. I have changed Style of Putting Border and Base together like it is Showed in picture Above I have done for A1 Mini printer Compatible profile. I found That way it is easier to put them together and You can even not use a Glue in most cases and even if it is needed You need it just in few spots. So Everything is redesigned and reuploaded.
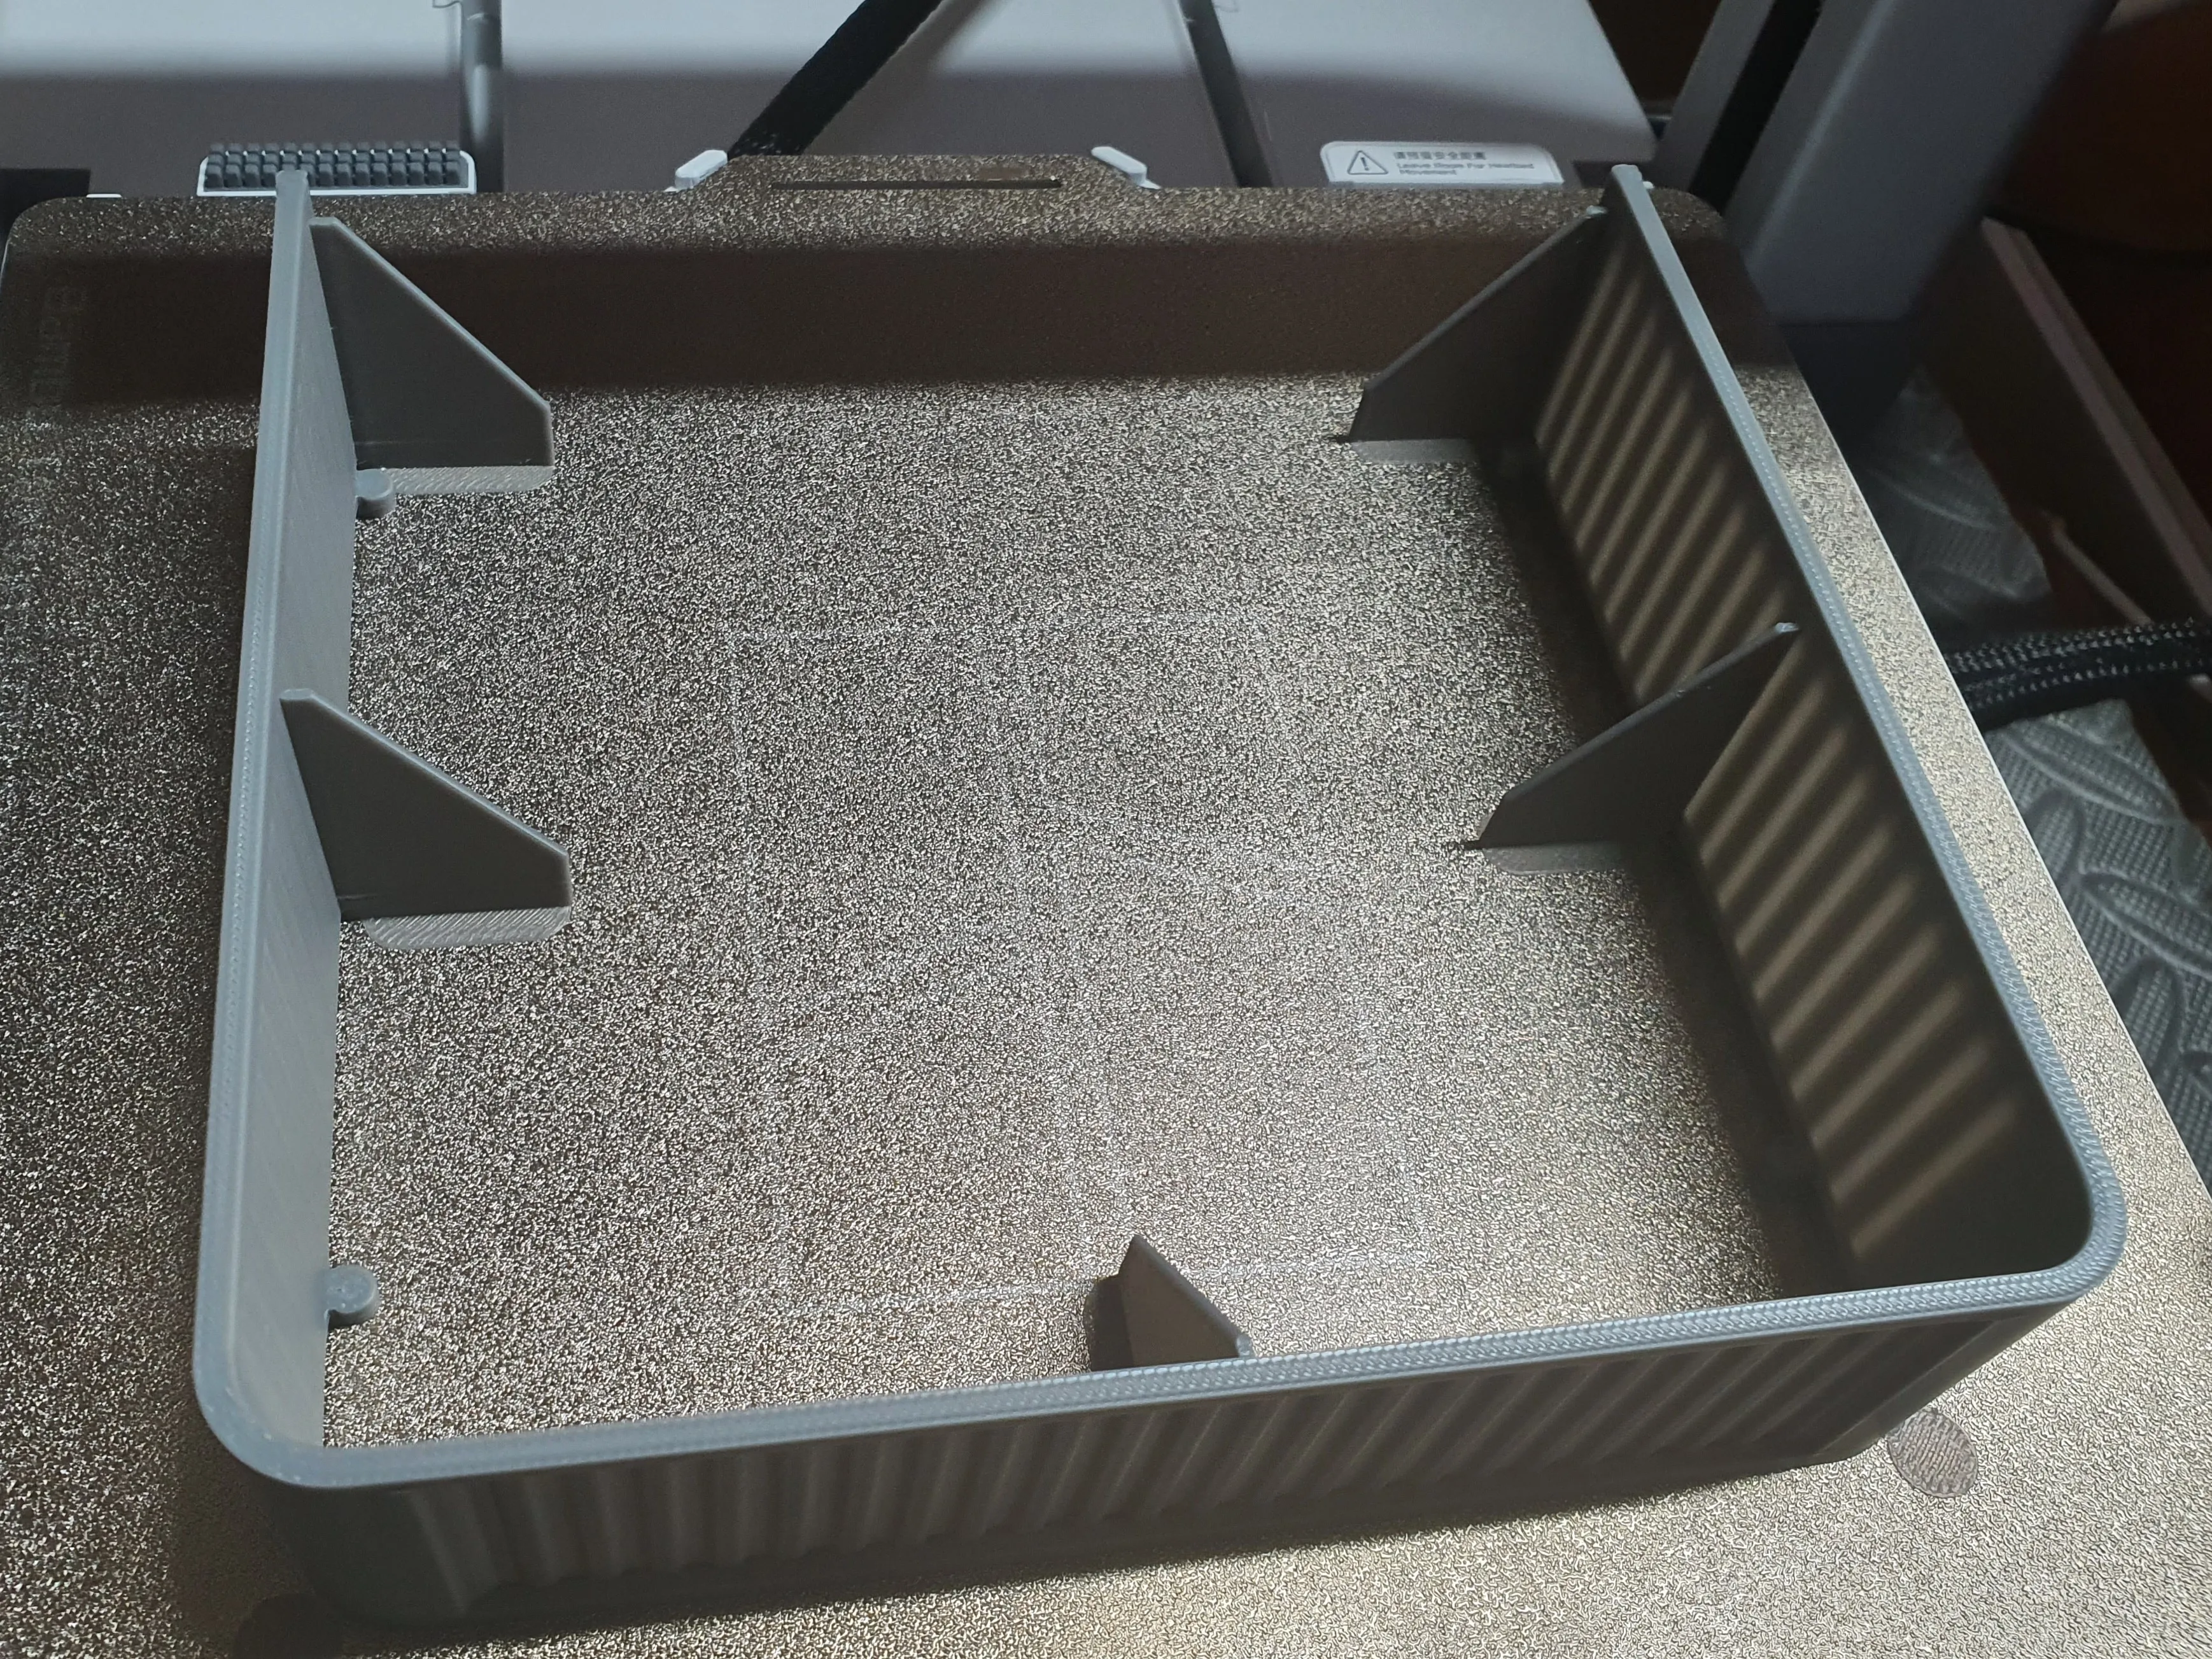
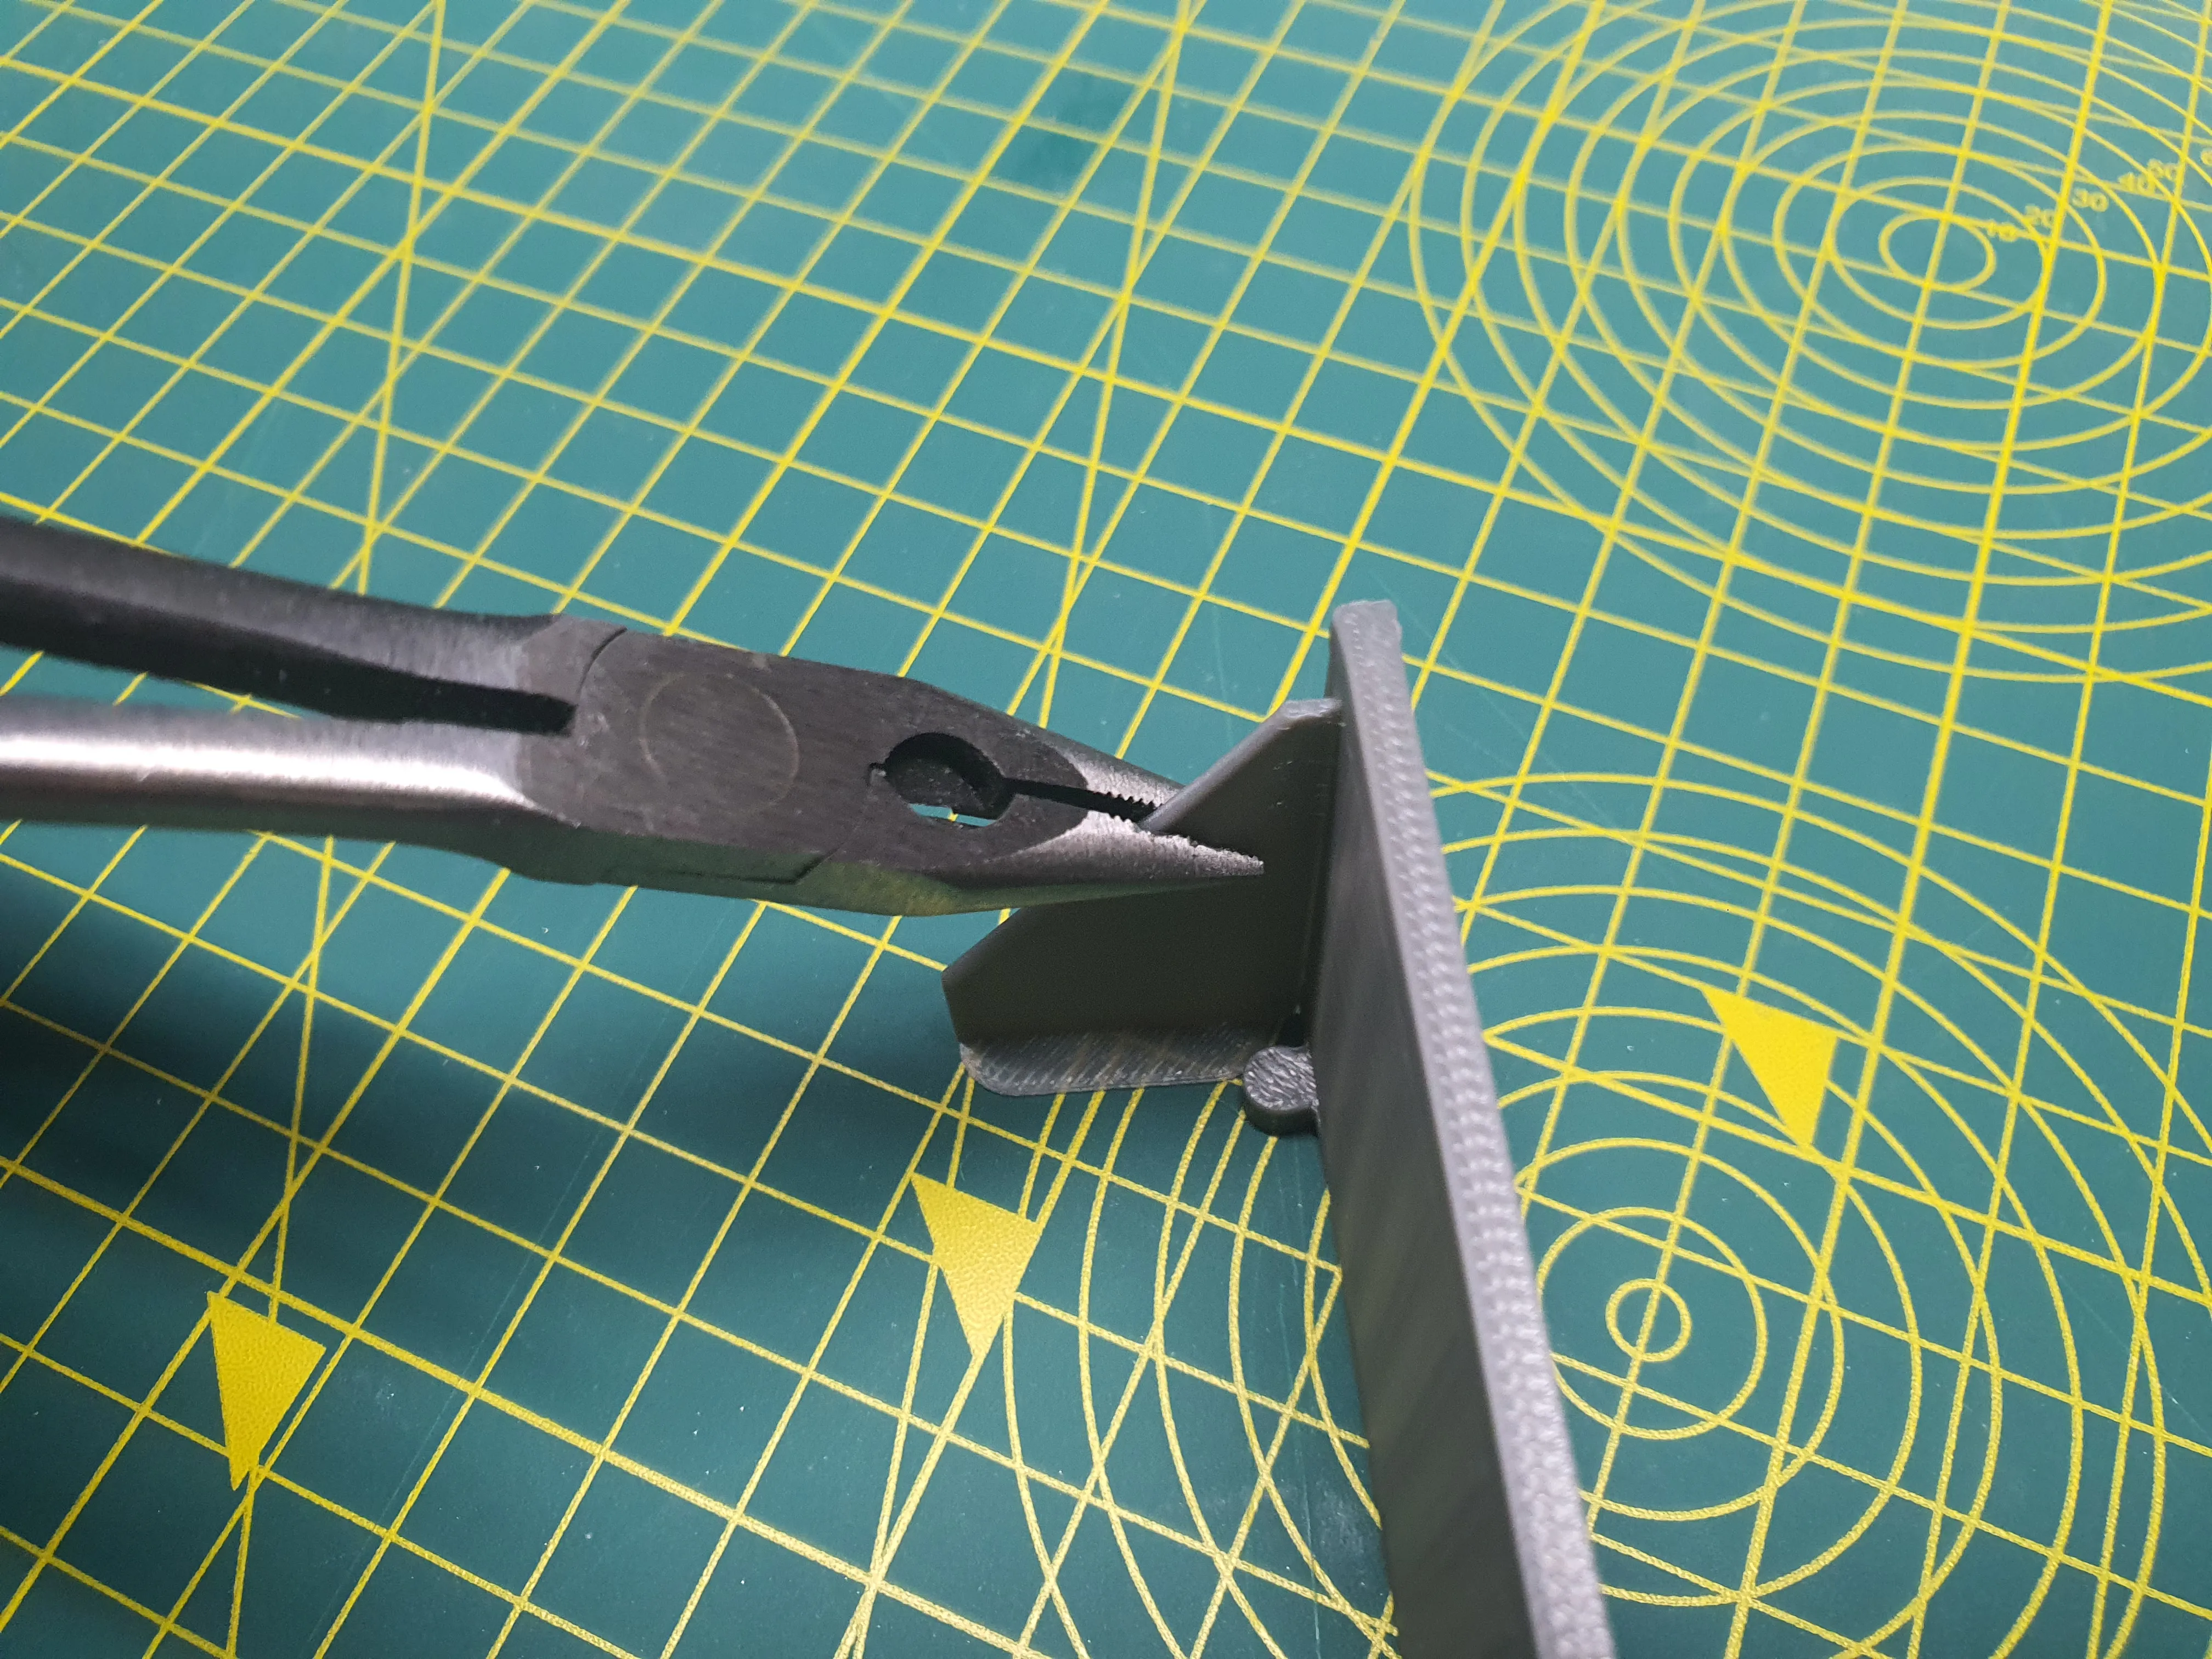
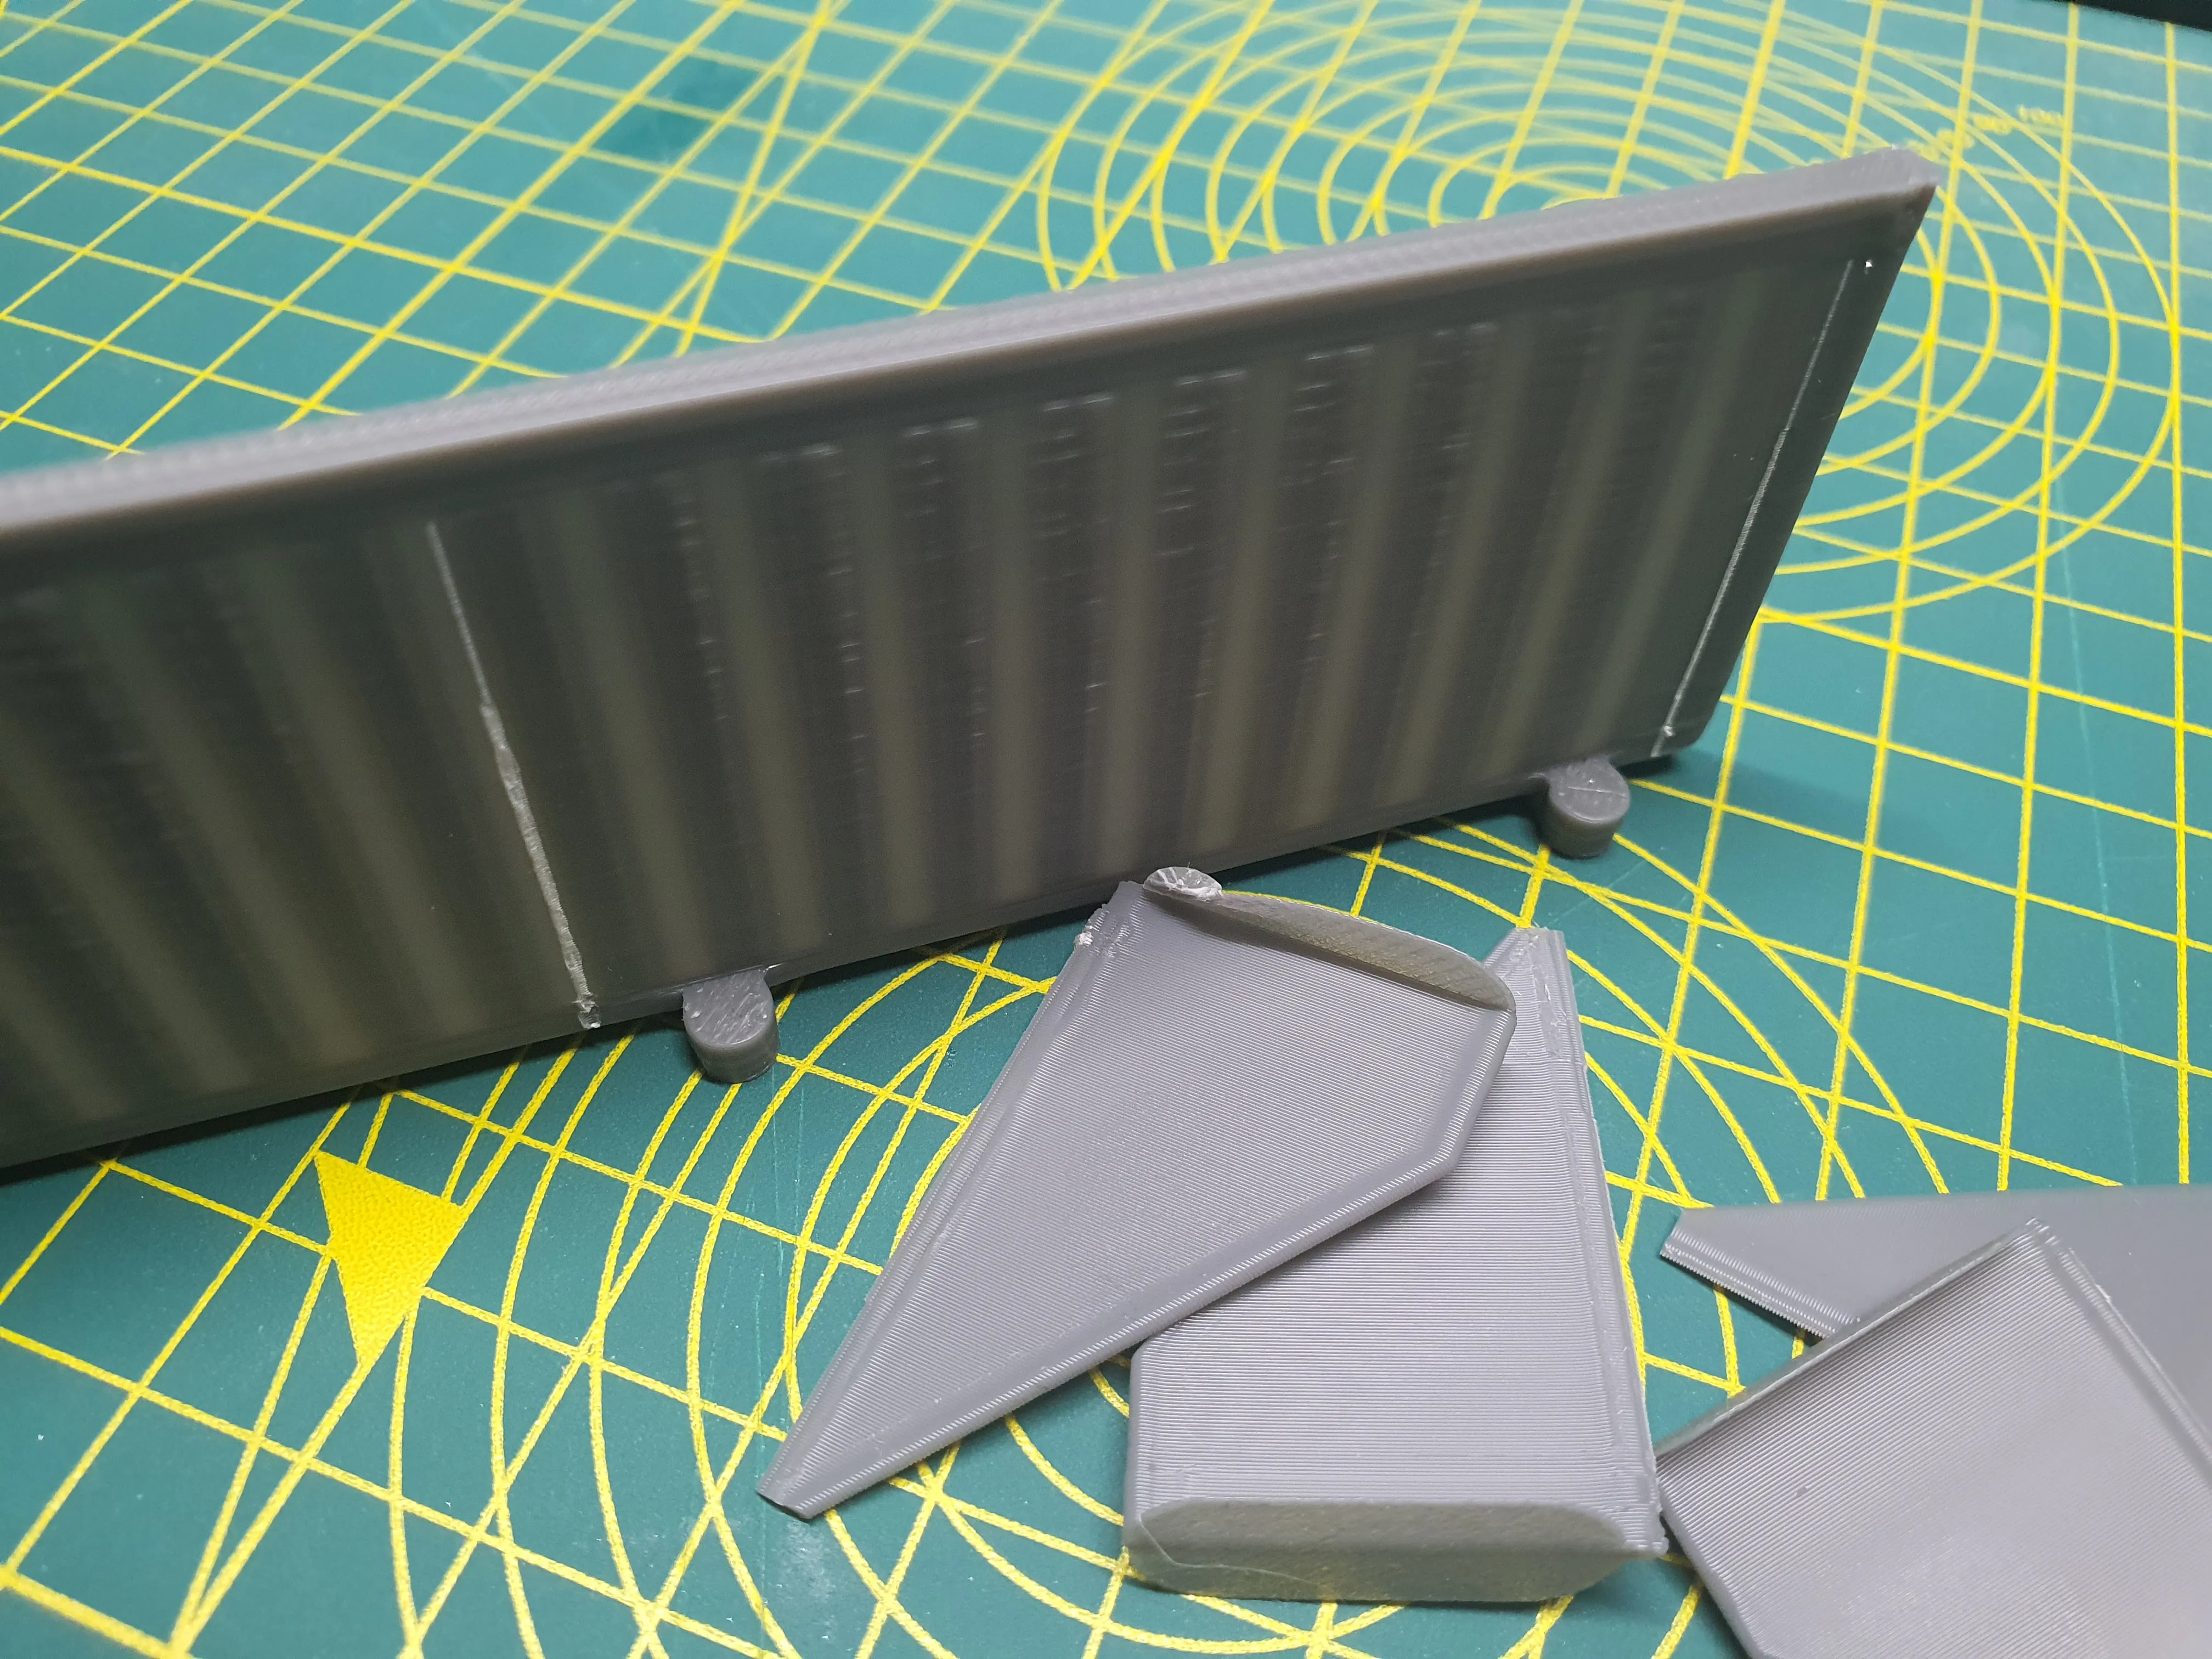
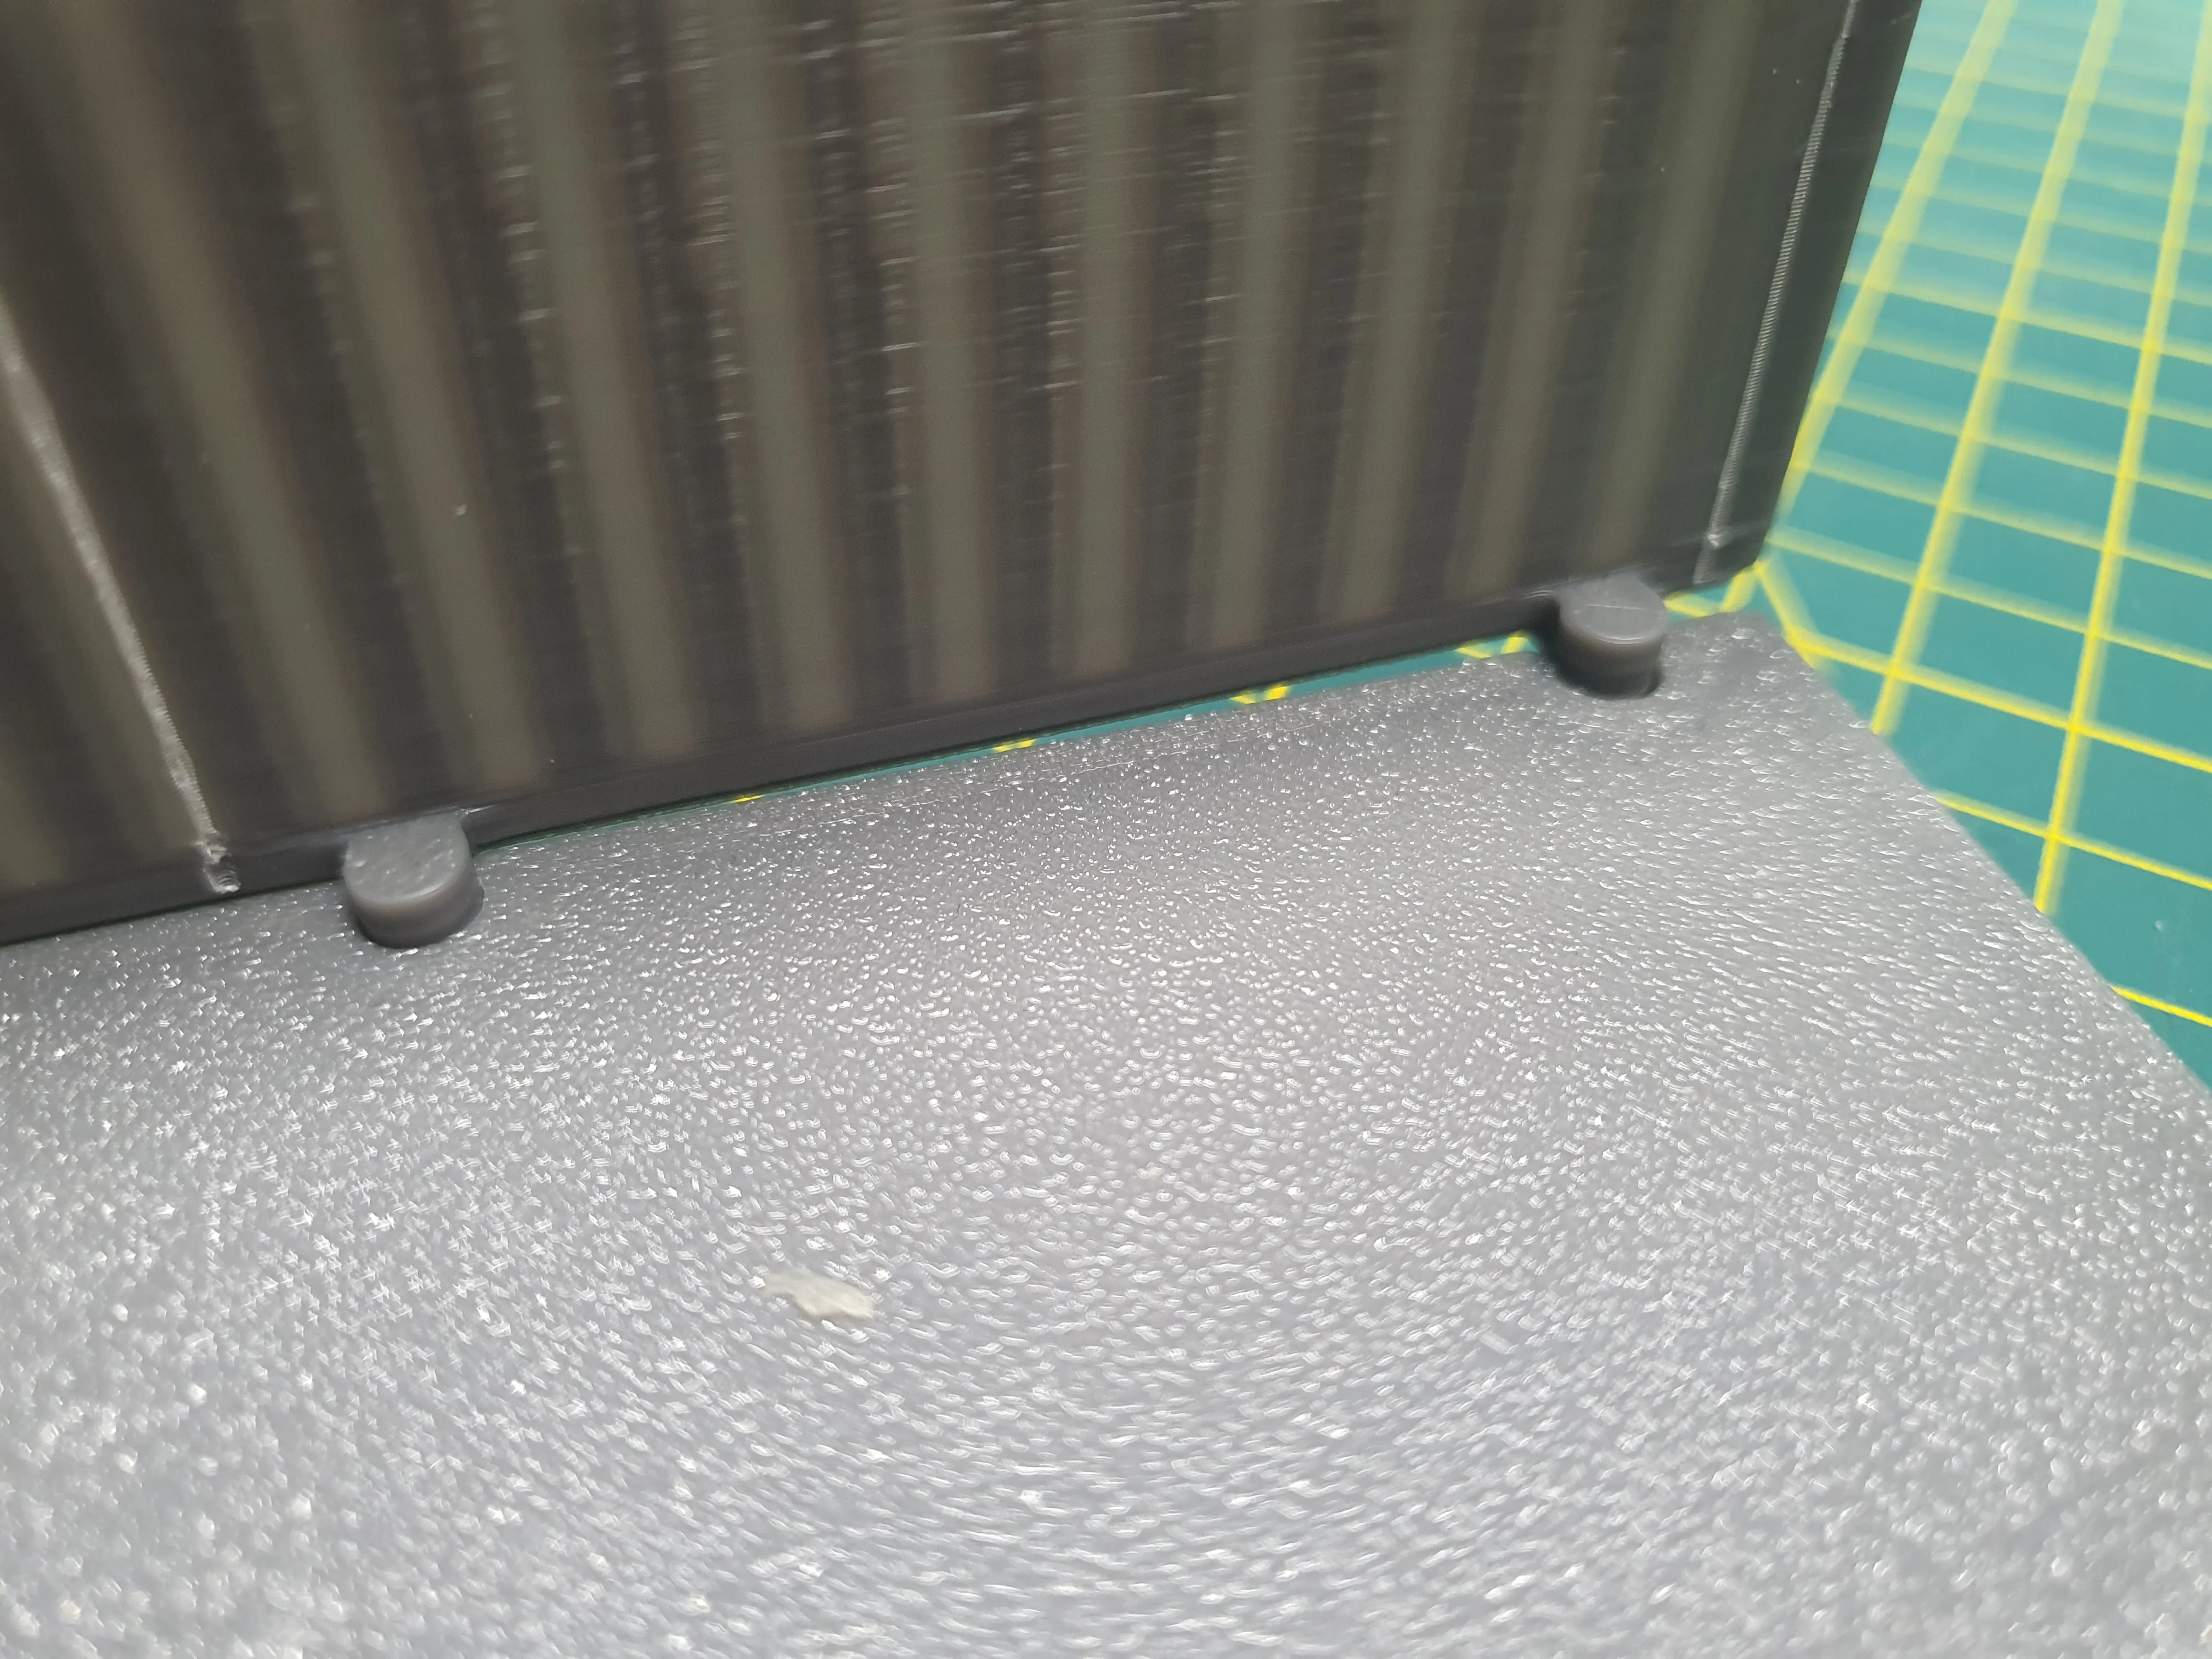
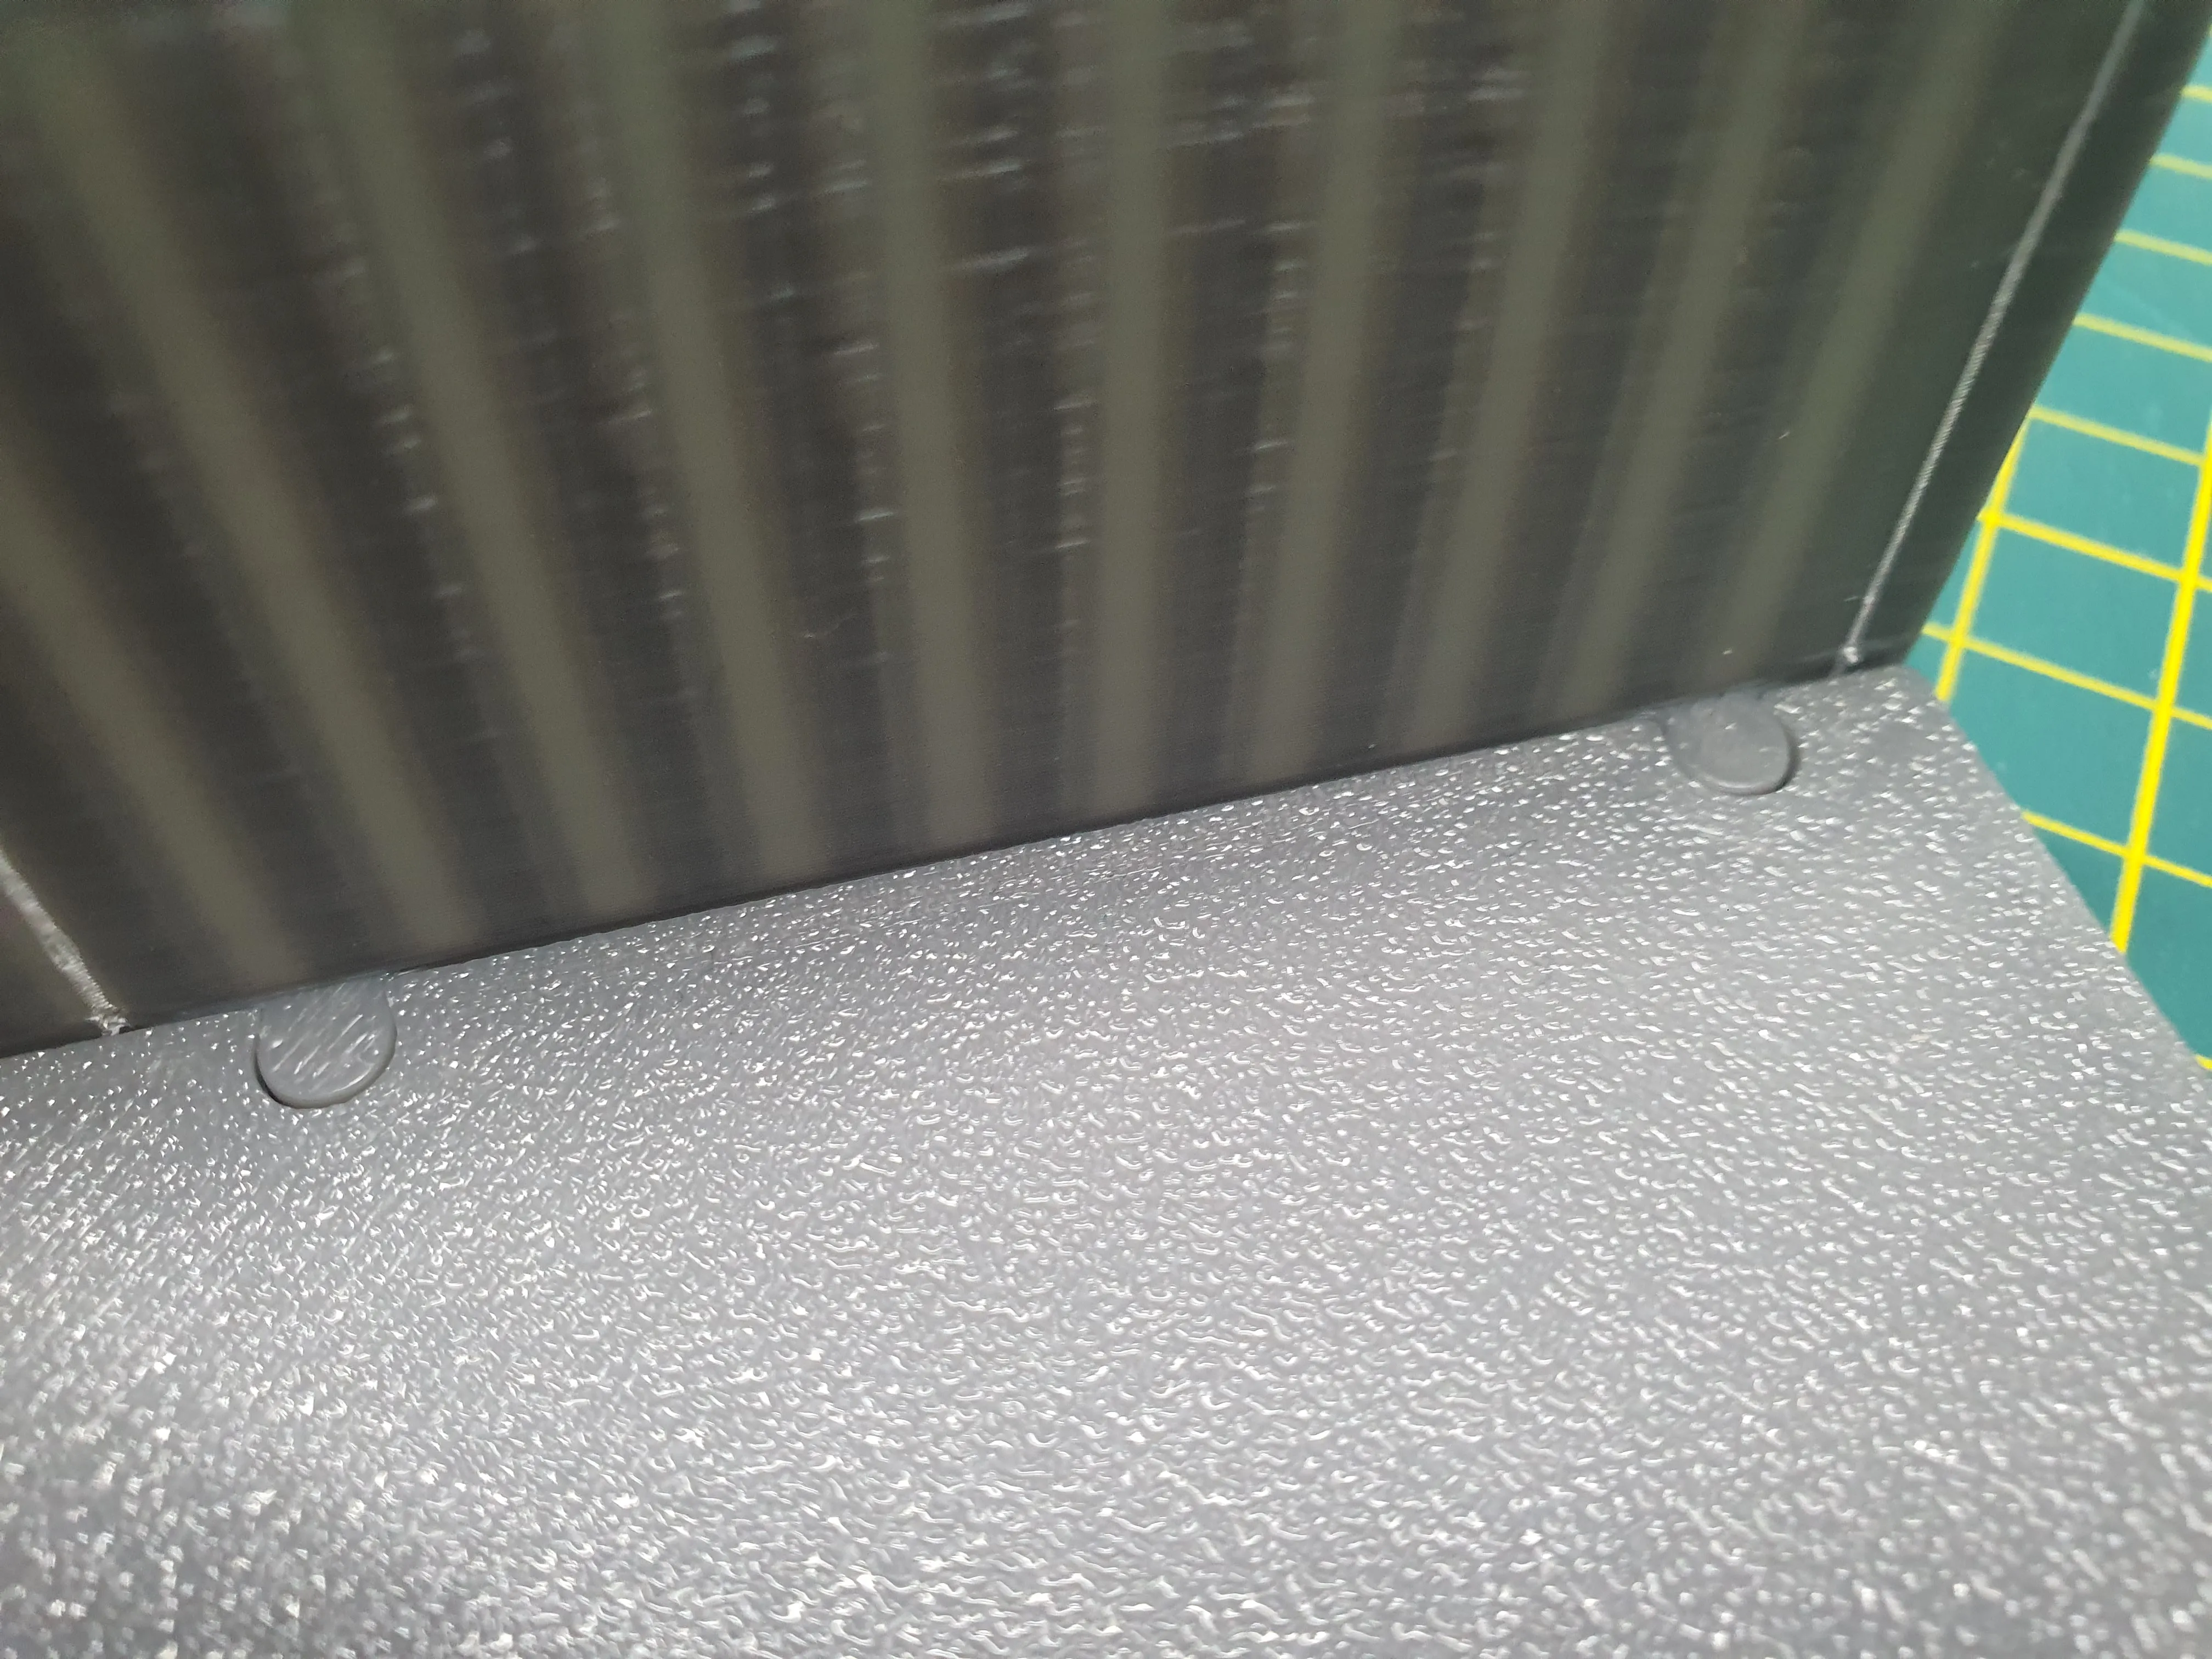
Main Things to know about this Project
- Originally Here are presented 3 sizes of shelves (Width x Depth) and all of them have separate profile for easier understanding.
- 175mm x 150mm
- 175mm x 200mm
- 235mm x 200mm
Unfortunately when all modelling was done I found out that even smaller one does not fit A1 Mini print volume. So soon I will add a little smaller version as well for A1 Mini users as well. - Border sizes (Heights)
- Slatted version: 10mm & 20mm.
- Textured version: 10mm, 20mm, 30mm, 40mm, 50mm
- Flat version: 10mm, 20mm, 30mm, 40mm, 50mm
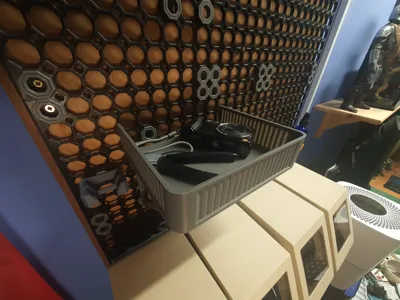
- Solid Wall version: is made for cut to size in slicer. Starting from 100mm and down. Instructions how to do that in Bambu Studio are provided below. - Optionally you can add a simple Lid provided which is…… a LID, but can used as an additional Shelf level. Made it as simple as possible and fount it as very good addition here.
- Base Plates and Lids are made in two versions. Lightened and solid (4mm thick). I'd say Lightened versions are more than enough as I don't think anyone is going to put in and on very heavy stuff here and Light version uses less filament and prints faster. But You have a choice and that's a good thing in my opinion.
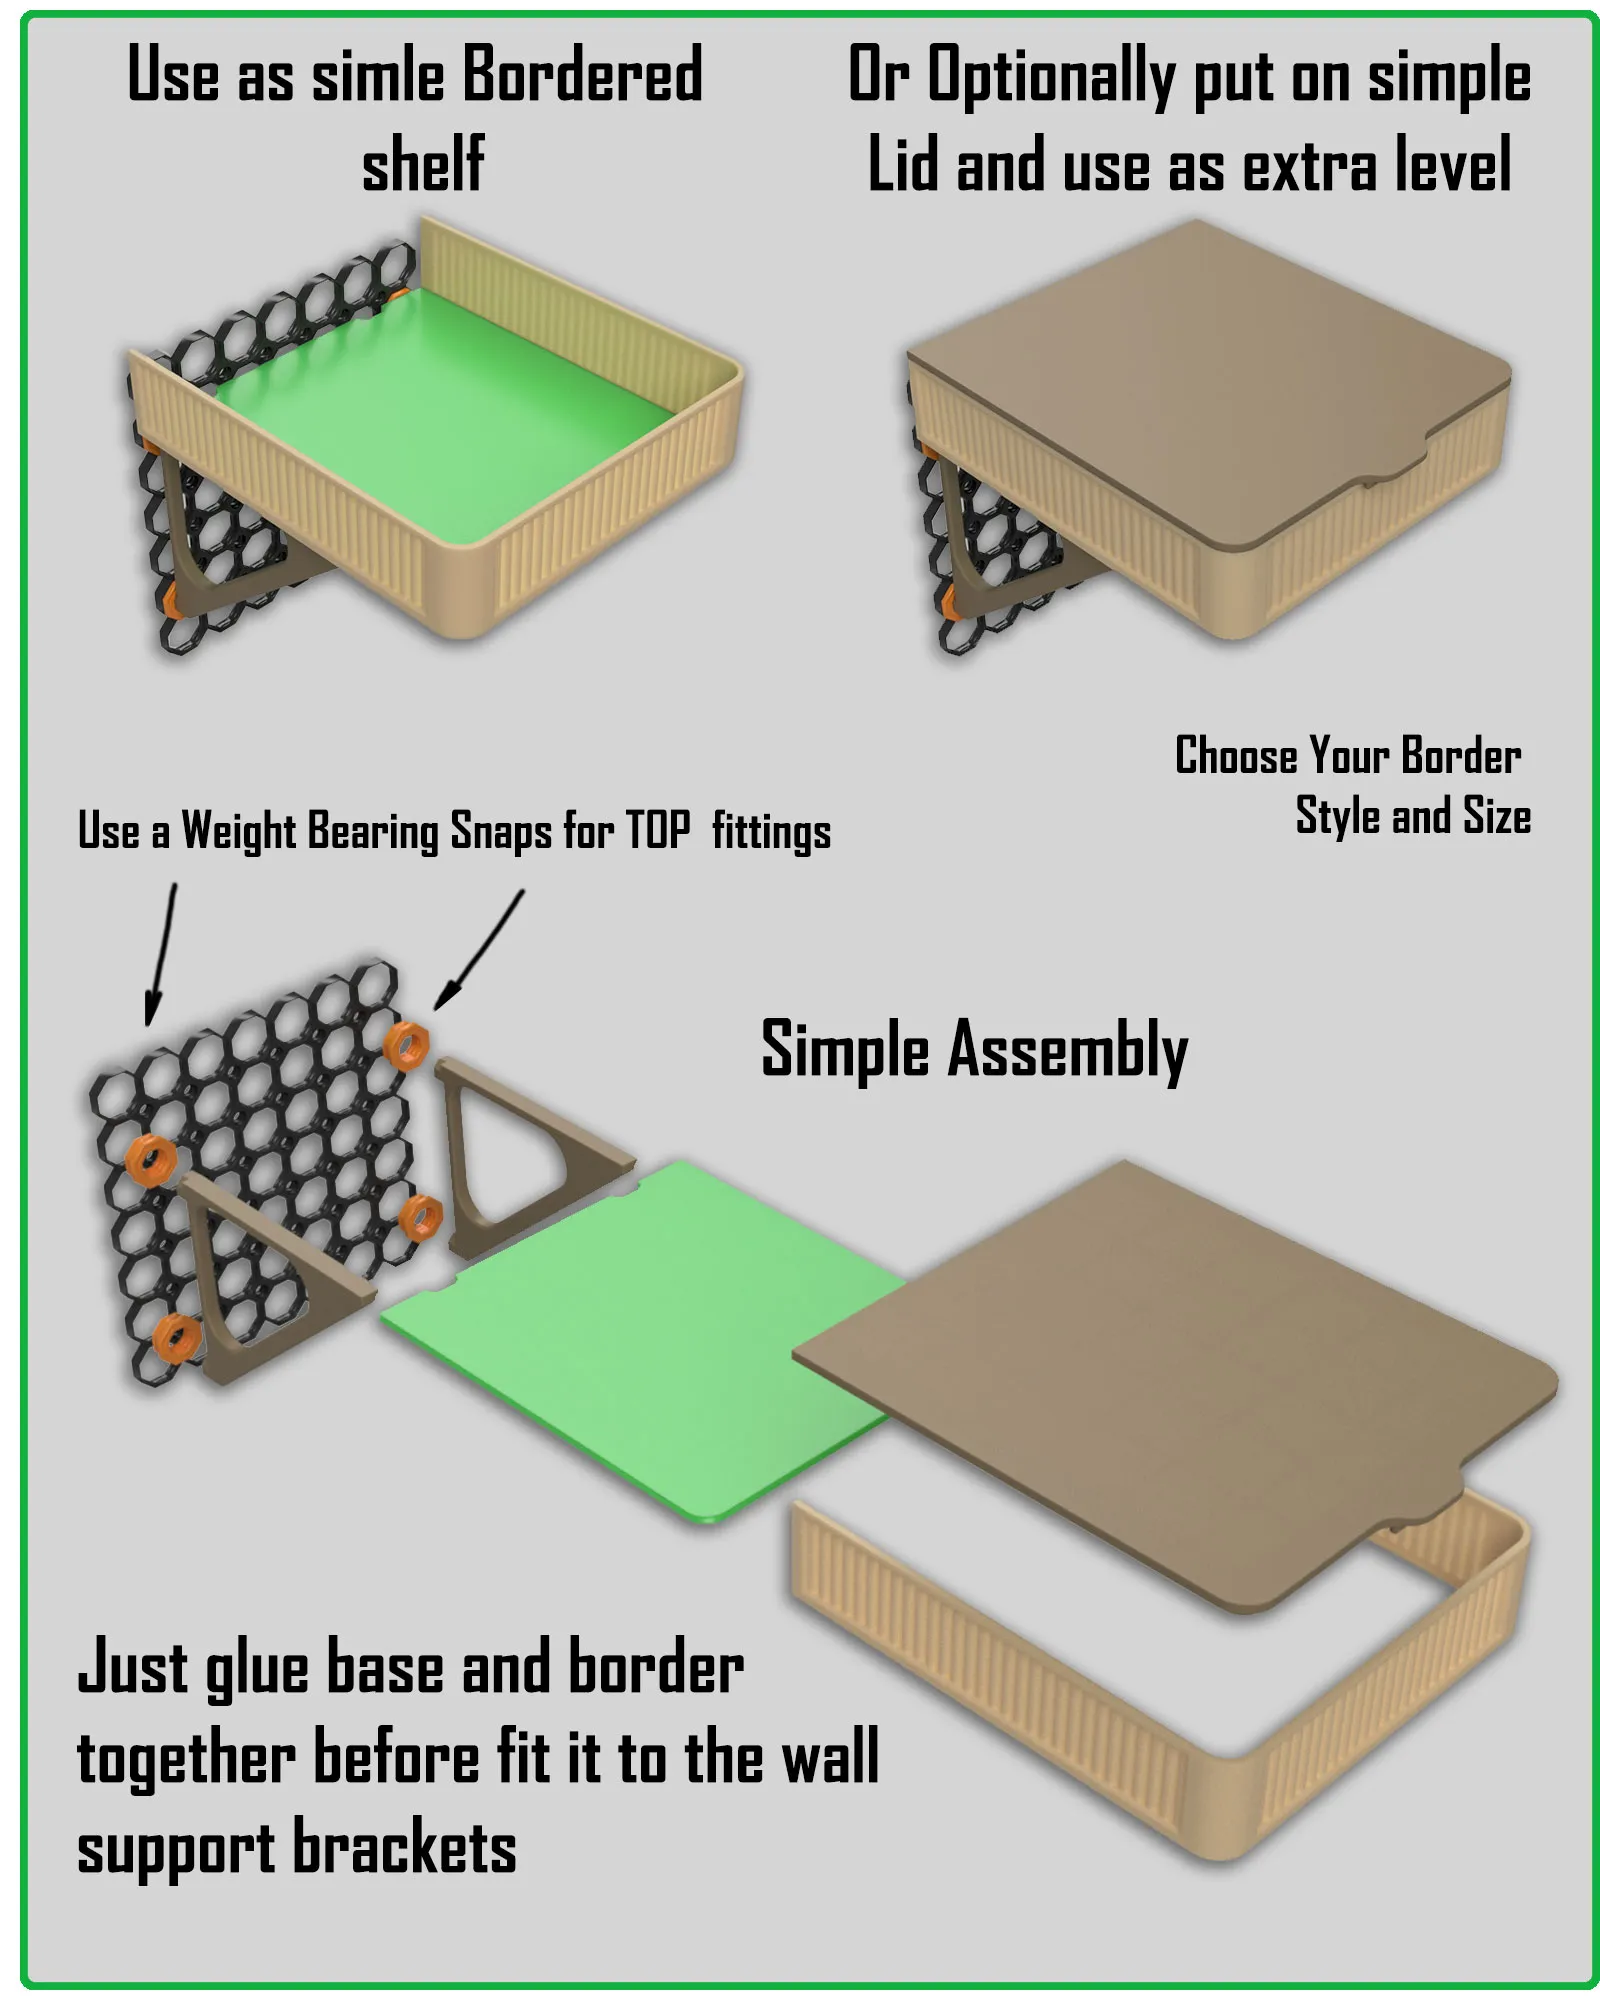
- Borders and Base Plates have rail and pins to fit together. But they has to be glued together or they won't keep on. I stayed with this style after long time of searching for best design type to keep away from any need of supports, So…
- NO SUPPORTS NEEDED at all in this project.
- As for Multiboard SNAPS! On lower fittings You can use a simple original Snaps but for top fittings I strongly recommend to use a Weight Bearing Snaps or Offset Wall fitting ones.
Some Graphical presentation
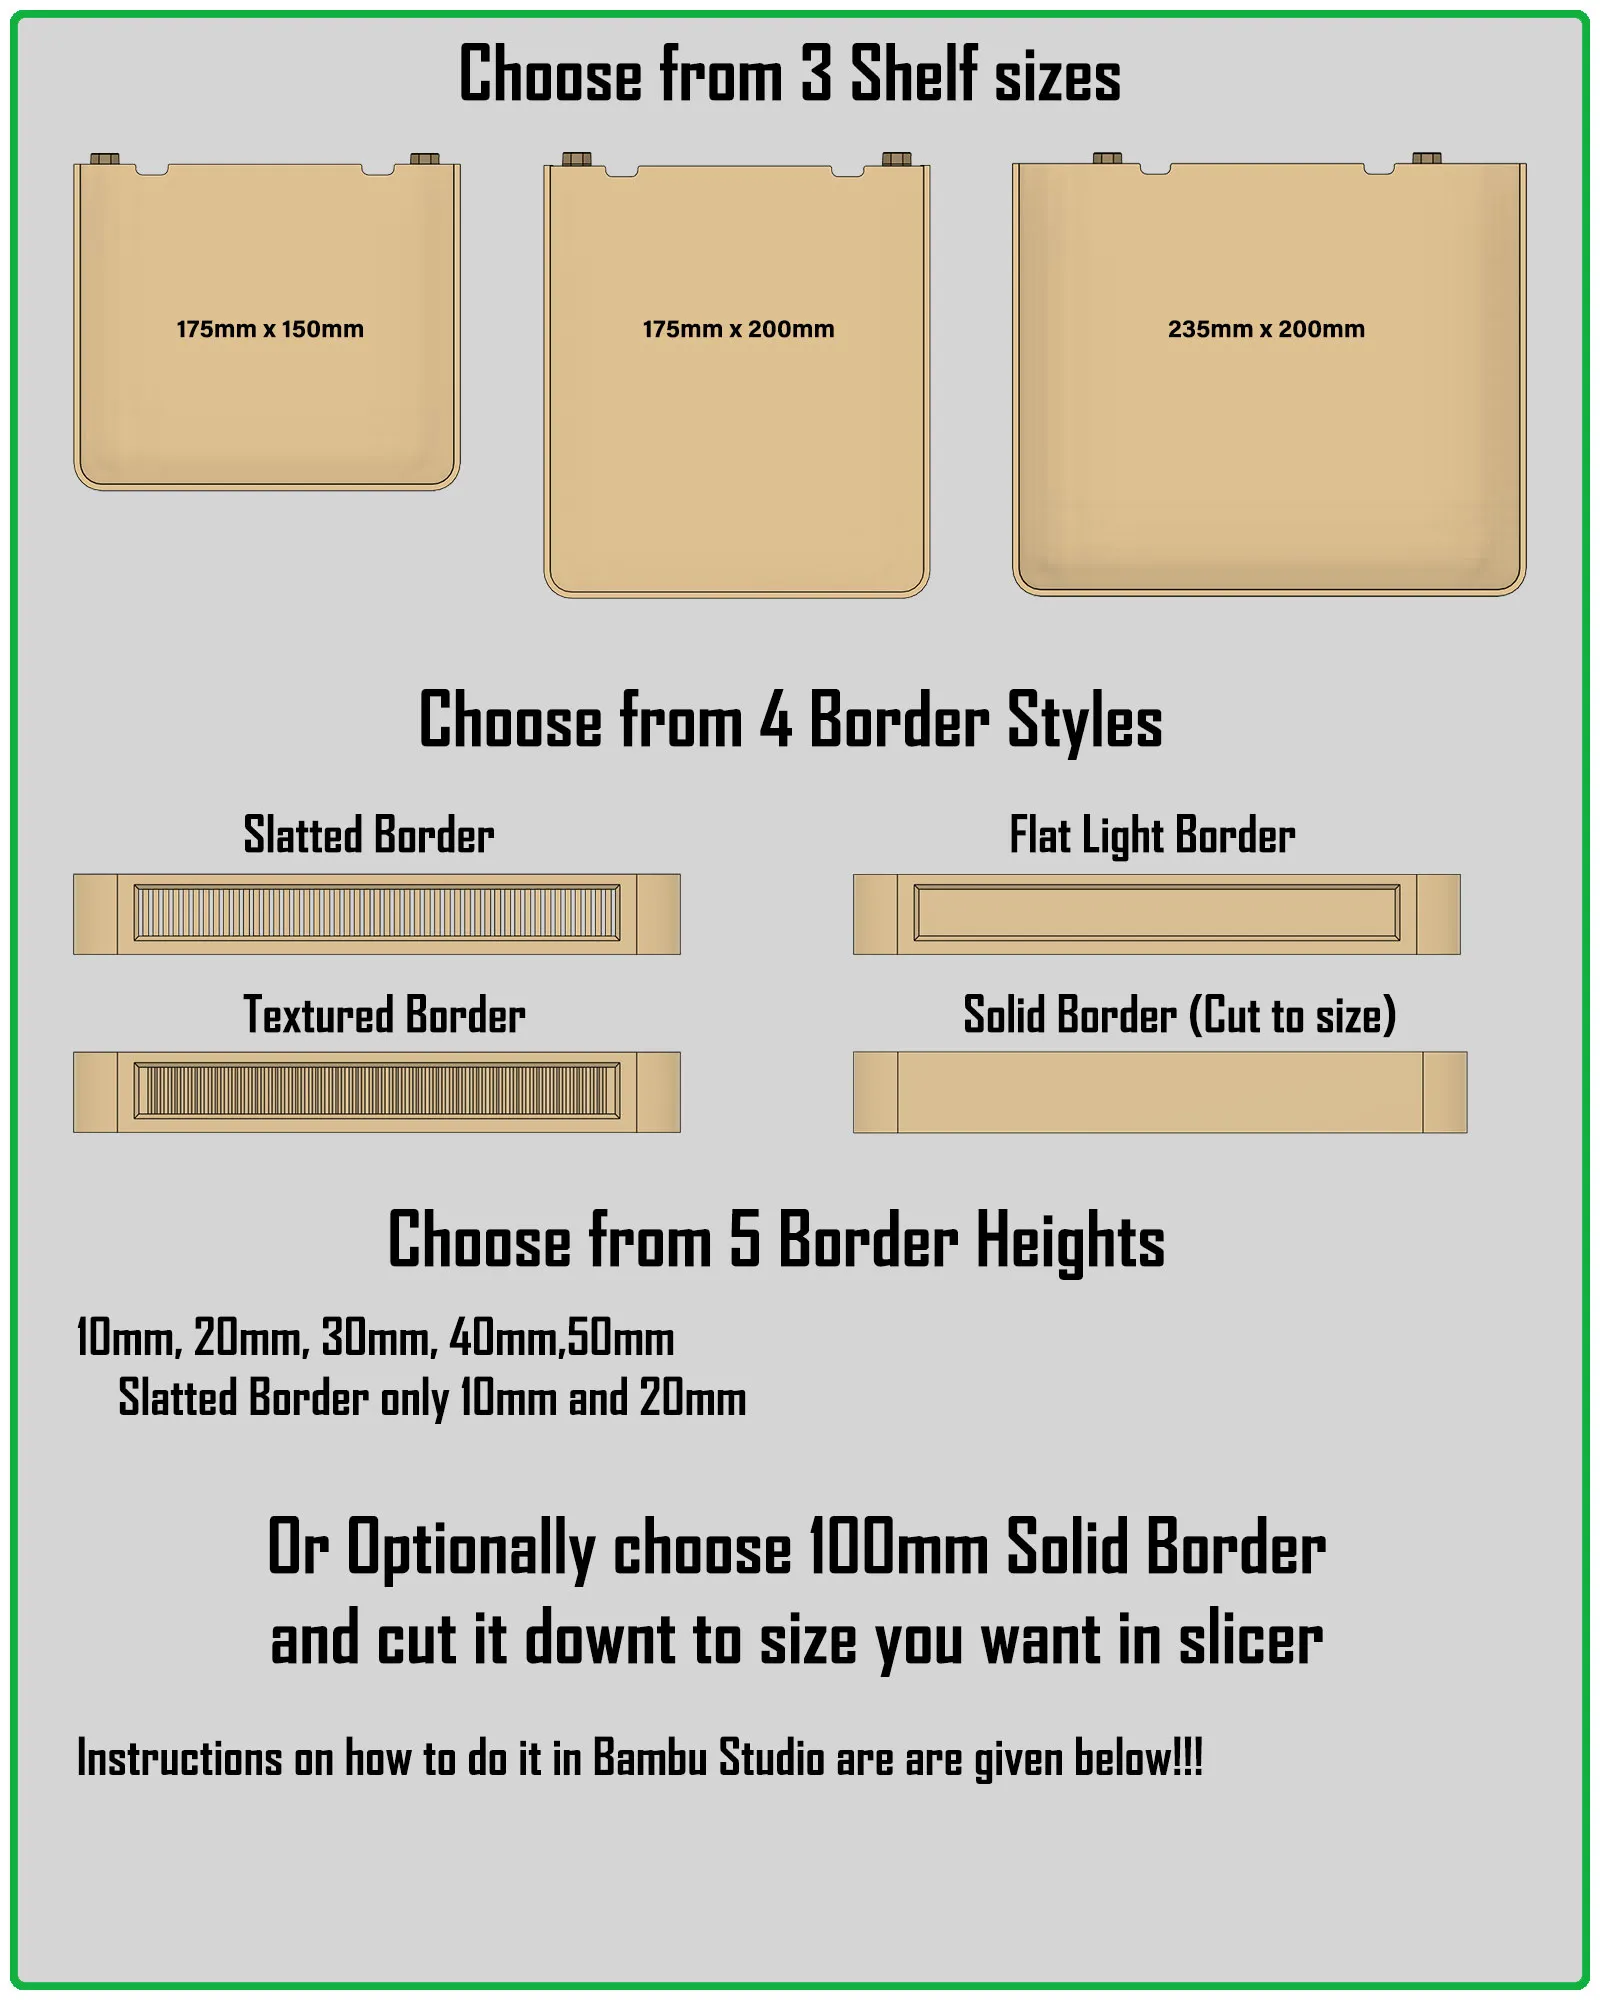
Here are few easy steps how to cut Solid Border in Bambu Studio
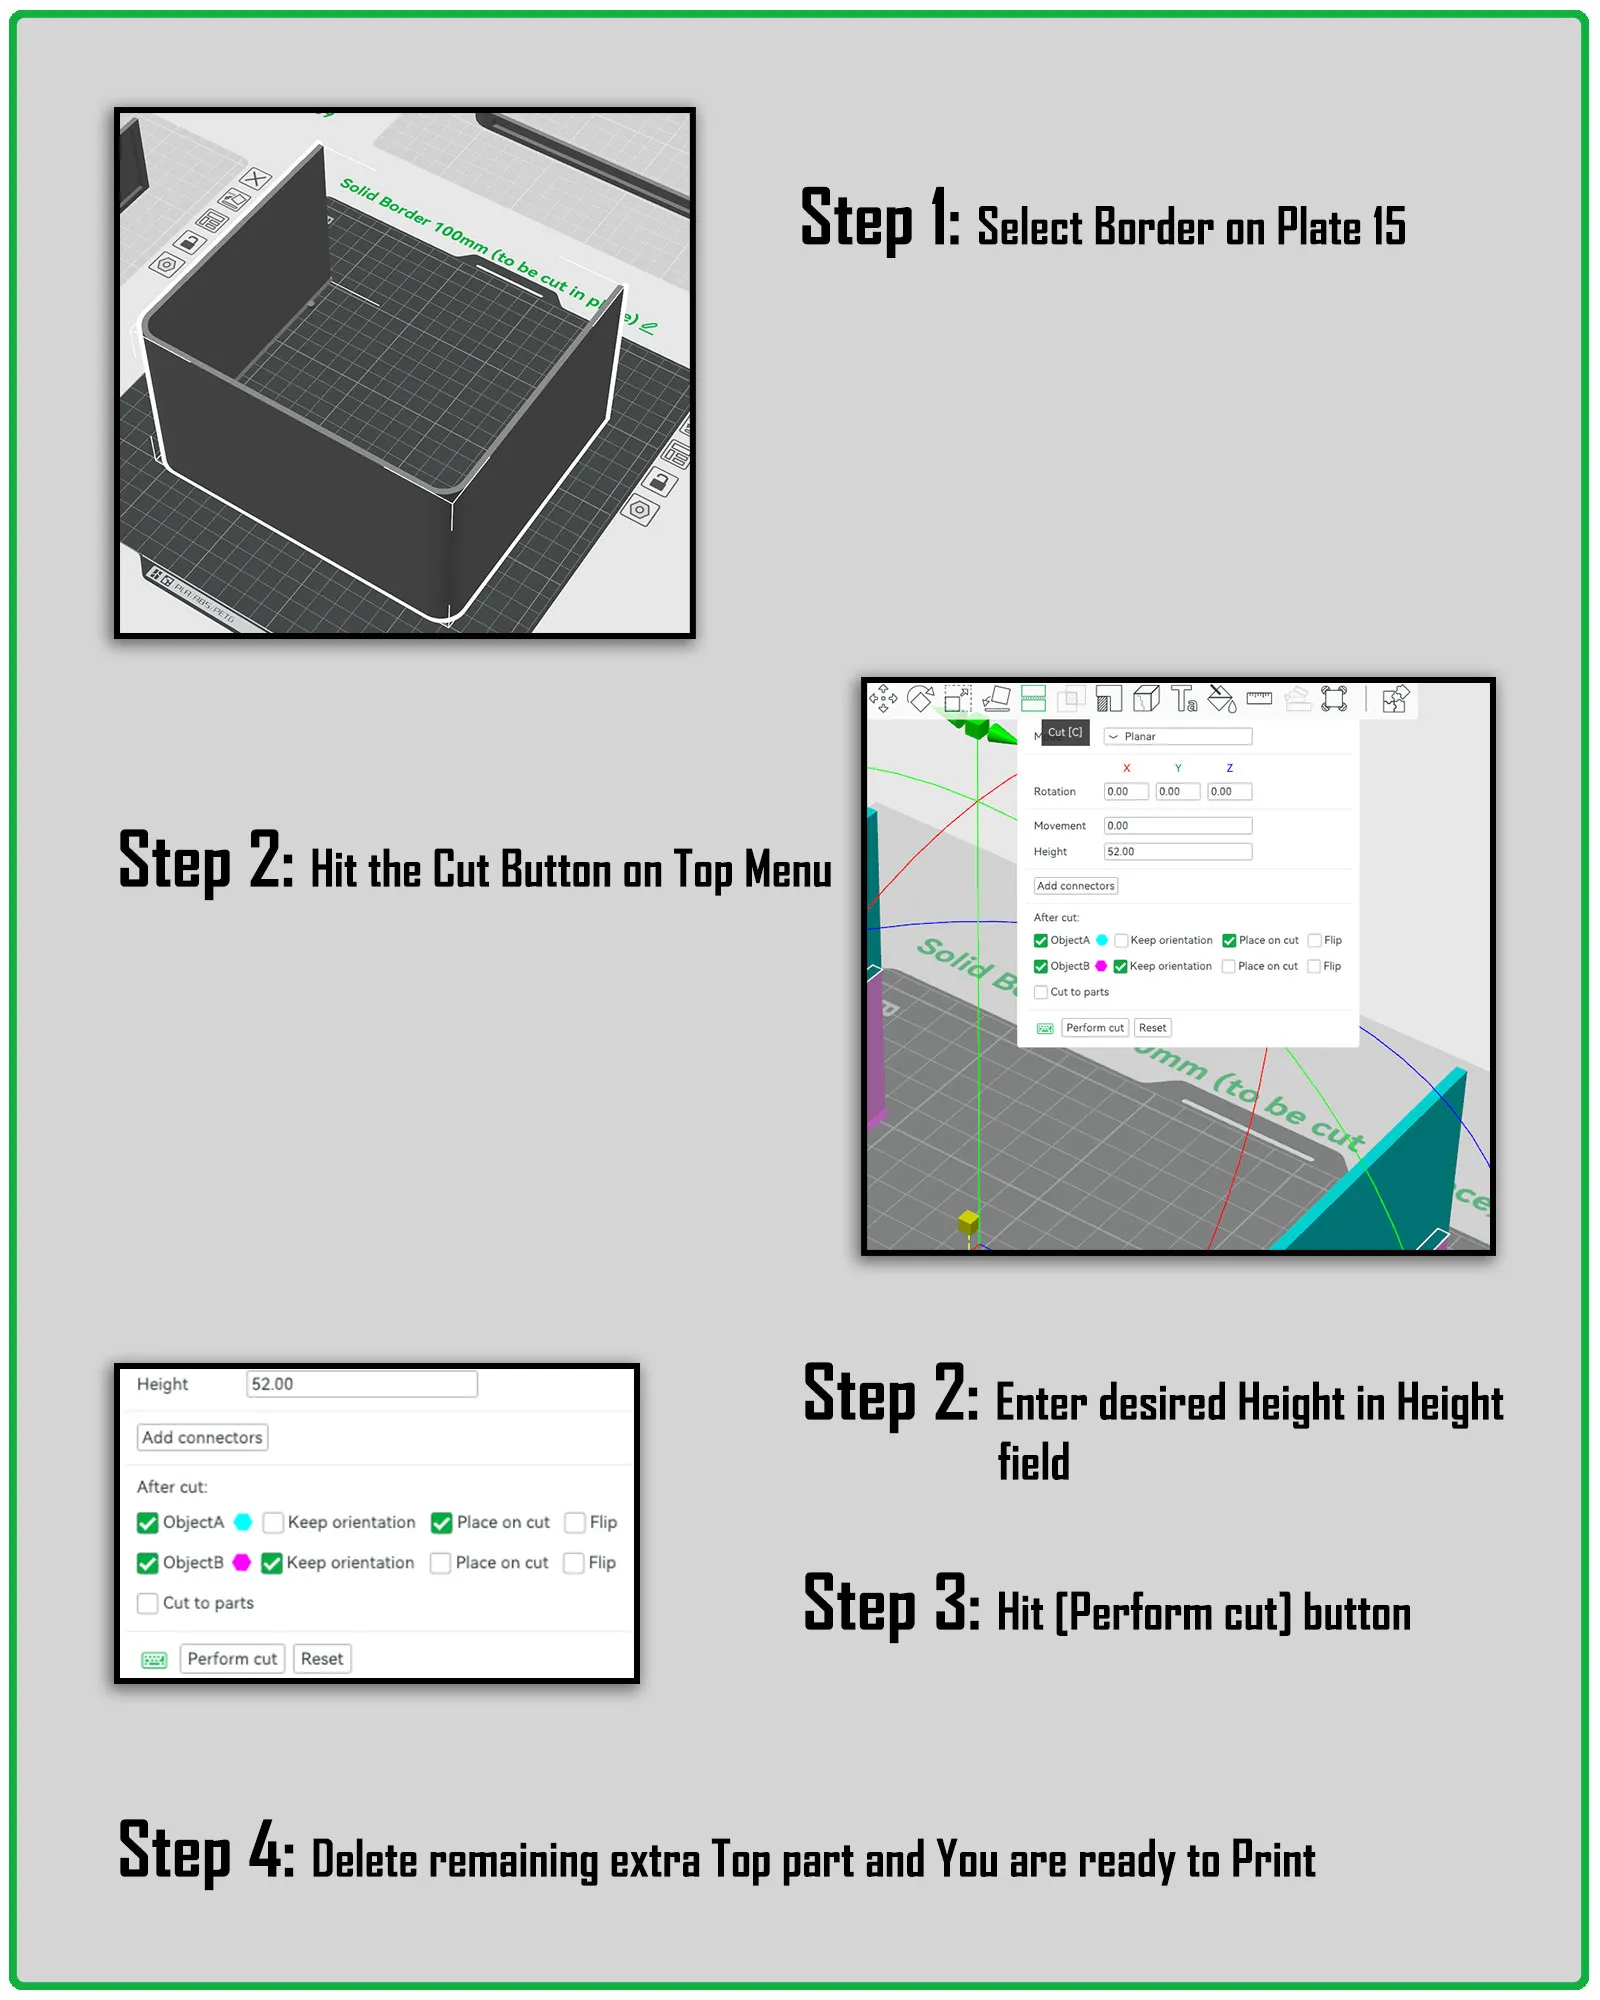
That's it. I hope All is clear enough. Enjoy
Boost Me (for free)
If You want to support me in my work here
You can Buy me a coffee if You would like to support me even more :)

https://www.buymeacoffee.com/warlogh
(And very Big Thank You For interest in my work)
License

You shall not share, sub-license, sell, rent, host, transfer, or distribute in any way the digital or 3D printed versions of this object, nor any other derivative work of this object in its digital or physical format (including - but not limited to - remixes of this object, and hosting on other digital platforms). The objects may not be used without permission in any way whatsoever in which you charge money, or collect fees.


Comment & Rating (26)