
98U Base Controller
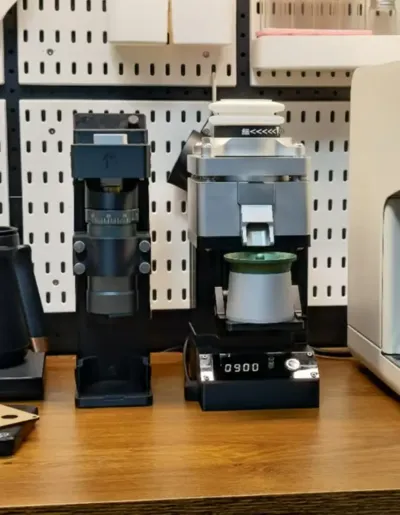
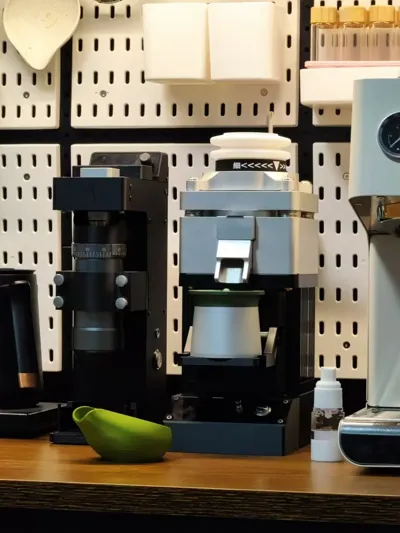
Print Profile(1)

Description
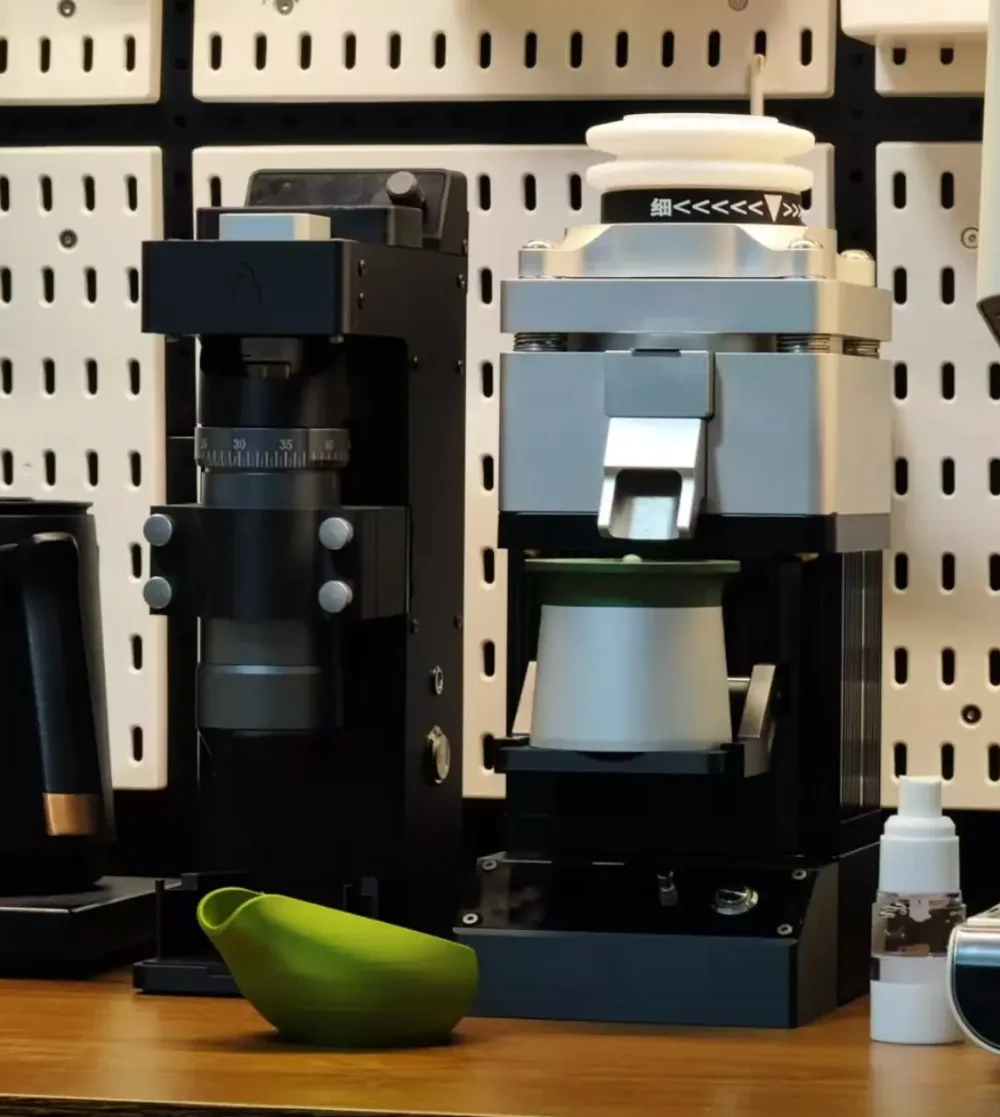
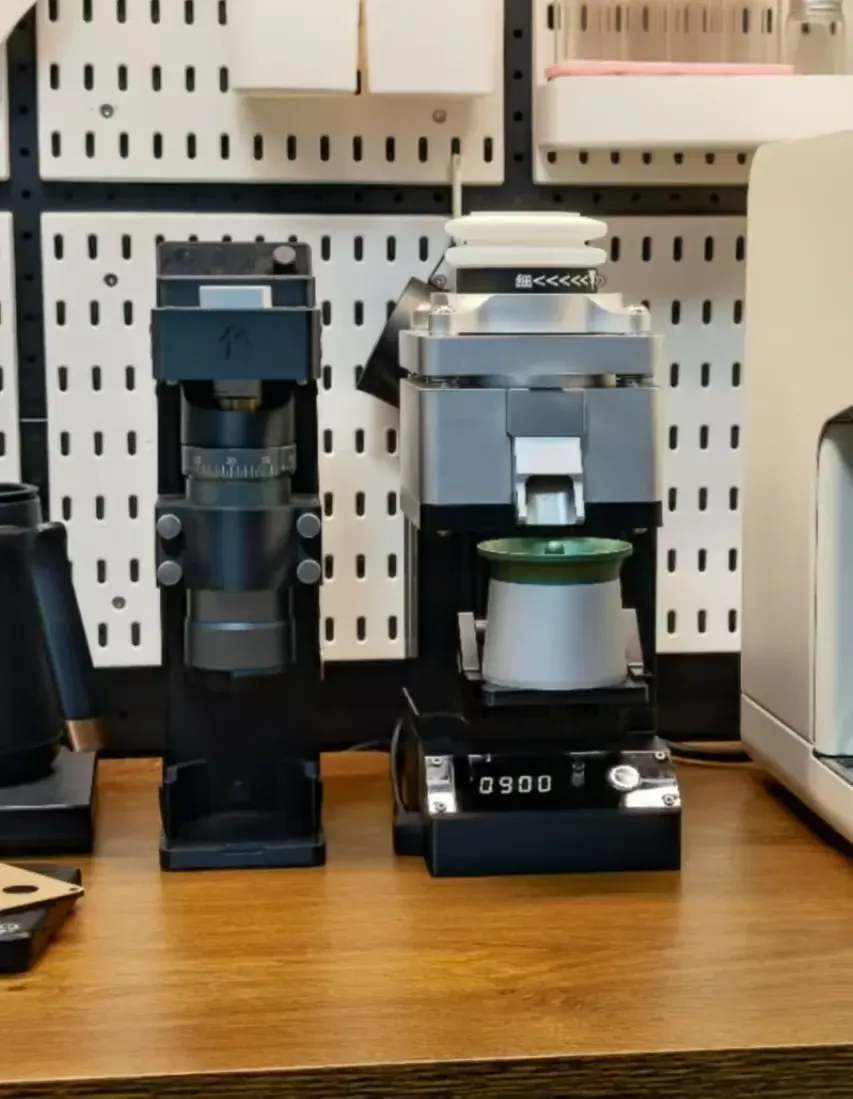
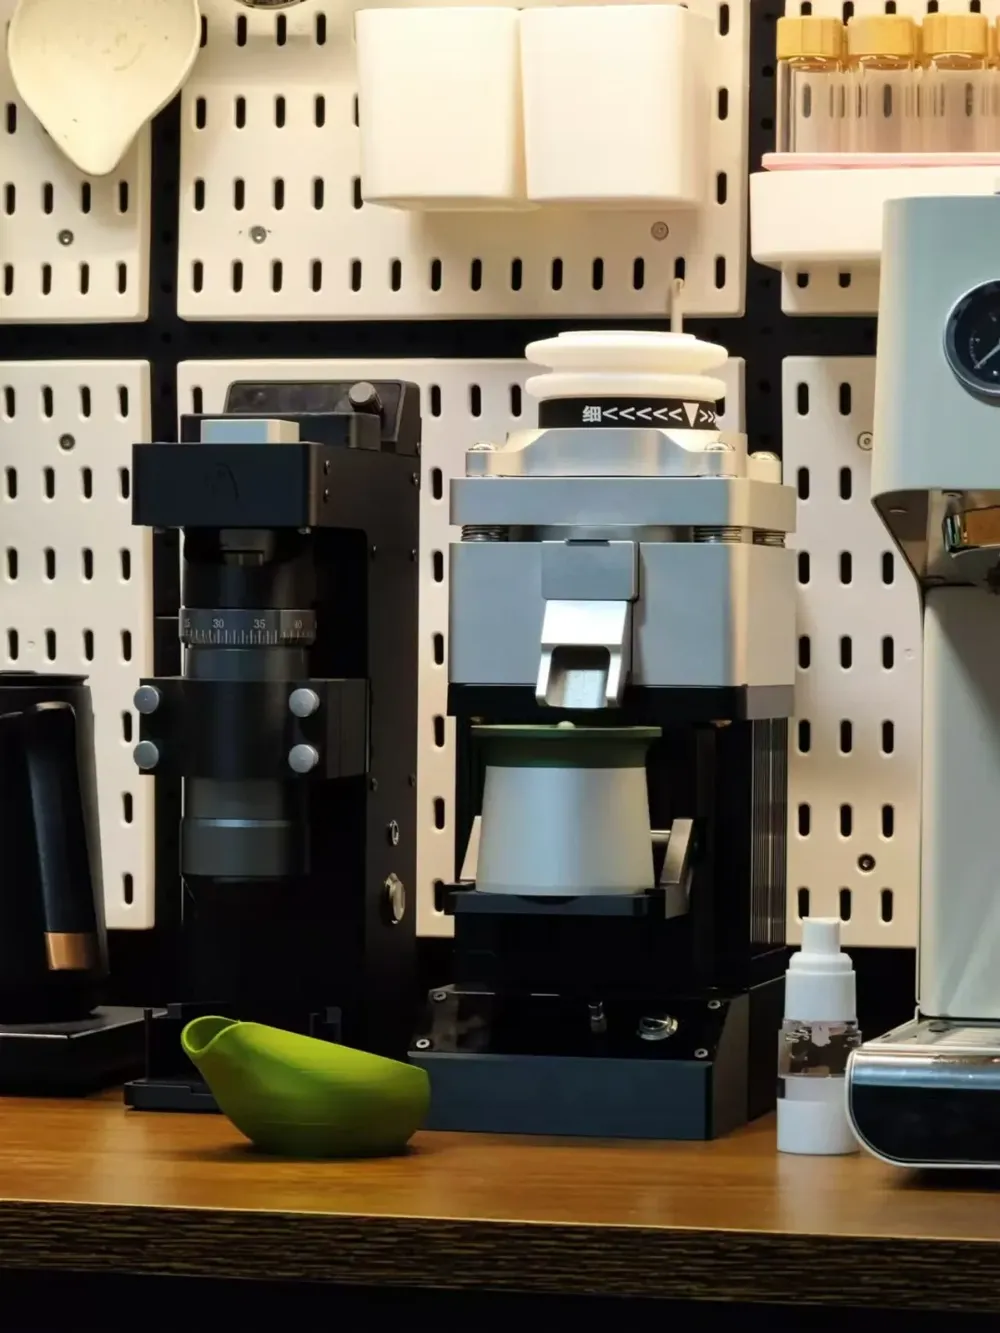
A base controller solution adaptable to various 98MMU-type grinders on the market (with rain U as the original, other XXUs being imitations), offering improved concealment and streamlined wiring for tidy placement compared to the original square box controller.
Verified on a Times Superlative servo motor using 5V pulse control; theoretically applicable to other servo motors, though adjustments and independent research are required, and guidance is unavailable.
A custom controller, enabling multi-stage speed control and timed grinding shutdown, is also needed; purchase link below.
- U98 Controller - Grinder Dedicated
Additionally, a 2mm acrylic panel is required; the vendor linked below offers superior quality and pristine white-on-black printing.
- https://item.taobao.com/item.htm?_u=d1l70kqbc81b&id=36900710876&spm=a1z09.2.0.0.afe72e8dAlxYp1&sku_properties=1627207%3A366912967
- Acrylic Panel.DWG
Link: https://pan.baidu.com/s/1PVrjefG3n9TM1t3LwJ0jVw?pwd=g6k7 Extraction Code: g6k7
Further required components:
- 220V to 24V step-down power supply (AC220V to 24V 0.5A)
- https://item.taobao.com/item.htm?_u=d1l70kqb4fd6&id=662926586749&spm=a1z09.2.0.0.afe72e8dAlxYp1
- M8 wired flange (Rear-mounted needle-type socket, encapsulated wiring, length: 30CM, cores: 6)
- https://item.taobao.com/item.htm?_u=d1l70kqb8713&id=627504501925&spm=a1z09.2.0.0.afe72e8dAlxYp1
- M8 aviation plug (M8 molded straight-hole plug, cores: 6P, cable option: PVC, wiring length: 2 meters)
- https://item.taobao.com/item.htm?_u=d1l70kqb10c1&id=607377791036&spm=a1z09.2.0.0.afe72e8dAlxYp1
- 16mm high-head power button (White; 12-24V; self-locking; 16mm)
https://item.taobao.com/item.htm?ft=t&id=712103993215
Hardware components:
- M3x5 flat-head screws
- Diameter 8, thickness 2 N52 neodymium magnets
- 10mm circular magnetic plates
Wiring diagram below:
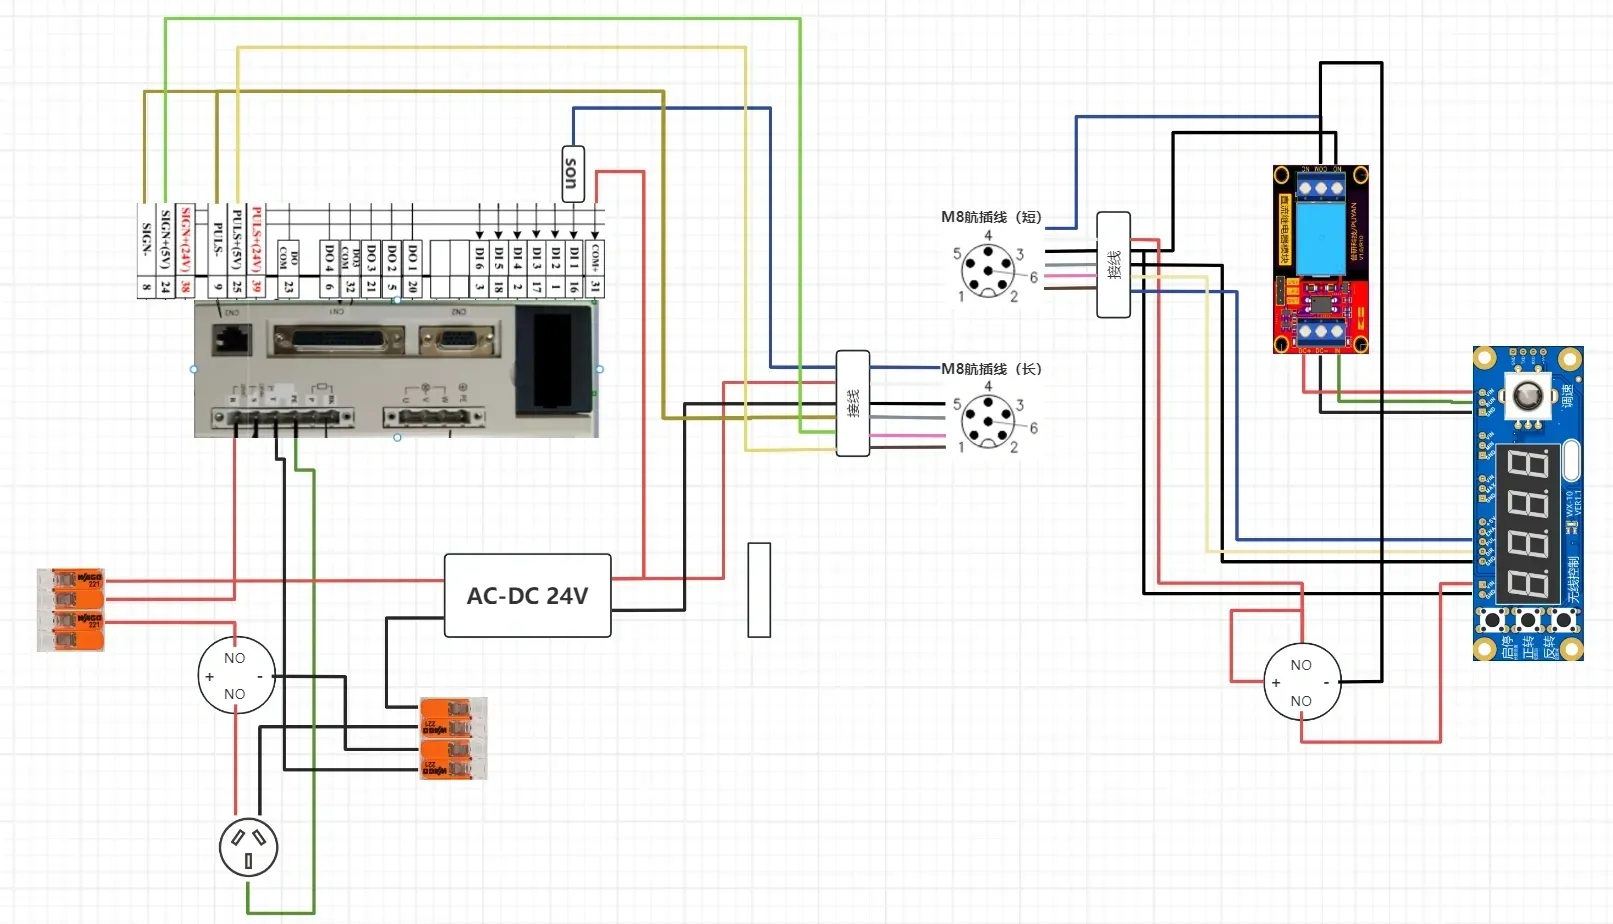
Times Superlative Servo Controller Parameter Settings
Servo Controller Setup Reference:
Settings take effect after a 30-second power outage.
- PR-029 Position command pulse electronic gear ratio numerator: 4
- PR-030 Position command pulse electronic gear ratio denominator: 1
- PR-040 Position command exponential smoothing filter time: 1000
- PR-065 Internal forward (CCW) torque limit: 250
- PR-066 Internal reverse (CW) torque limit: 250
- PR-070 Forward (CCW) torque overload alarm level: 200
- PR-071 Reverse (CW) torque overload alarm level: 200
- PR-072 Torque overload alarm detection time: 8000
- PR-075 Maximum speed limit: 1500
- PR-080 Position deviation detection: 10000
- PR-004 Control mode: 0
Parameter Writing
Write parameters to the chip using the method below; “donE” indicates success, followed by a 30-second power cycle for activation.
(Diagram frequently omitted; consult the instruction manual for details)
WX10 Controller Setup
- PE select F1
- P1 = 4
- P3 = 0
- P5 = 3
- P7 = 800 (grinding speed)
- P8 = 8 (grinding time)
- P9 = 1500 (powder dispensing speed)
- P10 = 3 (powder dispensing time)
After connecting, start the controller and verify if the control speed matches the servo controller.
Boost Me (for free)
If you find this model useful, remember to print and then boost!
Documentation (3)
License



Comment & Rating (0)