
Fuzzy Skin - on Wall Bottom & Top
Print Profile(1)

Description
The fuzzy wall feature is nice … but did you ever wanted more out of it than fuzzy walls?
I did and this upload contains what I found along with a simple test model I made and used for my trials. Maybe it is usefull to others as well when exploring present and future fuzzy options.
Fuzzy walls
With the standard non-horizontal surface, a point distance & thickness value define the ripple motion along the printed outer lines and therefore the resulting fuzzyness of the surface. Currently it works just well enough with custom modifiers and a “paint on fuzzy skin" feature would be really nice.
Fuzzy bottom?
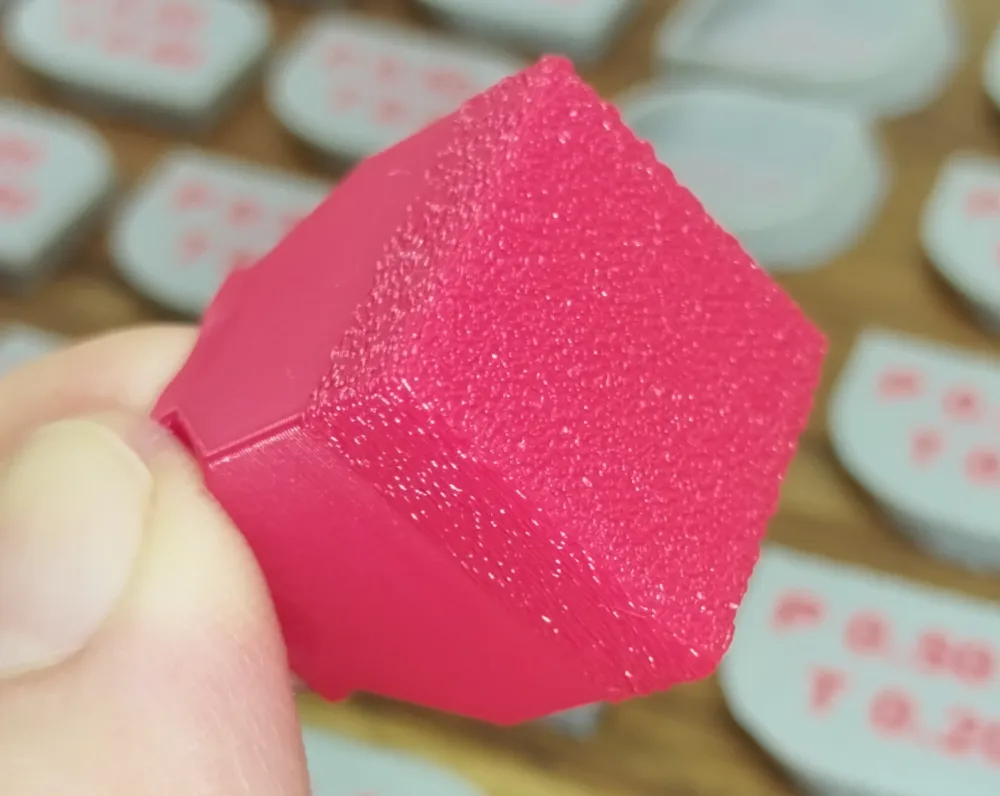
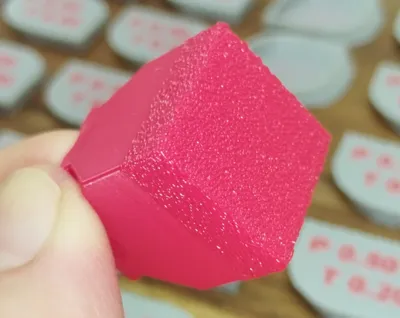
- The easy cheat: Considering the imprinted surface of a textured print bed as fuzzy skin. - That is what started the fuzzy jorney for me. I intended to simply match the fuzzy walls to the surface noise that my textured PEI bed imprinted on the parts. It worked surprisingly well and one of my use cases is shown in the cover image.
- A “real” printed fuzzy bottom independant from the print bed surface may become reality → see below in the Fuzzy top layer section.
Fuzzy top layer?
After I managed to match the fuzzy walls to the textured bottom, I wondered if it was possible to get fuzzy top layers as well.
- Heating the textured print bed above the heat deflection temperature of the used filament and simply pressing the already printed part head on. → For me it only worked somewhat decent with PLA and the heated bed set above 100°C, pressing the part hard (not great for the printers mechanics) and leaving it in place to cool down with the bed. Because of the risk of ruining the part or a z-axis I do not recommend doing it that way.
A hack-chopped non-planer printed surface came to mind as well and wouldn't you know it, smart and adventurous people are already pushing that way. → Currently only available as post-processing script, but see for yourself what TengerTechnologies published and open-sourced: Non-Planar Top Fuzzyskin and here.
Make sure to like his video(s) to give that topic (and maybe his motivation) a little push ;-)
Attached test print files
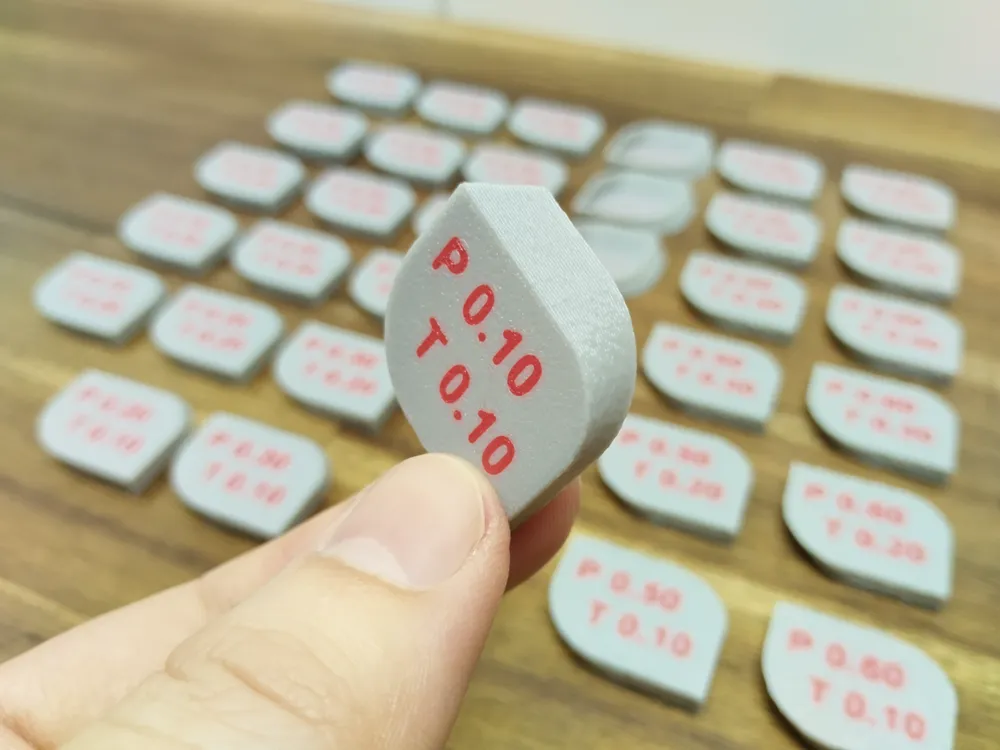
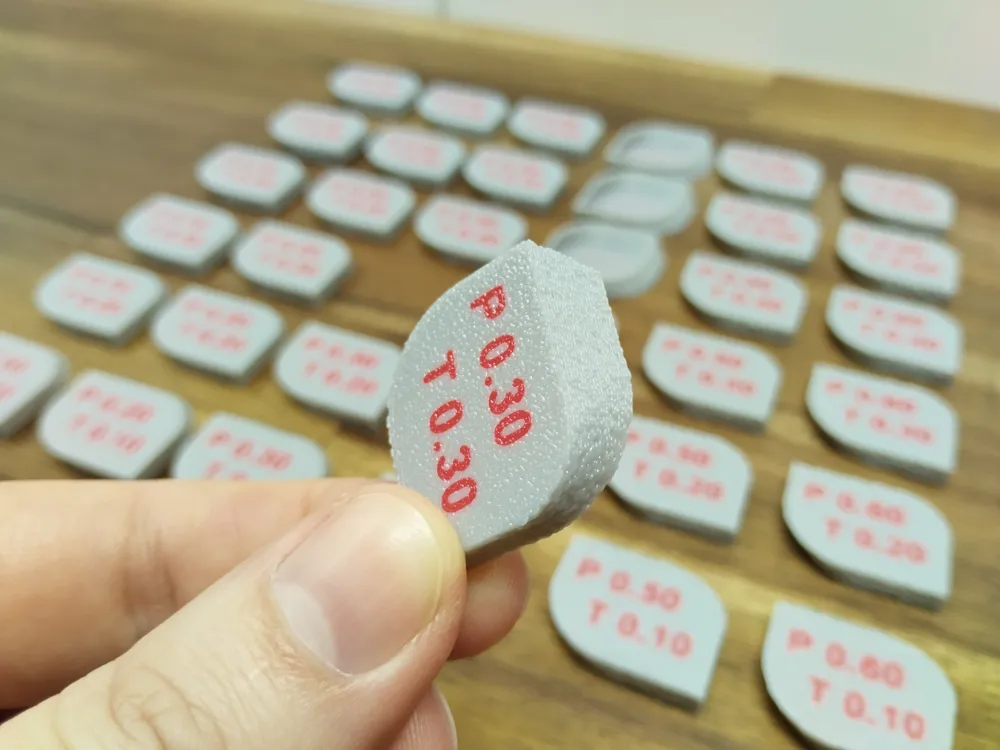
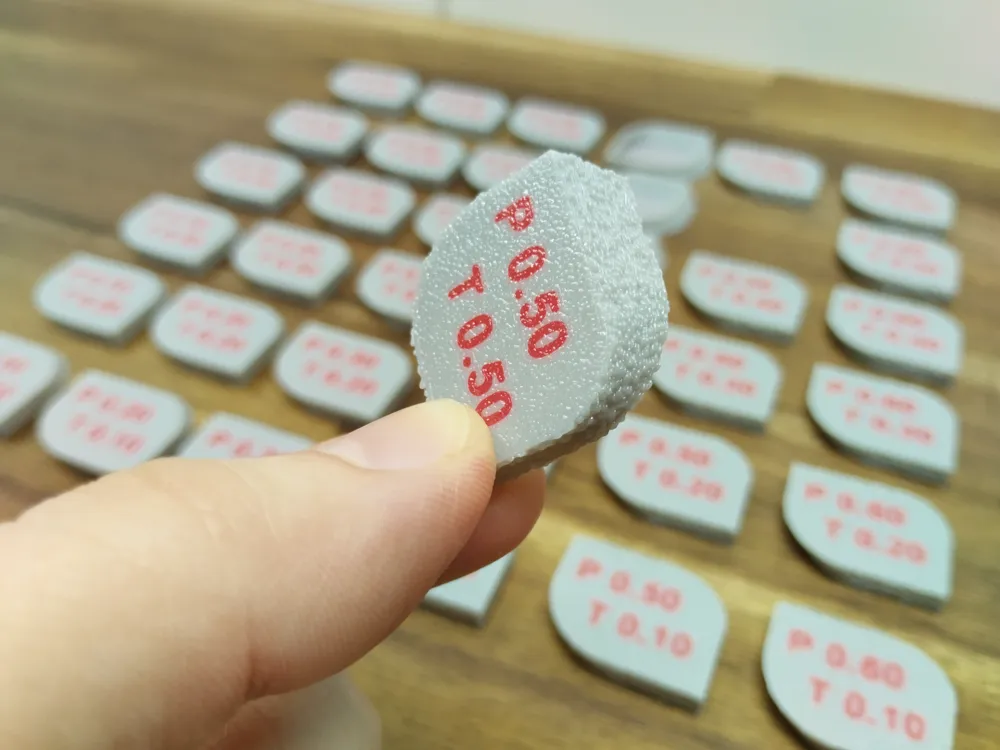
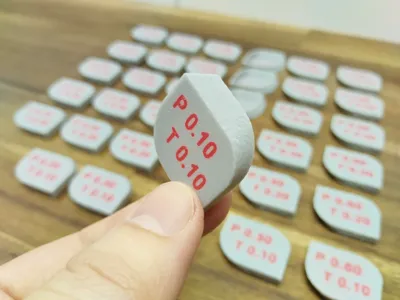
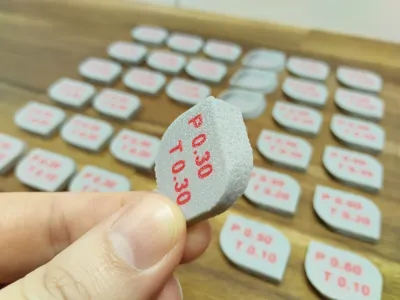
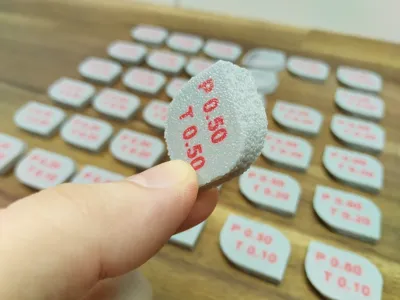
The default range to match a textured print bed is given with a Point distance of P0.10 to P0.60 and a Thickness of T0.10 to T0.60. - My textured beds are matched with fuzzy skin values of P 0.20-0.30 and T 0.20-0.30.
Of course you can customize the settings and test for any values/ranges you desire. Just set values for an entire part and change the writing accordingly for documentary purposes.
If you want to print without an AMS or color change, simply set the writing on the bottom from Modifier to Negative part.
License

You shall not share, sub-license, sell, rent, host, transfer, or distribute in any way the digital or 3D printed versions of this object, nor any other derivative work of this object in its digital or physical format (including - but not limited to - remixes of this object, and hosting on other digital platforms). The objects may not be used without permission in any way whatsoever in which you charge money, or collect fees.


Comment & Rating (2)