
Single Spool Dry Box - Variant 2

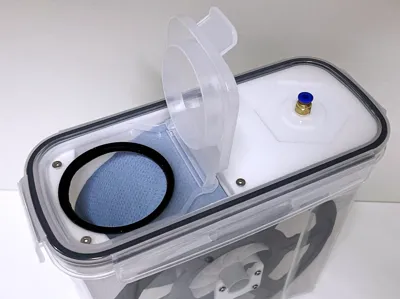
Print Profile(1)

Bill of Materials
- screws 3x6 x 8: for spool mount
- screws 3x10 x 4: for silica holder on lid
- plastic tube 20x85mm x 1: I use a piece Electric pipe M20 with 82 mm length
- 4mm M10 PTFE Hose Connection Push-Fitting x 1:
- 4L Cereal box x 1:
Description
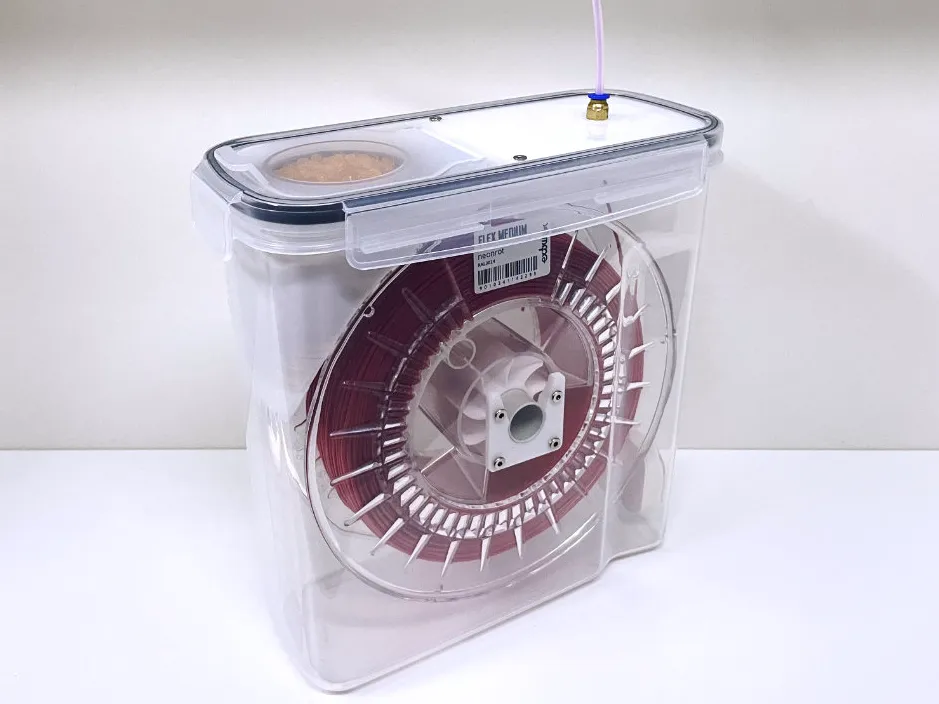
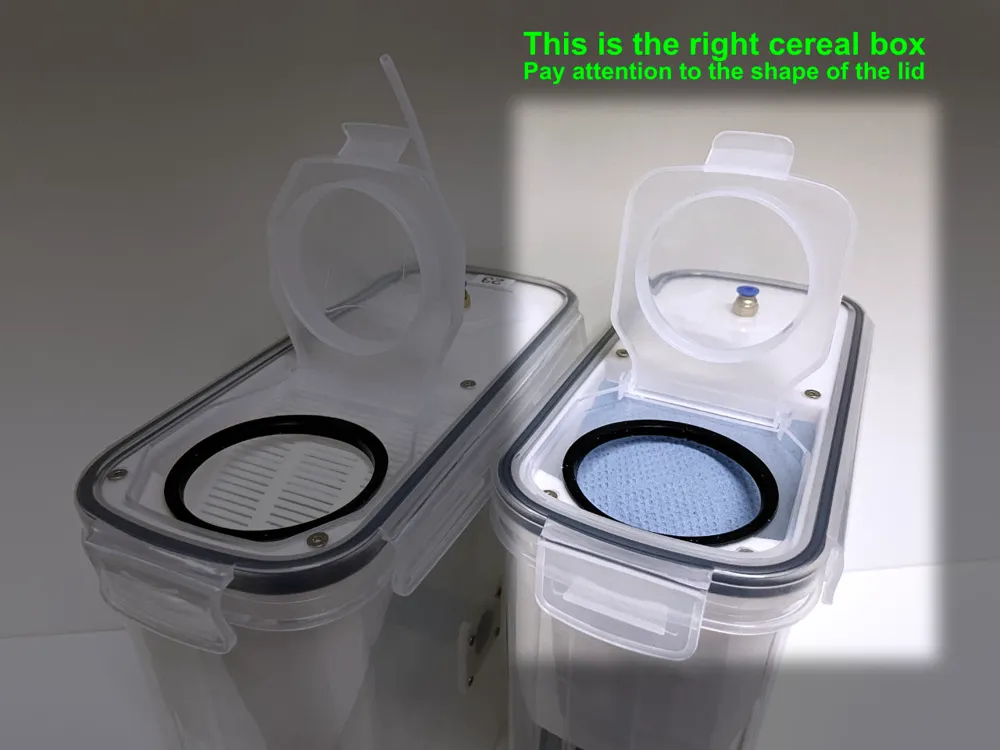
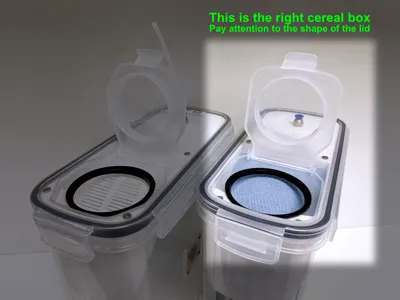
This is a variant of my Single Spool Dry Box which is working with a slightly different cereal box. This model only works with this cereal box or this or one, that has the same lid.
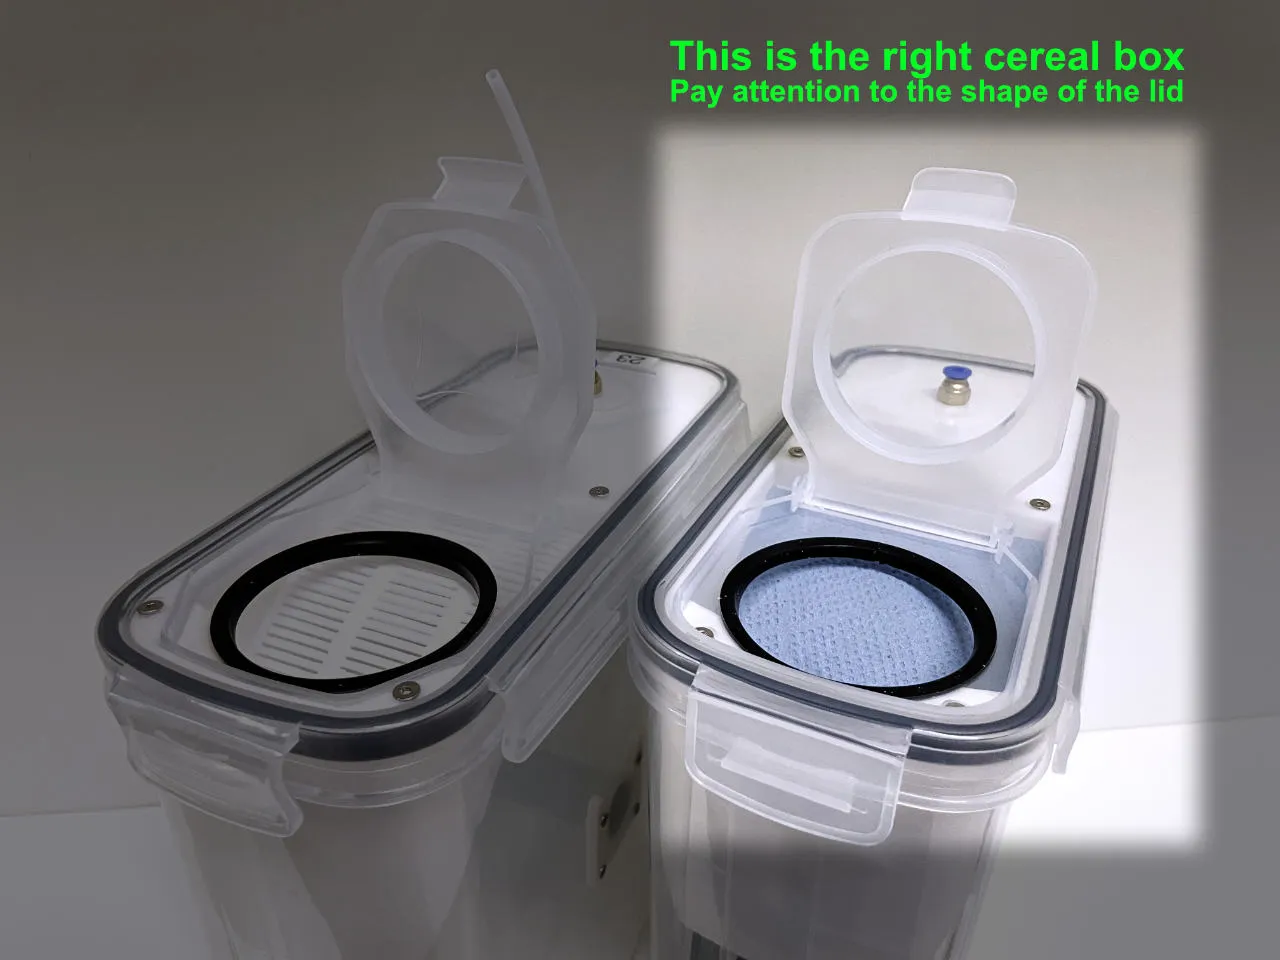
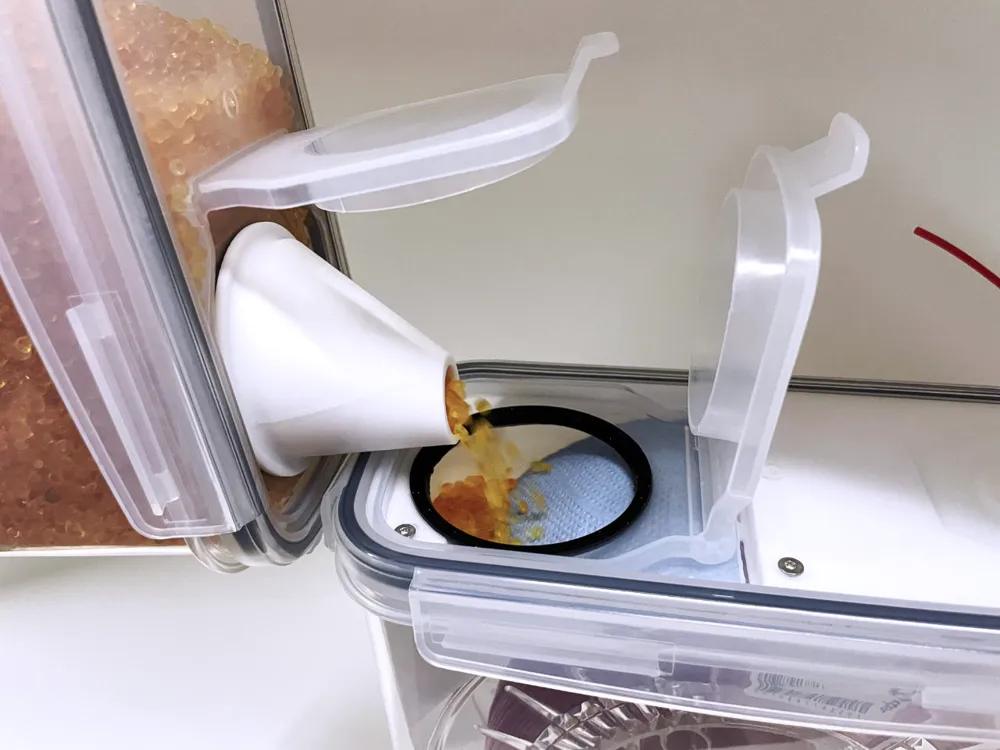
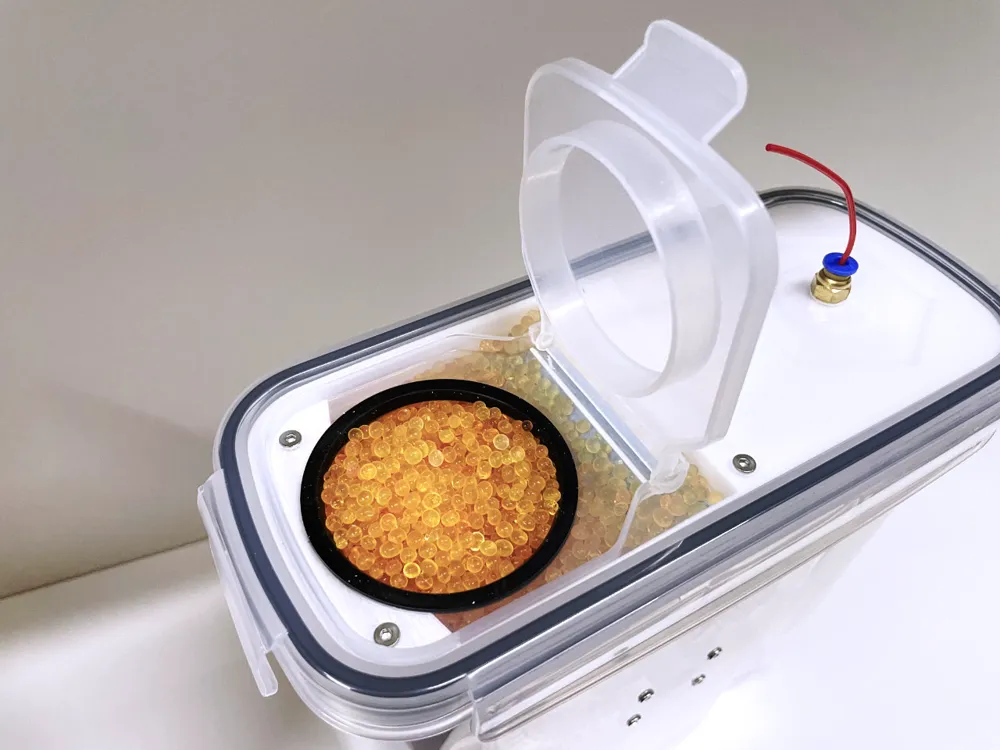
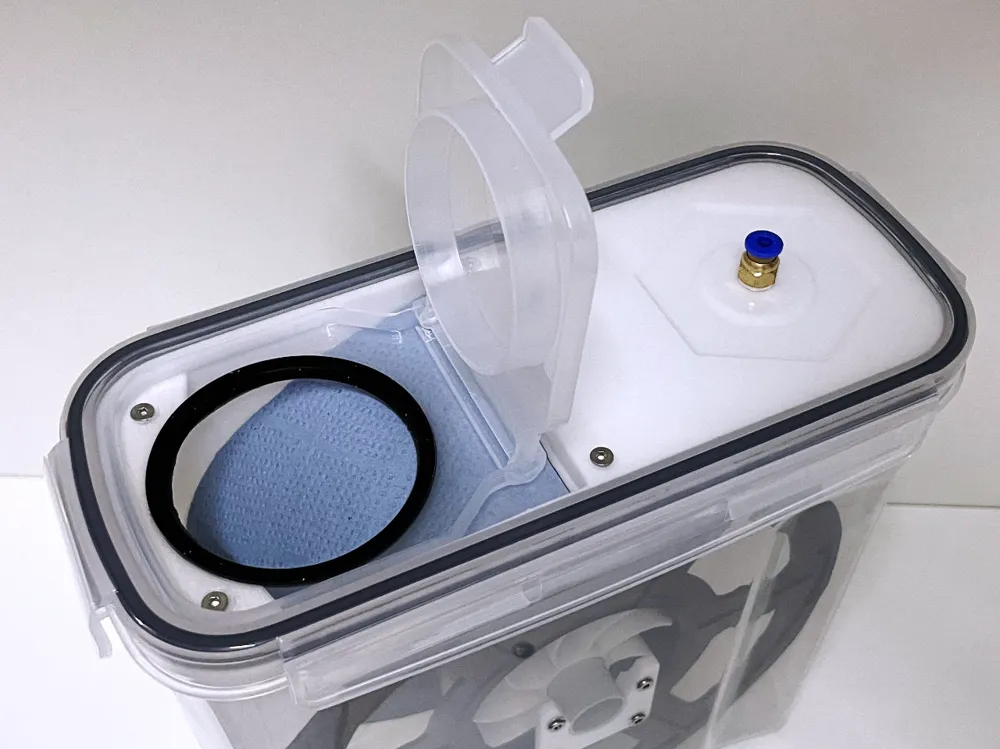
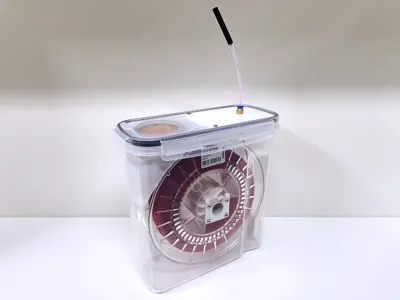
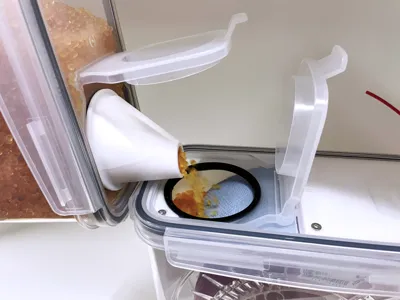
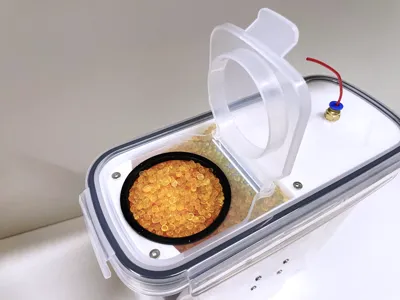
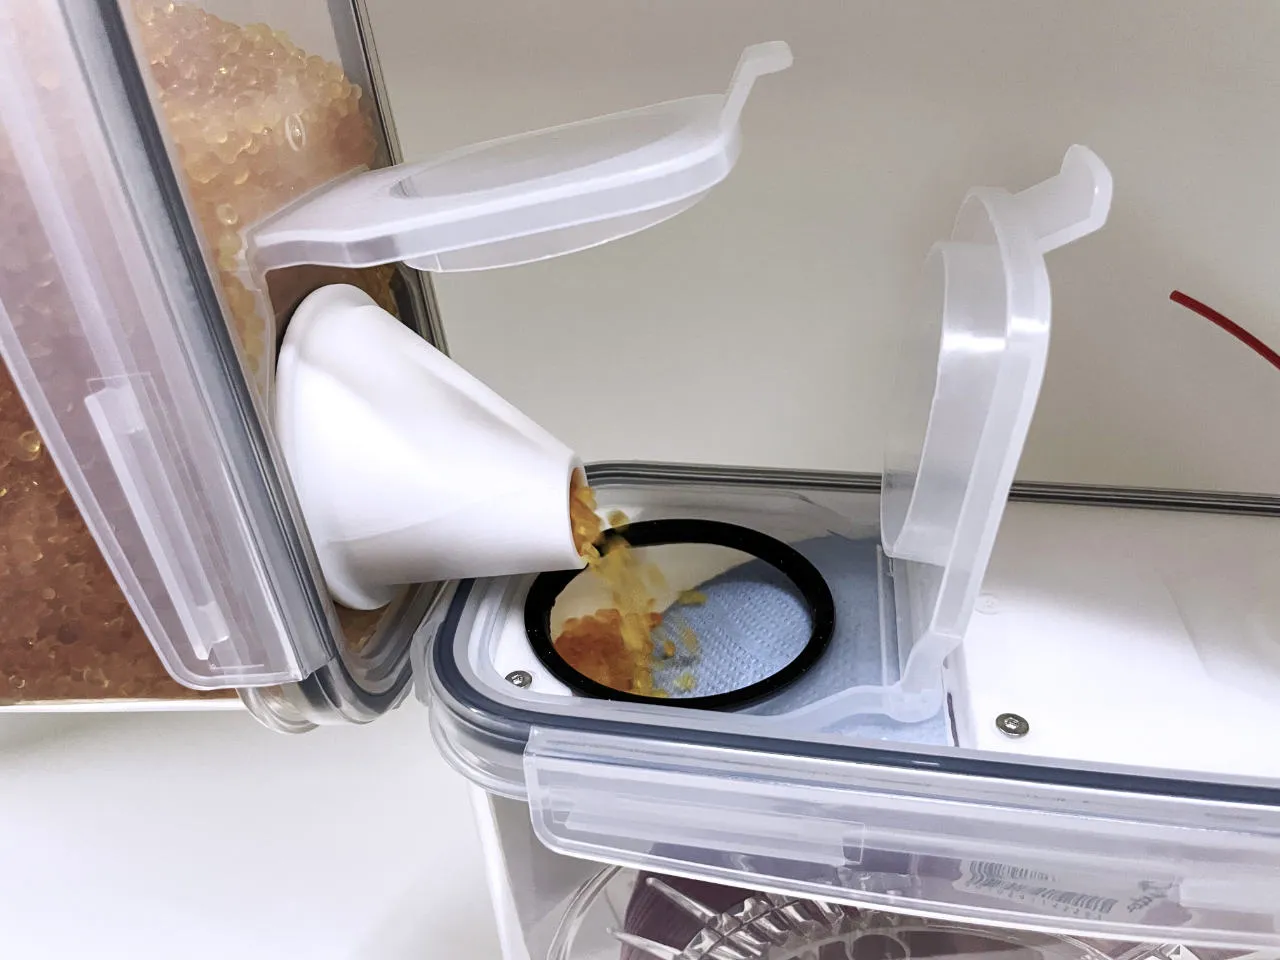
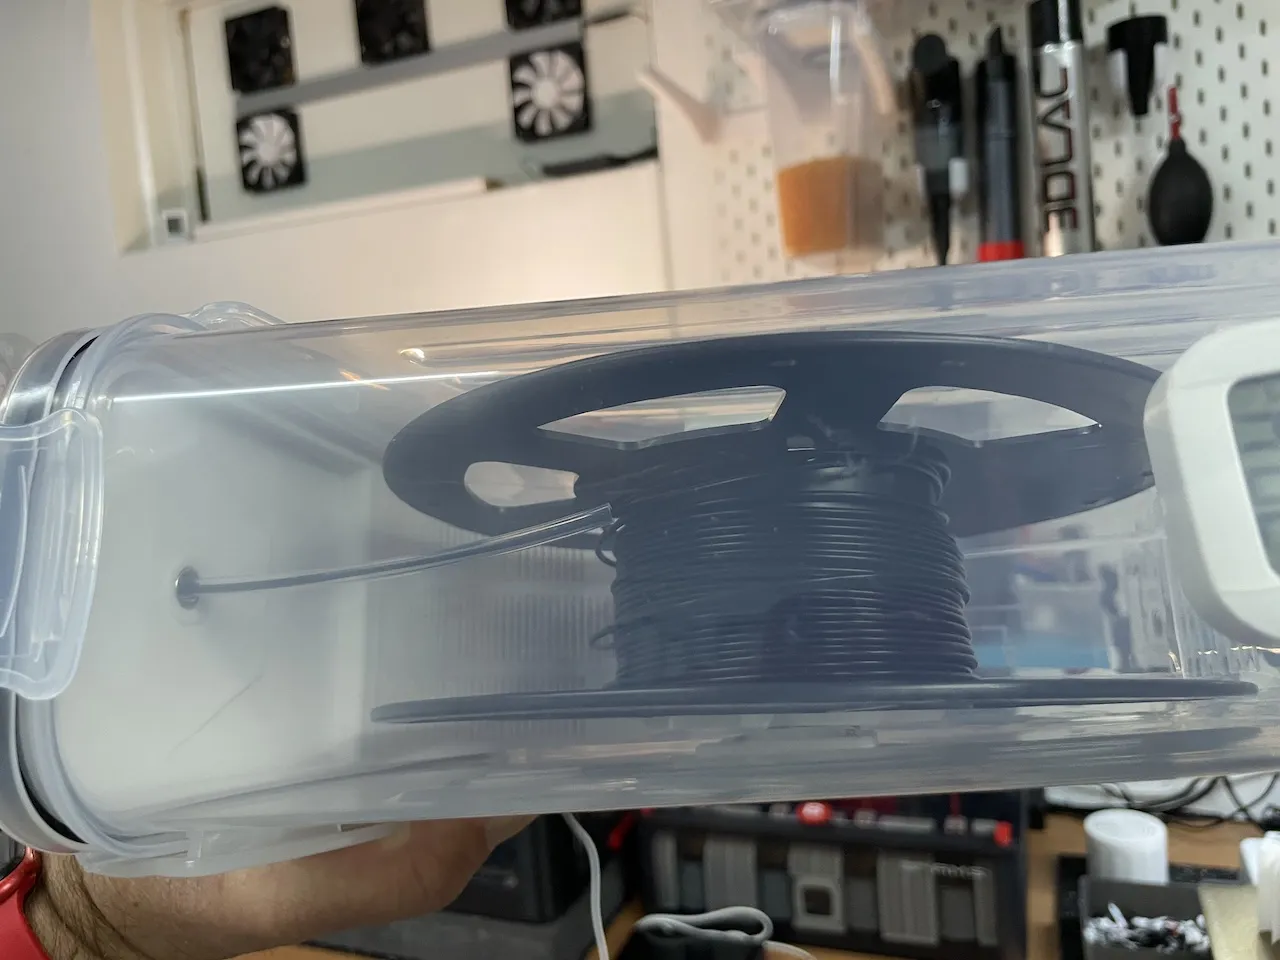
This is certainly the millionth and one drying box for single spools, but definitely not the last. I designed this one because I didn't like the existing ones, I've found on different sites. One of the reasons was that the spool usually had to be removed to change the silica. But I use the box to store filament that doesn't work in the AMS, for example TPU. However, I also use the stored filament very rarely, so it is important to be able to change the silica regularly and easily. That's why I had the idea of using the flap in the lid to replace the silica. The filament roll is fixed in place so that you can pour out the old silica without the filament roll bouncing around in the box. As an add-on a funnel can be used to pour out the silica gel or to fill in, if you store the silica in the same boxes.
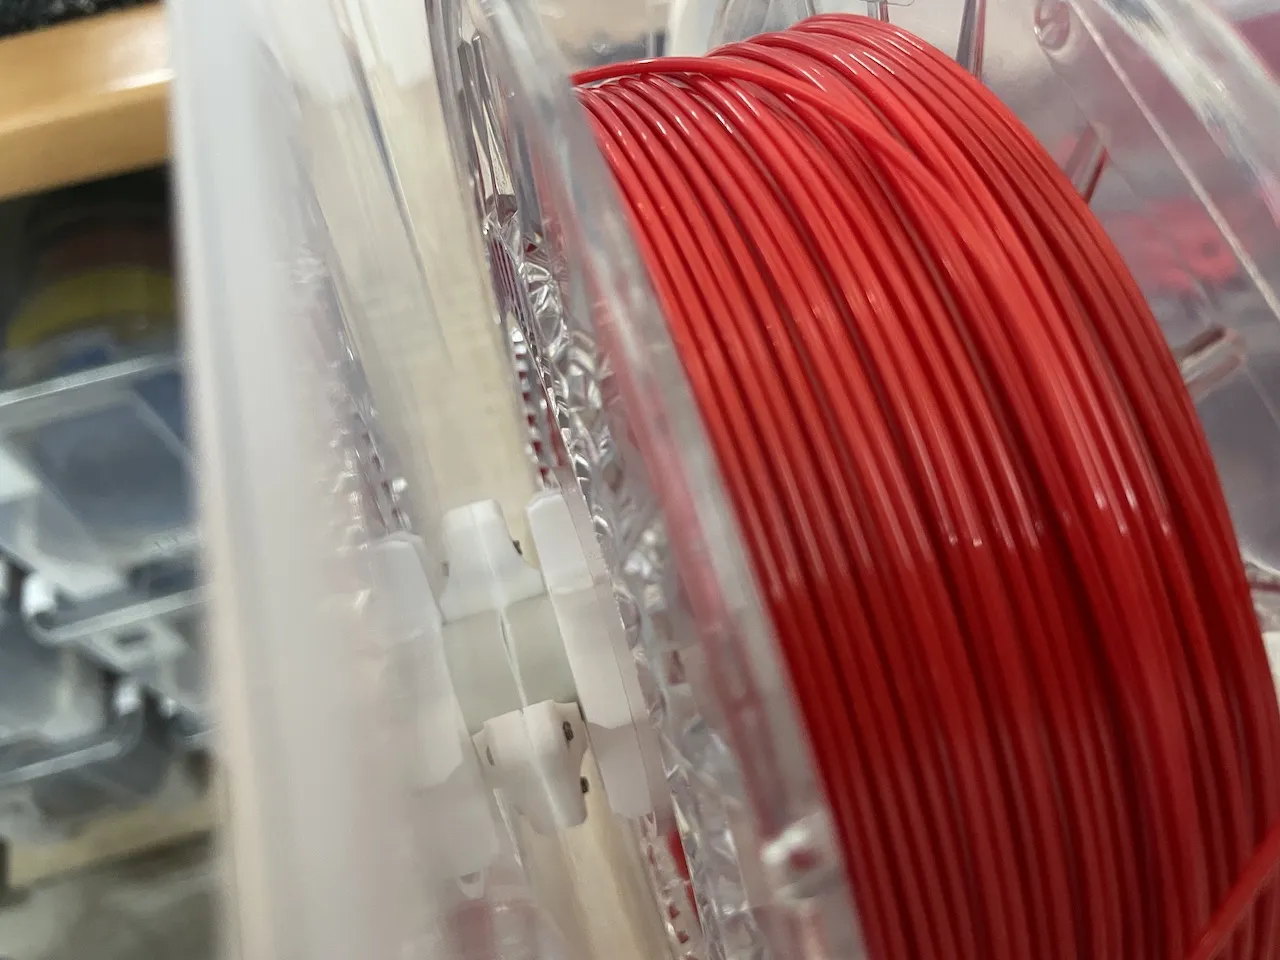
Tips for mounting the spool holder:
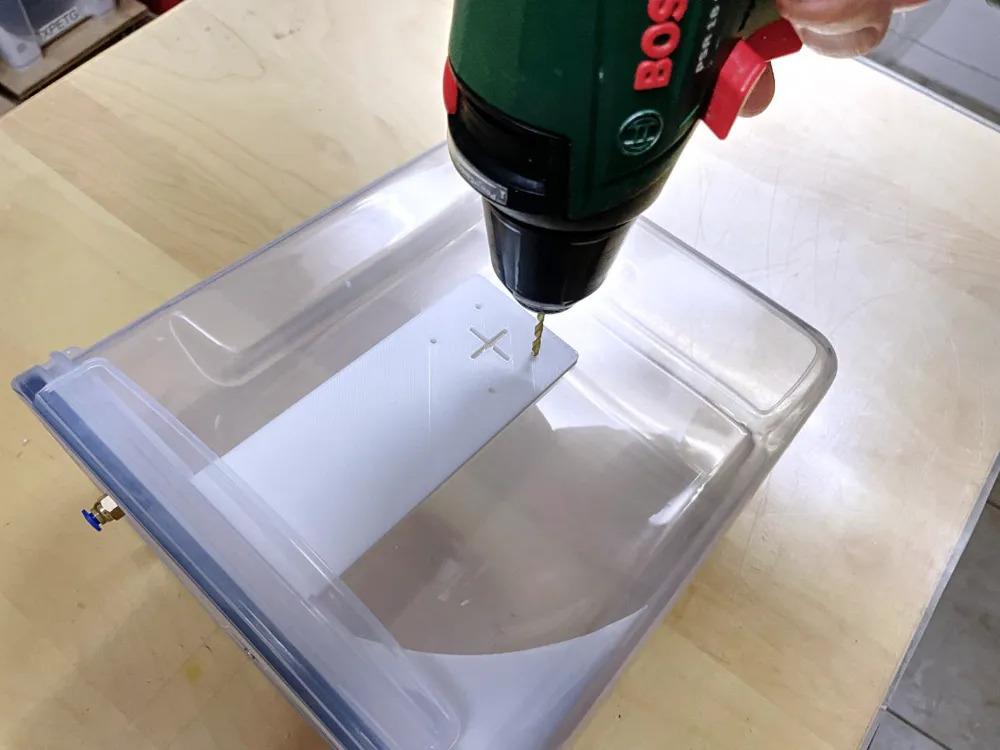
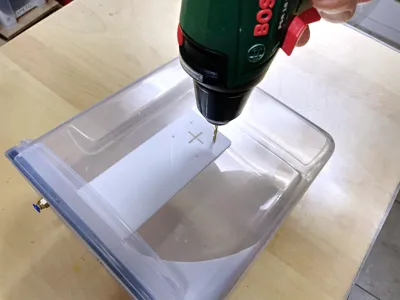
- To drill the holes for the spool holder in the side wall, there is a drilling template.
- I used 8 M3x6mm countersunk screws to screw it in place. I chamfered the hole by hand with a 6mm drill bit so that the screw head disappears.
- As a shaft for the filament roll I cut a piece of 85mm length from an electric tube M20 (20mm diameter). But you can also print a cylinder with a diameter of 20mm and a height of 85mm.
Tips for mounting the cover:
- The holes in the lid can be marked from the outside after inserting the silica container into the lid. Alternatively, you can also cut the model in the slicer at 6 mm and only print the lower 6 mm as a drilling template.
- 4 M3x10 countersunk head screws are used to tighten the screws. I chamfered the drill hole using a 6 mm drill bit to get a cleaner surface.
- I used a 4mm PTFE connector with an M10 thread to feed the filament through. This is screwed directly into the lid.
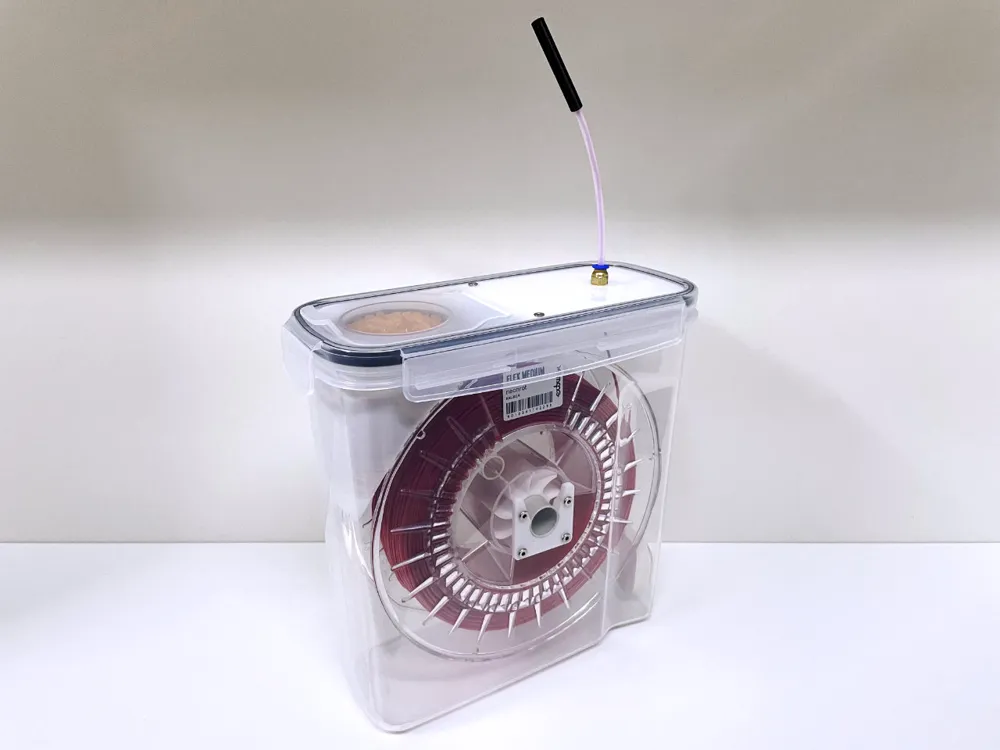
- An approx. 10cm long PTFE tube (4x2.5mm) feeds the filament through and is closed with a cap printed in TPU, when the box is not in use.
Addition:
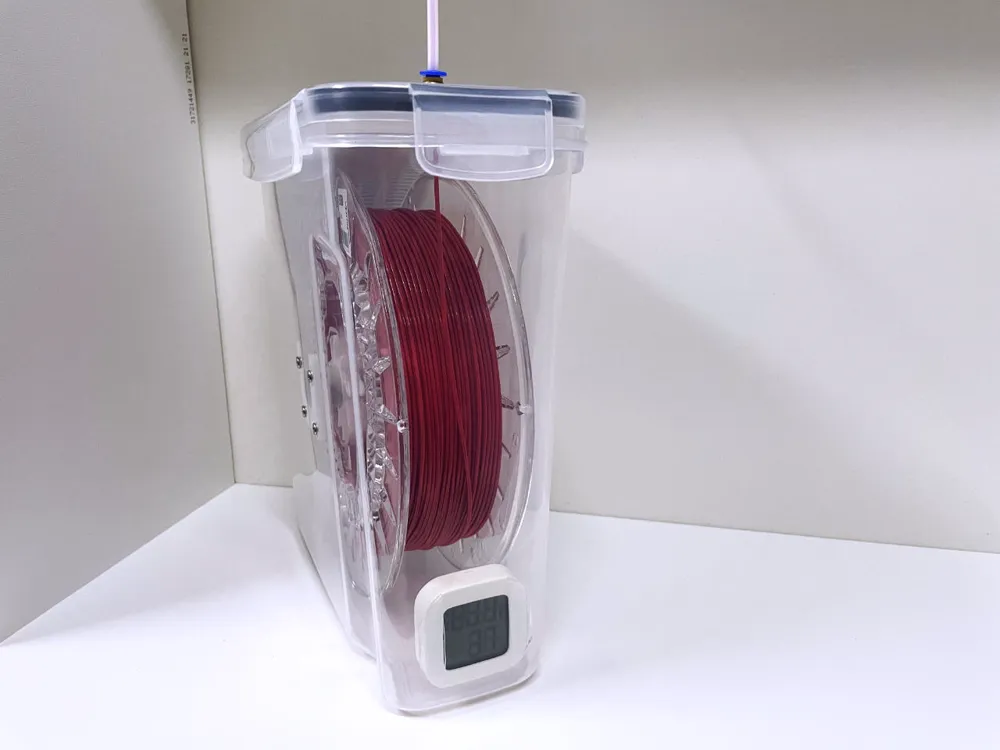
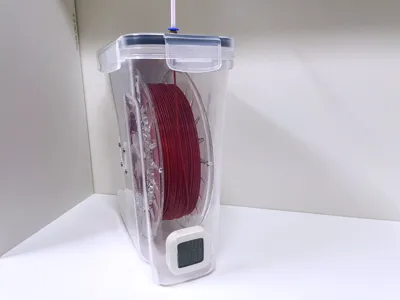
- Since I use different temperature and humidity sensors, I use double-sided tape to attach them to the front of the box.
- The supported spool size is up to 210mm diameter and 70mm width. Included are two adapters for spool with hole size of 55mm (spools from Extrudr, Material4Print, Hatchbox, kexcelled,…) and 75mm (spools from Sunlu, Geetech,…).
Edit: I have added more Adapters for different hole sizes. Now the project contains spool adapters in the follwoing sizes:
50, 55, 57 (Bambu Lab spool), 60, 65, 70 and 75mm
If the adapters are printed in PETG, they are more flexible and easier to handle. If the spools slipping left and right or you plan to use the Dry box lying on the side, you can scale the spool adapters in Z axis up to 67 mm. Then they should be able to hold the spool tight and prevent the slipping even when lying on side.
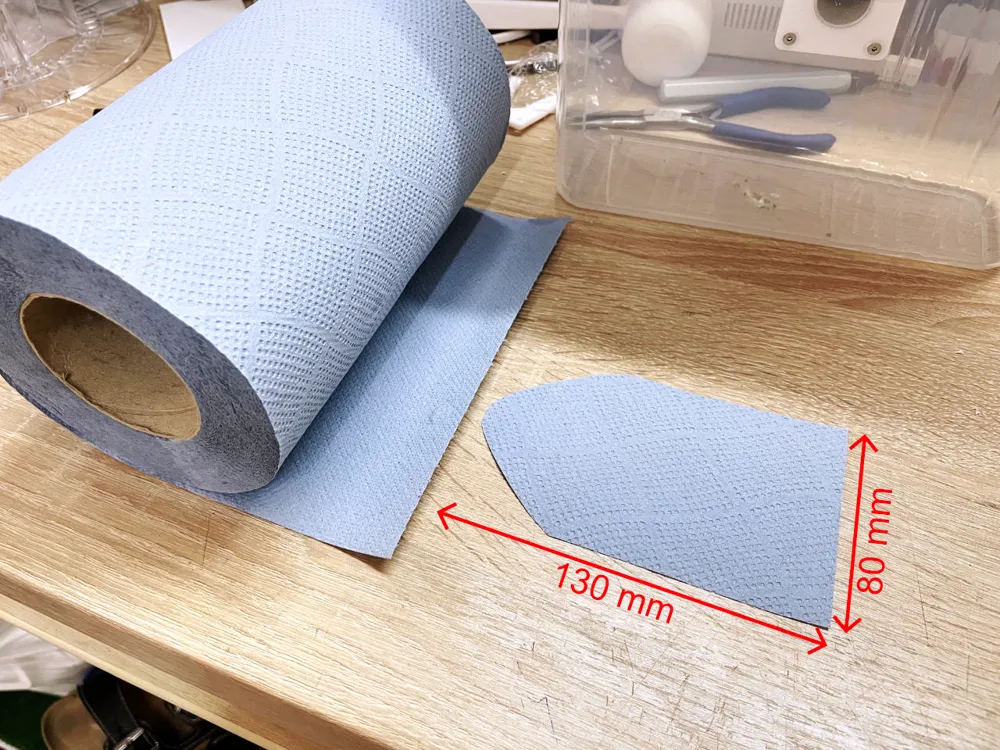
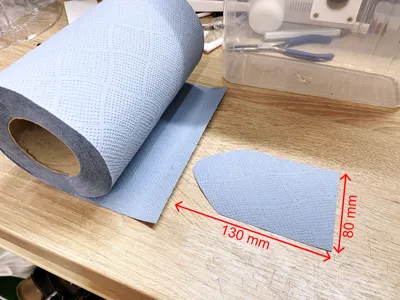
- If you are worried about breaking silica gel, you can cut a sheet of paper towel and place it in the silica container. This will prevent small fragments of silica from trickling onto the filament. This does not affect the moisture exchange.
- As PTFE tube end cap I recommend to use this excellend model.
This remix is based on

License



Comment & Rating (7)