
Filament Strength Tester - pull or twist apart
Print Profile(4)


Description
Manufacturers quote filament strength, but this only applies to their raw filament. What matters is how it behaves once printed. This tool and samples allow you to test printed samples, to understand how strong they really are. In particular changes printer settings such as layer height may make a significant difference.
Description
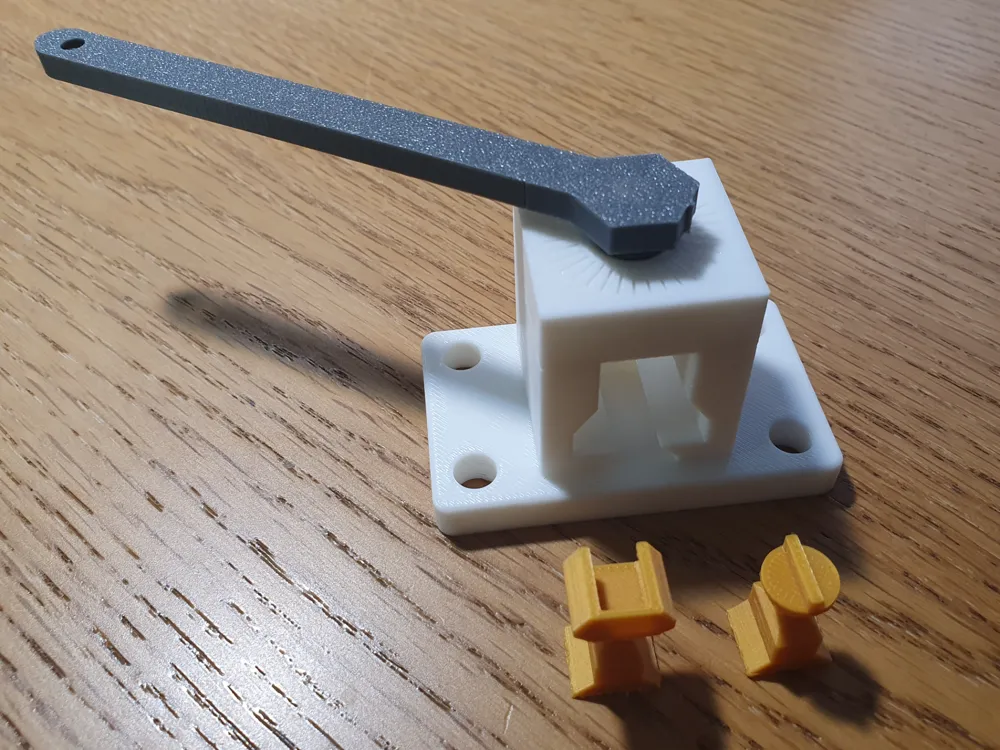
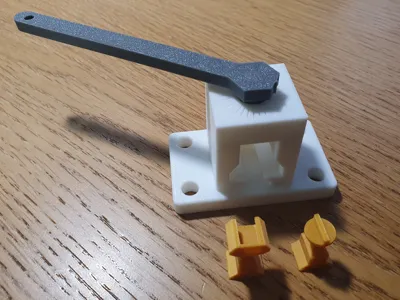
The tester consists of a frame. The frame is embedded in a base plate with holes at 25mm centres to allow for easy fixing to a bench (though basic testing can be done simply holding it in your hand)
The frame is printed in two parts, with the top part connected using dovetails to the walls of the frame. (This is a friction fit, there’s no need to glue it in)
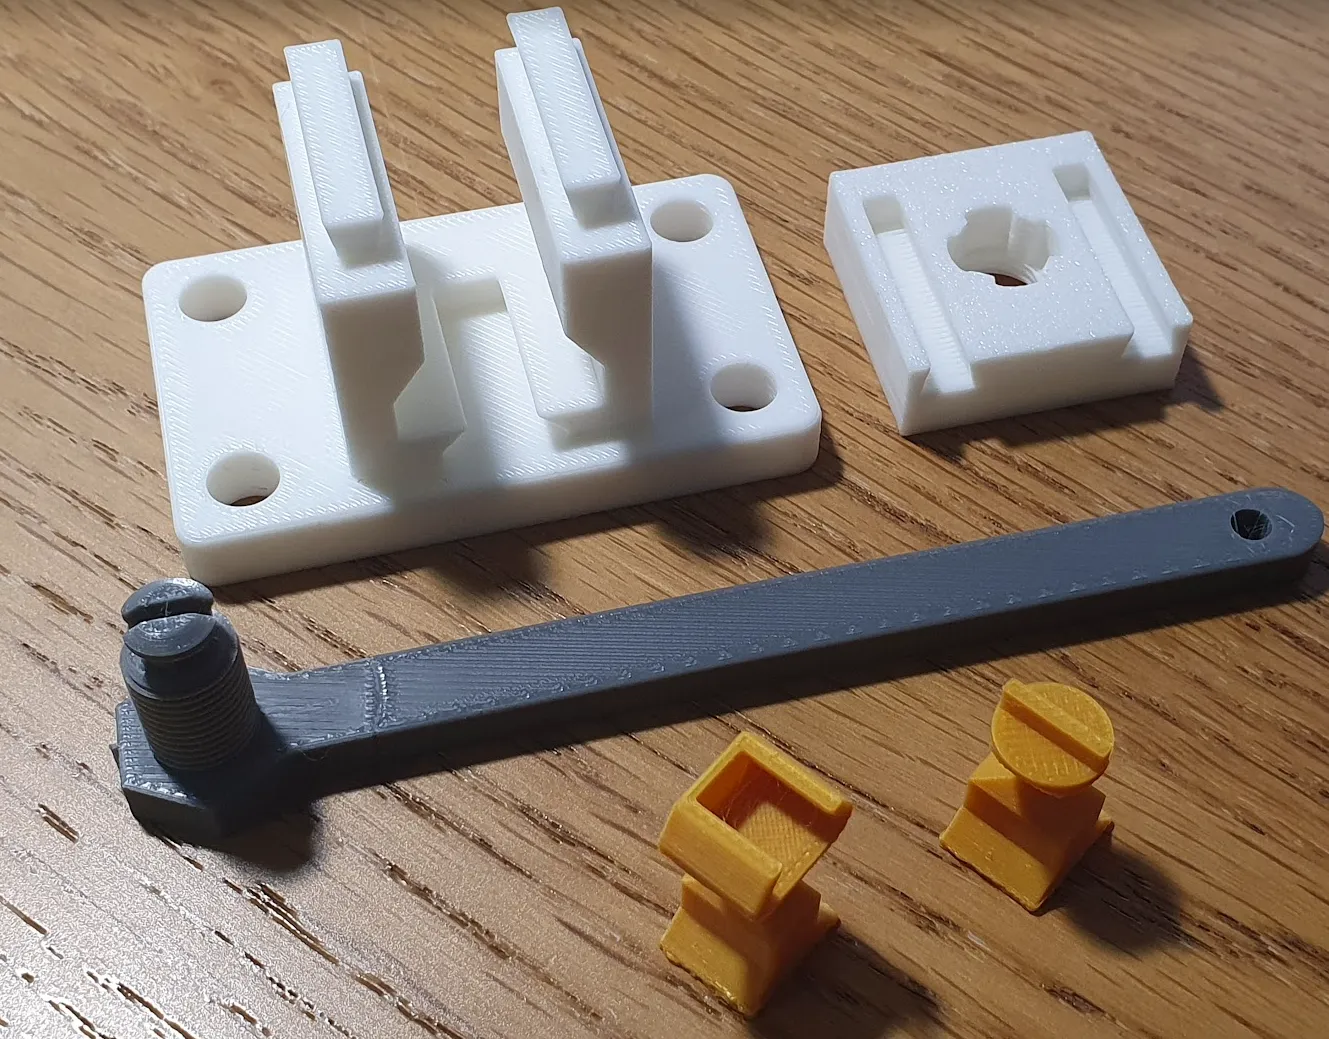
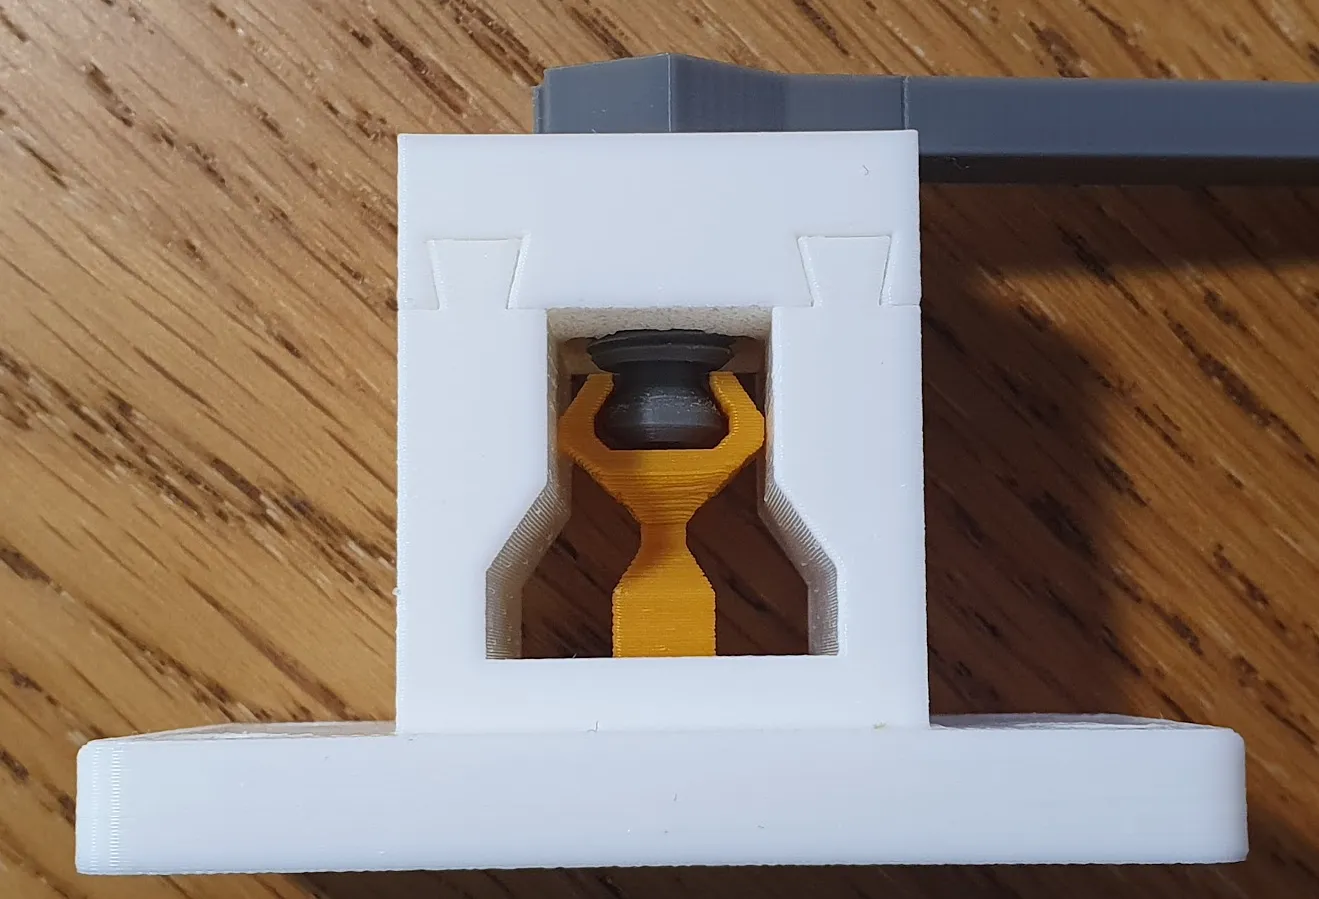
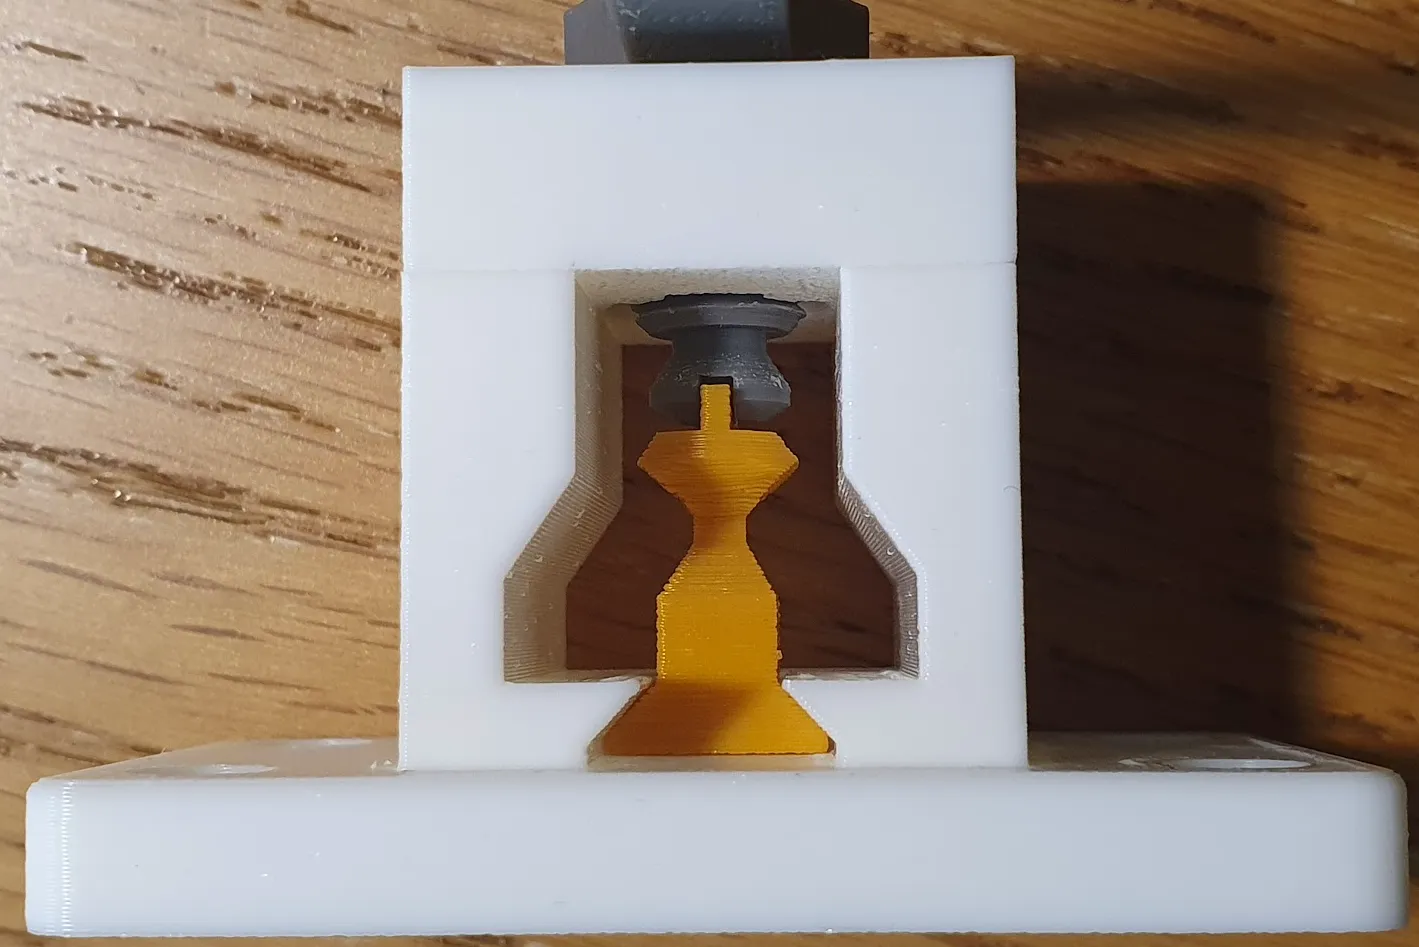
The top of the frame contains a threaded hole, into which the tester tool is inserted. Rotating this changes the height of a connection nub. This nub mates with the sample, and depending on the sample shape, either twists the sample, or pulls it upwards.
To assist with measuring the rotation or forces involved, gradations are marked on the top of the frame at 10 degree intervals. The arm of the tool has a hole at 100mm from the centre of rotation in which a cord to a load cell etc could be attached.
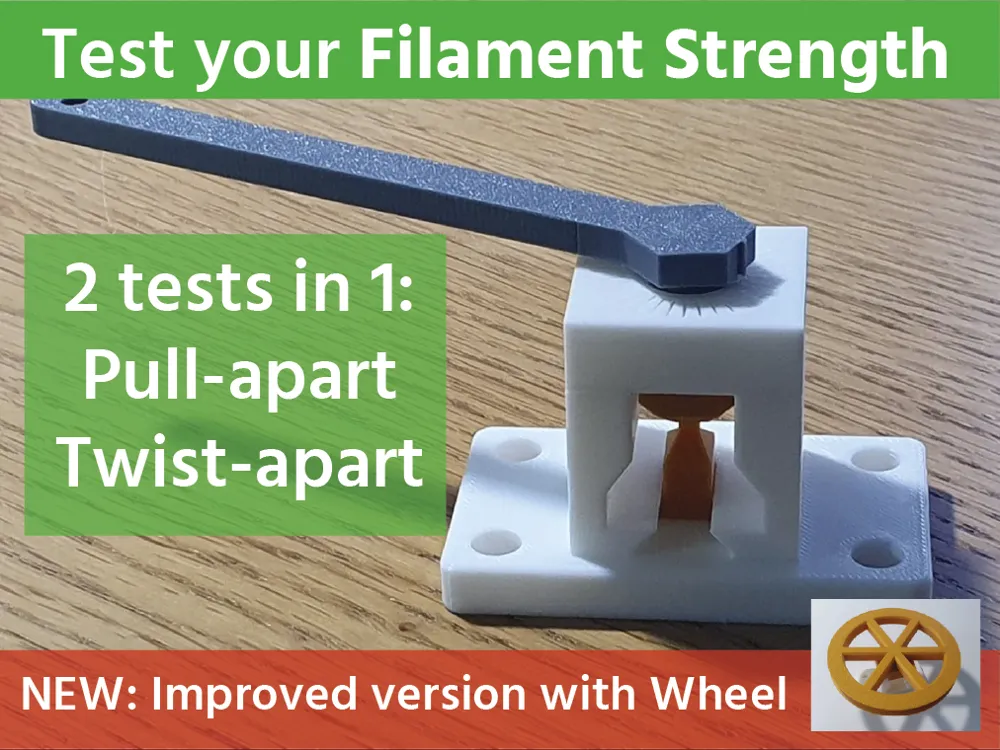
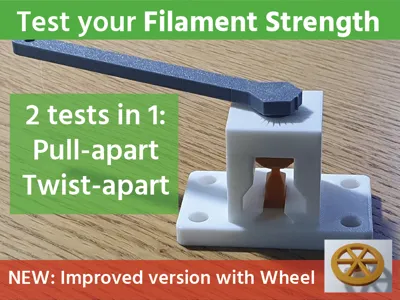
Two tests are supported:
- Stretching the sample:
- Twisting the sample:
Testing method
- Insert the tester tool downwards into the frame
- Insert sample into the frame ensuring it is fully under the centre, and mated with the nub of the tool.
- Rotate tool to raise it, until the sample fails.
- Note the angle of rotation of the tool, or the force applied to the tool at the moment of failure.
Repeat several times and average the results.
UPDATE - The Wheel
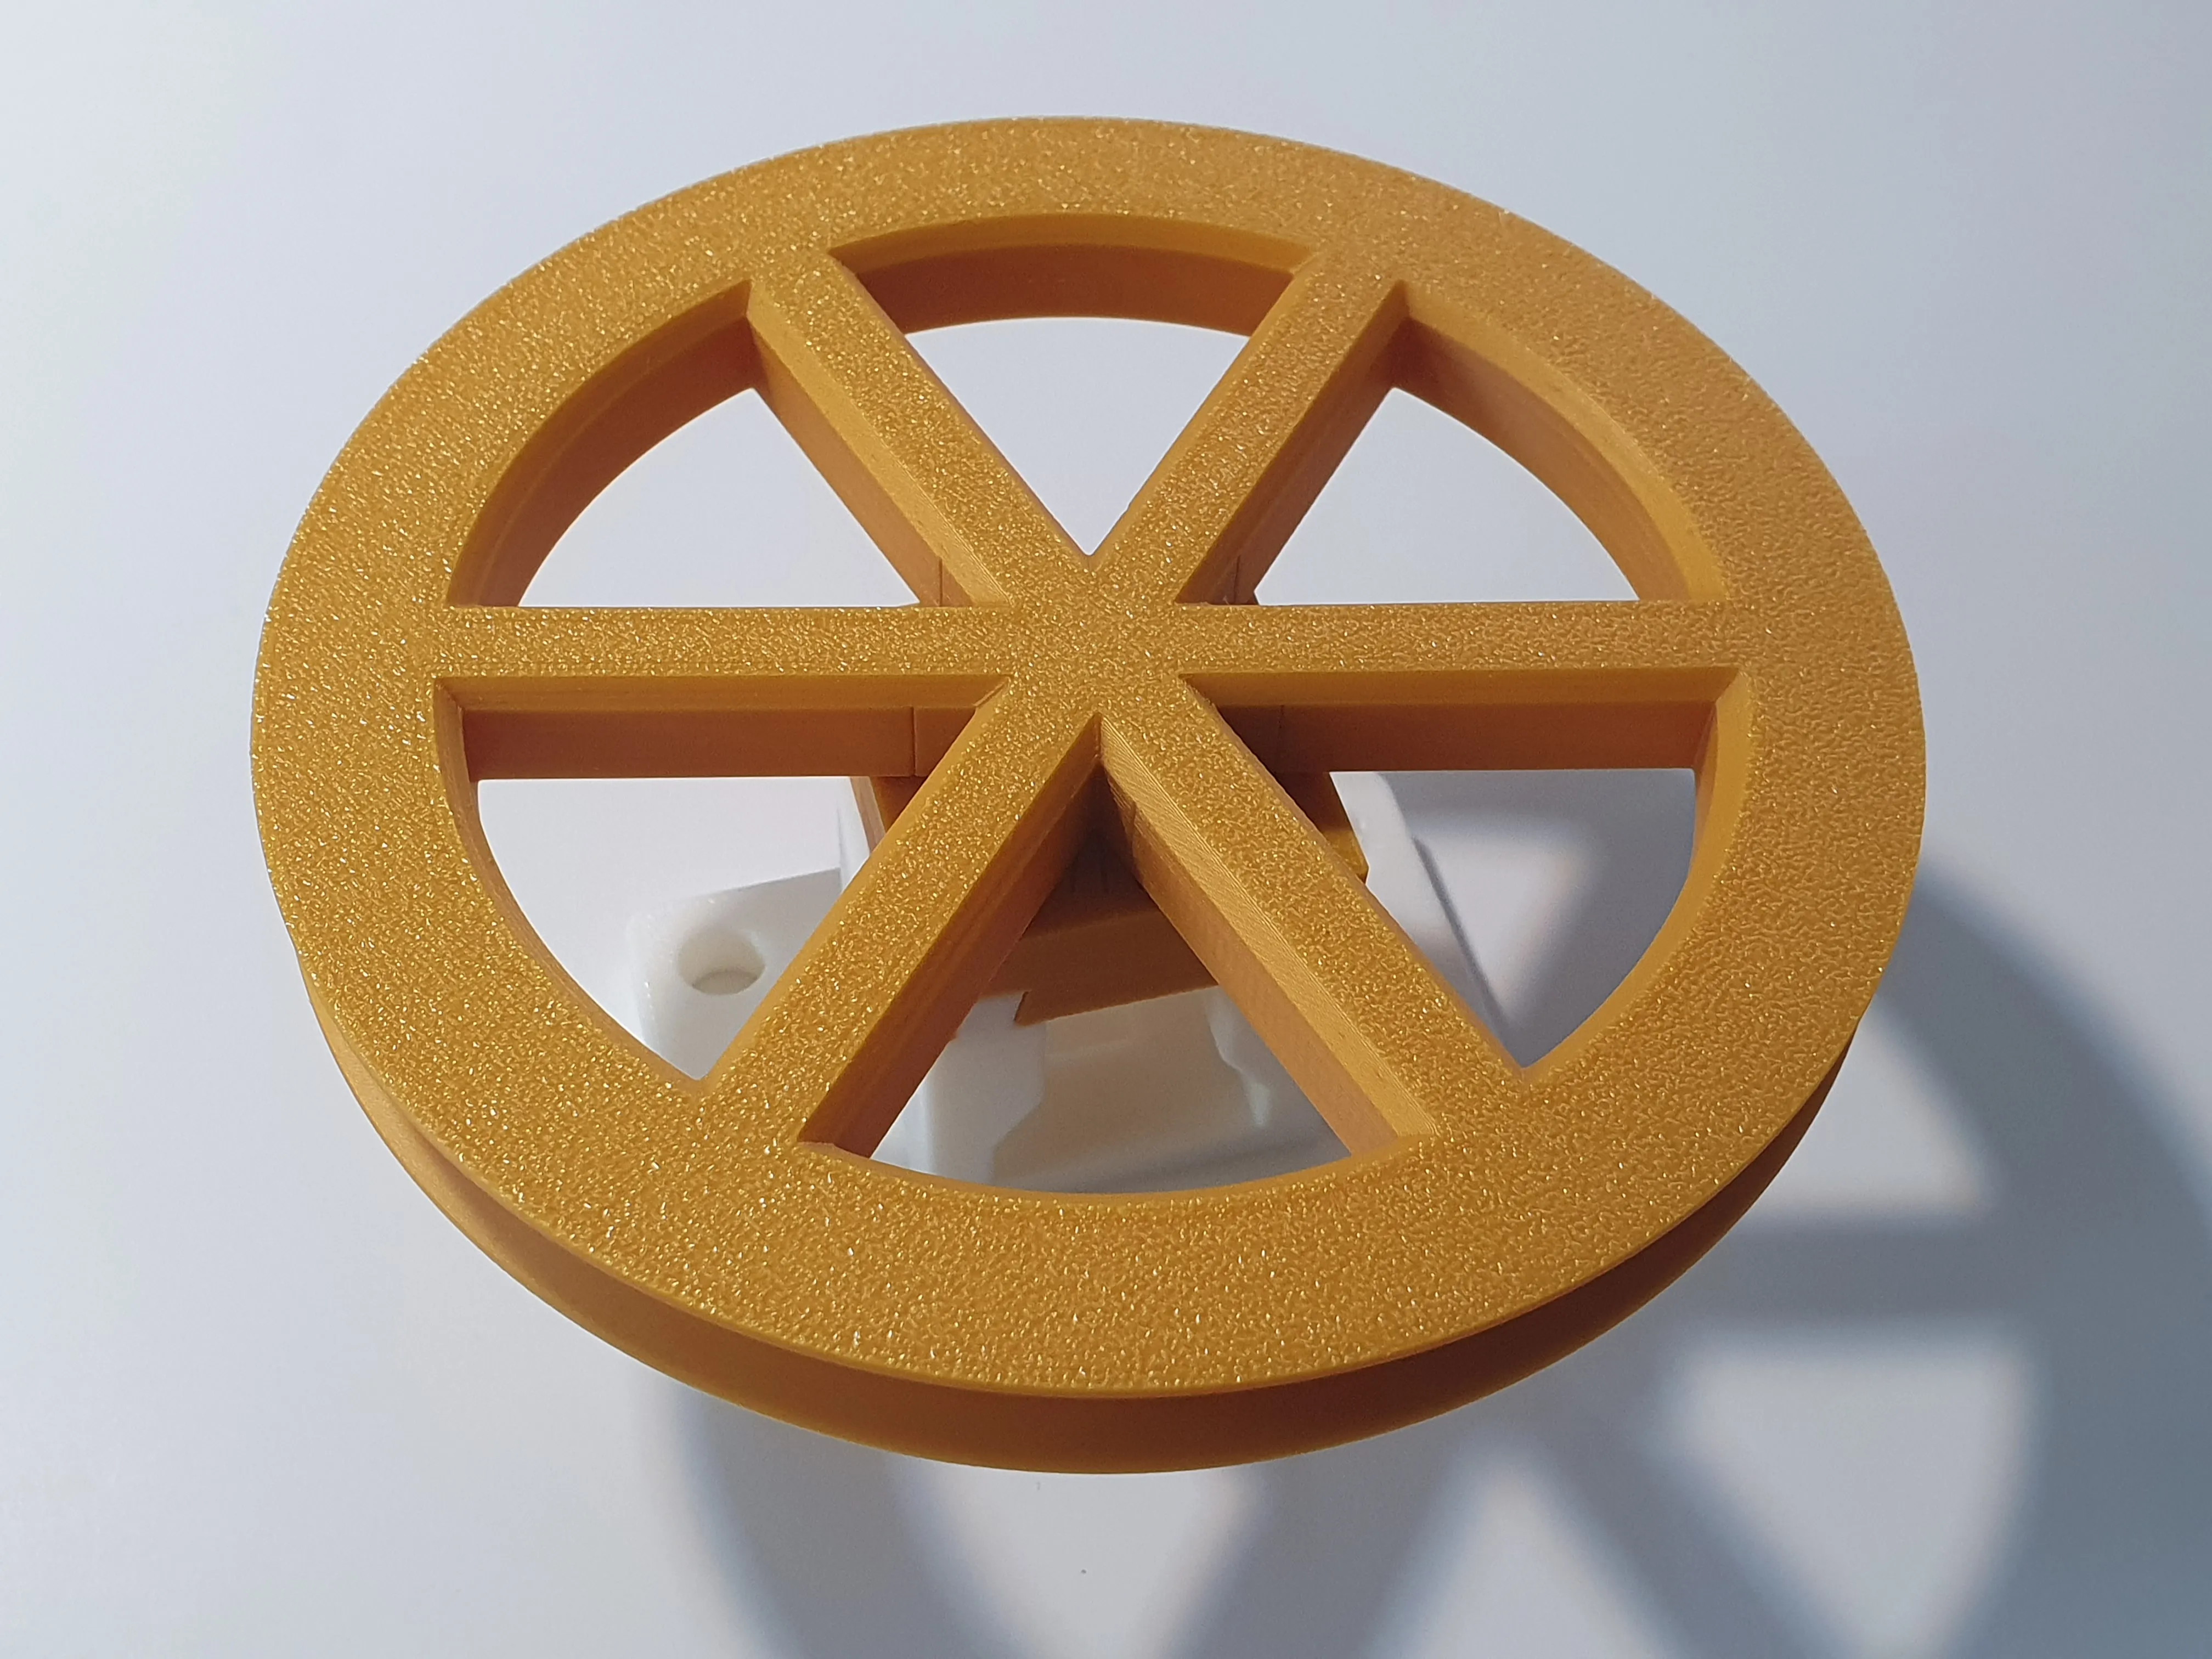
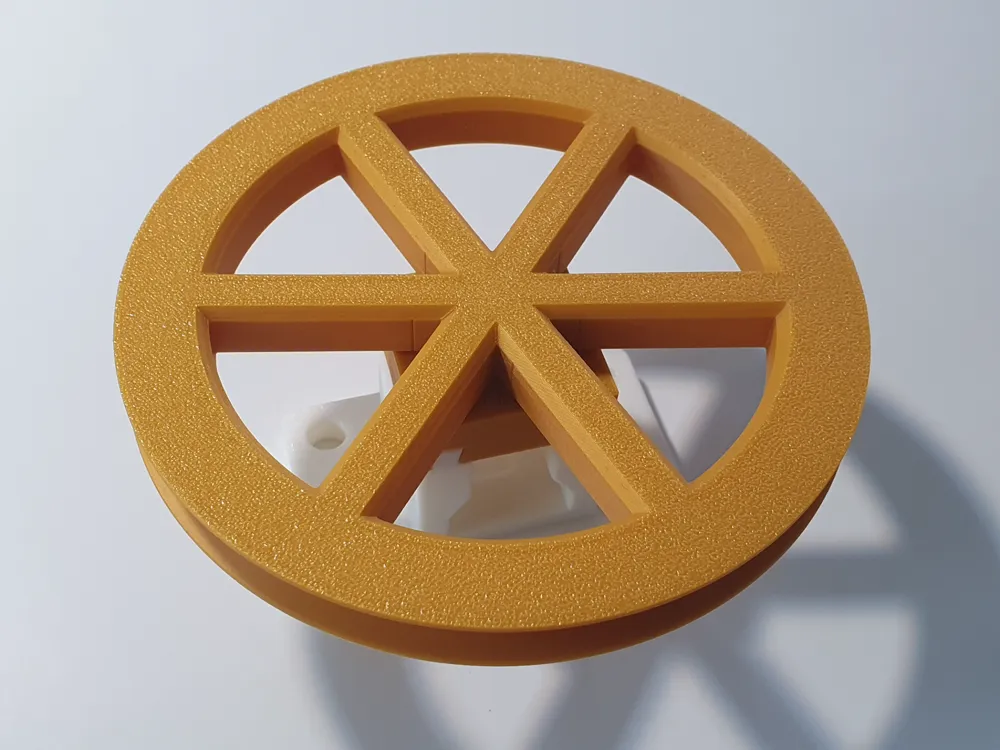
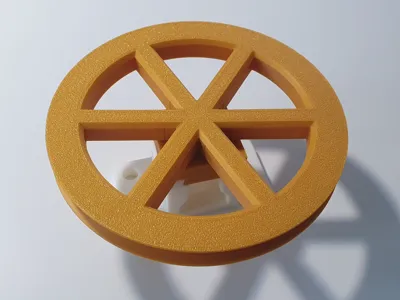
Try the Wheel (available as a separate print profile), which should be easier to take readings from compared to the lever.
This screws in place instead of the lever, and you can then tie a strong thread (fishing line etc) to it (there's a little hole in the side of the wheel to make this easy). Wrap the line around the wheel a couple of times, and then tie the other end of the line to some weigh scales, such as luggage scales or fish scales.
Then gently pull on the scales and record the max force experienced.
The actual force on the sample itself is greatly multiplied, and is dependent on a few factors such as the friction of the thread, but in (very) rough terms, is about 100x the reading on the scale.
Notes on 3D printing the tool and samples
This is designed to be printed without the need for supports.
The general settings I used are 2 walls, 25% gyroid infill (except for the threaded end of the tool where a modifier has been used to make it solid with 99 walls).
A thin layer height of 0.08 is desirable for the threaded parts (the tool and the top of the frame) otherwise the threads will feel a bit lumpy as you rotate them, which interferes with measurements. For the rest, a standard layer height of 0.2 is fine.
Samples appear to gain some strength as they cool after printing, so best not to test them immediately after printing them.
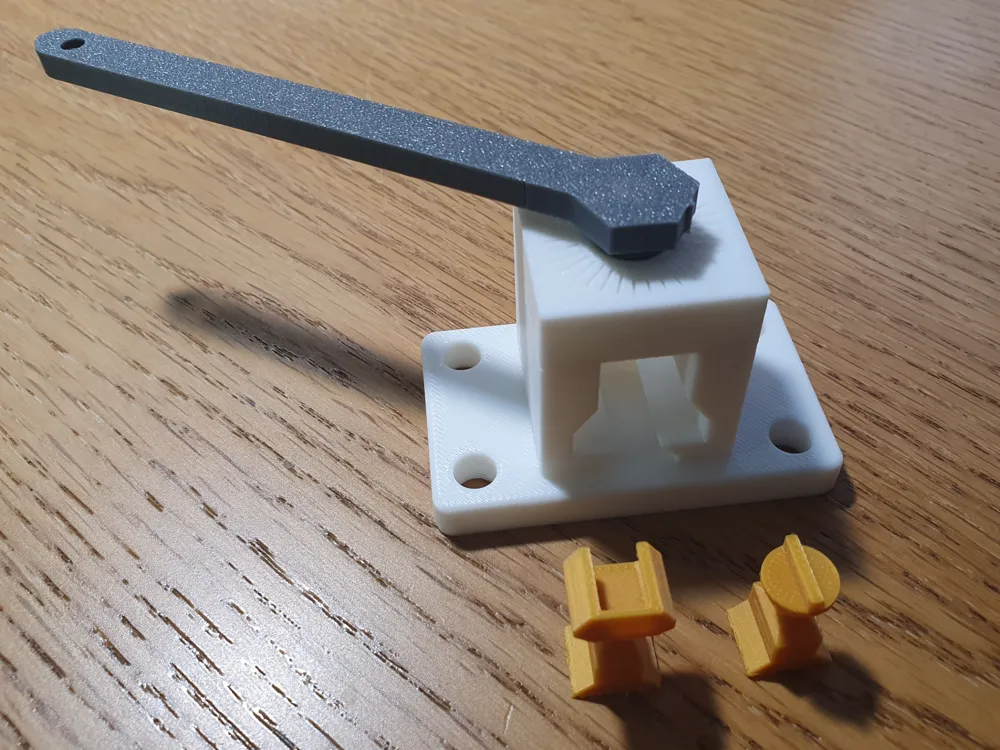
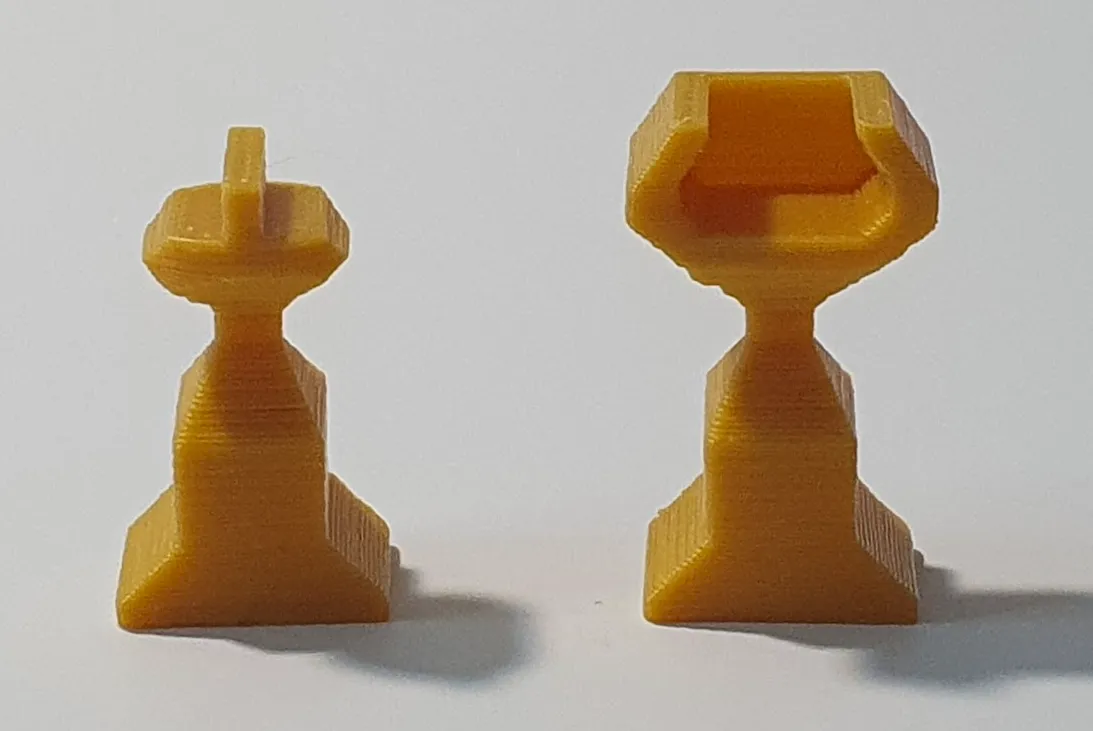
Test samples: (Left: twist, Right: pull)
Feedback, please…
Was this useful? Do you have ideas for further improvement? Let me know in the comments.
Please consider giving this model a Boost Boost Me (for free) A boost costs you nothing to give, but both raises the profile of the model so others can find it too, and provides me with funds to help cover the costs of designing and improving models. Every boost is very much appreciated. Thank you! |
💎 Don't forget to click “Follow” to follow me to get updates on this and other new models.
License

You shall not share, sub-license, sell, rent, host, transfer, or distribute in any way the digital or 3D printed versions of this object, nor any other derivative work of this object in its digital or physical format (including - but not limited to - remixes of this object, and hosting on other digital platforms). The objects may not be used without permission in any way whatsoever in which you charge money, or collect fees.


Comment & Rating (9)