
Enigma-E slim case
Print Profile(1)

Bill of Materials

- Enigma-e x 1: https://www.cryptomuseum.com/kits/enigma/
Description
Description:
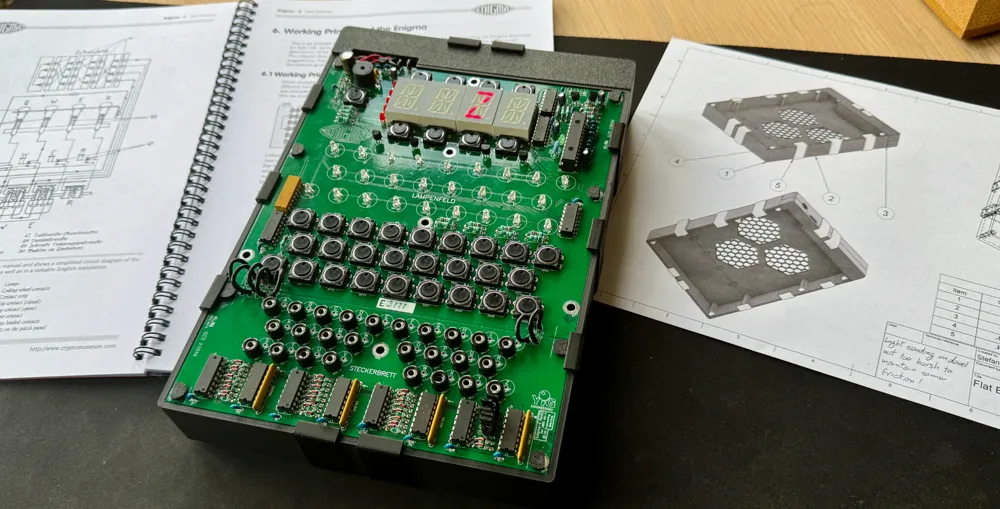
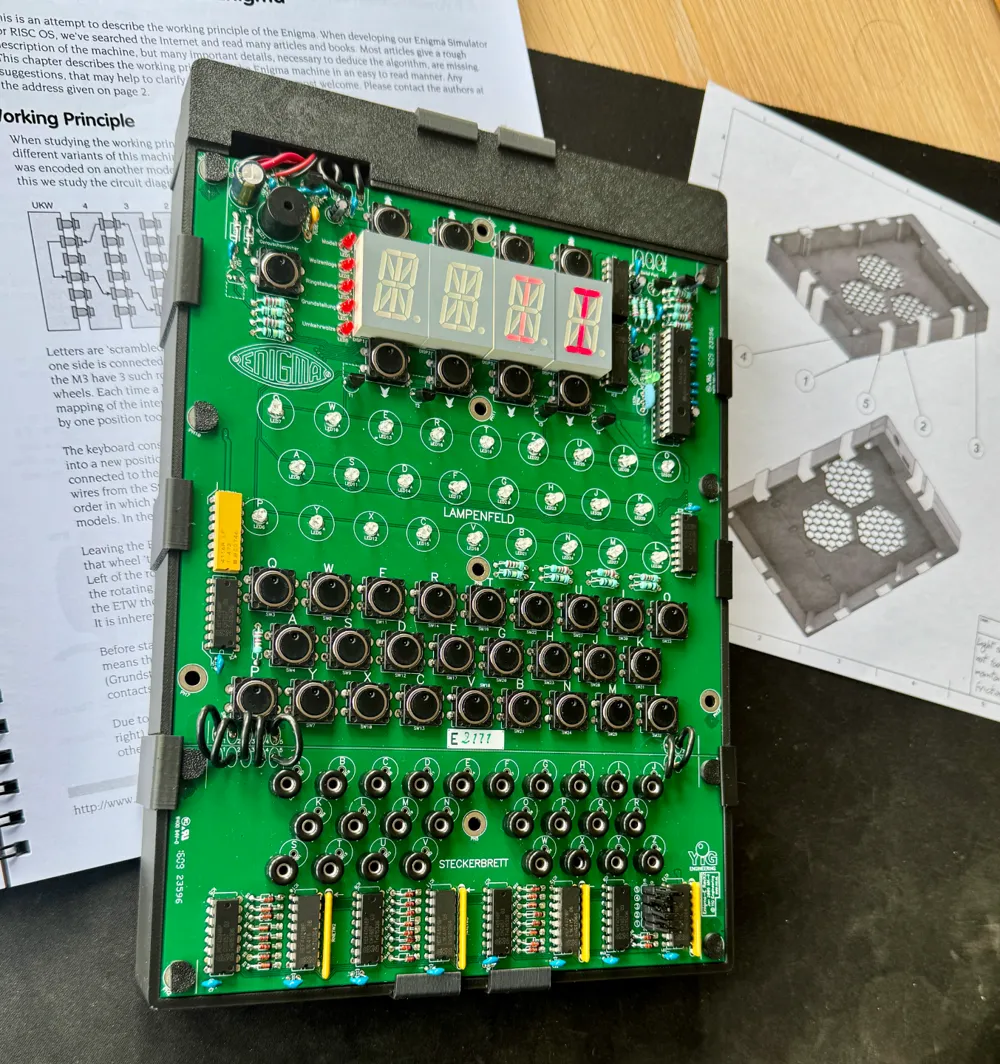
This is a slim case for the official enigma-e kit (https://www.cryptomuseum.com/kits/enigma/).
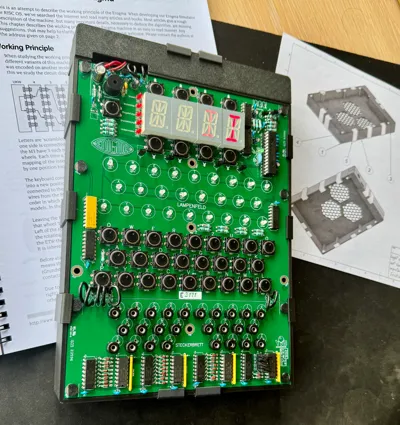
This case allows for the entire PCB to fit on one plate without having to detach the lower half of the PCB.
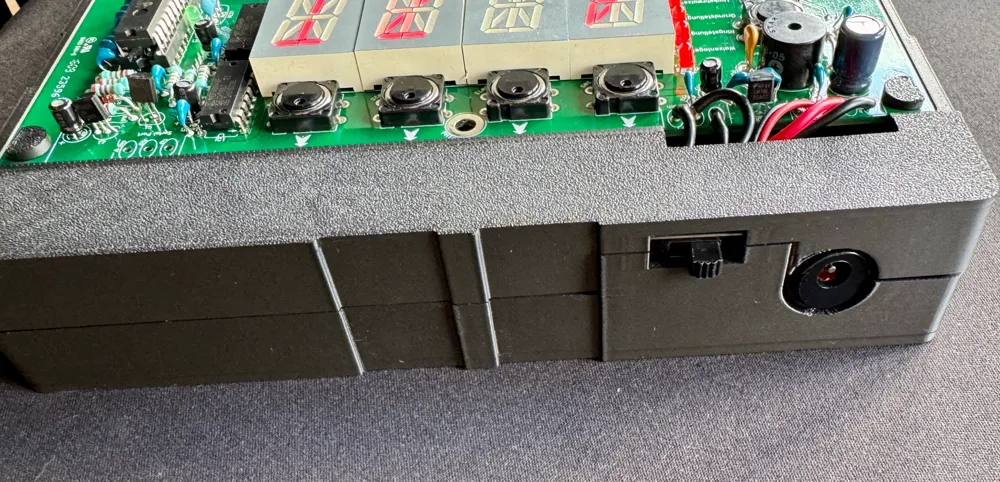
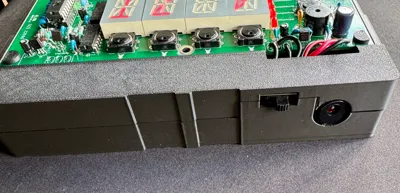
It has inserts for the power button and the charge port and a compartment for a 9v battery.
Instructions:
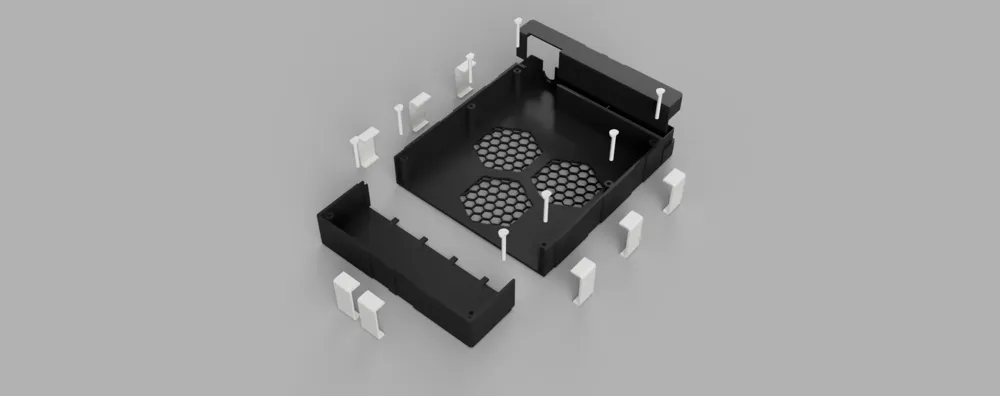
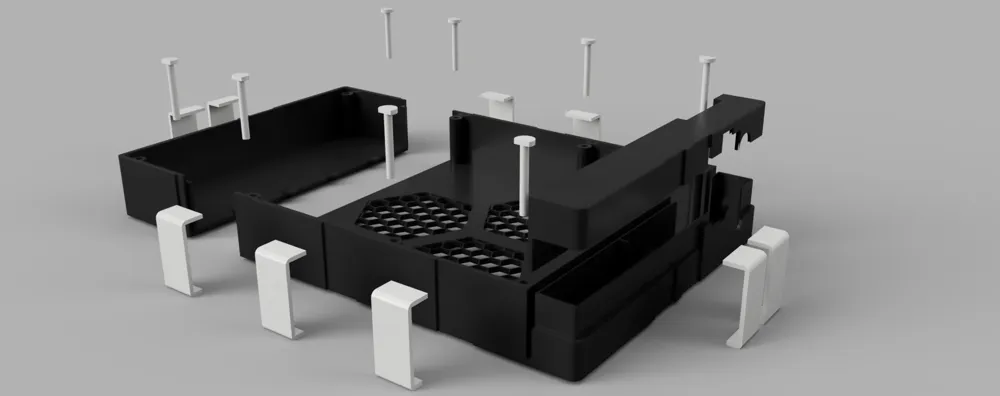
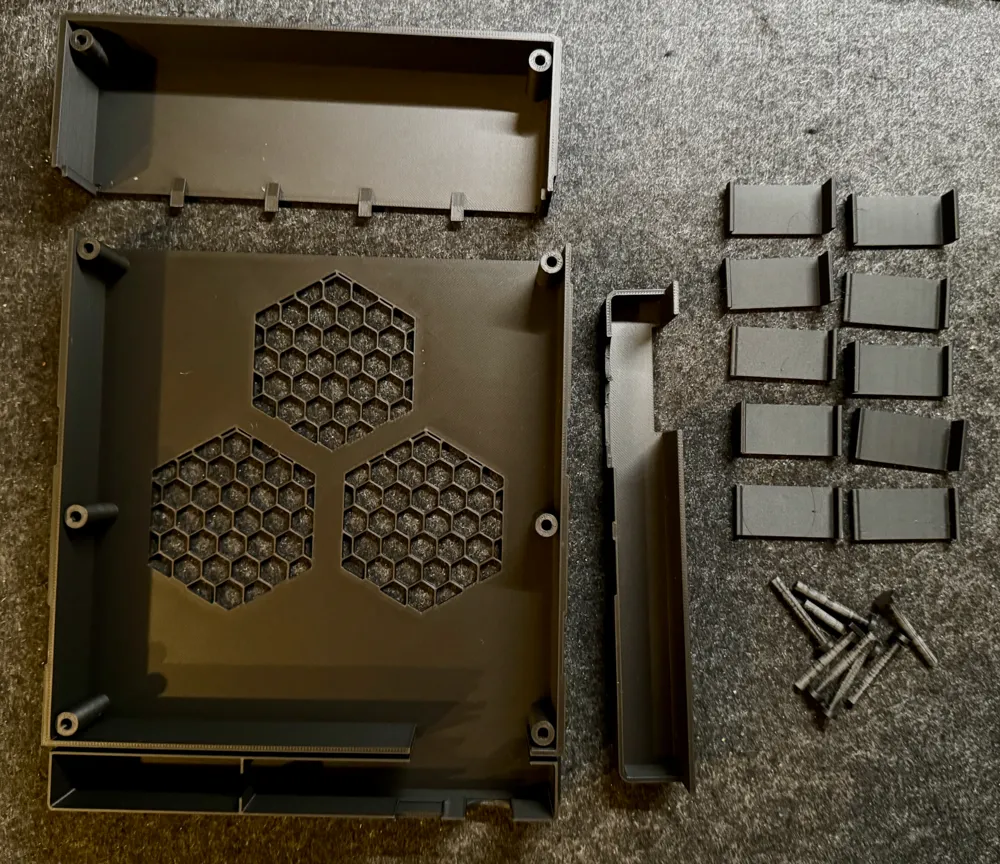
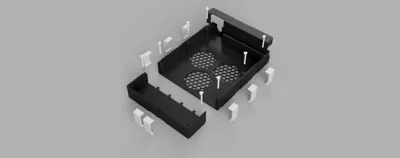
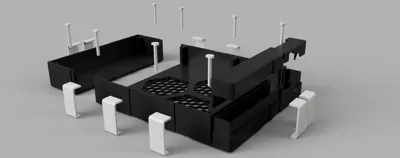
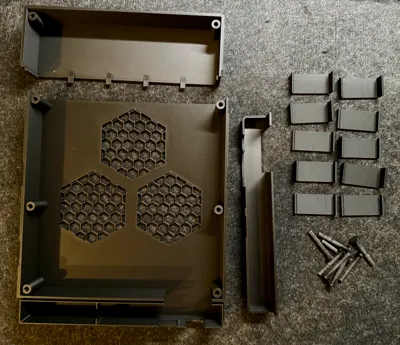
Print all the components:
- 1 Battery cover
- 1 Upper half of the case
- 1 Lower half of the case
- 10 Brackets
- 8 Dowels
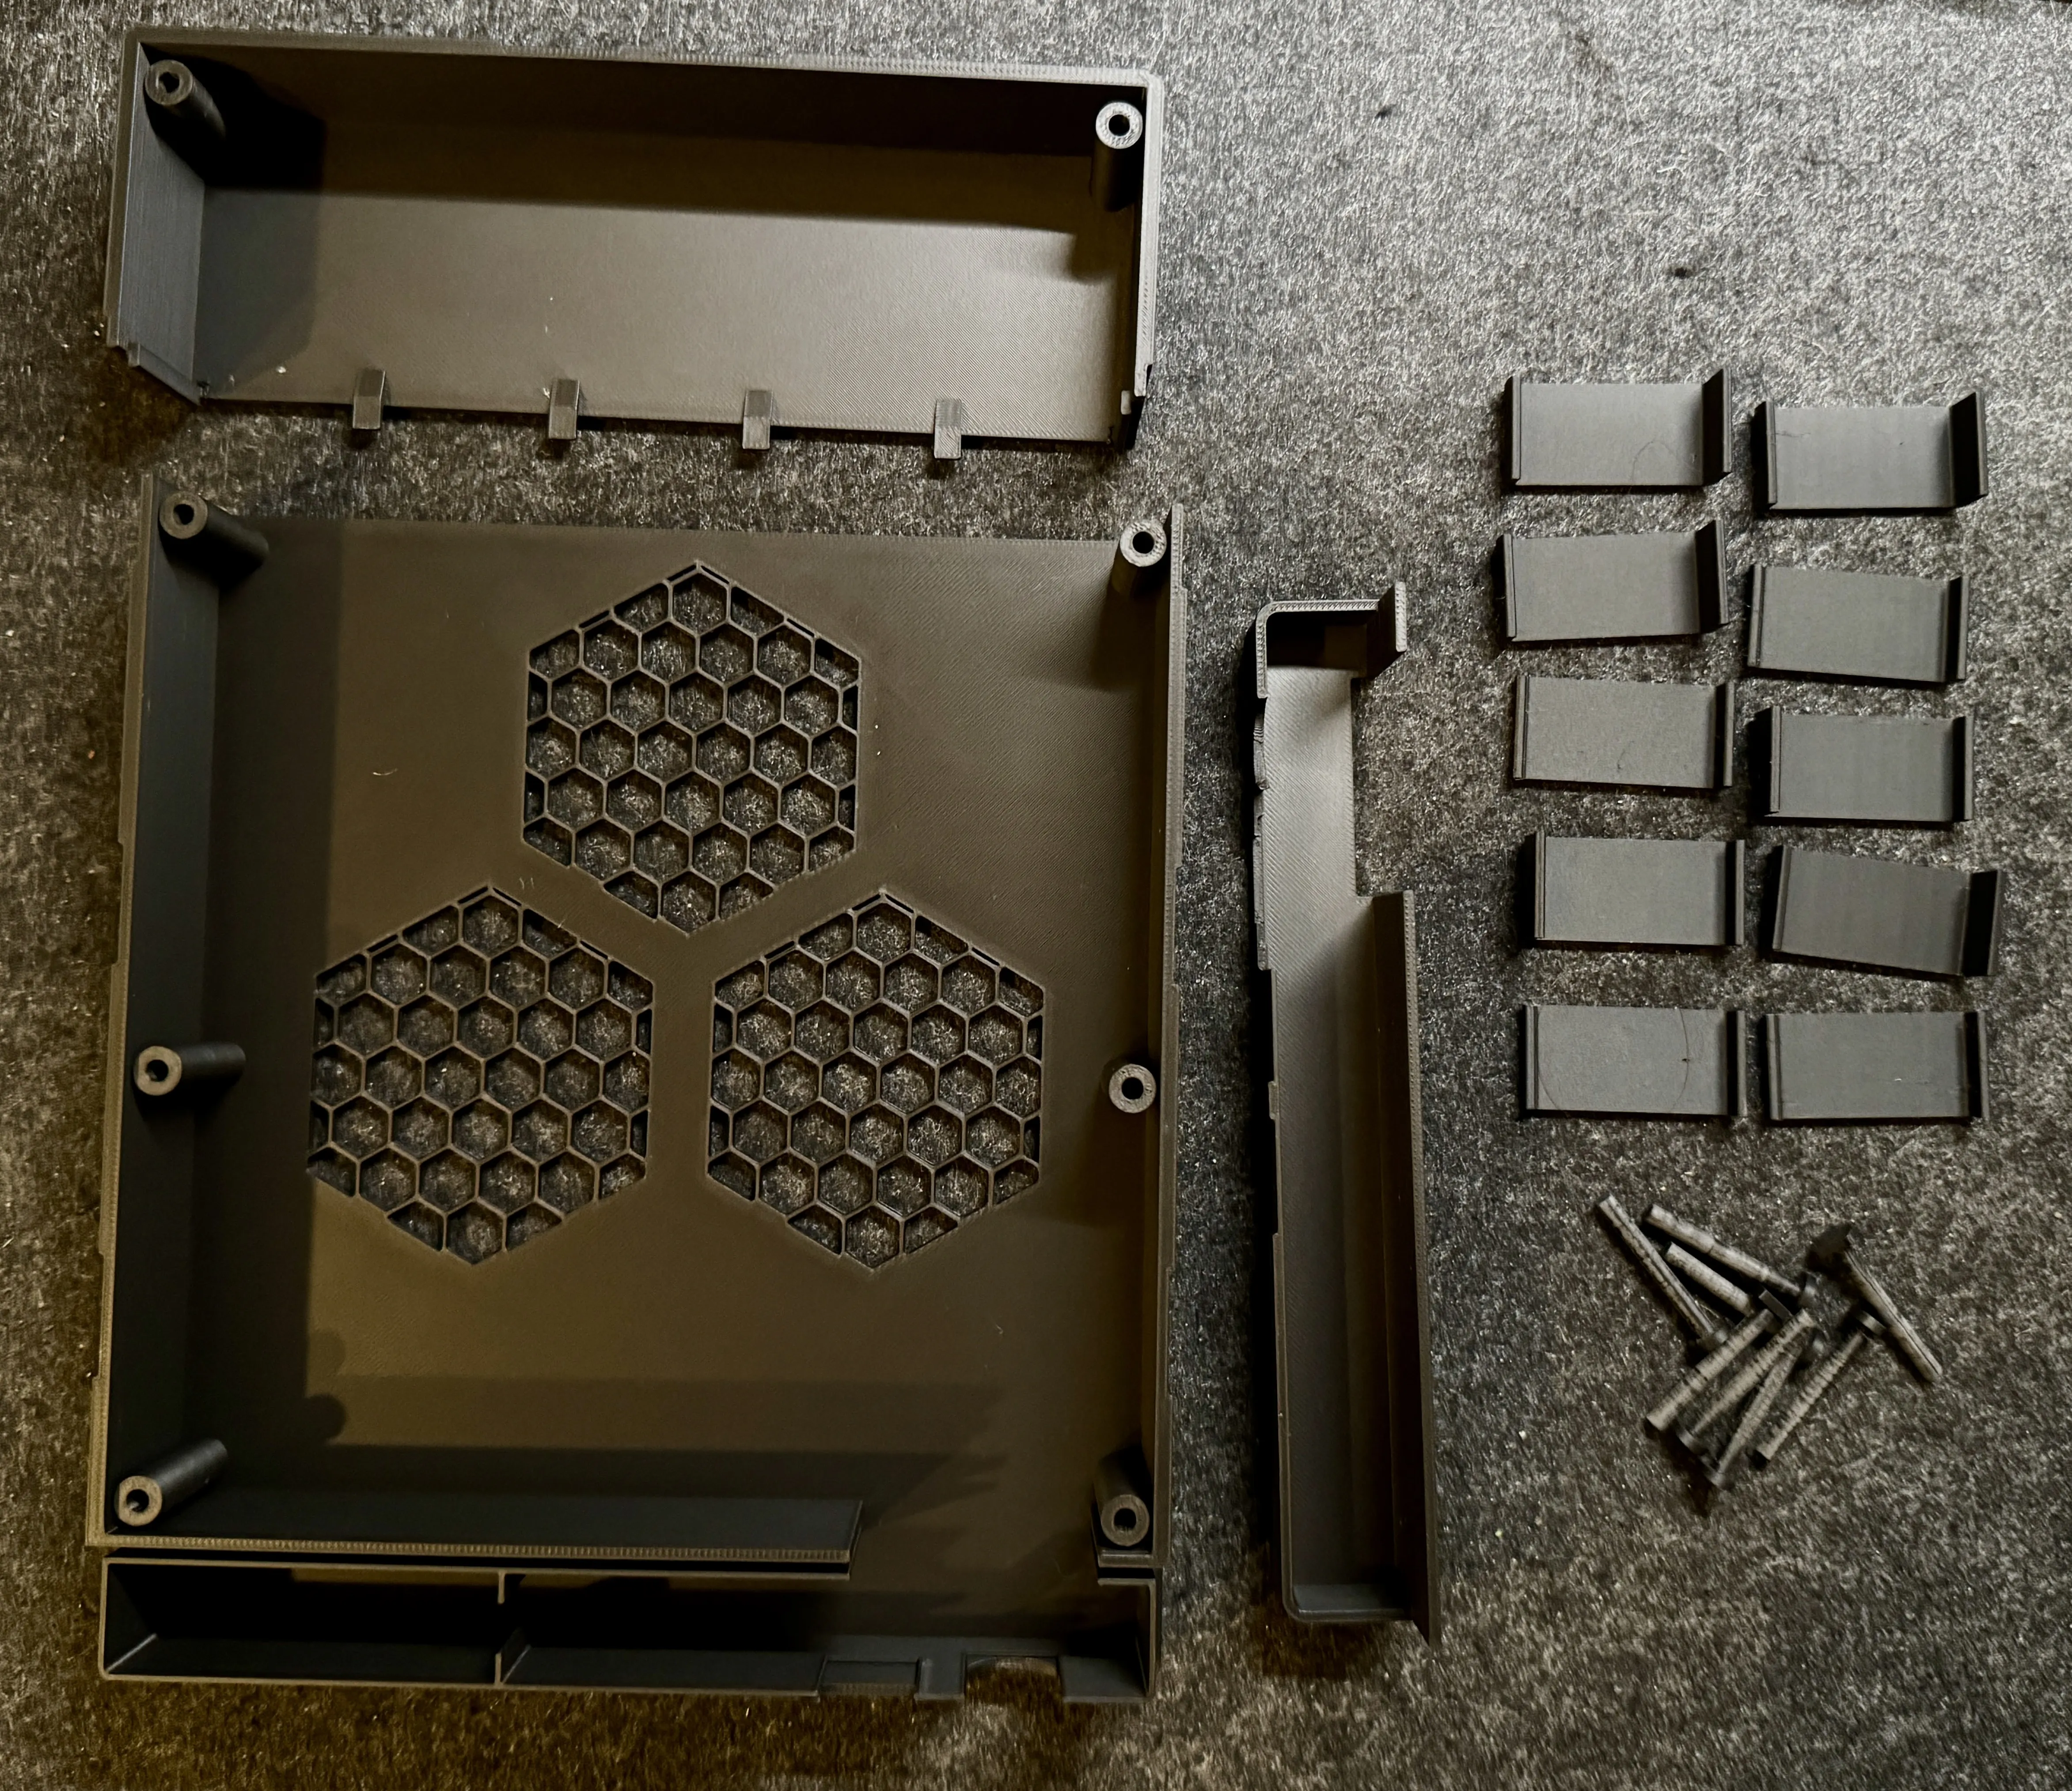
Lightly sand the dowels, you want to do a test fit with the PCB in place and you want to be able to fully push them in place but want to keep some friction so that they can stay in place.
To keep the two halves of the case together you can use tape on the inside or a little superglue, the small plastic tabs should help with alignment.
If you want to be able to easily remove the PCB, all of the brackets are designed to snap in place but if you don't plan in removing the PCB you can glue 8/10 of the brackets to the case but remember to NOT glue the two keeping the battery cover in place as you need to be able to open the compartment to change 9V battery when it runs out.
The battery cover top and bottom has inserts for the power button and the power cable, make sure to fit them snuggly before closing the two halves.
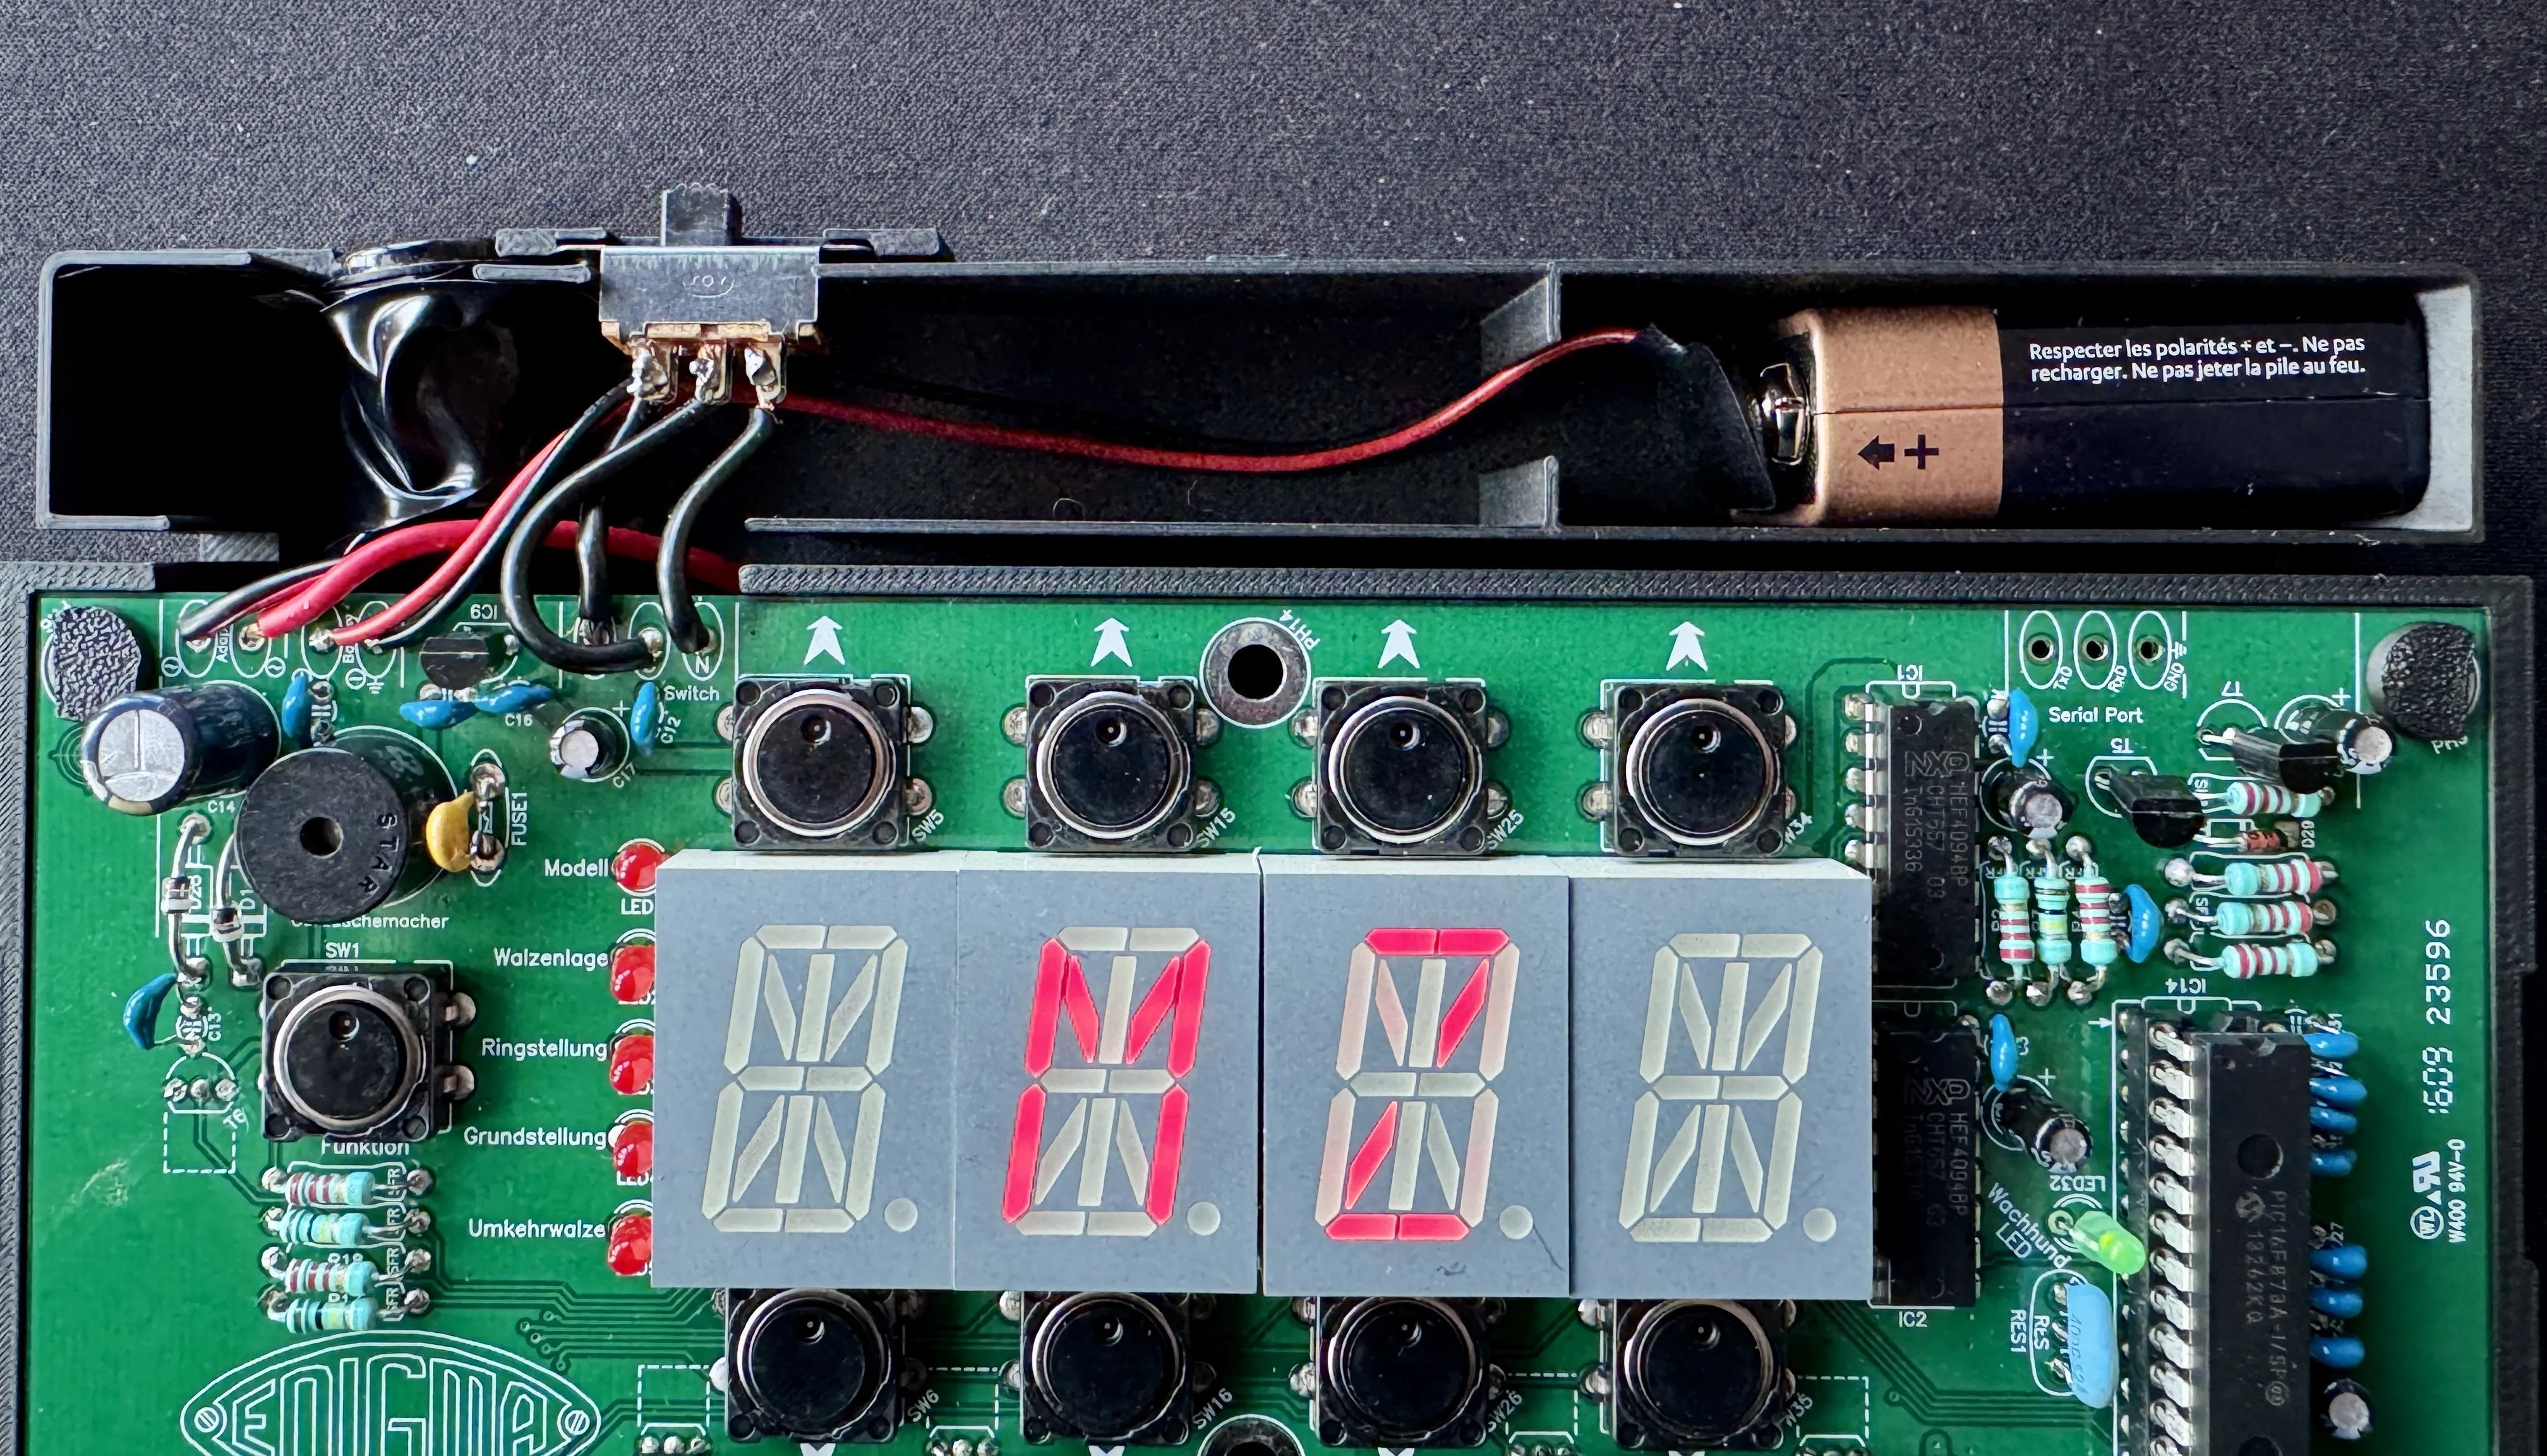
Note:
- I do not sell the official kit, please visit the website to get one.
- This is the fist model I have created so I am sure there is room for improvement. I have provided the stl files in cases people want to modify them. Please notice my license terms.
- I have used the standard length of cable suggested in the assembly guide, if you have shorter or longer cables it is possible they won't reach the cutouts.
I have printed the components as in the provided 3mf file on a Bambulab A1 0.4 nozzle in black PLA and, other than the aforementioned light sanding of dowels, did not do any post-printing steps.
The OPTIONAL double sided foam tape can help with keeping your cables tidy and steady in the battery compartment as well as your (V battery from rattling around but it is 100% NOT mandatory.
License



Comment & Rating (0)