
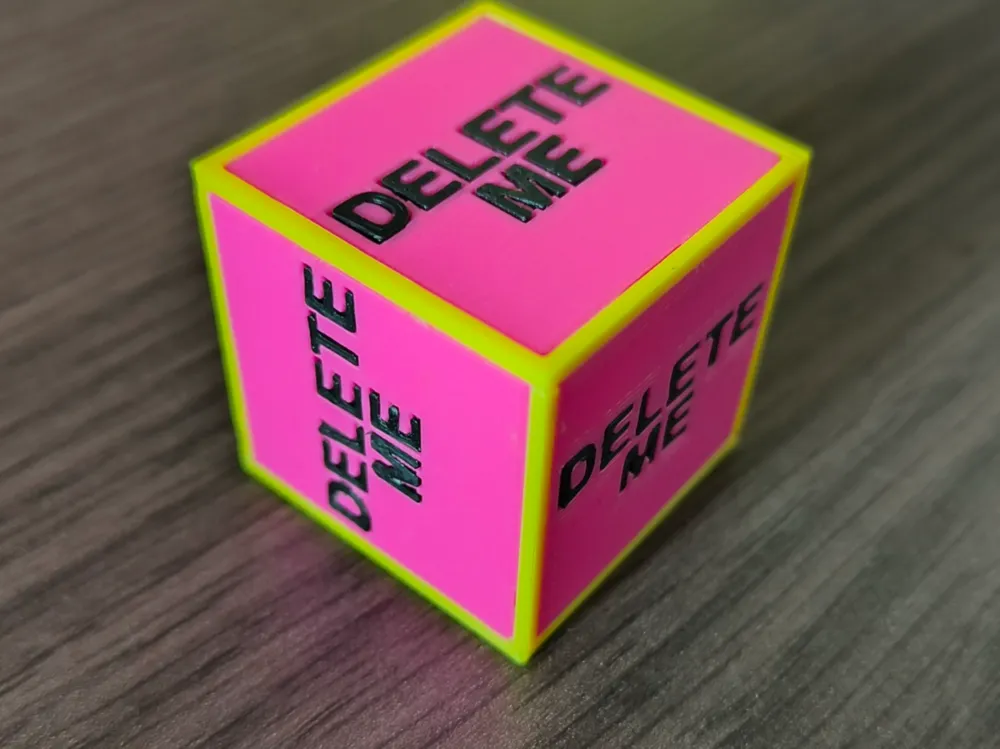
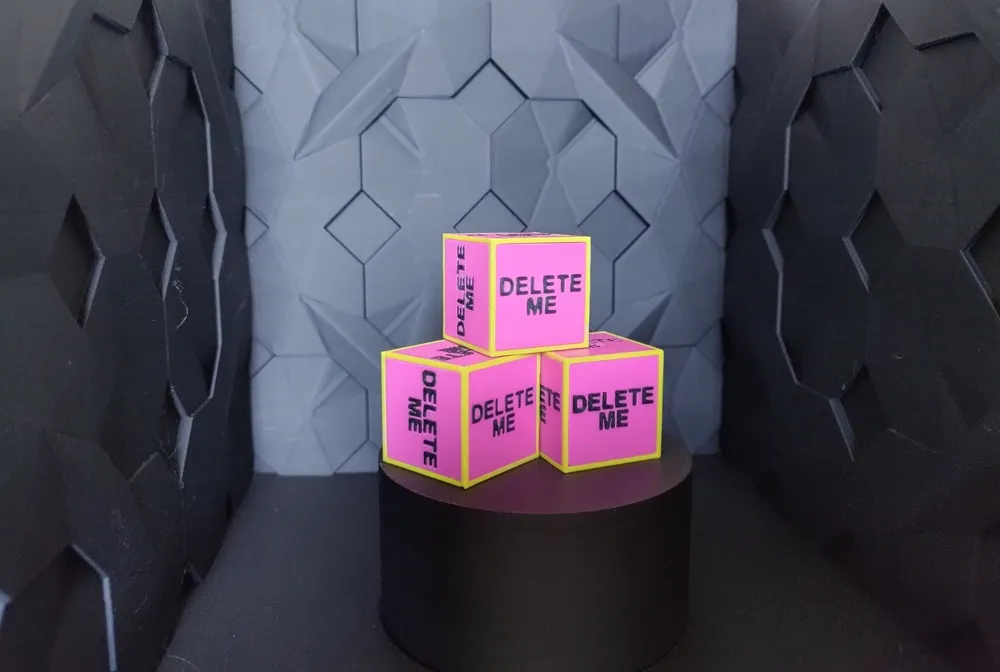
DELETE ME cube
Print Profile(1)

Description
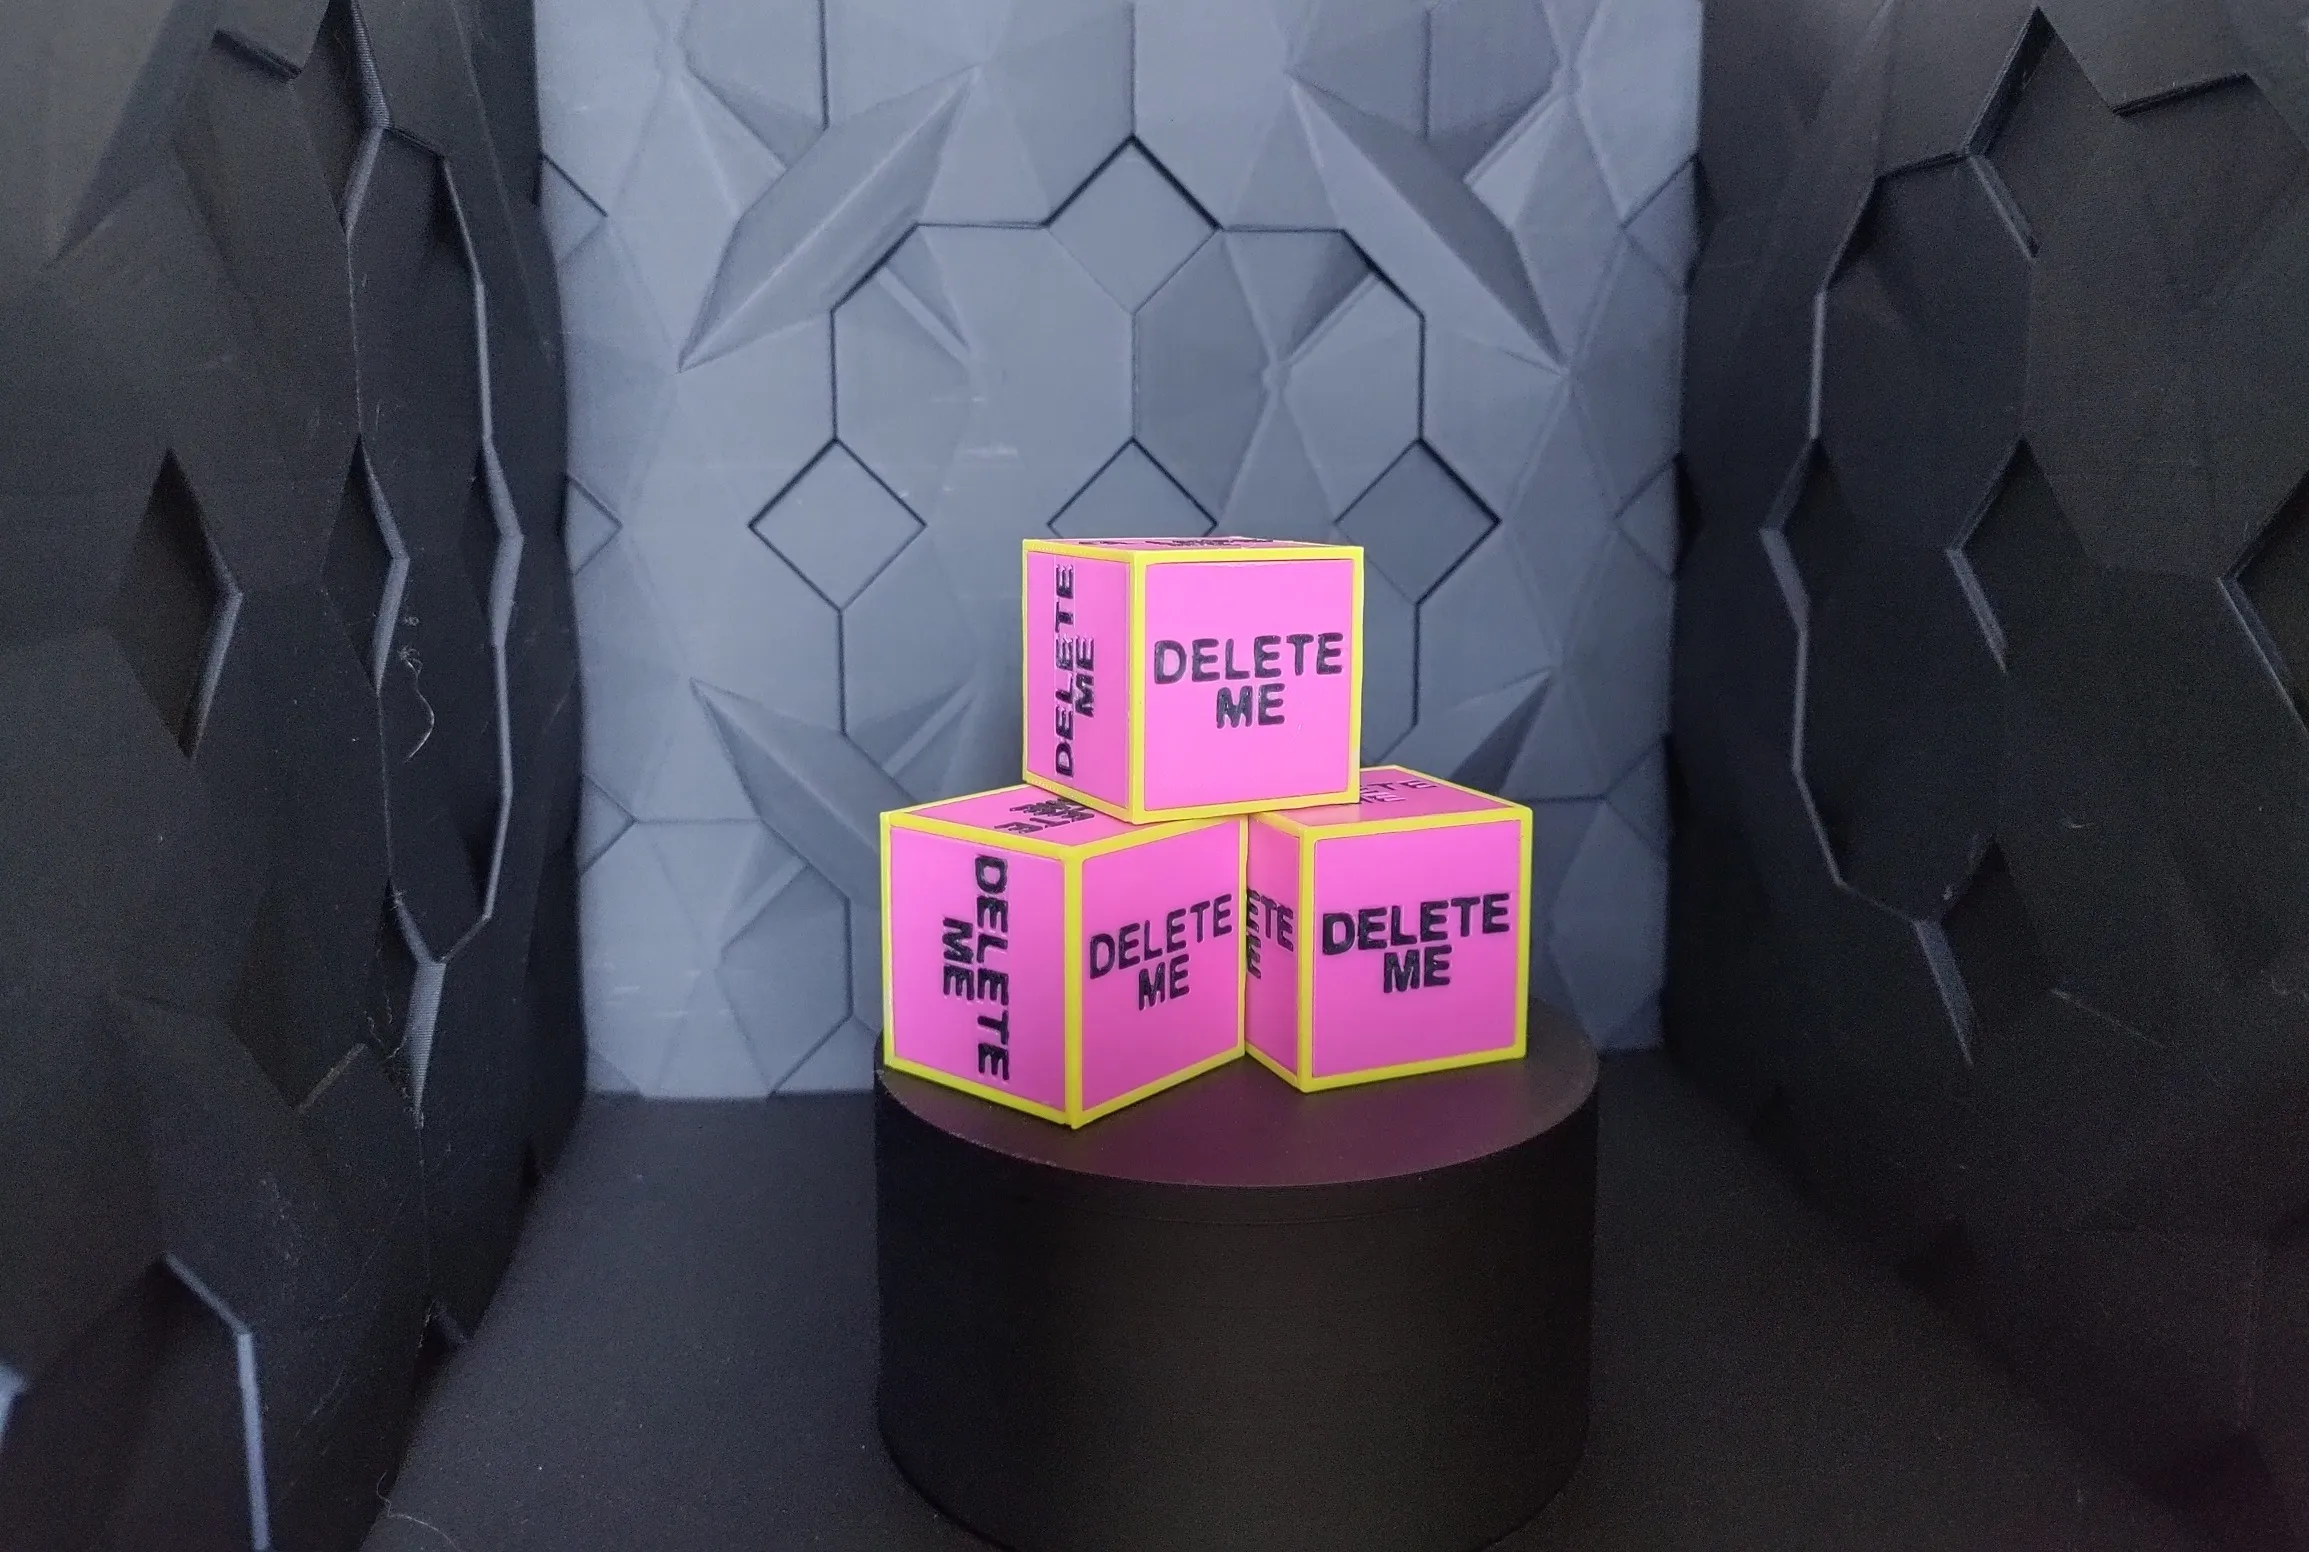

Item description
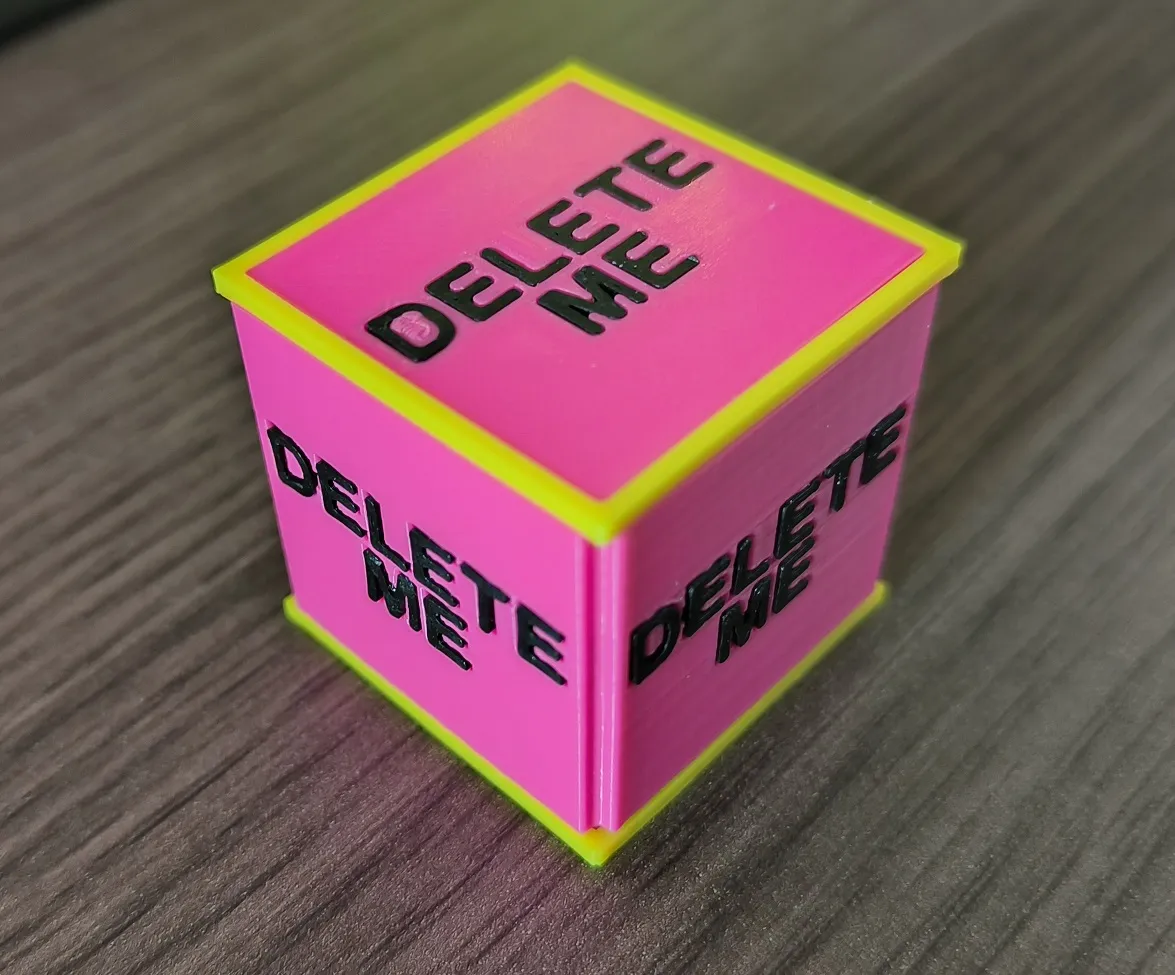
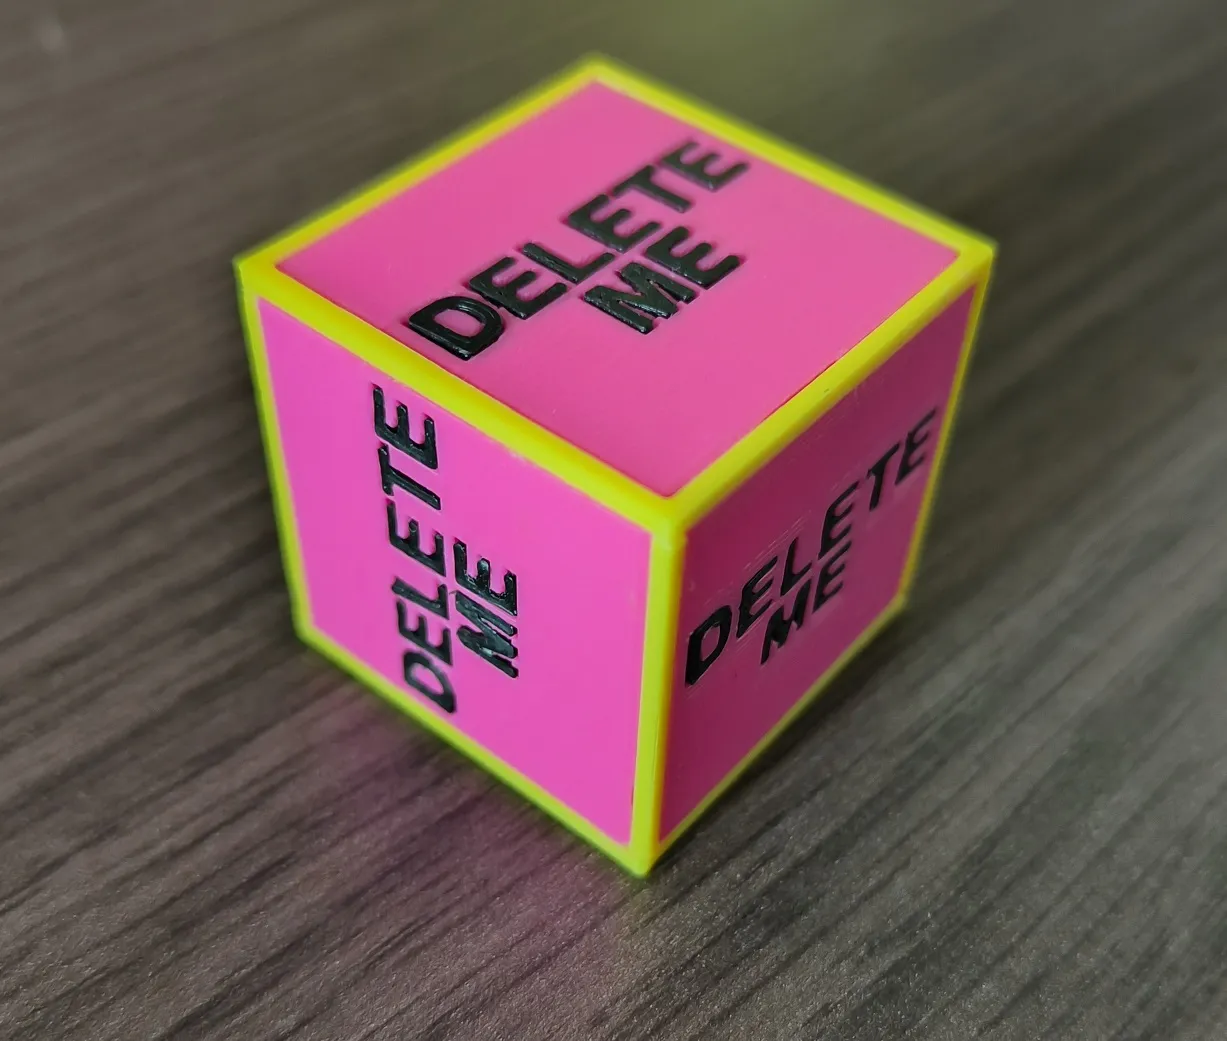
This is a cube that someone forgot to remove. It clearly shows bright colors, but that didn't stop it from going unnoticed.
Being able to observe one is a rarity that must be earned.
This is a recreation of a placeholder cube used in development areas of world of warcraft.
Content: The kit consists of several pieces to assemble:
- A magenta cube
- Two yellow rectangles
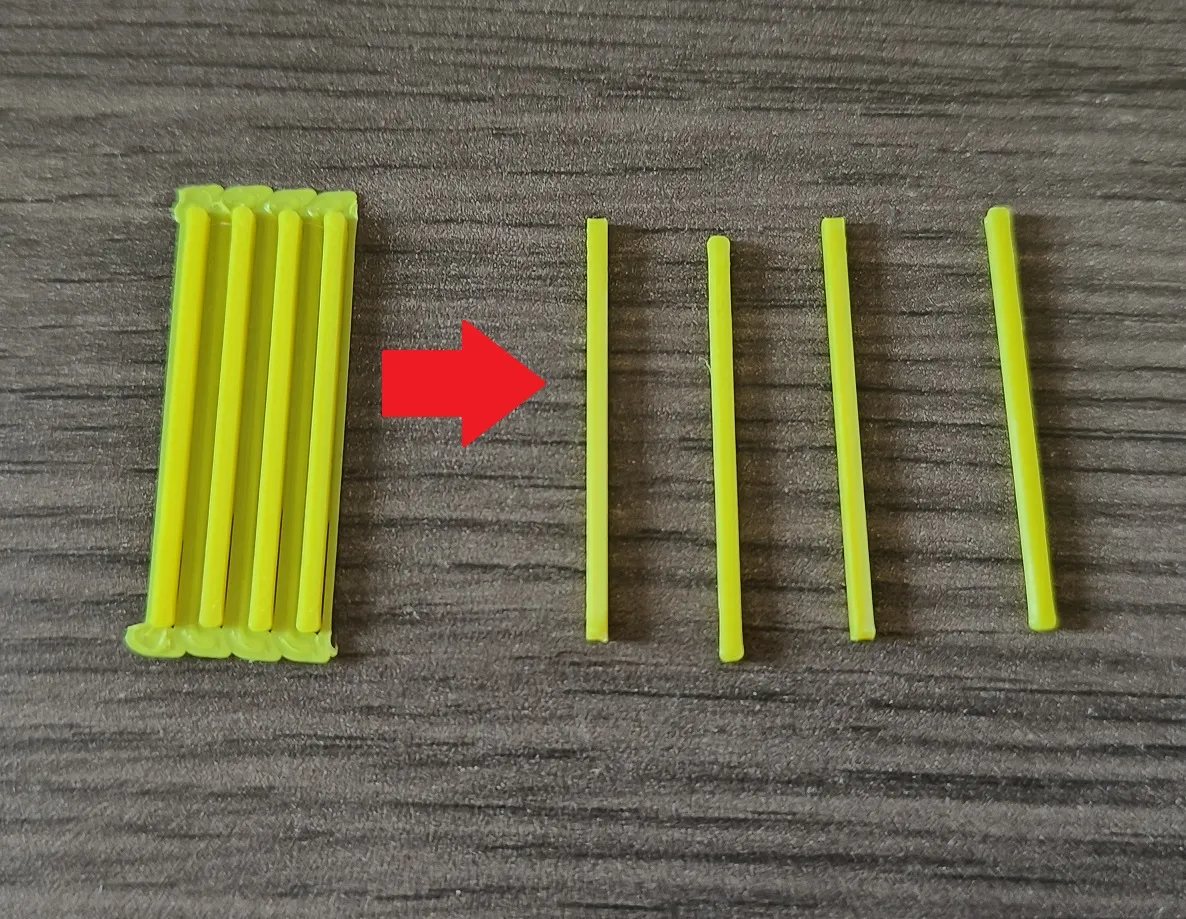
- Four yellow bars
- Six copies of black "DELETE ME" letters
Dimensions (in cm): Length: 3.3 / Depth: 3.3 / Height: 3.3.
Filaments used:
PLA Magenta Basic
PLA Yellow Basic
PLA Charcoal Matte
Kit assembly
Glue is required in several places during assembly.
A: cube / B: letters / C & D: rectangles / E: bars
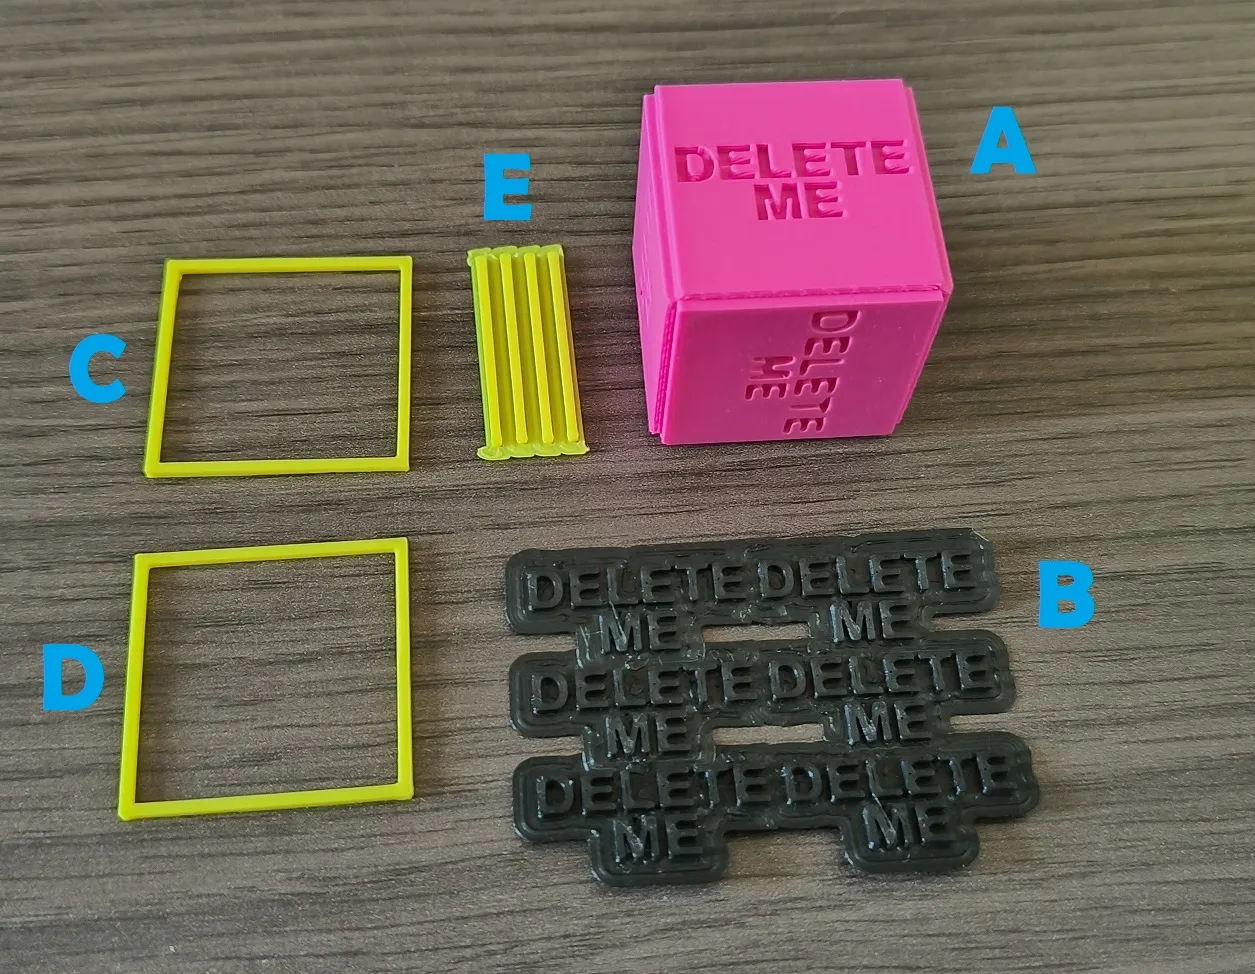
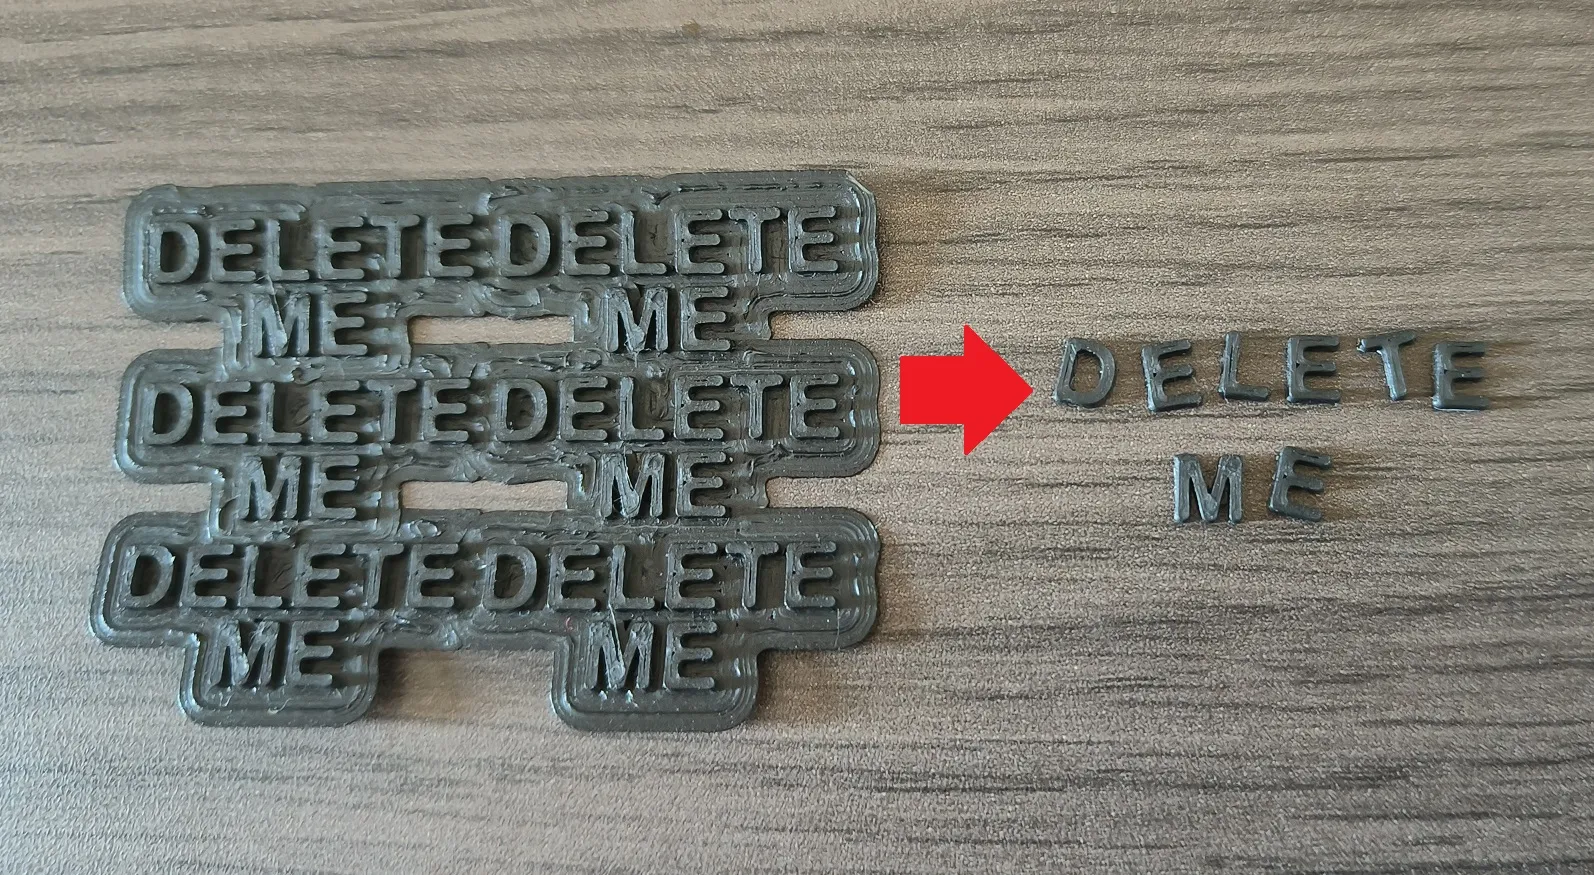
Start by separating the letters B from their supports, then insert them into the holes of cube A.
If the letters fall out when turning the cube over, you will need to add a dot of glue to hold them in place.
If you cannot insert the letters easily, cover them with a cloth to avoid leaving marks on the cube, then push them in by applying a small force to them with a flat object (see video).
Do not hesitate to trim the edges of the holes and letters a little with a knife to increase the gaps. The letters 'D' and 'M' are often more complicated than the others to insert.
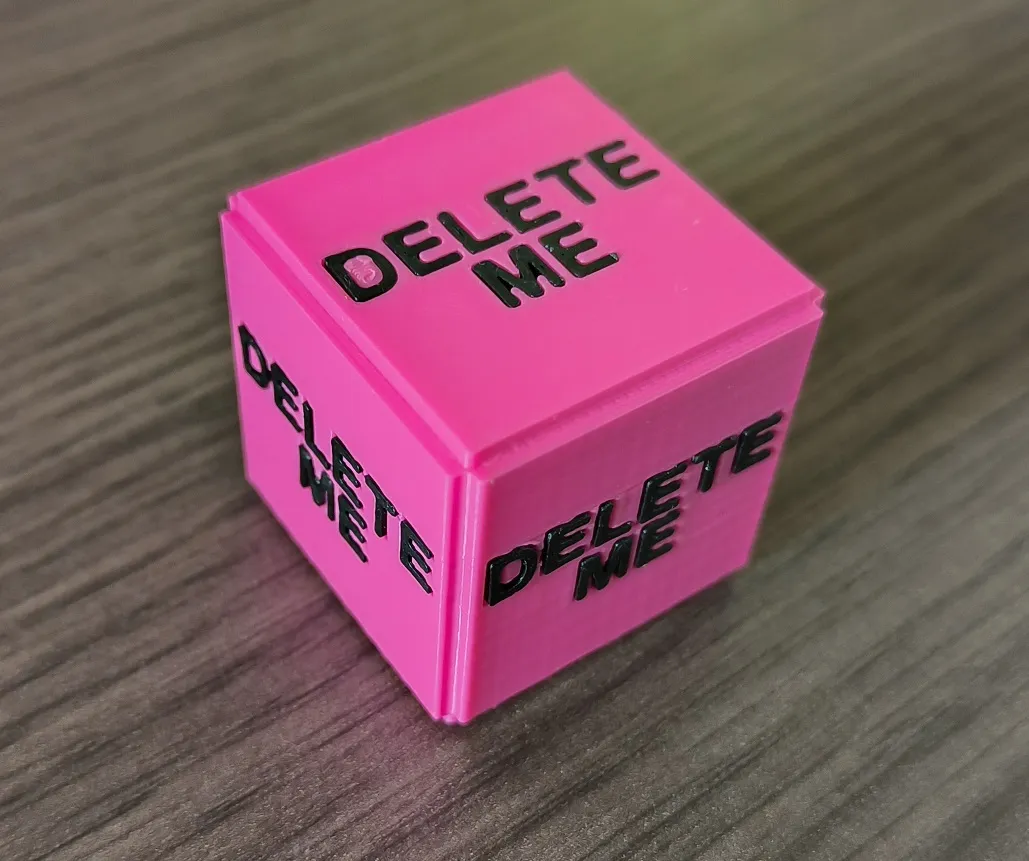
Put rectangles C and D on two opposite faces of cube A.
Free bars E from their supports, then apply a small dot of glue to their two ends.
Then place the bars E between the rectangles and wait for the glue to set.
If necessary, also apply glue to the four corners of the rectangles to stick them to cube A.
Project history
It would have been possible to print this object in multicolor directly. But this would have generated a lot of waste, so it was decided to separate the parts according to their colors.
One of the big challenges was therefore to be able to re-insert each piece at its place.
For letters, the "Arachnee" printing mode was used to be more precise with thin letters.
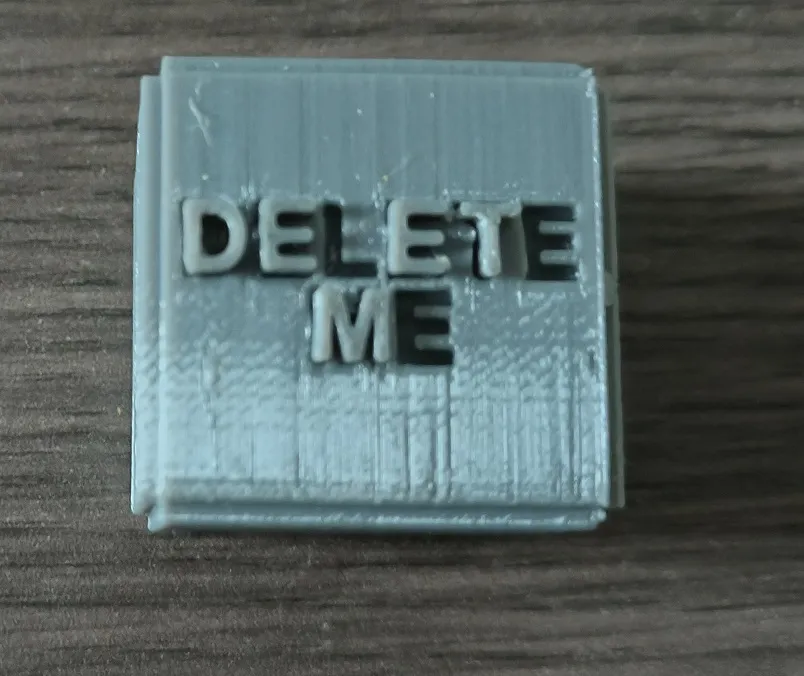
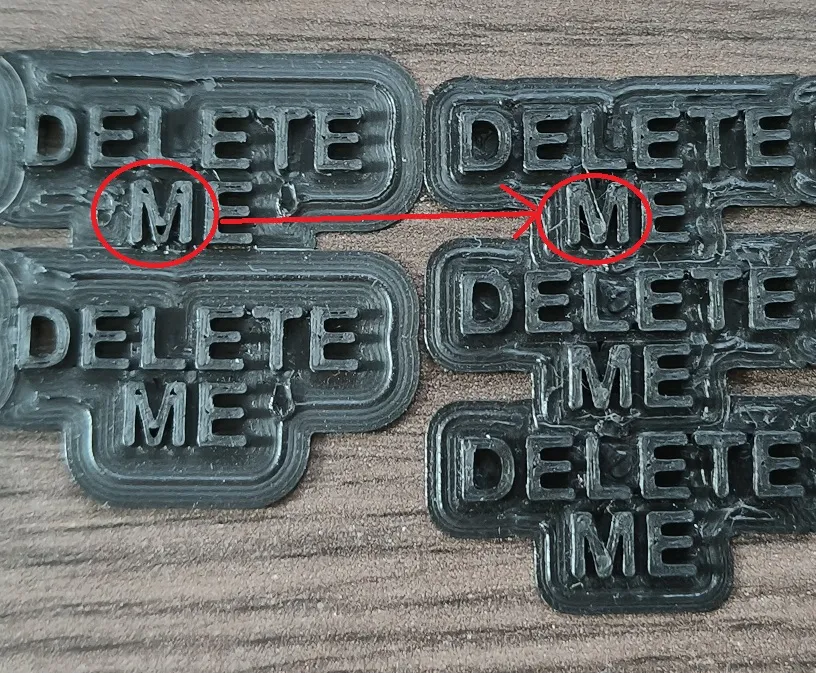
Printing tests at 45° being inconclusive, there will be three distinct textures on the cube's faces: top/bottom/sides.
After a few tests with supports, it was decided to stick to the KISS method (Keep It Simple Stupid).
Then I had to adjust the tolerances for the letters M and D several times, but in the end all the faces can have their black text.
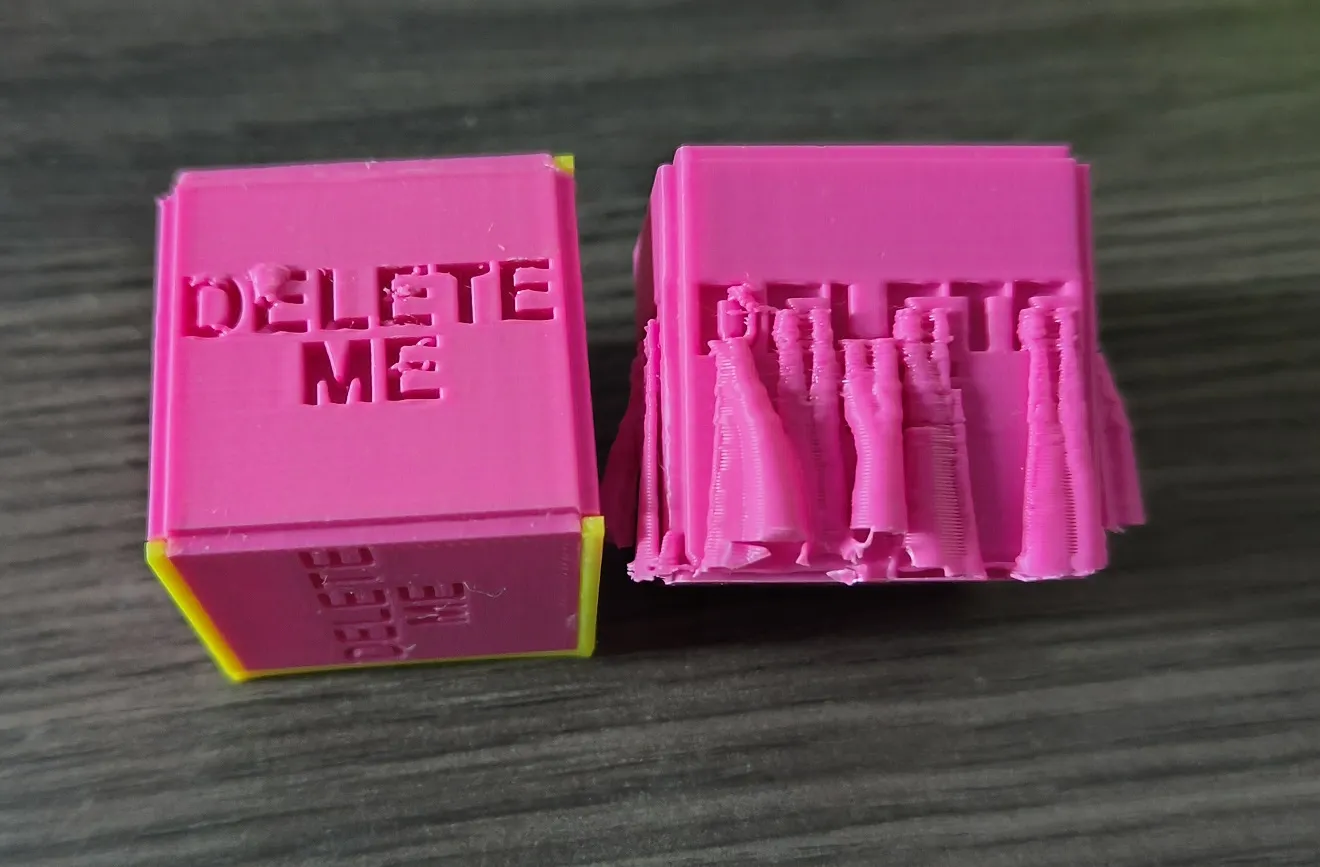
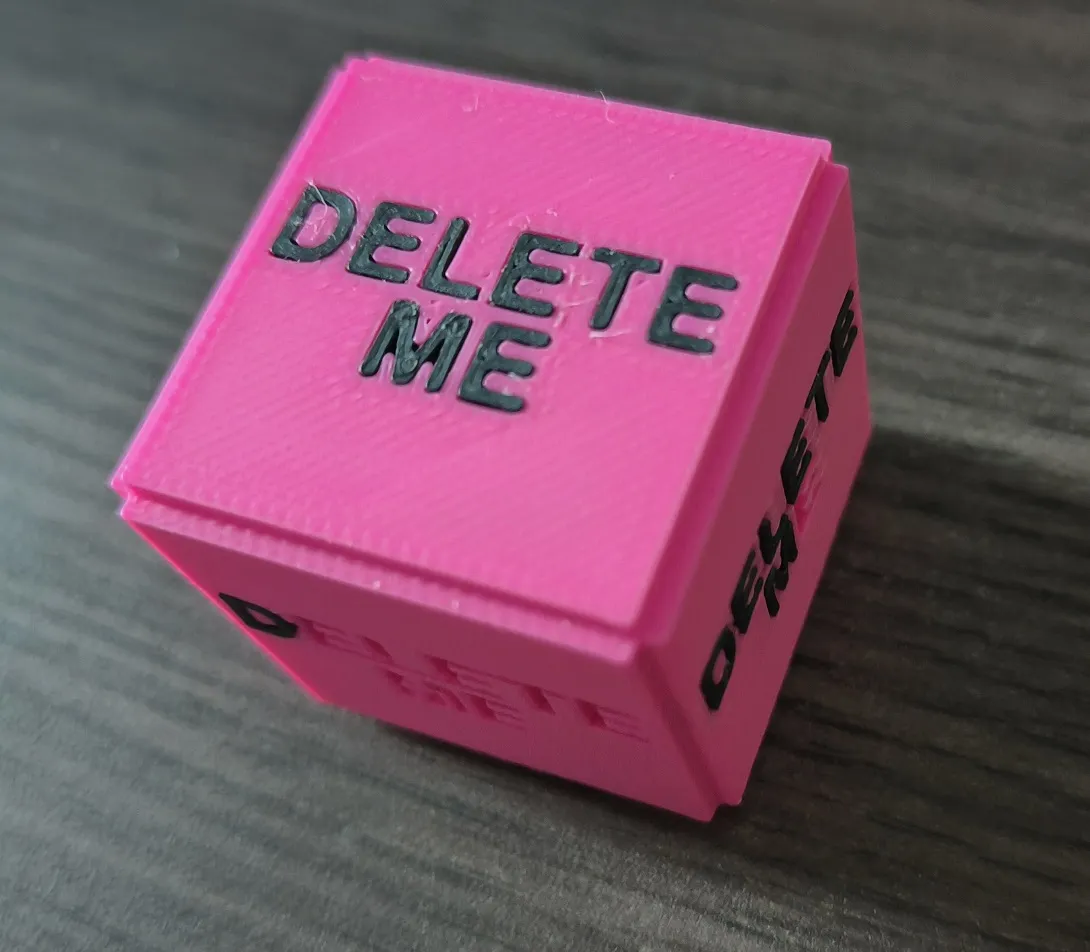
Finally, it came to the big challenge of harmonizing the faces.
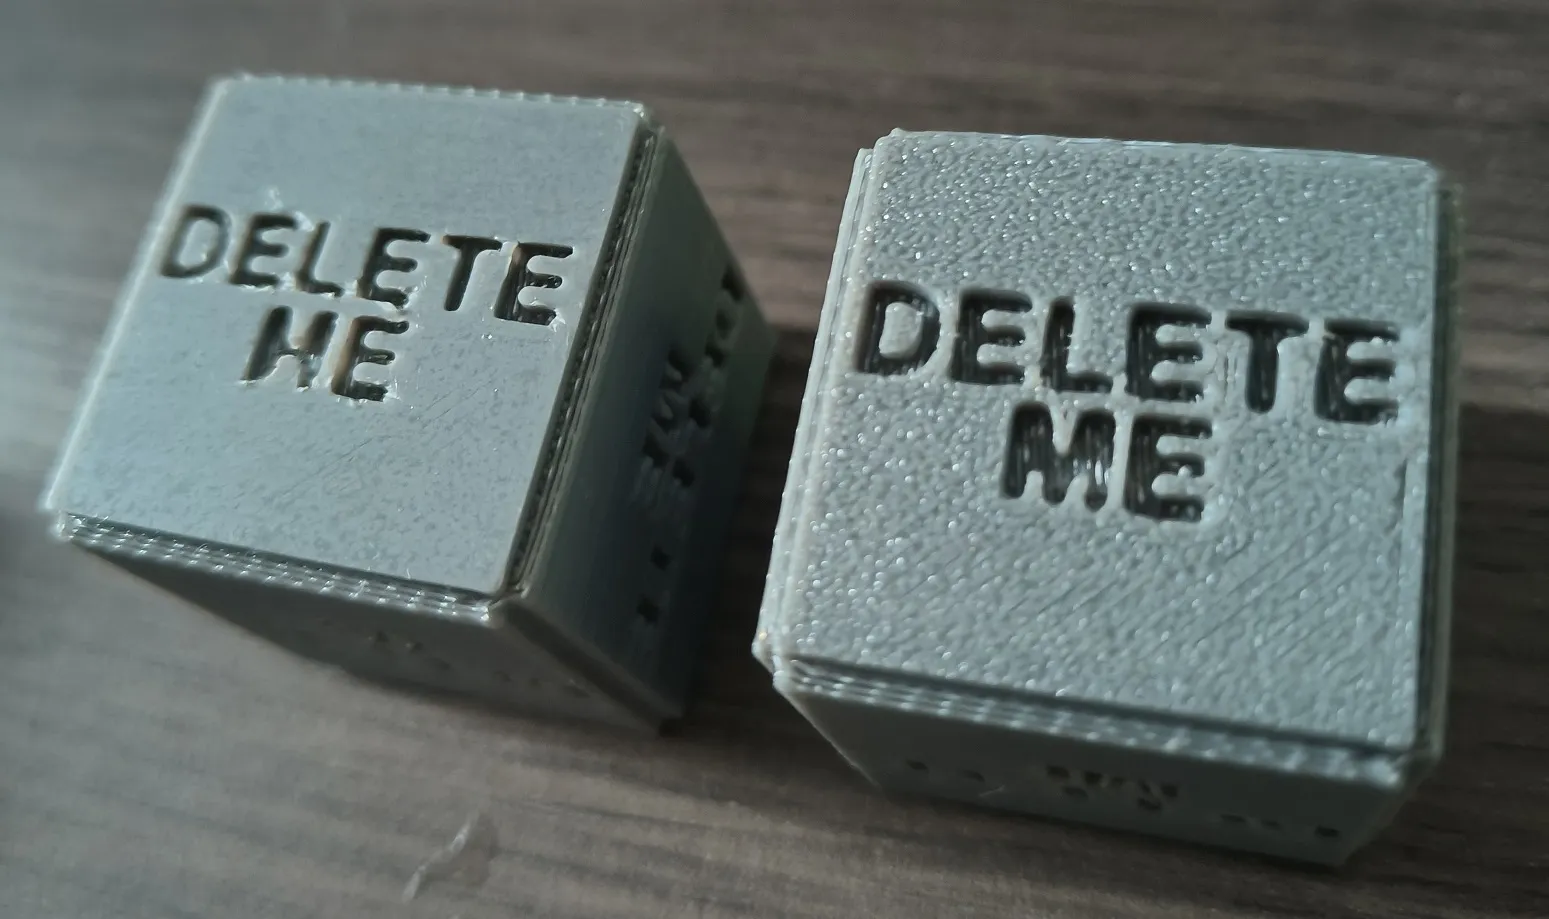
I used a “Smooth PEI” plate to smooth the texture of the lower side.
And for the upper side, after testing the ironing setting with different parameters, option 4 was selected.
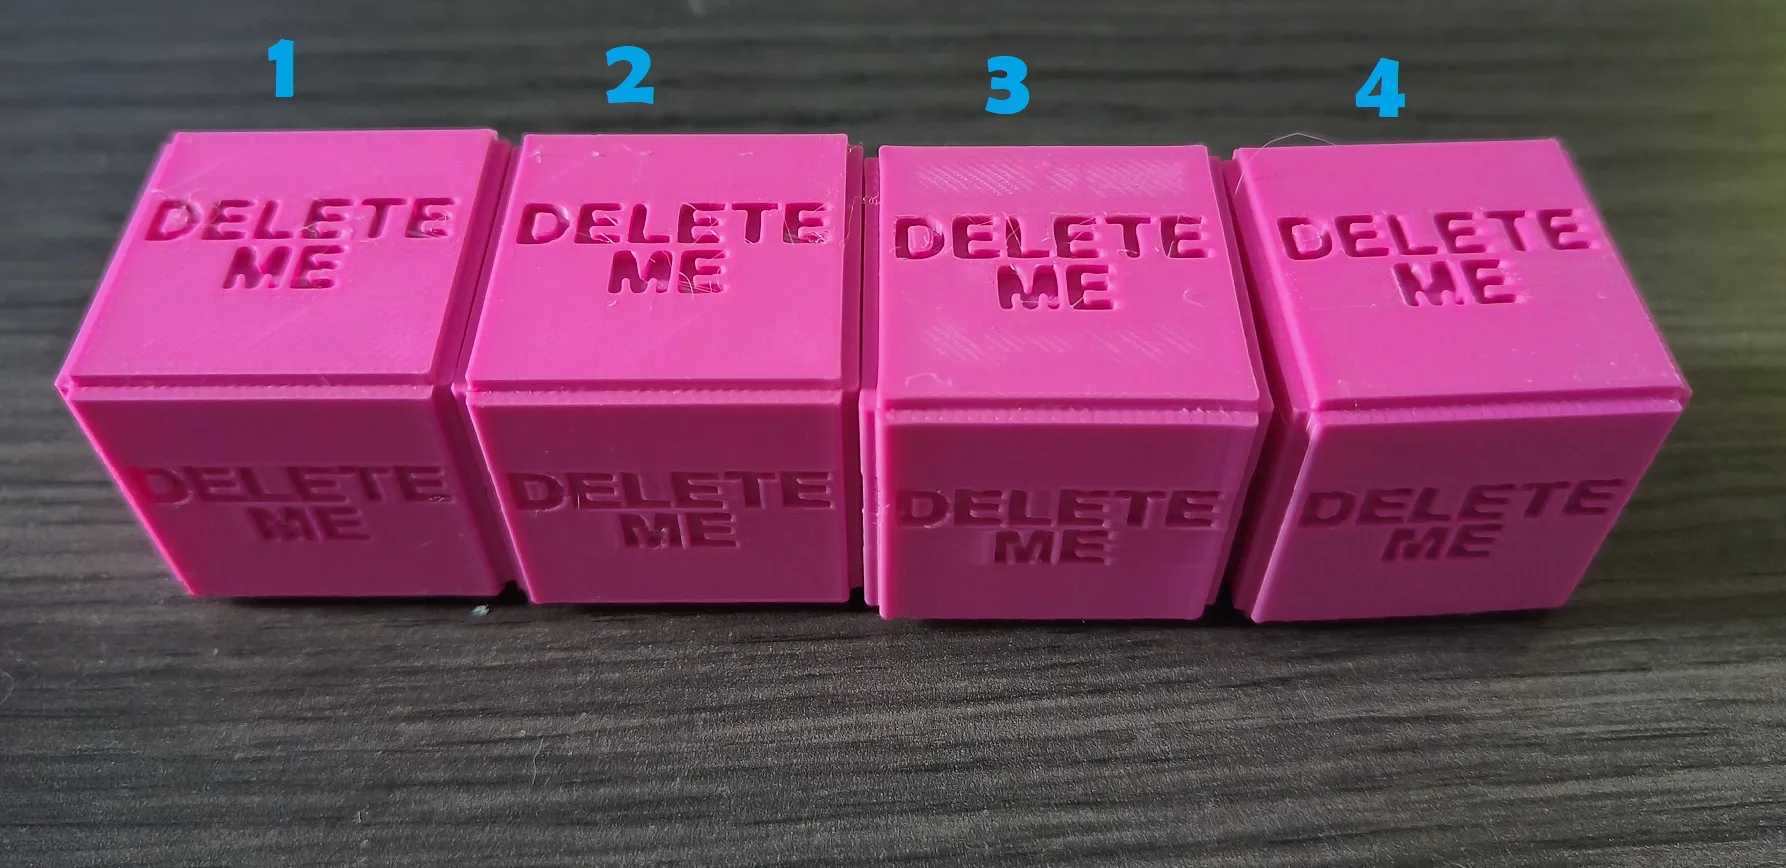
Printing artifacts
Some contours on the lower face are supported, so they will be less straight. You may consider flattening them before placing the bars or rectangles.
The lettering on the side faces is not supported as it was impossible to remove supports without damaging the cube. The hanging parts of the letters will then sag slightly.
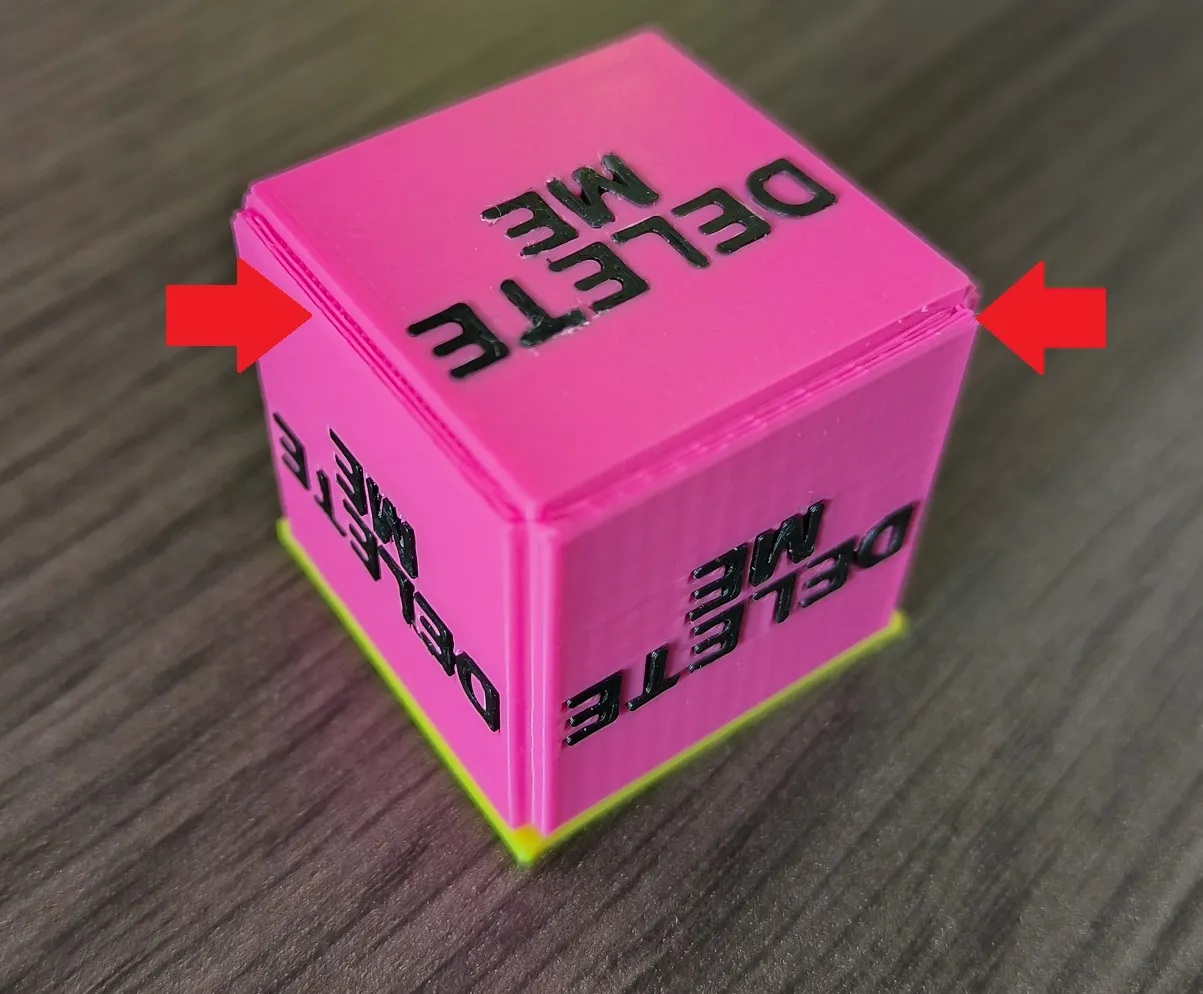
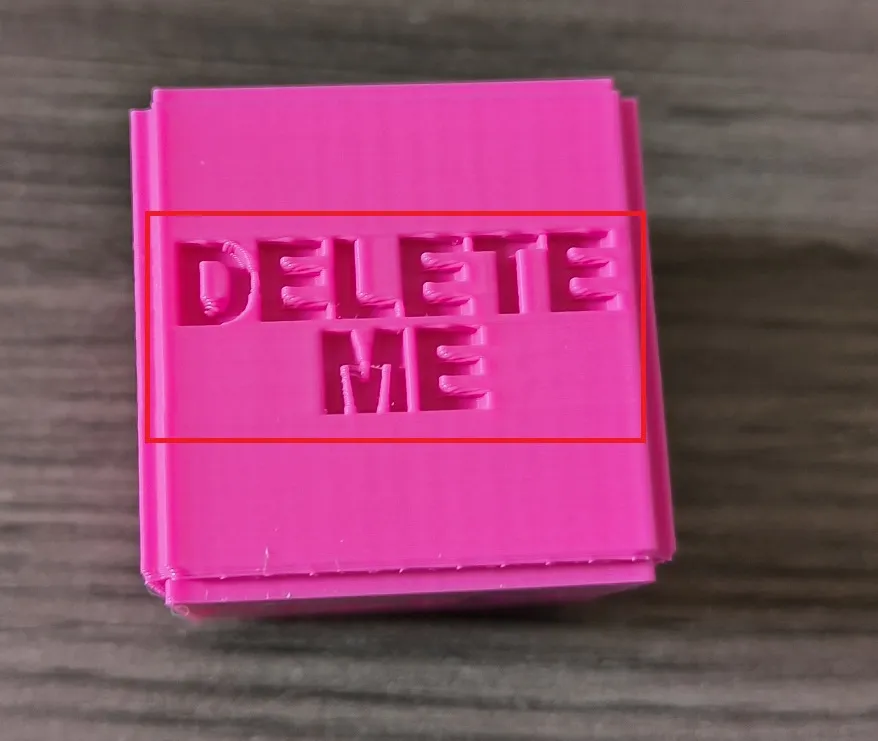
The faces will have three slightly different renderings on the top, bottom, and side faces.
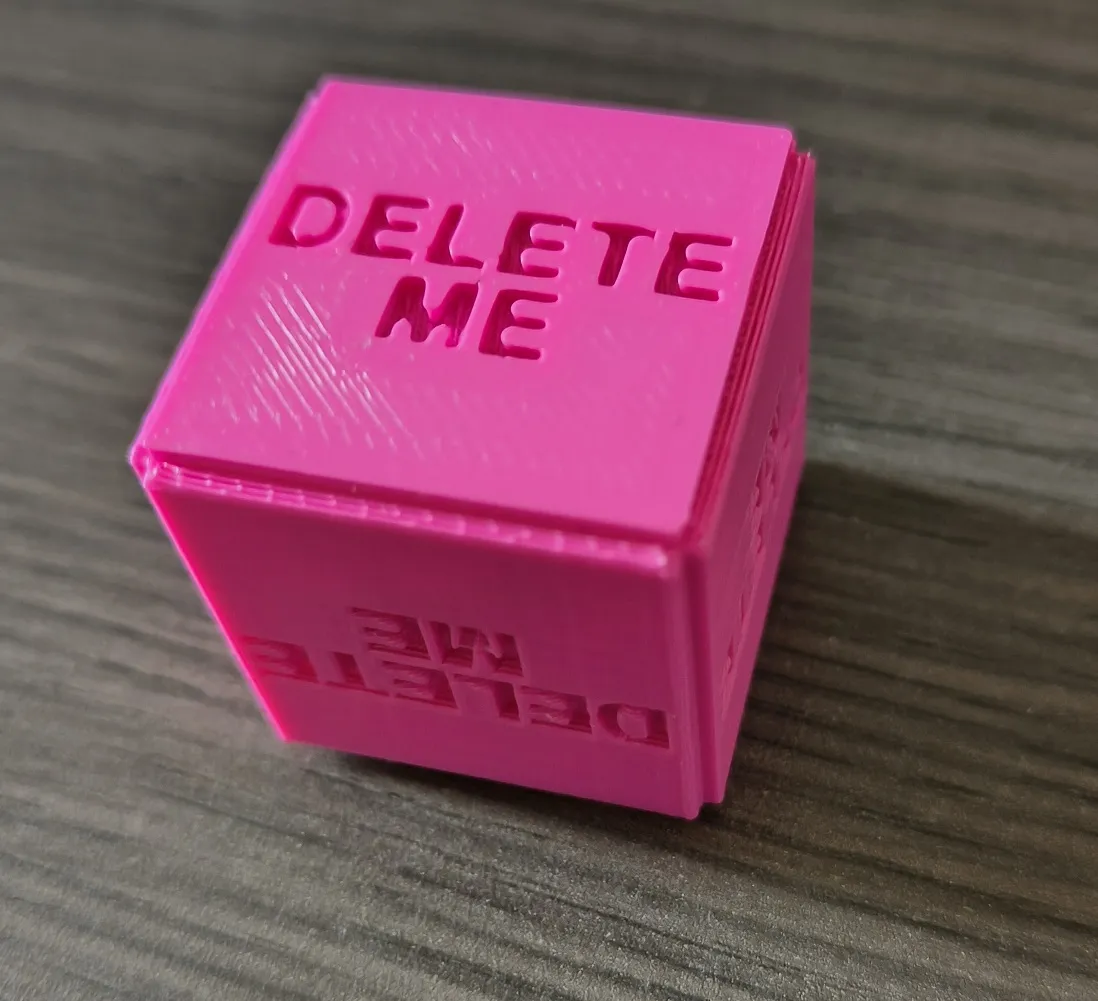
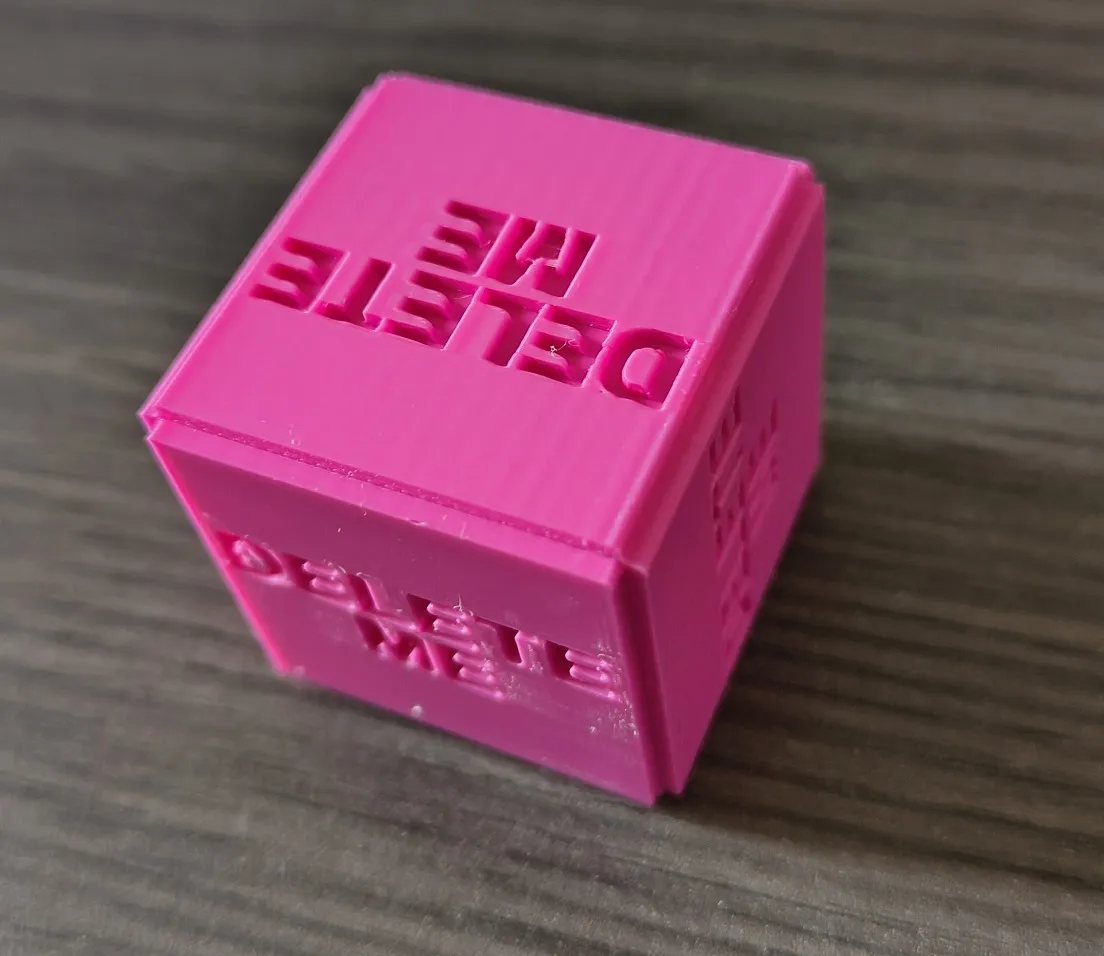
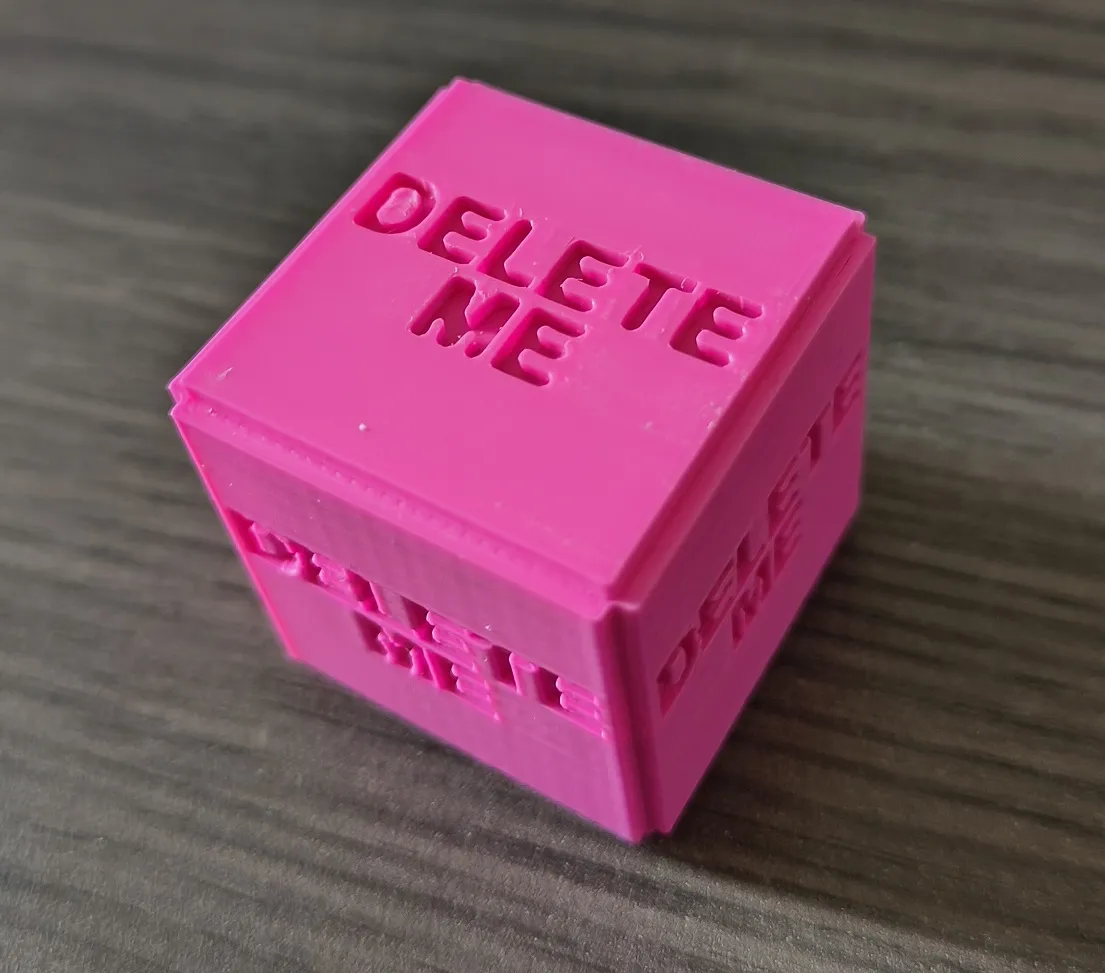
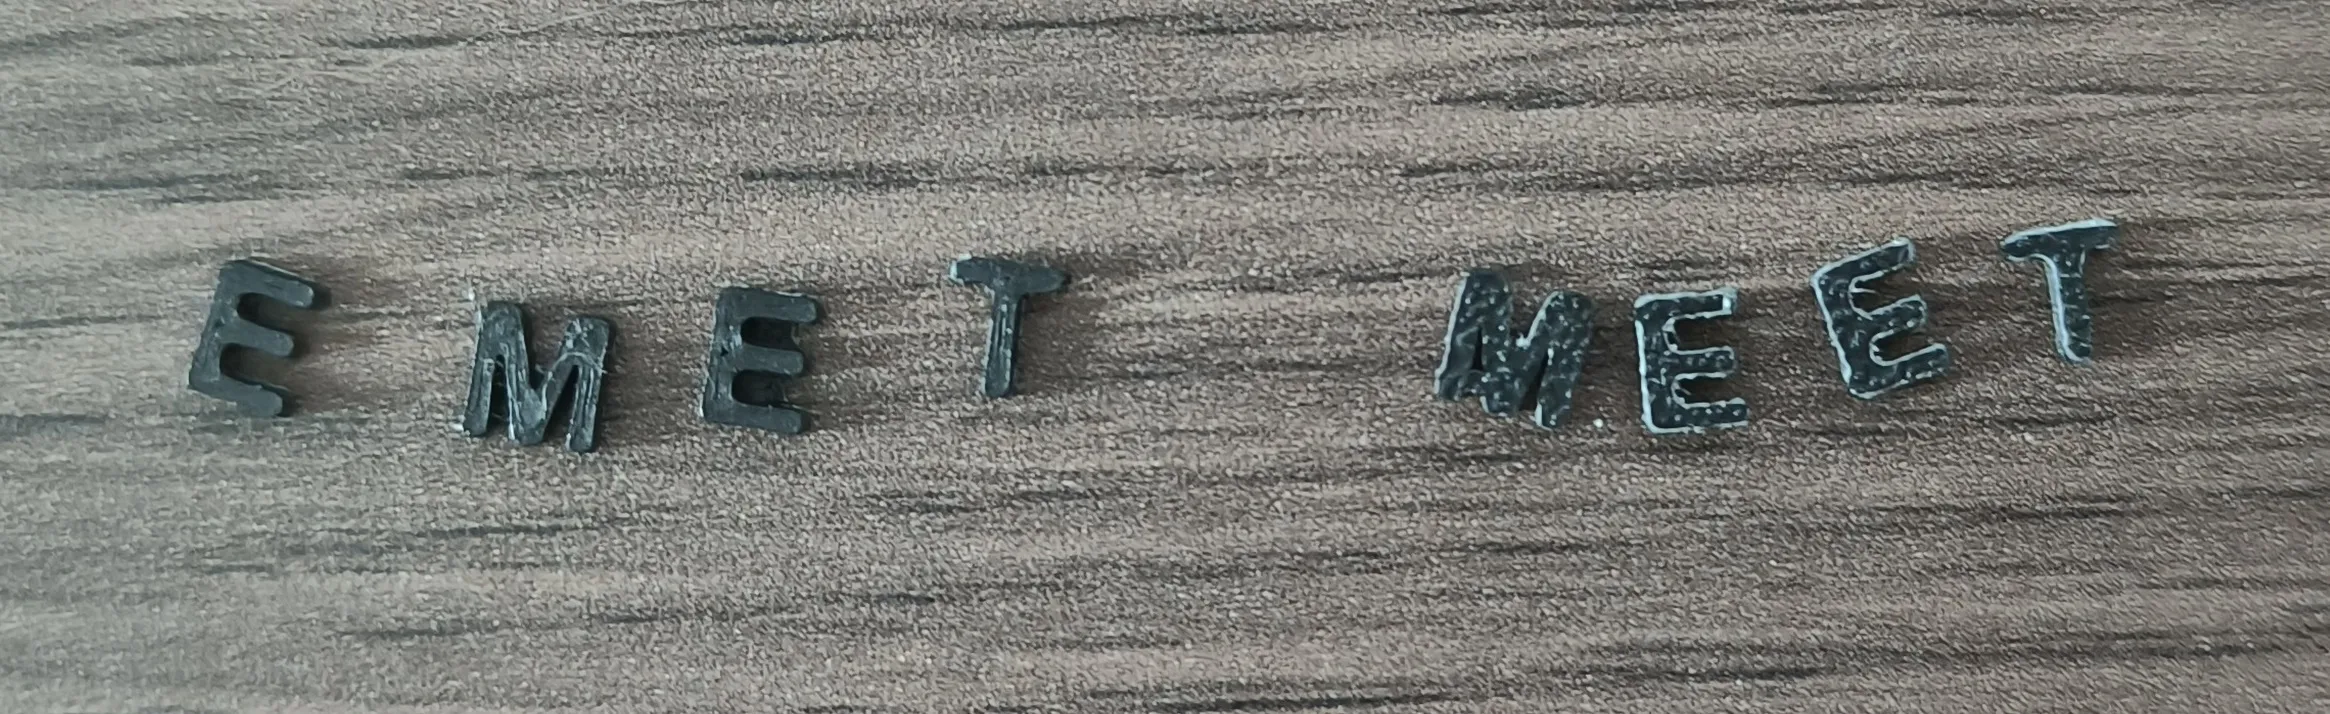
The top and bottom faces of the letters will not have the same texture.
It is recommended to keep the same orientation for all letters during assembly.
License

You shall not share, sub-license, sell, rent, host, transfer, or distribute in any way the digital or 3D printed versions of this object, nor any other derivative work of this object in its digital or physical format (including - but not limited to - remixes of this object, and hosting on other digital platforms). The objects may not be used without permission in any way whatsoever in which you charge money, or collect fees.


Comment & Rating (0)