
Construction Sign
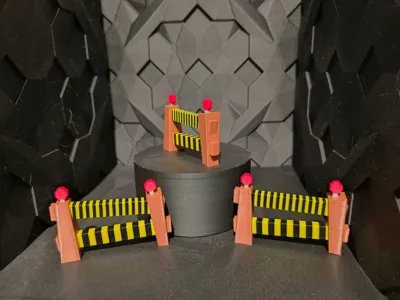
Print Profile(1)

Description
Item description
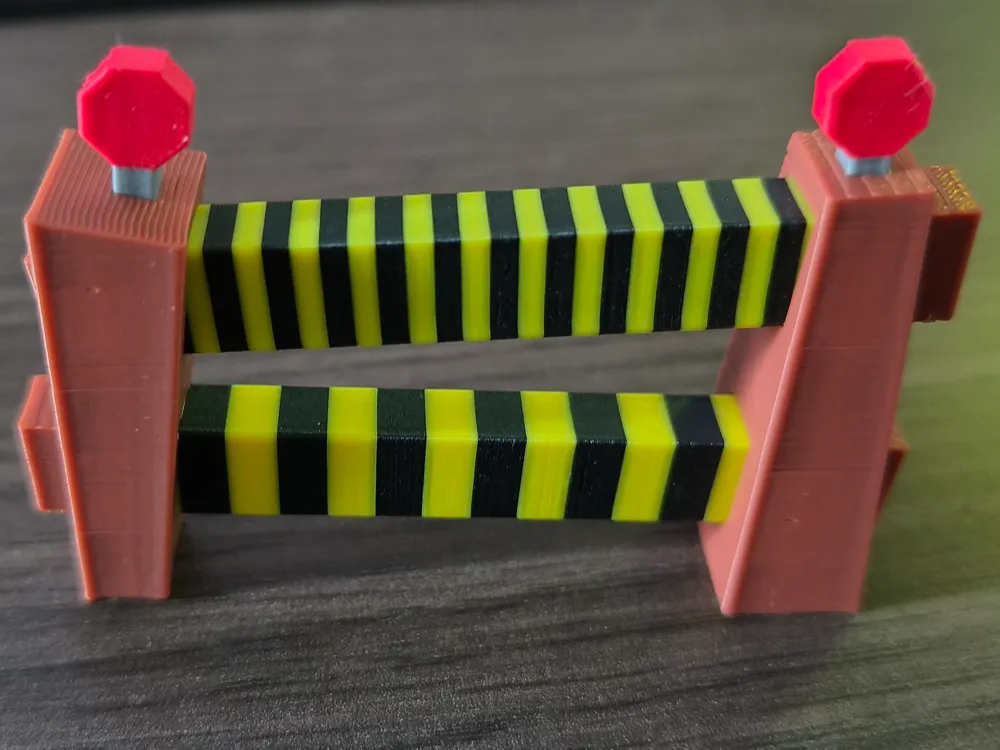
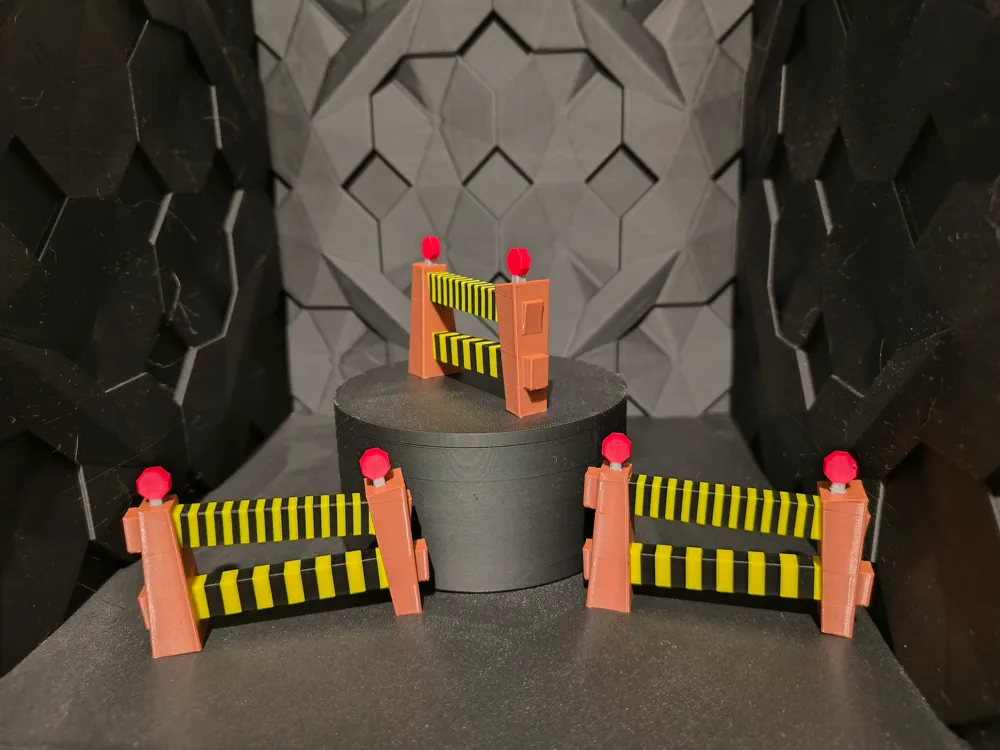
The construction sign marks the end of a path, or the start of a new adventure.
A fairly rare sighting, which has all the qualities required to be a good Placeholder.
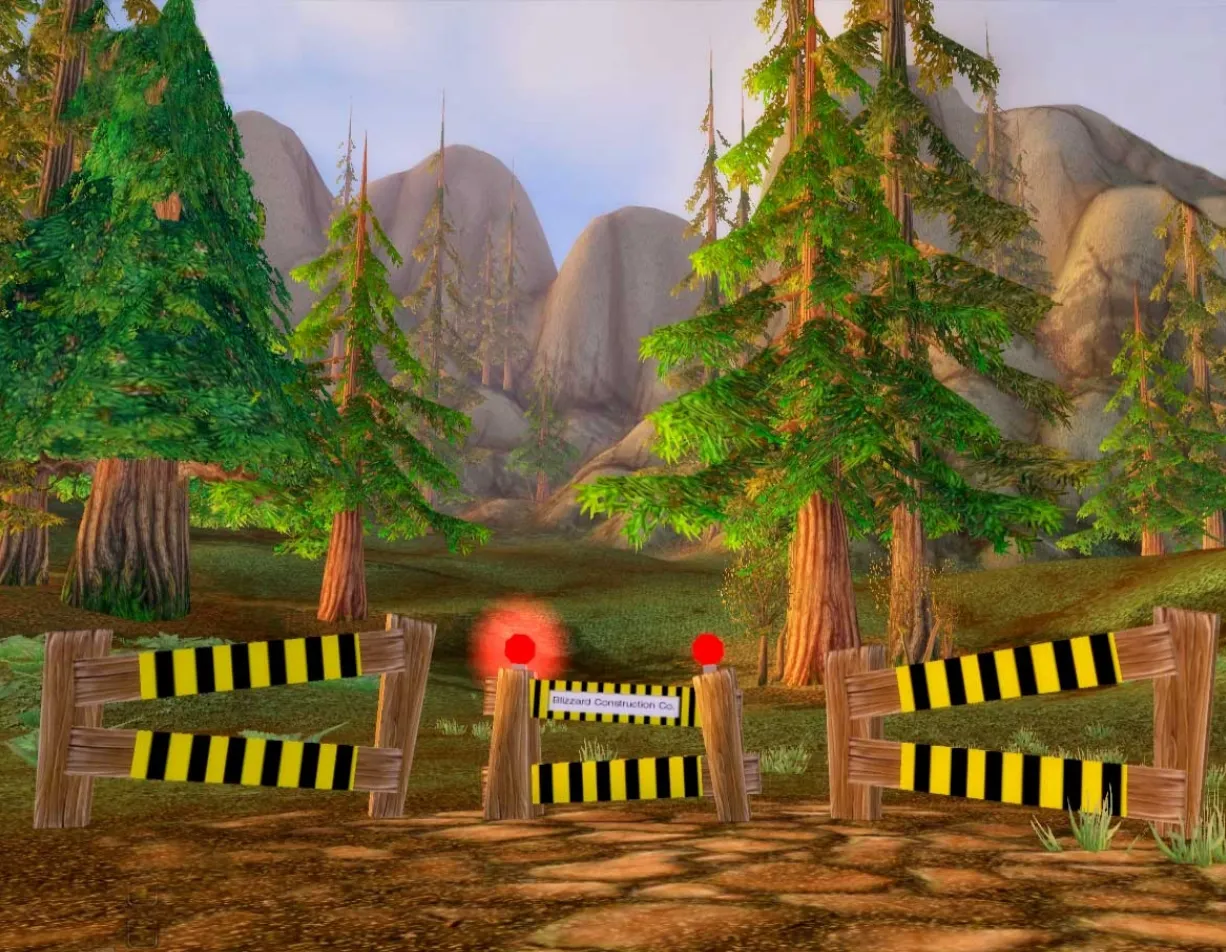
This is a recreation of the Construction Sign model used by Blizzard on a few location to mark out of bounds area in World of Warcraft
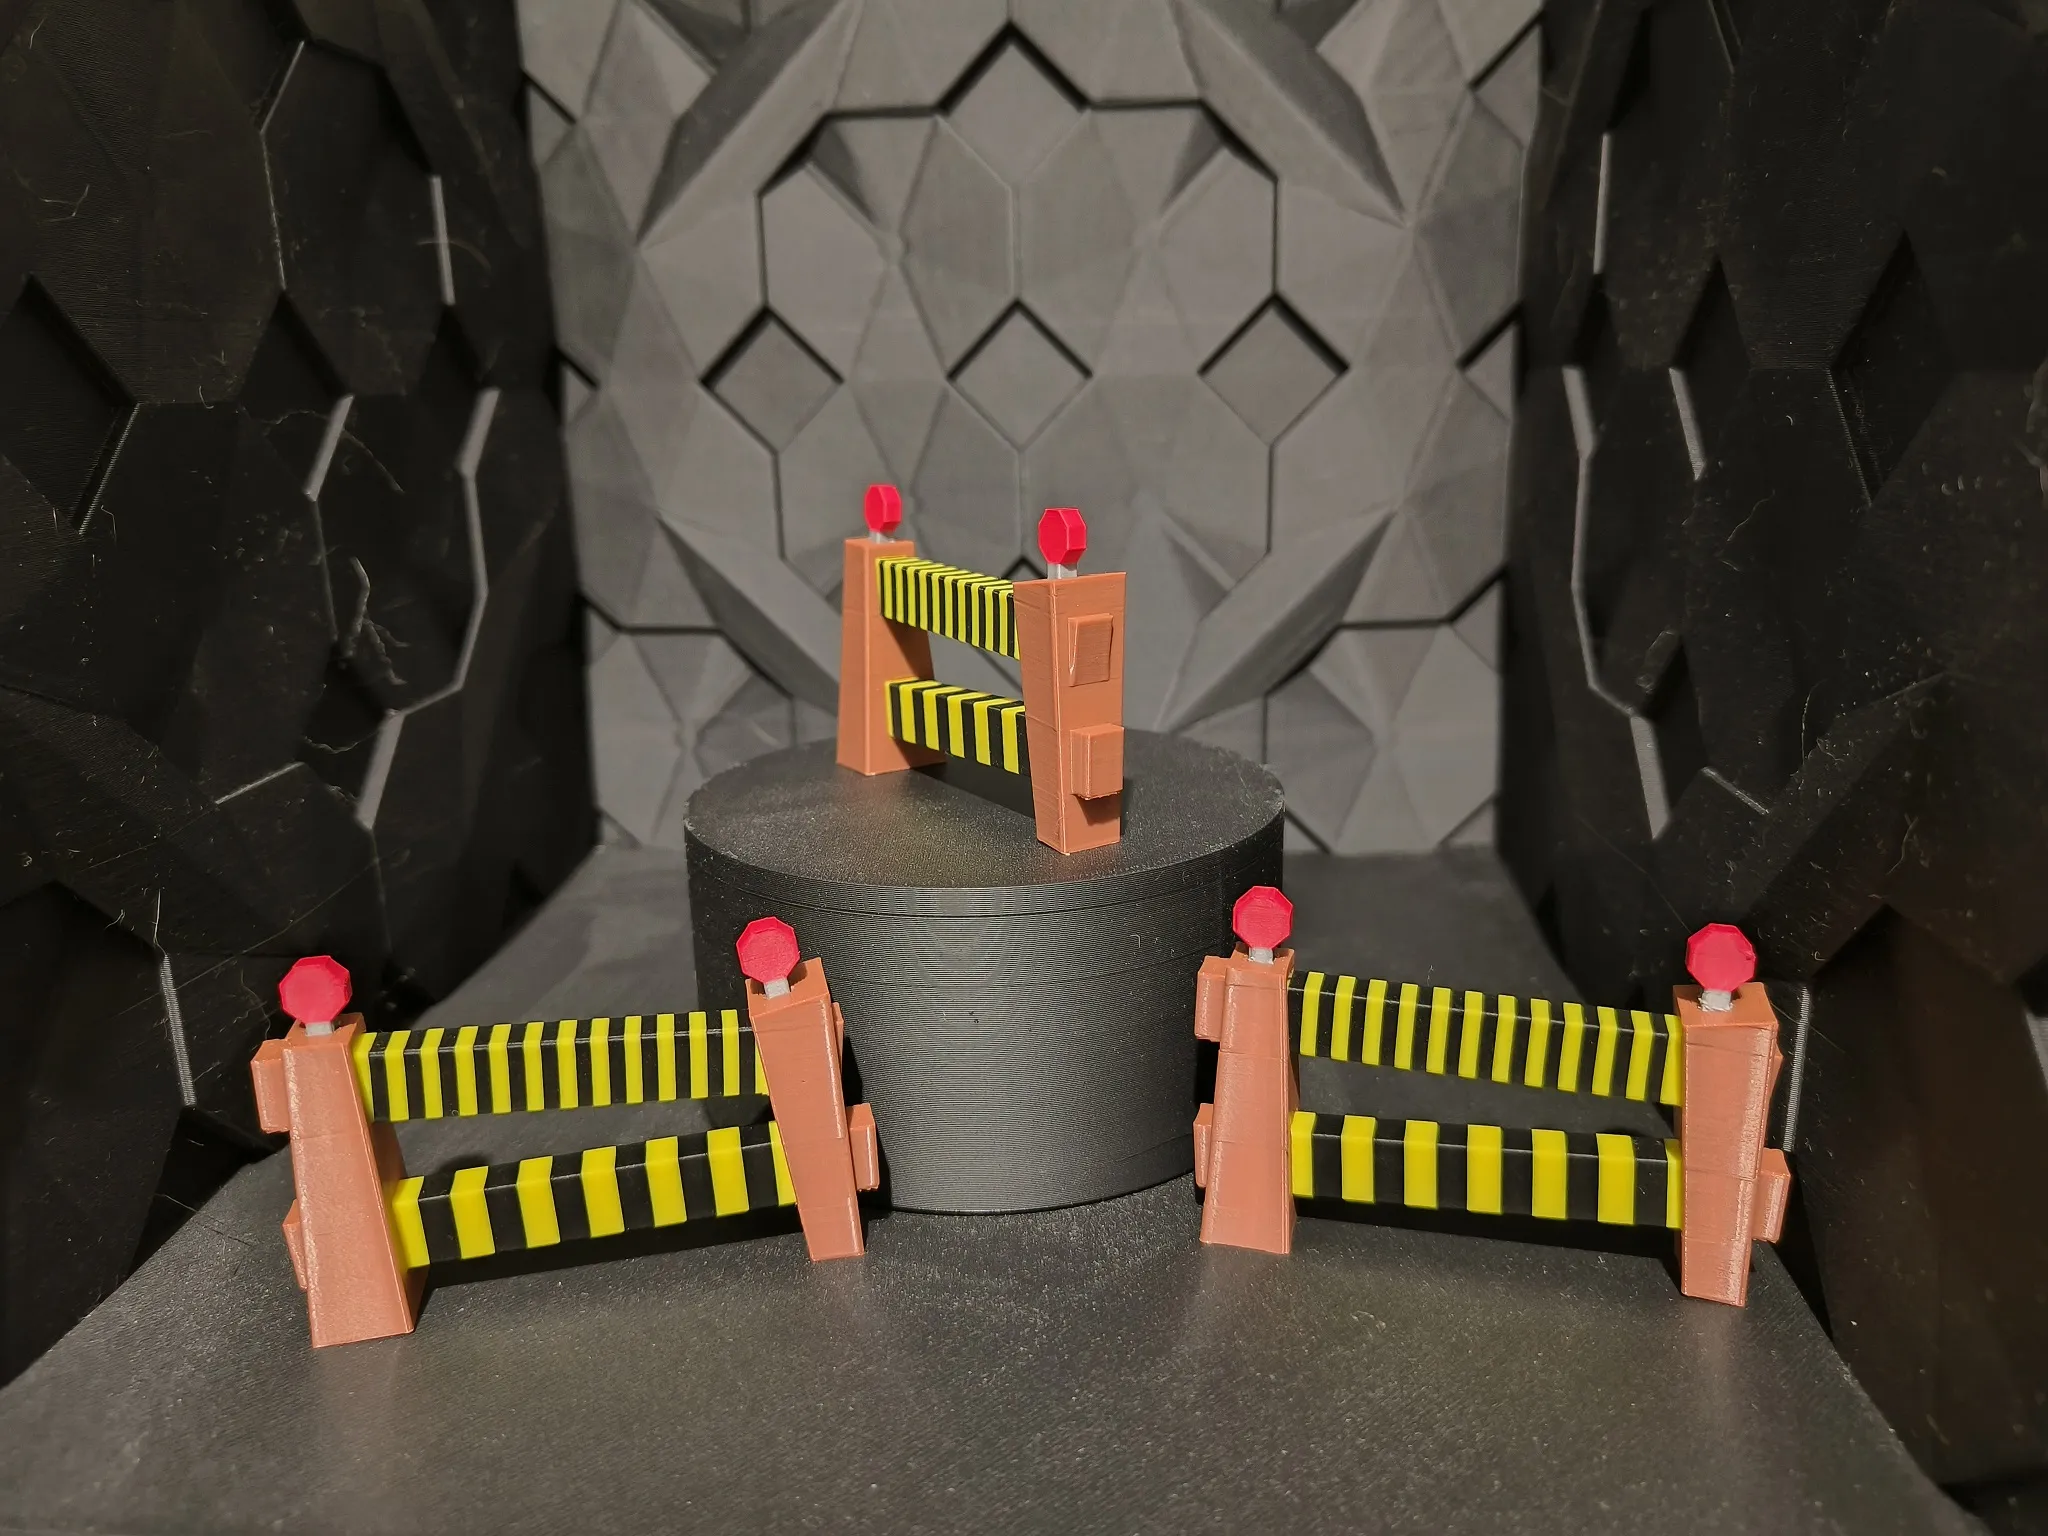
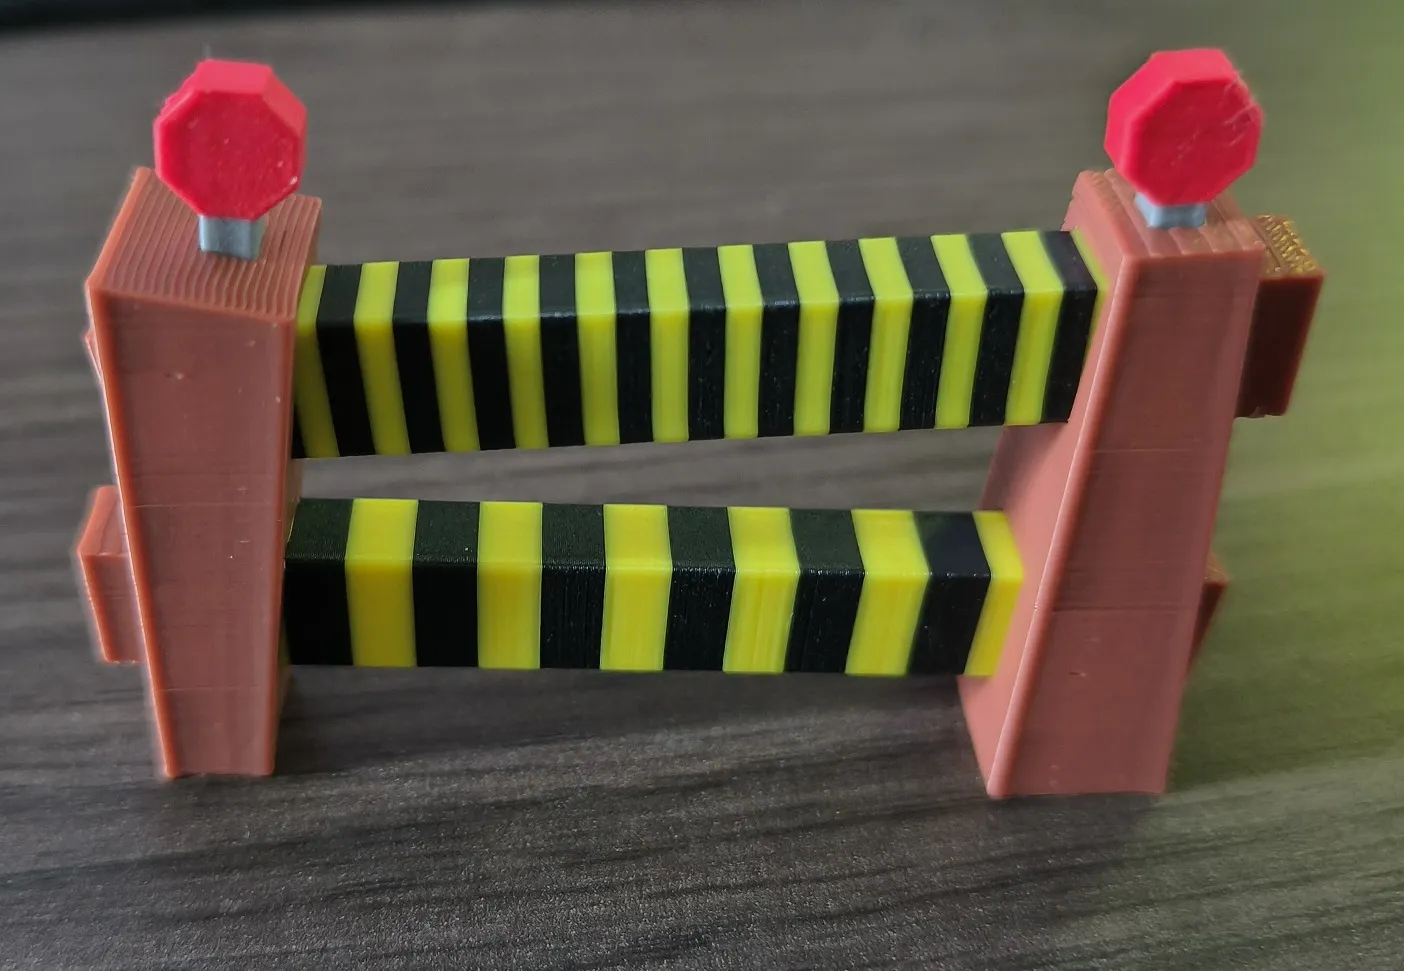
Content: The kit consists of 6 pieces to assemble:
- Two brown posts
- Two red and gray lamps
- Two yellow and black bars
Dimensions (in cm): Length: 7.1 / Depth: 1.6 / Height: 4.8.
Filaments used:
PLA Brown Basic
PLA Yellow Basic
PLA Charcoal Matte
PLA Scarlett red Matte
PLA Ash grey Matte
Kit assembly
No glue required.
A: left post / B: right post / C: bottom bar / D: upper bar / E & F: lamps
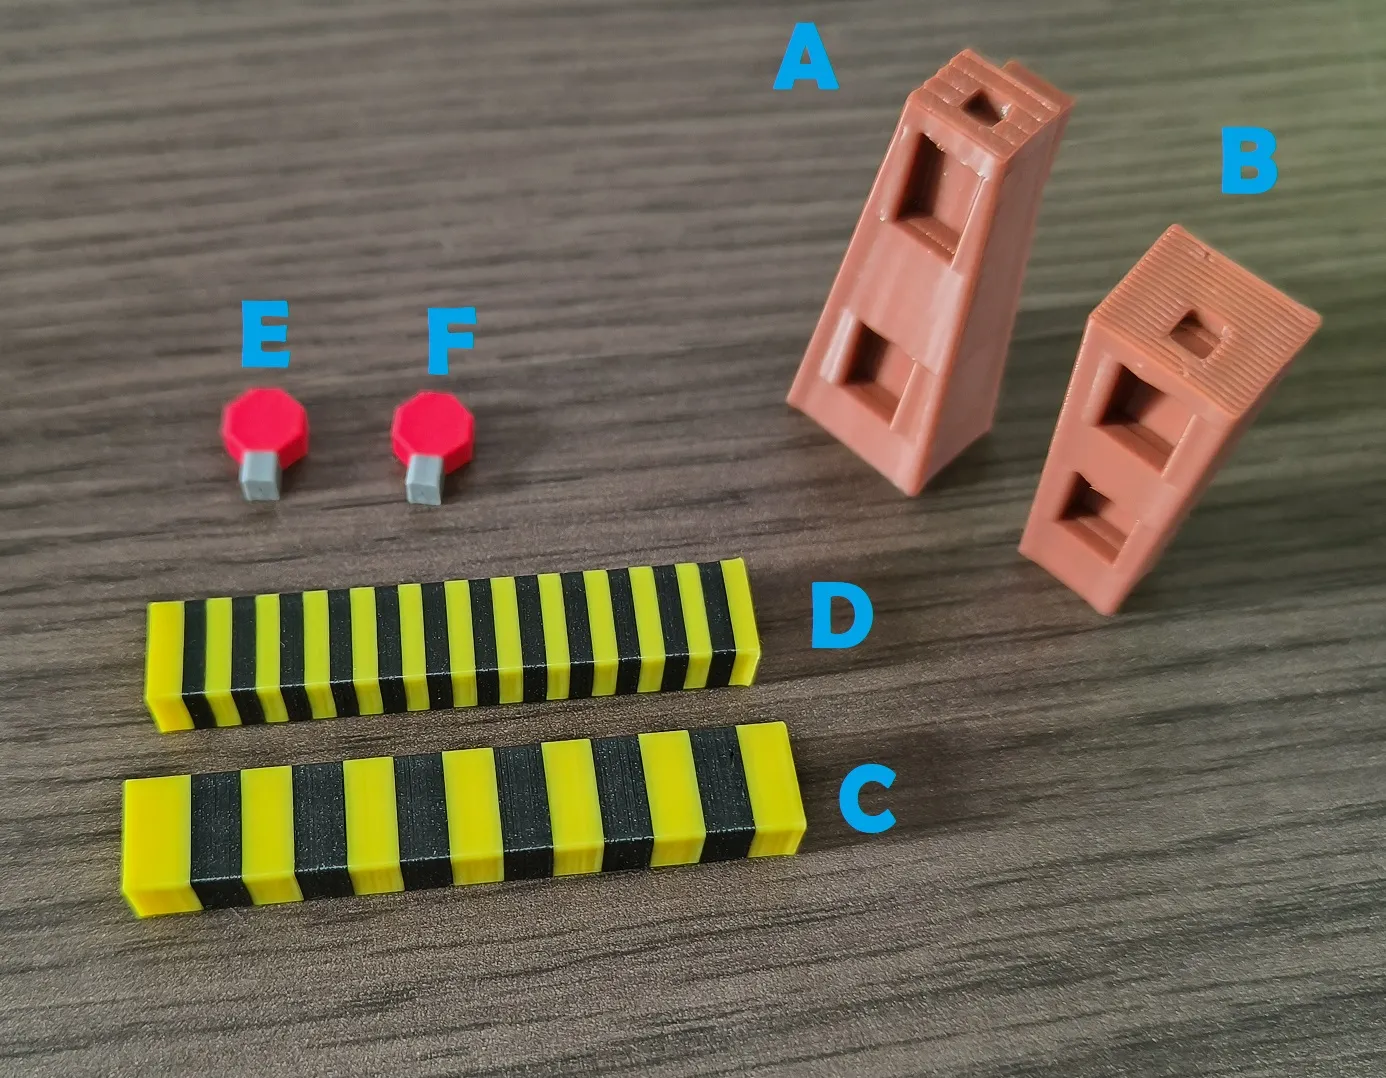
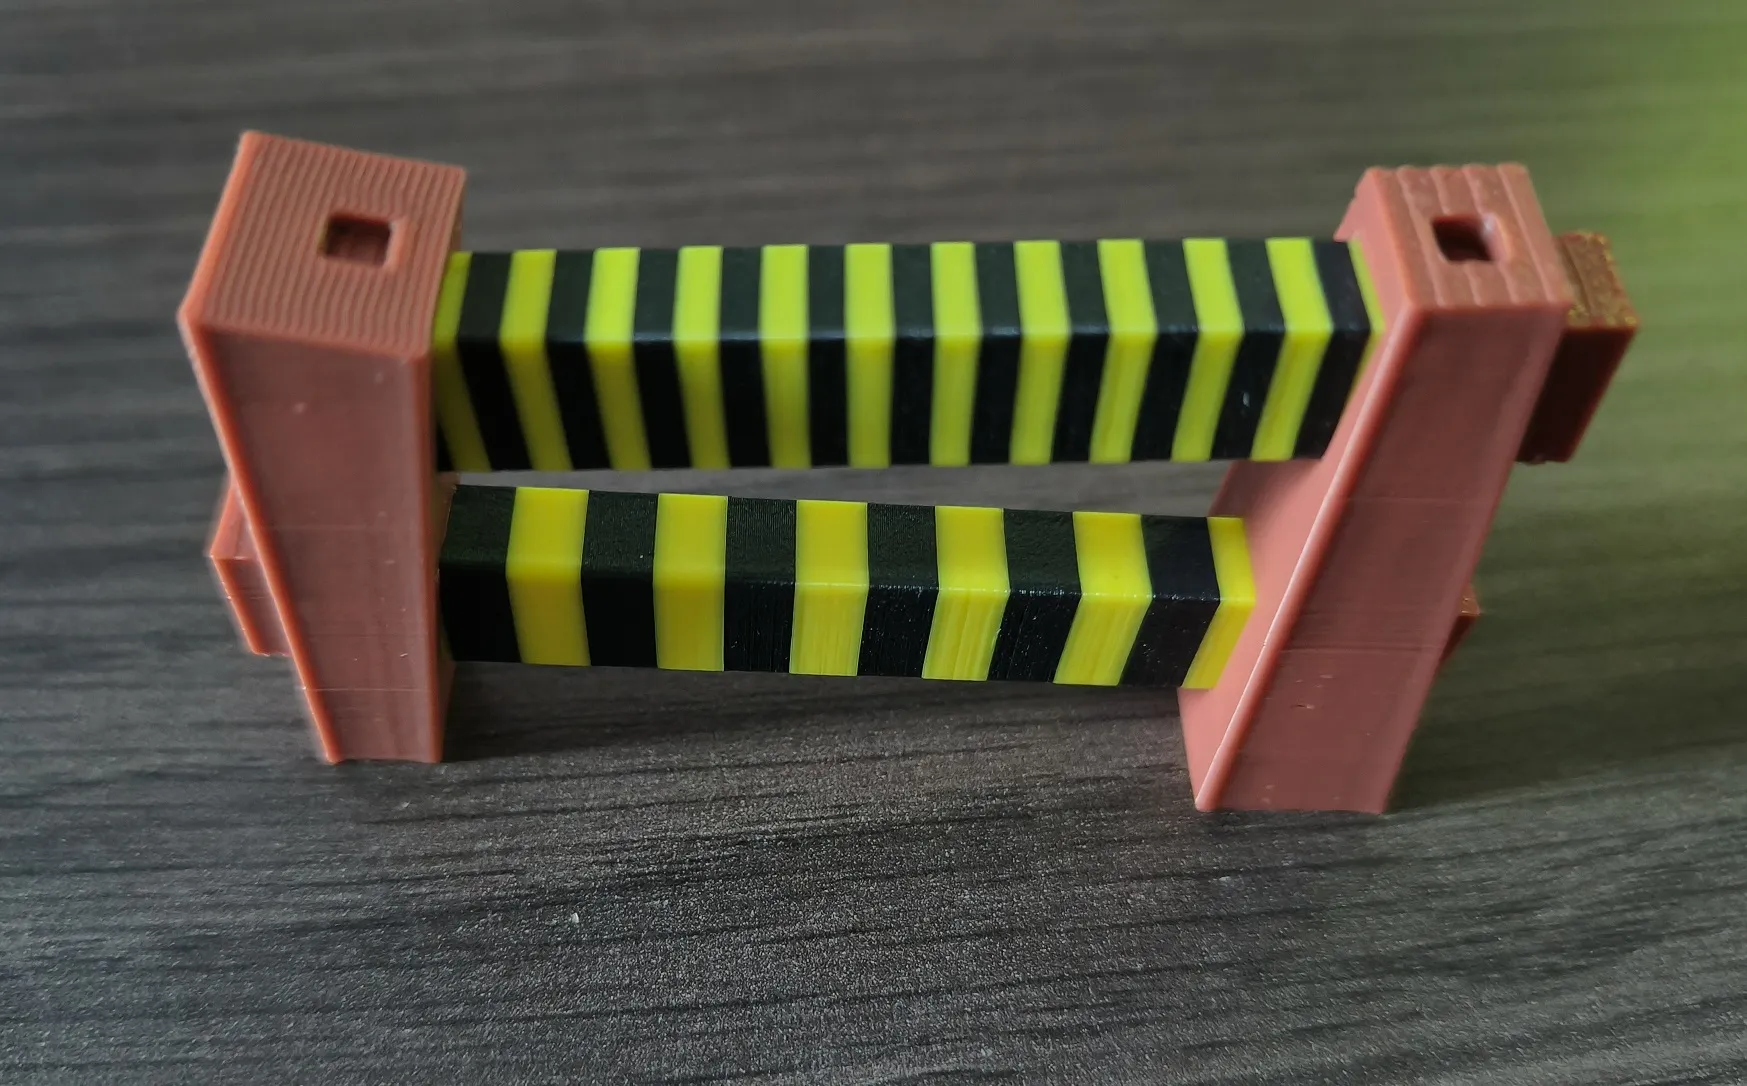
Take post A with the hole on the top and insert bar C in the bottom holes. Then start again with bar D above it.
Make sure to insert the bars to the end of the holes, the orientation must correspond with the other side of the post.
Then add post B with the hole at the top. If necessary, re-orient the bars slightly so that they fit into the opposing holes.
Finish by firmly pressing the two posts together.
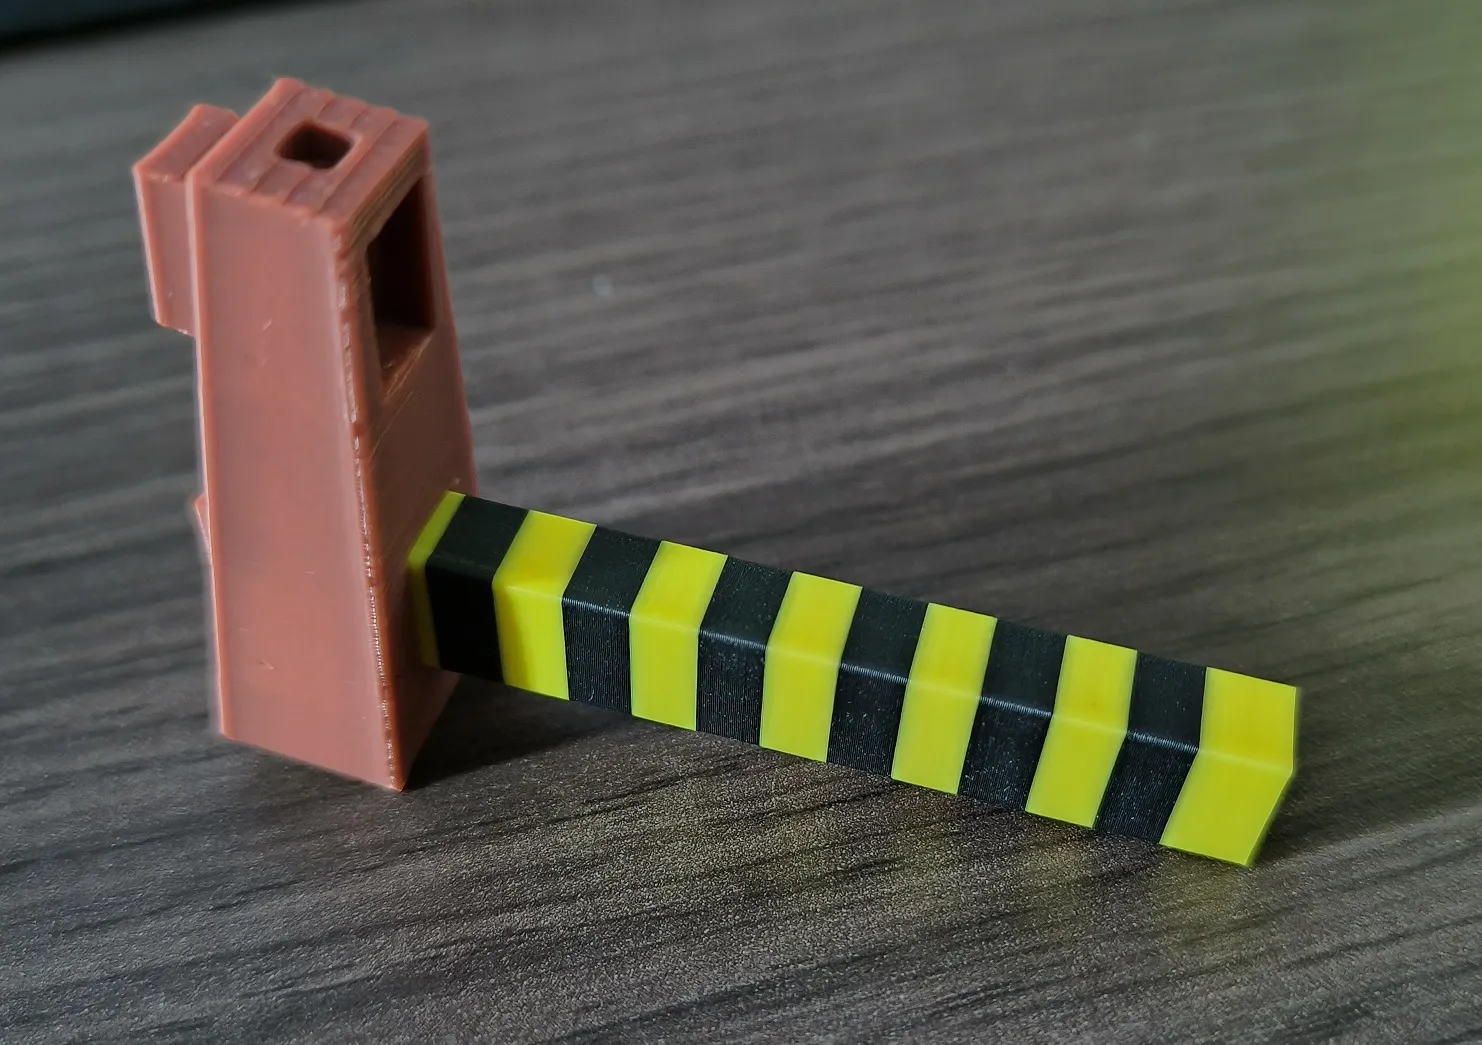
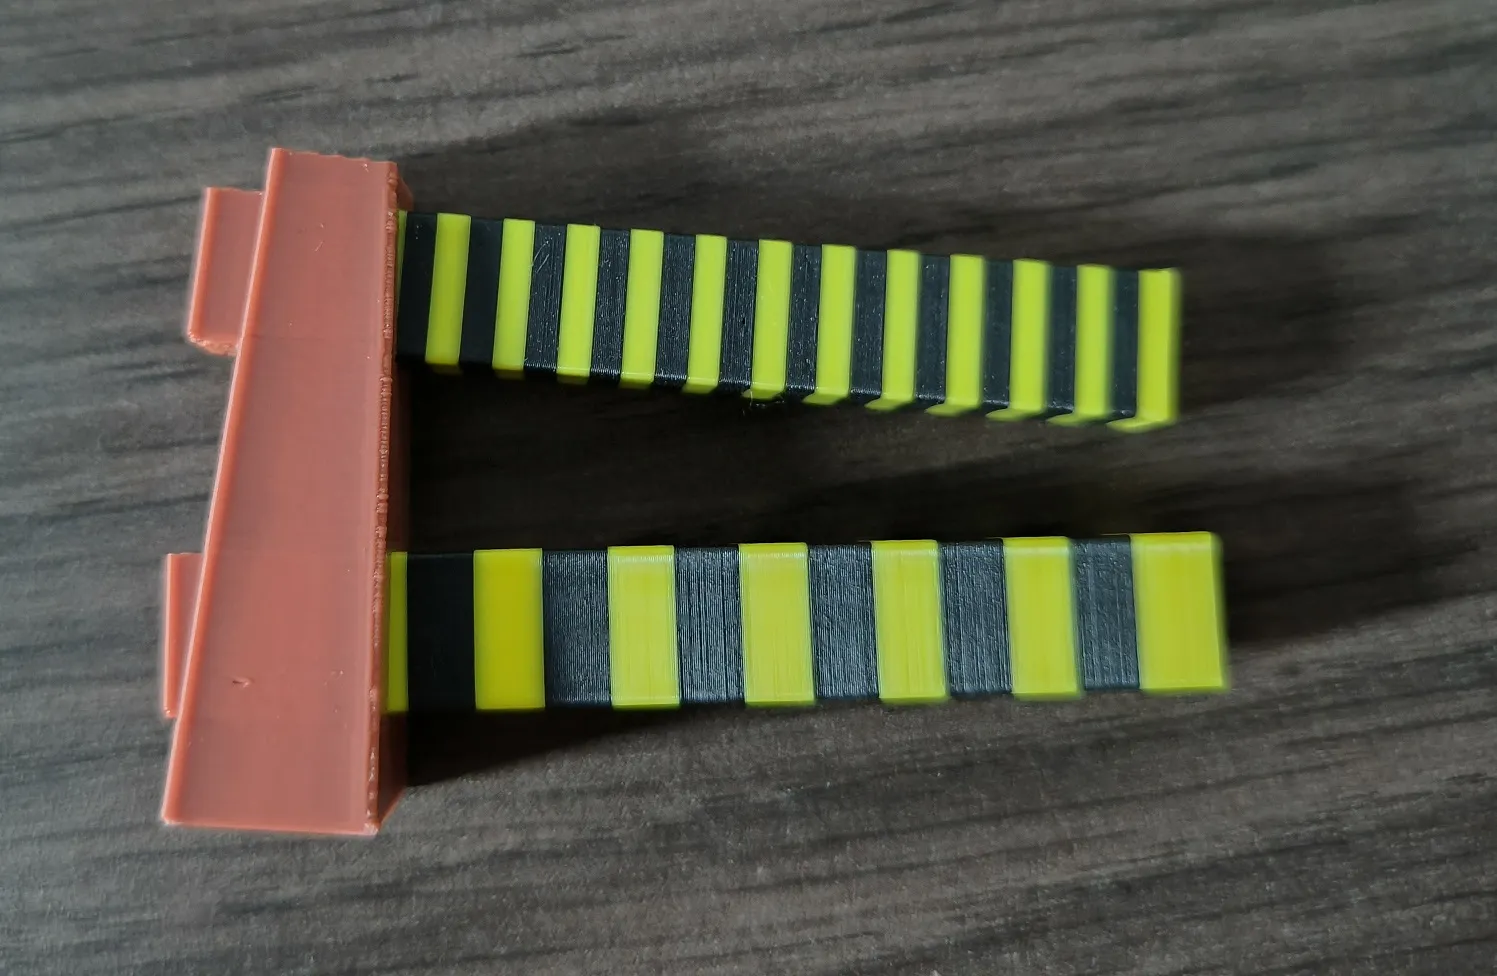
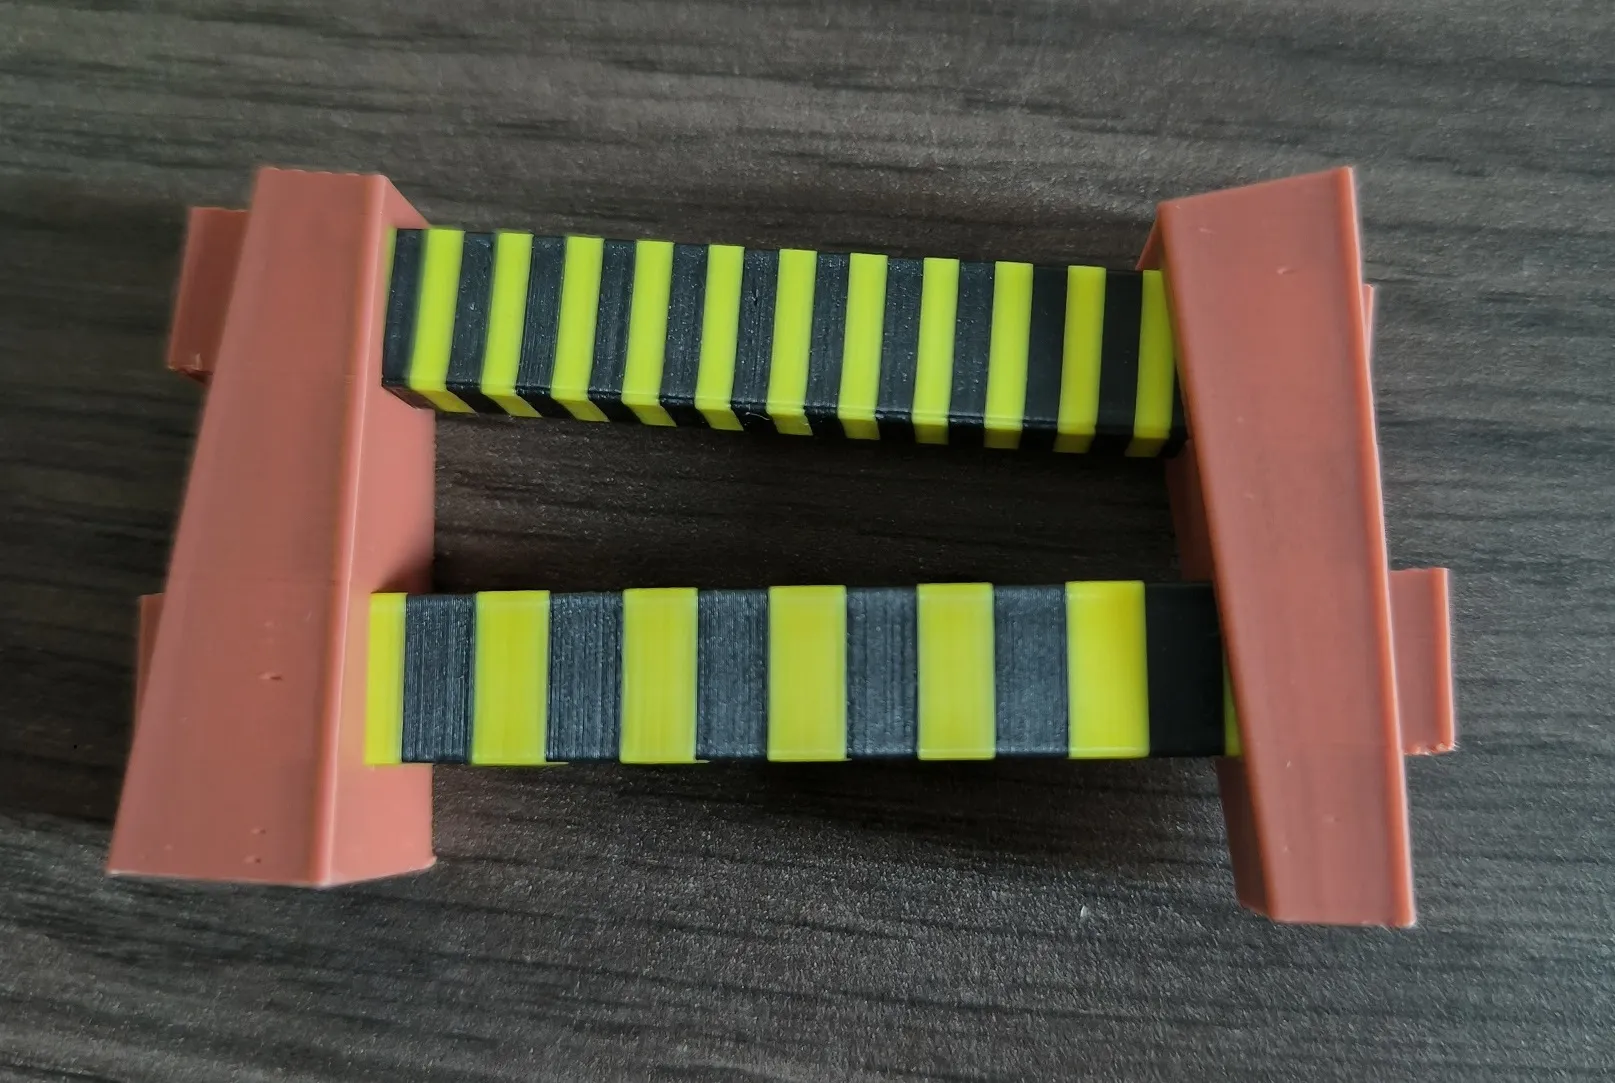
All that remains is to insert the lamps E and F into the holes.
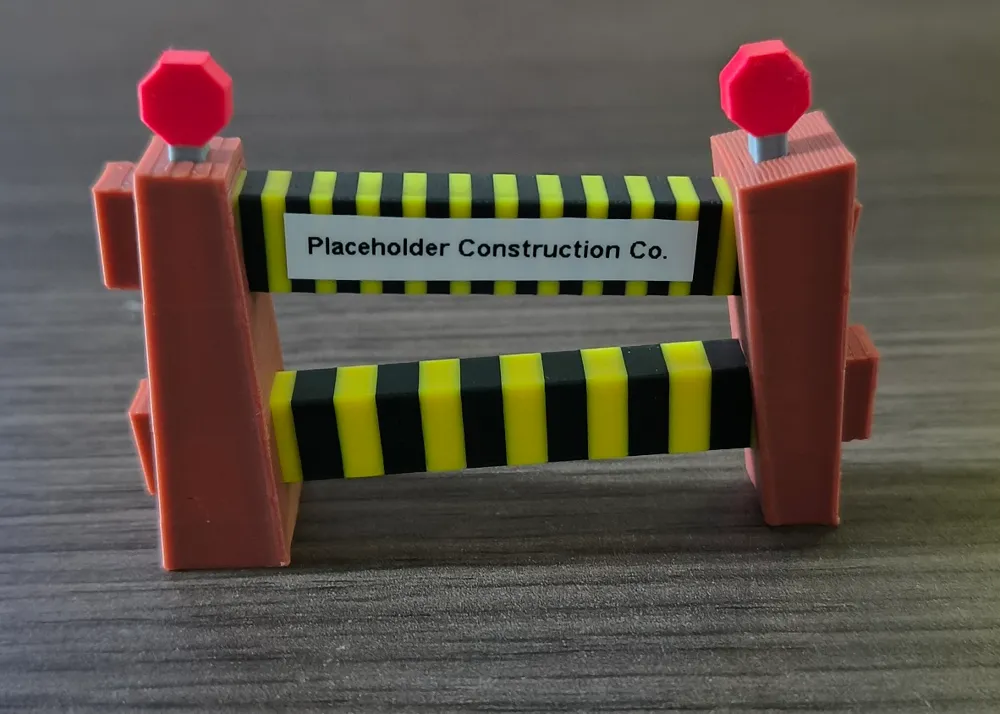
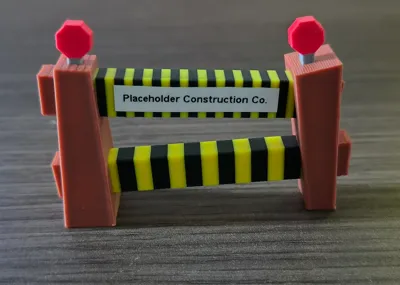
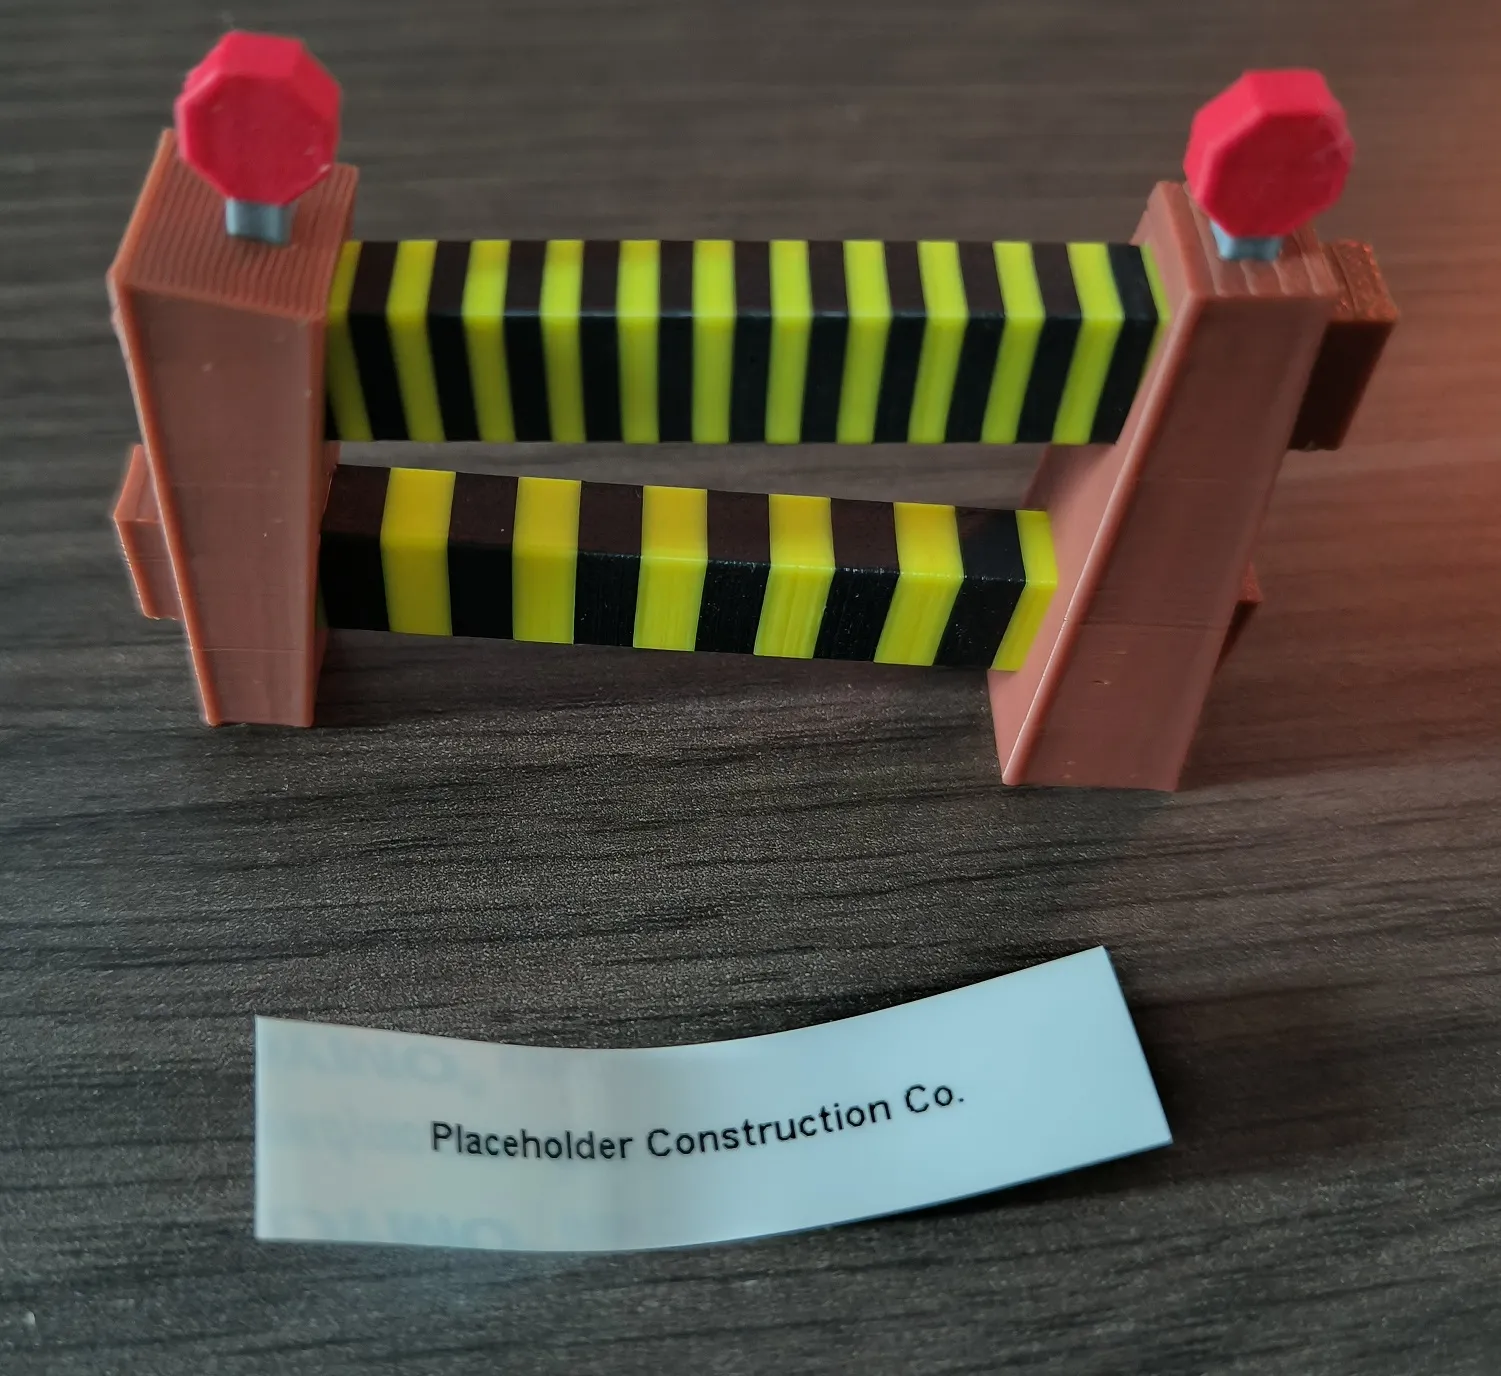
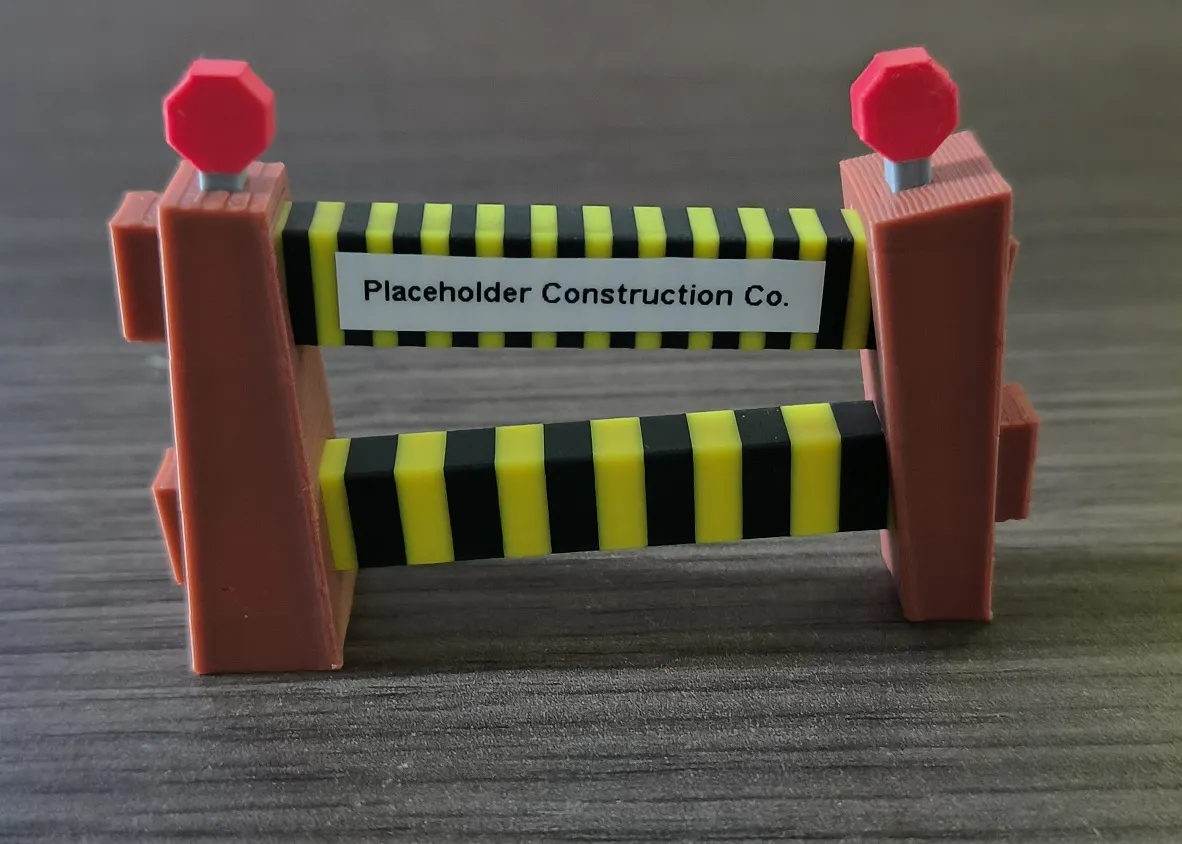
To go a little further if you have a labeler, it is possible to add a little sentence on the upper bar.
Project history
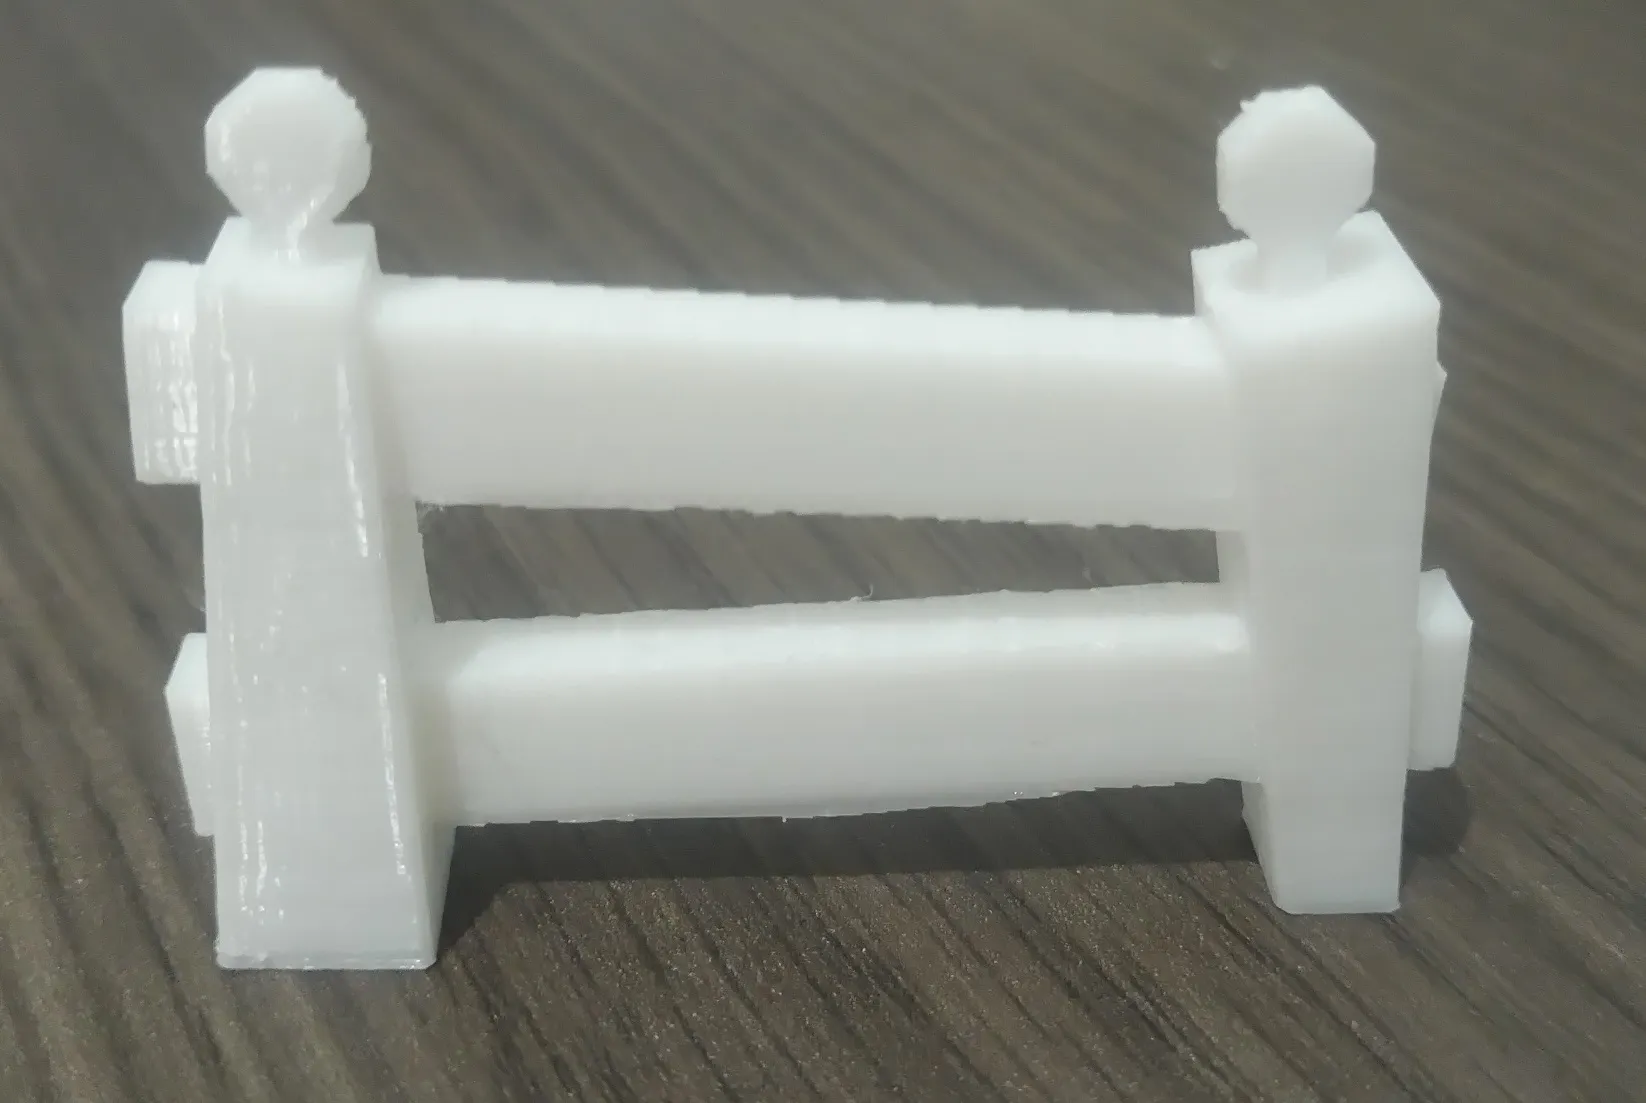
The first prototype was performed in white and printed in one piece.
The goal was to see if the printer could support the suspended parts with an acceptable result.
By applying paint, it gave a correct version, but it's hard to precisely paint all the details.
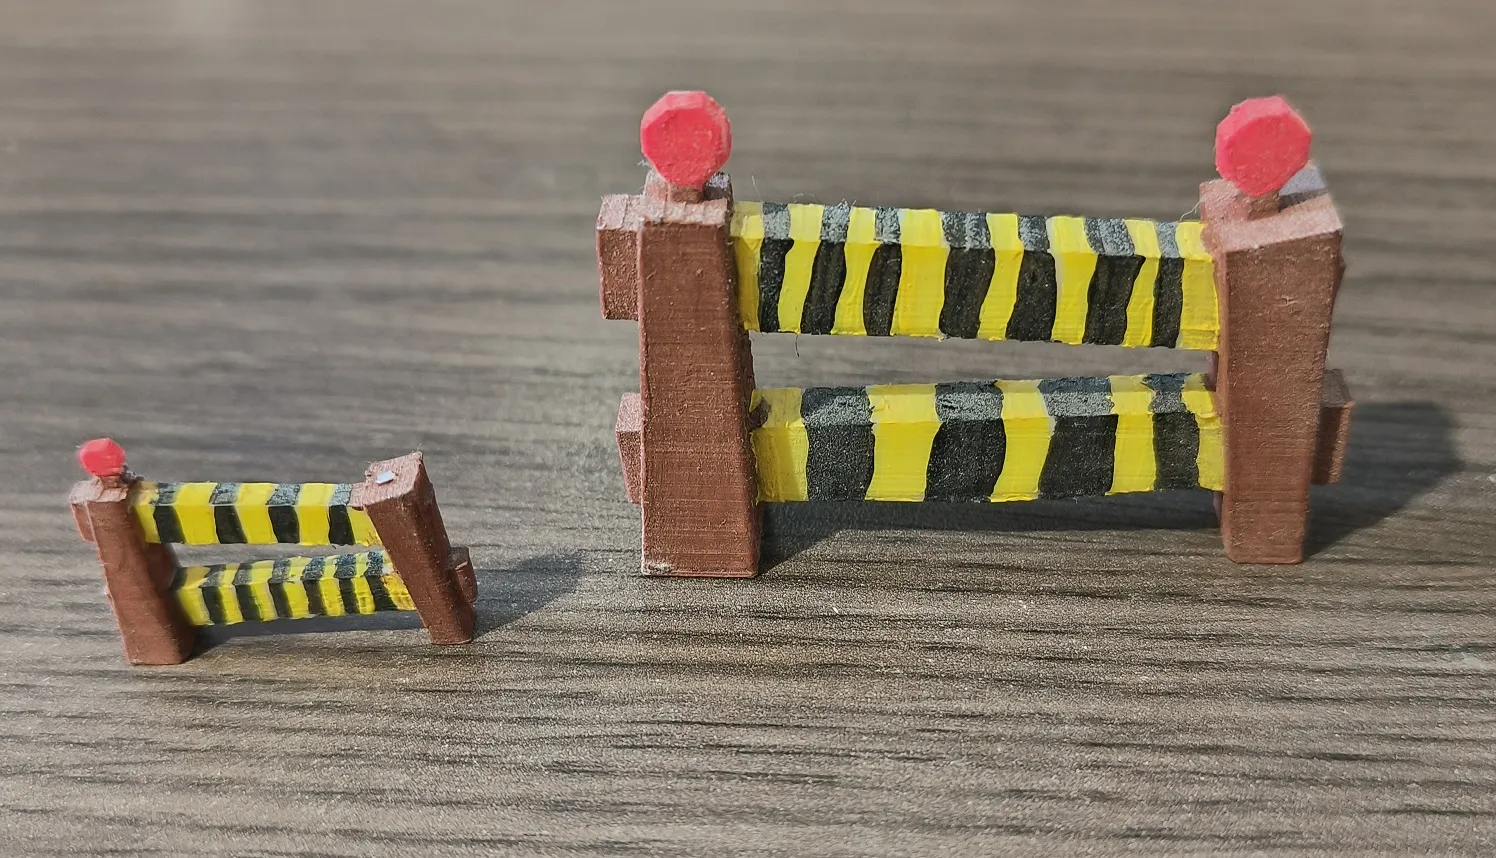
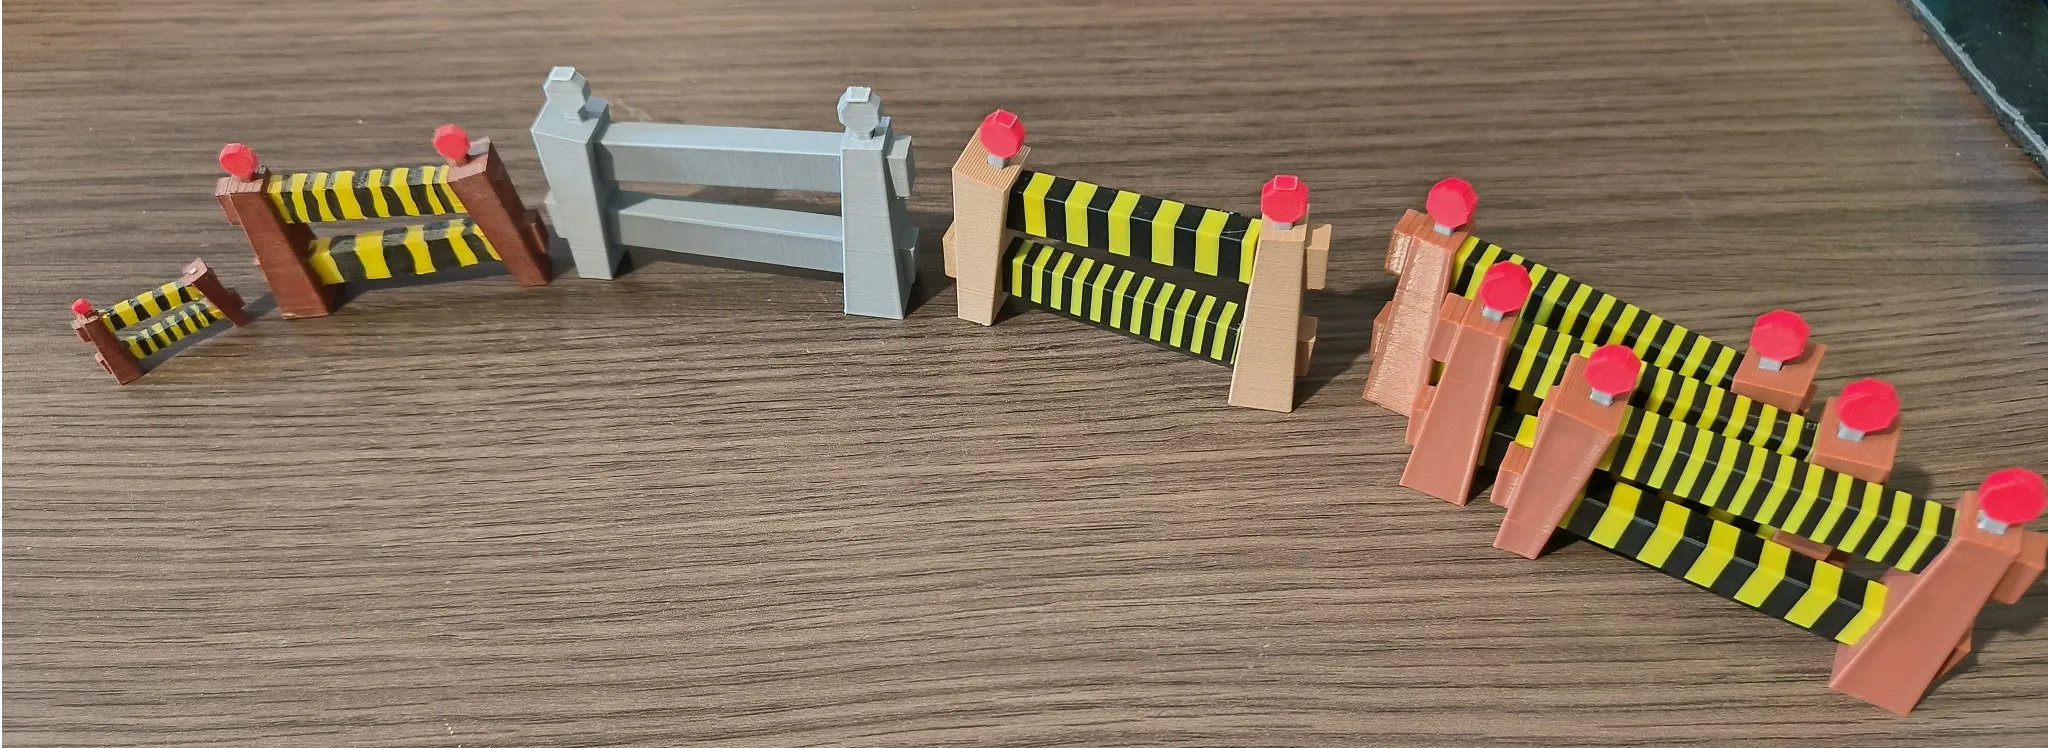
In the era of multi-color 3D printing, the constuction sign can now be separated into several colored parts to be re-assembled.
For the first attempt, I used the remains of wood PLA spool for added style. Then I printed a few more grey version to get the tolerances right.
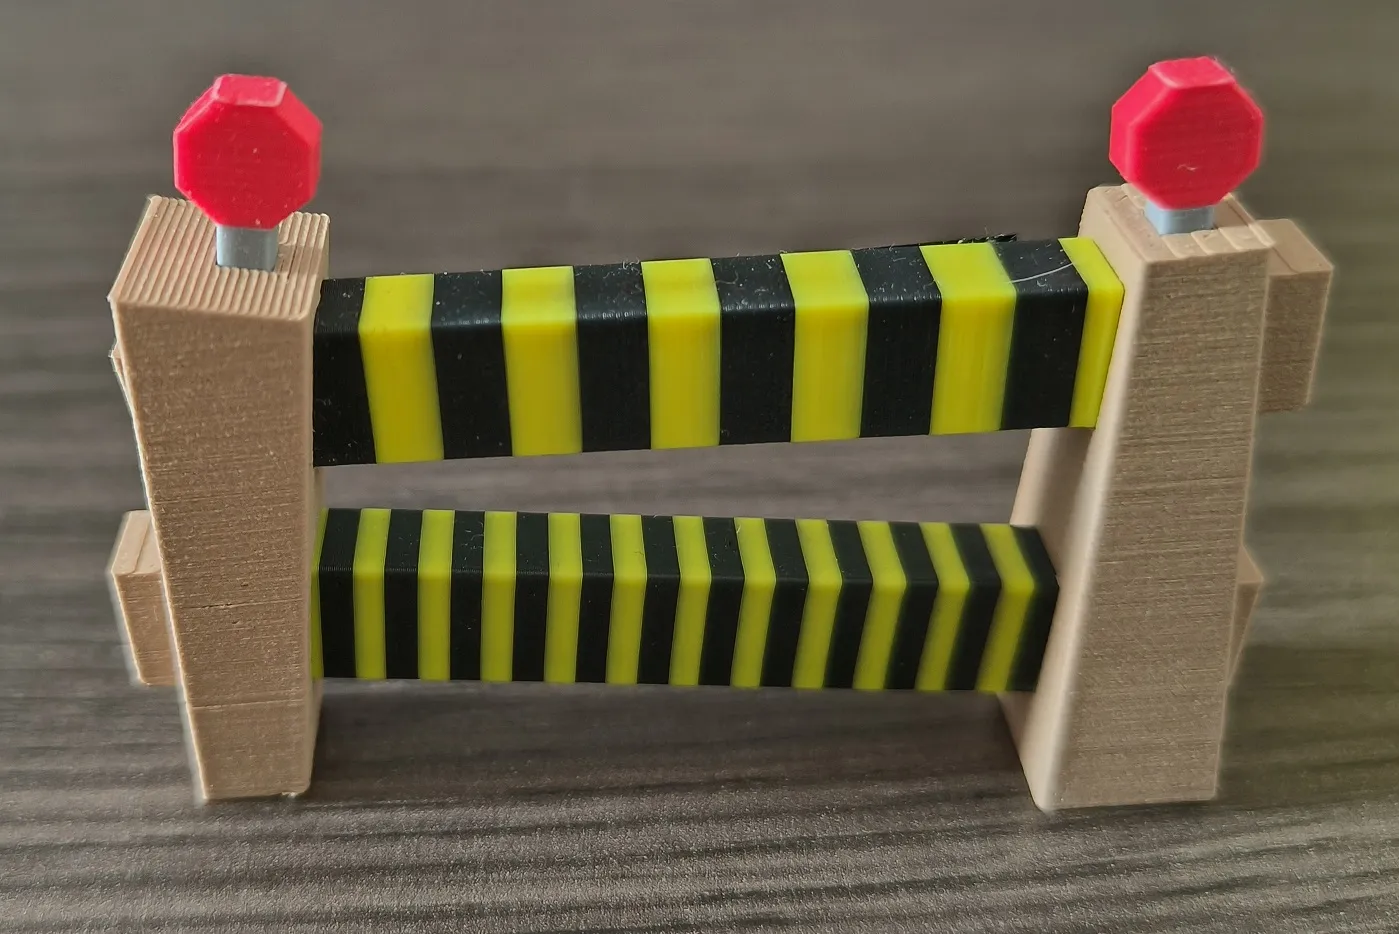
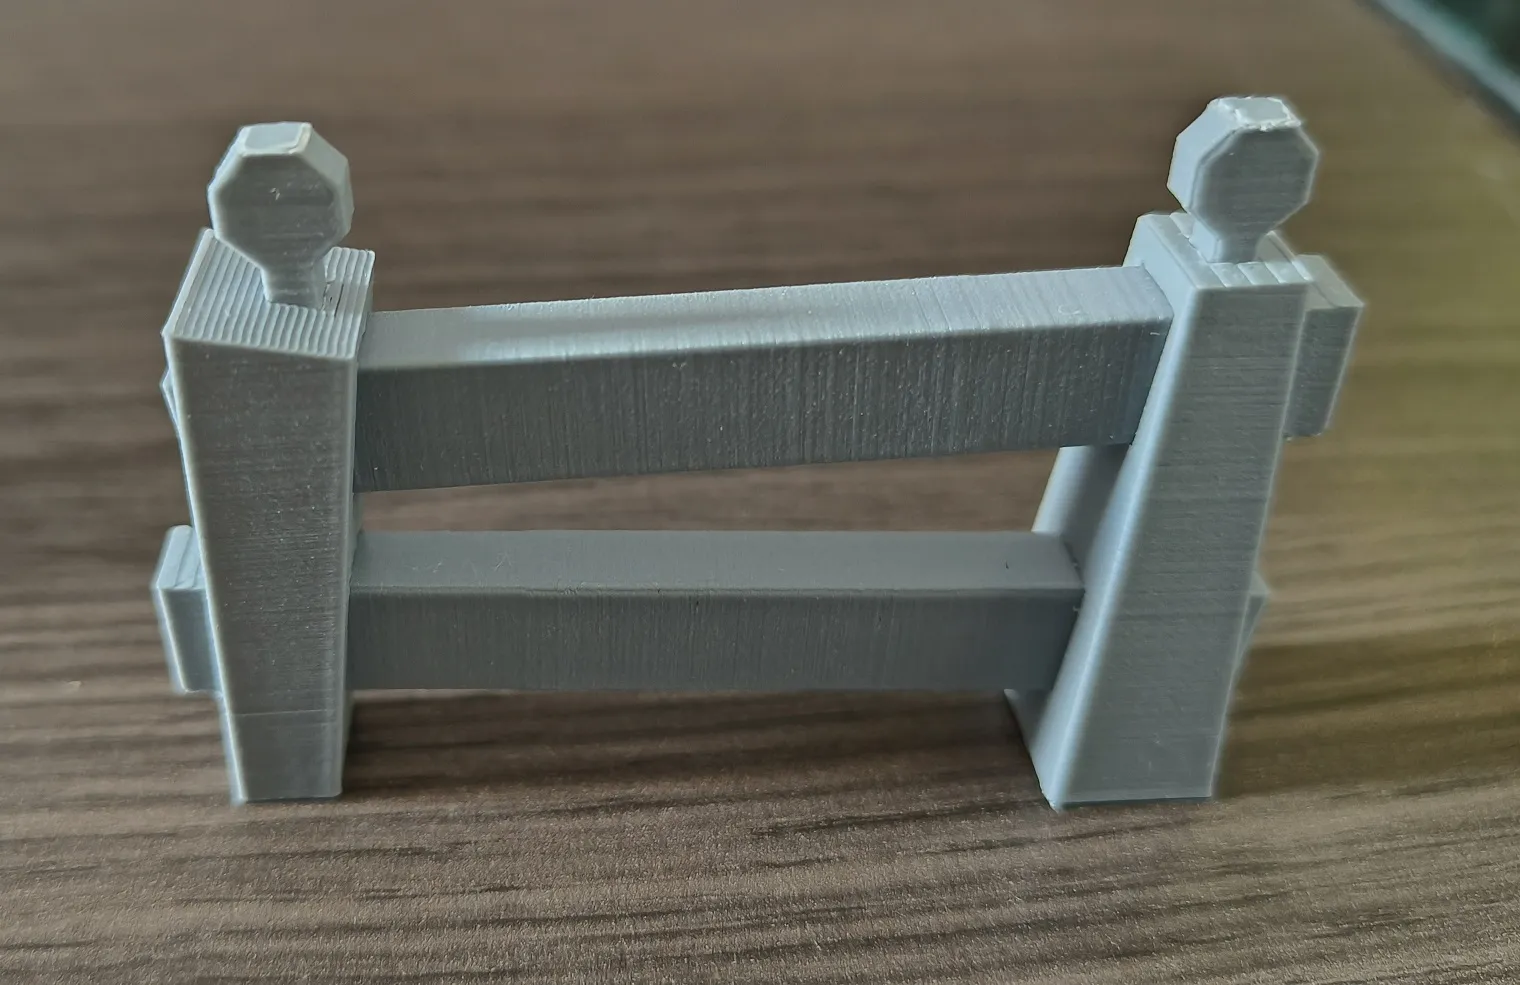
Here is the full evolution of the prototyping phases :
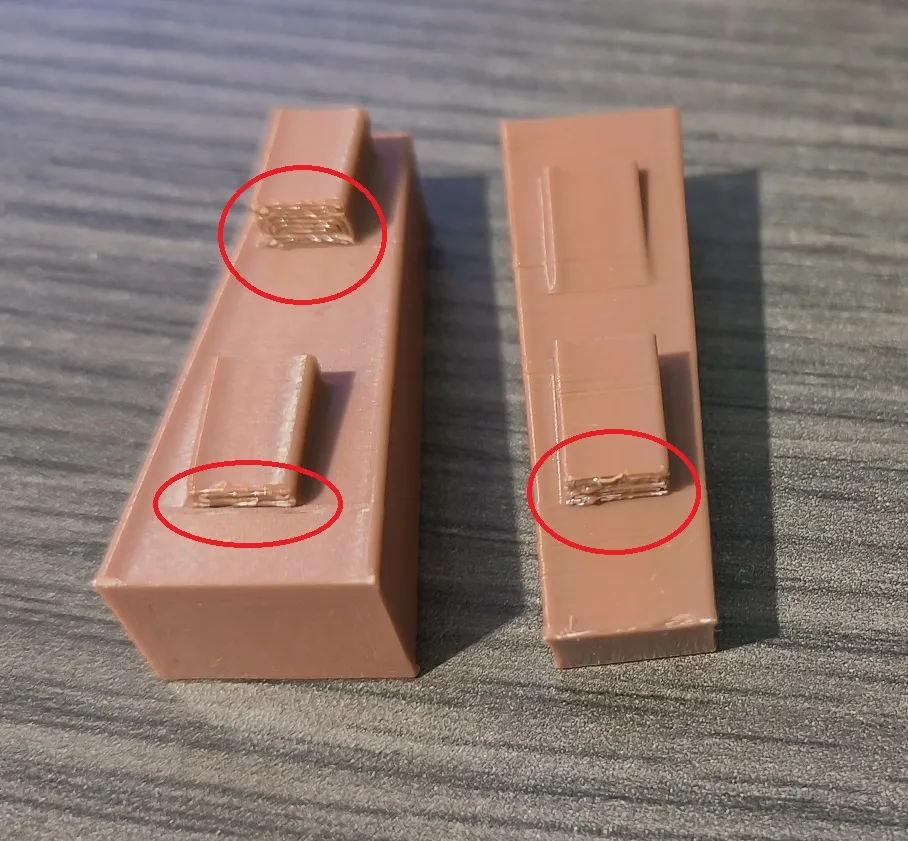
Printing artifacts
Hanging parts need supports to be printed. The interfaces between the supports and the parts will be visible.
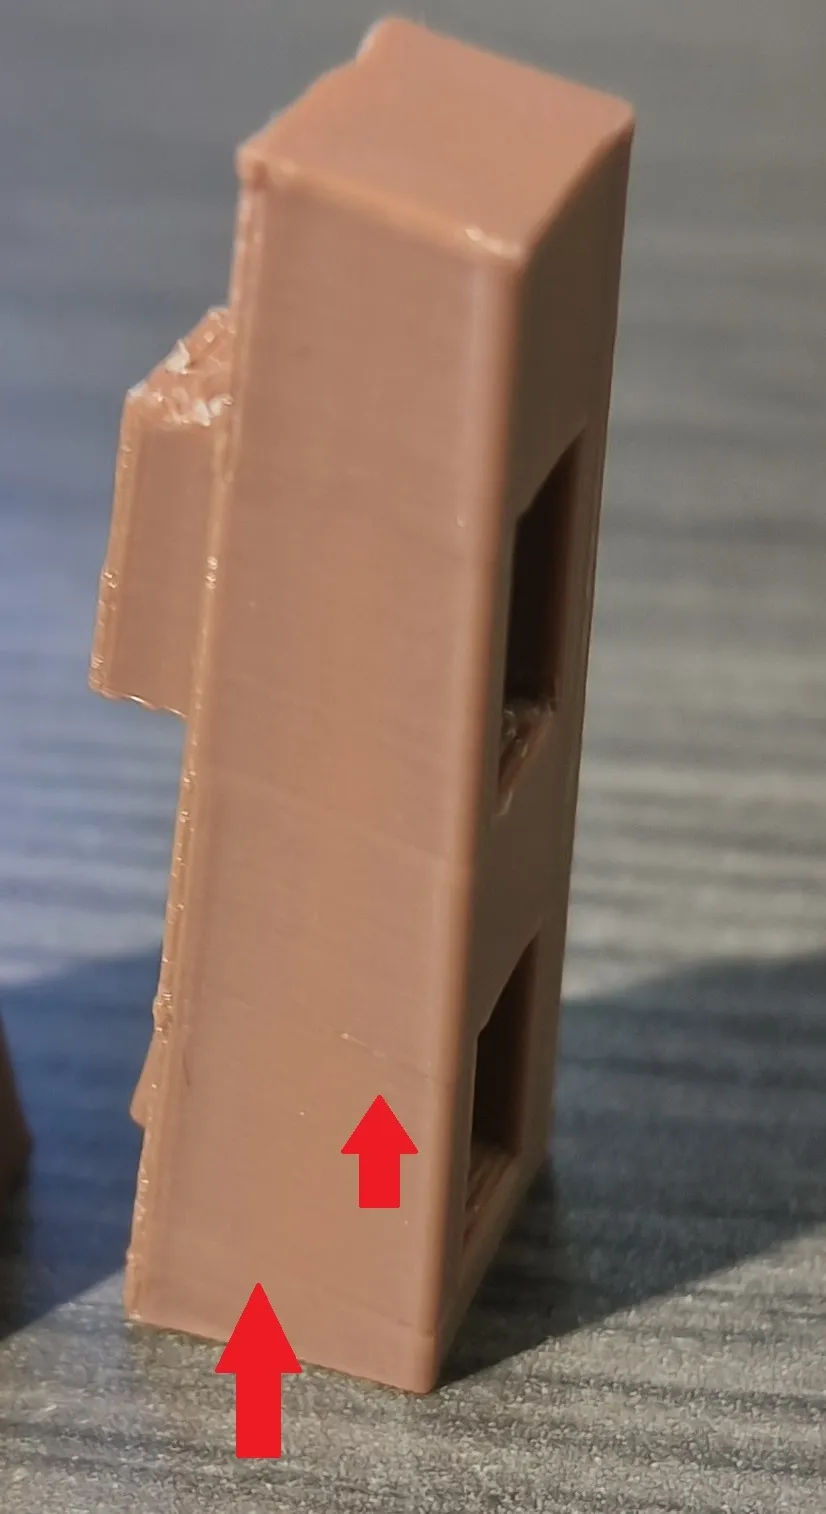
The walls of the posts appear lighter in the thinner parts of the posts where the holes are located.
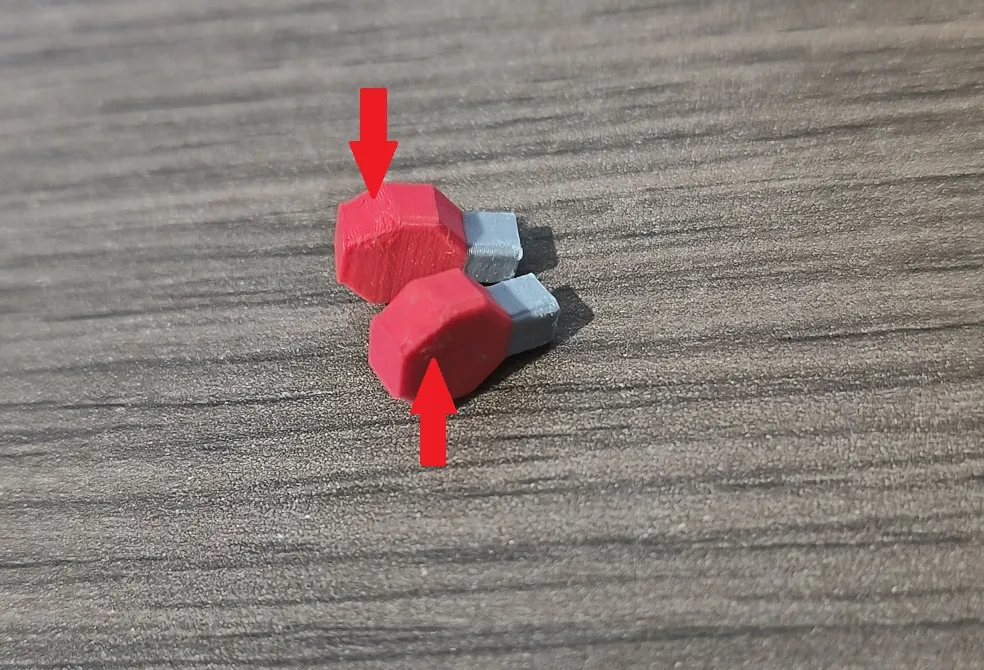
Lamp edges are not supported to avoid artifacts. But their angle means that they can sometimes be less precise.
License

You shall not share, sub-license, sell, rent, host, transfer, or distribute in any way the digital or 3D printed versions of this object, nor any other derivative work of this object in its digital or physical format (including - but not limited to - remixes of this object, and hosting on other digital platforms). The objects may not be used without permission in any way whatsoever in which you charge money, or collect fees.


Comment & Rating (0)