
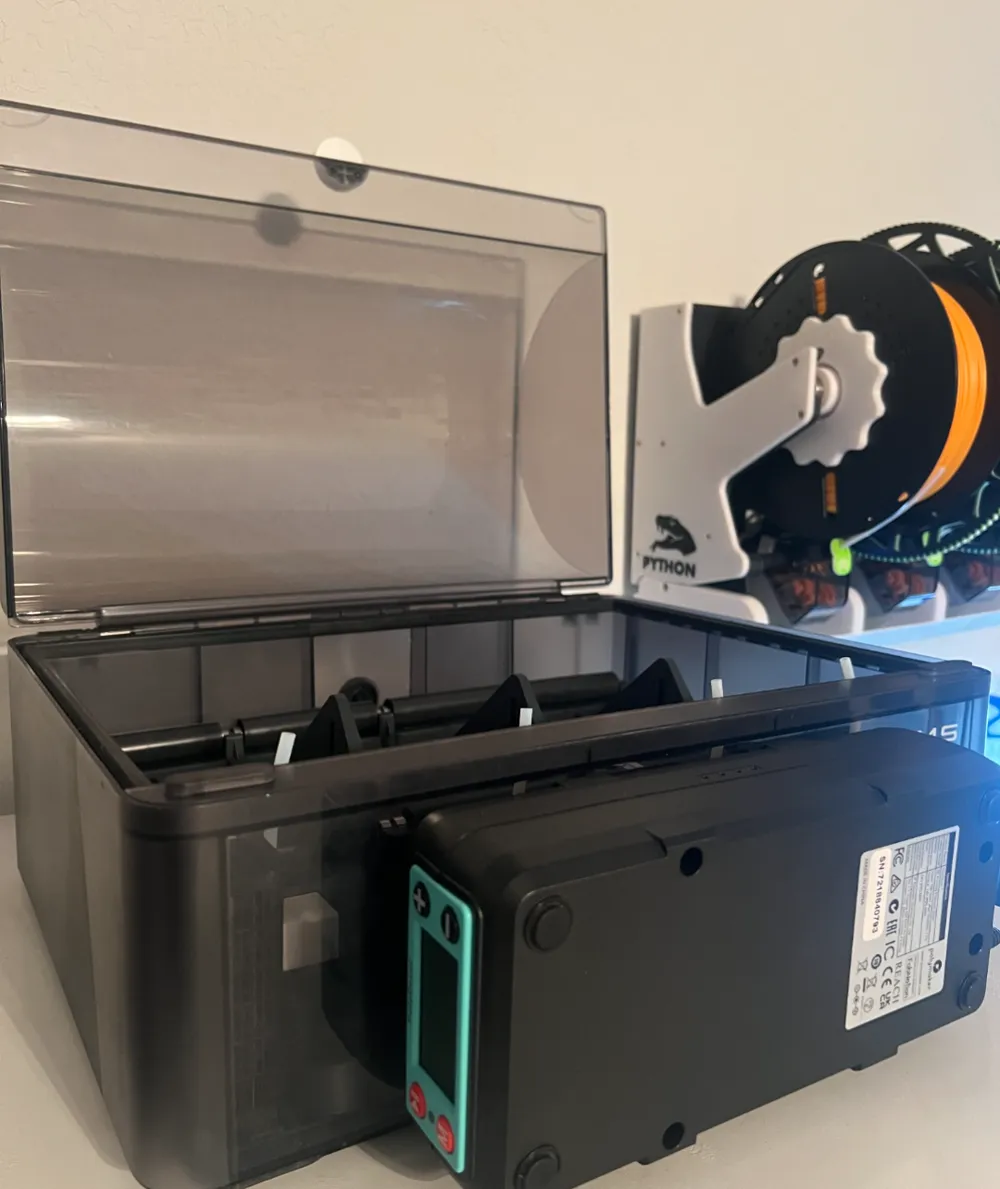
AMS Dryer after Python conversion
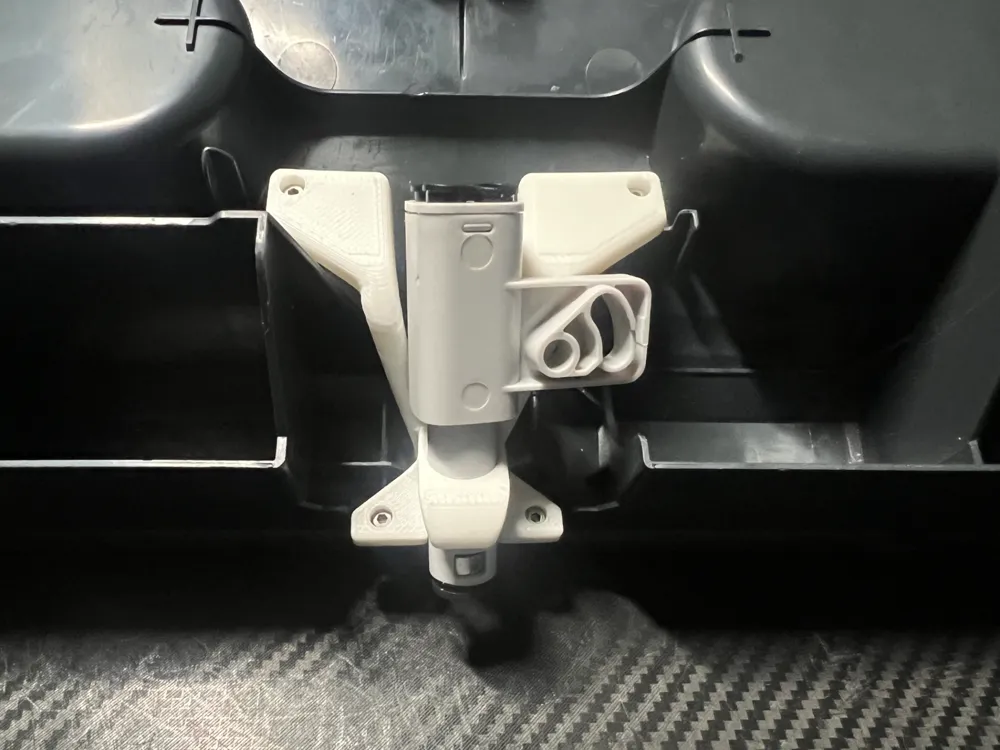
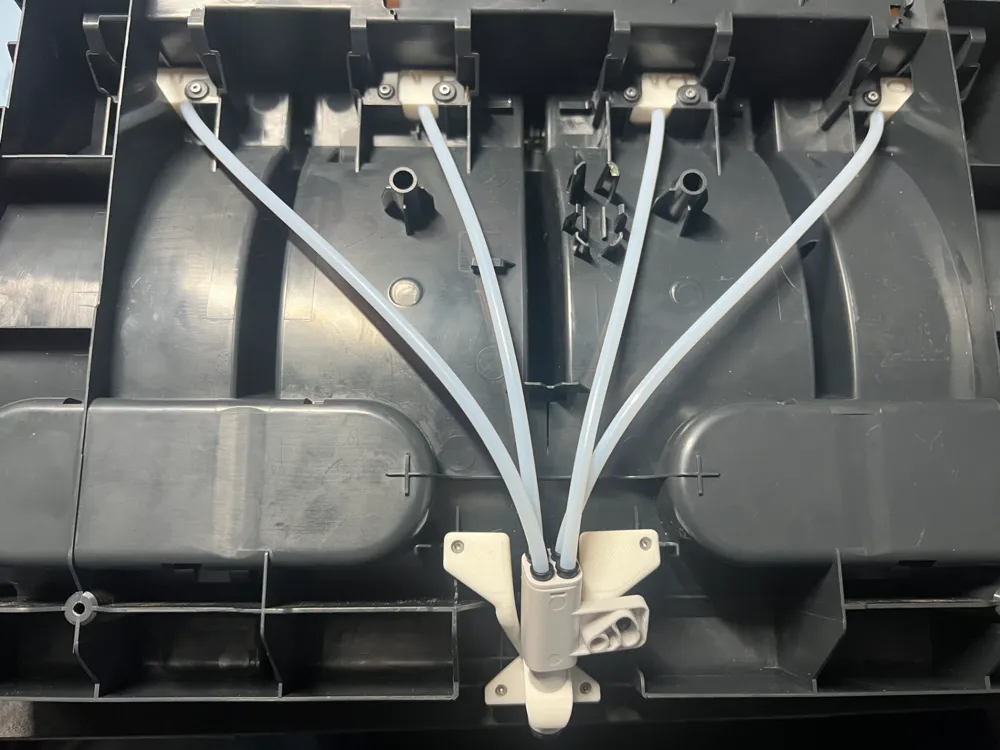
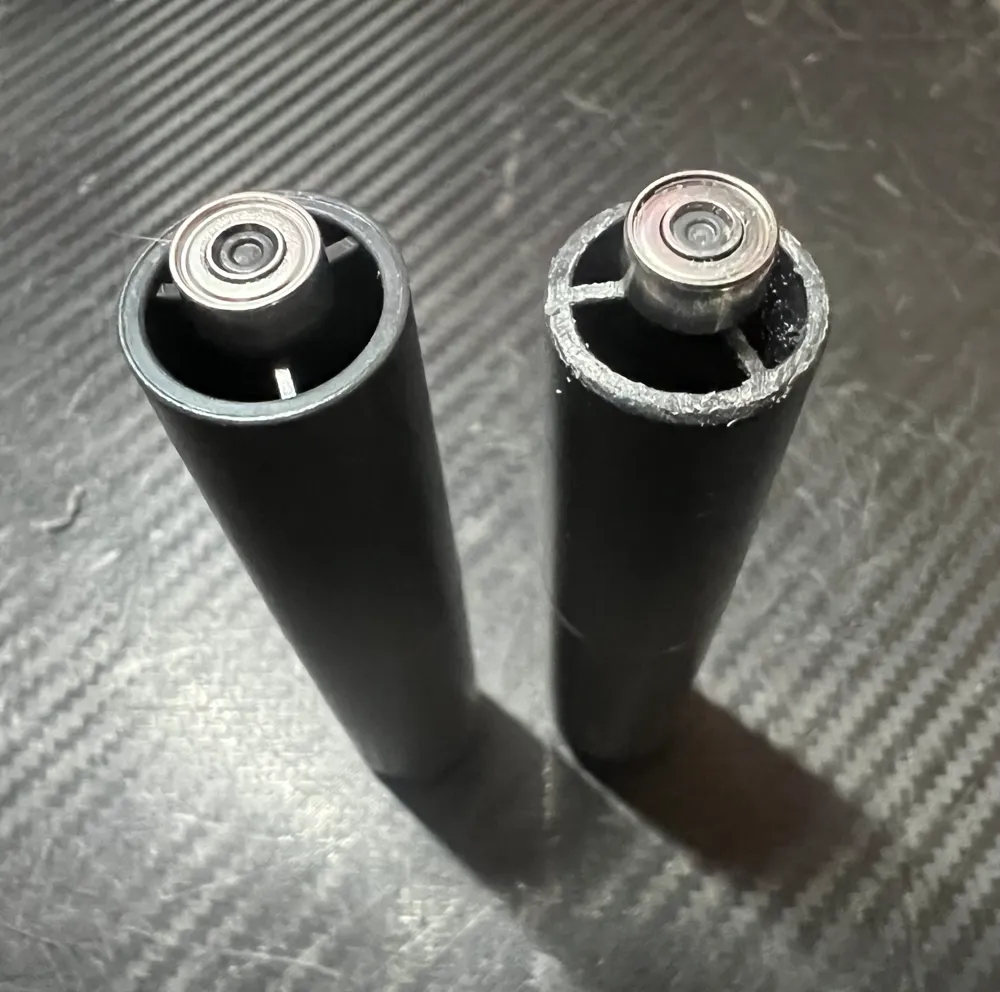
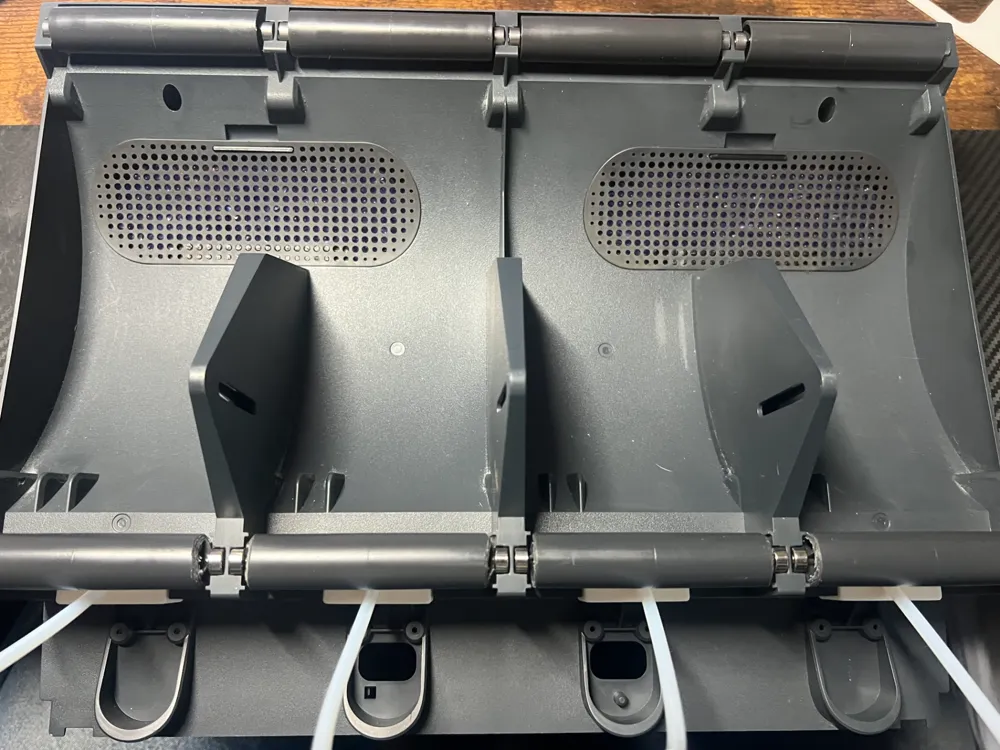
Print Profile(1)

Bill of Materials

- 4-in-1PTFEadapter x 1:
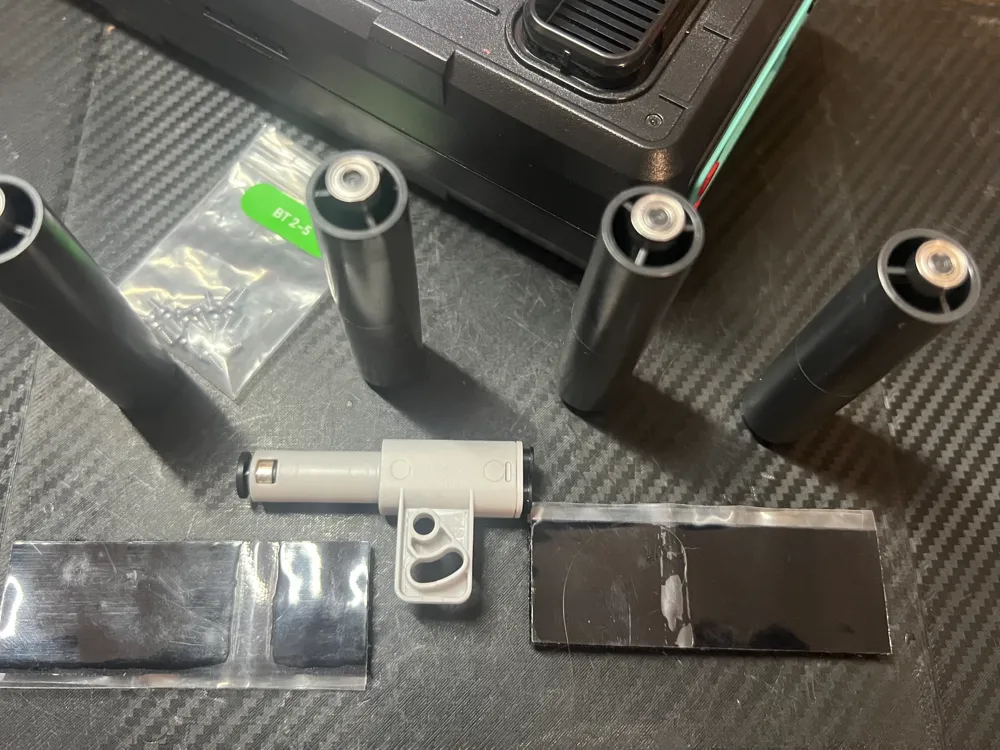
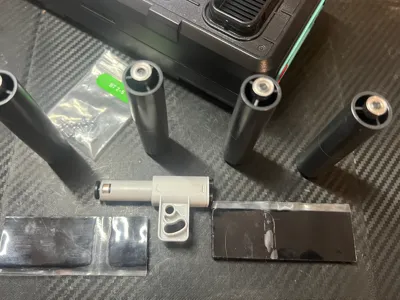
- AMSDrivenSupportShaftassembly x 4:
- Polydryer x 1:
Description
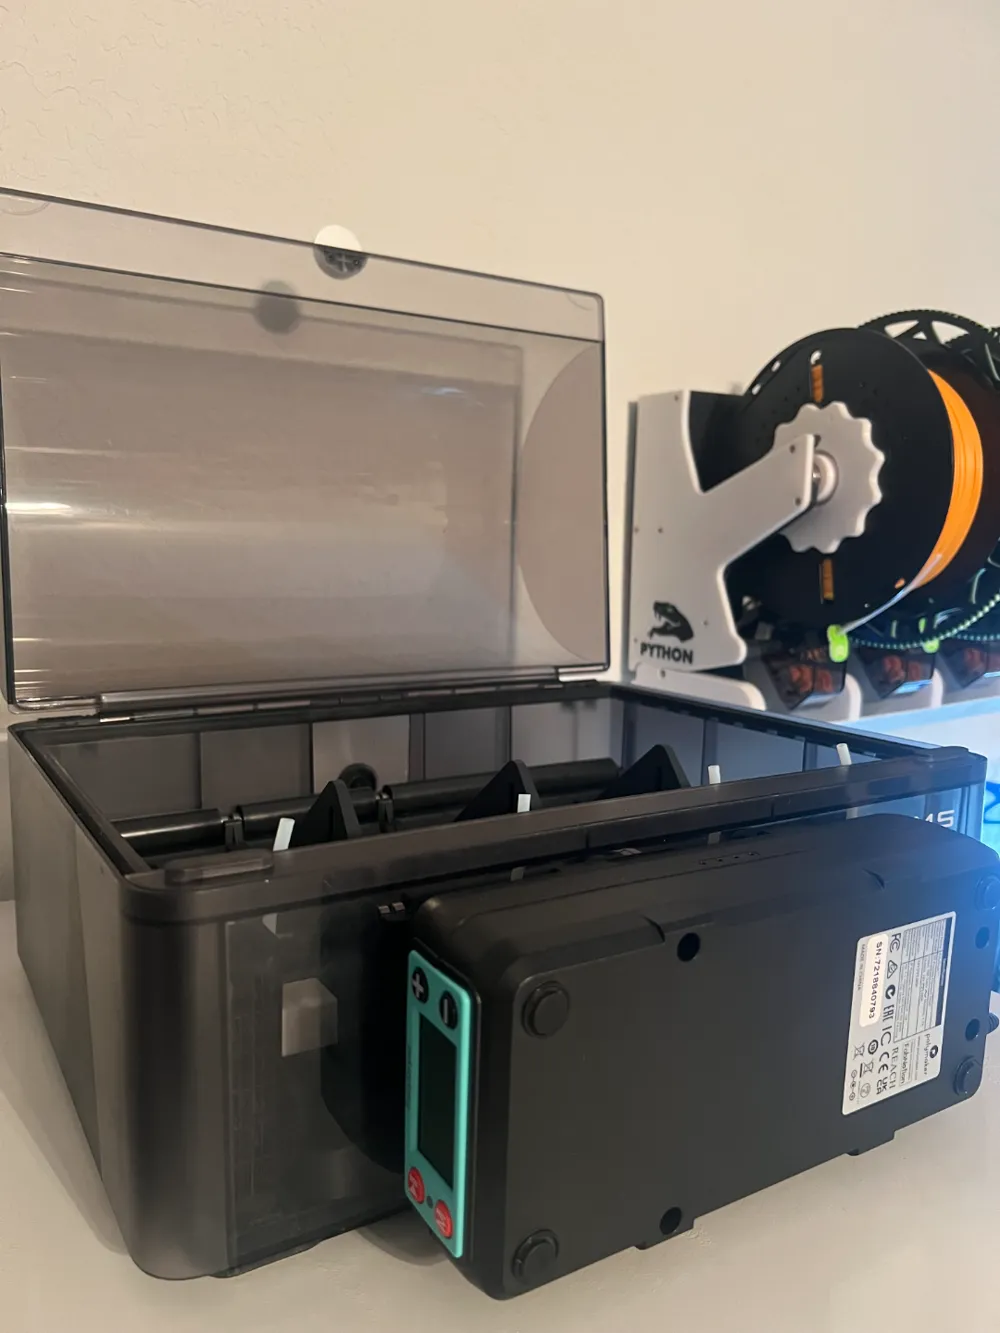
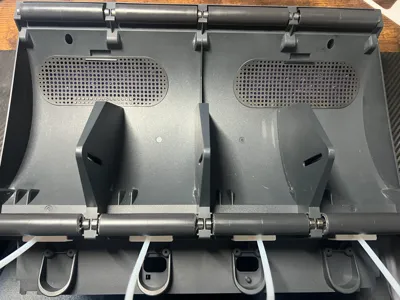
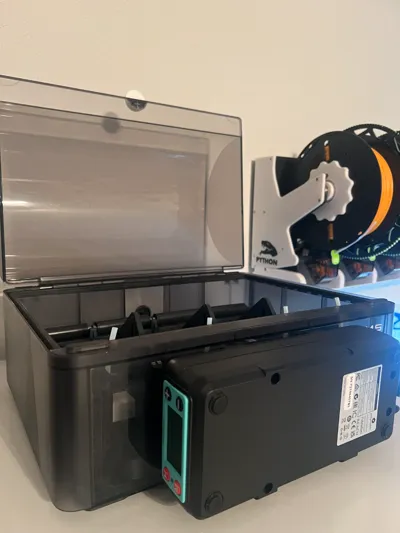
What do you do with your AMS case after you build the Python? Simple….turn it into a dryer/manual feeder. Dry rolls of filament and feed any one of the four to your printer at the same time.
Assemble as follows:
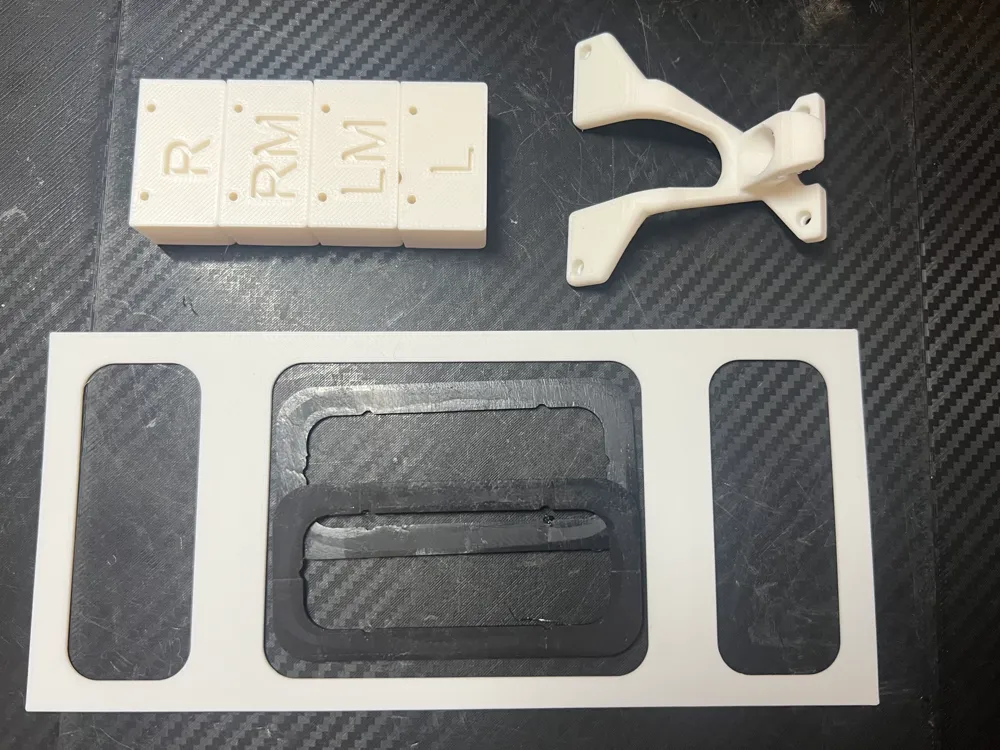
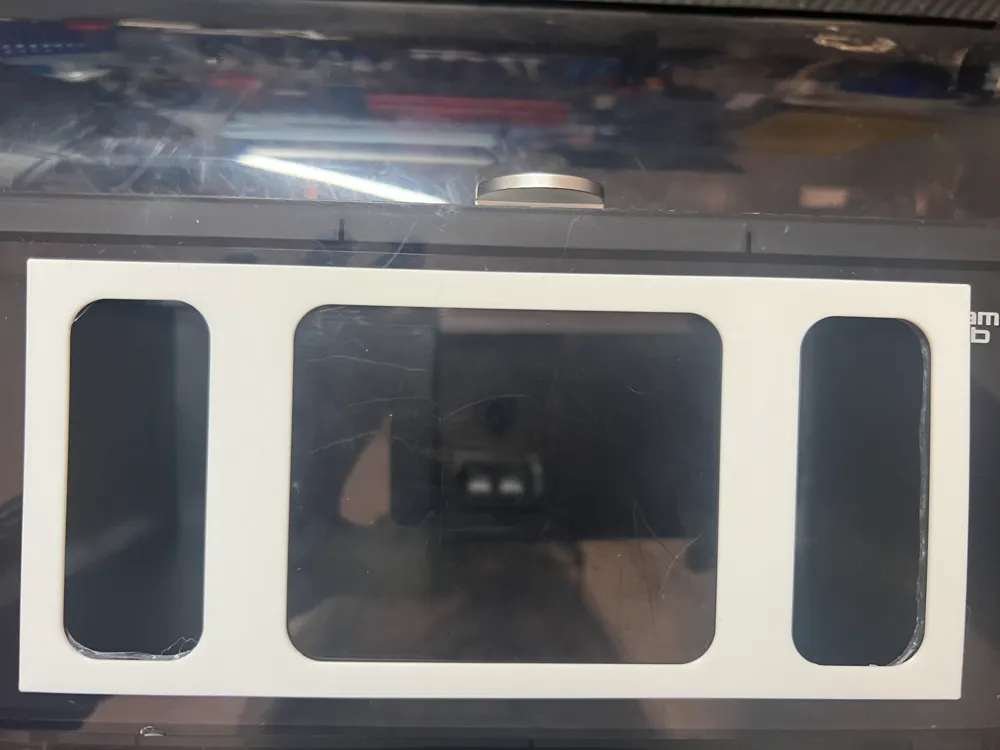
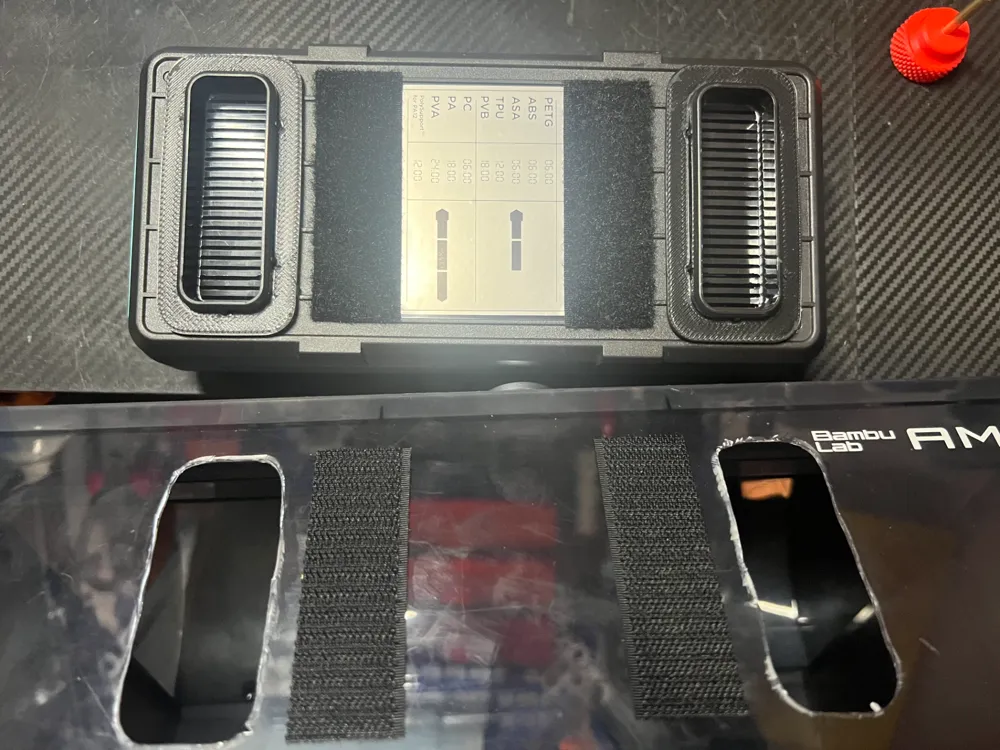
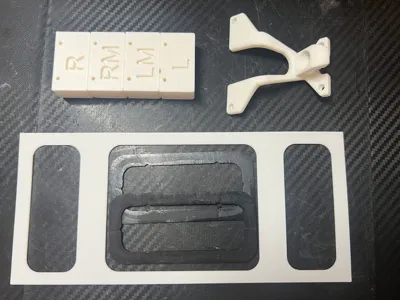
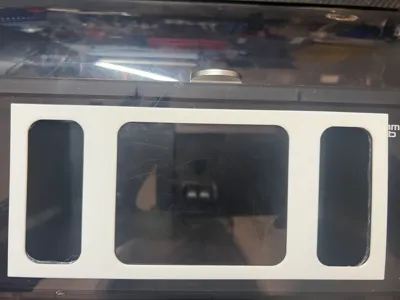
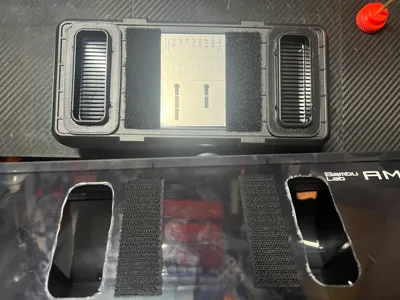
1. Use template to for holes to be cut. Cut holes. Use Python AMS Enclosure PolyDryer Mount by Zanfar | Download free STL model | Printables.com to attach the Polydryer to the AMS. The print profile has been updated to include the parts for this.
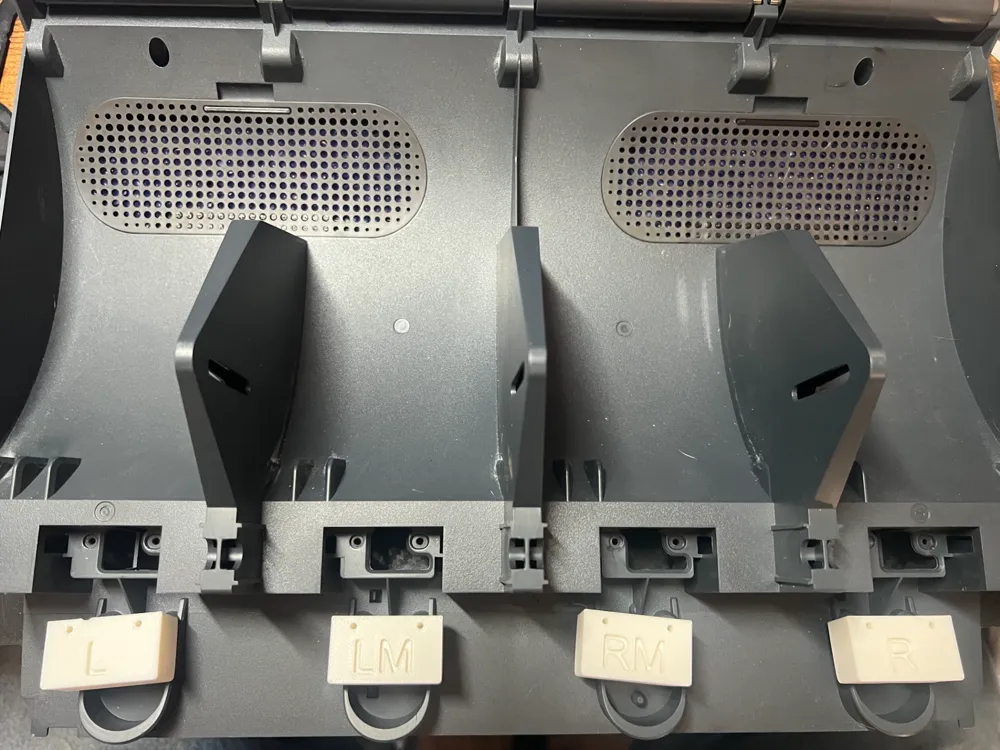
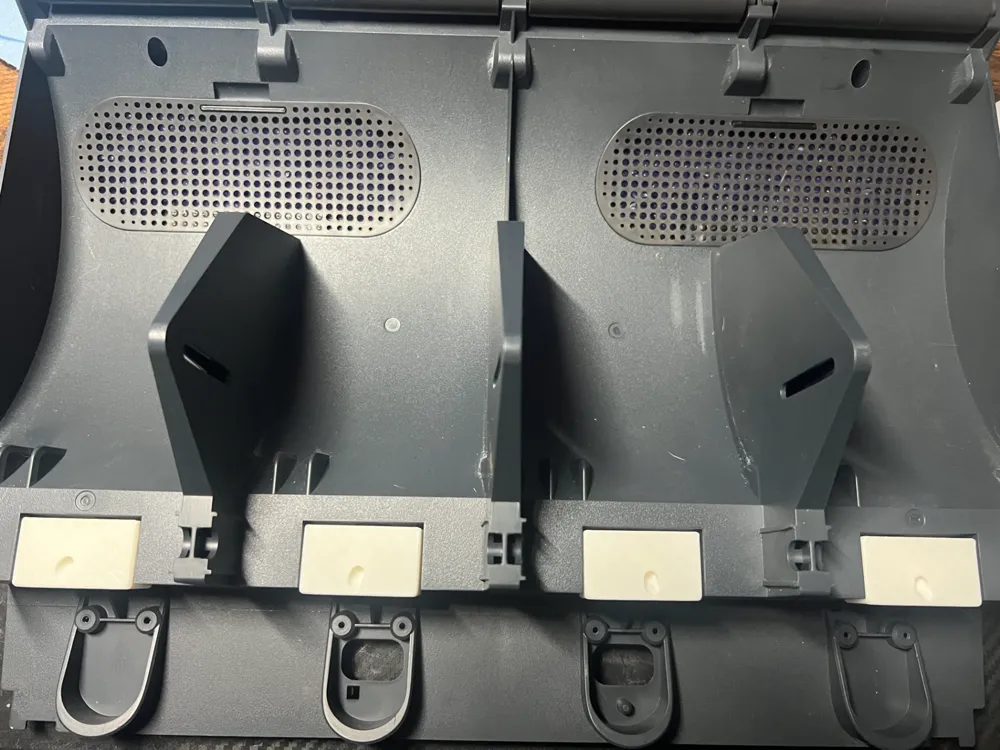
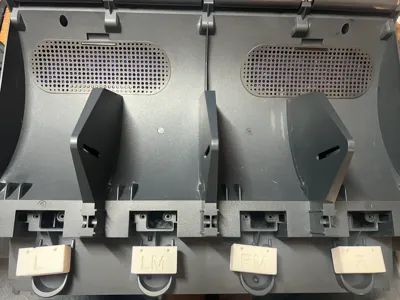
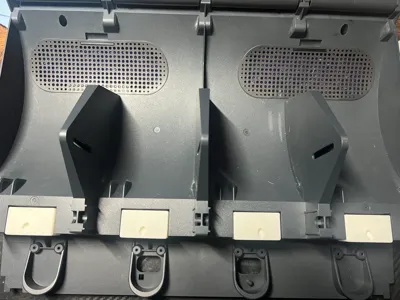
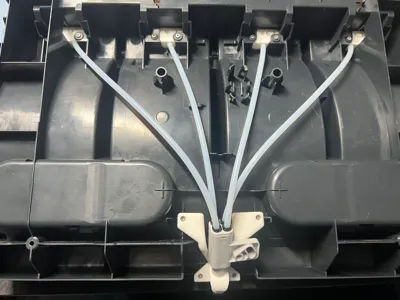
2. Attach the tubing guides per their marked locations.
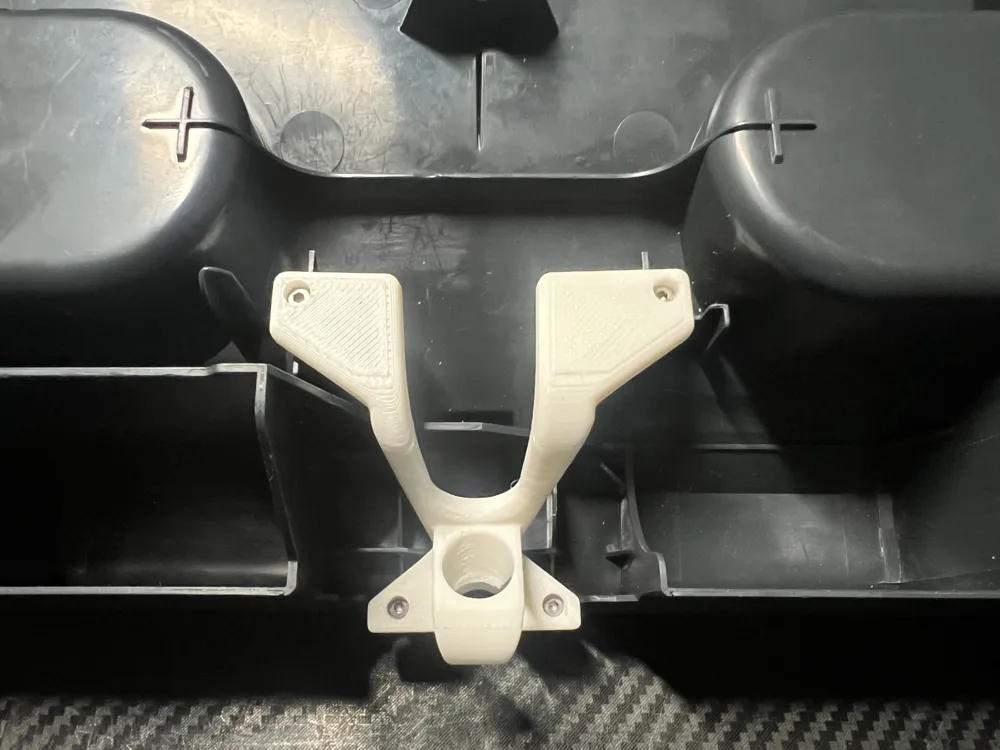
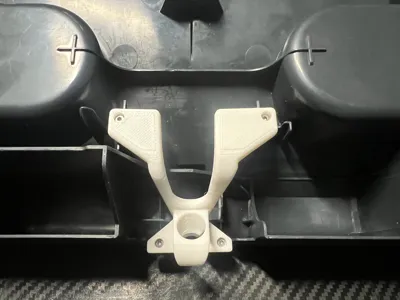
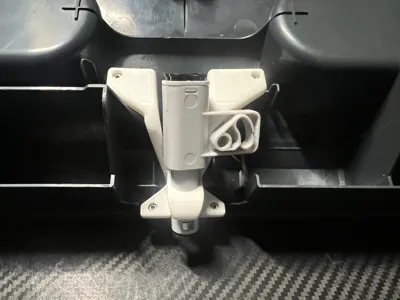
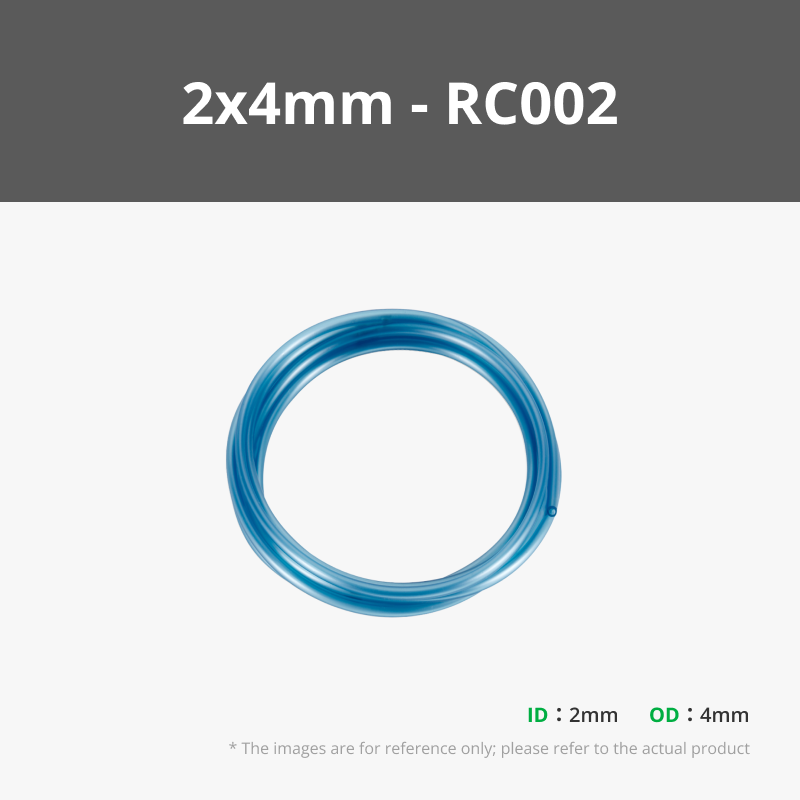
3. Attach the 4-into-1 mount. Install the adapter. Install the PTFE tubing and cut to length. (You may want to cut it longer than I did)
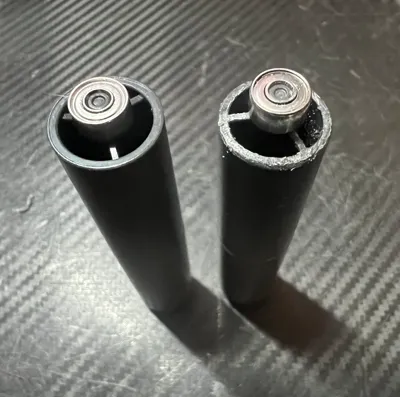
4. Taper down the ends of 4 of the back side rollers. This is for clearance when installed on the front.
5. Install PTFE tubing from the back to you printer and tape up the power connector holes on the back.
Boost Me (for free)
Boost me!!
License



Comment & Rating (18)