
LED Light Base
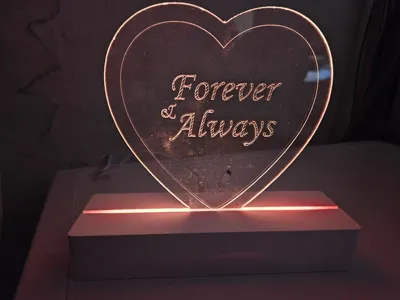
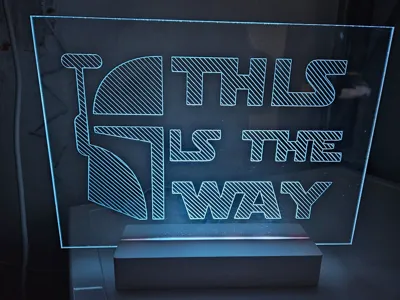
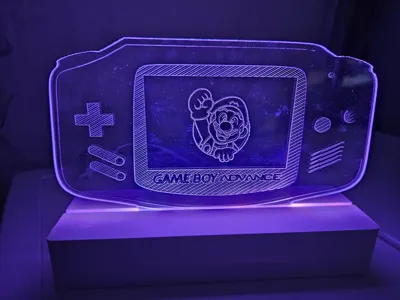
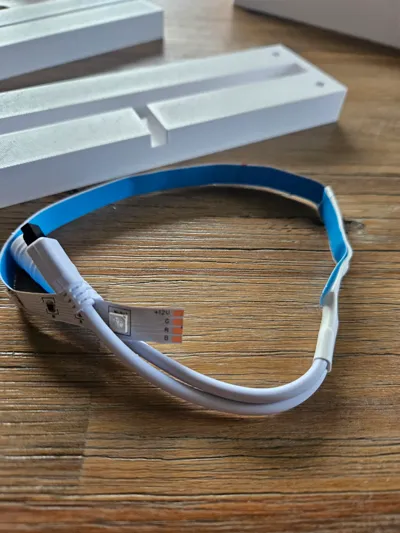
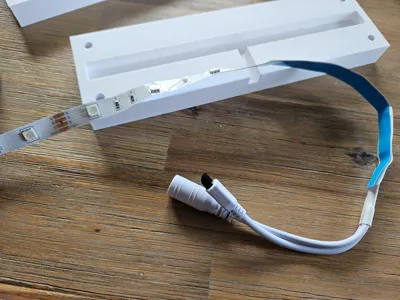
Print Profile(1)

Description
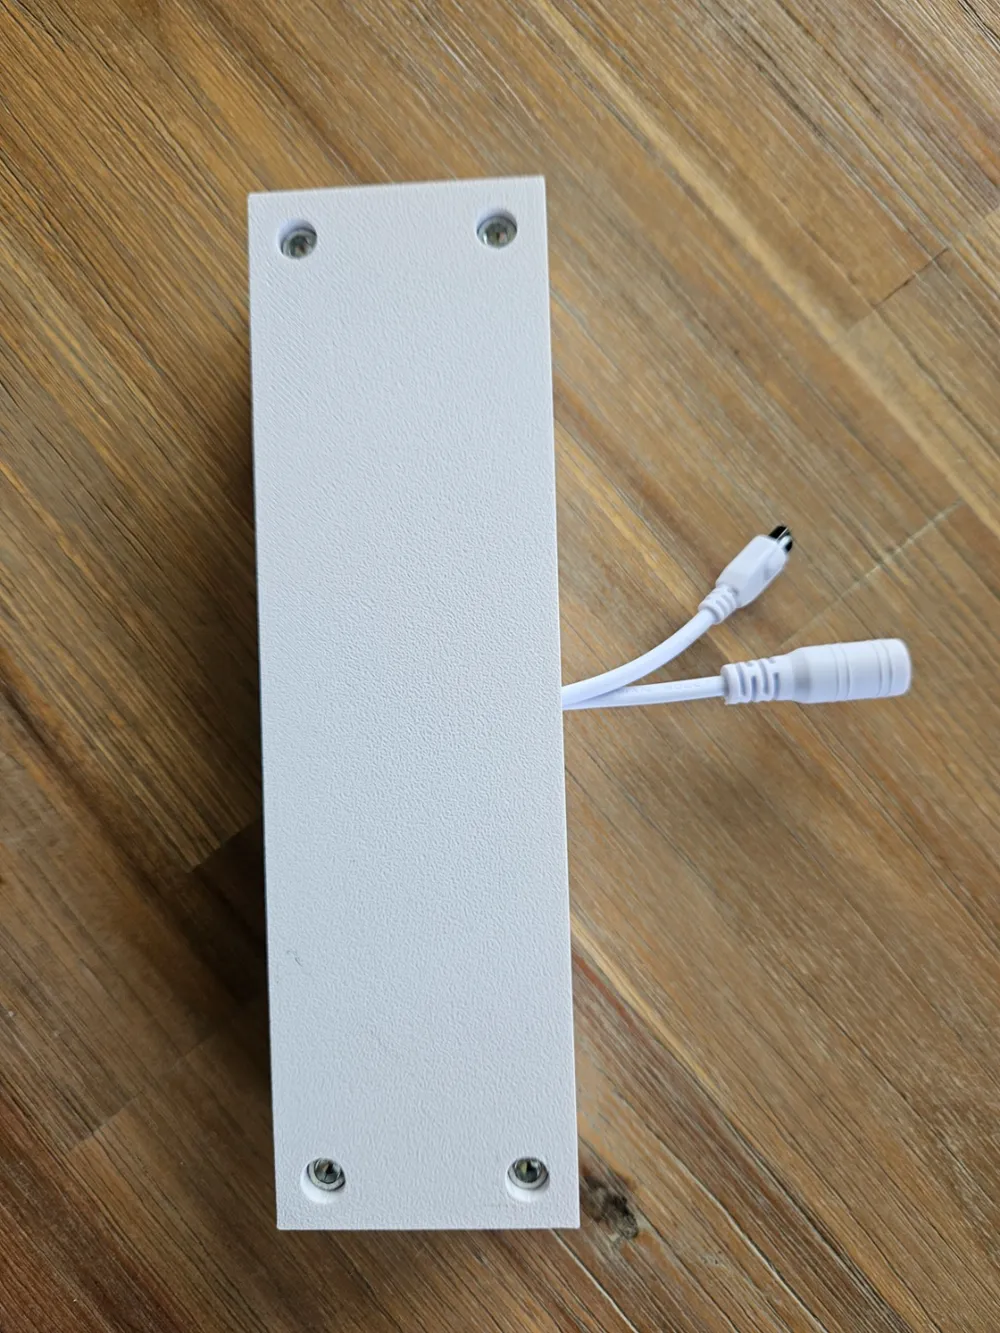
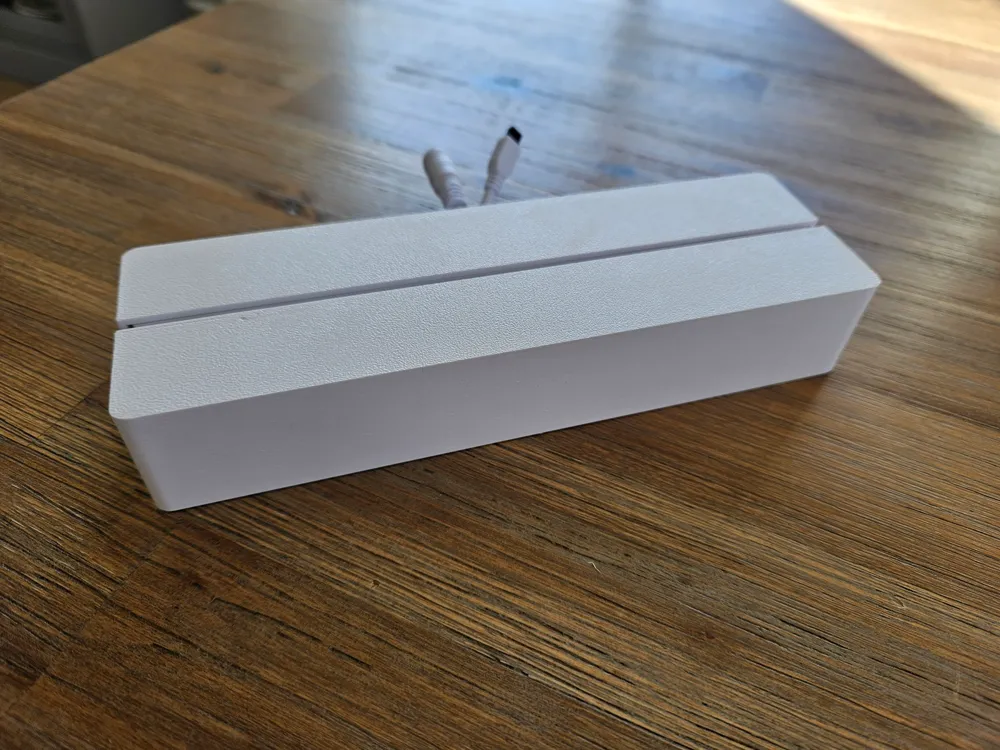
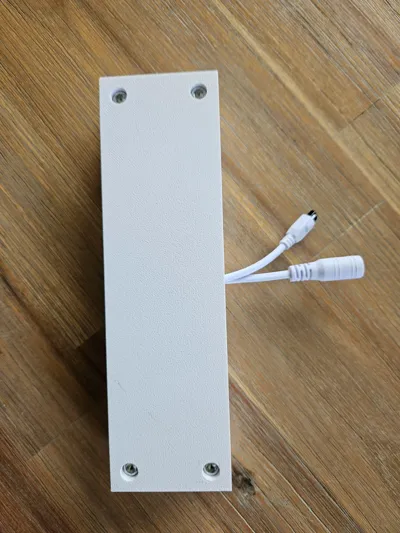
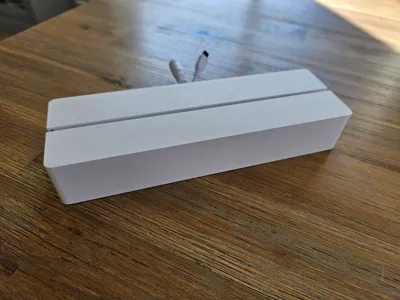
This is a relatively simple LED box that contains a part of a string light which can be connected to either mains or battery.
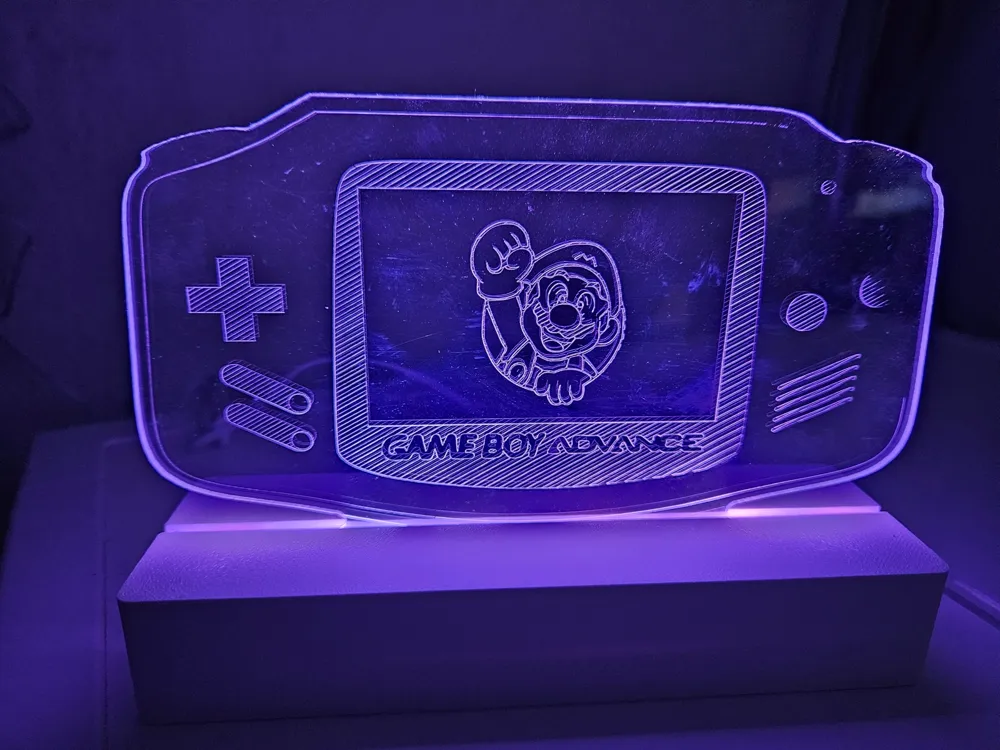
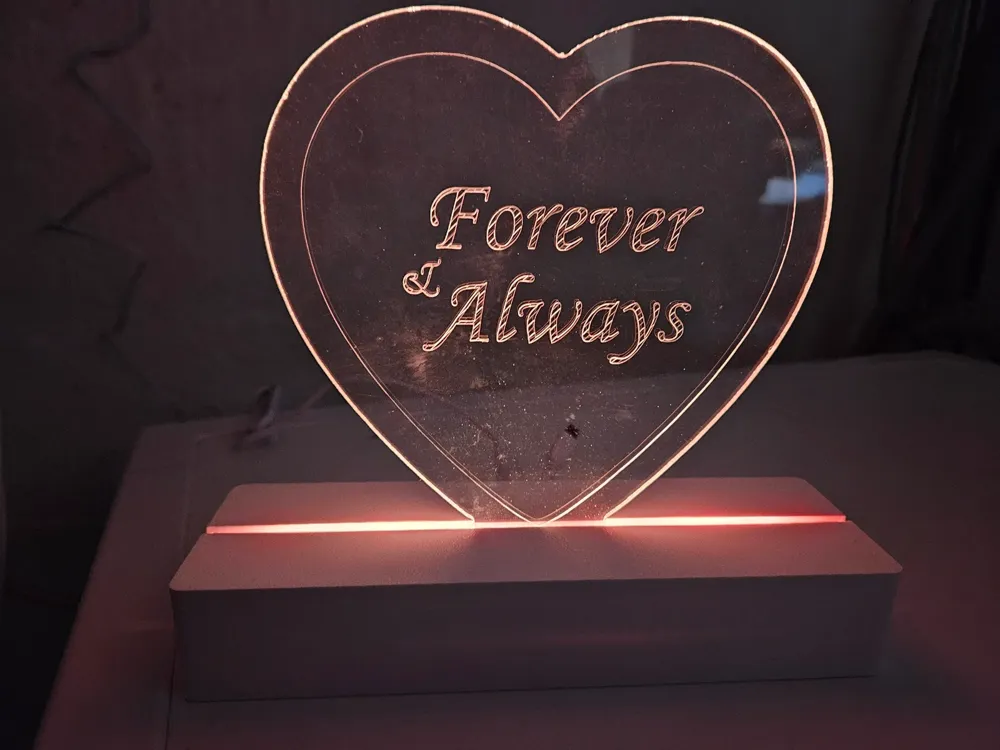
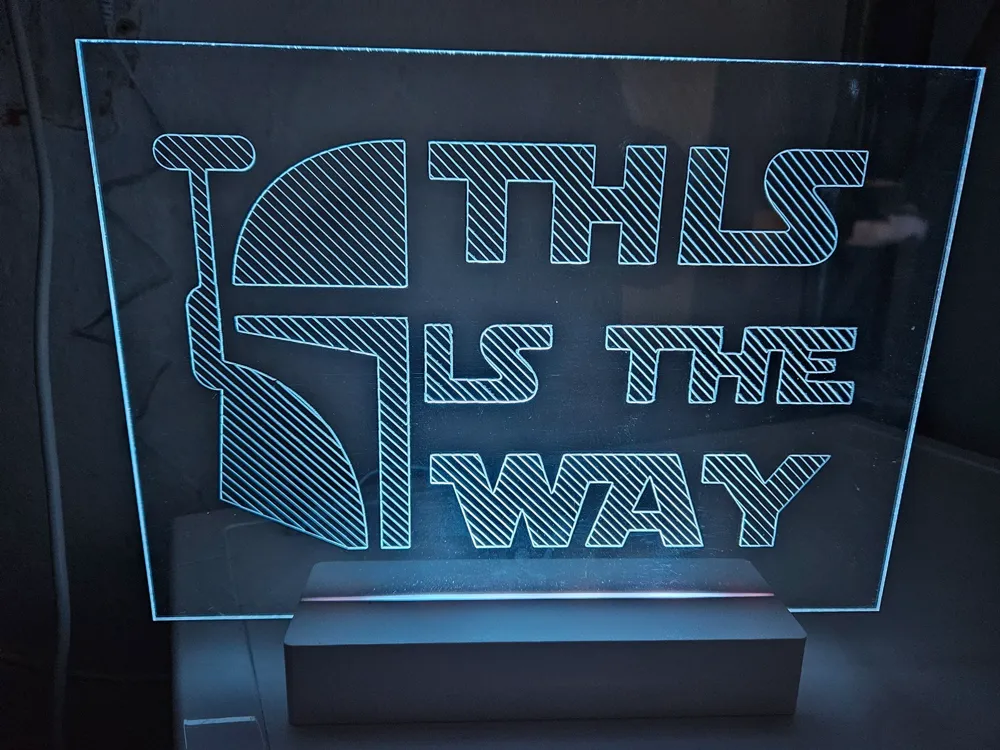
Important: This base has been designed to fit a full A4/A5/Letter (us) size piece of plexiglass that has a design, the maximum supported width is 3.2mm and minimum supported width of the plexiglass base is 145mm.
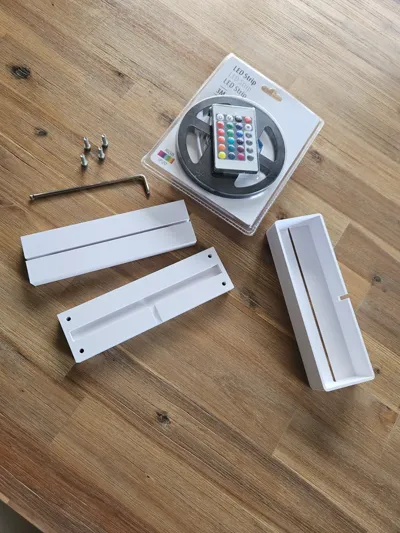
There are 3 plates to this build:
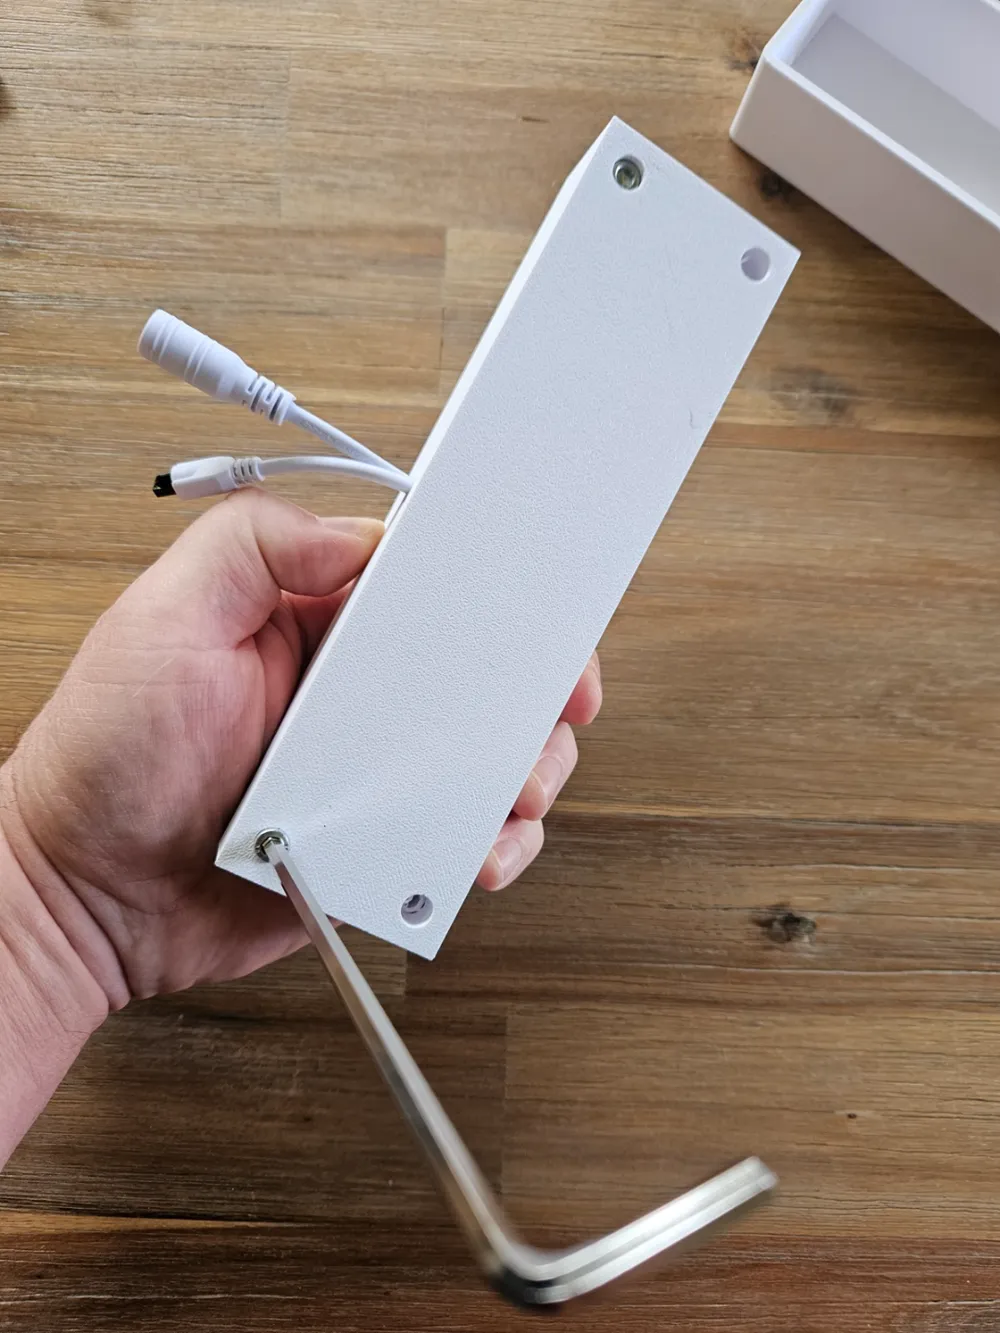
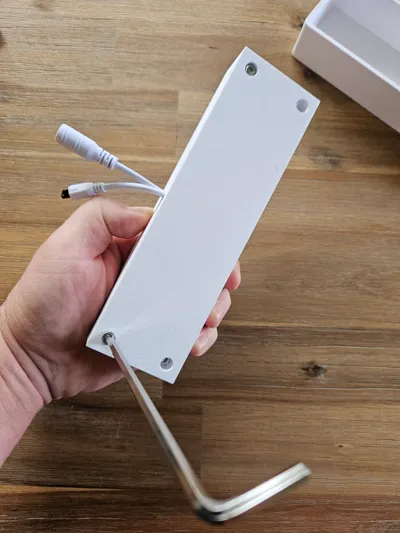
Plate 1: Top and bottom of LED base. Although supports could be used it is easier to leave them out as they are very difficult to remove, printing without supports is no real problem as the holes can be “punched through” with an alan key or M5 bolt.
Plate 2: This contains a cover which is designed to go over the light base when assembled so as to hide joins etc. Print with normal (not tree) supports. The supports are easily removed at the end when done.
Plate 3: This contains M5 shaped bolts that “could” be used in a pinch, however, these can be very tight and may break rendering the print useless or requiring work to make good again. Instead use 4 x M5 bolts with 16mm length, this allows it to easily come apart later.
Assembly:
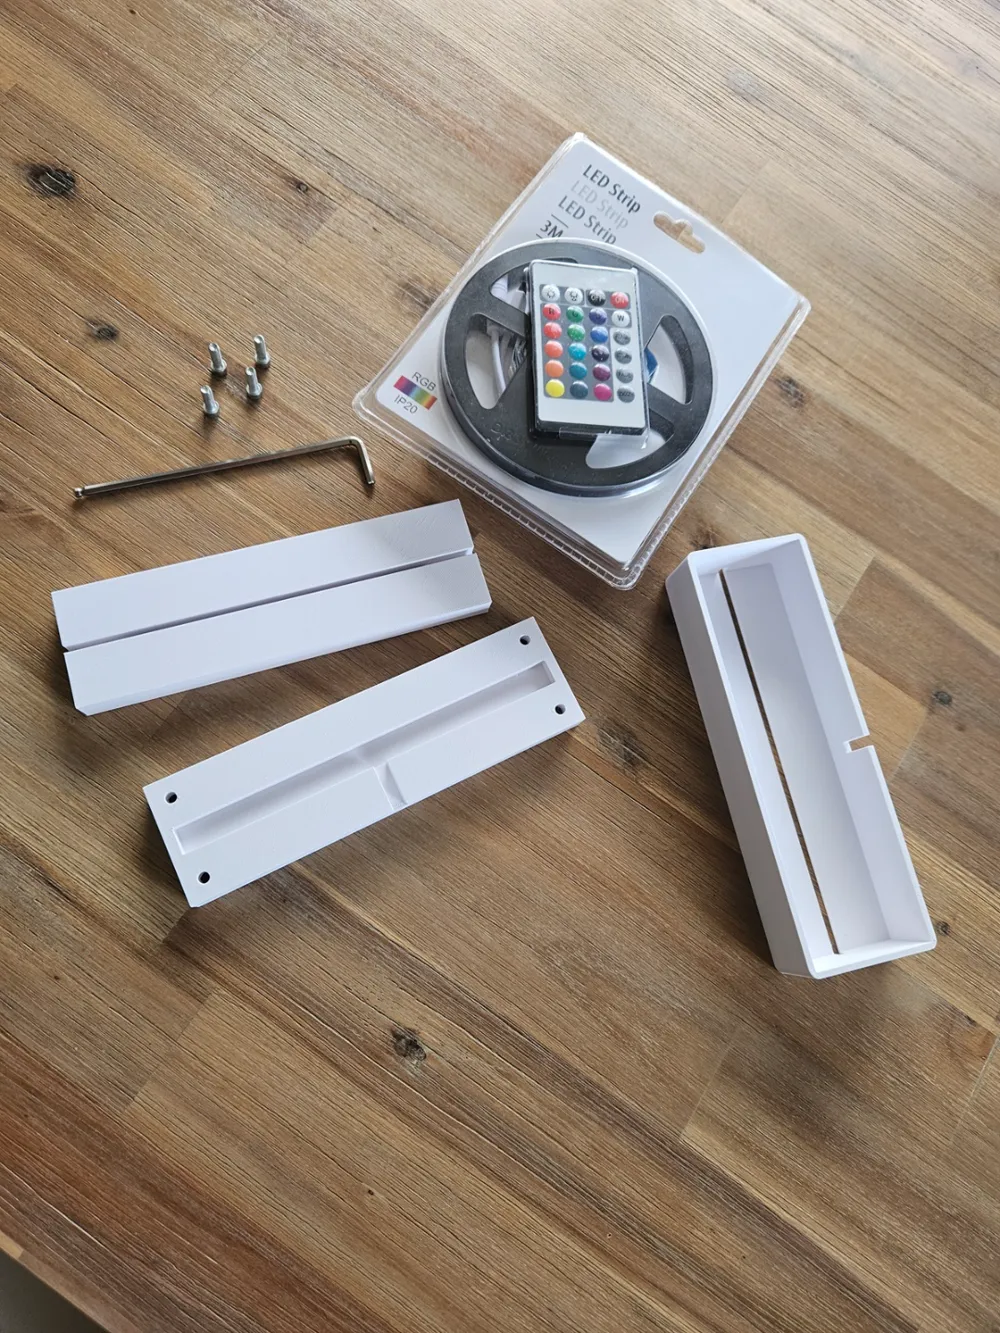
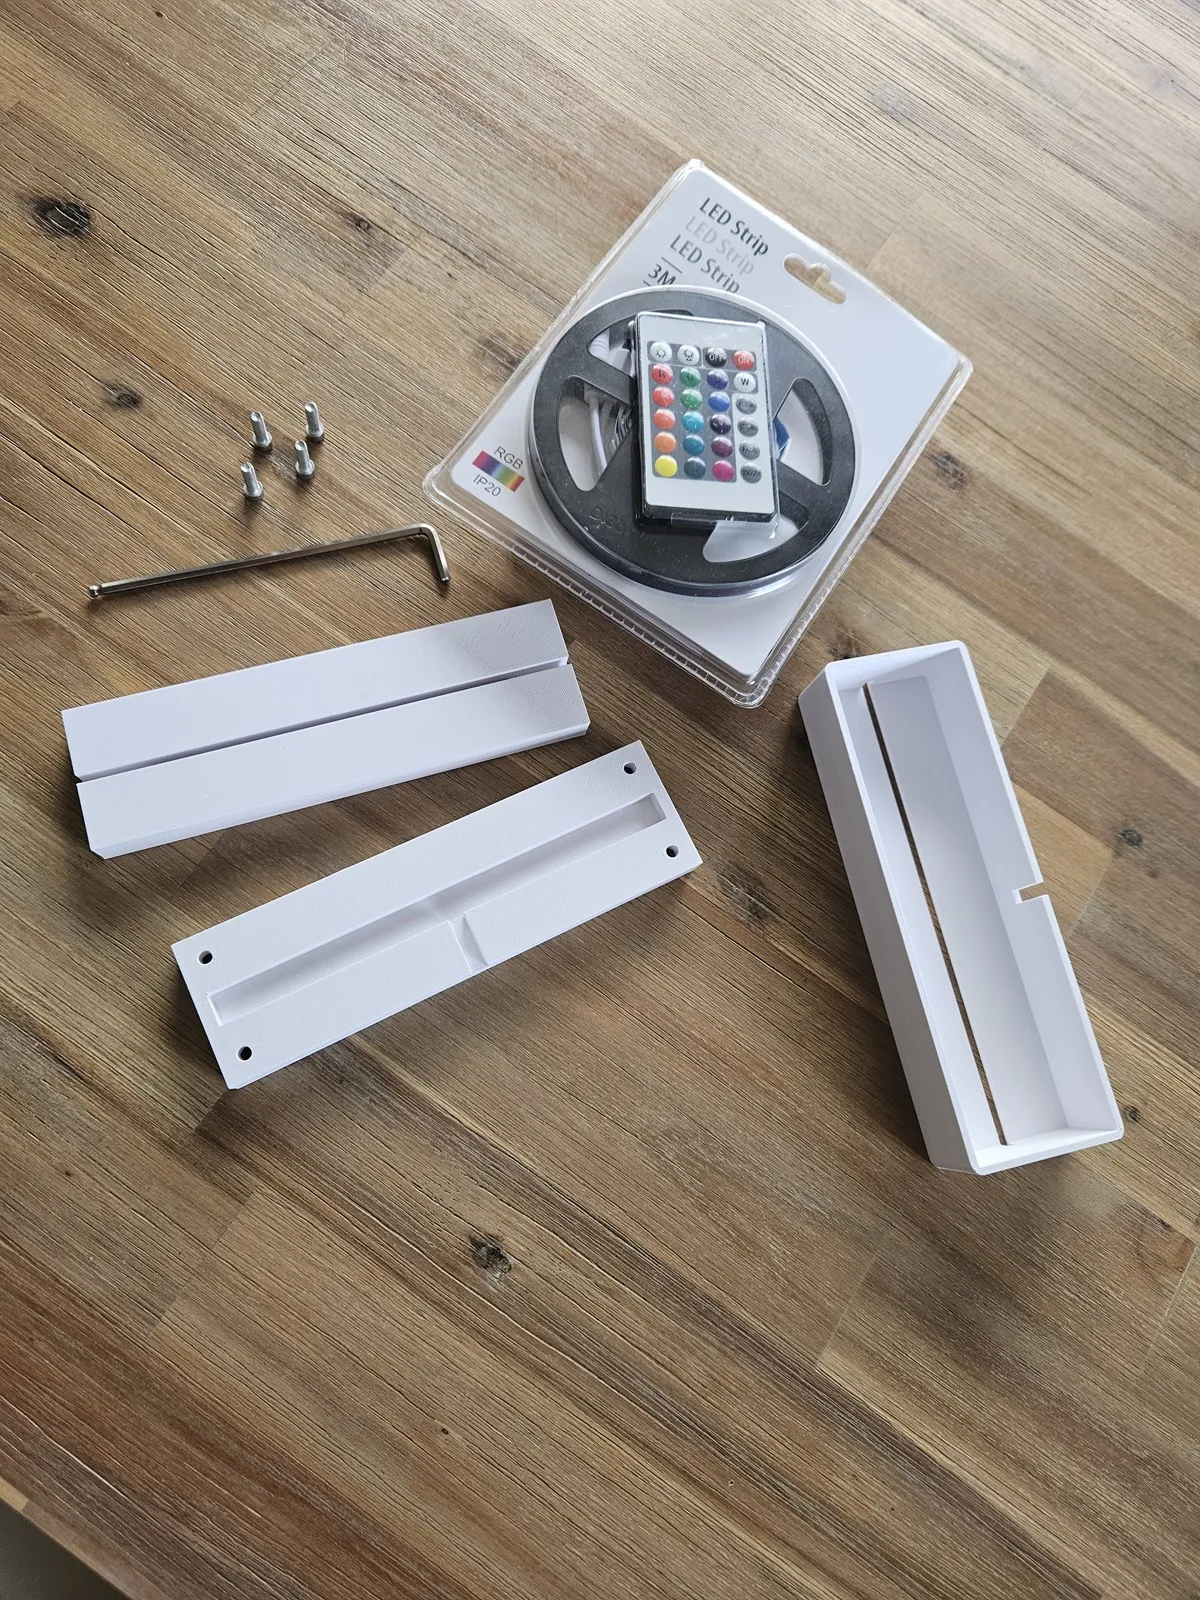
Assembly is relatively easy, you will need an LED light string and 4 x 16mm M5 bolts and an alan key as seen in the below image.
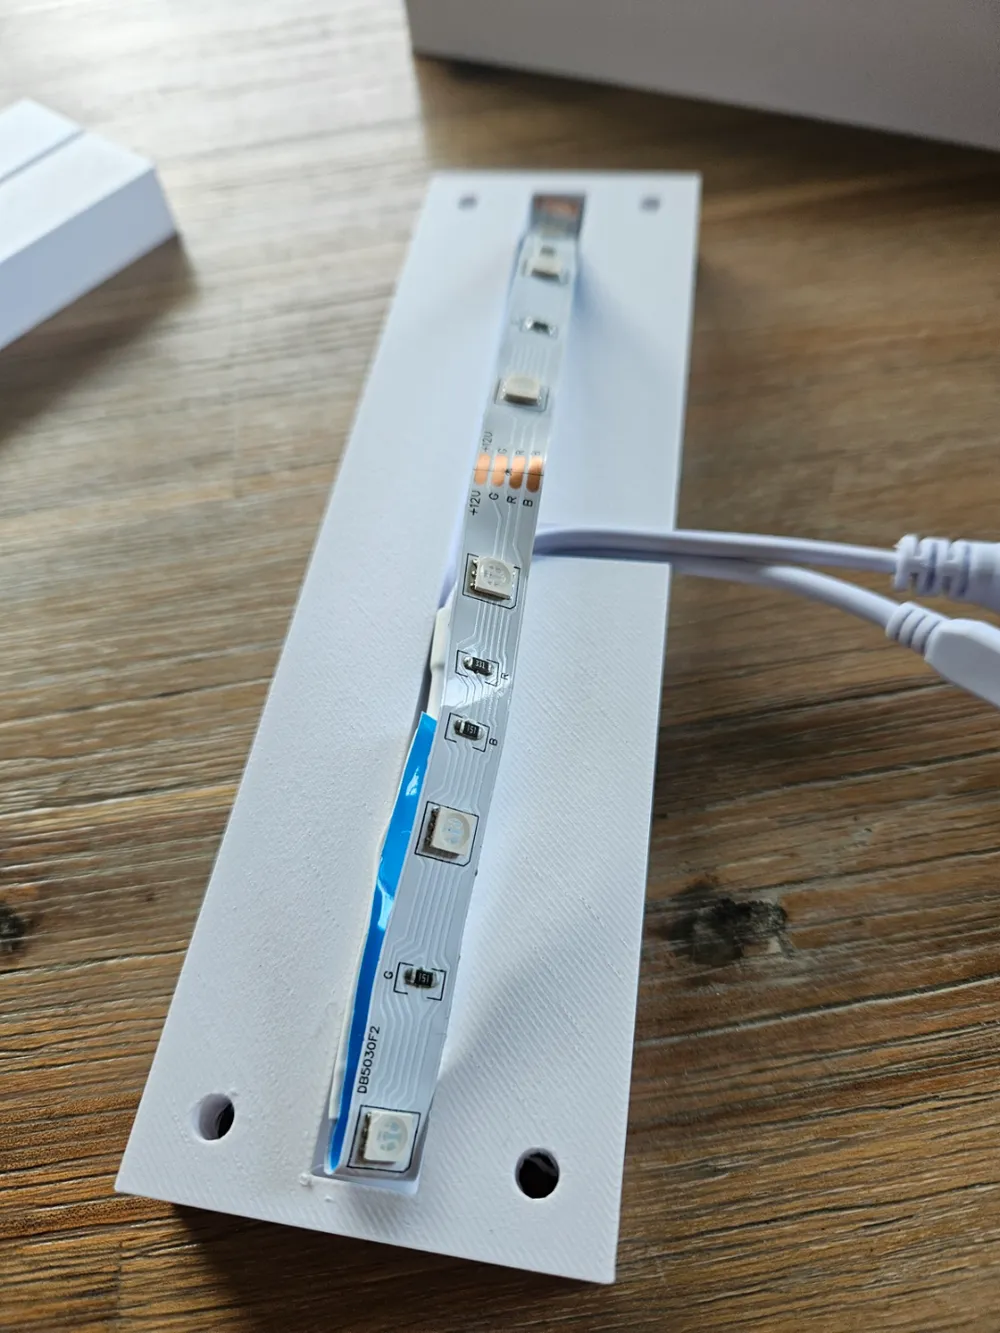
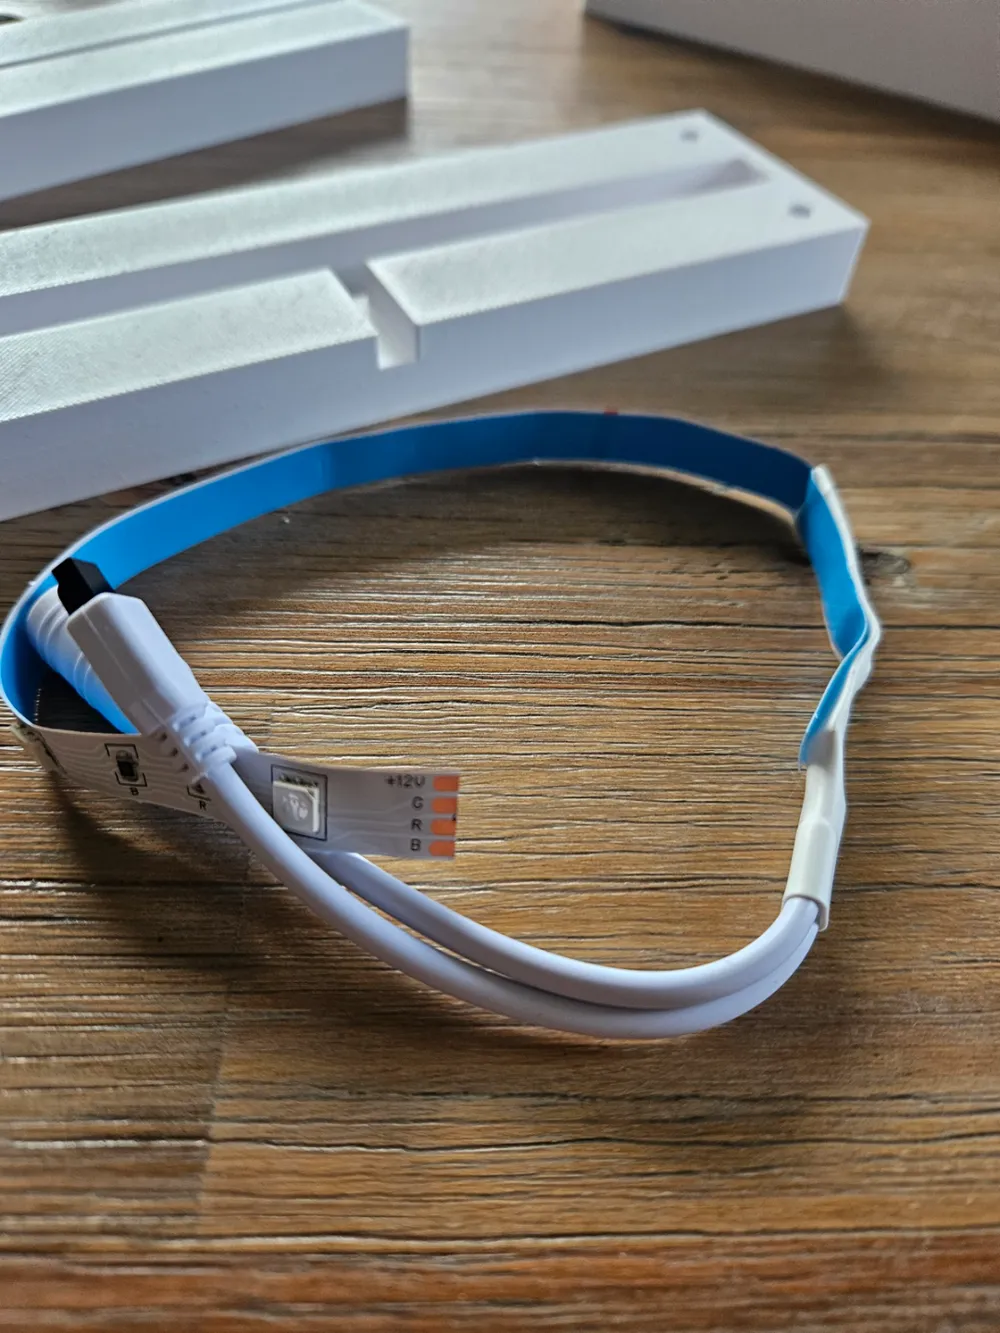
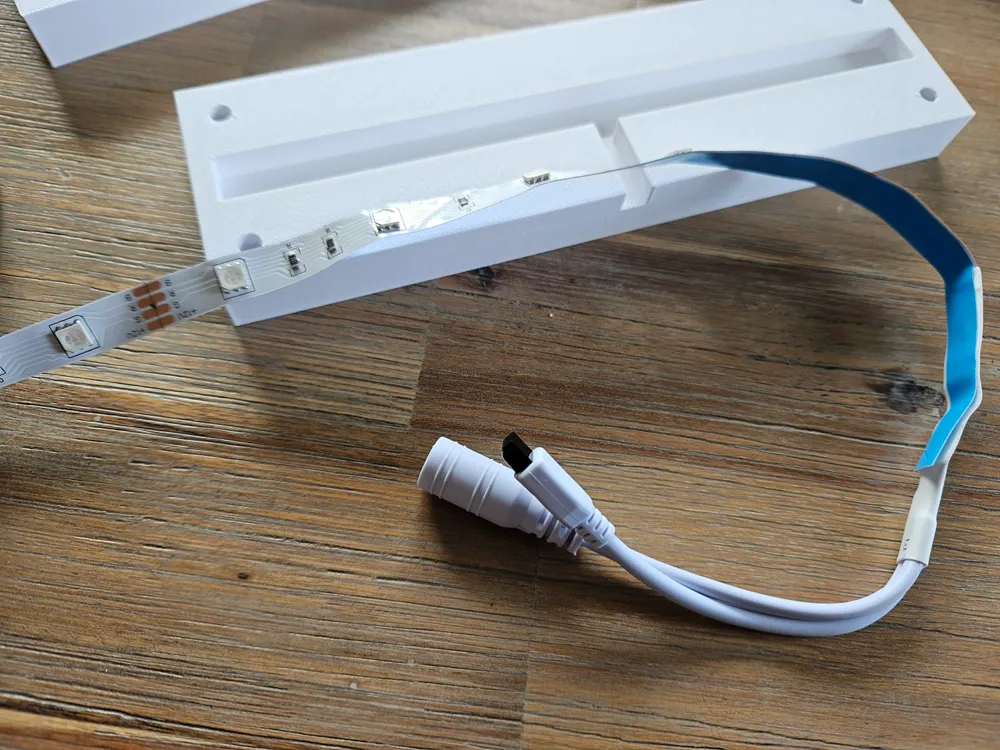
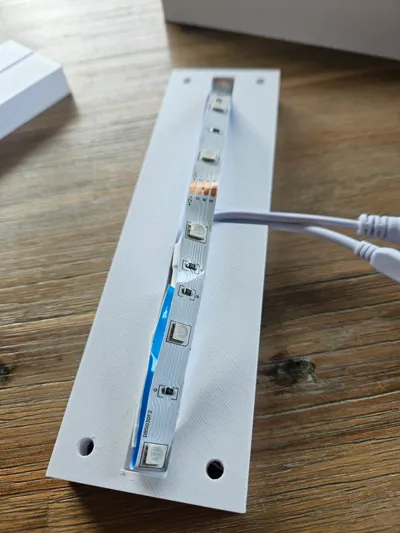
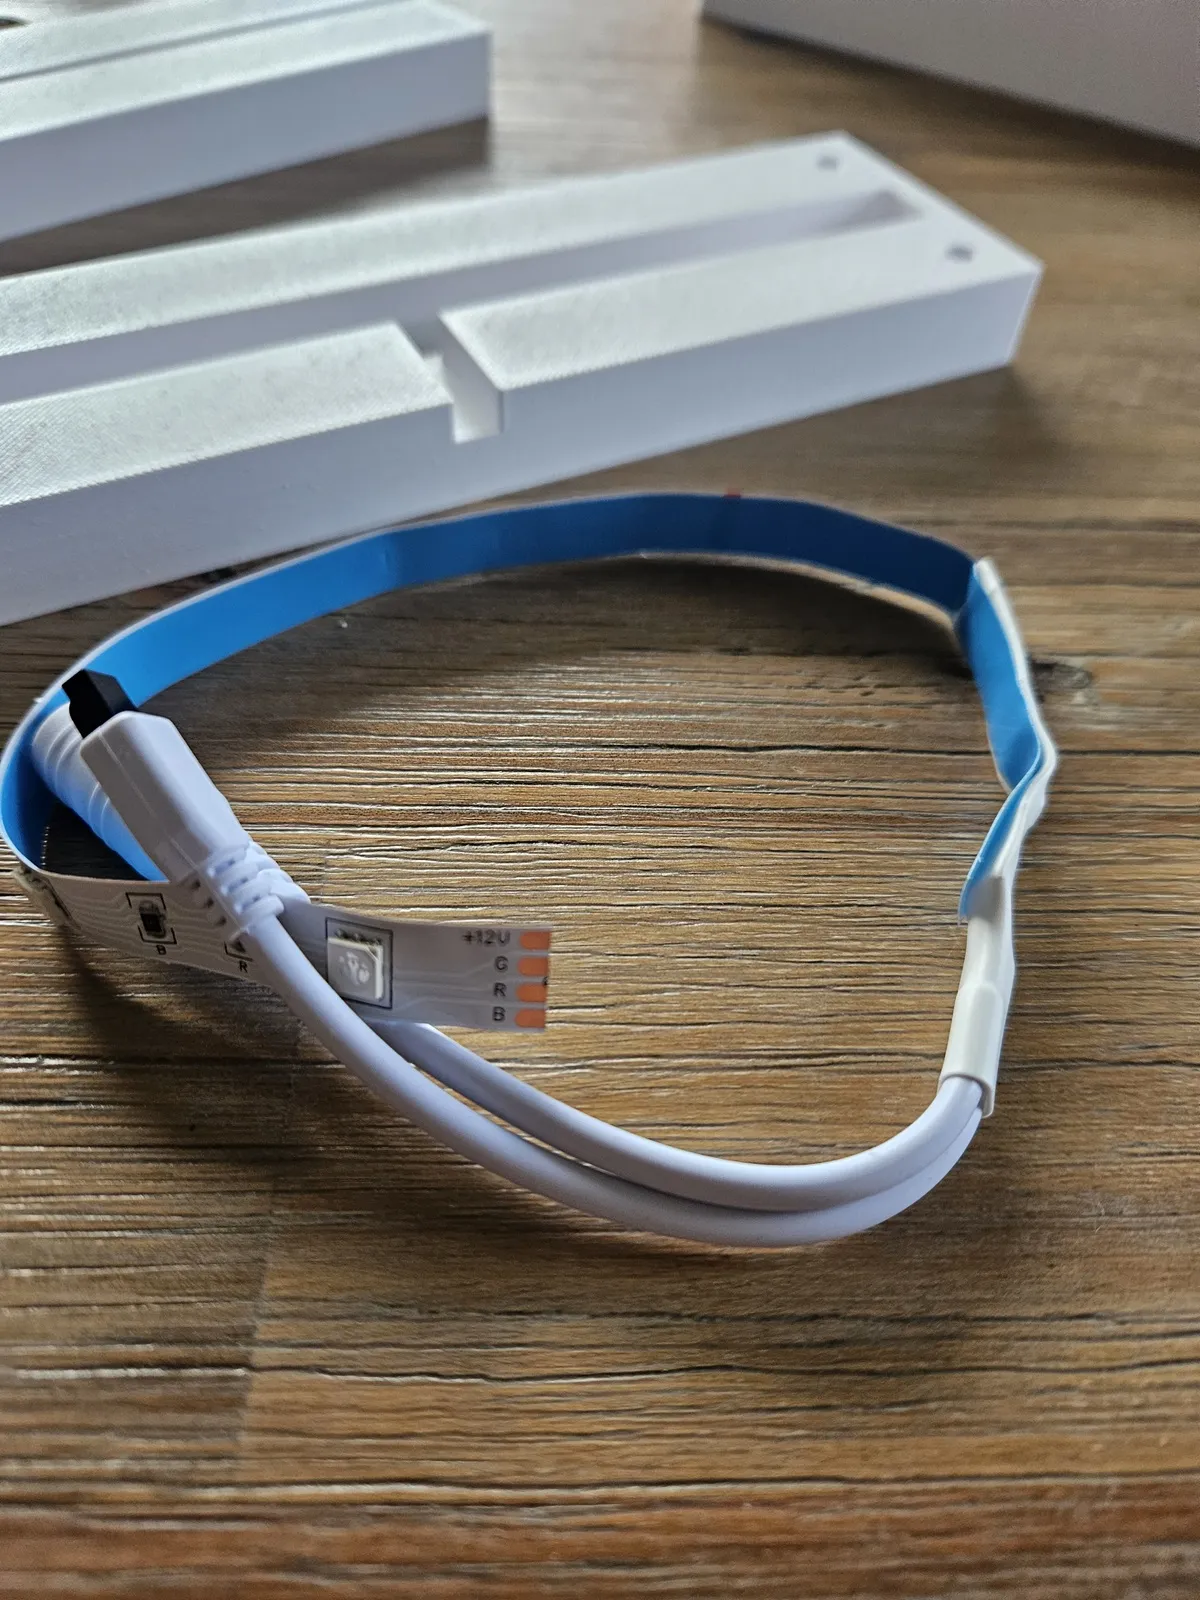
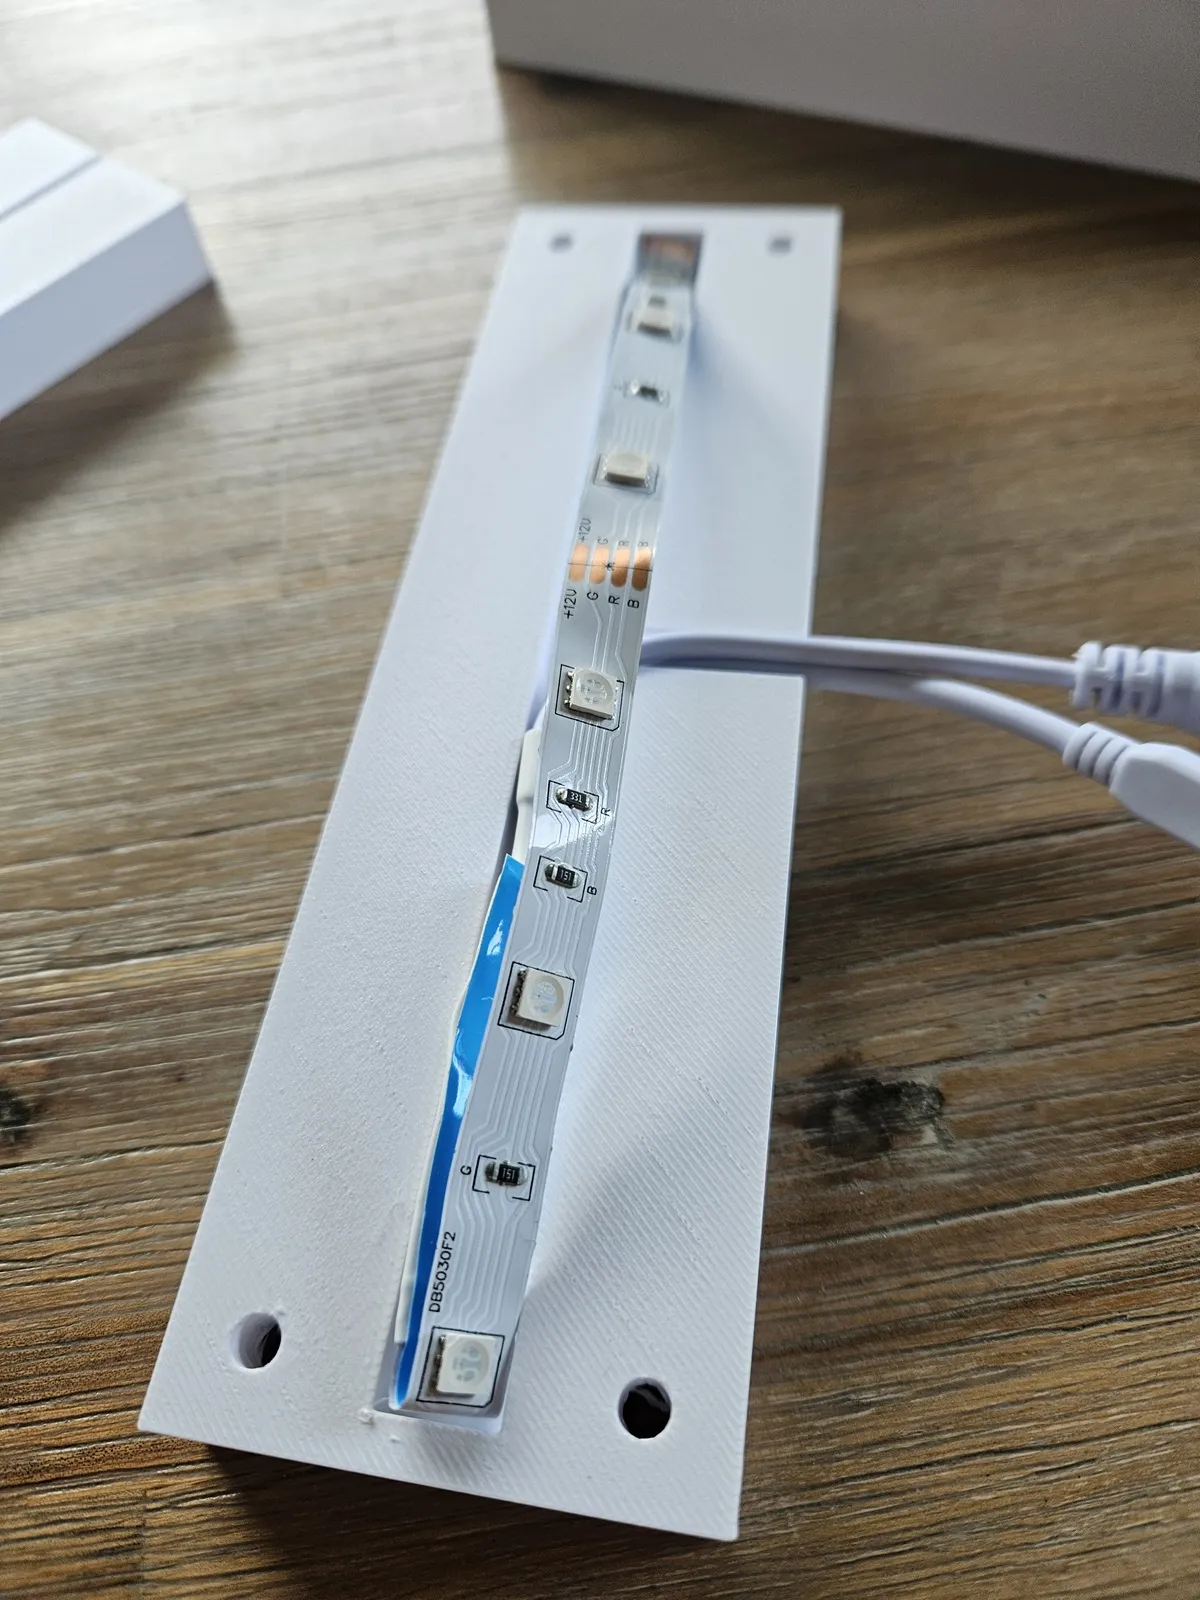
Step 1: Cut the led strip to length, start by measuring the length required to fill the base. Be careful as once cut, it can not be uncut ! There should be an indicator on the LED which shows where to cut safely The below image shows a cut piece of LED. Important: a part of the led (certainly in my example) is folder over so that the wires can be fed through the gap.
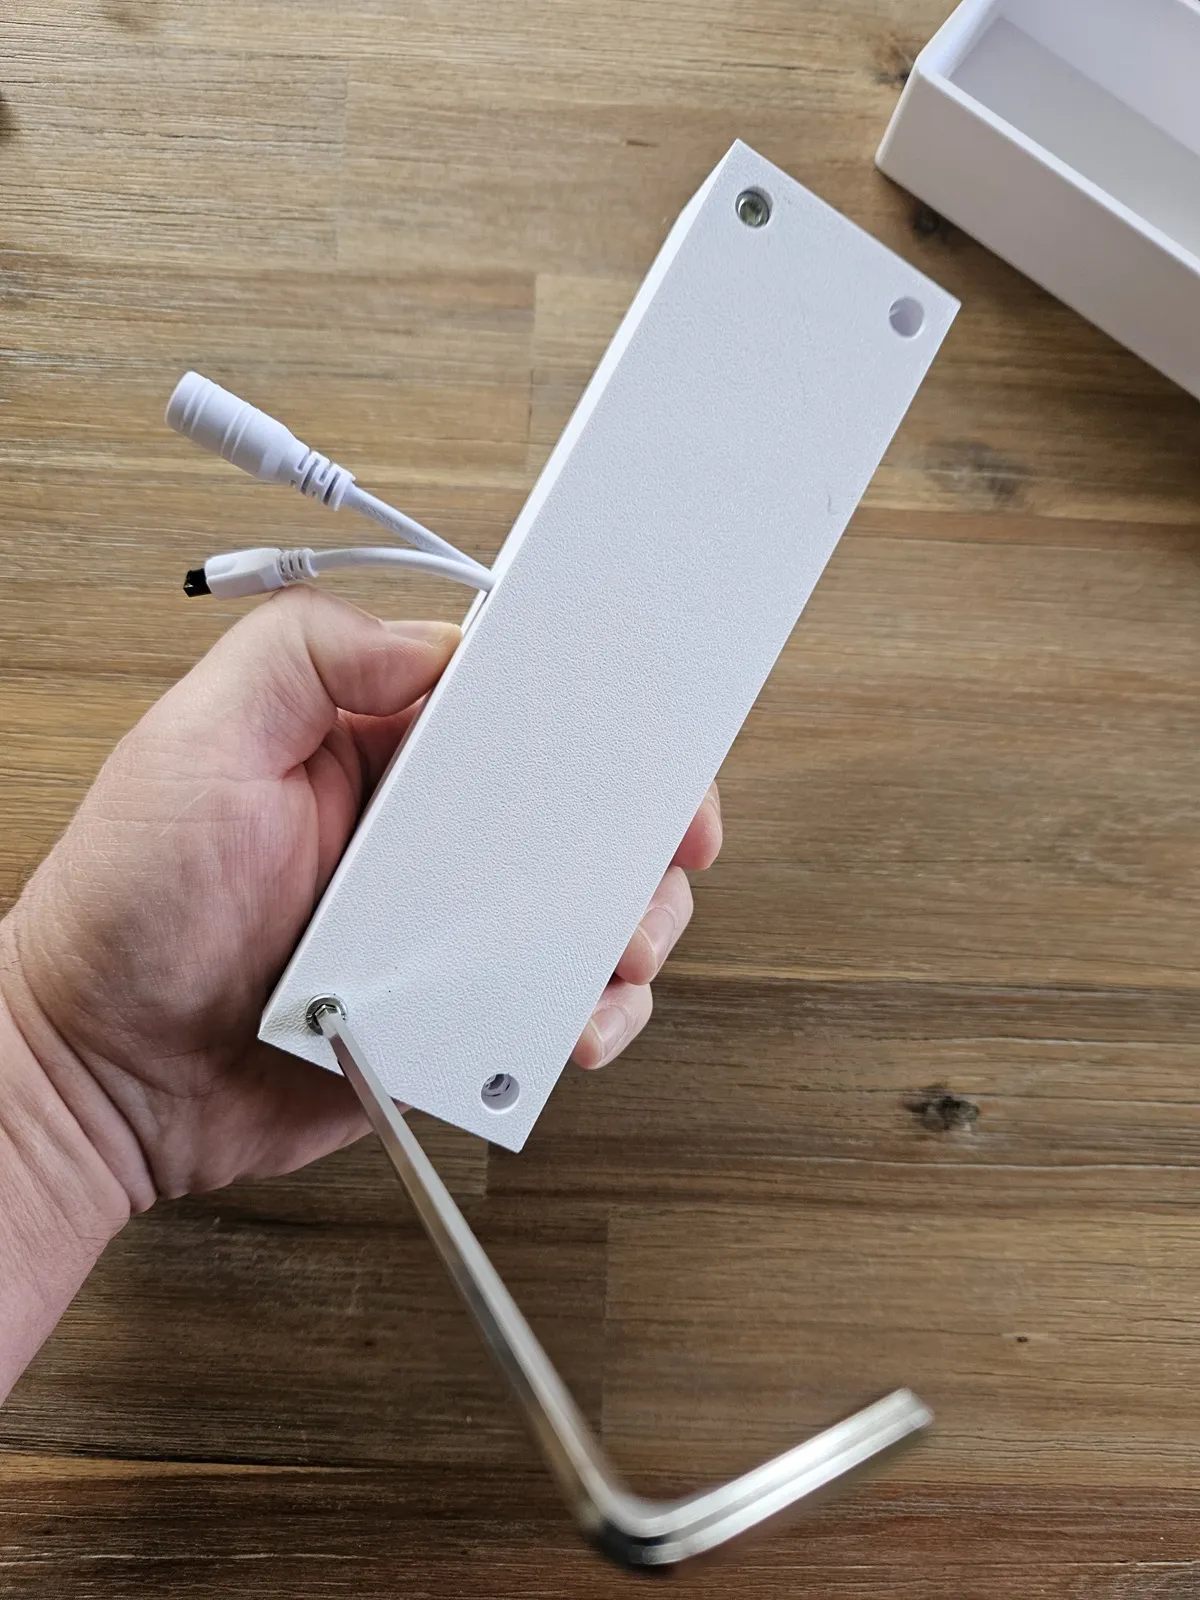
Step 2: After placing the LED strip inside carefully place the top part over the strip, the holes should line up and you can start adding the M5 bolts. The bolts have been designed to be a tight fit but should screw in nicely to enable the pieces to be attached
Step 3: Add the cover which conceals the join lines.
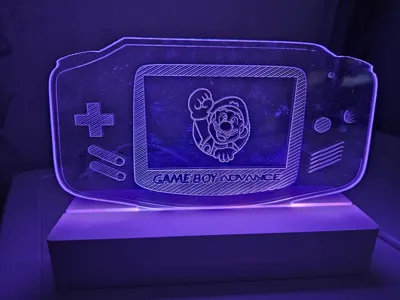
Final step plug in and add your plexiglas design, plug in and enjoy :-)
This model is part of my 12v System collection.
Boost Me (for free)
I have enjoyed creating this model, originally they were done in wood but these are much nicer, if you want to boost me it would be greatly appreciated
License



Comment & Rating (1)