
Modular Lantern - The Cube and Flat Top (Mk3)






Print Profile(2)


Bill of Materials



Description
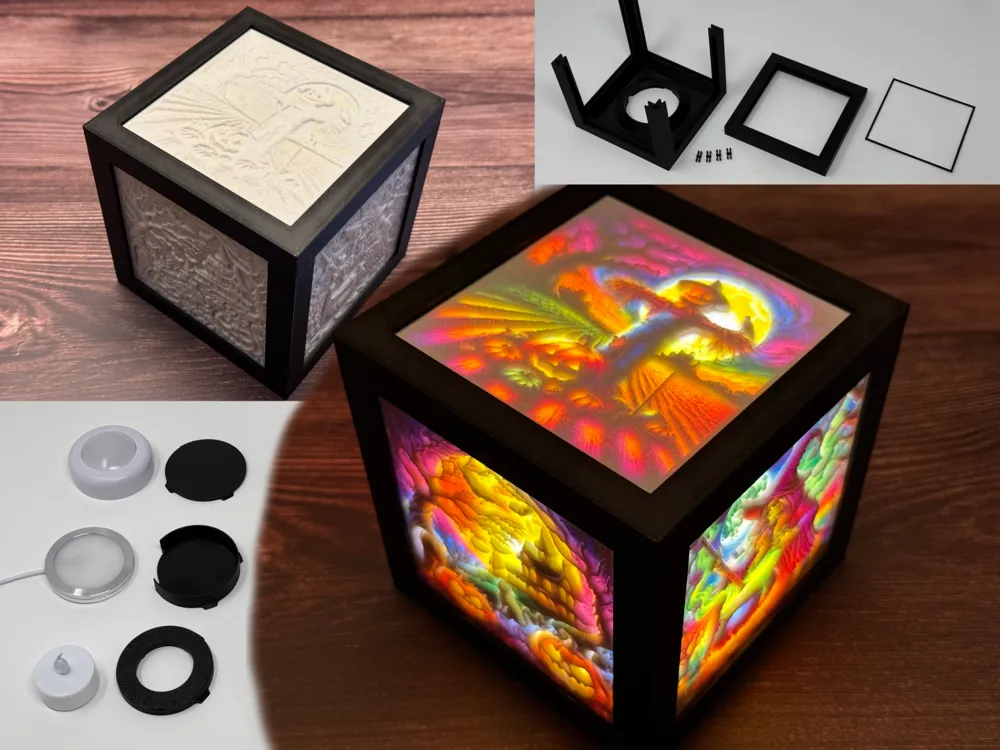
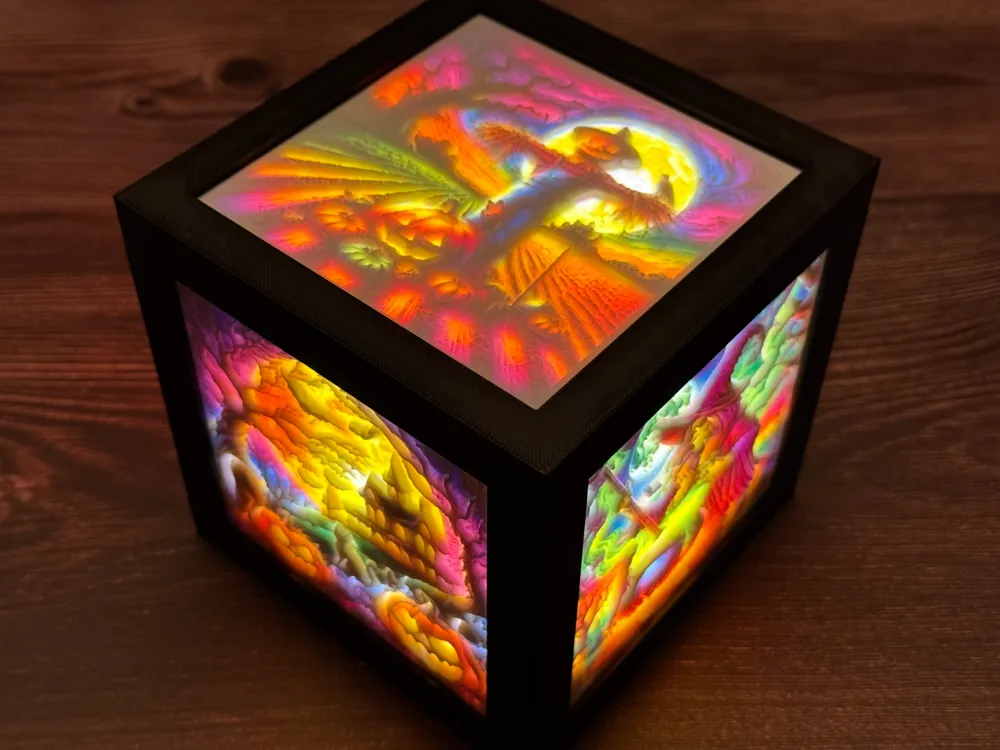
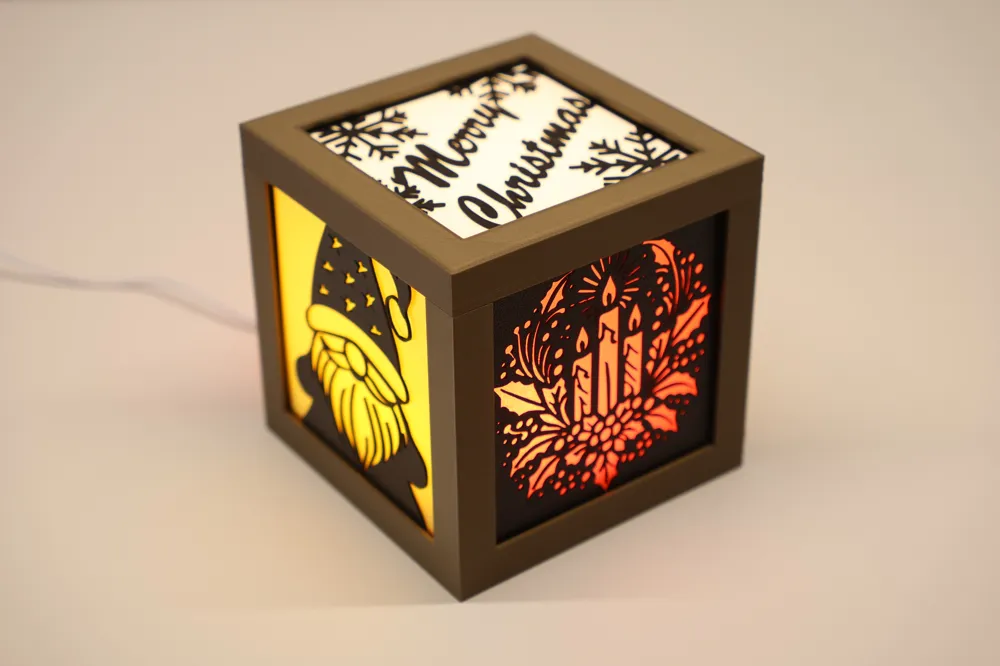
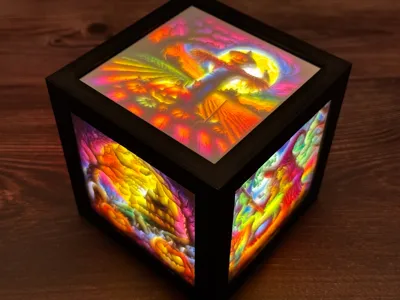
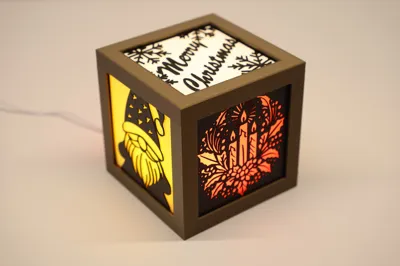
Welcome to The Cube — Part of the Modular Lantern, a fully stackable system of cross-compatible parts that supports lithophanes, coloured PLA or PETG panels, and stencil inserts.
The idea behind the system is simple — you can completely change the look of your lantern with the seasons. And with over 300 inserts available, you’ll never run out of ways to refresh it.
Mk3 introduces the new MagFit clip, please download from here, NO MAGNETS ARE REQUIRED when using this clip it fits in the same location as the magnet mounts but provides a stronger and more reliable hold than the original clips.
Don’t worry — it’s still fully backward-compatible with Mk2 tops, retaining the original clip slots and matching magnet alignment.
As this is intended to be a simple cube let’s start off building one. I suggest reading through this as it explains the basic cube that will work for most. I will then go into further options later.
Boost Me (for free)
A boost is just that! A huge boost to me and reason to keep creating and sharing knowing that people are enjoying my creations and appreciating the time spent preparing them for others to print. Thankyou!
IMPORTANT: If you are downloading the STL files and slicing yourself please see the slicing section.
Assembly
Add the base
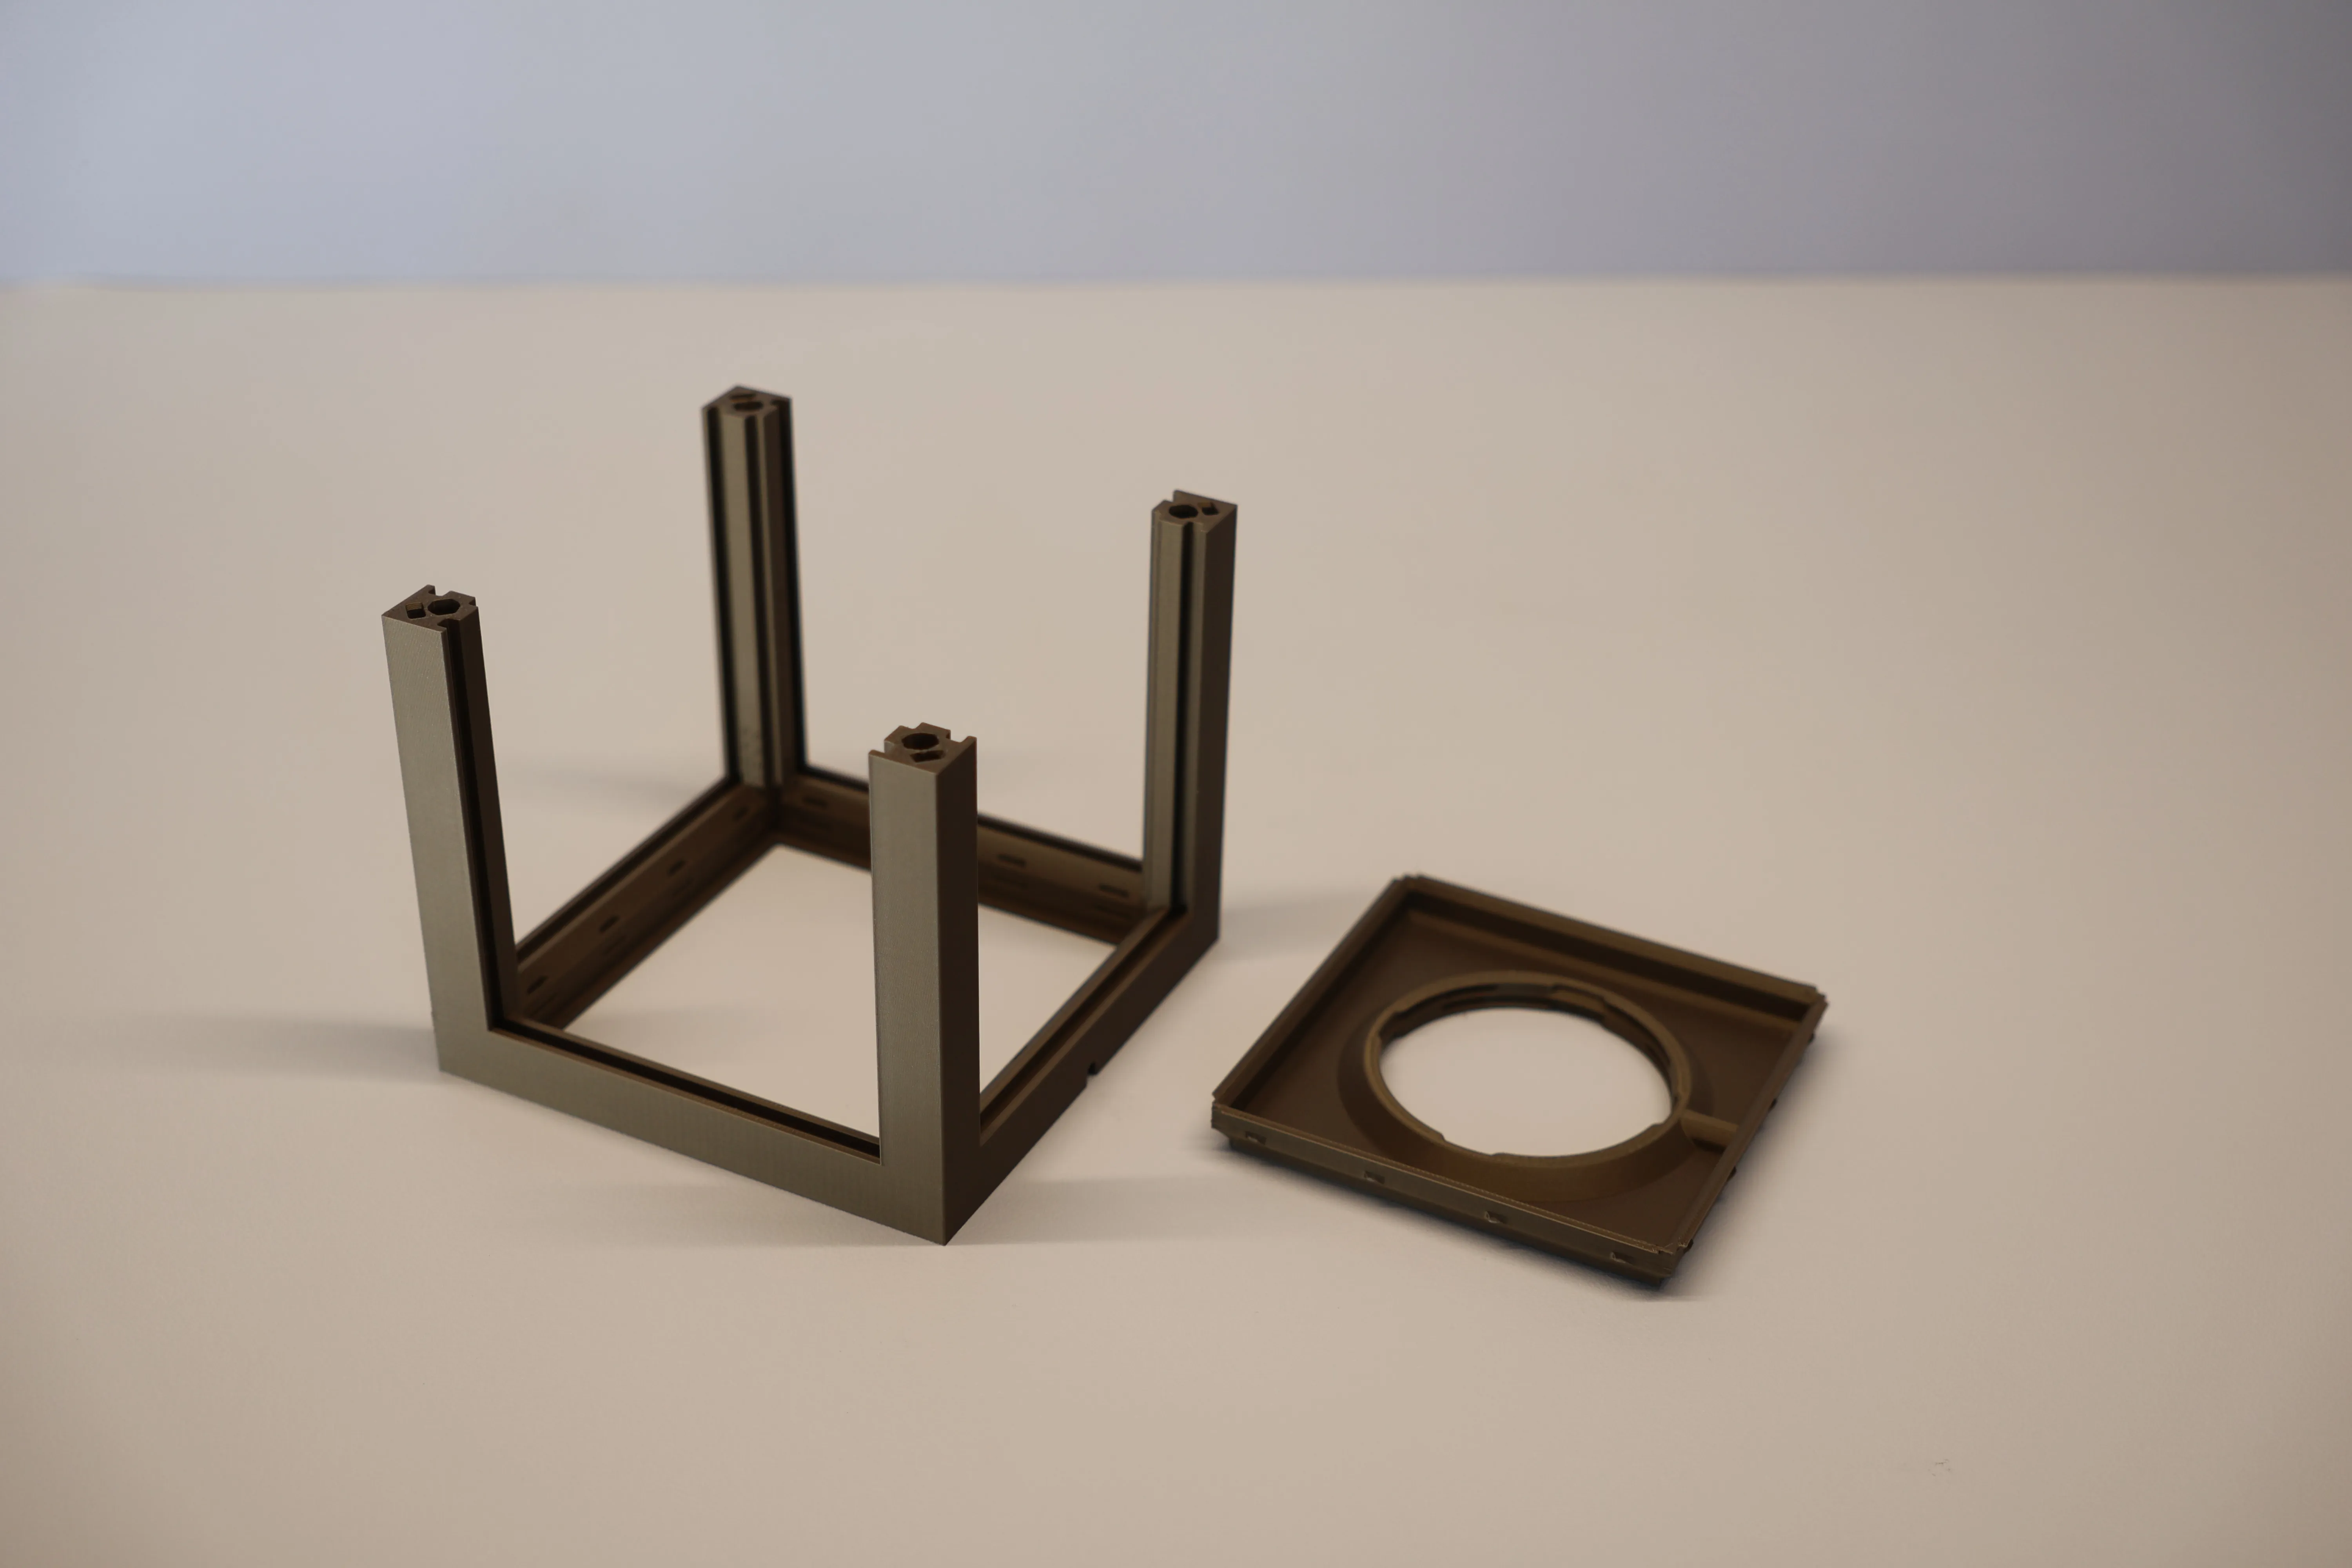
Start with Plate 1, which includes the main lantern body — the Core.
Print this along with the RLock Base from Plate 2.
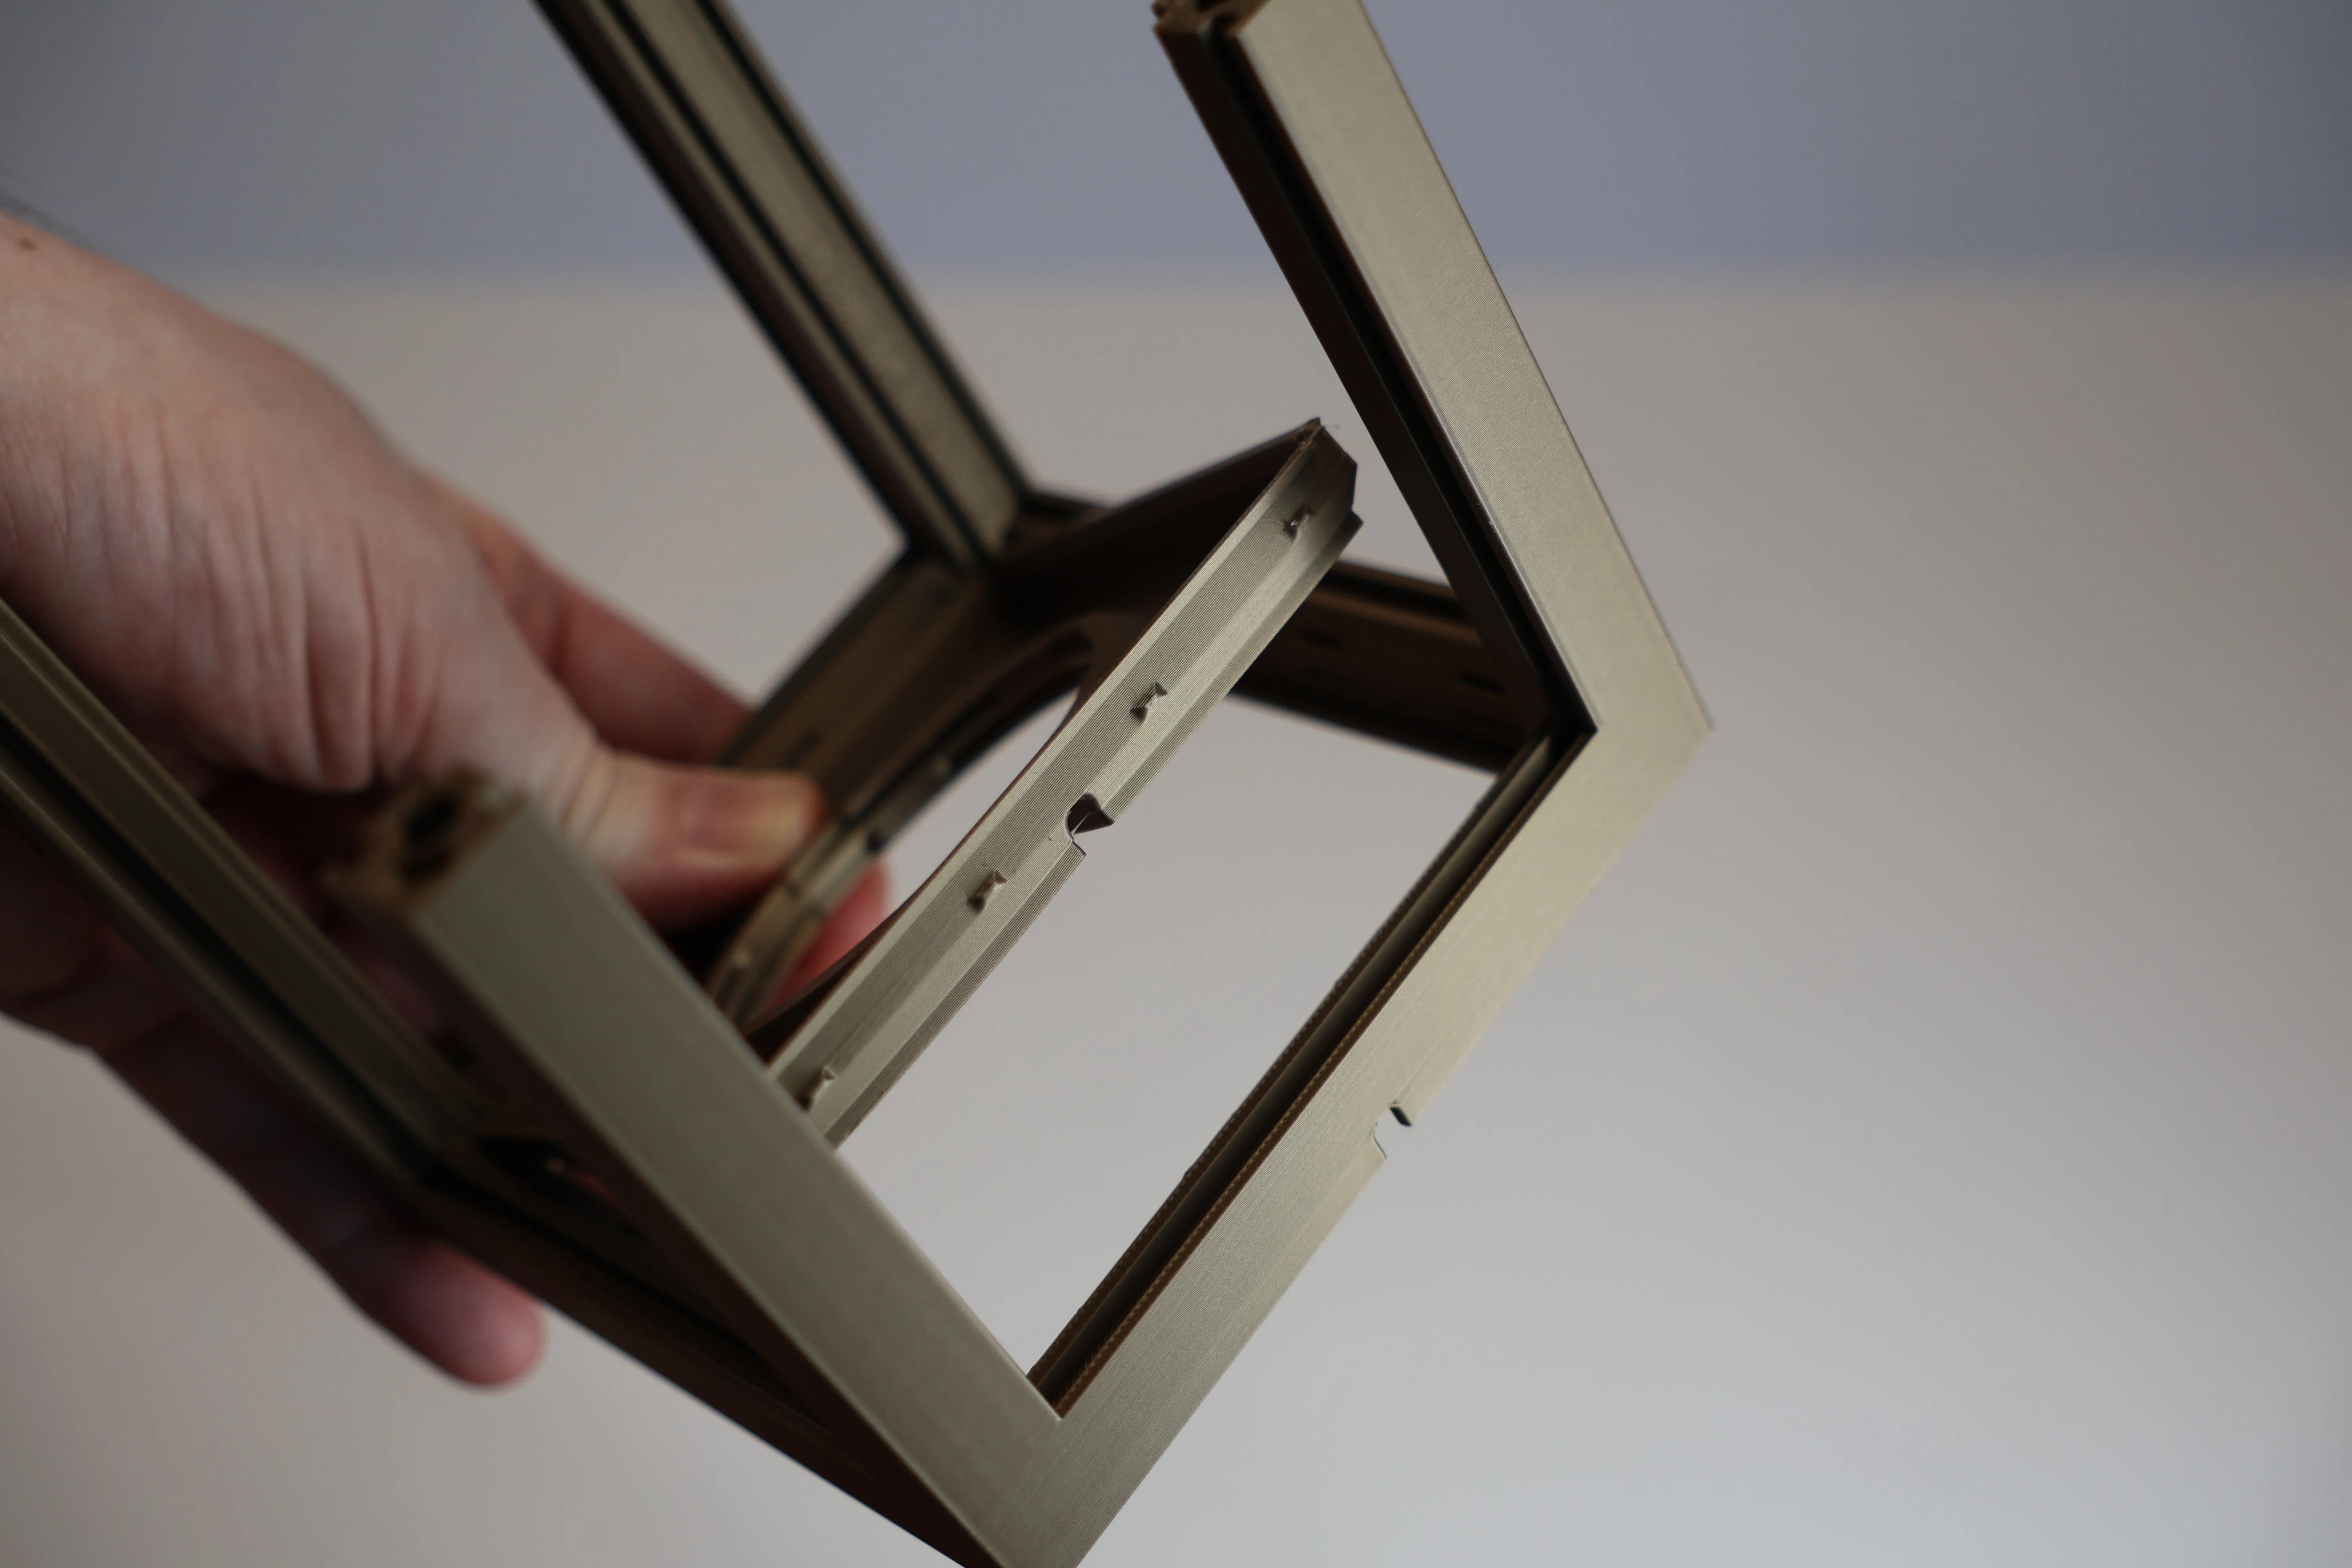
These parts simply push together and click into place, yet can be separated when needed. Make sure you align the cable exit.
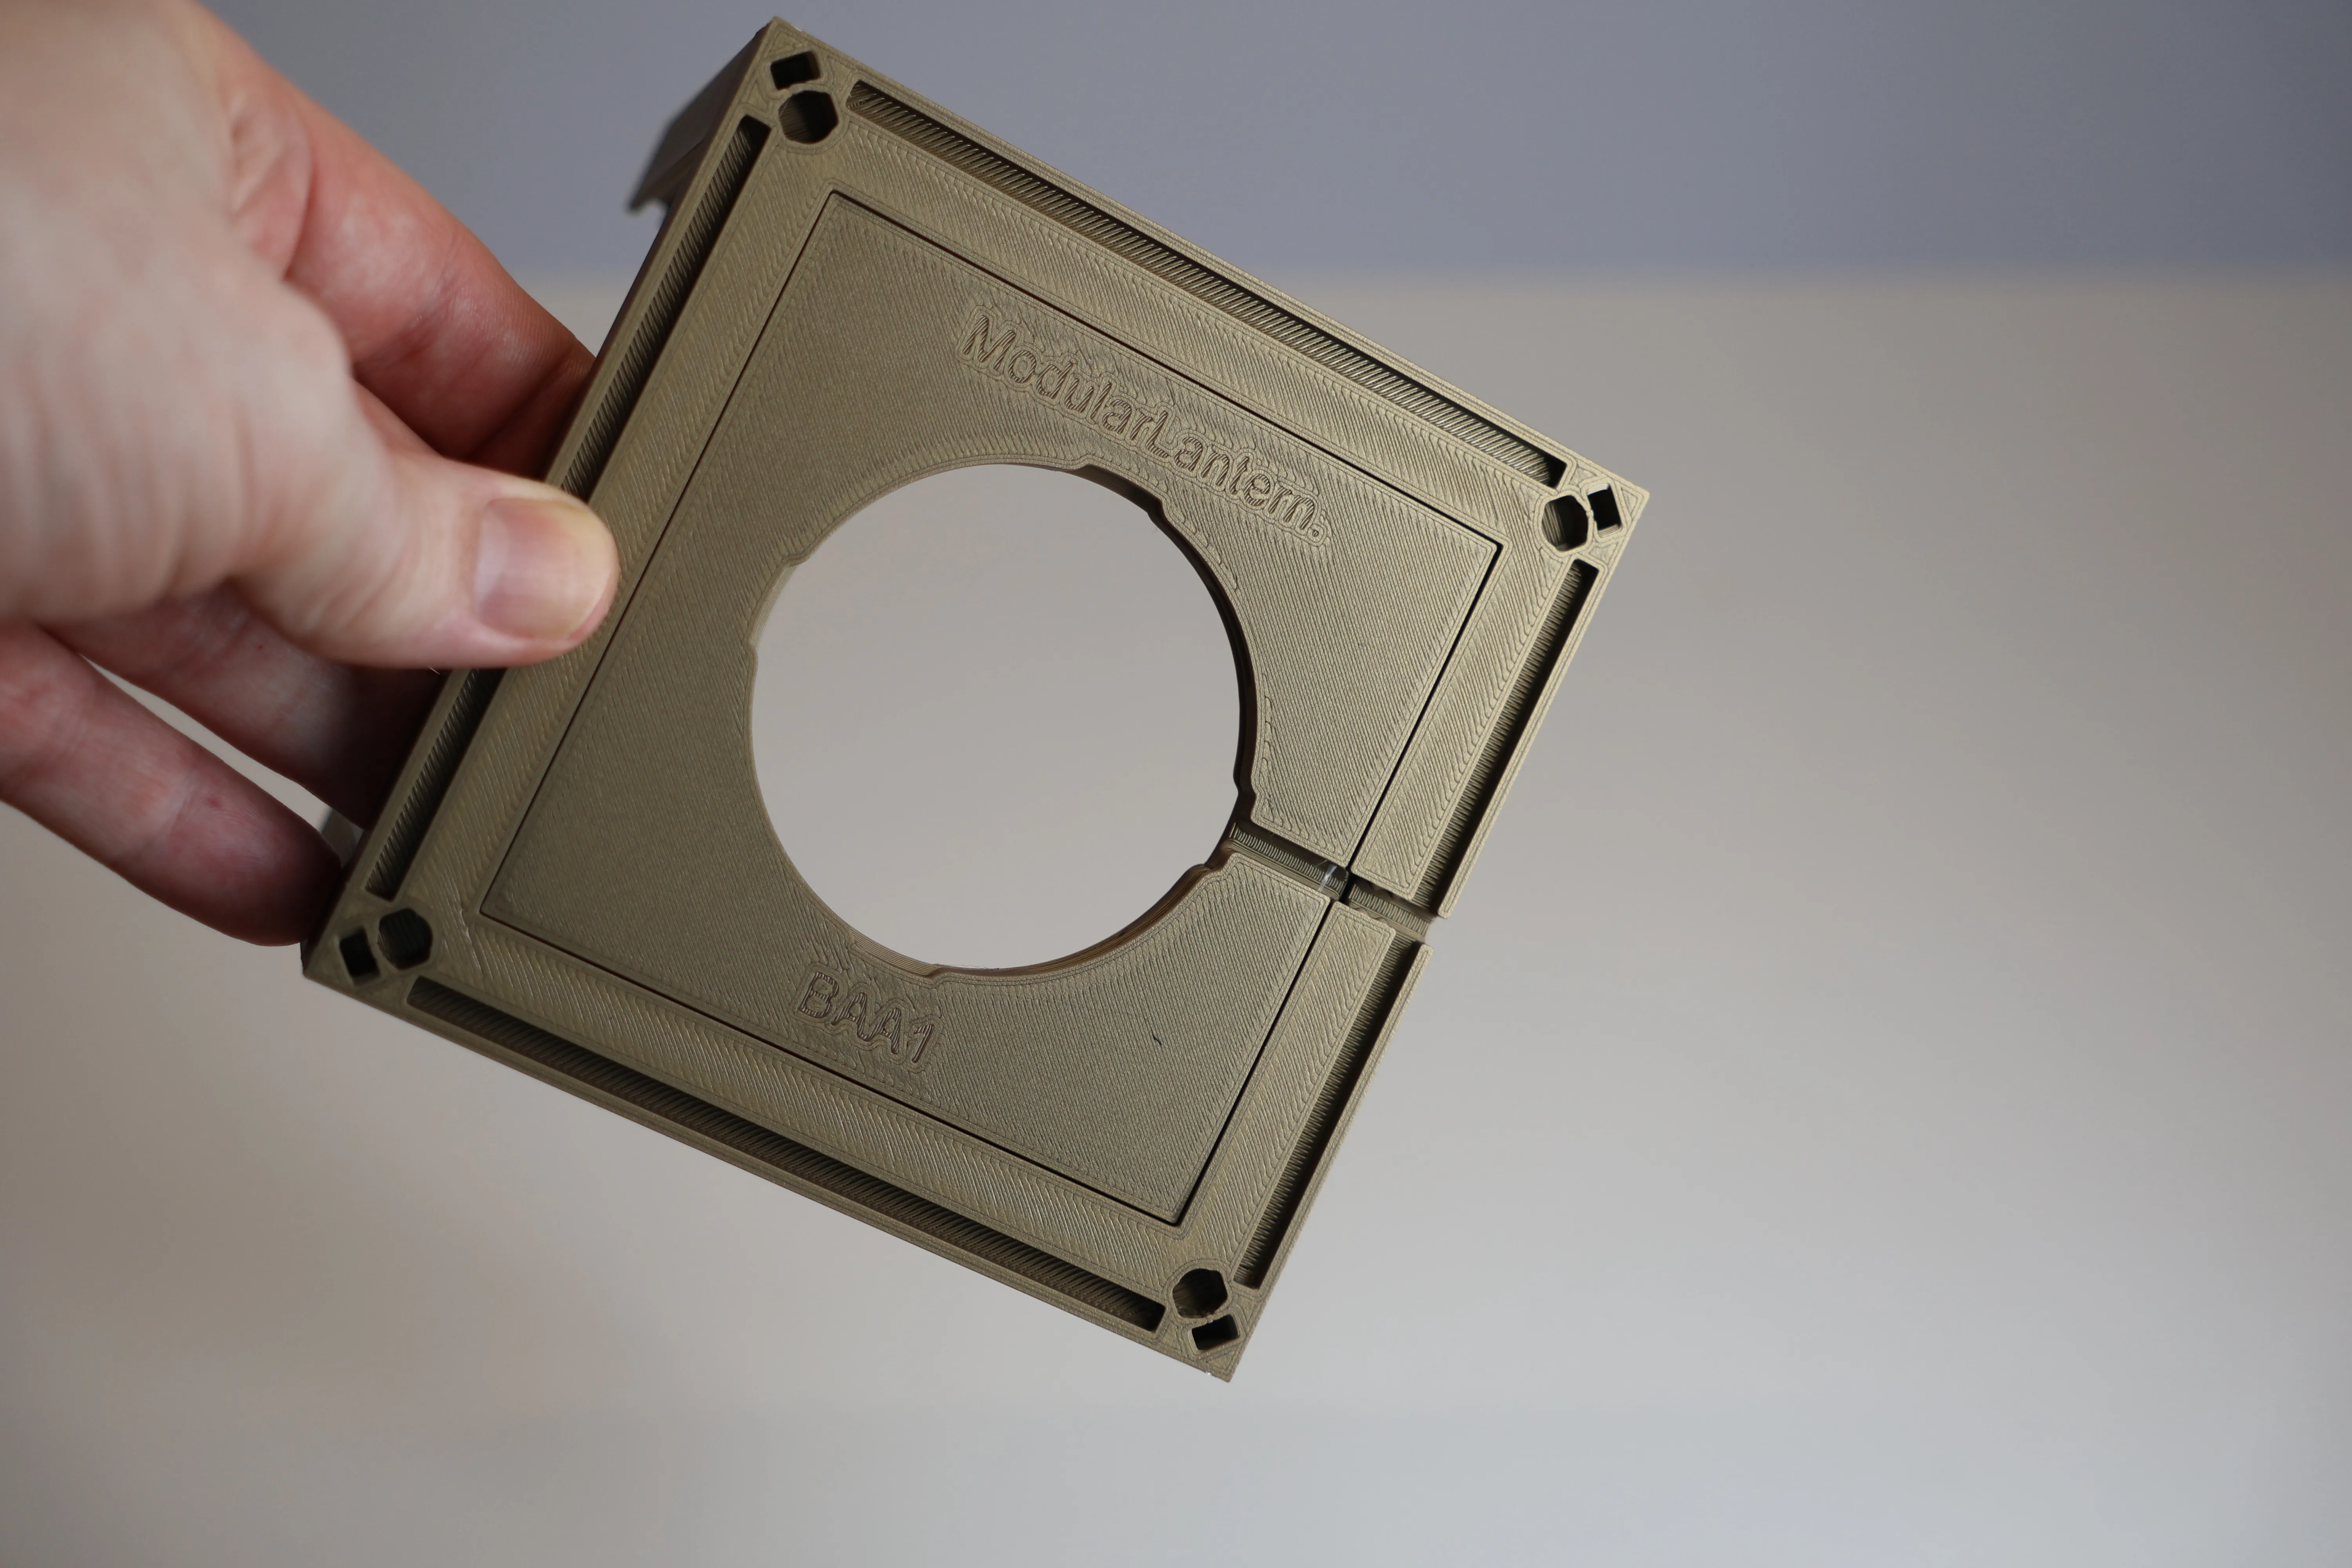
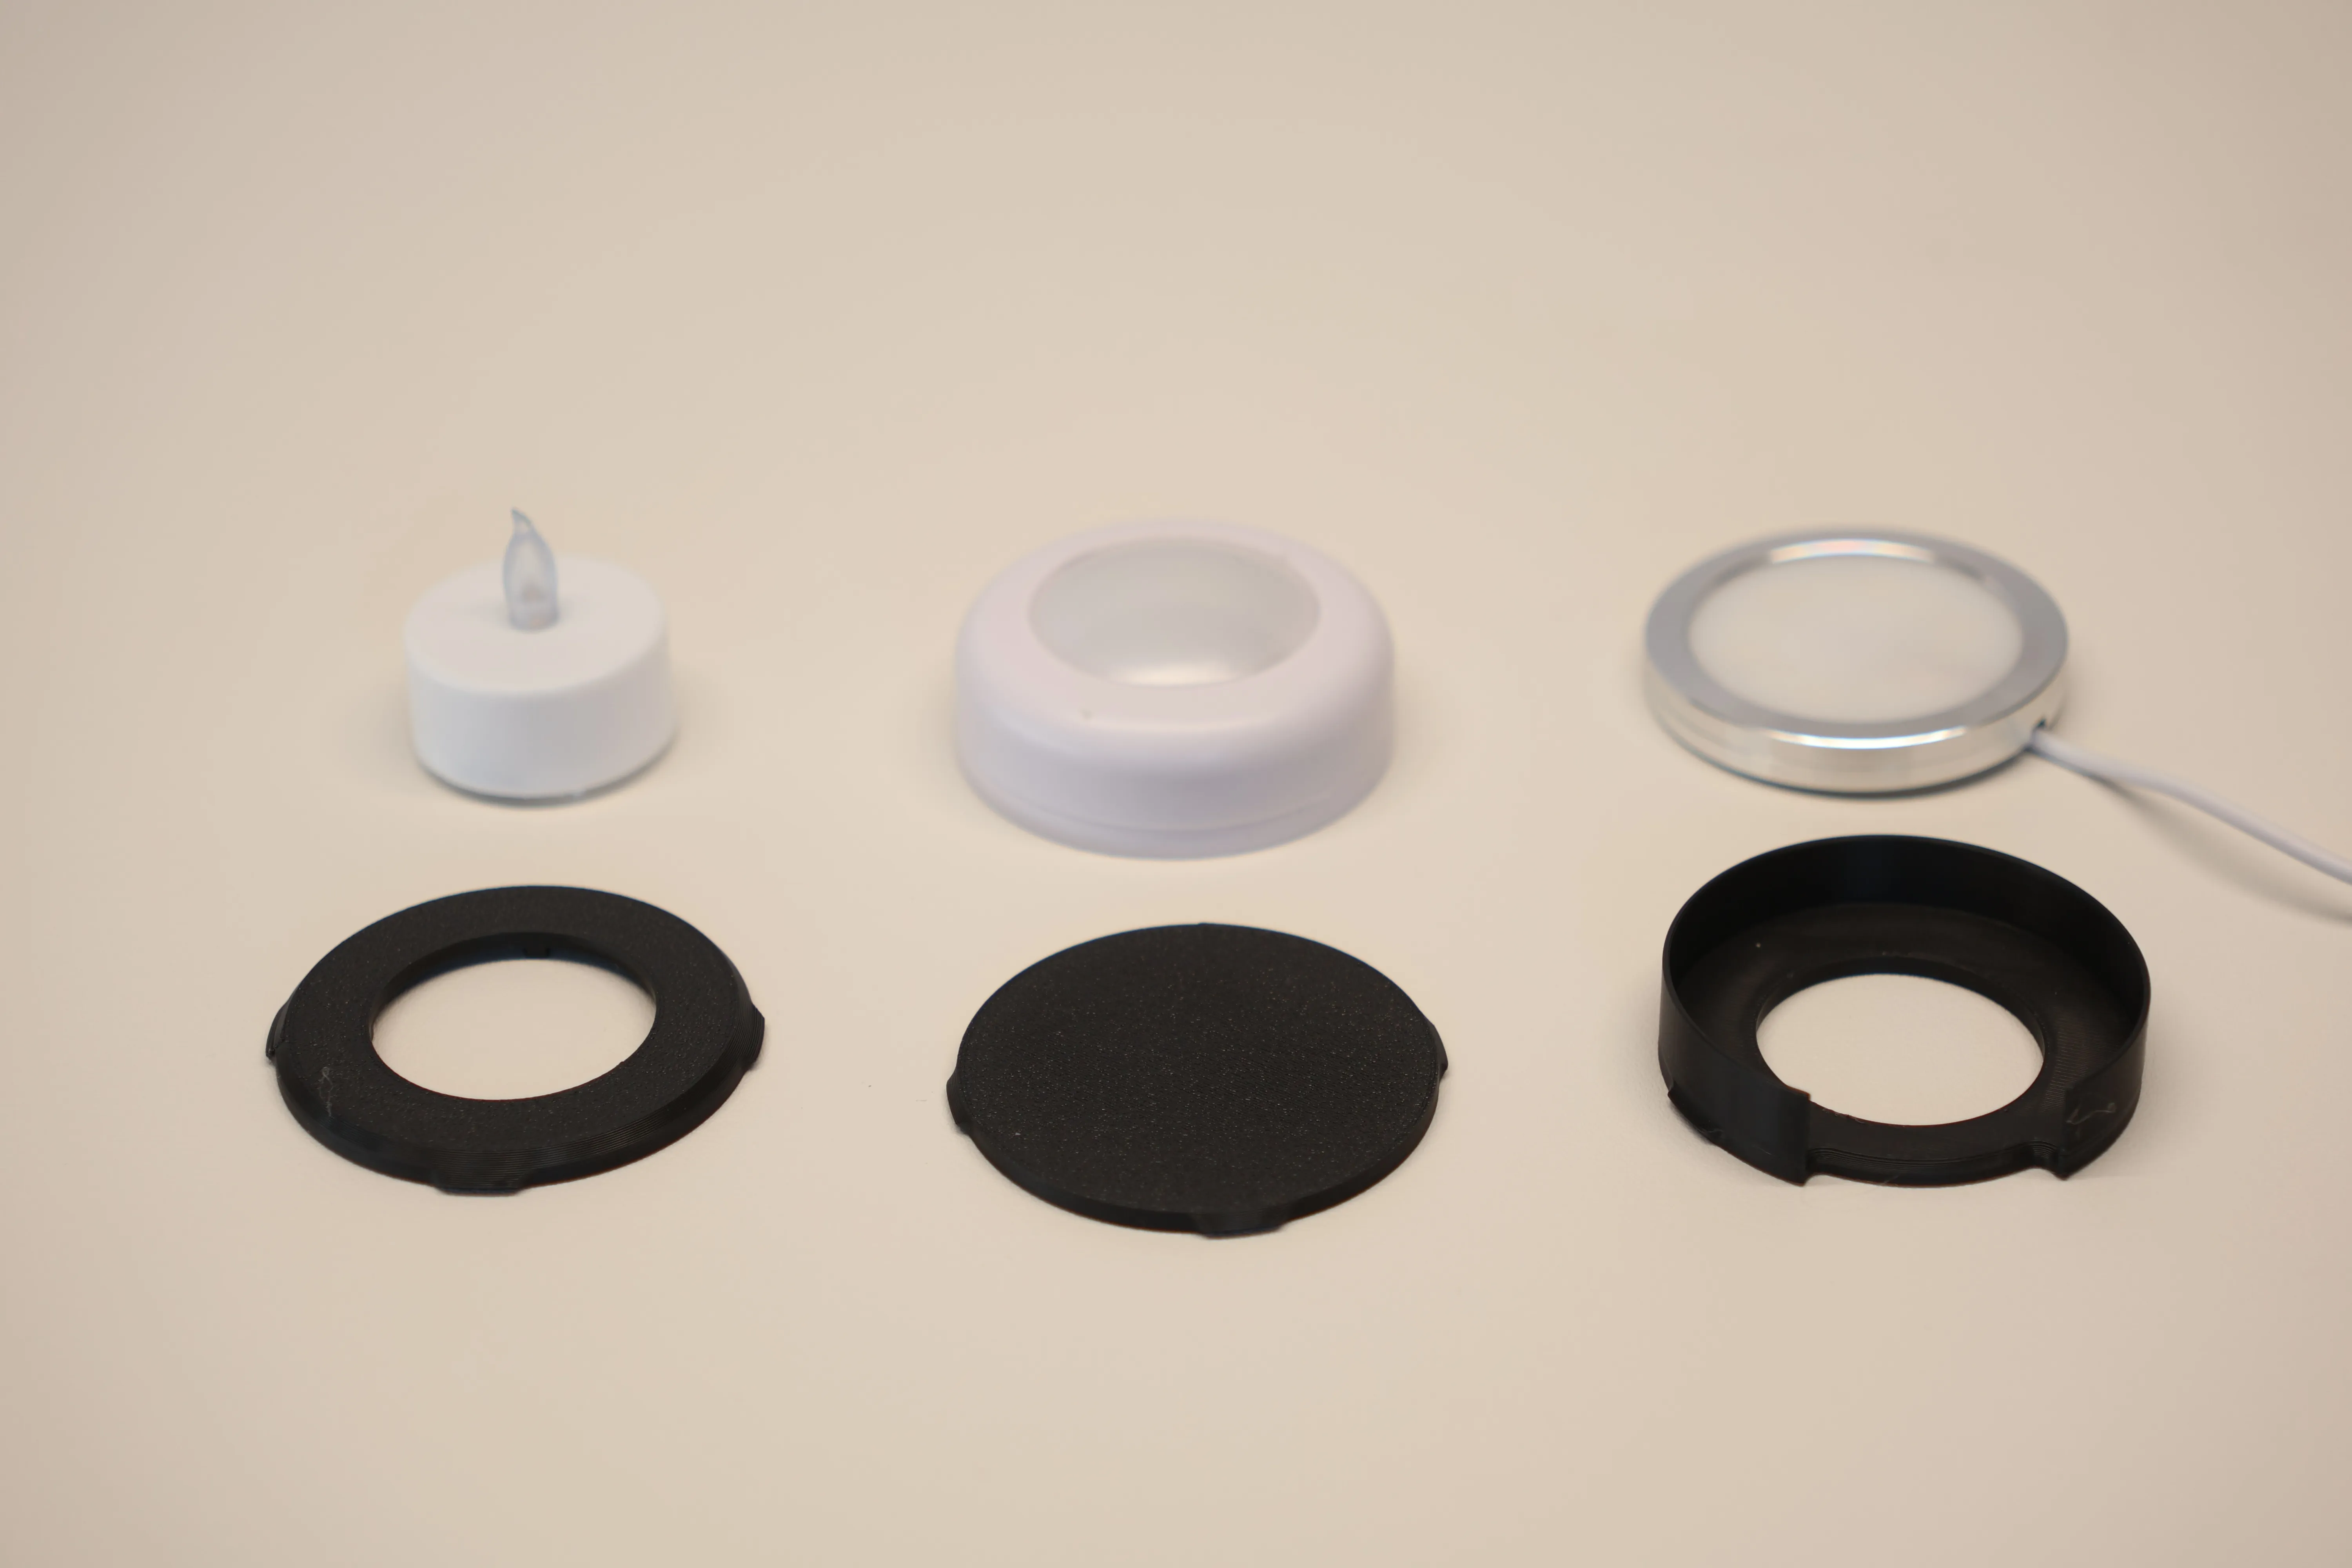
Pick a RLock fitting
The RLock base accepts the same RLock LED fittings as the Mk2 lantern so all the Mk2 options available will work with Mk3. Including the Variable Tea Light fitting and Light Strip Cylinder. Included in this profile are the most common fittings made for the Bambu range of lights, just print the one according to the LED you’re using:
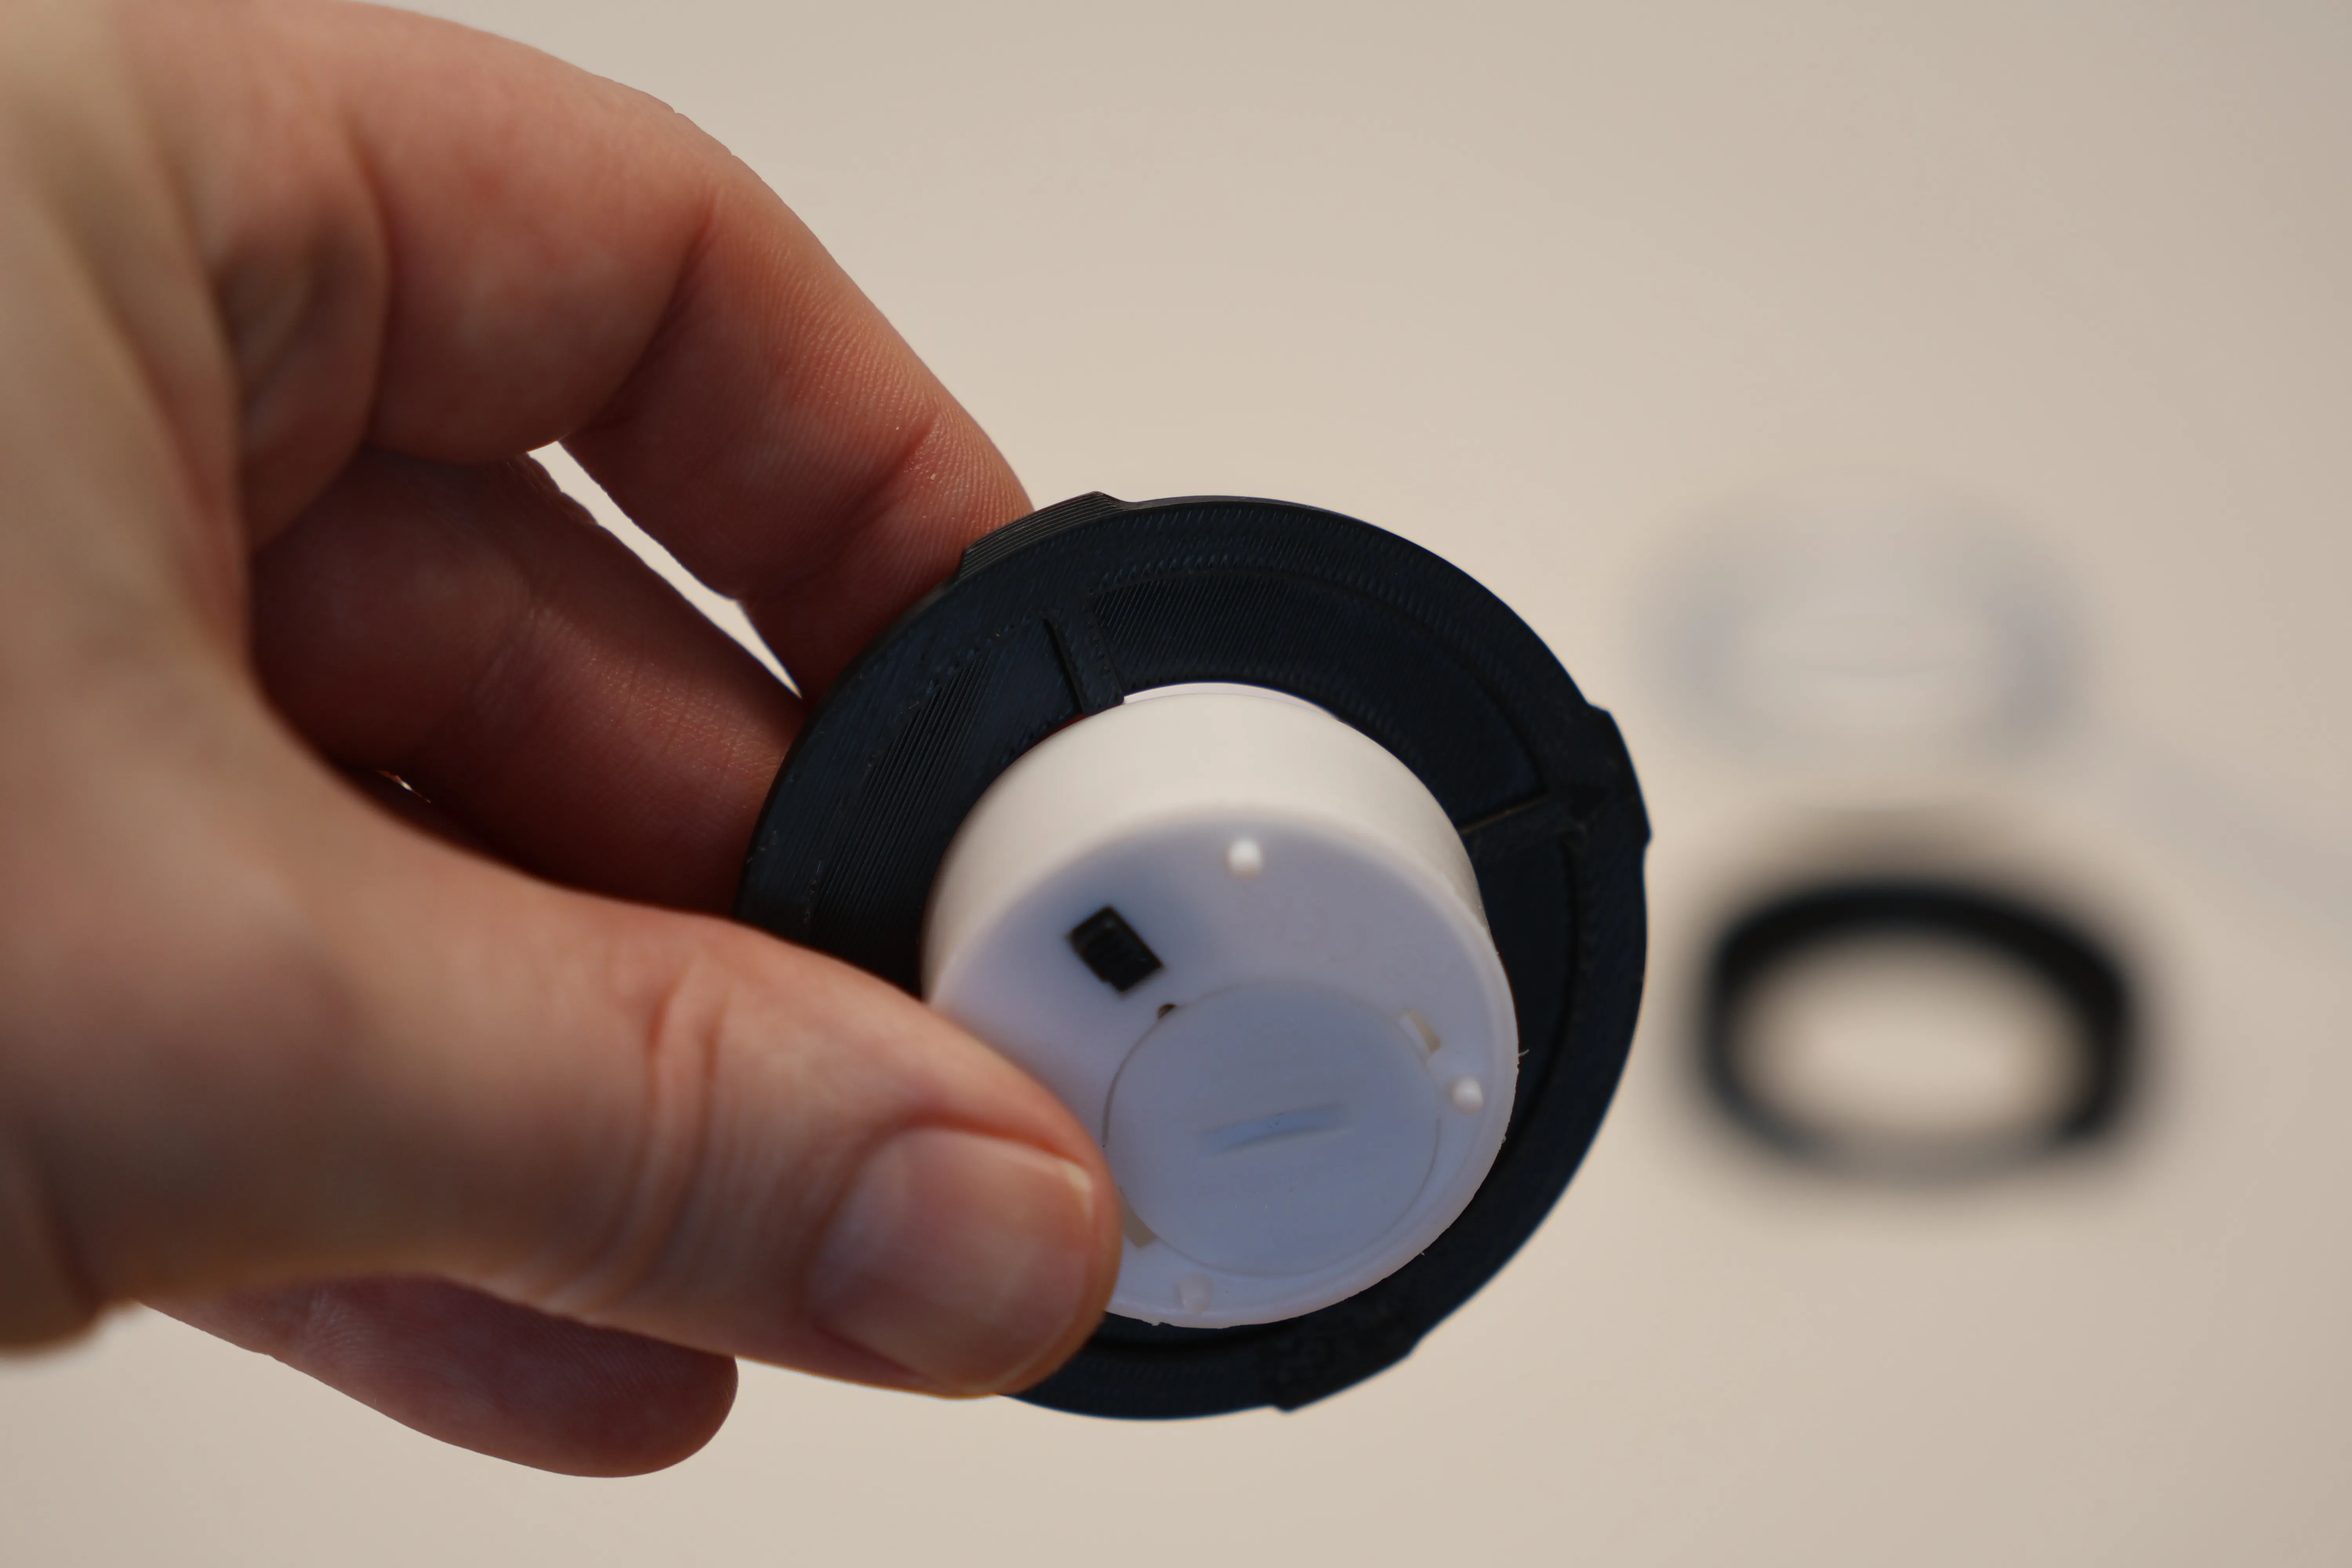
Push a T Light into the hole, it's a tight fit but will push in and be held securely allowing you to tilt the lantern over and switch the switch with he other hand.
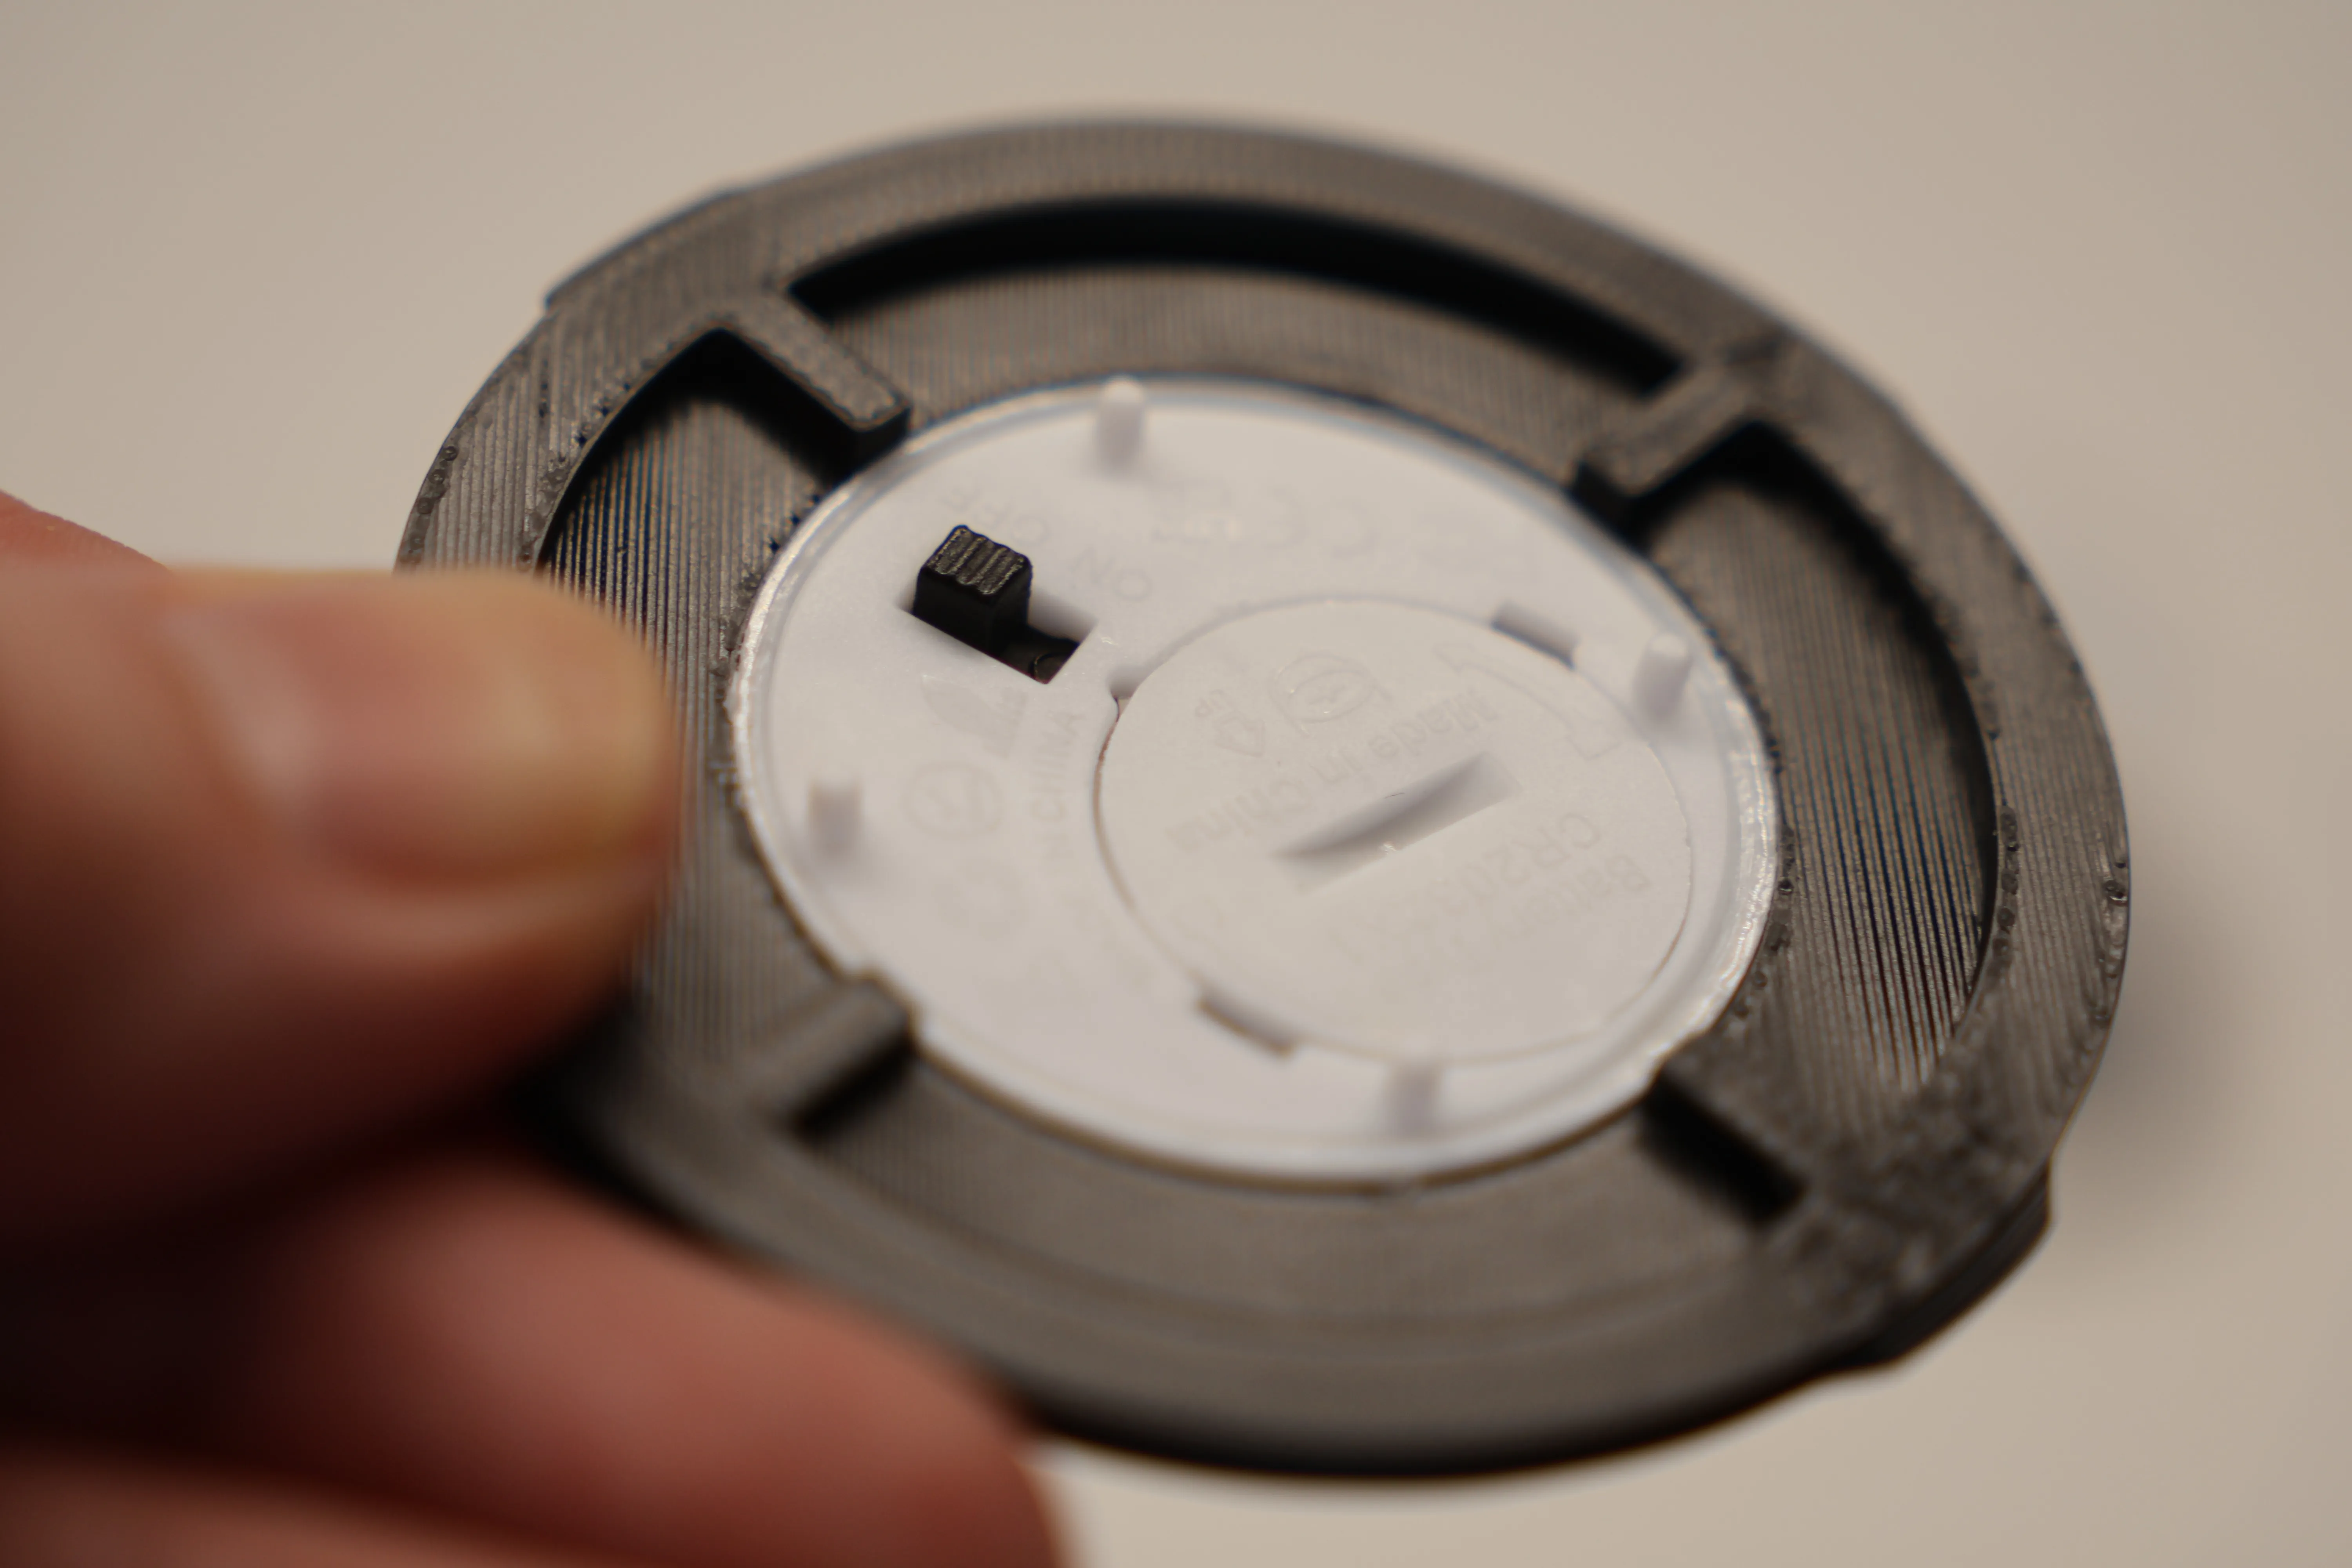
For the Bambu LED Kit pop it in the holder and insert from the bottom, aligning the tabs to insert and rotating 45 degrees clockwise to lock in place. Finally push the cable into the core, there are a couple of indents to hold the cable.
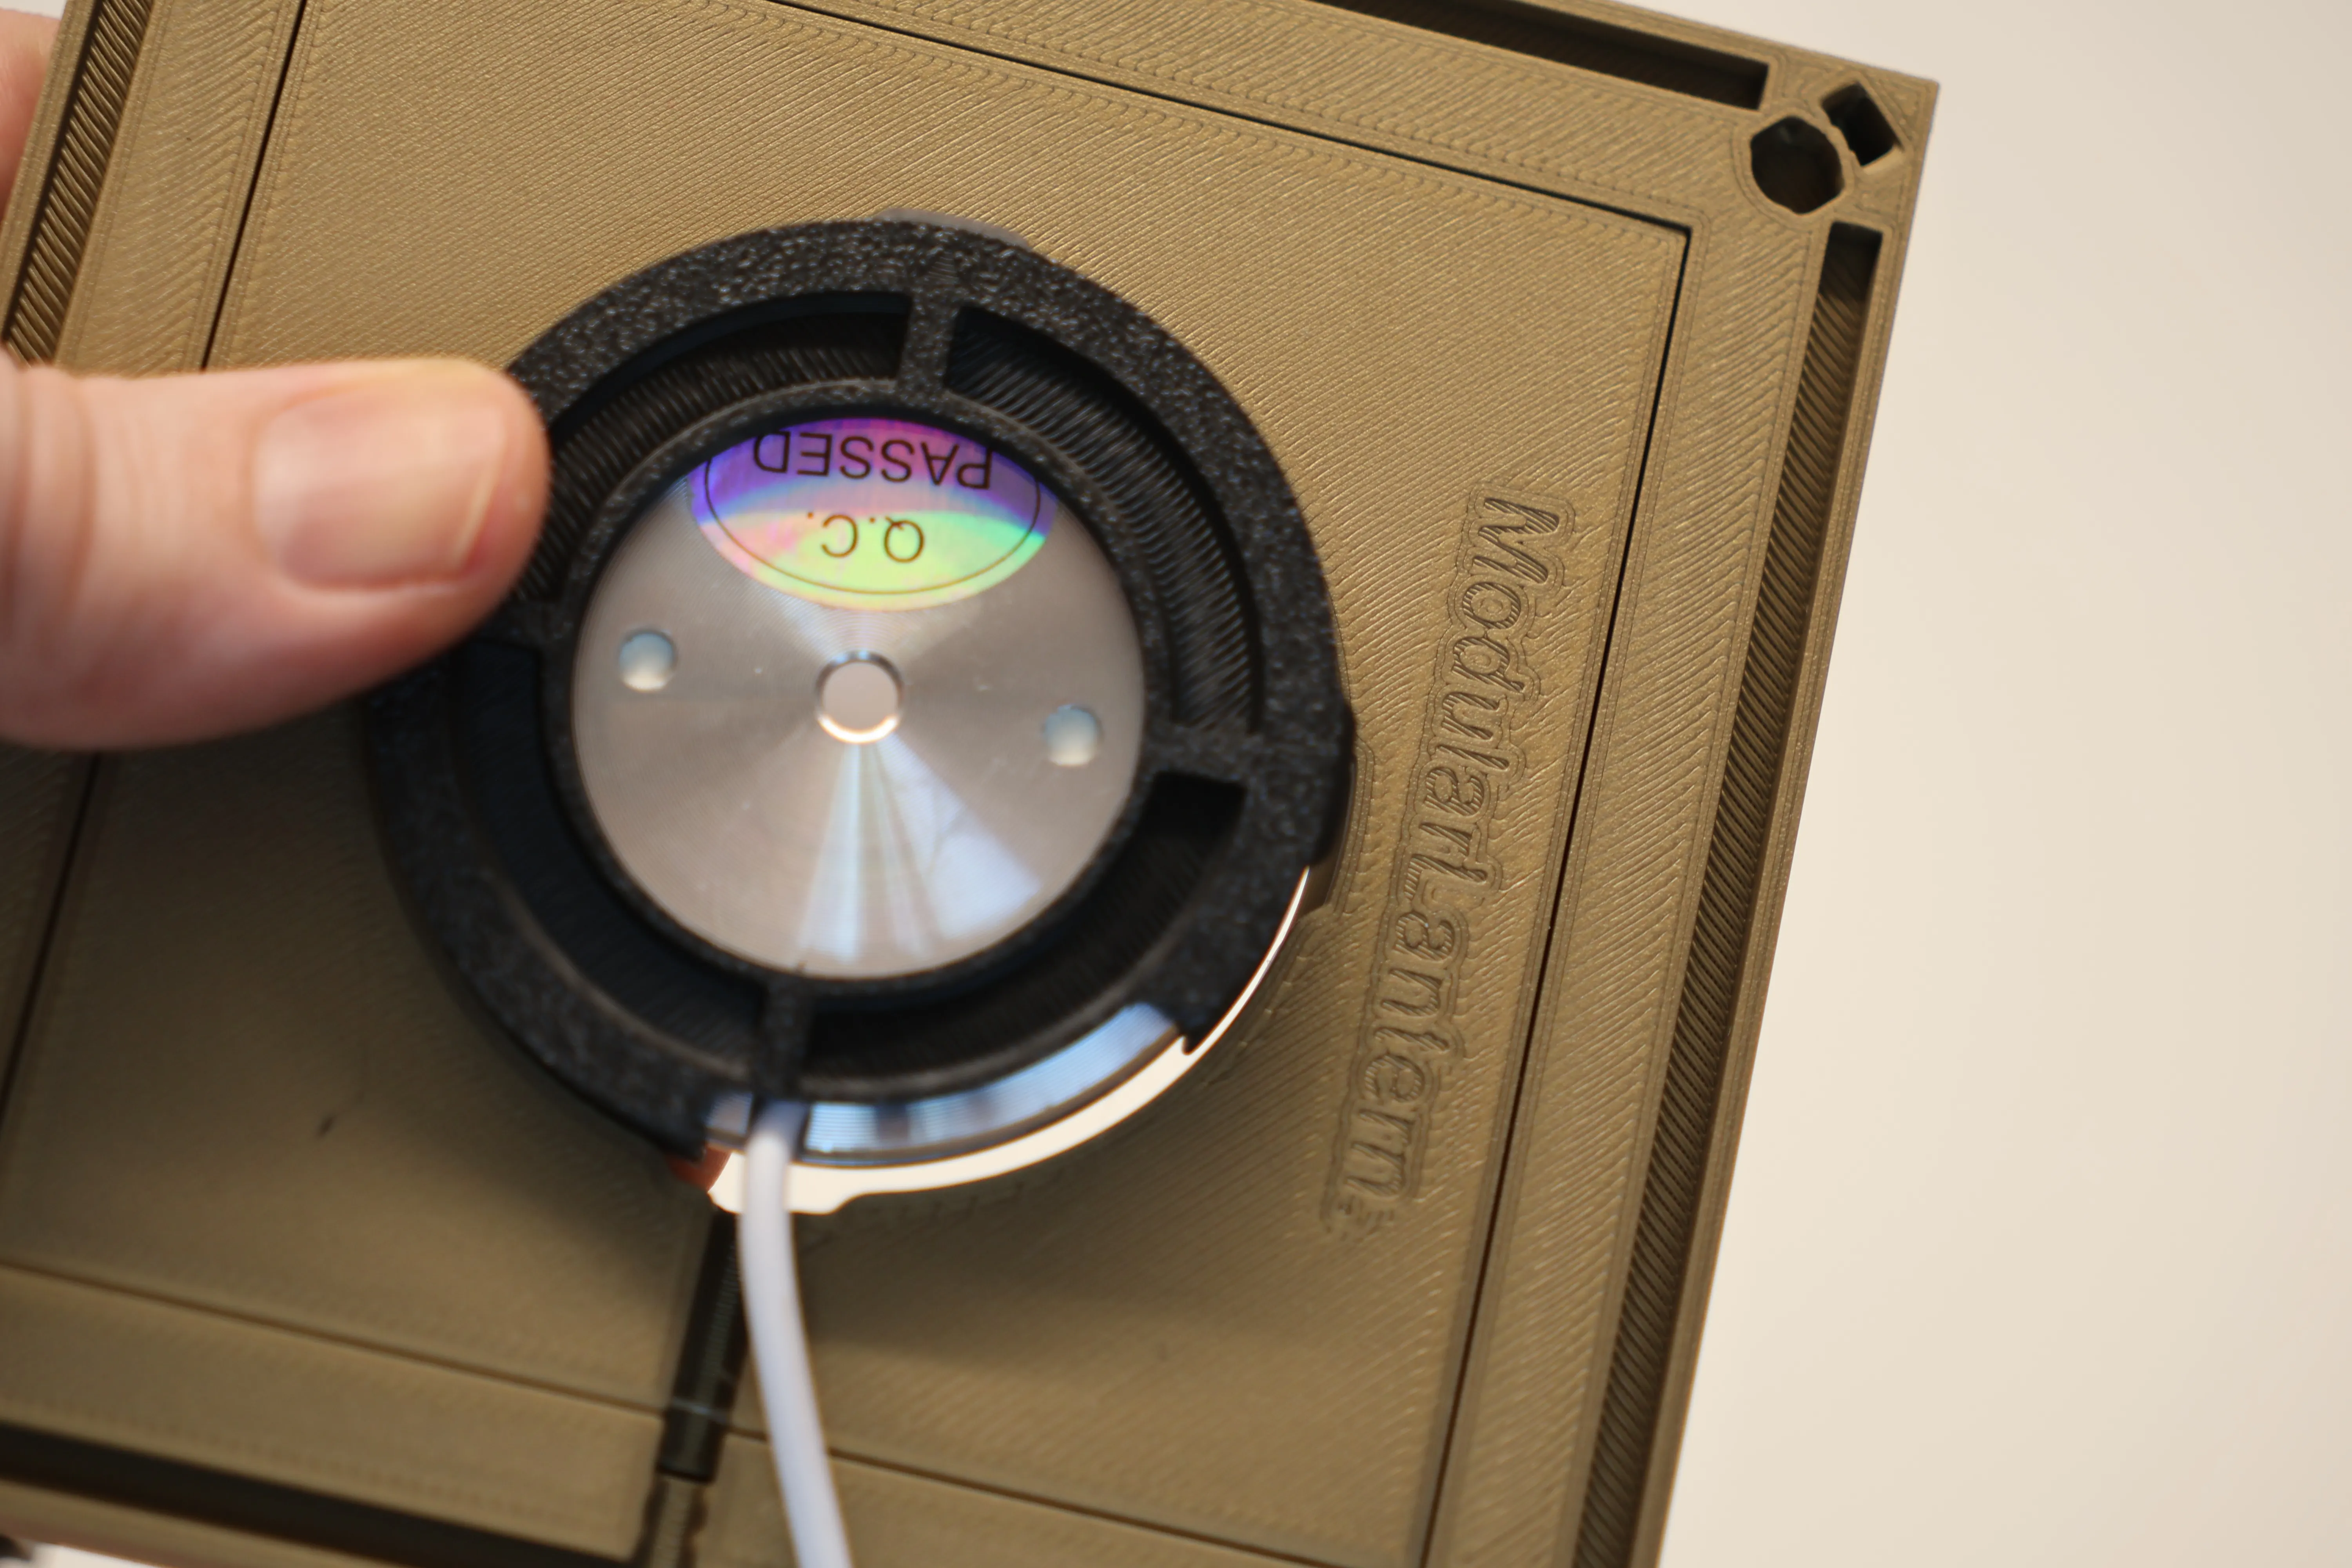
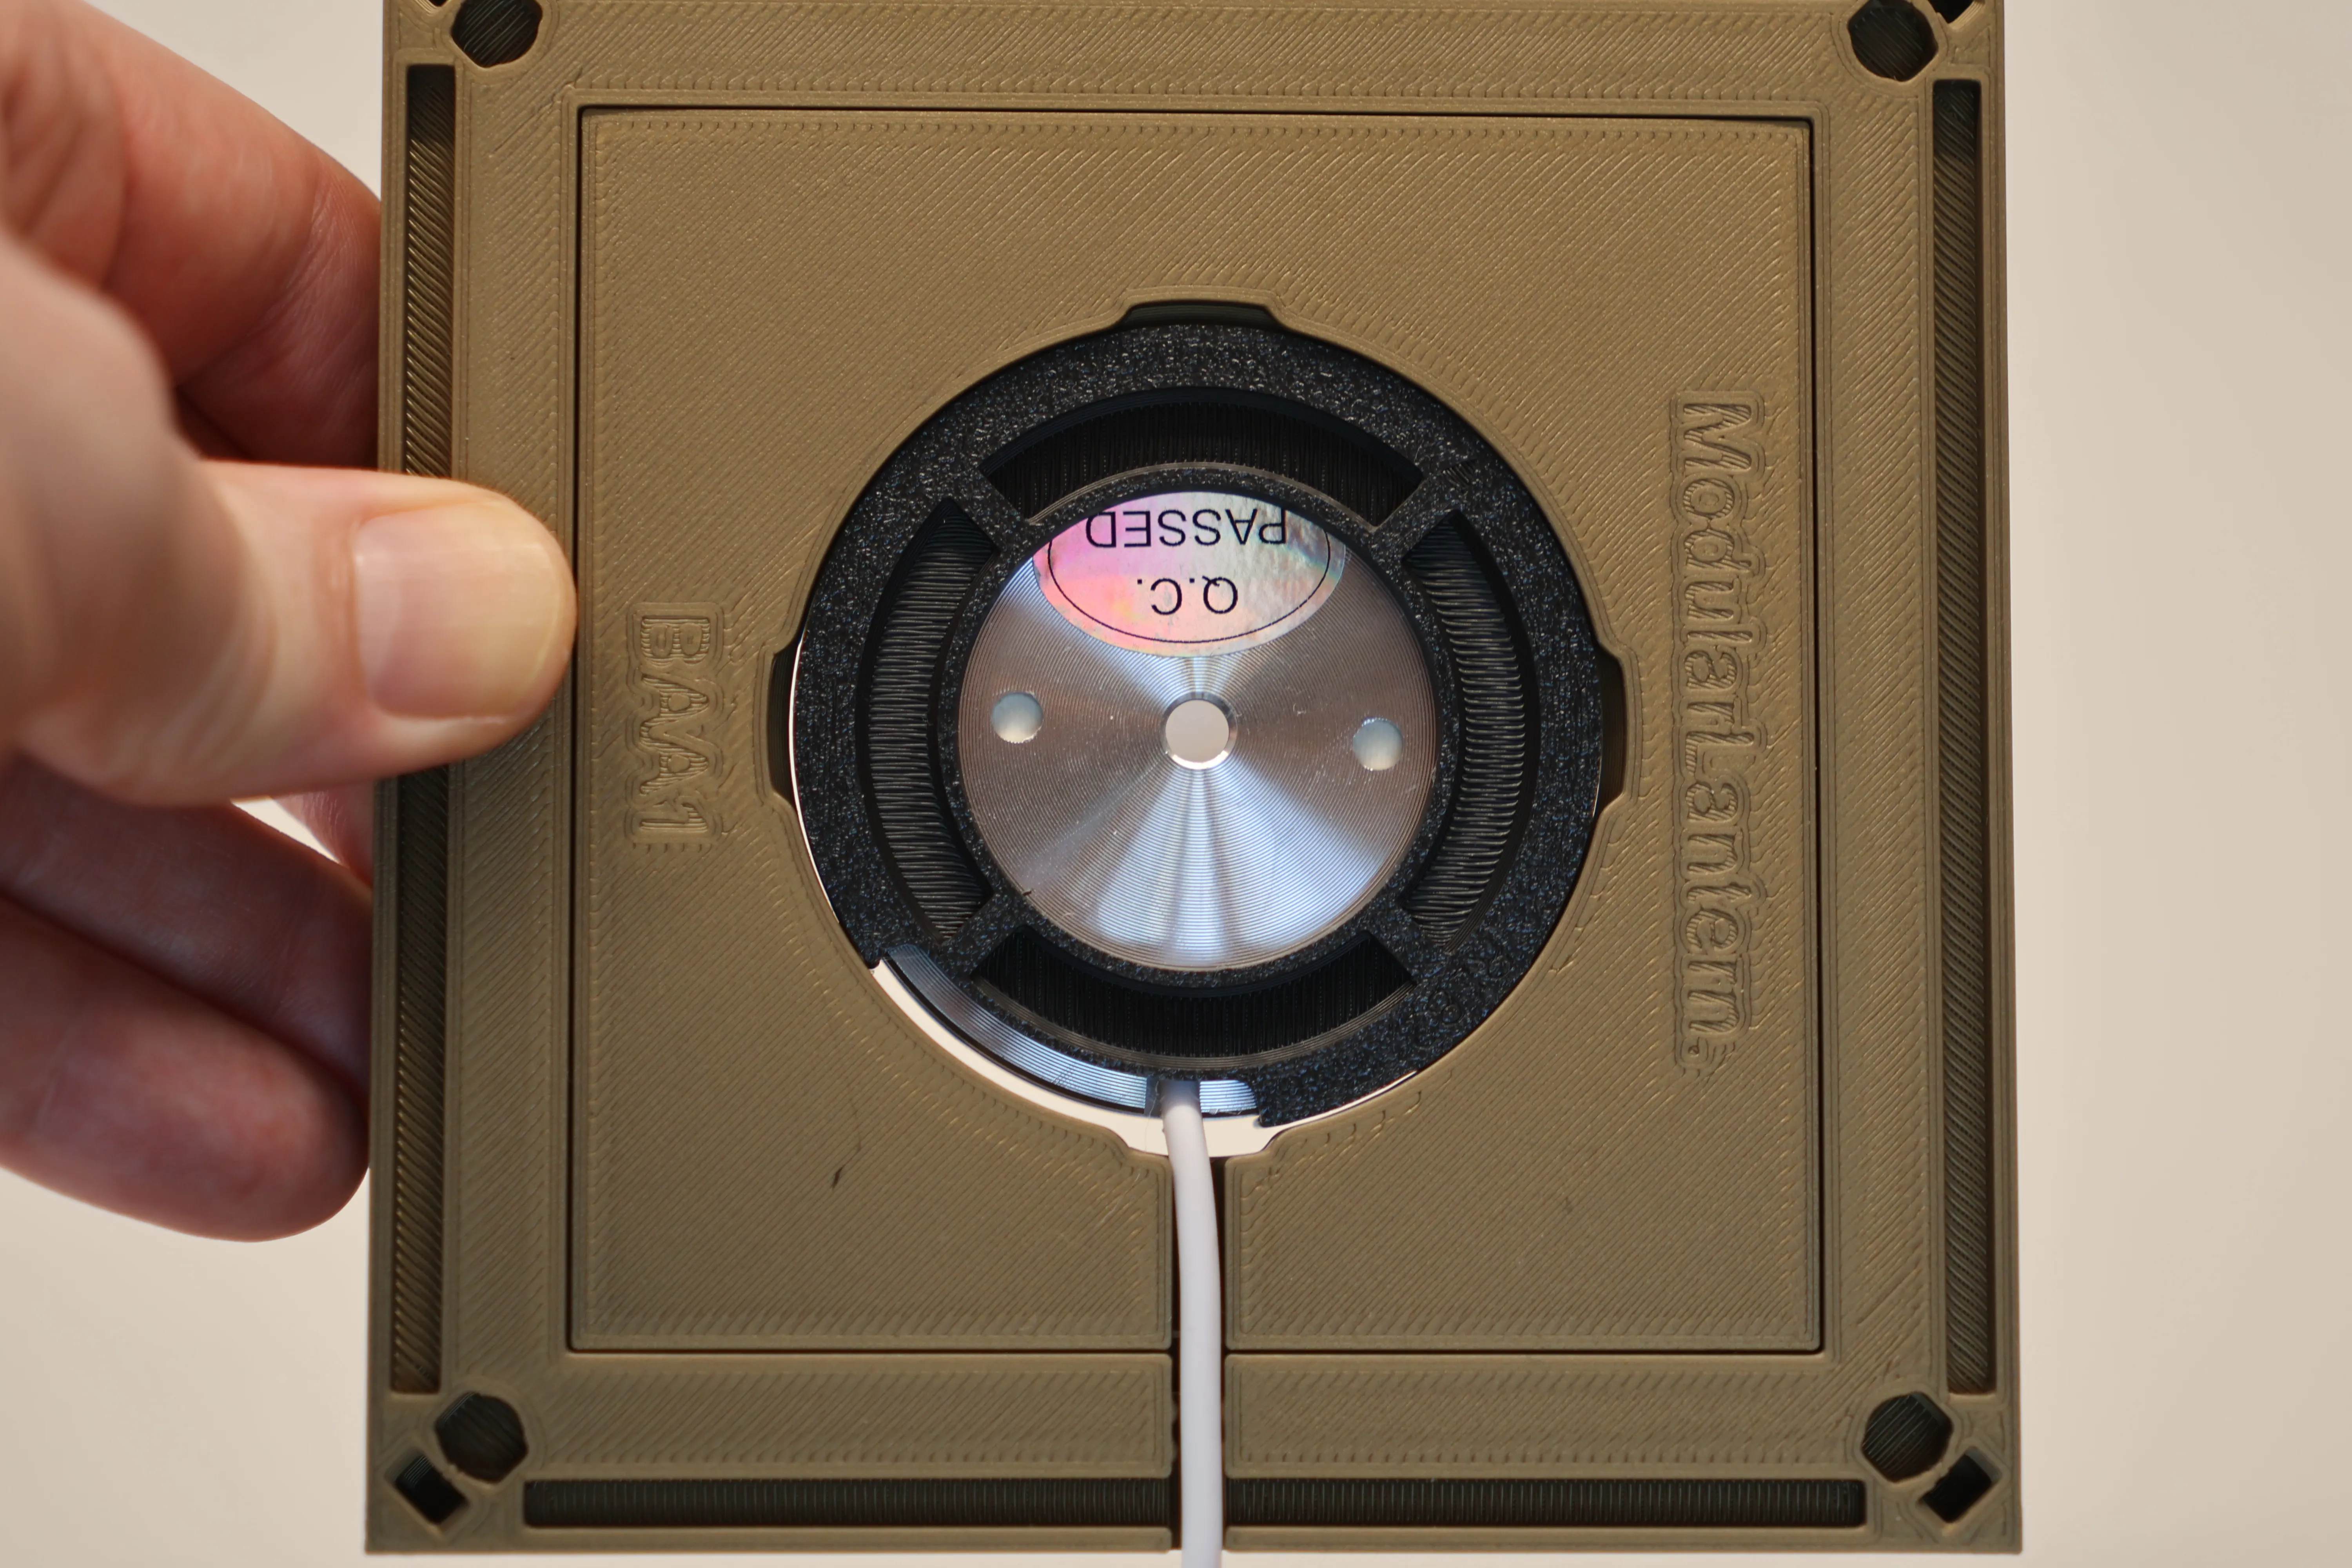
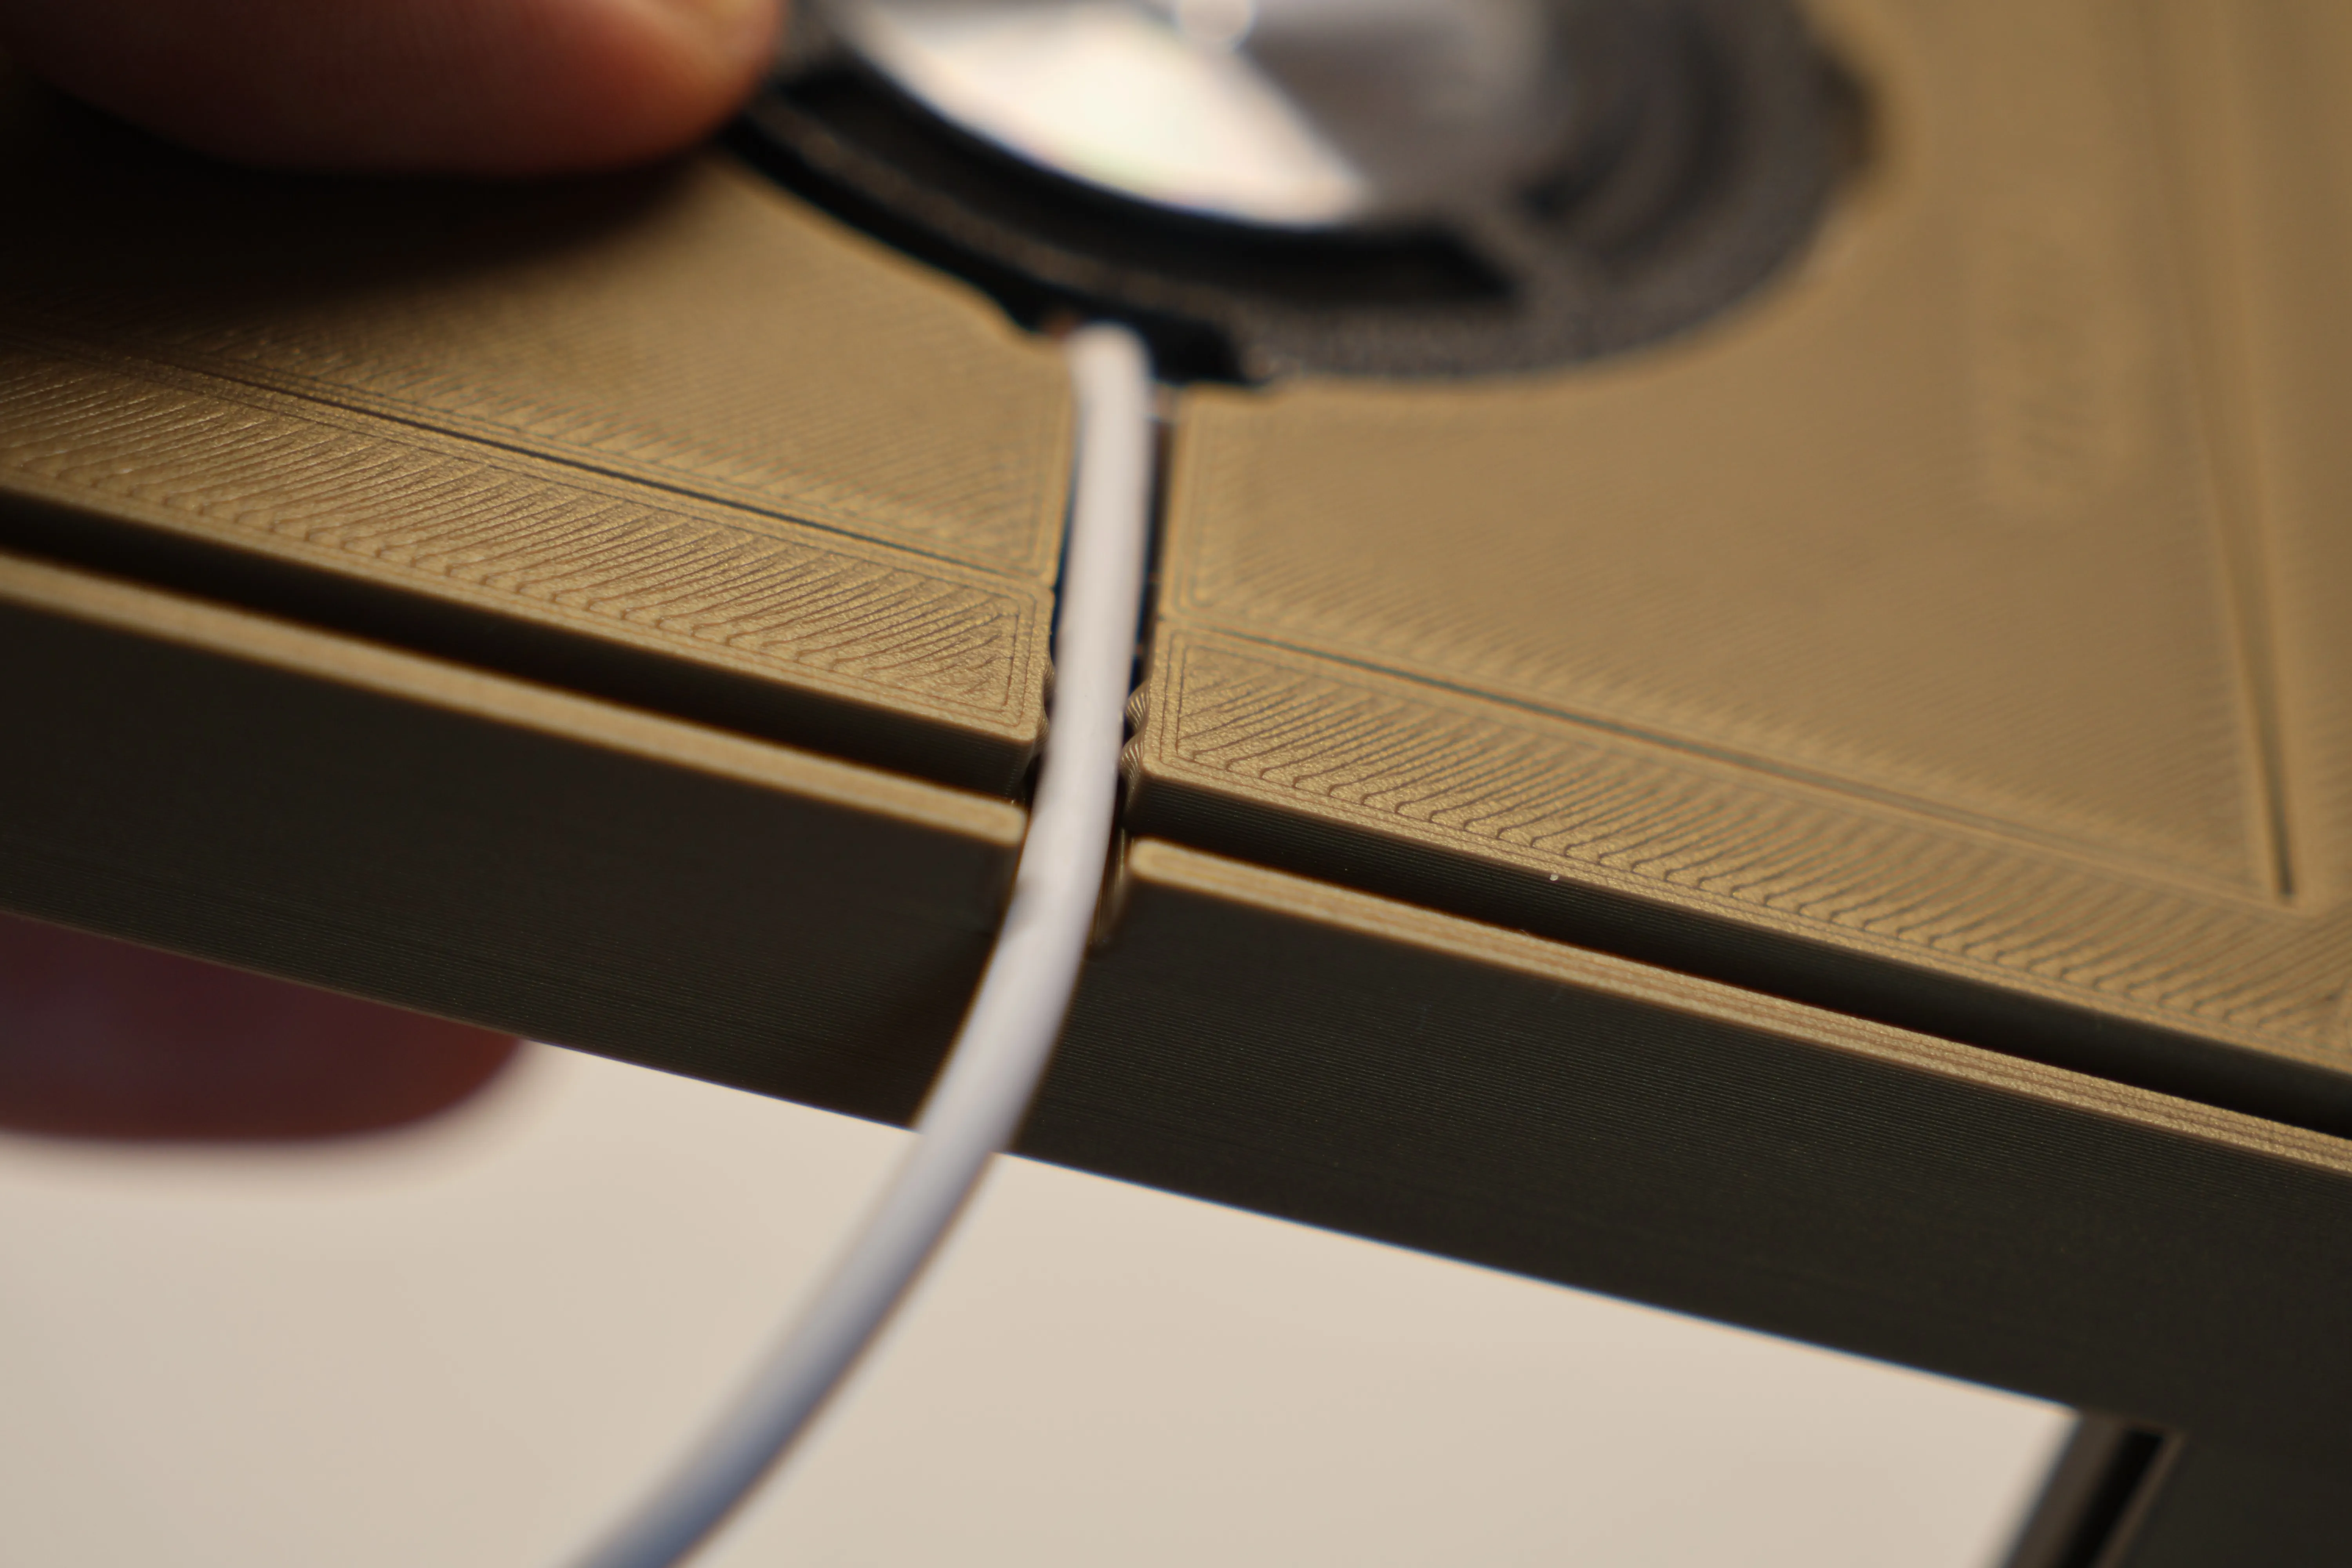
I’ll explain later how you can change the radius of this if you have a different wire.
Add lithophanes or inserts
Insert your lithophanes (100mmx100mmx3.4mm) or Coloured Panel and Insert into each side.
The coloured panel is a simple 3-layer PLA square — nearly all PLAs allow light through at that thickness.
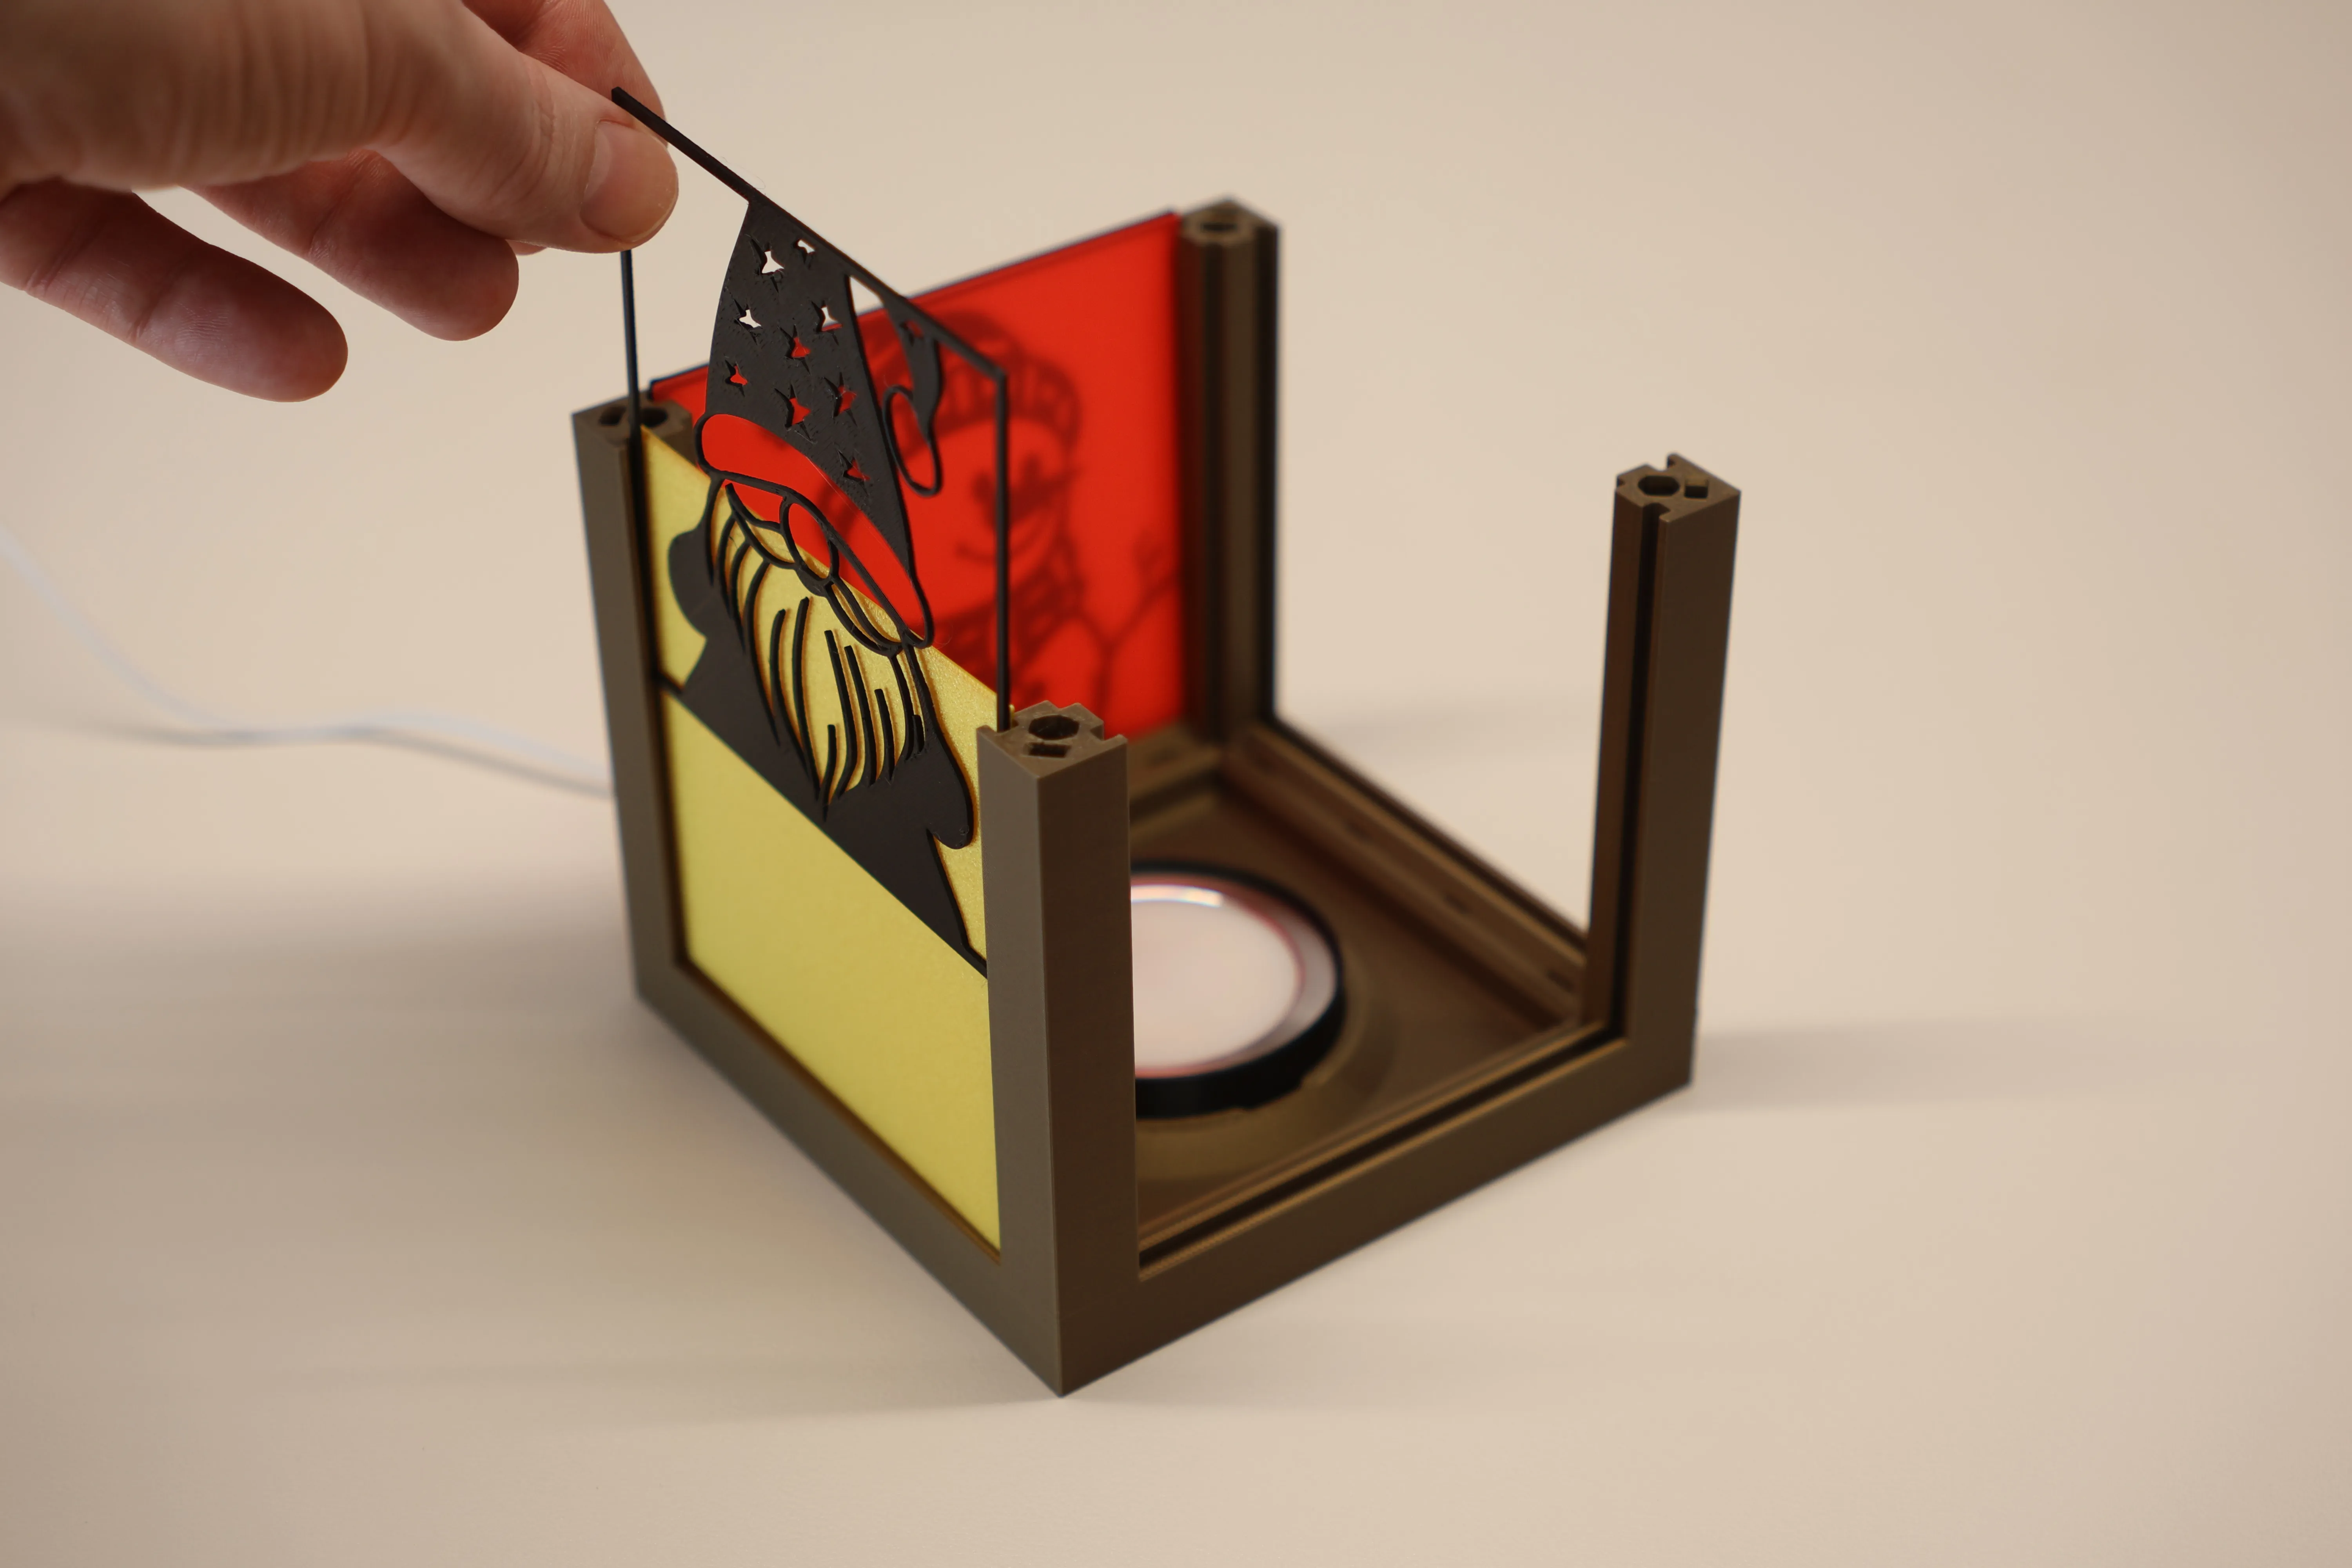
Because the colour layer is separate from the image, you can easily mix, match, and reuse panels across designs.
Try the Stencil behind PLA for an out of focus look or skipping the coloured panel entirely.
Add the Top Insert
Now for the top, place the insert in first and then the panel and secure this from behind with the included Panel Retainer clip on plate 5. This securely holds the panel there and is much improved over Mk2. Push in one corner at a time.
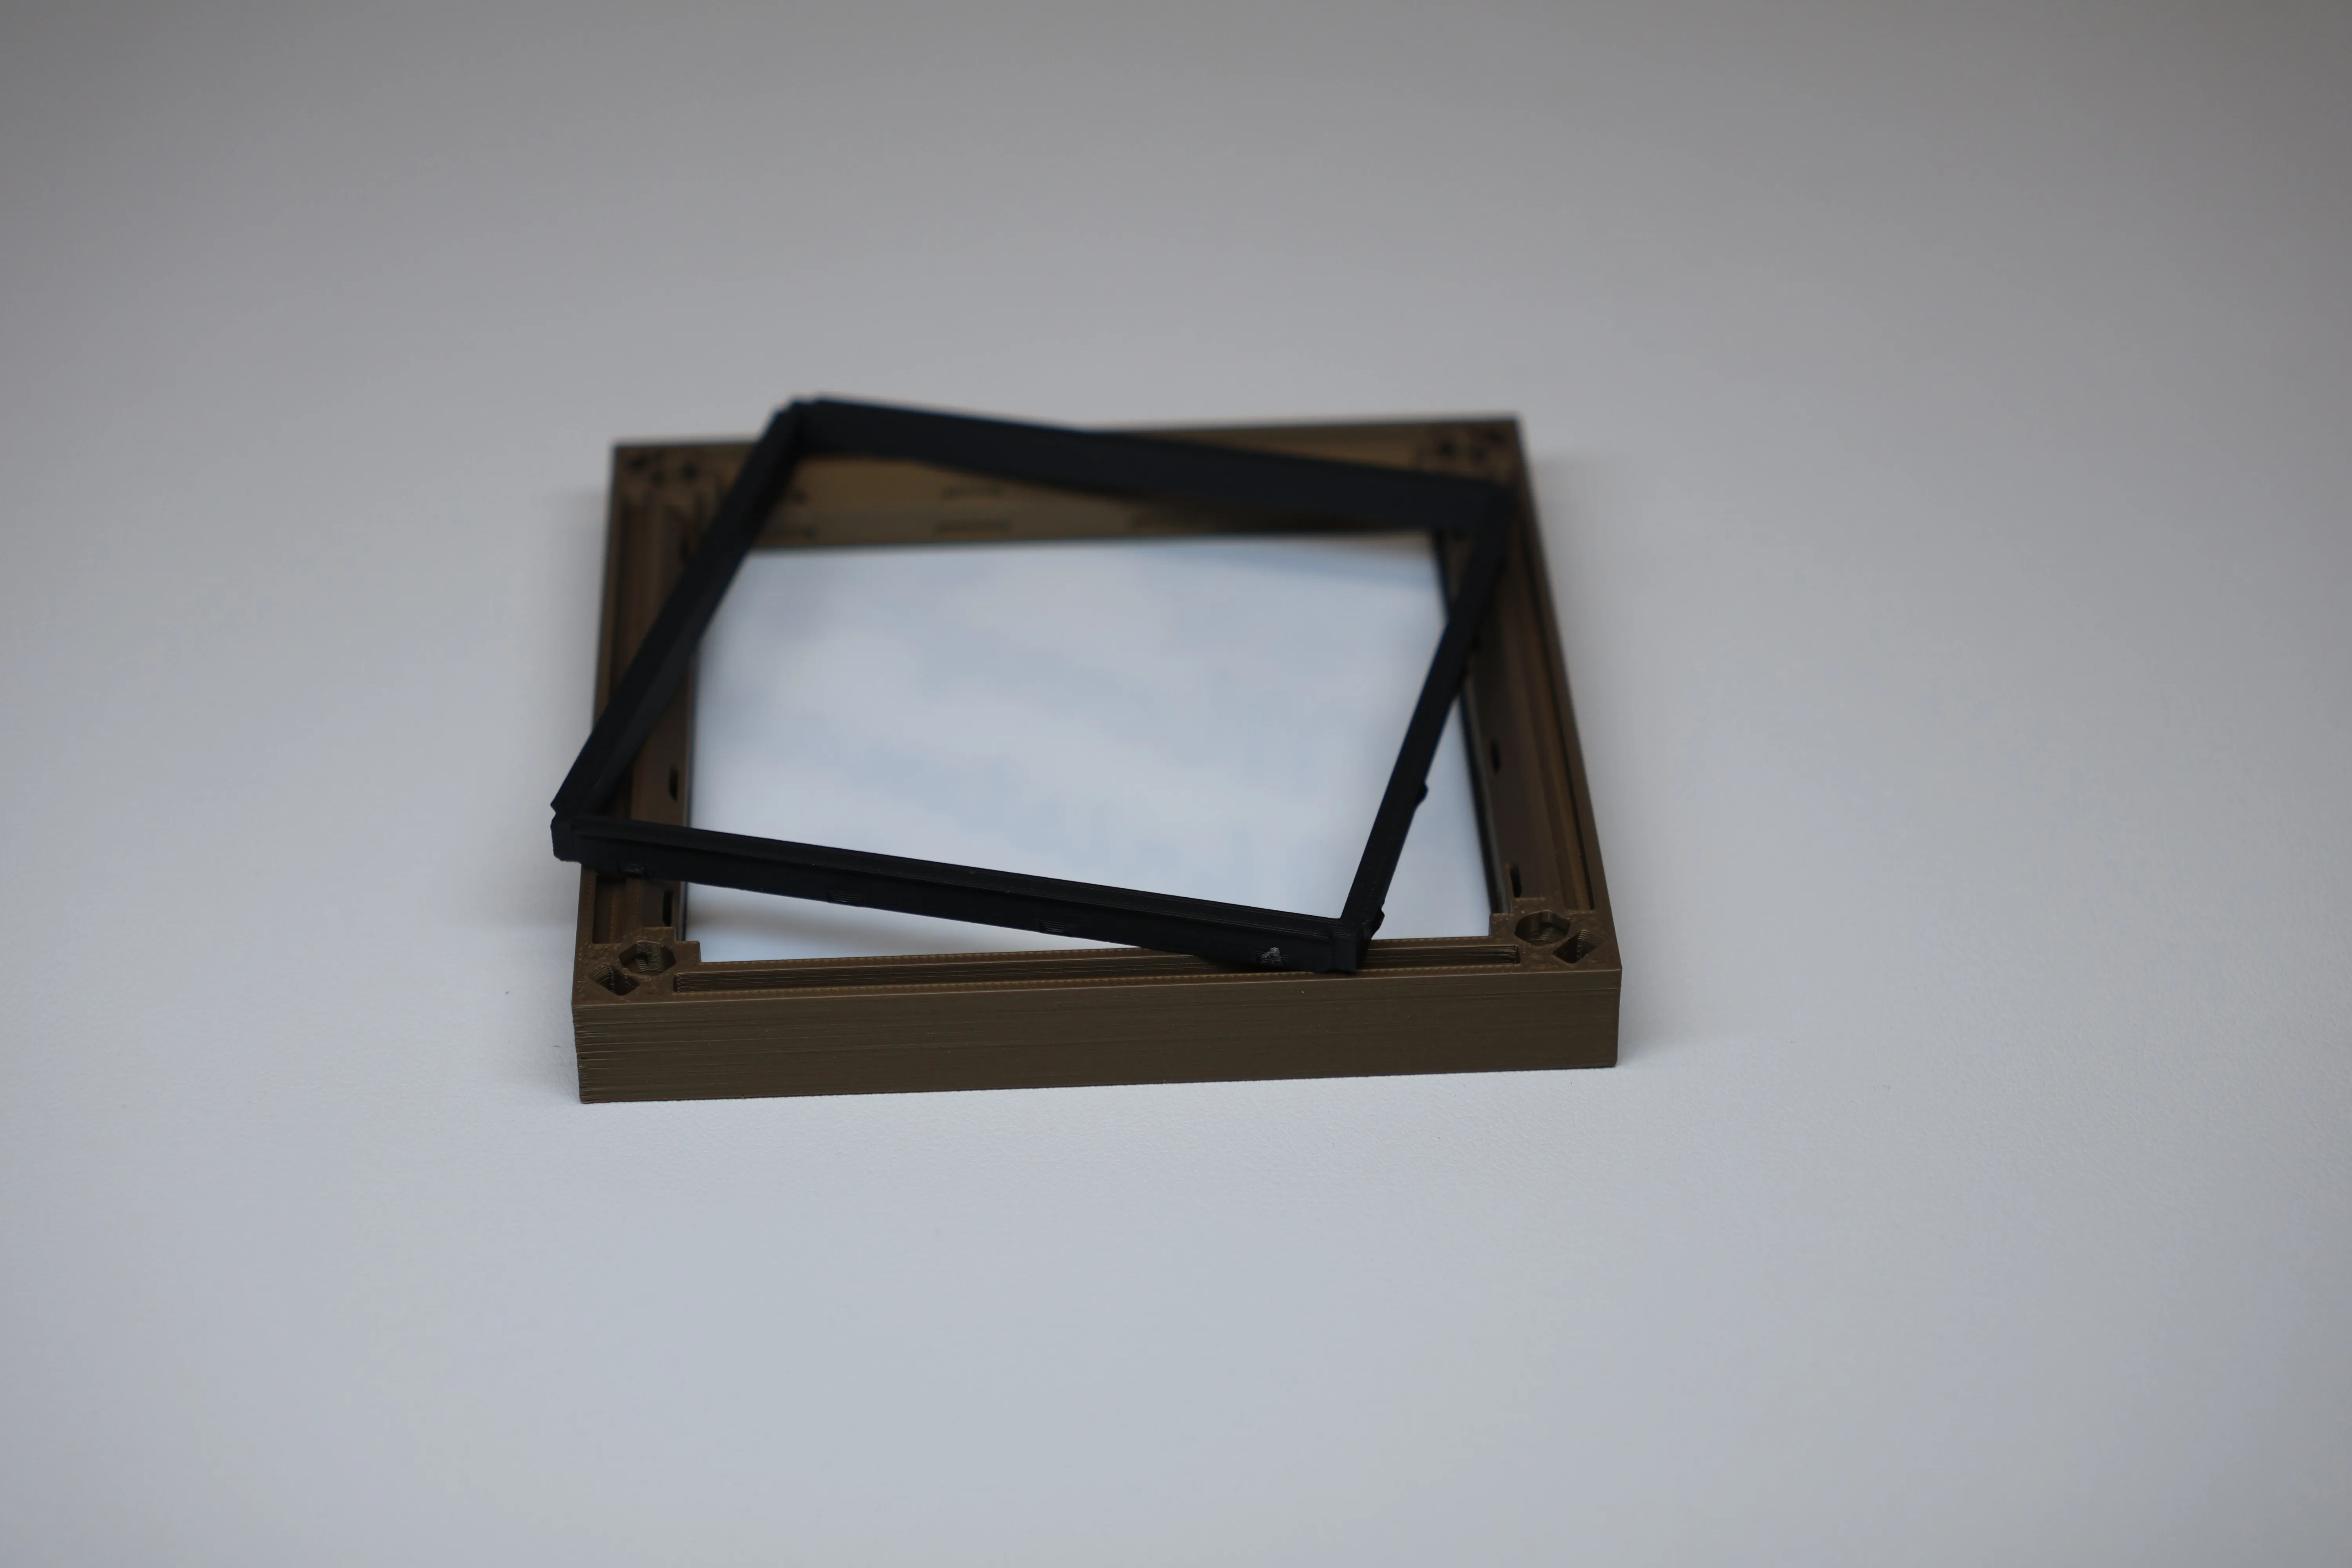
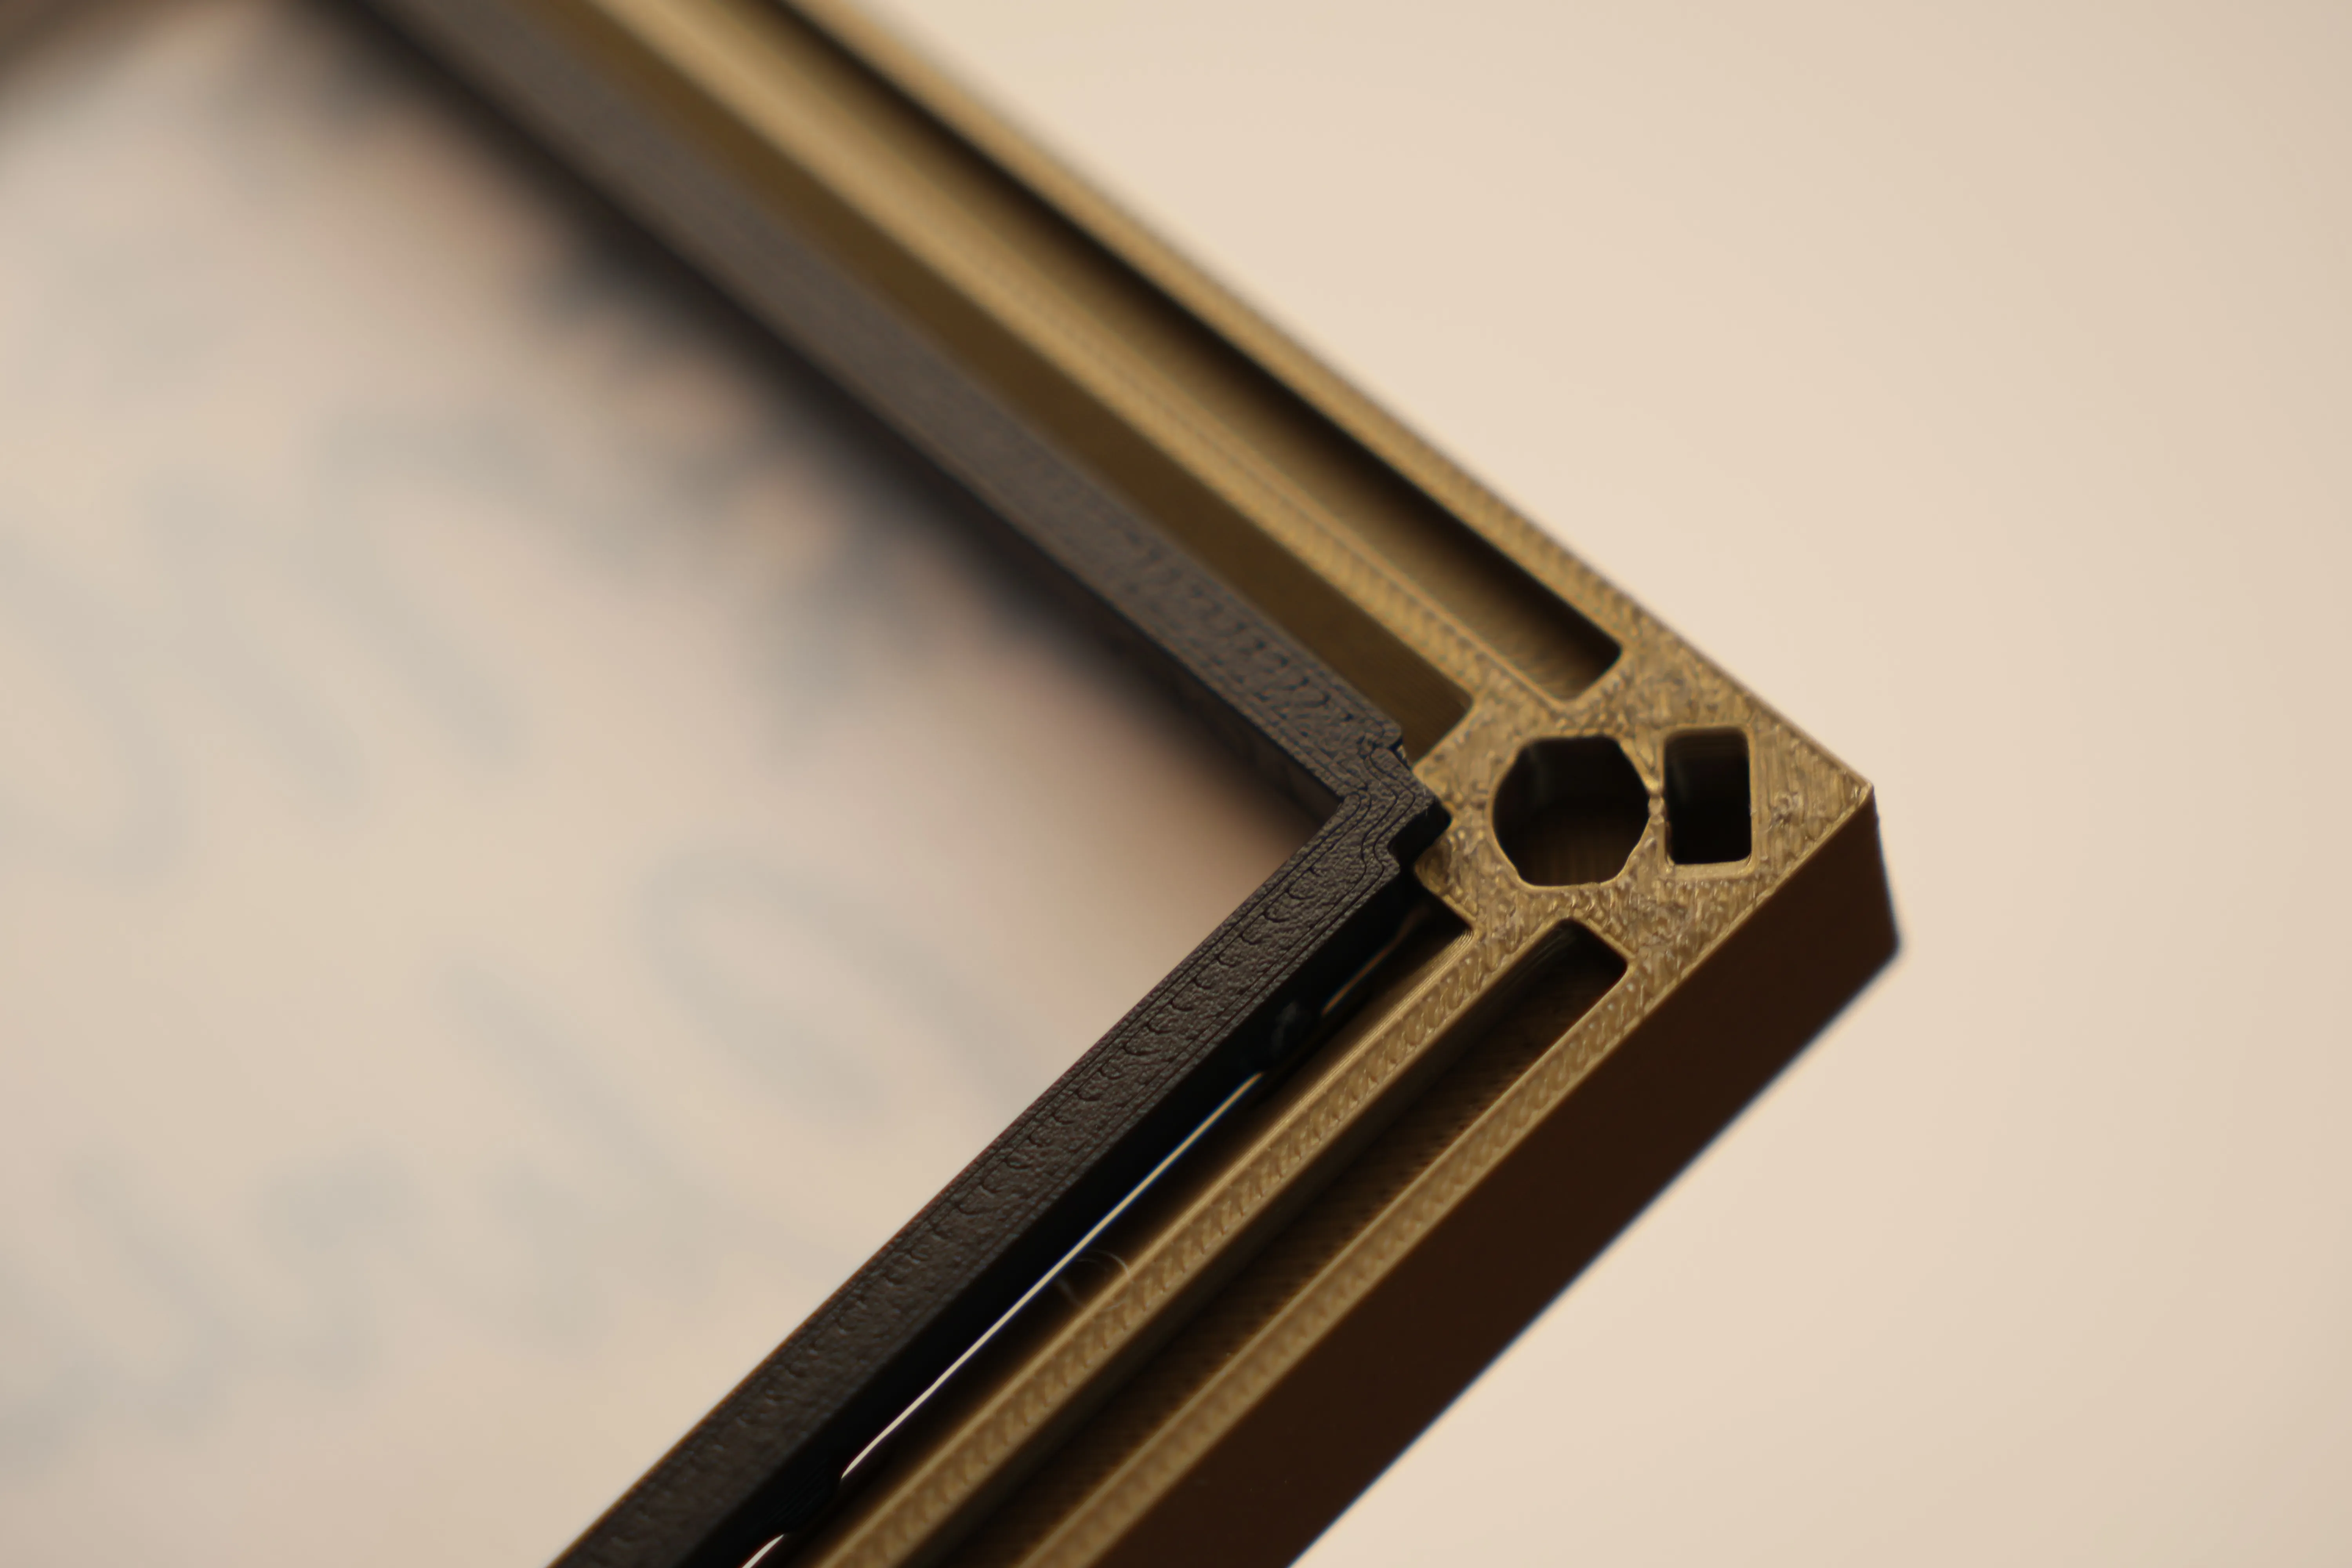
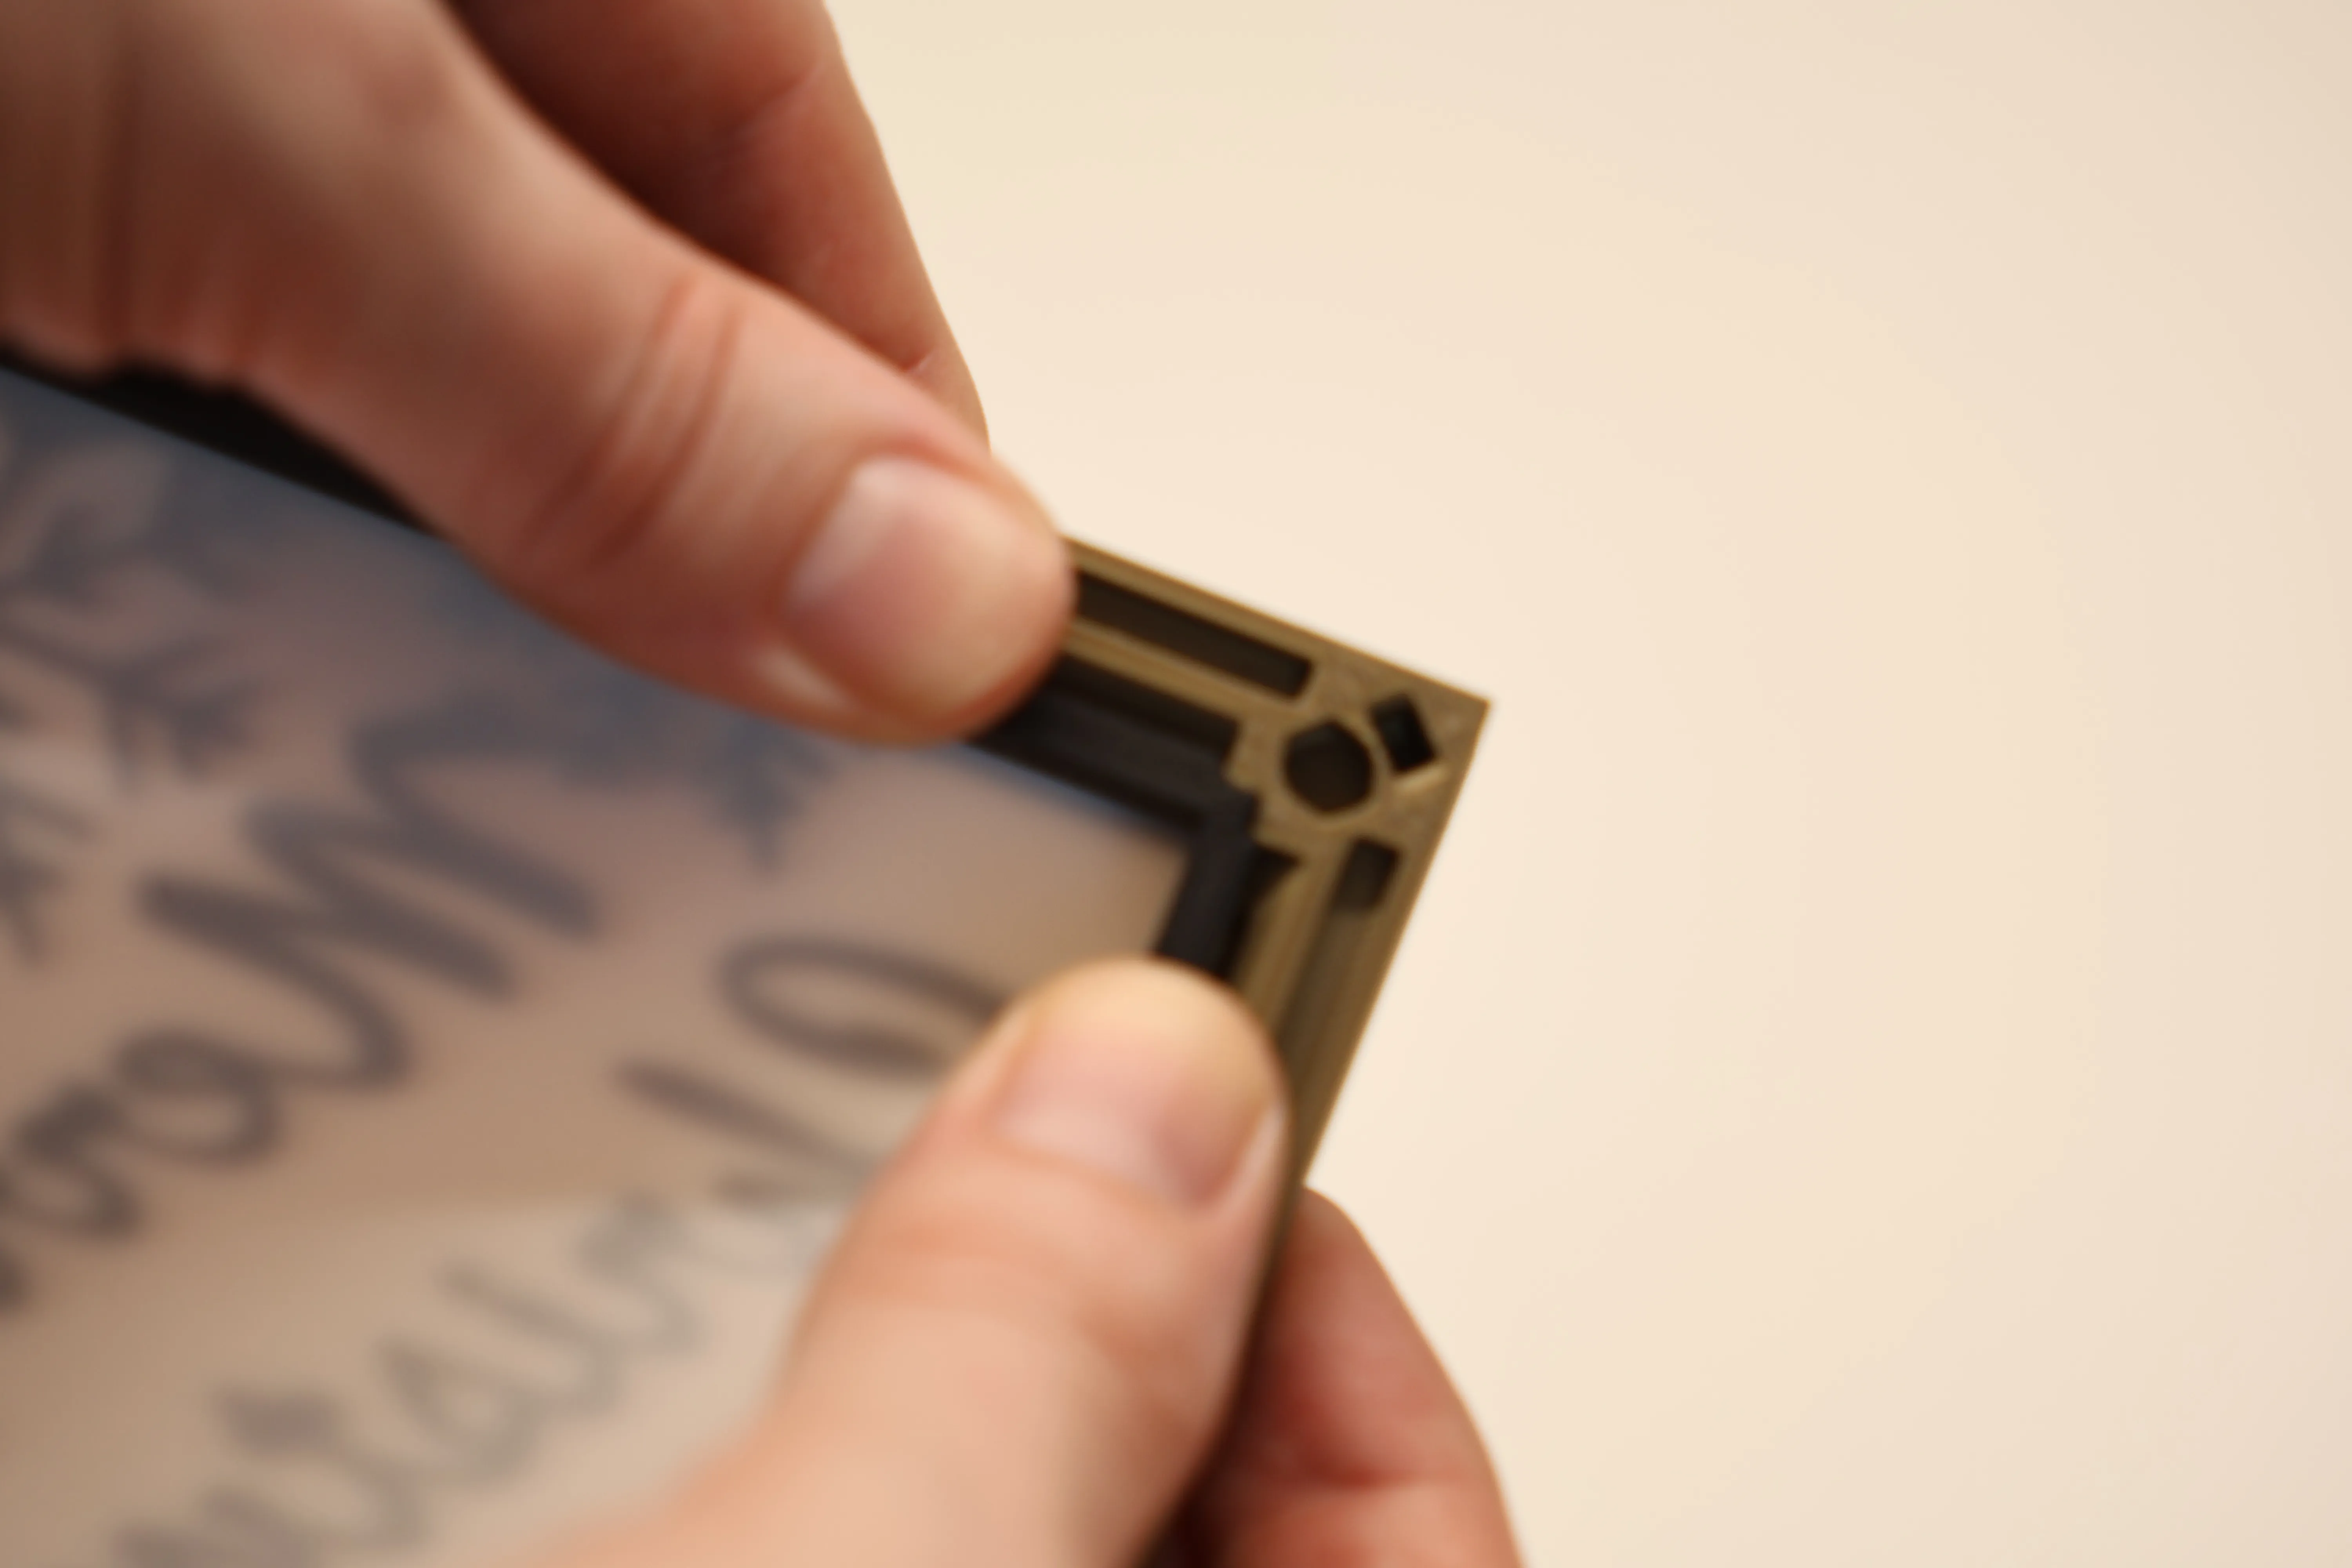
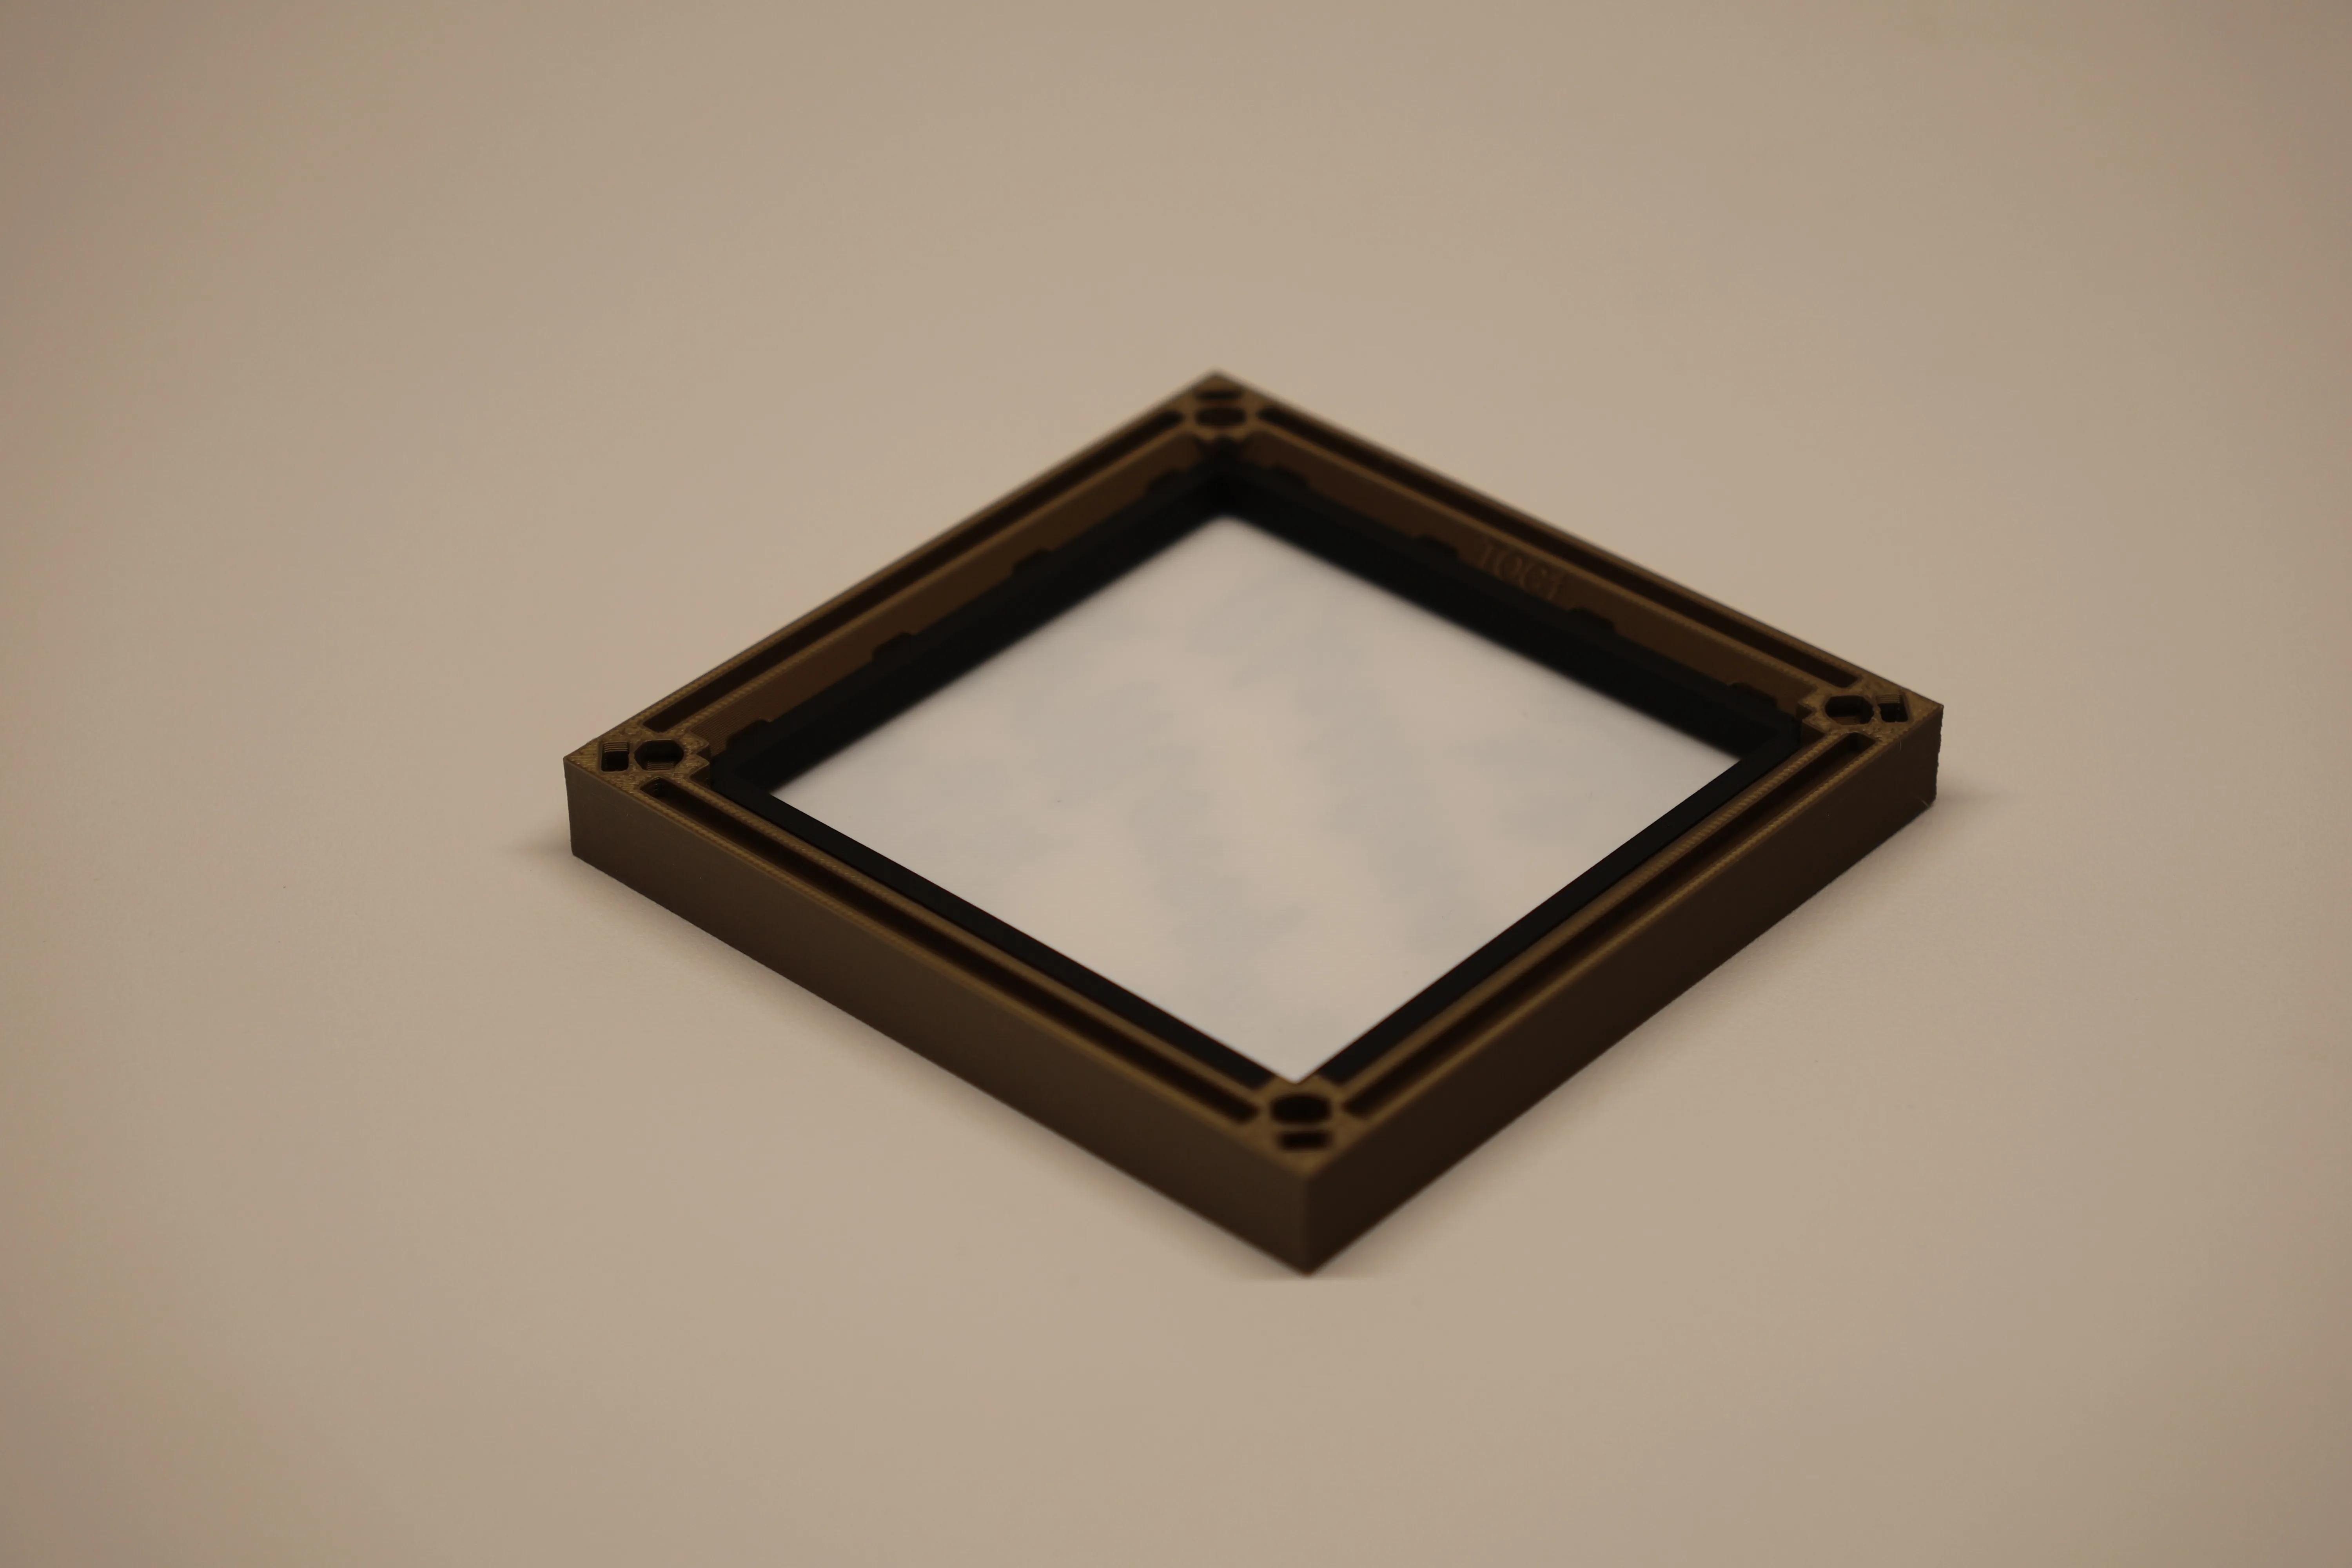
The clip can be removed, but it may feel tight at first. Focus on releasing one corner at a time by pressing near a solid area of the panel.
If it feels too firm, try inserting and removing it a few times — or let me know your feedback so I can fine-tune the fit.
Fit the top
Once you have the insert in you can place the top onto the core to complete the lantern. I usually use 4 of the MagFit clips. But be sure to use the LIGHT version of these you will find the strong ones too strong and it will make removing the top with panels installed difficult.
I explain how to use magnets in a section later below. The Old Mk1/2 clips are also included in the profile (disabled so you need to enable them in Bambu Slicer) but these are much weaker than MagFit.
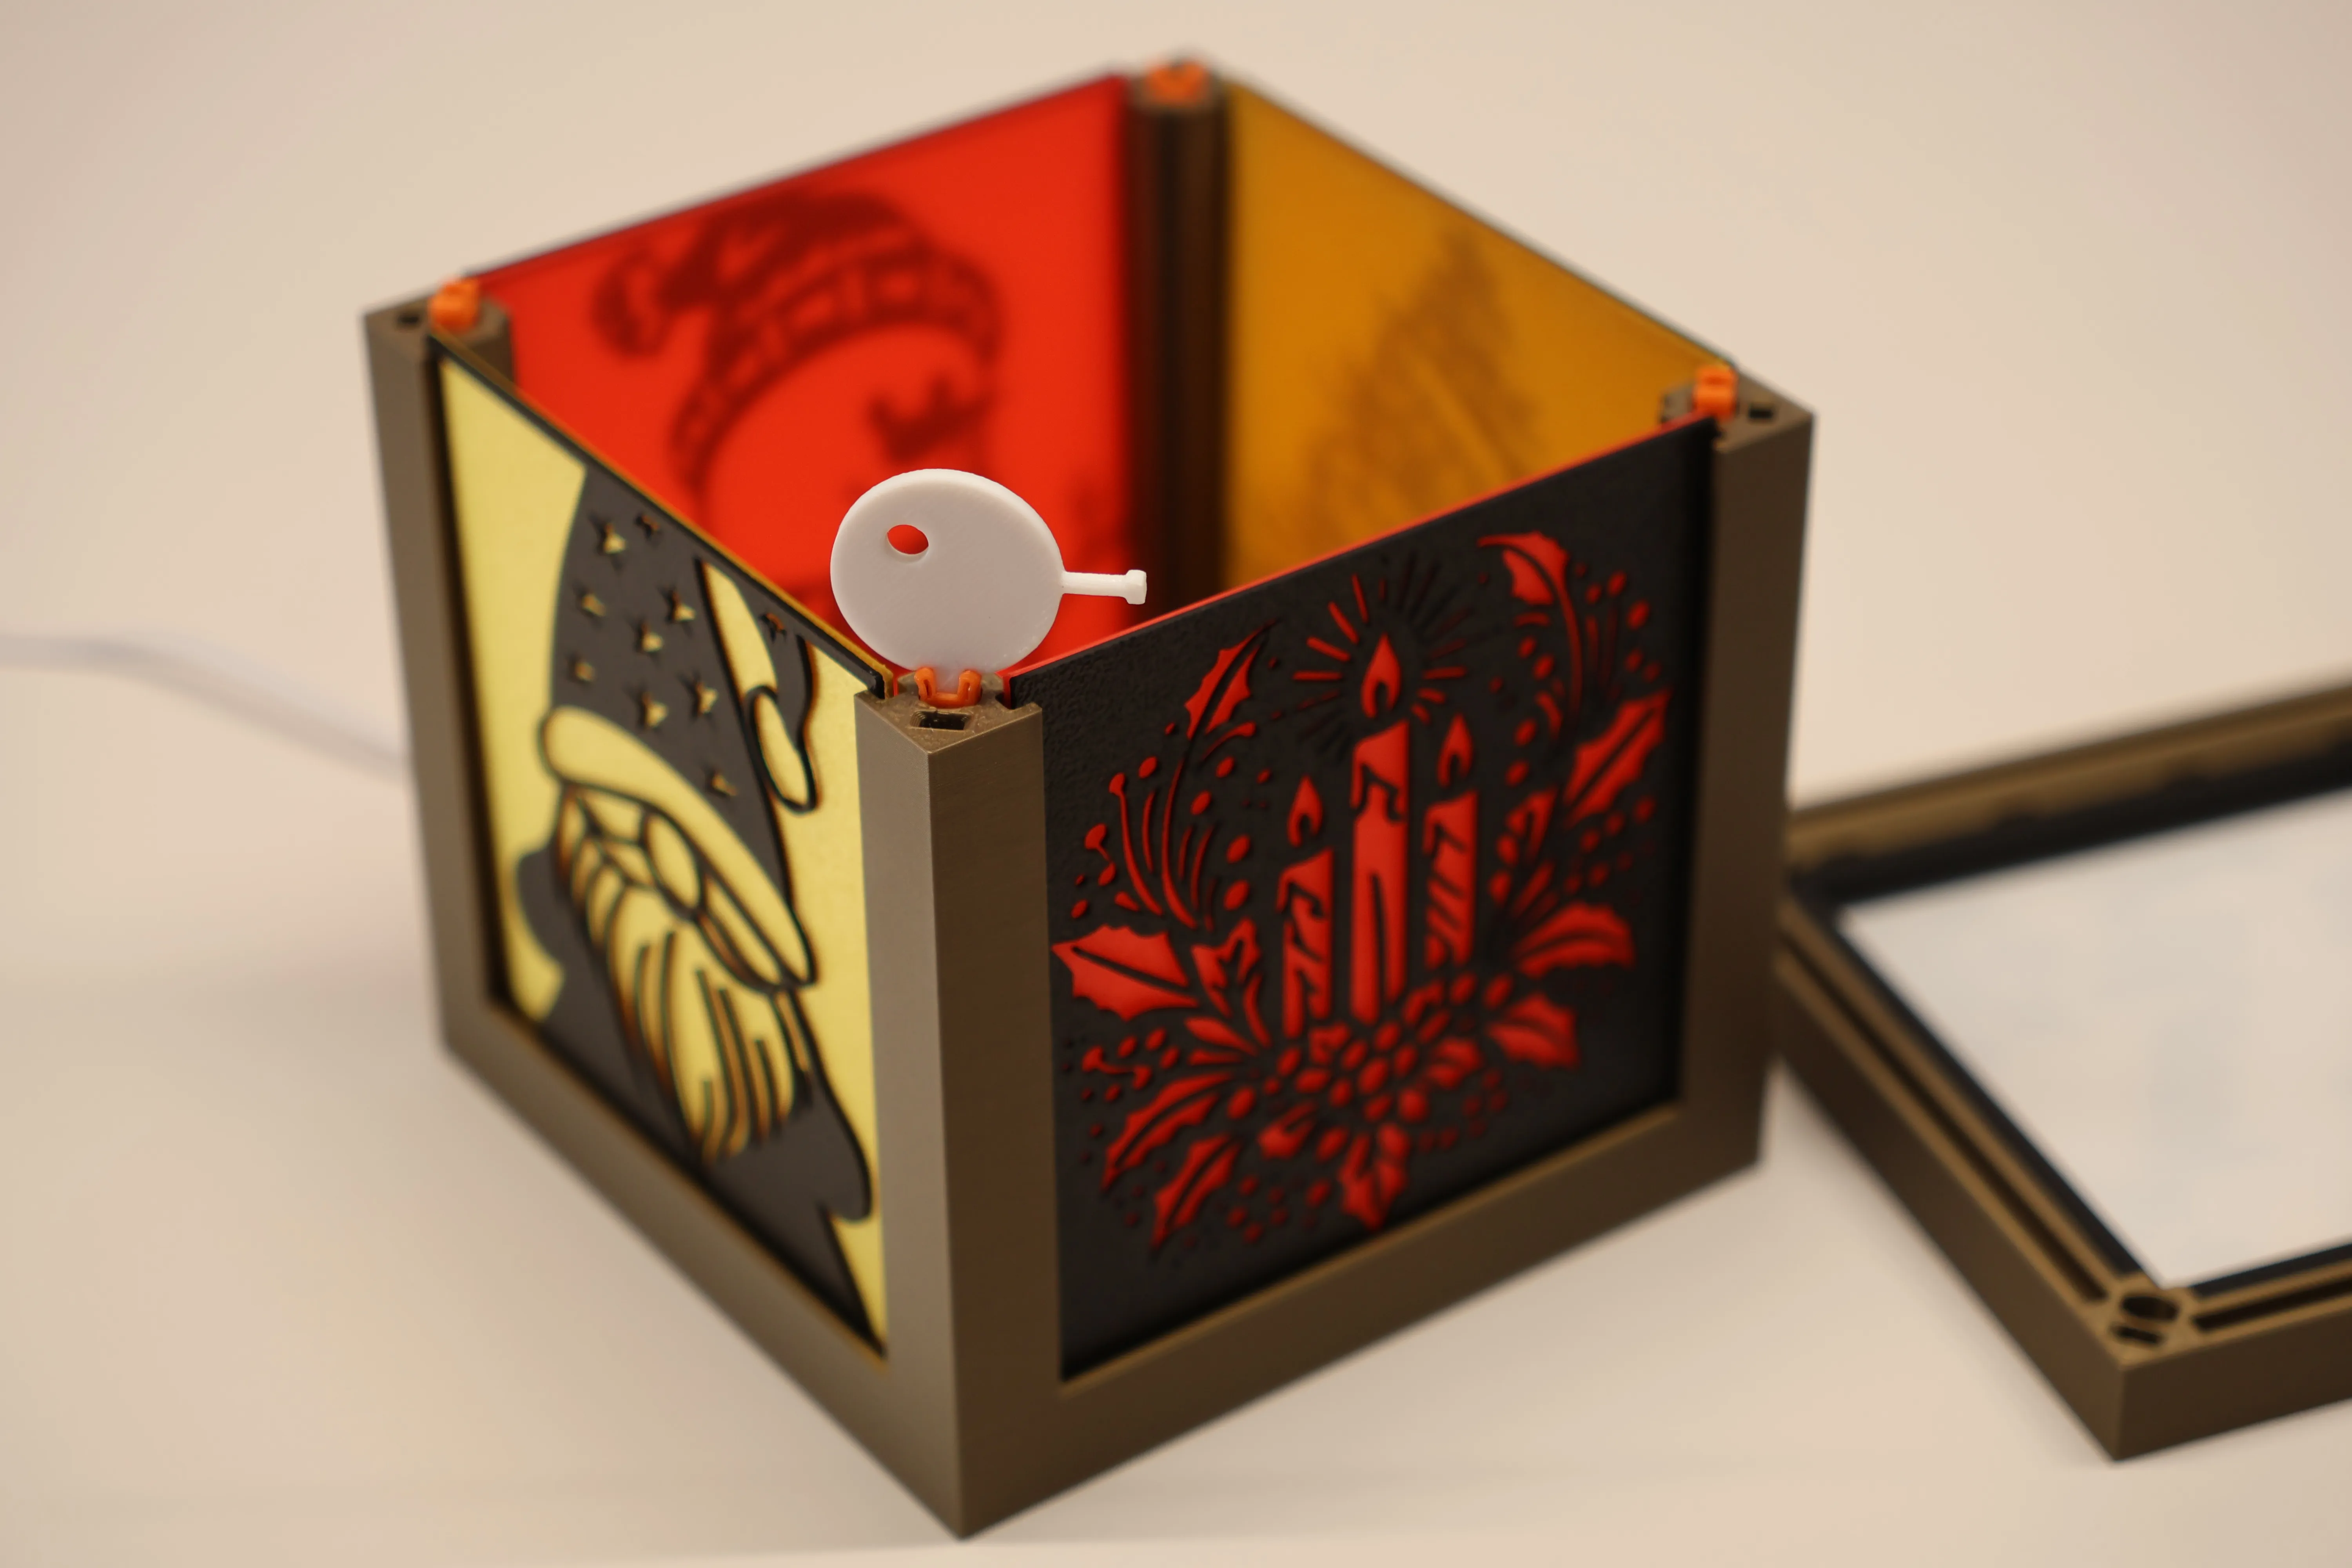
Pop 4 MagFit clips in and push the lid on, listen to that satisfying clip!
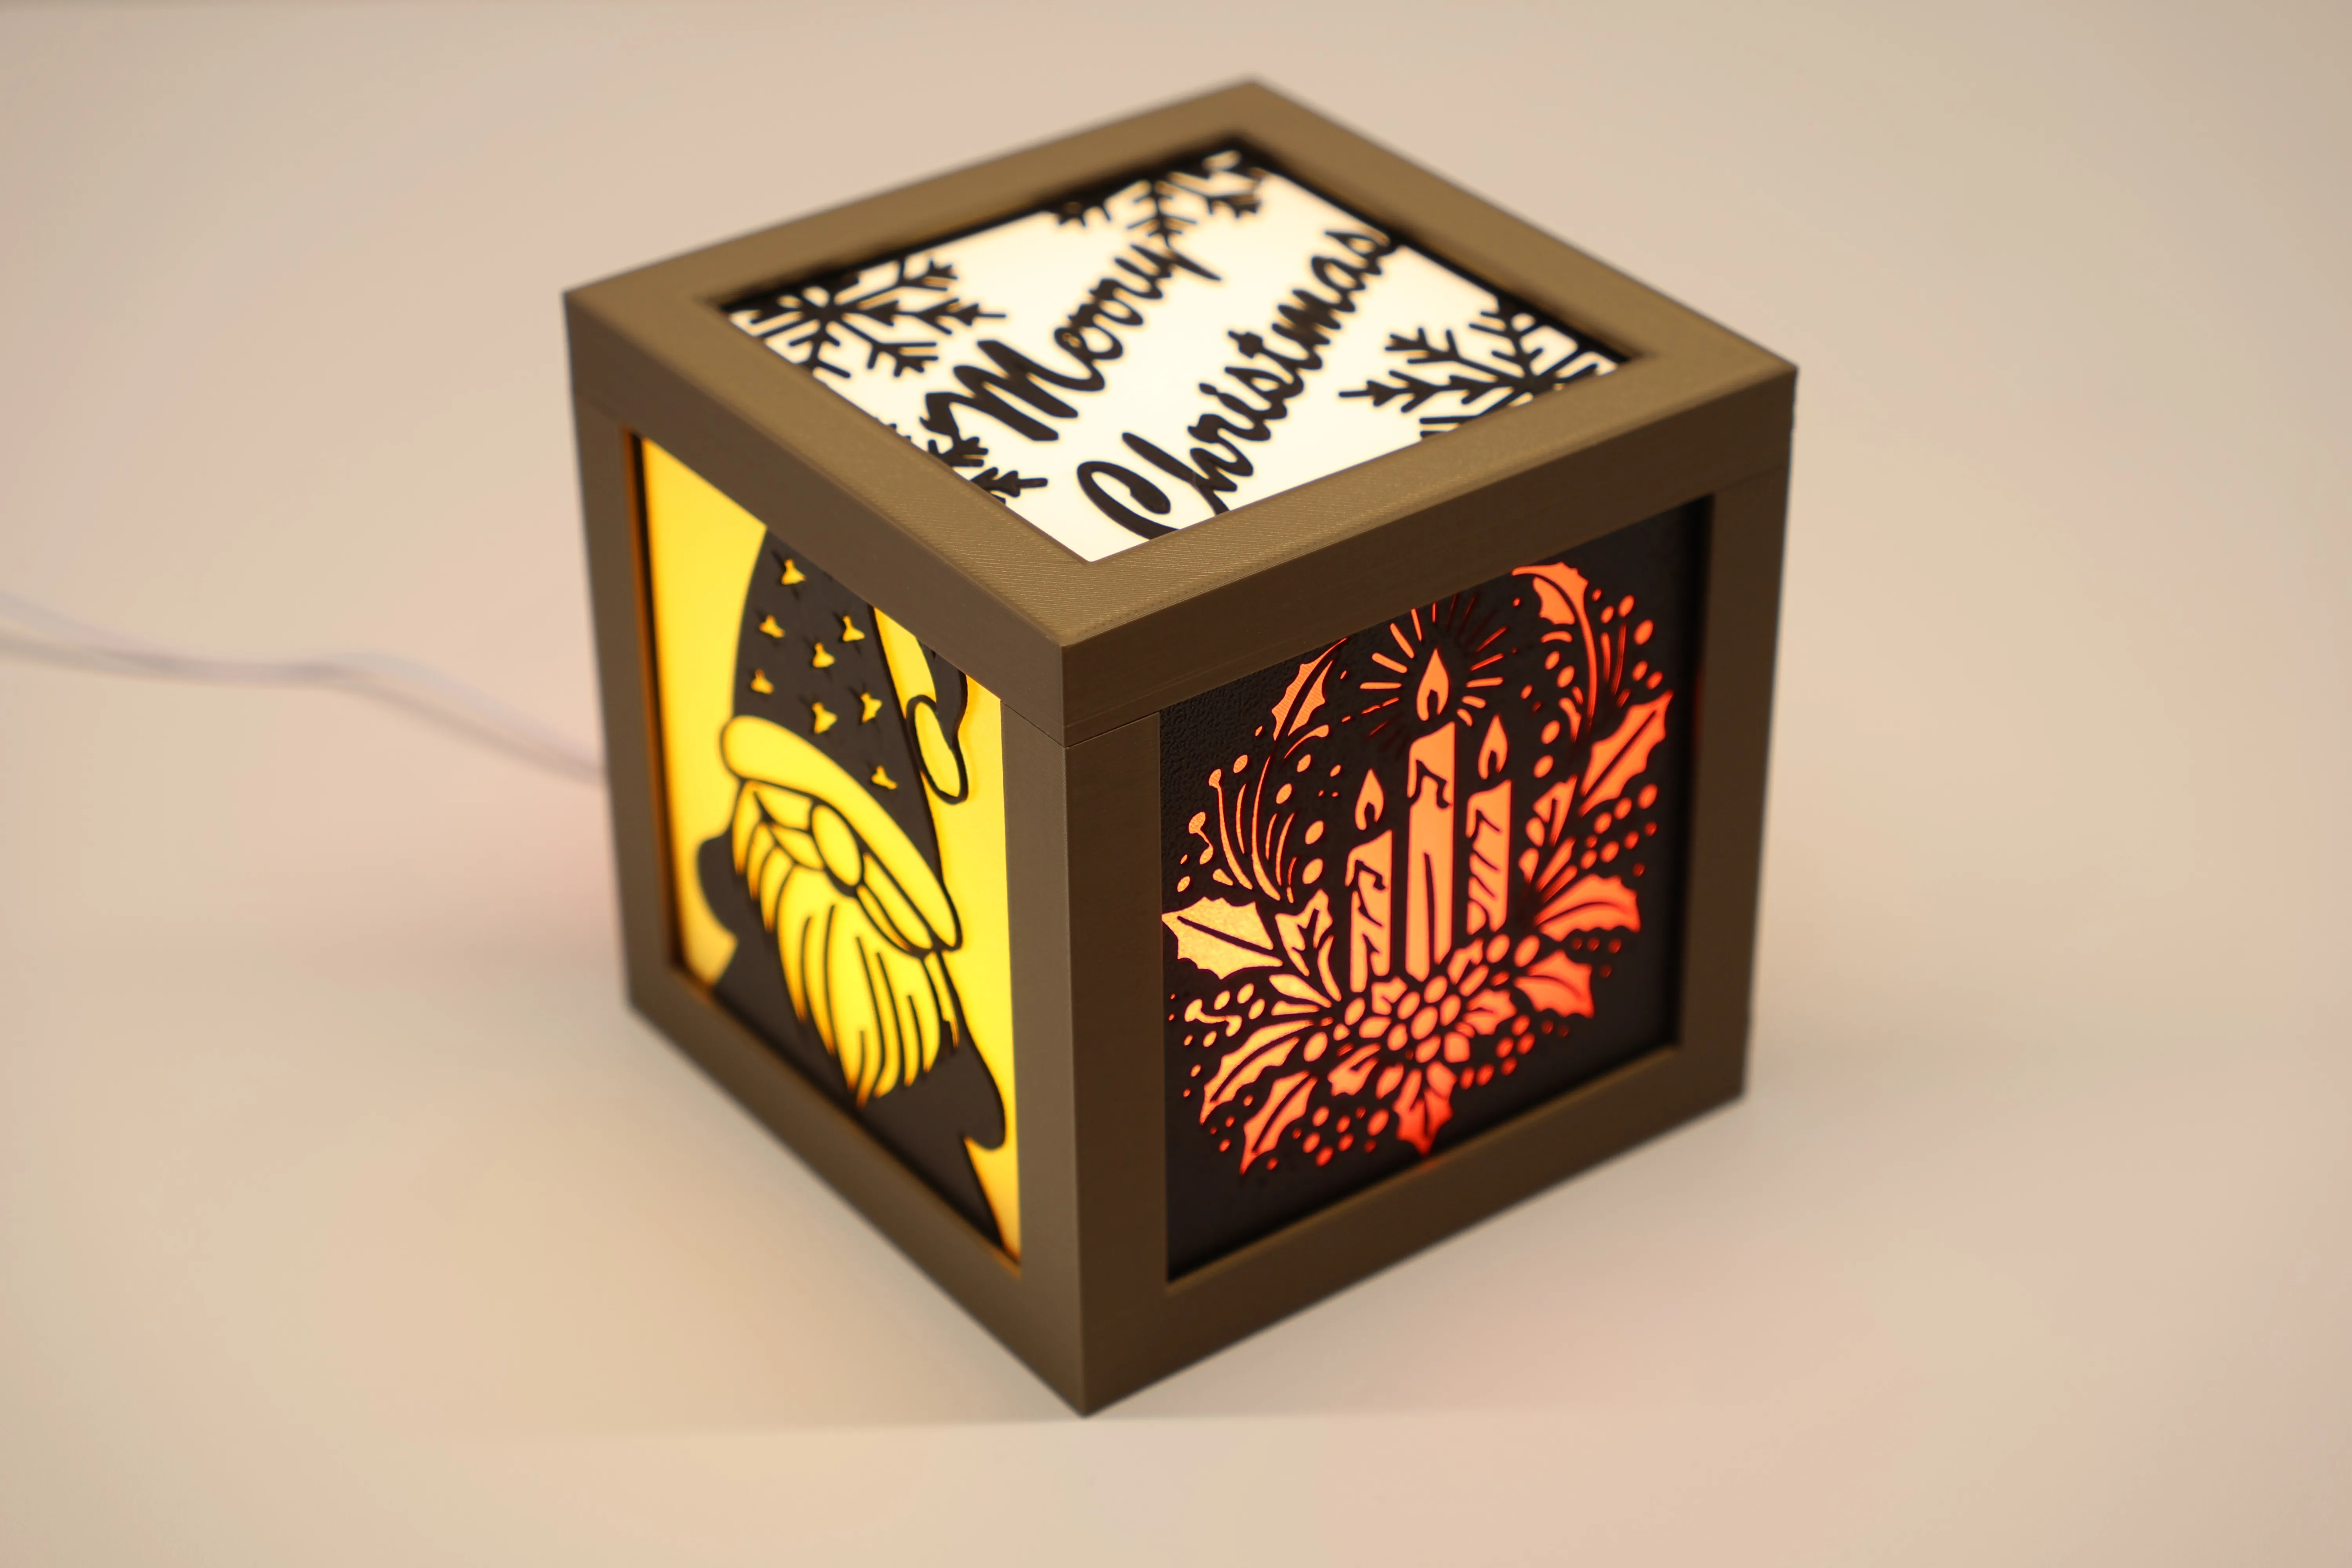
Lantern Stacks
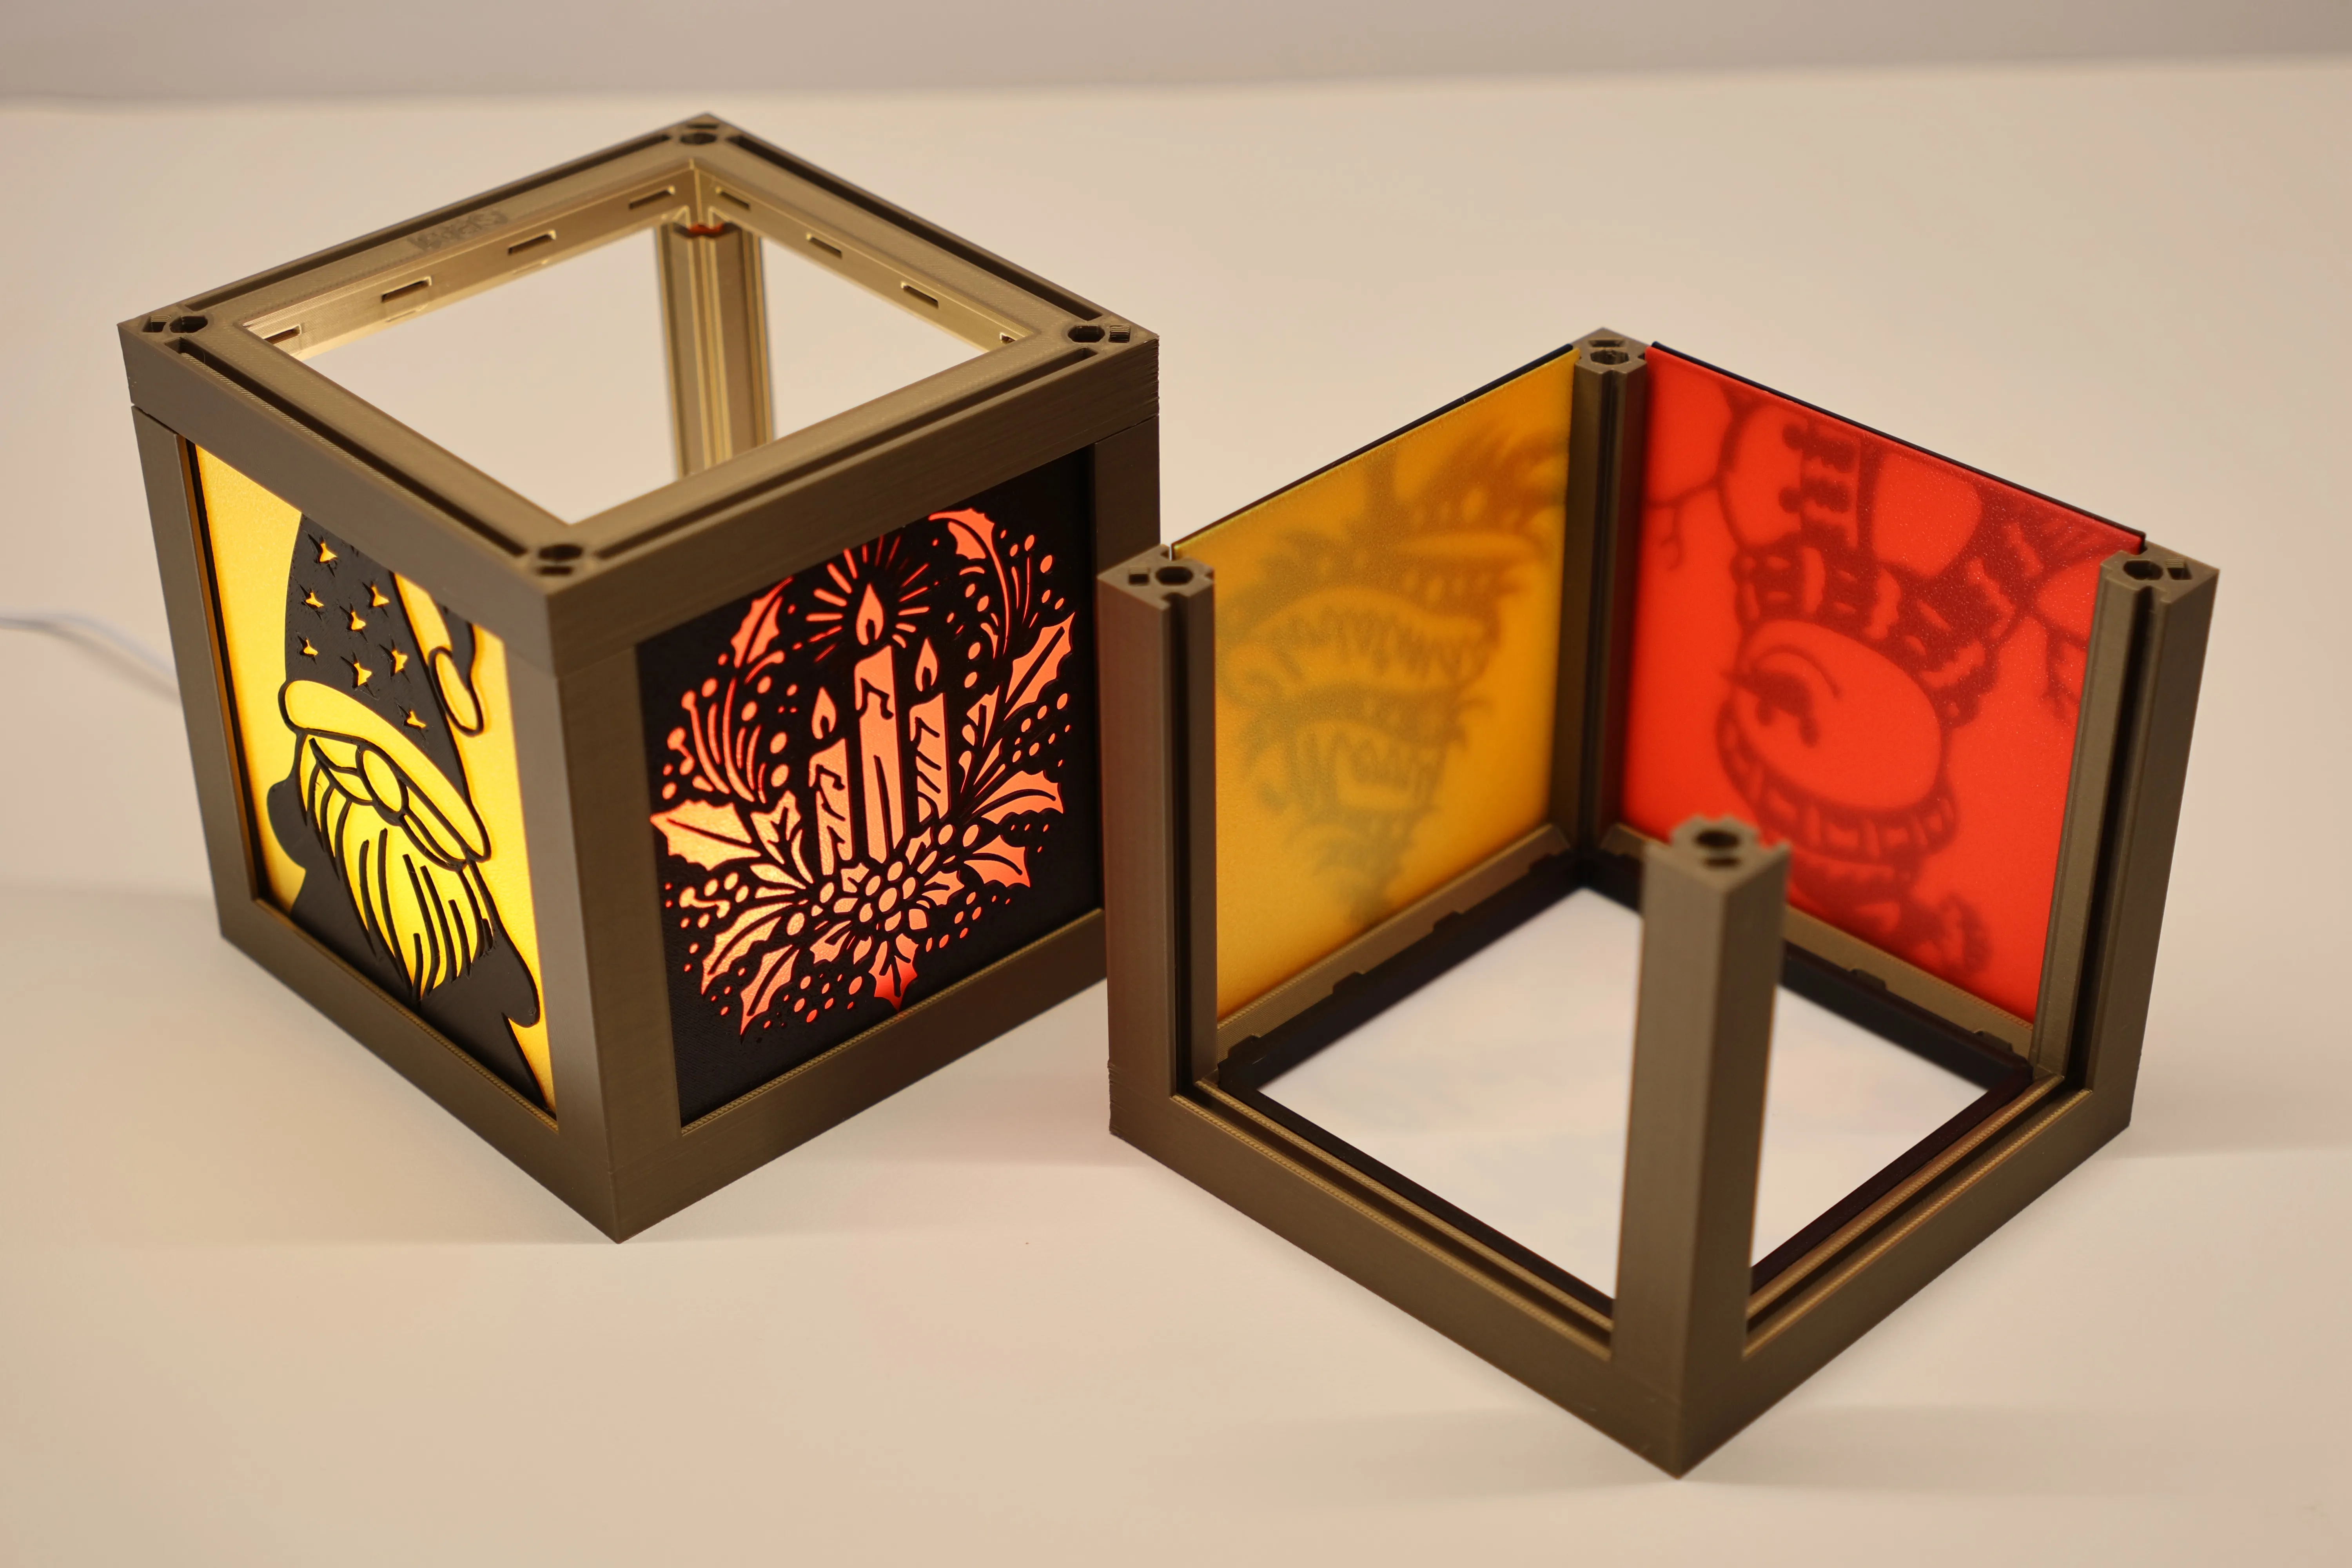
Most lantern parts are designed so that they can be used upside down and placed anywhere in the stack. Print two skirts and flip one and connect them together and place them between the core and a top, or wherever you want and there is so much more to come.
Connect multiple cores together or flip one for an elongated lantern If you do this the insert space is 196mmx100mm I may release some inserts for this one day.
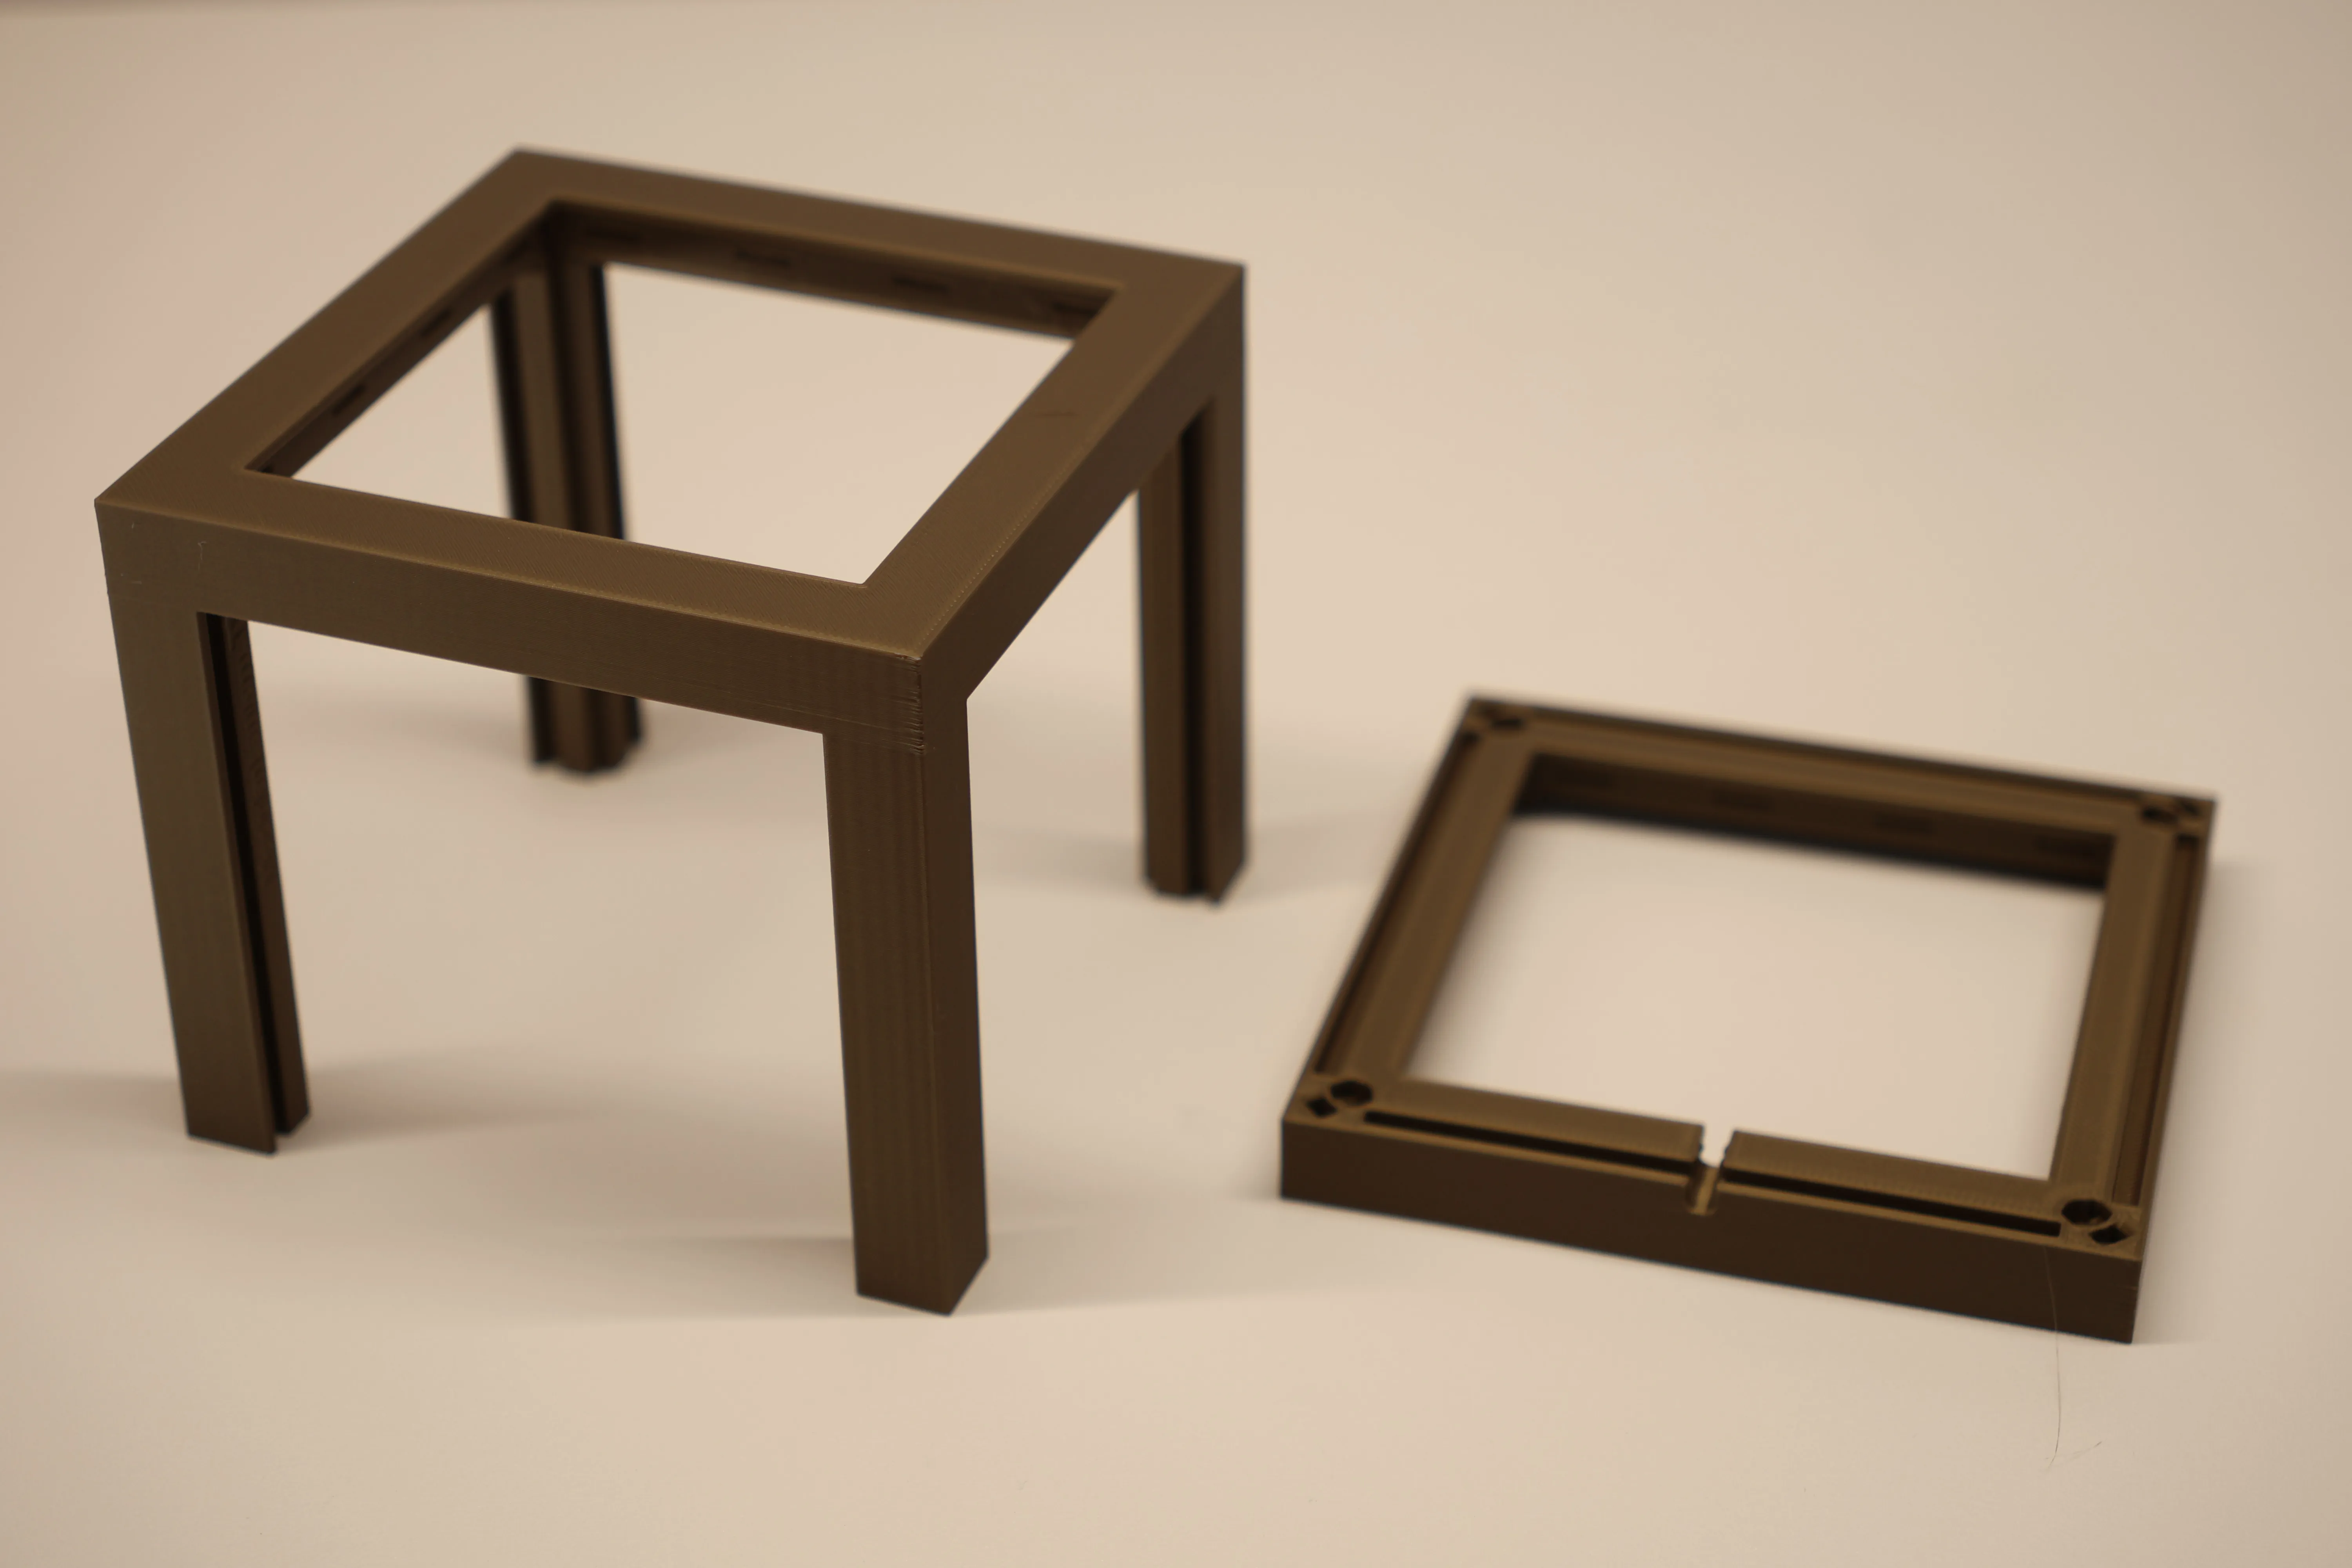
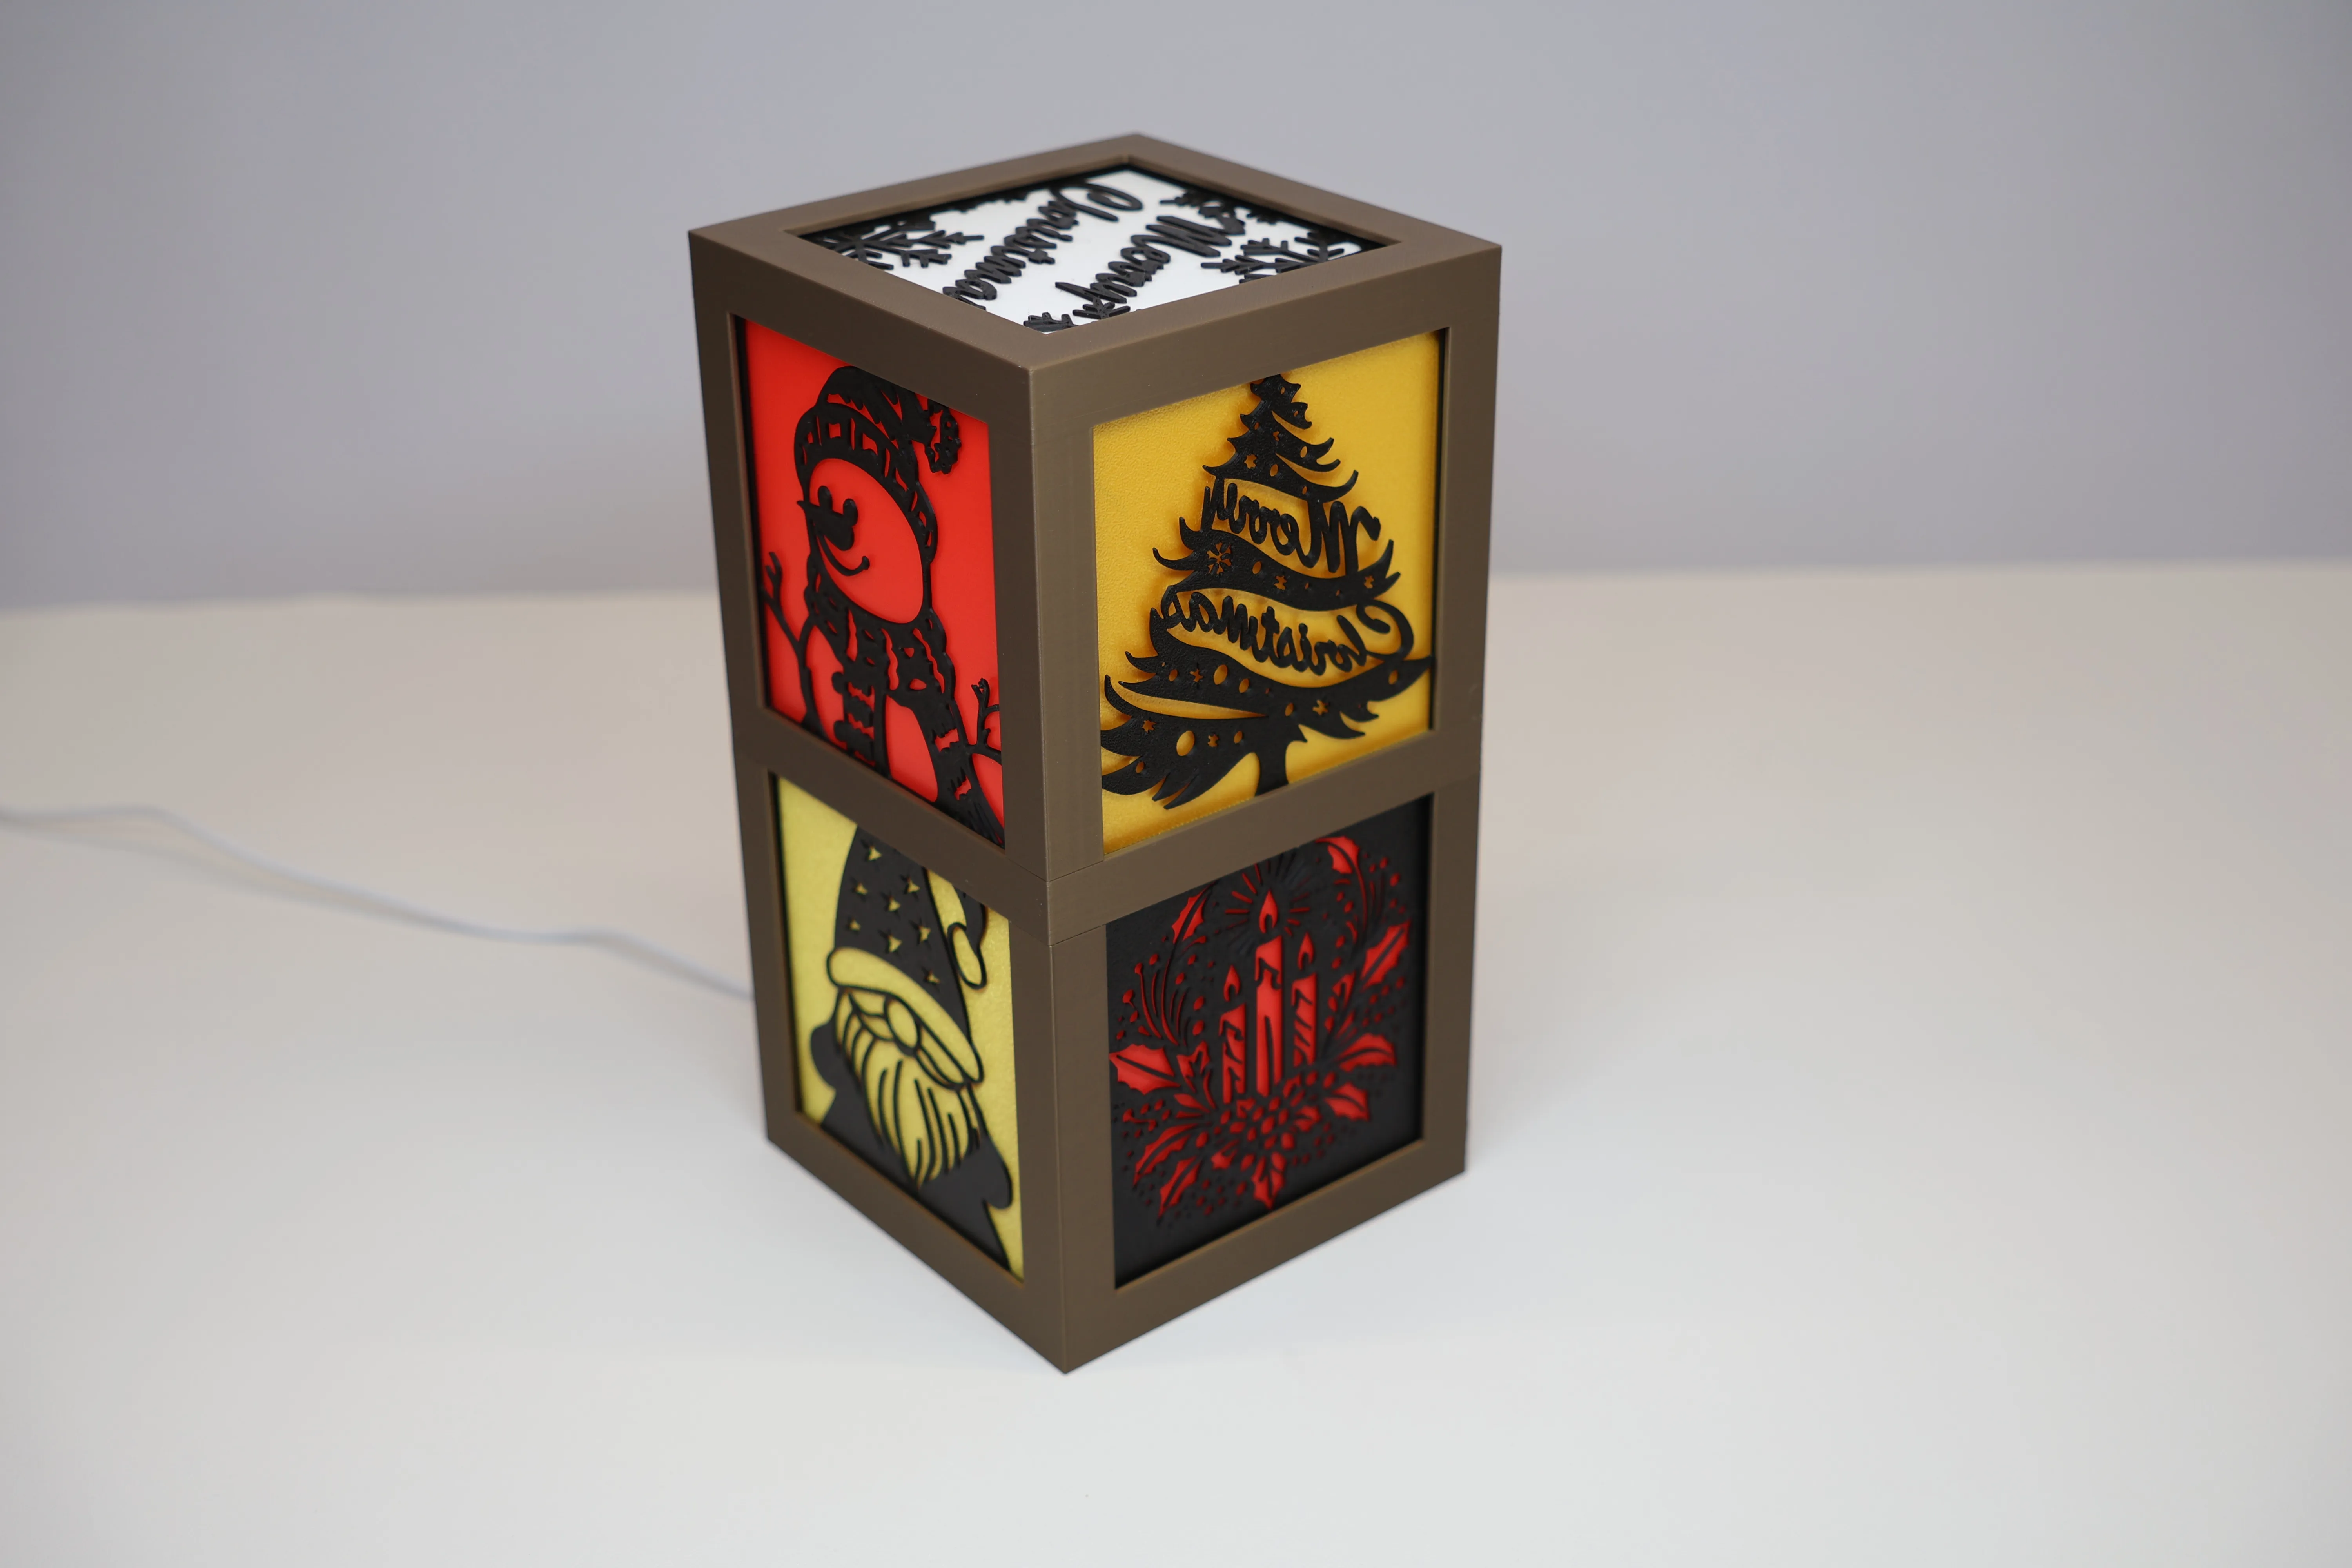
Wait, you can use the core upside down? Yup the bottom of the core is exactly the same as the flat top so the base inserts can be placed in either!
What about the wire? Well If you load the print profile into Bambu slicer and look in the Objects view you will see a couple of negative parts. These are what cut the wire exit and bottom connections out of the core. By deleting these we get a smooth base on the core (Plate 7) and by adding the negative wire part to the Flat top you get a wire exit cut into it (Plate 6). I said earlier about different wire dimensions. You can scale the negative part too!
6mmx4mm Magnets
If you want a really easy way to remove the top I suggest using magnets and you have several options here. The holes are 6mm diameter by 4.2mm, you can simply use 6x4mm diameter magnets which will provide a super strong connection or…
6mmx2mm Magnets
I suspect many of you have 6mmx2mm magnets if you’ve played with gridfinity. If you want simplicity, print 2mm spacers and pop these in with opposing poles facing each other, you know how magnets work.
Want a smarter setup? Alternate the magnet poles as you go around the Core instead of keeping them all the same.
Why? Because it keeps the system reversible — you can flip or stack sections in any orientation without losing alignment.
Make the magnets Stand proud, use a 1mm spacer with the south pole and 3mm with the North pole. Now when you put parts together they can’t slide!
Proud Without Spacers
If you purchase 6mm x 1mm magnets and 6mm x 3mm magnets then you can follow the same approach as above but without the hassle of adding spacers!
Part Numbers
You may notice some cryptic 3-5 letters followed by a number on Mk3 parts. These identify the part and the number is the revision. Note 3 does not mean Mk3 it means I’ve released 3 major revisions of that part. Some Mk3 parts have a version 1 as they are new. I have given all old parts a unique number too and am updating old profiles to include it in the file name. A catalogue of all these parts and compatibility between parts will be released soon, check out Patreon to learn more.
Slicing
I really advise you to use the 3mf file even if you open it in a different slicer. It is set up to include negative parts to cut out holes in the bottom of parts and has tested settings, some per model.
For the core you most likely want to include the MagFit connections and possibly the cable exit on it's base but you may decide to have neither and use it upside down with a smooth top.
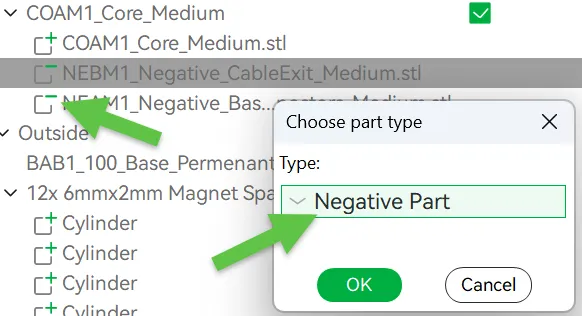
Add COB1_Core, NEA1_Negative_BaseConnectors and NEB1_Negative_CableExit to your slicer at the same time.
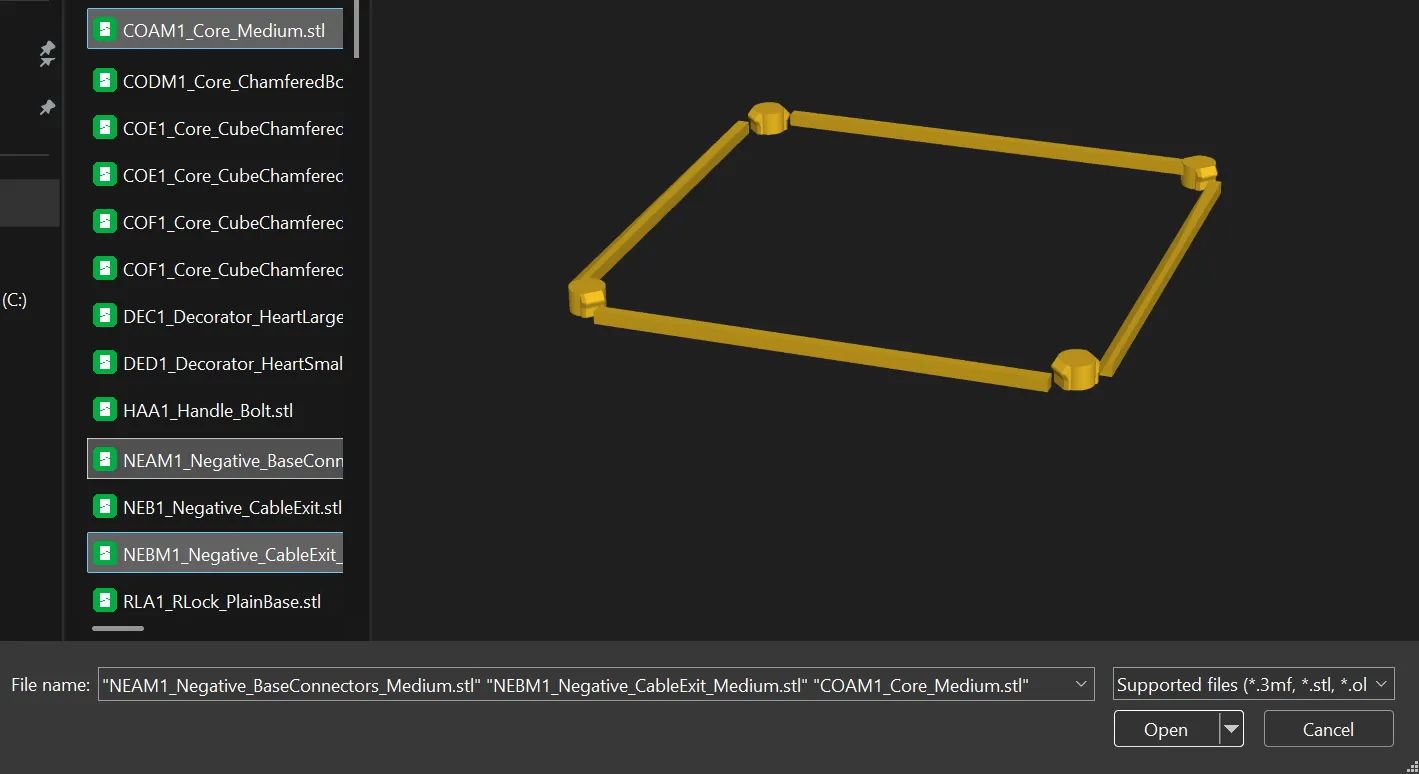
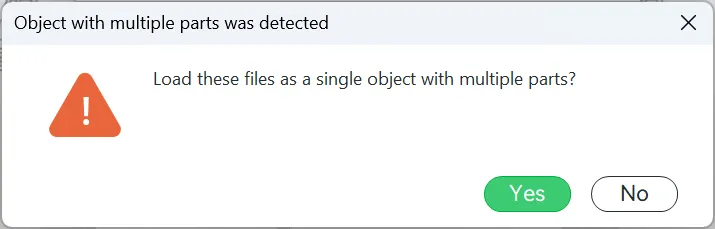
Answer yes to ‘Load these files as a single object with multiple parts?’
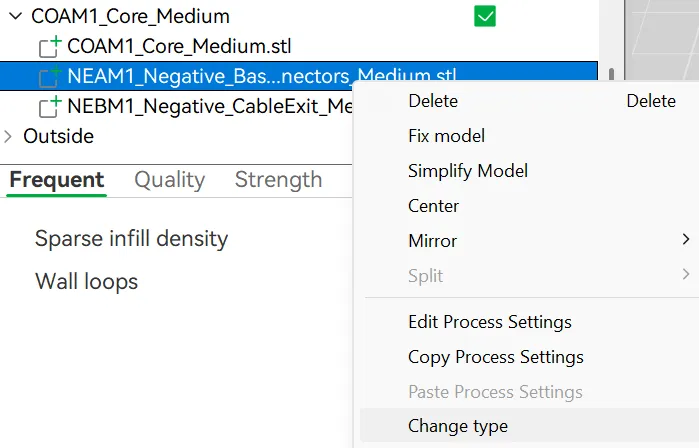
Then in object view right click on the parts that start with NE (Negative) and change the part type to Negative. This will cause them to cut a hole in the core.
I add ears to the corners of most parts to avoid them lifting during the cooling place.
Experiment and Share
I read all comments and reply to every DM — your feedback directly shapes future parts.
There’s a lot more to come, so follow along or join me on Patreon for exclusive inserts, early releases, and community projects.
Lithophanes
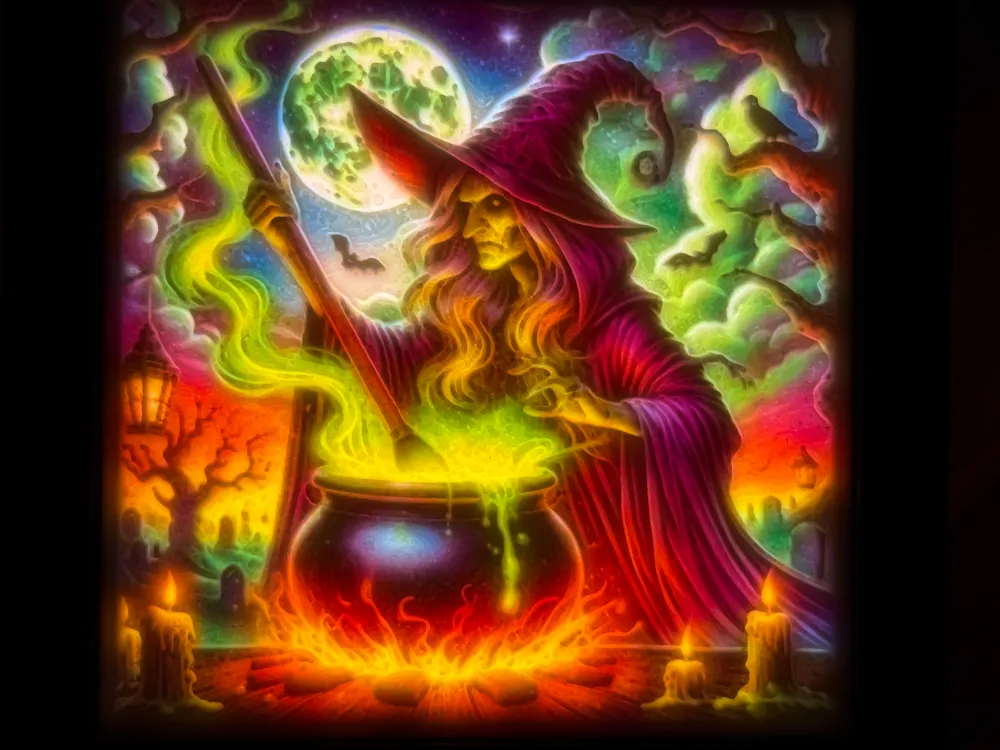
I've included a bonus print profile of 3 colourful Halloween lithophanes powered by Makerworld-Make My Lithophane (https://makerworld.com/makerlab/makeMyLithophane)
You can use it to easily create your own.
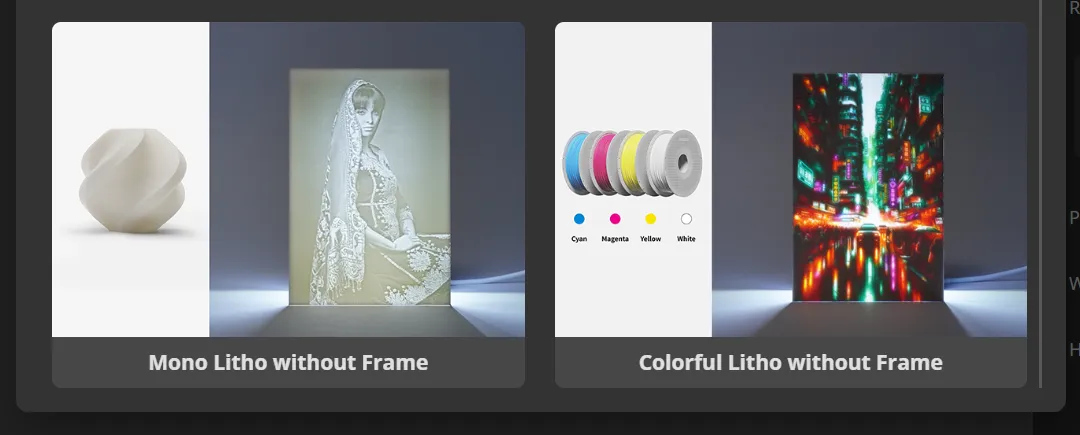
1.) Select either of the two options below:
2.) Upload your image.
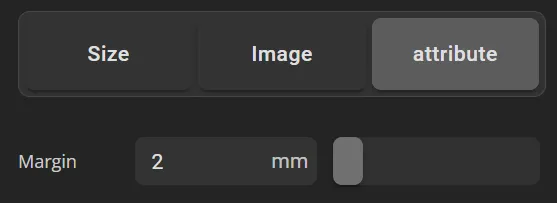
4.) Go to the attribute tab and set the margin to 2mm
5.) Now back to the Size tab and make sure the 1:1 ratio is picked.
6.) Set the width and height to 96x96.
7.) Check the overview image dimensions are 100x100 (and max 3.2mm thick).
8.) Download, print and share (Don't forget to link the lantern :-))
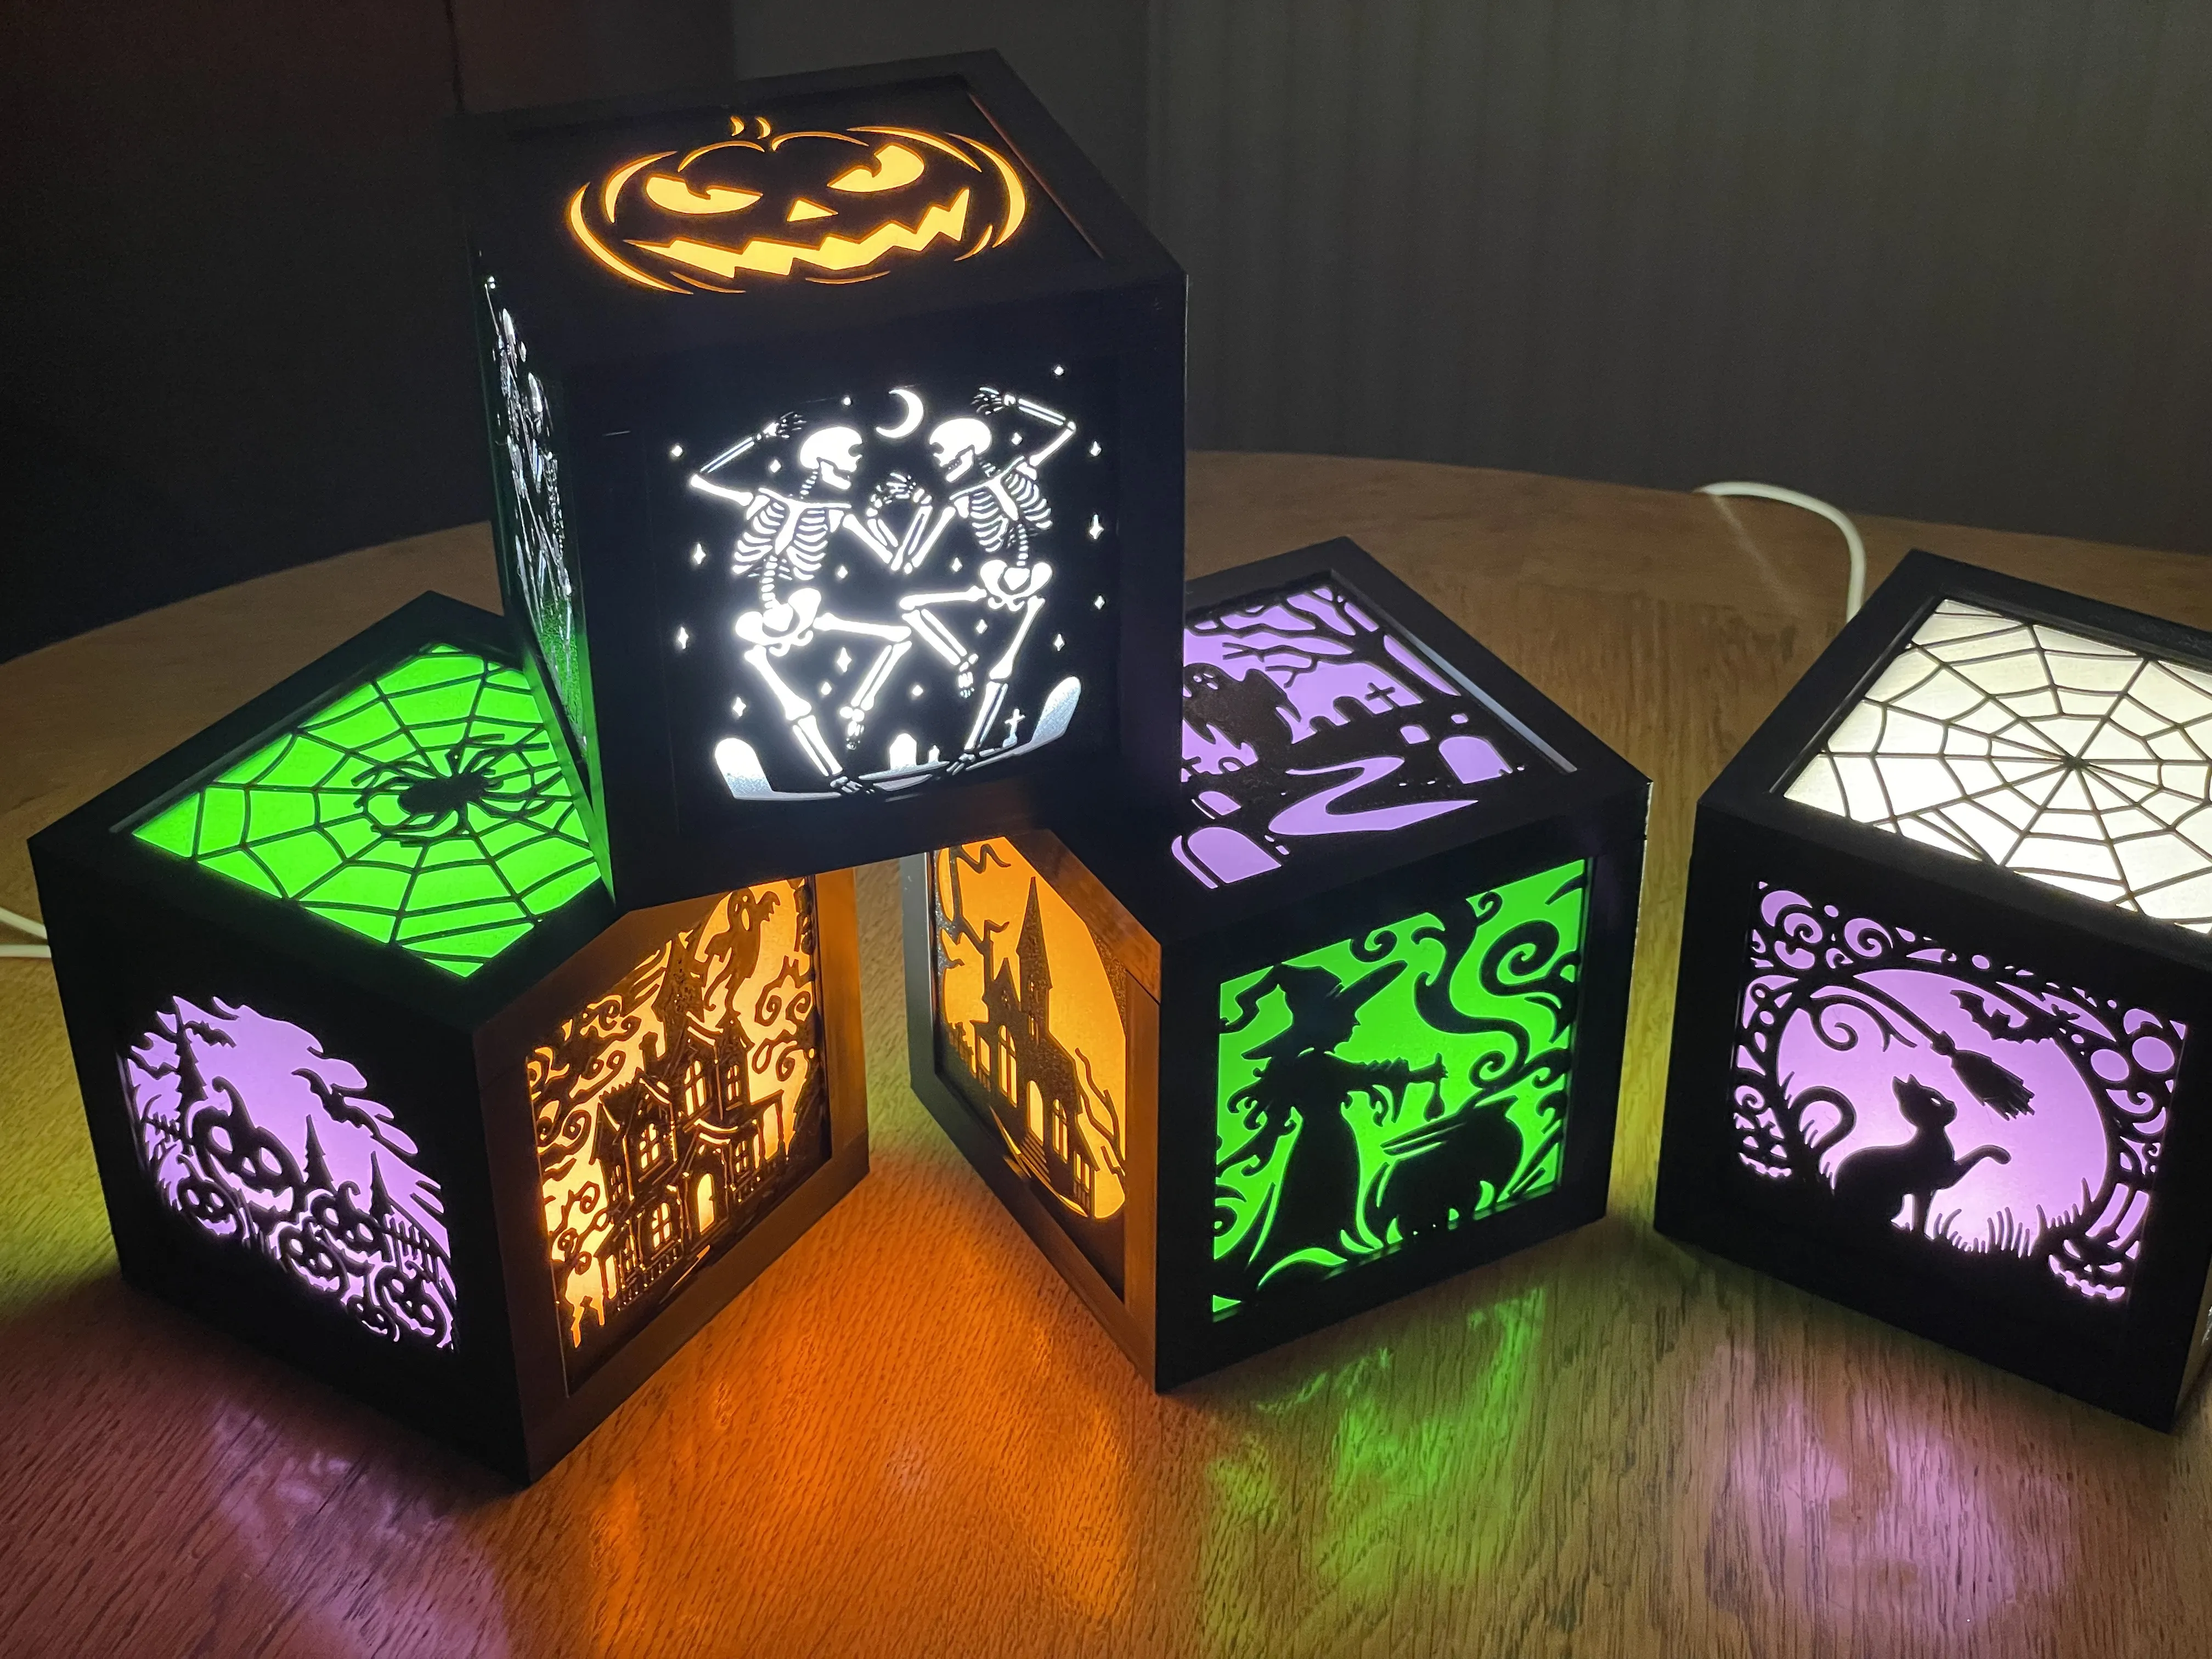
There are many more inserts for the cube available on my Patreon where I often release square versions of many of the portrait ones and more:
Other compatible inserts
If you create your own inserts let me know and I'll include a link to them here.
Two more in my Halloween series to complete the cube (https://www.patreon.com/TrustedDevelopments):
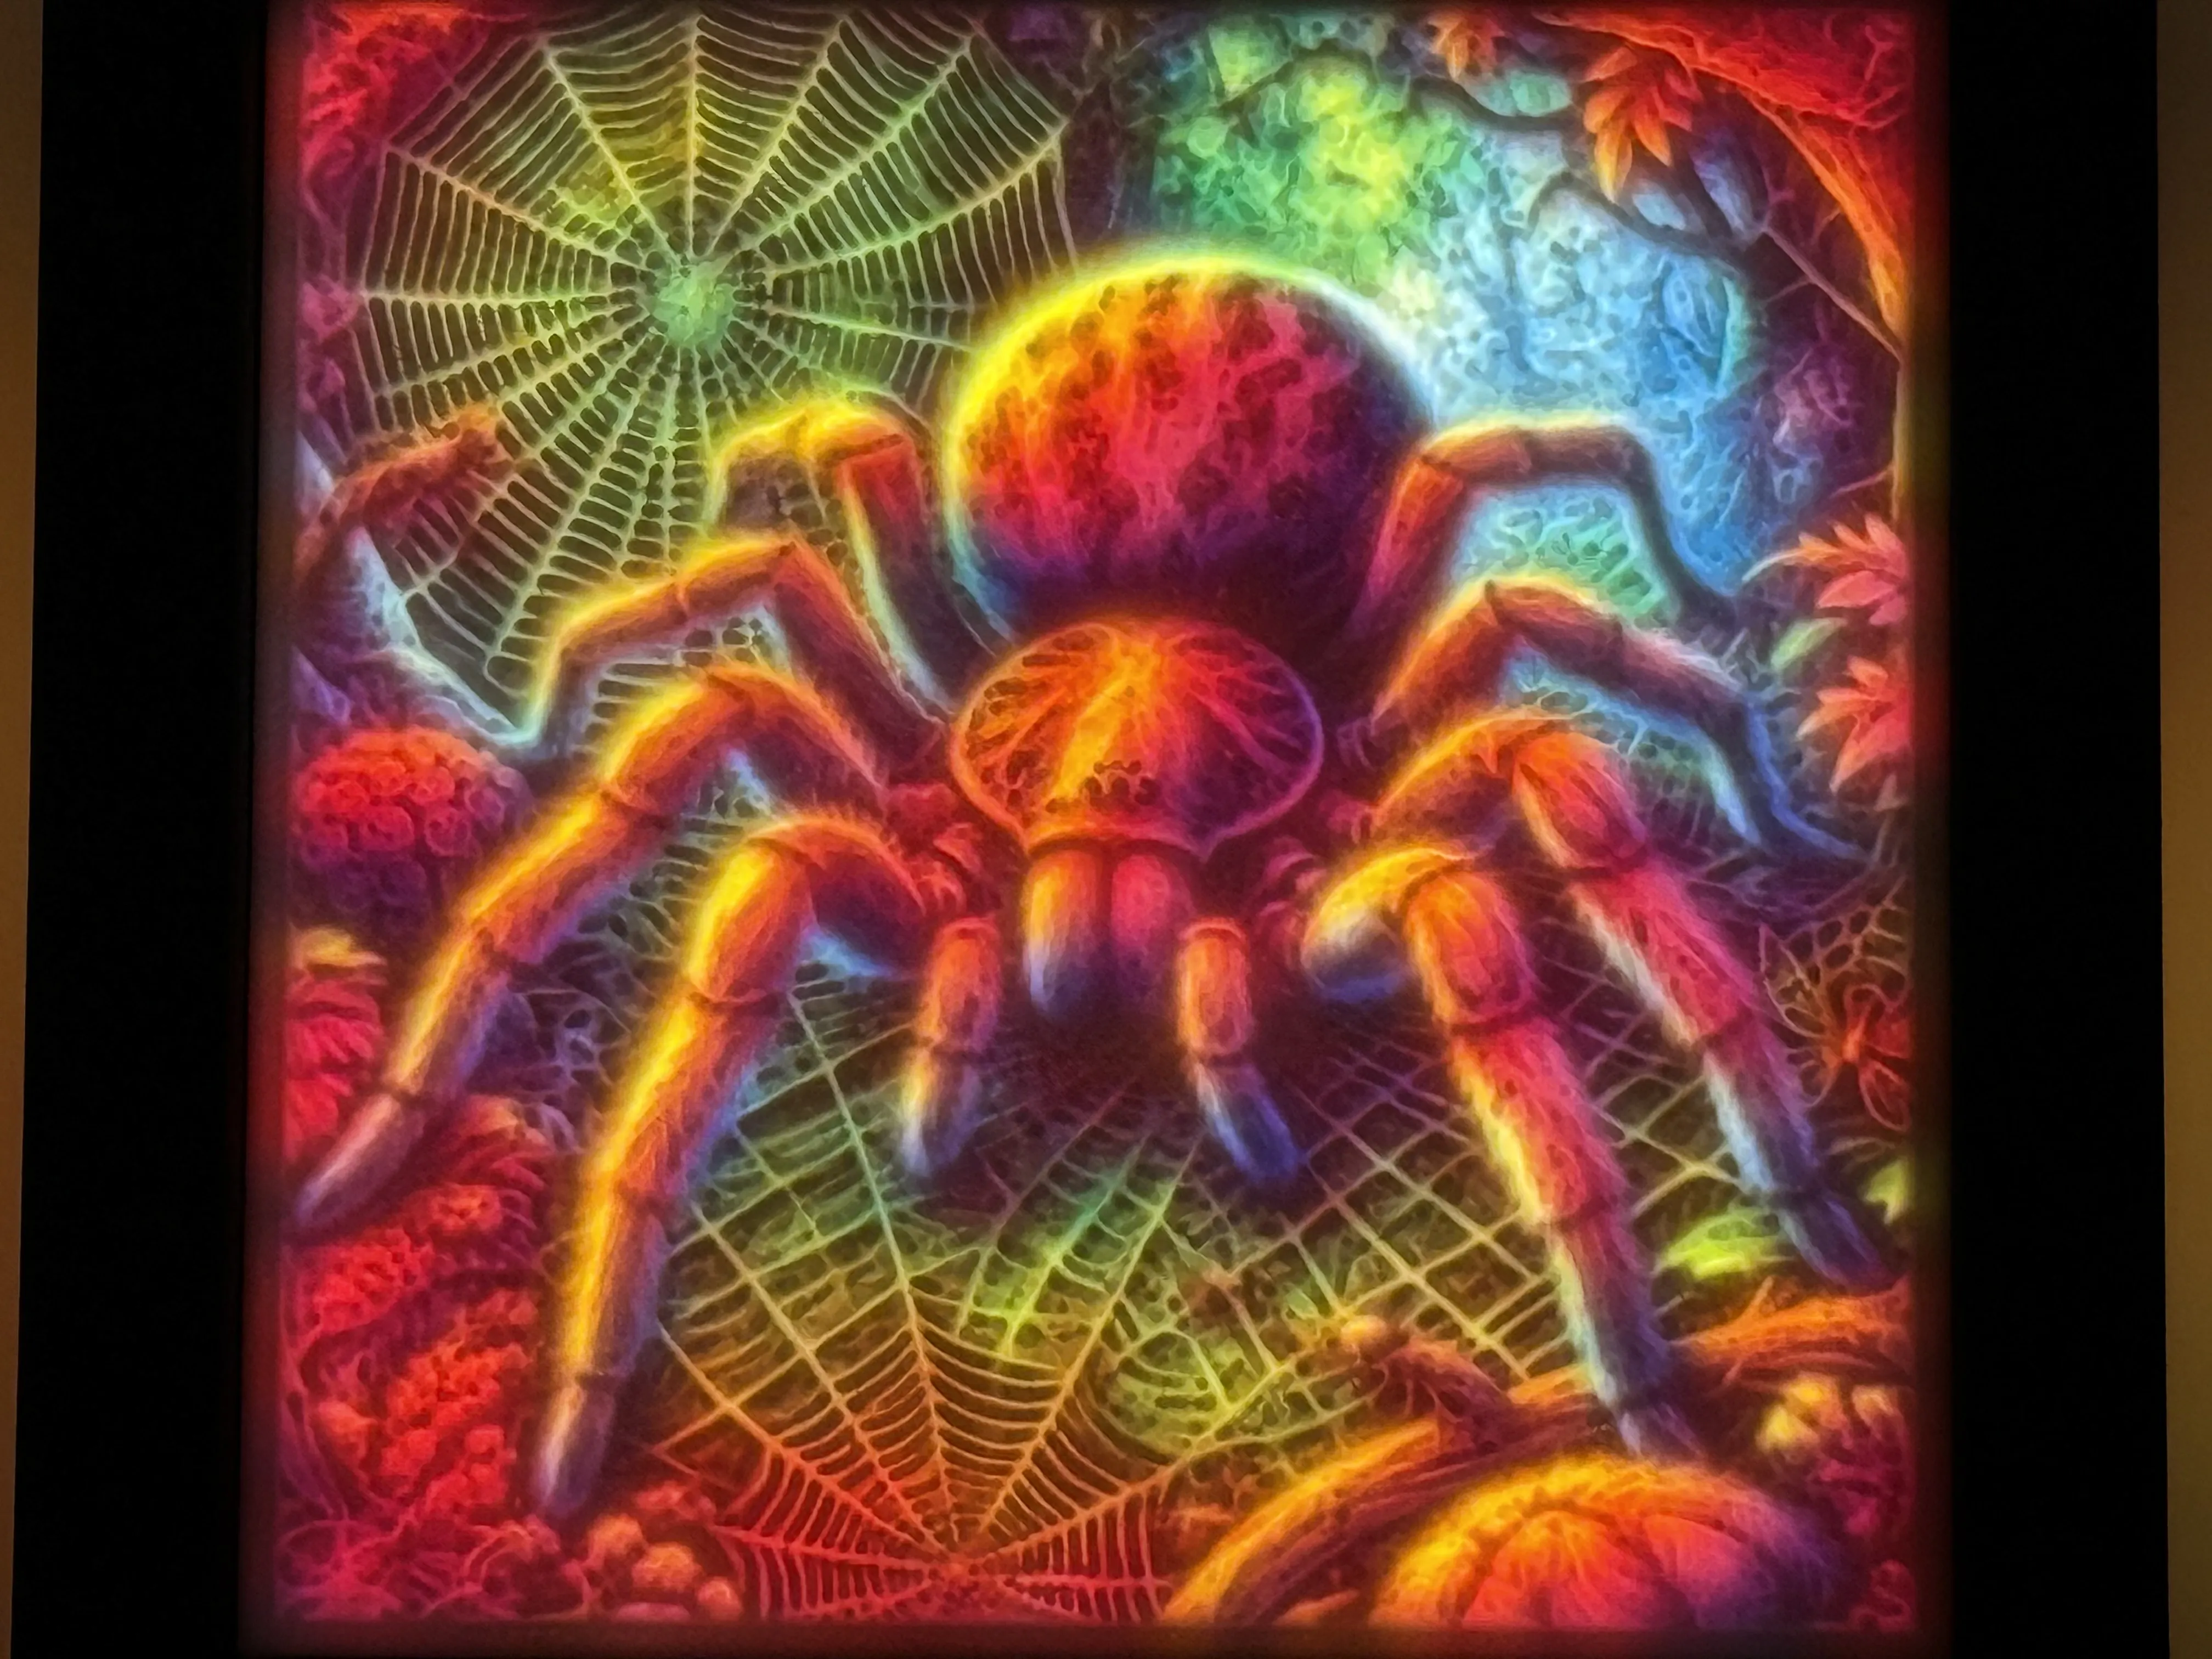
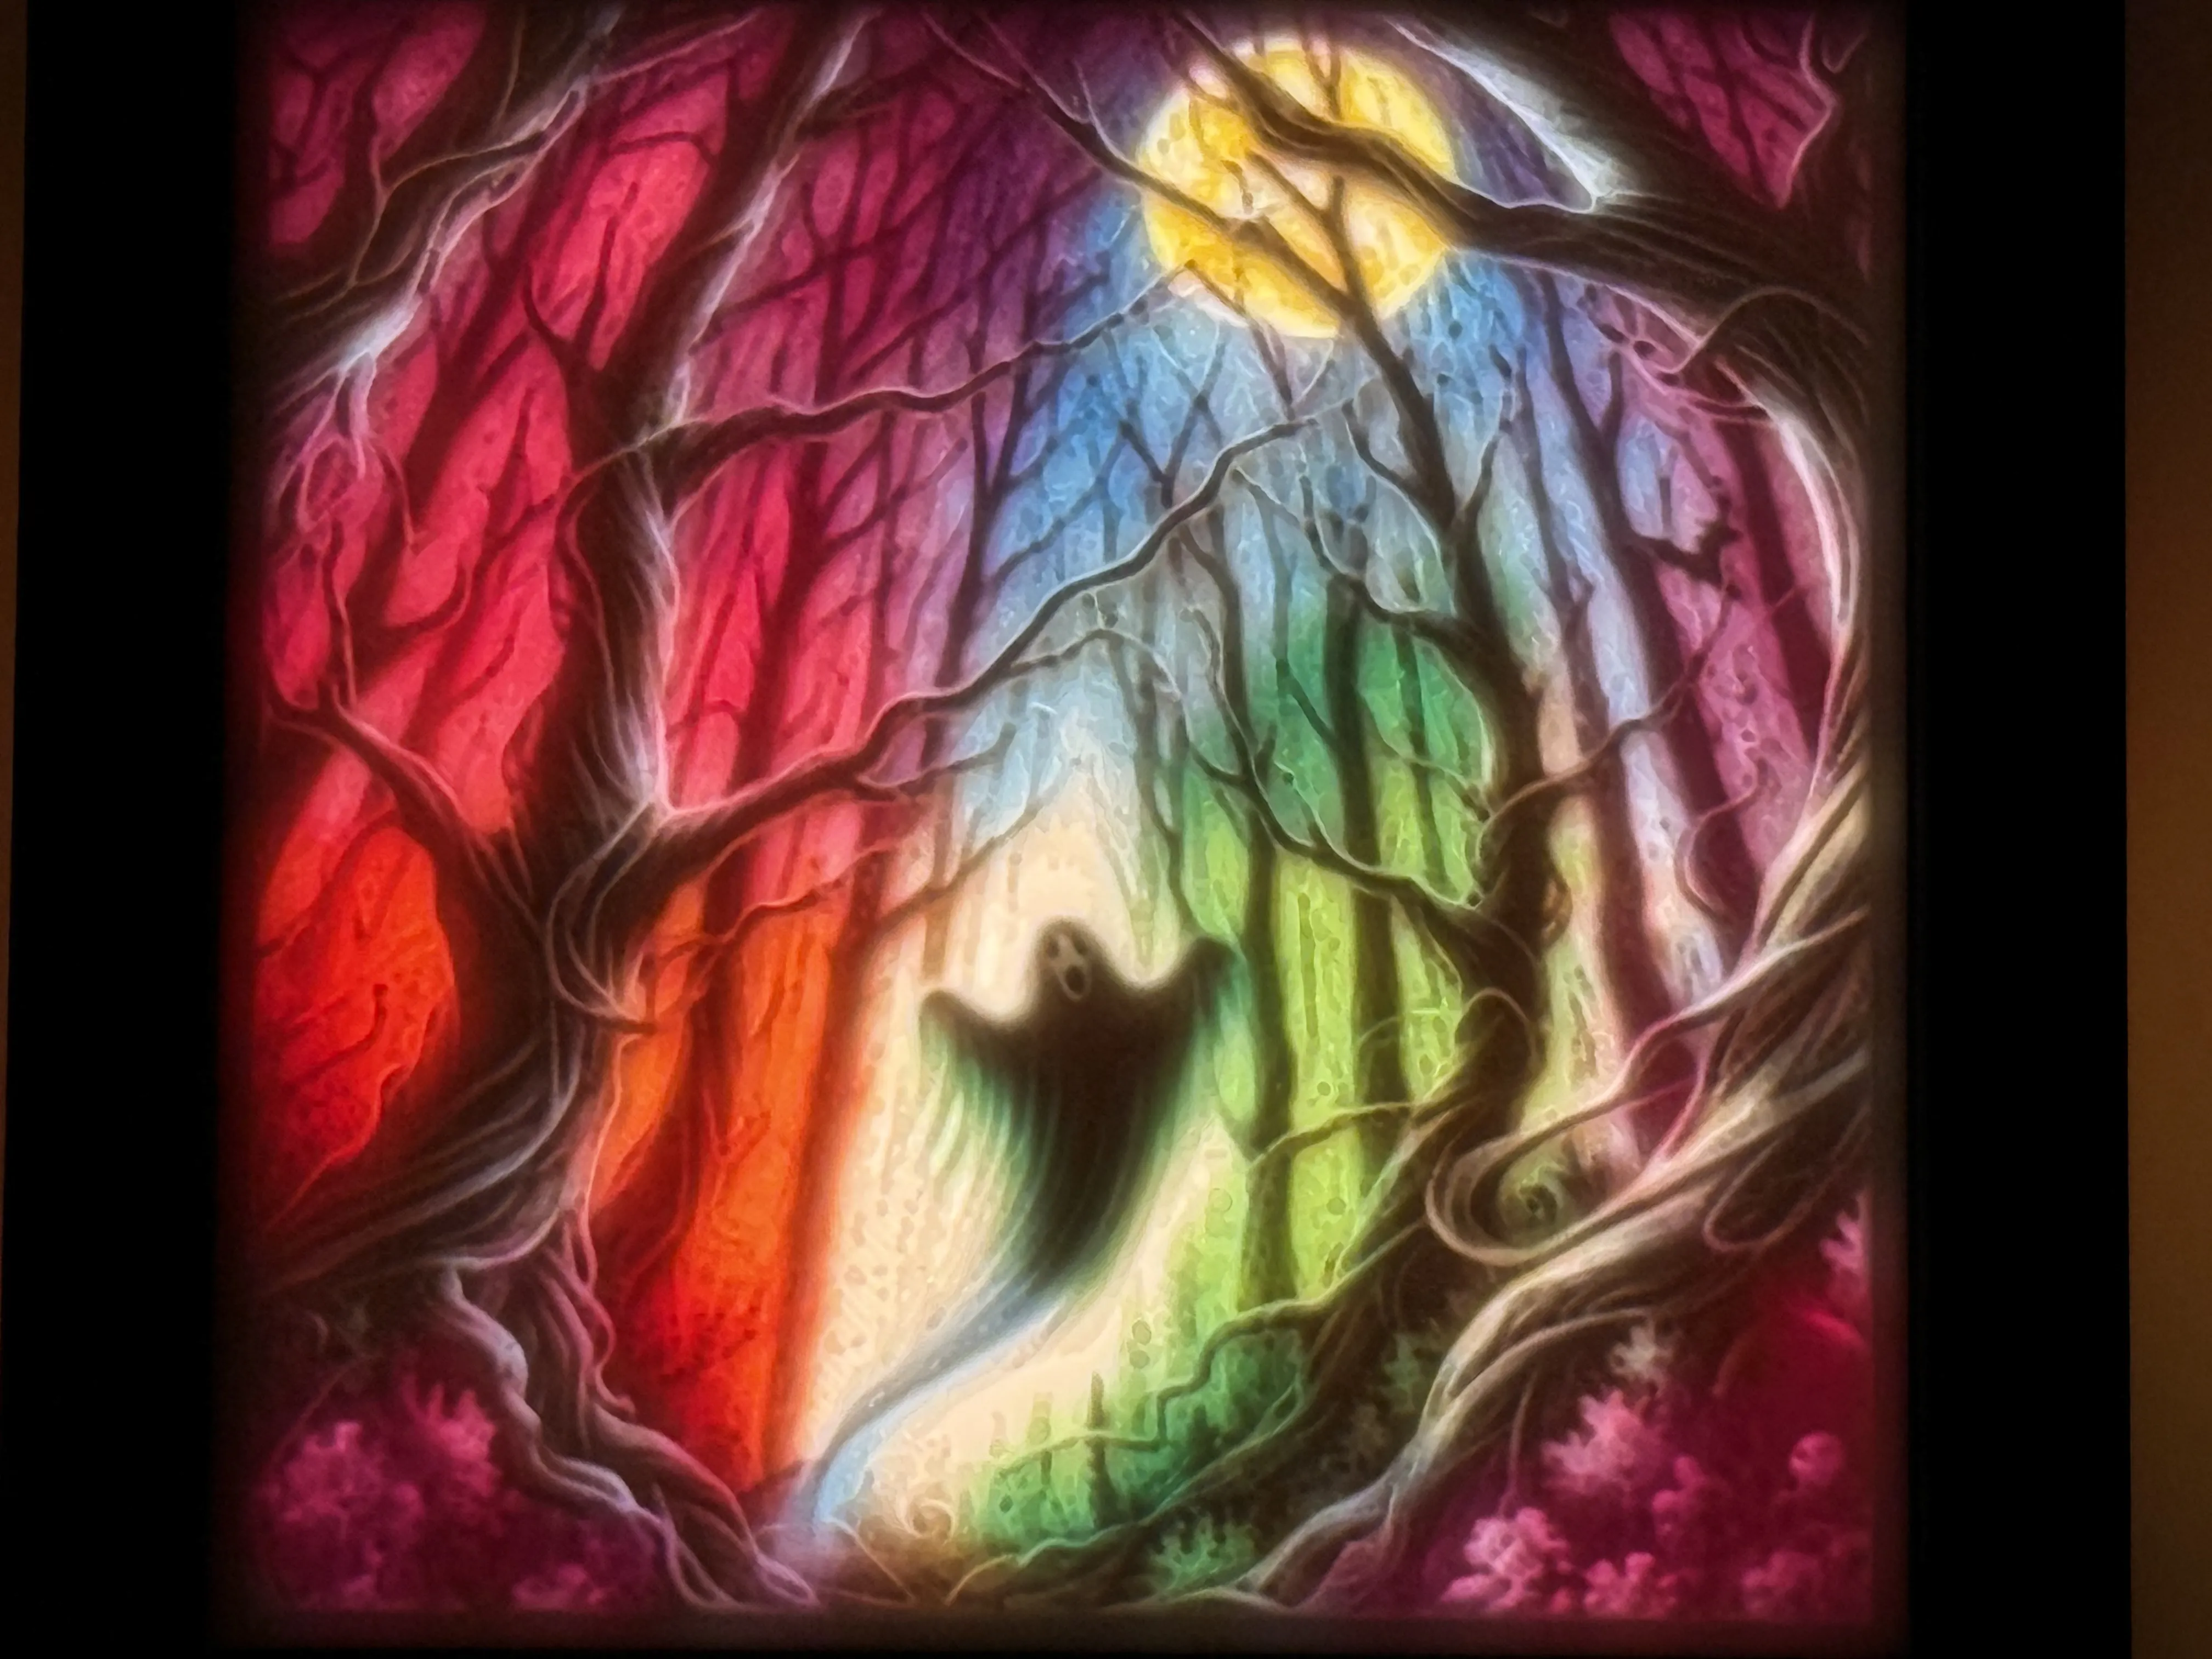
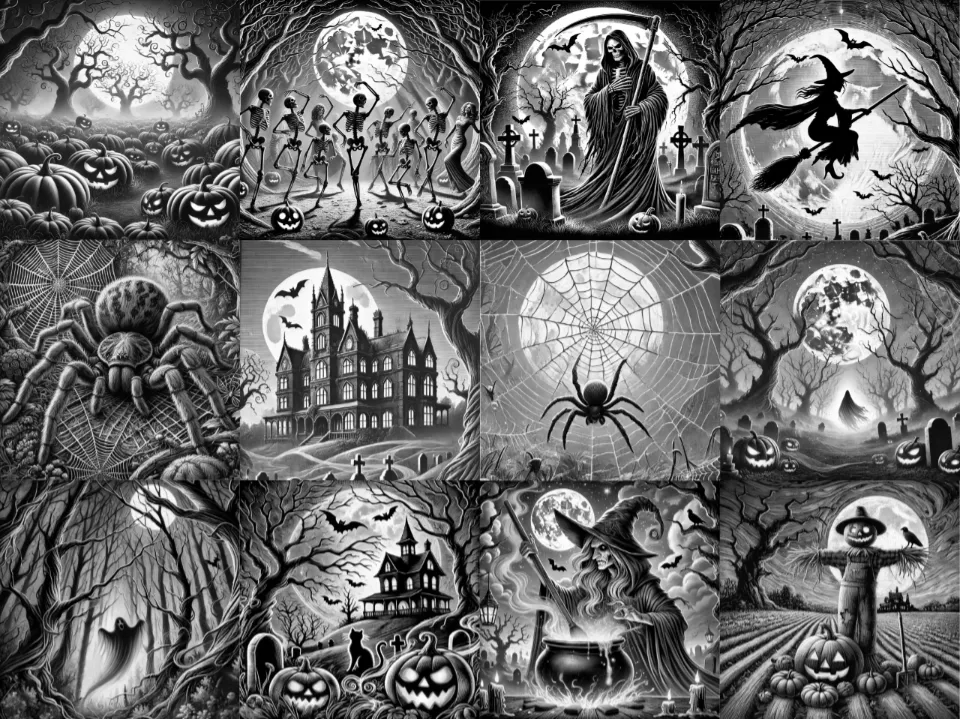
12 Square Monochrome Halloween Lithophanes (https://www.patreon.com/TrustedDevelopments):
Halloween Lithophanes by ShadowNinja (https://makerworld.com/en/models/698977):
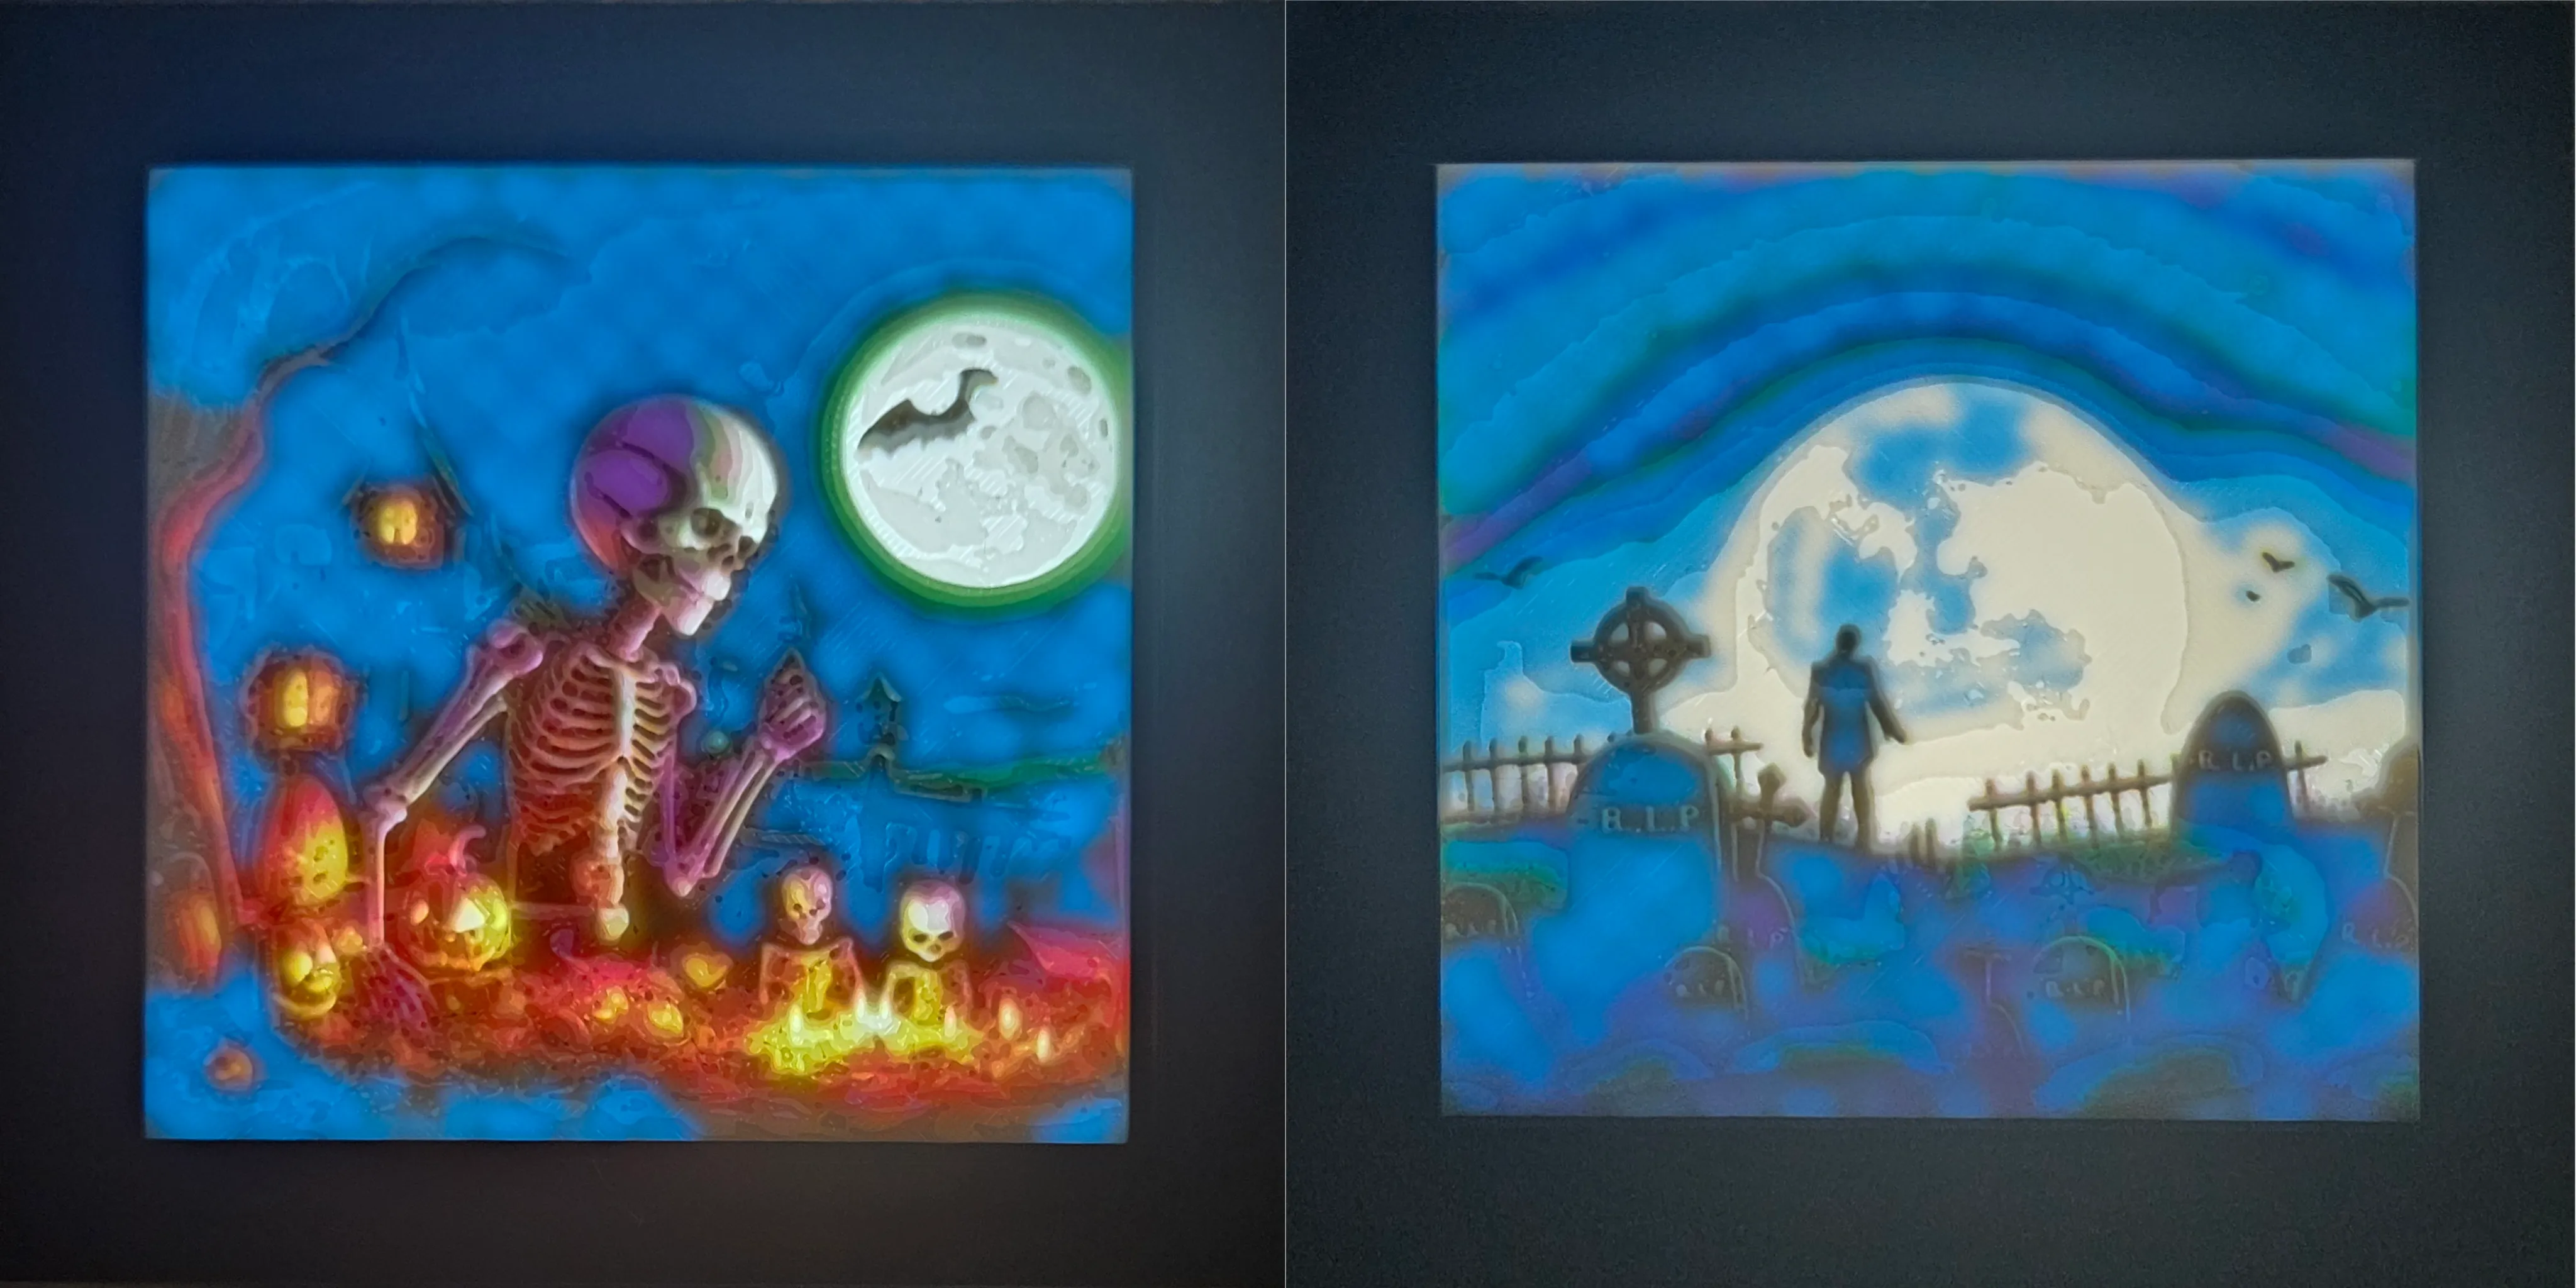
Christmas Lithophanes by ShadowNinja (https://makerworld.com/en/models/702014):

Christmas Gnomes by ShadowNinja (Set1, Set2):
License

You shall not share, sub-license, sell, rent, host, transfer, or distribute in any way the digital or 3D printed versions of this object, nor any other derivative work of this object in its digital or physical format (including - but not limited to - remixes of this object, and hosting on other digital platforms). The objects may not be used without permission in any way whatsoever in which you charge money, or collect fees.


Comment & Rating (218)