
Bones Clock - Skeleton Clock
Print Profile(2)


Bill of Materials
Description
Beyond Parametric CAD: Handmade Digital Art
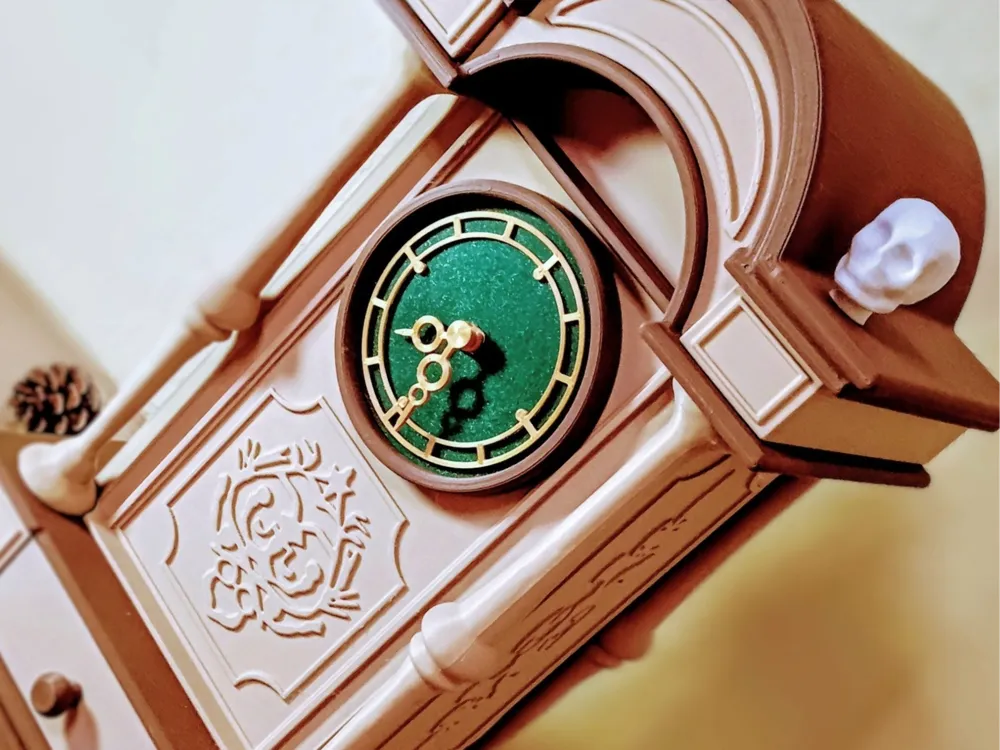
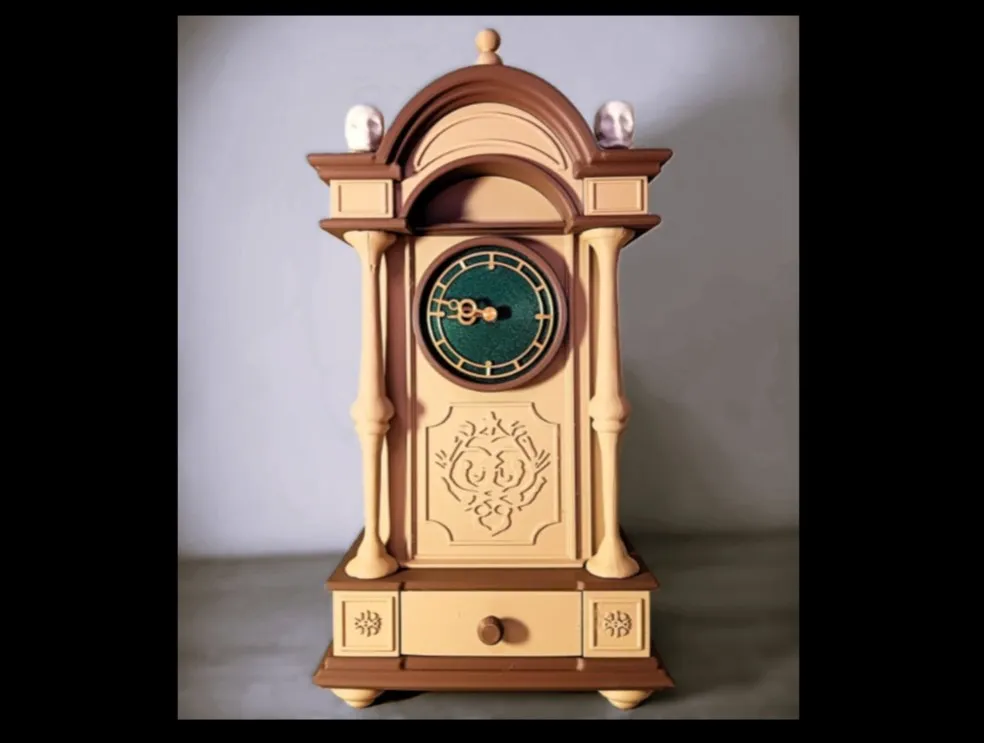
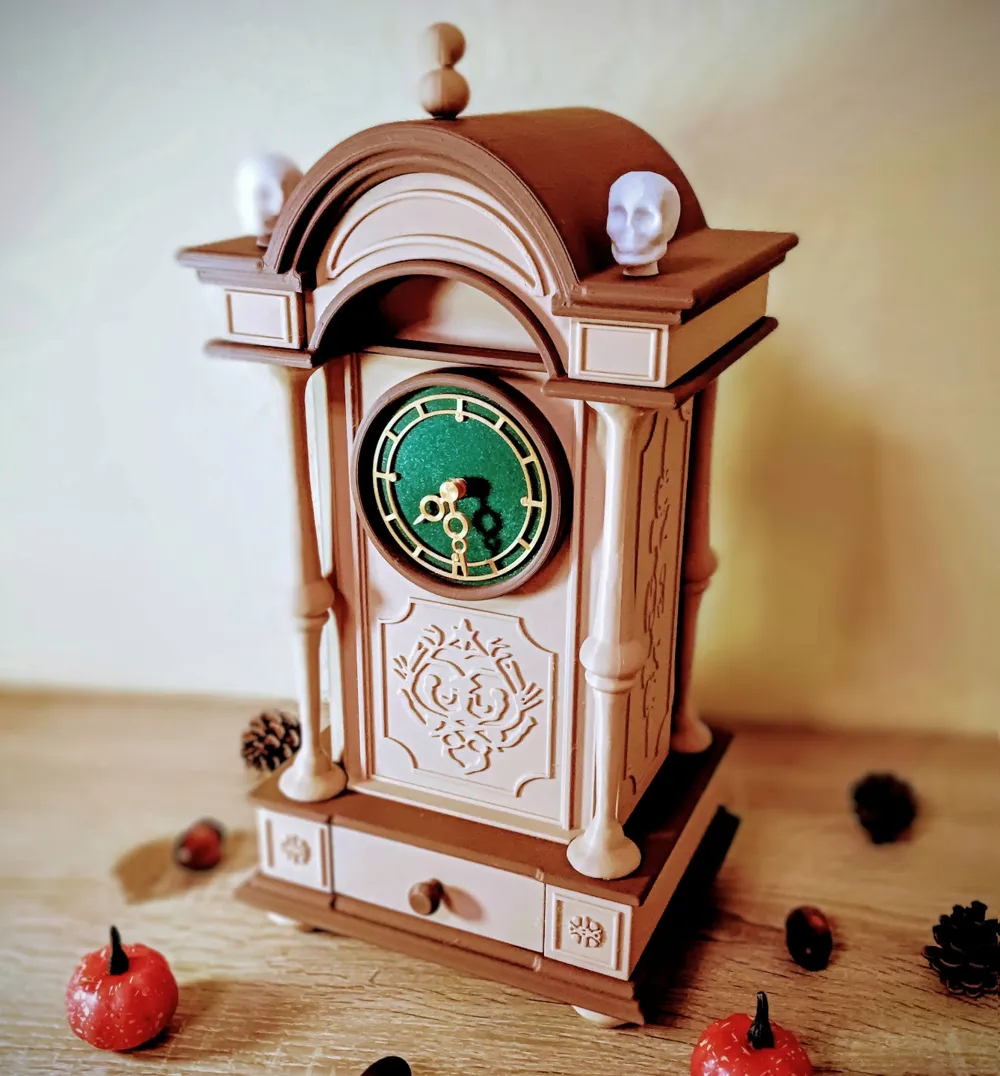
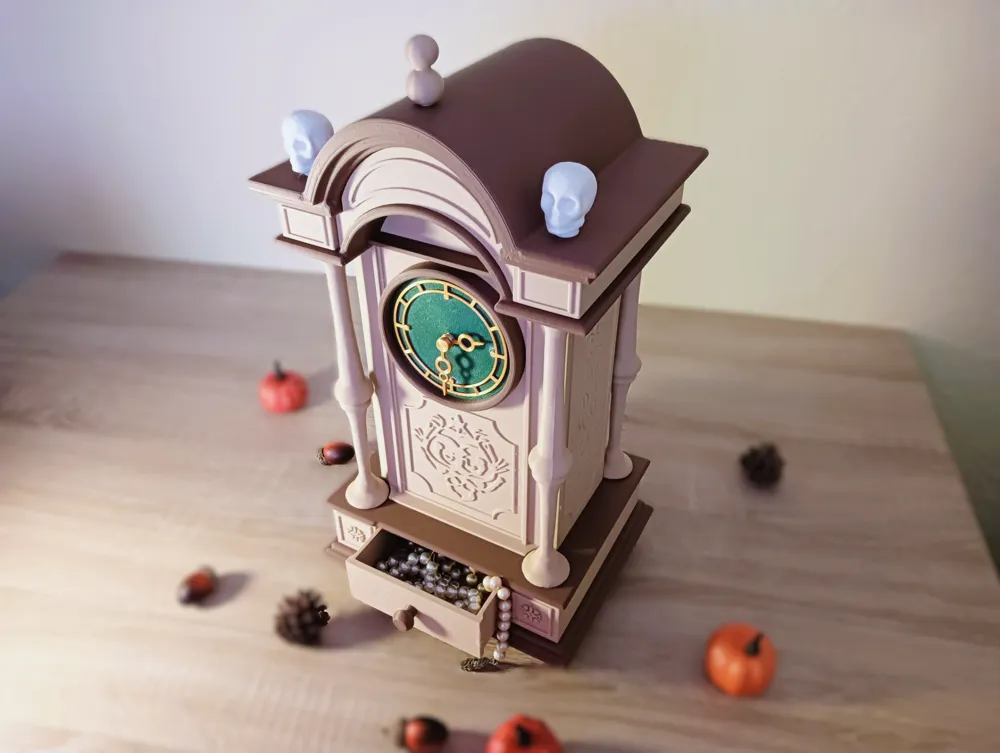
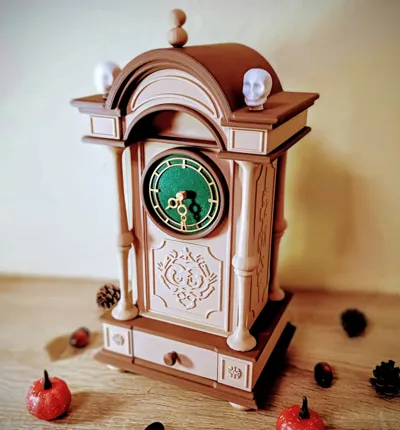
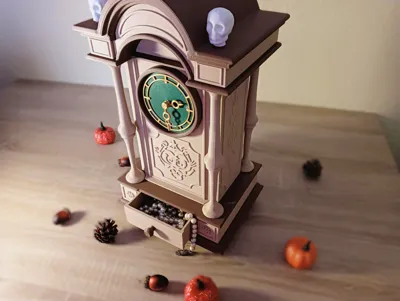
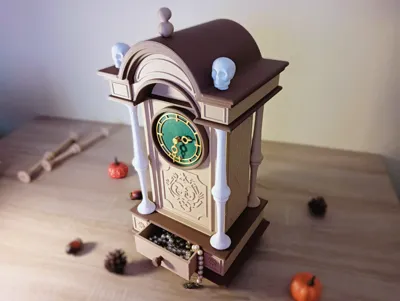
Imagine holding a small, mysterious world in your hands. A world filled with dark embellishments, whispering tales of long-forgotten times. My latest creation, a baroque miniature clock, transports you to an era of the mystical and mysterious.
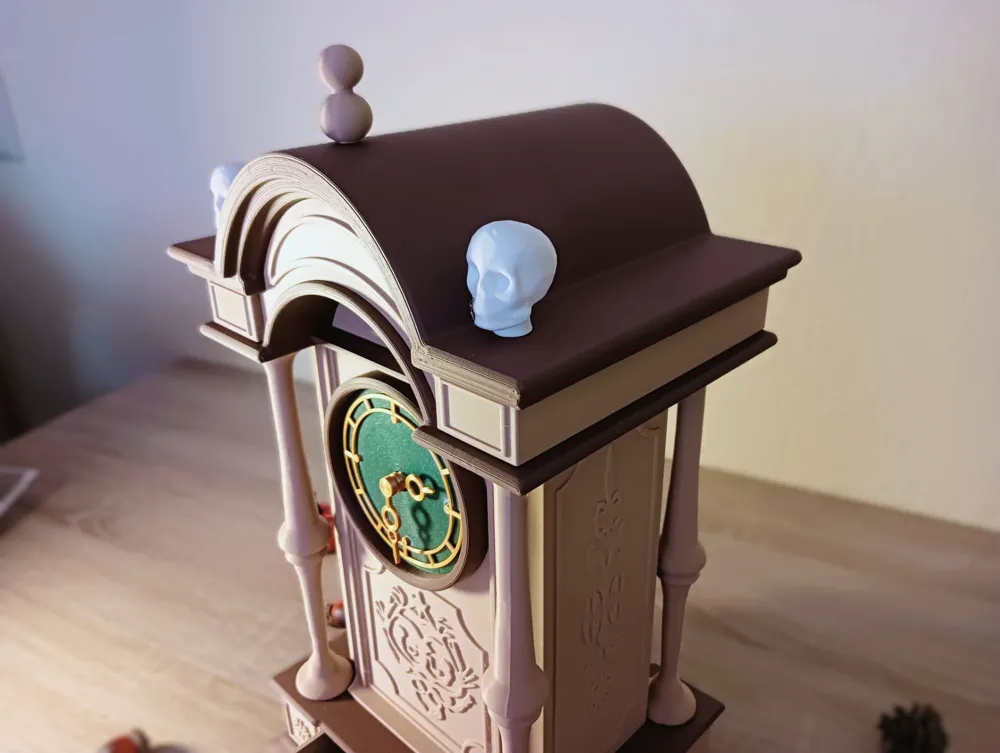
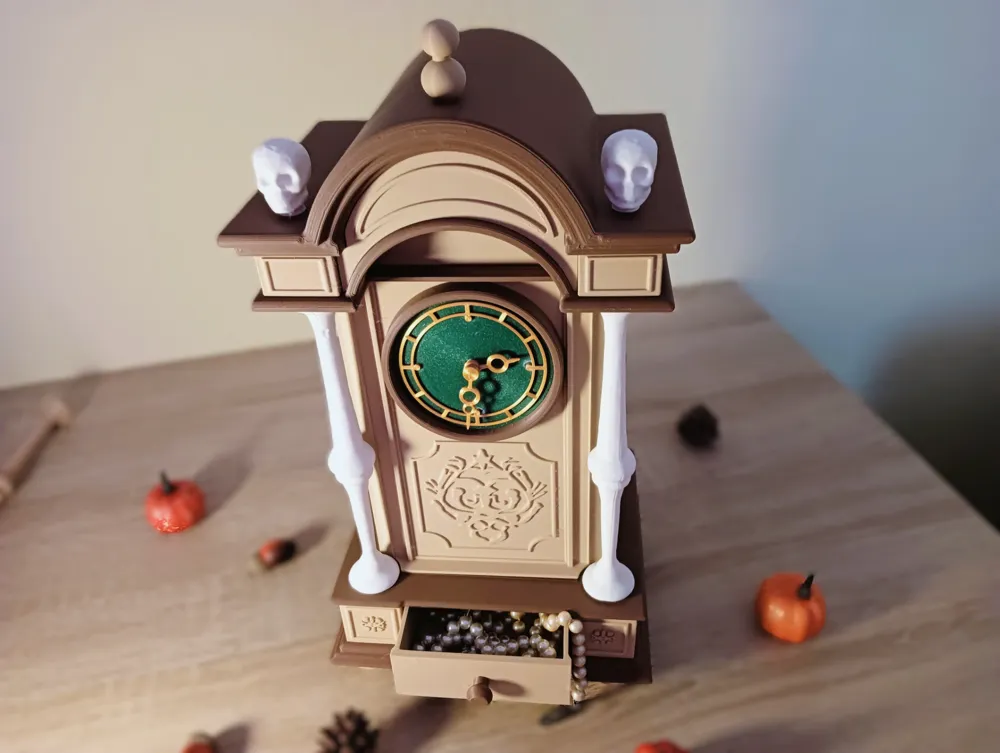
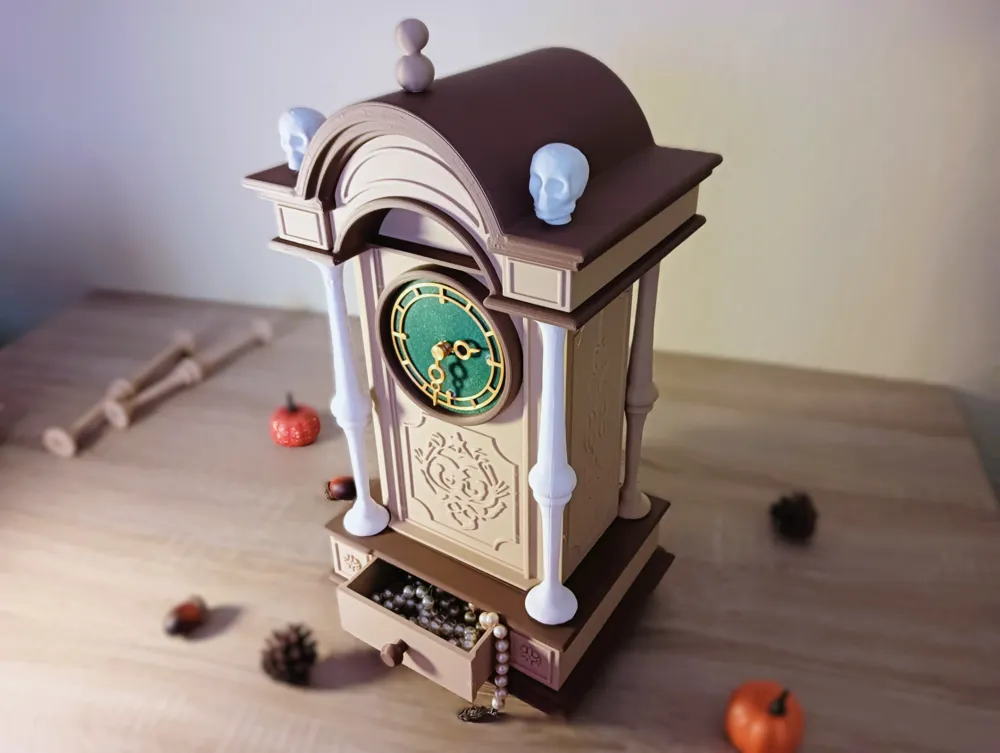
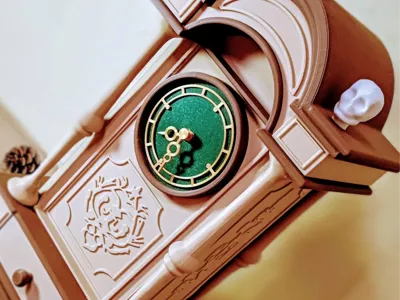
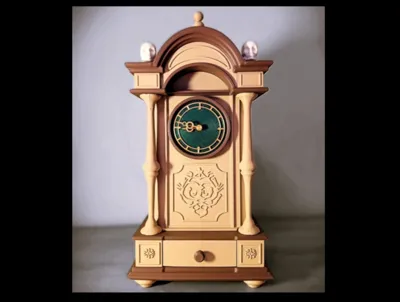
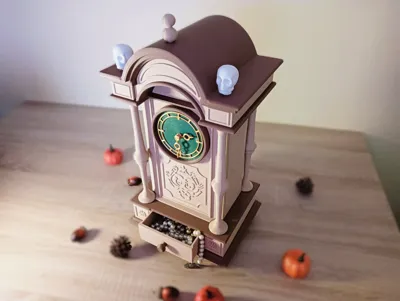
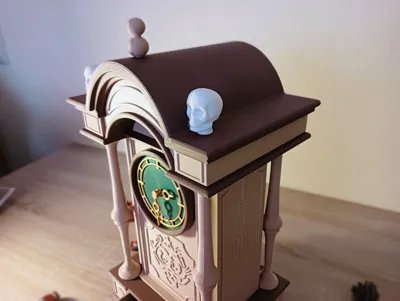
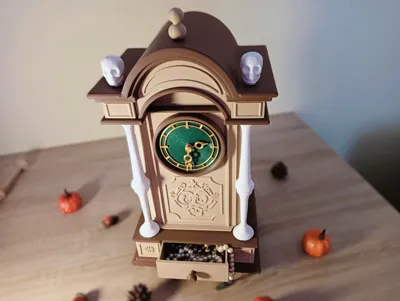
Standing at 39 cm or 1 foot and 3.4 inches tall, it's an homage to the majestic grandfather clocks of yesteryears. Every detail, from the gold-filament printed hands to the intricate carvings, has been crafted with the utmost care. The clock's face is adorned with two skulls and bone-like pillars, creating a haunting atmosphere. Together with the ornate details, it forms a model that is both captivating and slightly eerie.
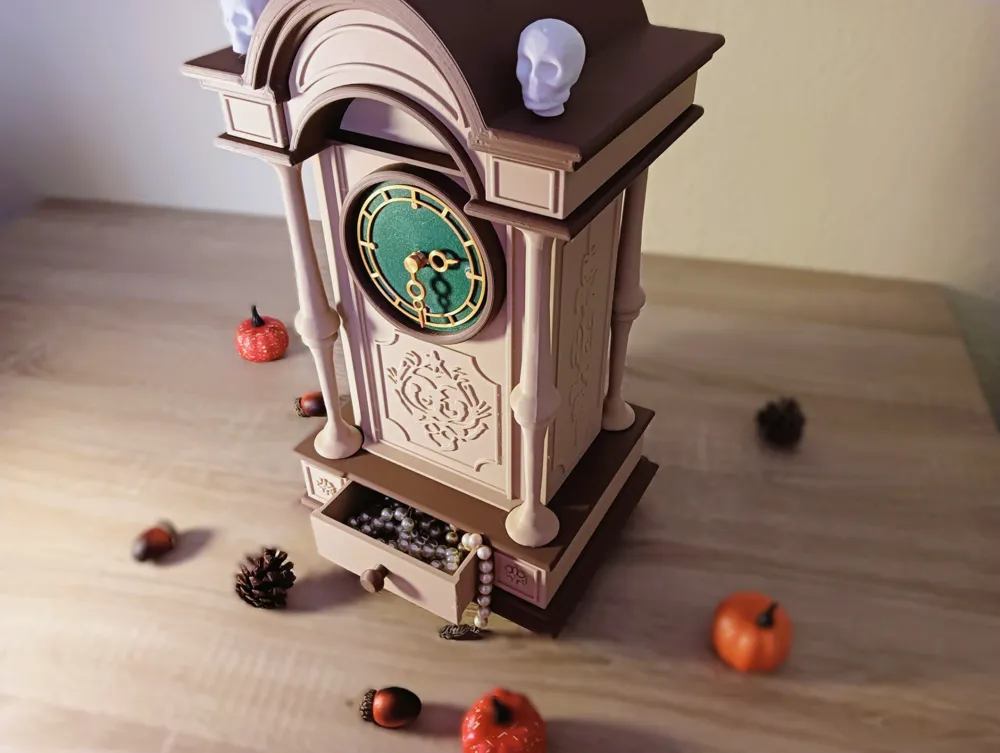
A Hidden Compartment: Behind the elegant facade lies a small drawer. A place to store your most treasured possessions – or perhaps a few spooky surprises for Halloween?
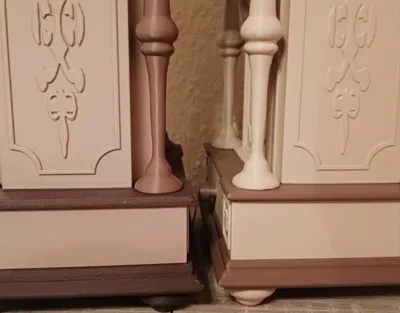
Customizable Design: The clock's four pillars, which I've shaped like human leg bones, give it an uncanny charm. But don't worry, you can print them in any color you like and customize them to suit your taste.
In some places, I manually added different layer heights and speed settings at the print profile to optimise the print result. This affects unsupported overhangs and some surfaces to improve the overall result.
There is now a cut model for the Bambulab A1 Mini or printer with the same small sizes of print plate. The parts that are too large are printed in two parts. After printing, these parts must be assembled as closely as possible using a little glue. To do this, place the two halves of one piece on a flat surface. It is recommended to wait at least 24 hours after bonding before subjecting the joint to any stress. Colorized Filaments such as black may prolong the curing time due to filament additives. After this time, the bond is generally strong enough to integrate the bonded parts into a larger component. Once the assembly is complete, the parts will be adequately stabilized within the overall structure. As the tolerance between the components was large enough, the parts can also be assembled here. However, some parts fit a little tighter.
Have fun printing!
Alternative elements were added (print plate 14) to replace the skulls:
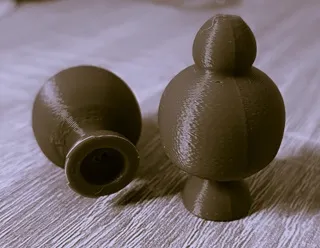
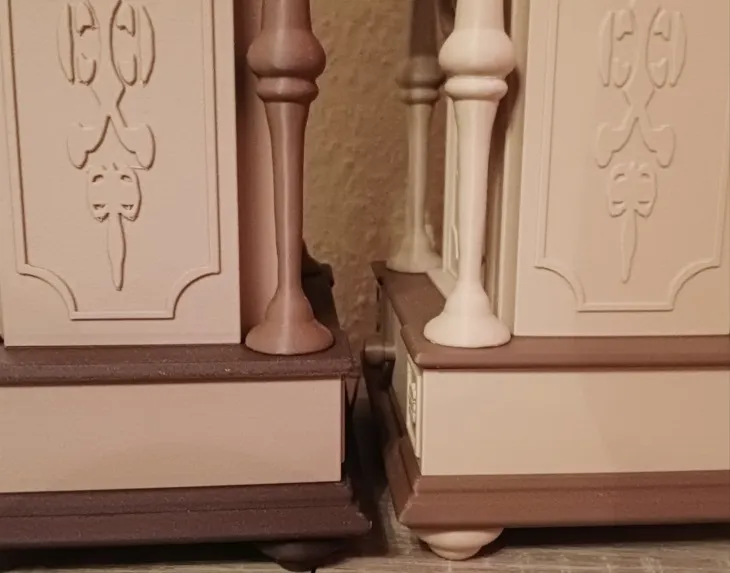
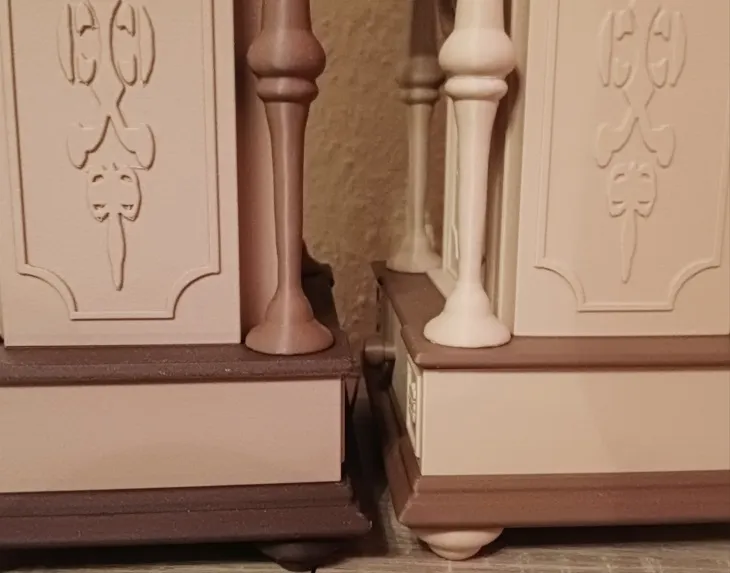
Colour comparison example for selecting the filaments:
Here's a short video overview of assembling the Bones Clock (which is mostly self-explanatory).
Documentation (2)
License

You shall not share, sub-license, sell, rent, host, transfer, or distribute in any way the digital or 3D printed versions of this object, nor any other derivative work of this object in its digital or physical format (including - but not limited to - remixes of this object, and hosting on other digital platforms). The objects may not be used without permission in any way whatsoever in which you charge money, or collect fees.


Comment & Rating (40)