
Print Profile(4)
![Size M [178x180mm ~3,5L]](https://makerworld.bblmw.com/makerworld/model/US7fe9ec31798825/675122248/instance/2024-10-26_92d05fc4bb216.jpg?x-oss-process=image%2Fresize%2Cw_100%2Fformat%2Cwebp)
![Size S [108mm x 100mm ~ 0,7L]](https://makerworld.bblmw.com/makerworld/model/US7fe9ec31798825/576039839/instance/2024-10-26_5a633f381a708.jpg?x-oss-process=image%2Fresize%2Cw_100%2Fformat%2Cwebp)
![Size L [255x240mm ~11,8L]](https://makerworld.bblmw.com/makerworld/model/US7fe9ec31798825/742428493/instance/2d8b796958158d70.png?x-oss-process=image%2Fresize%2Cw_100%2Fformat%2Cwebp)


Description
What exactly is it?
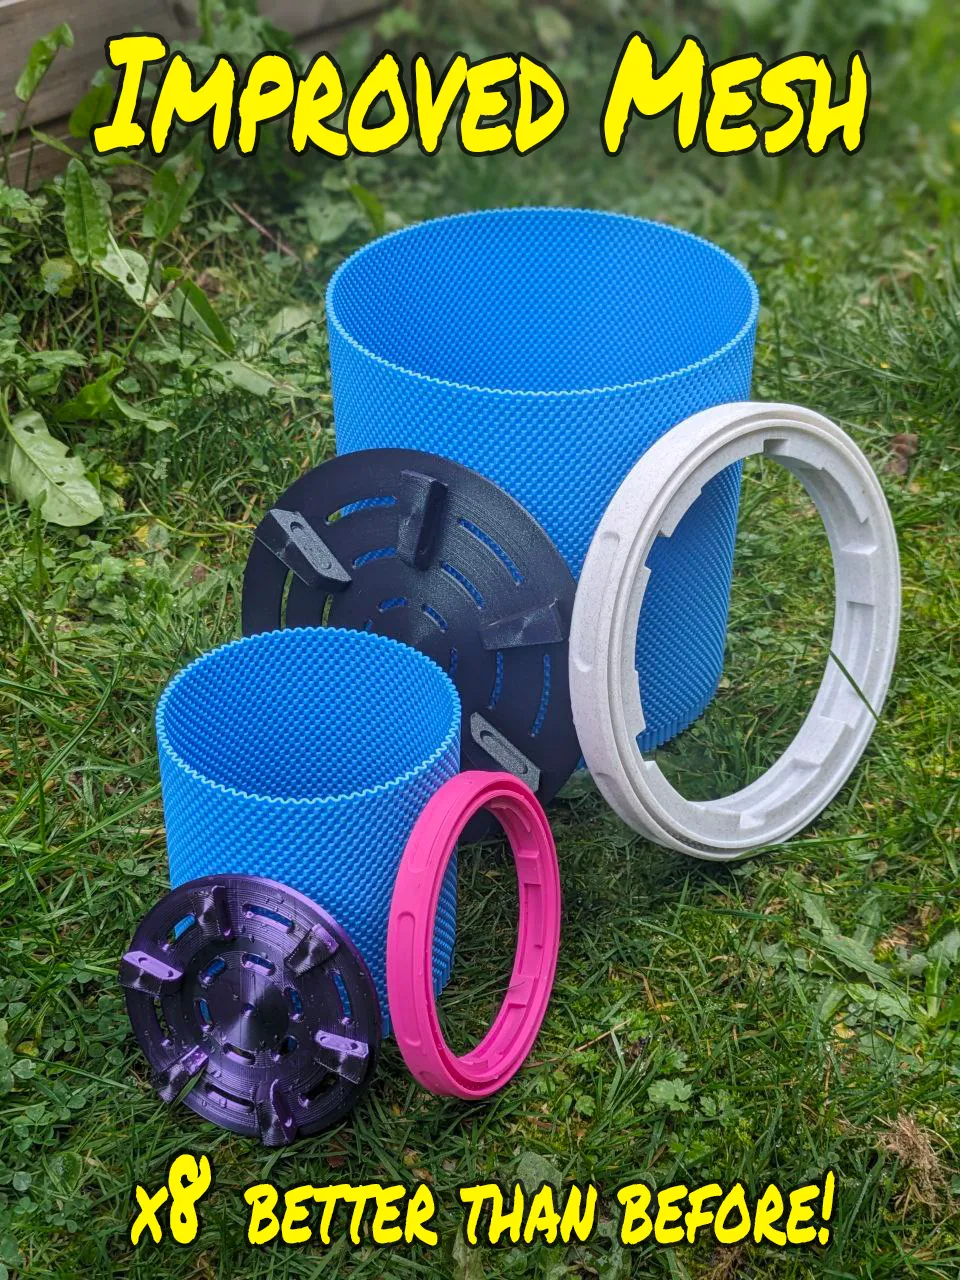
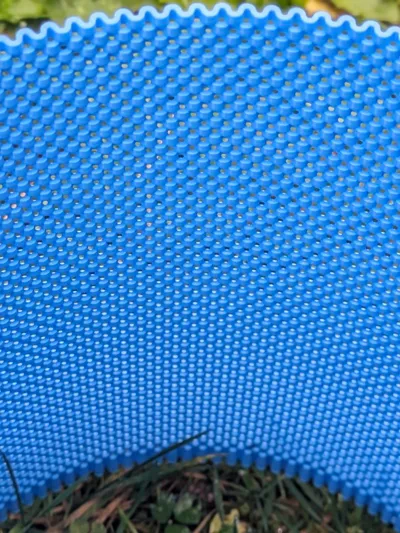
Discover the perfect solution for healthier, more resilient plants with AirPott, my 3D-printable air root pruning mesh pot. Unlike traditional pots where roots spiral endlessly, this design ensures that once roots reach the pot's edge, they naturally prune themselves, encouraging stronger, more vigorous growth from their base. And with its breathable mesh structure and plump bottom base with deep internal drainage holes, overwatering becomes virtually impossible. You're welcome.
But why should I choose this pot over others?
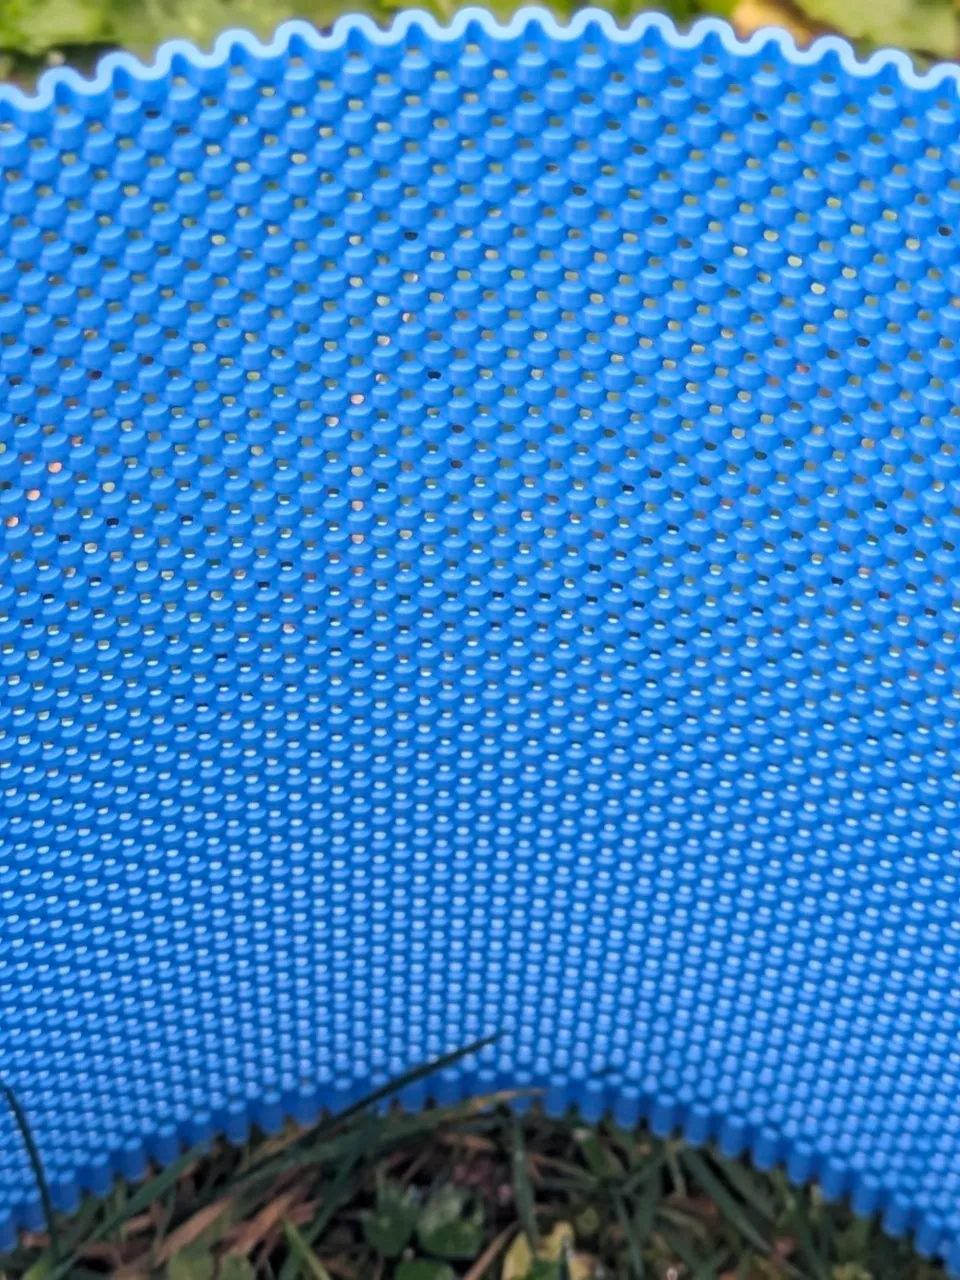
It's not just about healthy roots — this pot is meticulously designed for maximum efficiency. The mesh achieves minimal print time by extruding just one line per layer at the maximum line width a 0.4mm Nozzle can comfortably print for maximum stability.
No wasted material, and no compromise on quality.
Printing Large Size
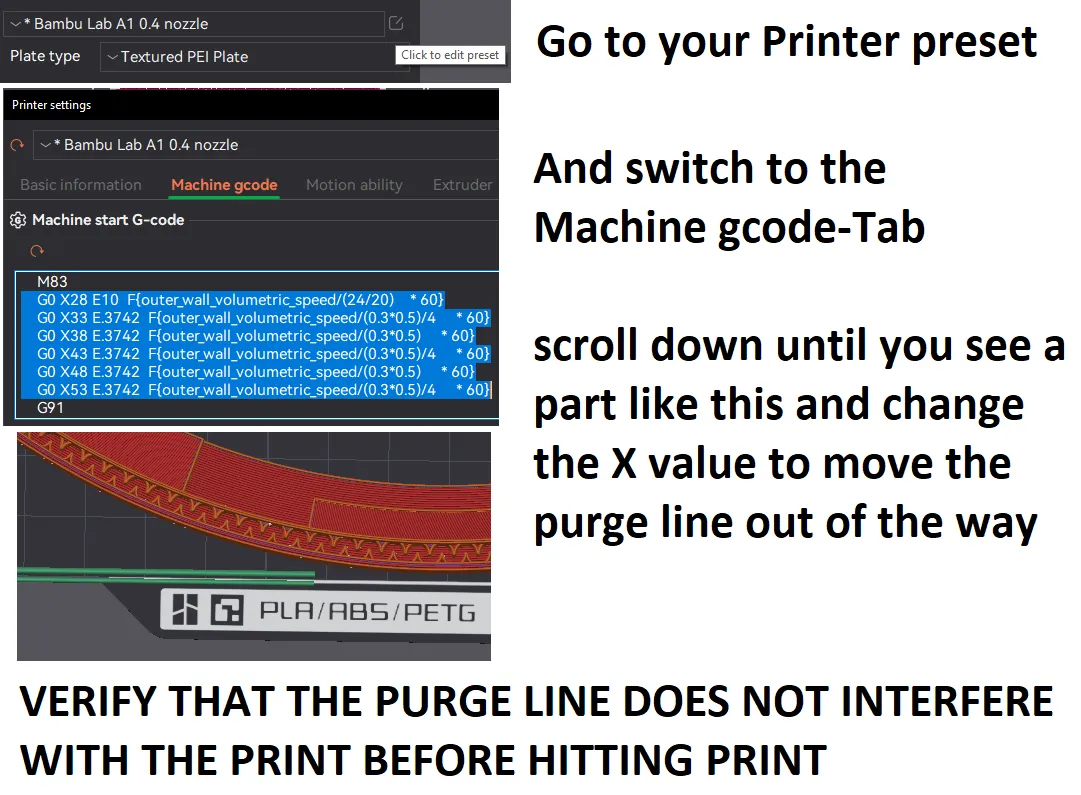
Because we're maxing out the printbed, you will need to remove the purge line, before the actual print is being done.
Or you can do a little change in the GCode to move the purge line out of the way.
Assembly
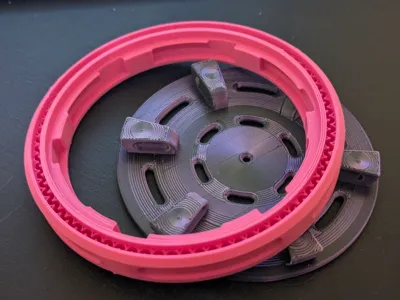
You will have to make sure your printer is well calibrated since the tolerances are low, to ensure safe use. You need to use a little bit of force, but don't go crazy!
Step 1
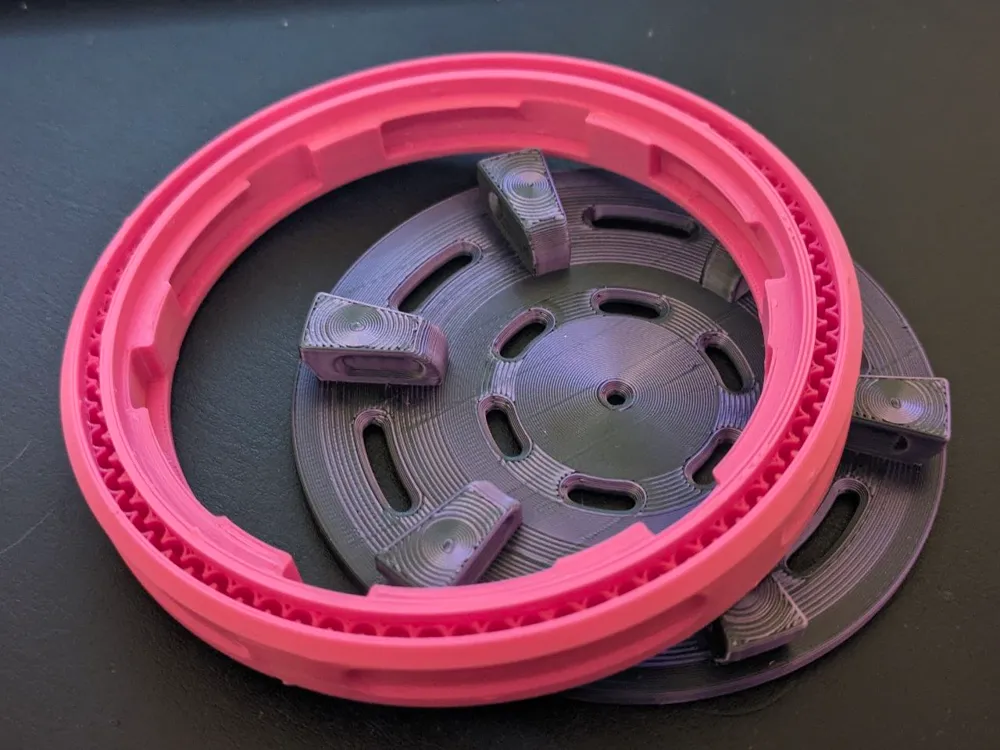
- Simply insert the Bottom into the Base from the top and twist. There should be no more confusion!
Step 2
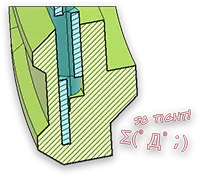
- Next, insert the mesh into the base and gently exert a substantial amount of downward force. It is a tight fit and might require you to put the pot upside-down on a flat surface to evenly push the mesh inside. Don't exert lateral forces, lest you might break the mesh!
Step 3
- Be careful when using!
It's version two of my AirPott!
Completely re-made from scratch with re-usability and user comfort in mind! Now comes as three different parts to print separately in any color you want or with the help of the AMS. Re-potting your plants has never been easier with the removable bottom of the pot!
Now the mesh is printable in vase mode by default! Please make sure to use the profiles provided by me, as I spent hours ensuring the fit is proper and no printing artifacts are getting into the way of it's function and design.
Updates
21.01.2026:
Some change in BambuStudio made it so that the option “Avoid Crossing Walls” caused weird seams by adding random strands of filaments. The print profiles have been updated to remove this.
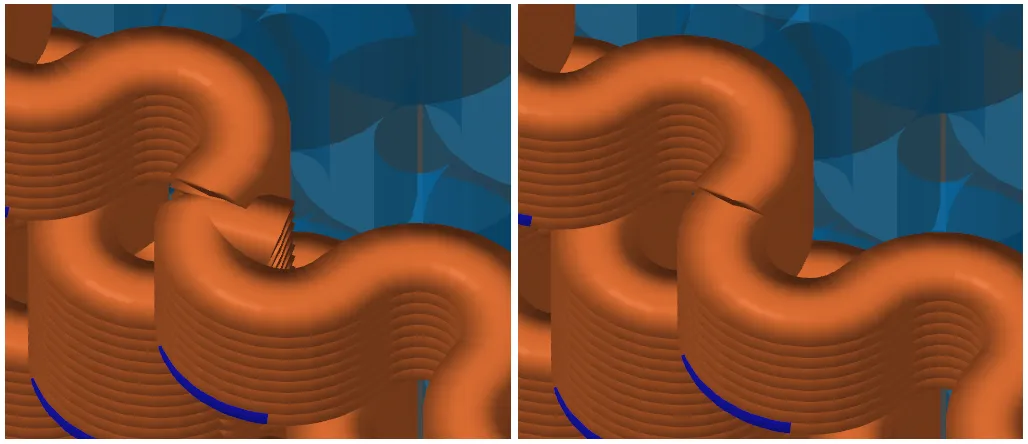
Left: Avoid crossing wall [x] - Right: Avoid crossing wall [ ]
04.11.2024:
- My computer finally did it. The Large Size is now available with an impressive volume that I wanna remind you, is going to out of plastic. You will need to handle the largest pot with extra care. And I would suggest you best print it out of PETG.
26.10.2024:
- I have good and bad news. Good news first? Well, I would've gone with the bad first, but okay. The mesh is now x8 more air permeable, after receiving valuable feedback about the roots growing exactly as long as the mesh-intervals! Cutting those 4 times leaves us with eight times the holes.
And that also leaves us at the bad news. I have been letting my computer calculate for over 12 hours just for the medium size. It will take me some experiments and thus, more time to finally release the last size. I am sorry, everyone!

My AirPott v1 is still bigger!
20.10.2024:
- I reworked Size S to follow suit with the changes done on Size M
19.10.2024:
- I replaced the old Size M to maximize the build volume of the A1M. The next size will be L.
- After receiving feedback on the locking mechanism, I decided to streamline the assembly of the base and bottom.
08.10.2024:
- Tighter tolerances for a better grip on the mesh to keep it from slipping off the base
Boost Me (for free)
Fund my modeling addiction and get more free stuff. Sounds good?
License

You shall not share, sub-license, sell, rent, host, transfer, or distribute in any way the digital or 3D printed versions of this object, nor any other derivative work of this object in its digital or physical format (including - but not limited to - remixes of this object, and hosting on other digital platforms). The objects may not be used without permission in any way whatsoever in which you charge money, or collect fees.


Comment & Rating (171)