
Mr. Time Clock from Dr. Slump (BambuLab 011 kit)

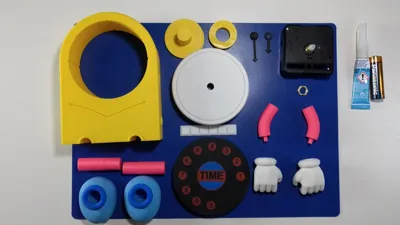
Print Profile(1)

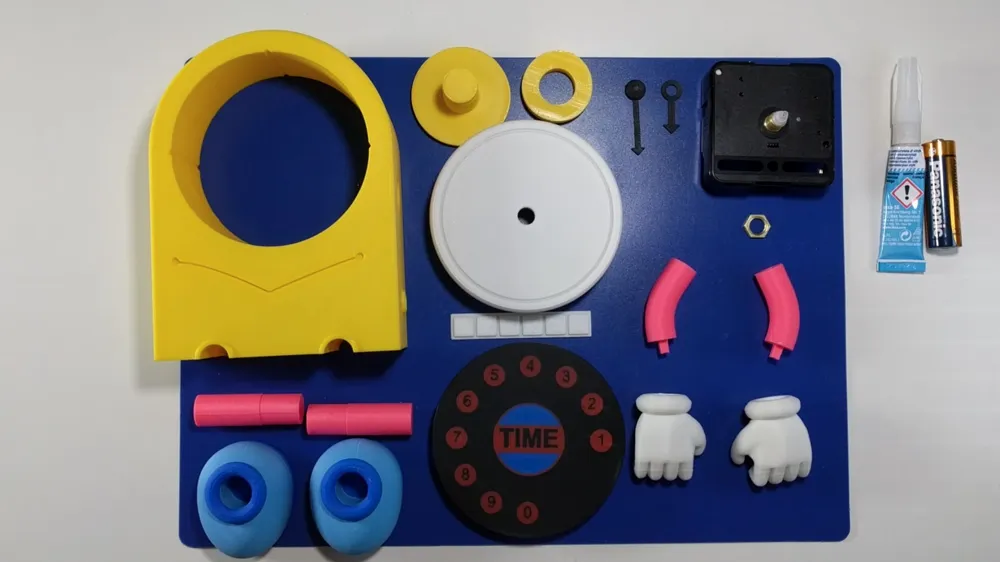
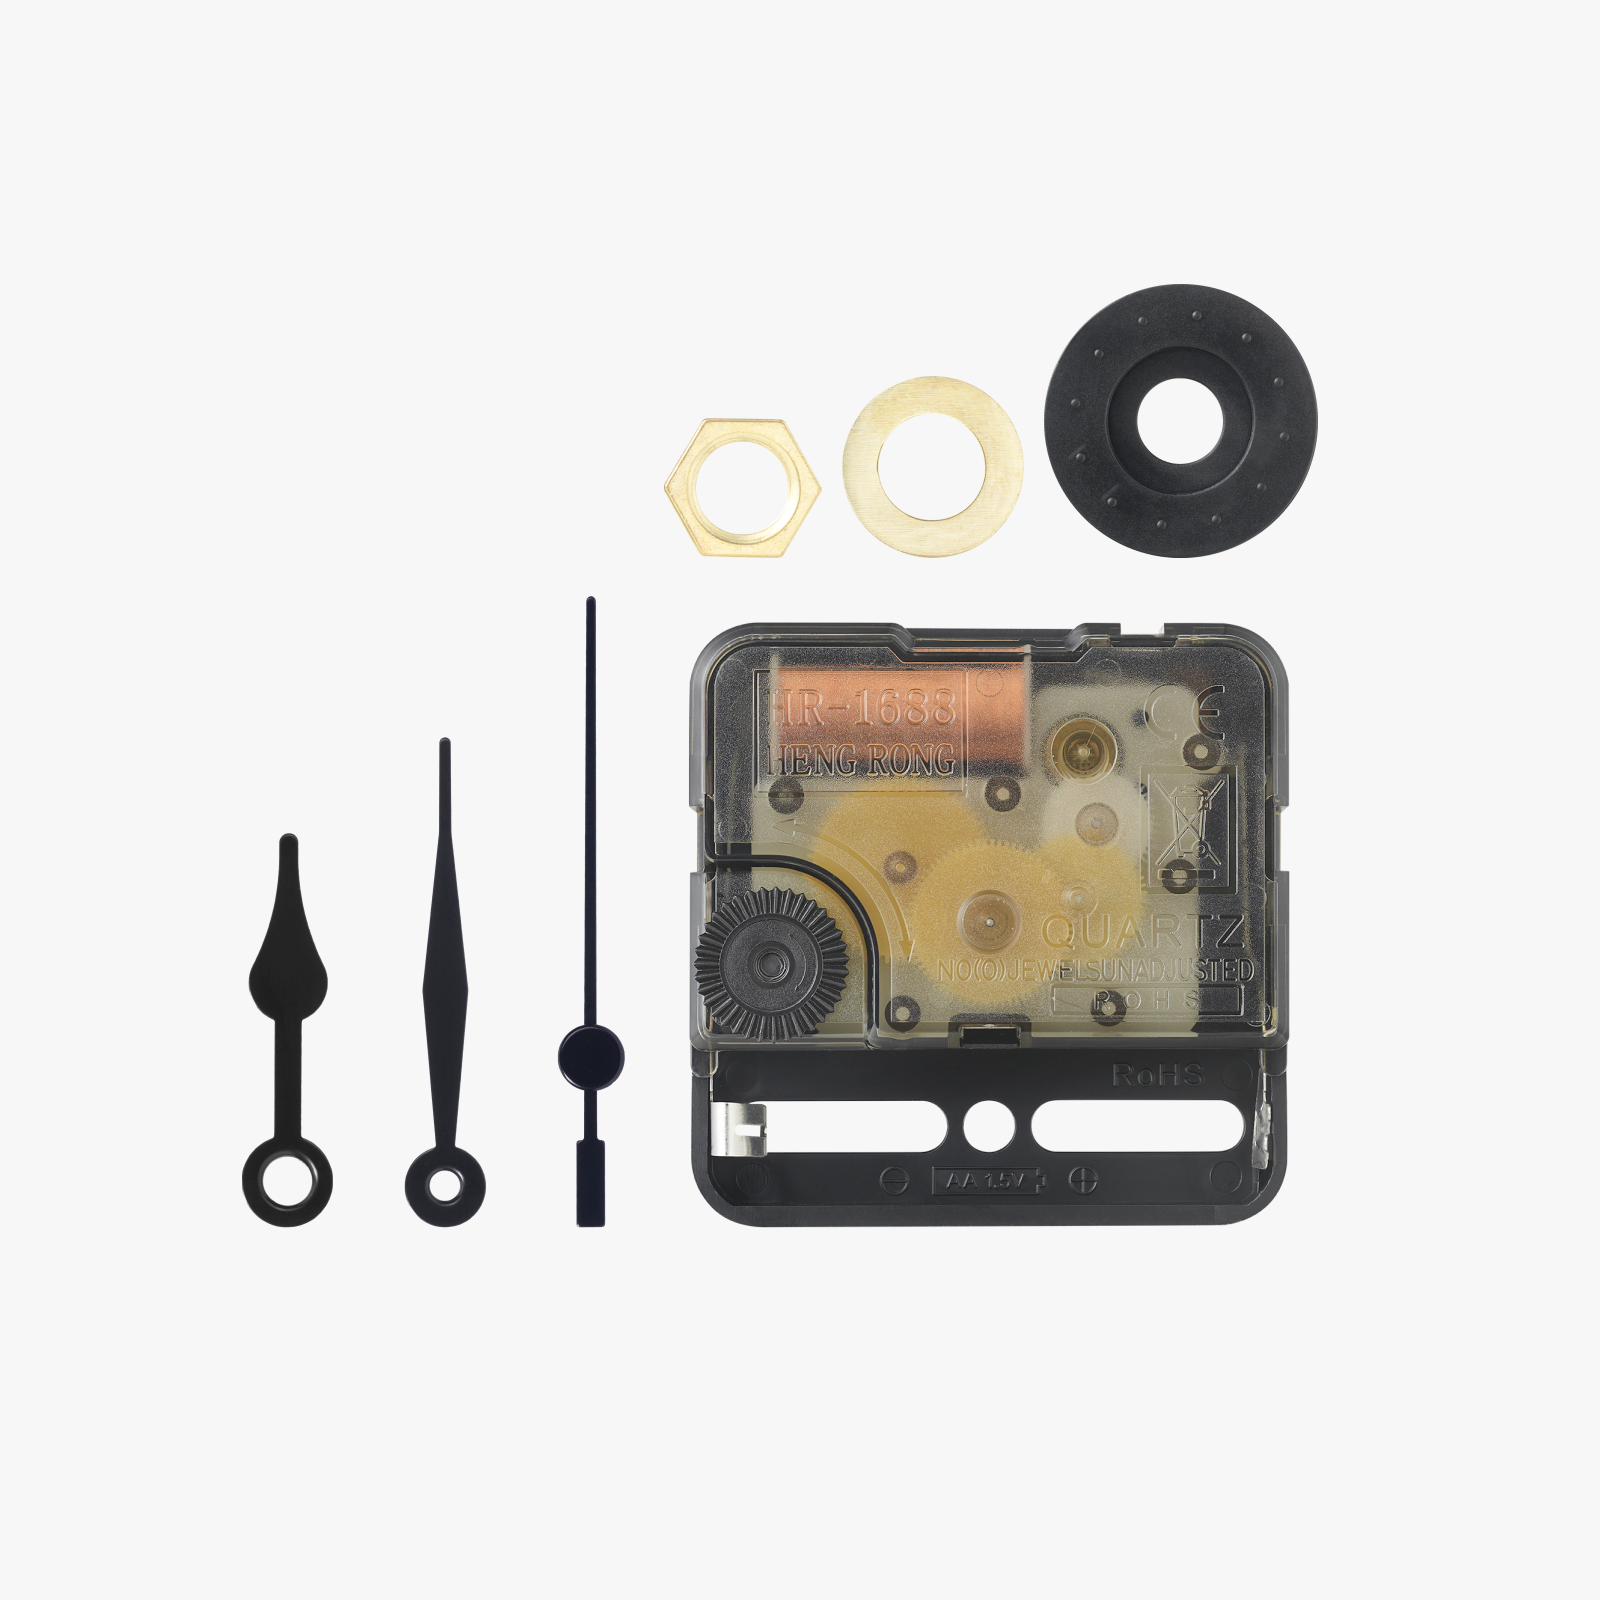
Bill of Materials





Description
Boost Me (for free)
If you found this model helpful, fun to print, or just enjoyed using it, please consider giving it a 🚀 Boost! Your support really helps me keep creating and sharing more designs. Every boost makes a difference! Thank you very much! 🙌
A Tribute to the Classic "Dr. Slump" Character
I've had the BambuLab Clock Components Kit 011 for a while now, ever since I got my X1 Carbon printer.
For a while, I wondered how I could use it to create something fun to print and build. Then it hit me: why not "step back in time" and bring a piece of nostalgia to life?
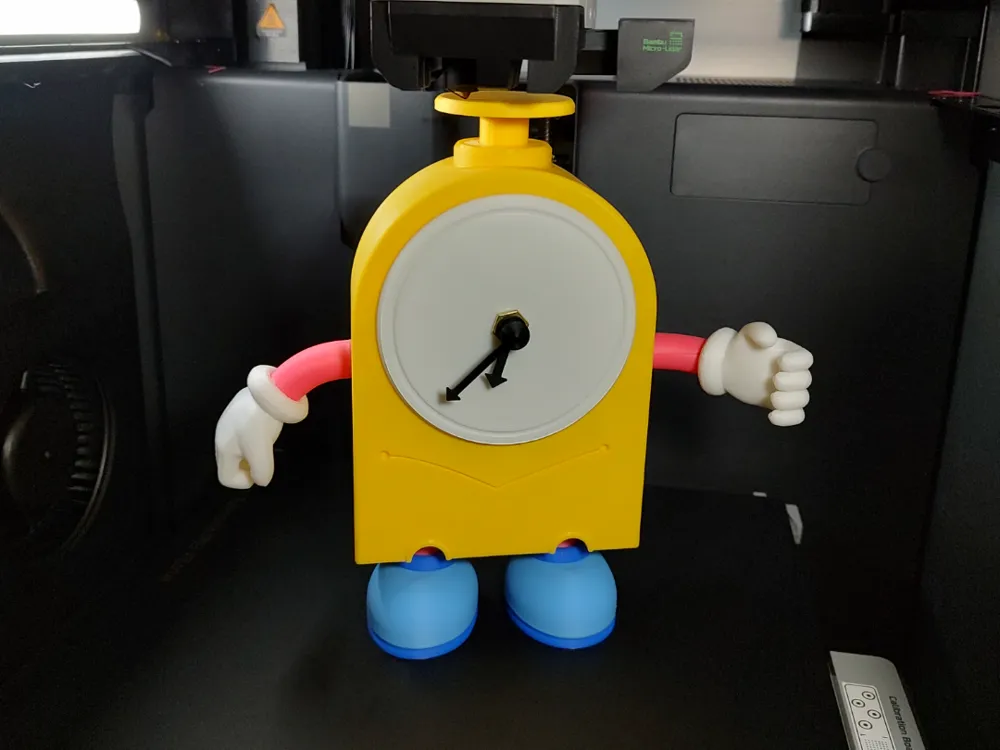
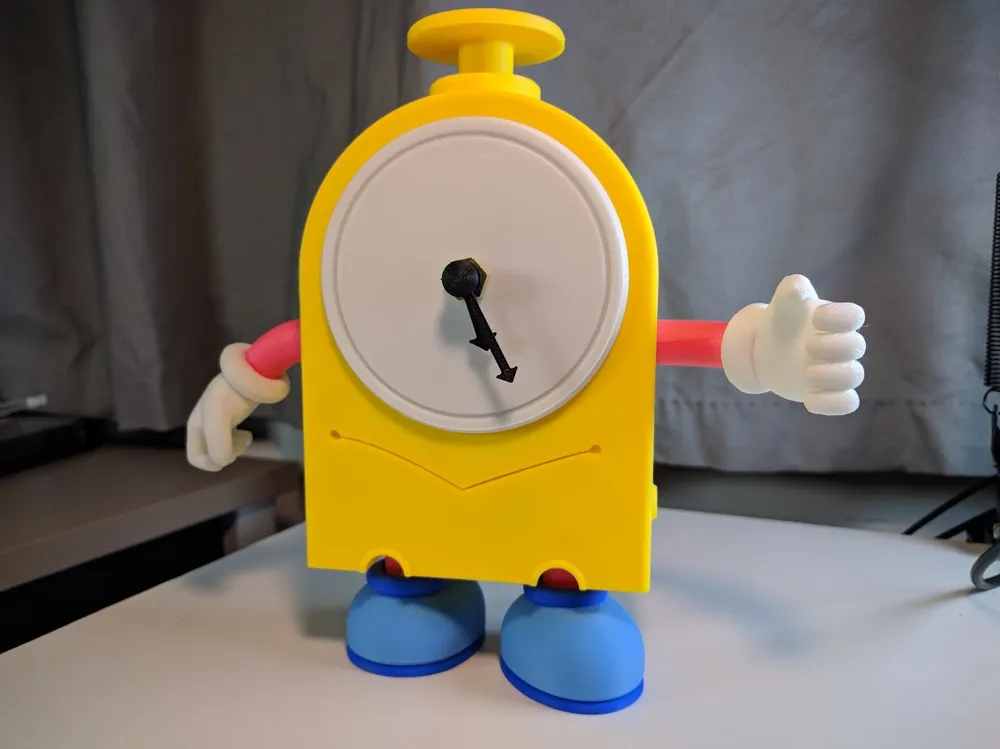
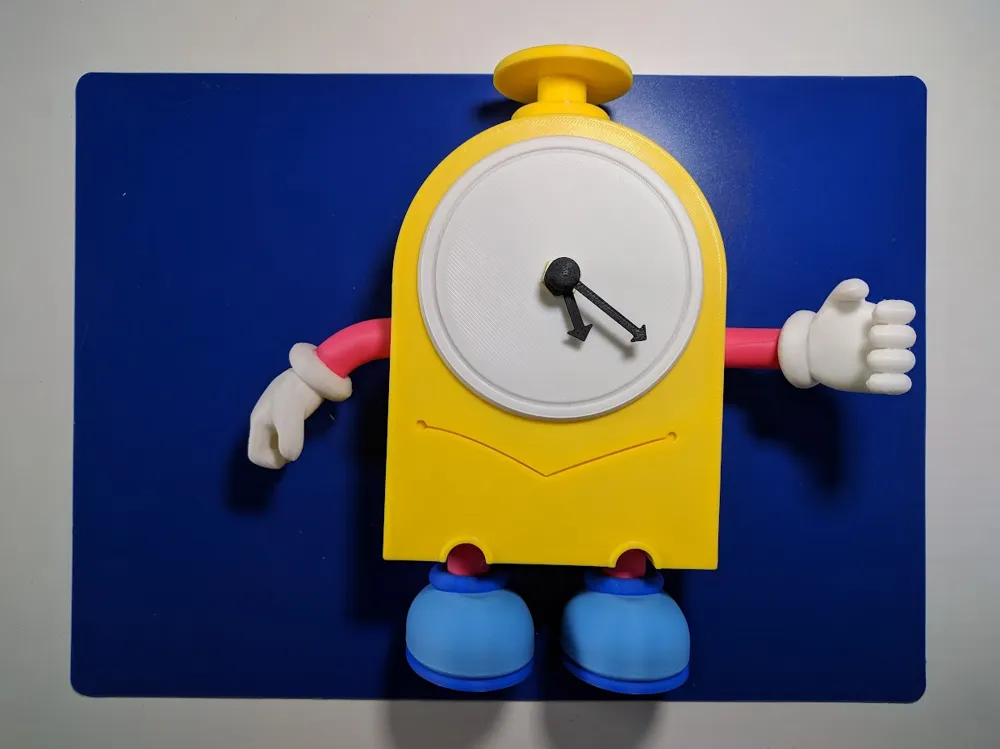
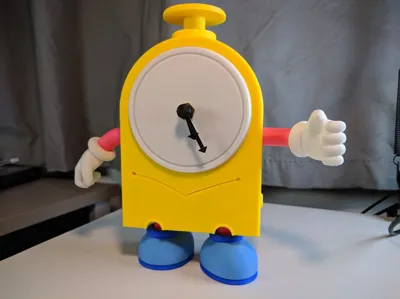
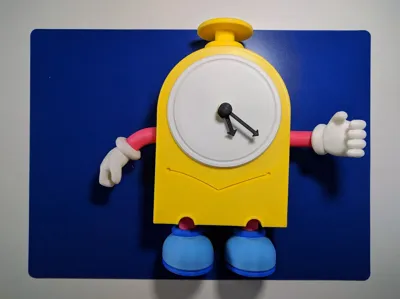
This fully 3D printable model of Mr. Time, one of the quirky characters from Dr. Slump, is a tribute to the early days of Akira Toriyama’s genius. Dr. Slump was the manga that started it all for the legendary creator of Dragon Ball, and Mr. Time, with his oddball charm, deserves his moment in the spotlight!
This model not only captures Mr. Time’s unique look but also incorporates a real, functional clock (thanks to the Clock Components Kit 011), making it both practical and a delightful throwback for any Dr. Slump fan.
Although Mr. Time isn't the main character, his presence in the comedic world of Penguin Village will surely strike a chord with fans of Toriyama's early work.
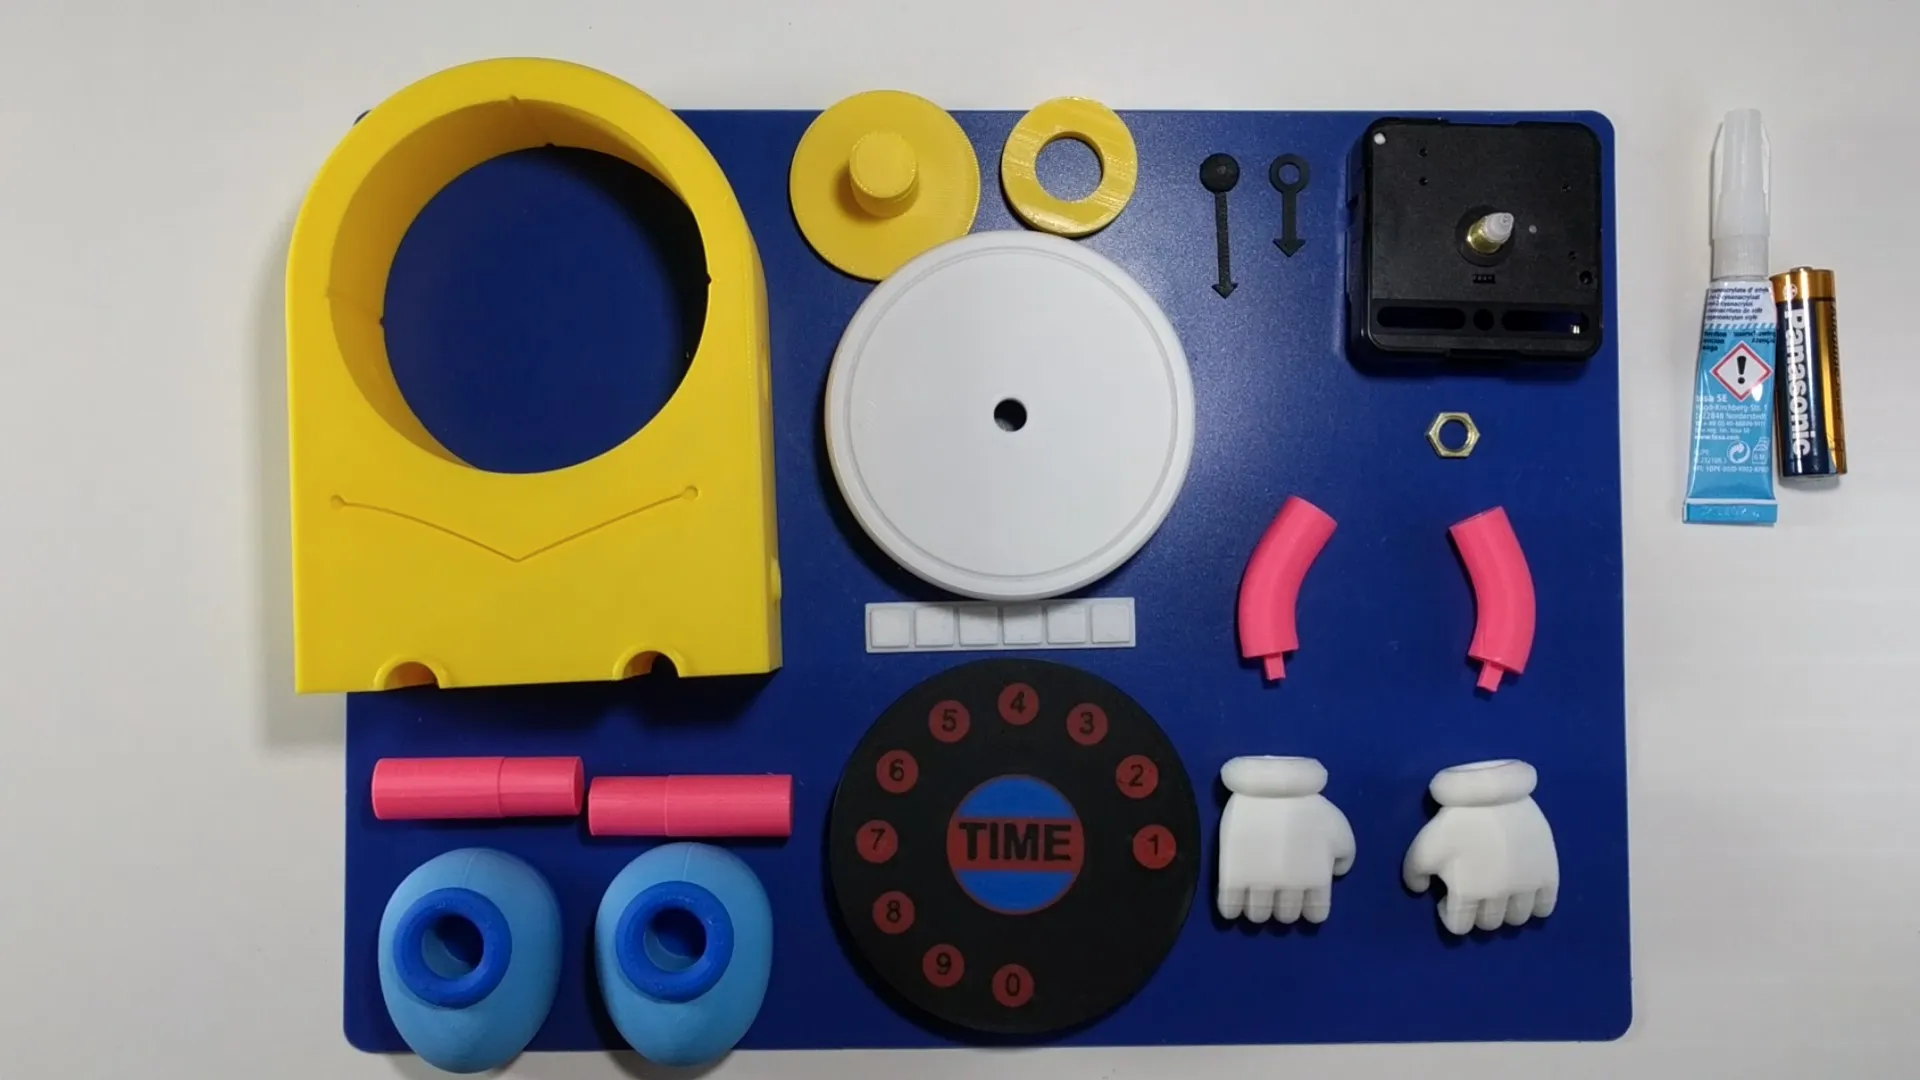
Designed for easy assembly, the model requires some parts (like arms and decorative elements) to be glued for extra stability, making it an engaging project for any 3D printing enthusiast.
If you're a fan of Dr. Slump or a collector of Akira Toriyama’s work, this model is a unique way to pay tribute to his earliest characters.
Features:
- No AMS needed for the main model, only some optional decorative parts require multicolor print.
- The feet can be printed in one color or with manual filament swap
- Includes a functional clock built into the design. You can buy it with the link in the BOM
- Easy-to-assemble with some parts requiring glue for stability
- Perfect for fans of retro anime, manga history, and Dr. Slump collectors
Note:
You may need to glue certain parts (like the arms and smaller decorations) to ensure stability, making it a perfect craft project for your desk or shelf!
Build Guide
Prepare all of the model’s pieces.
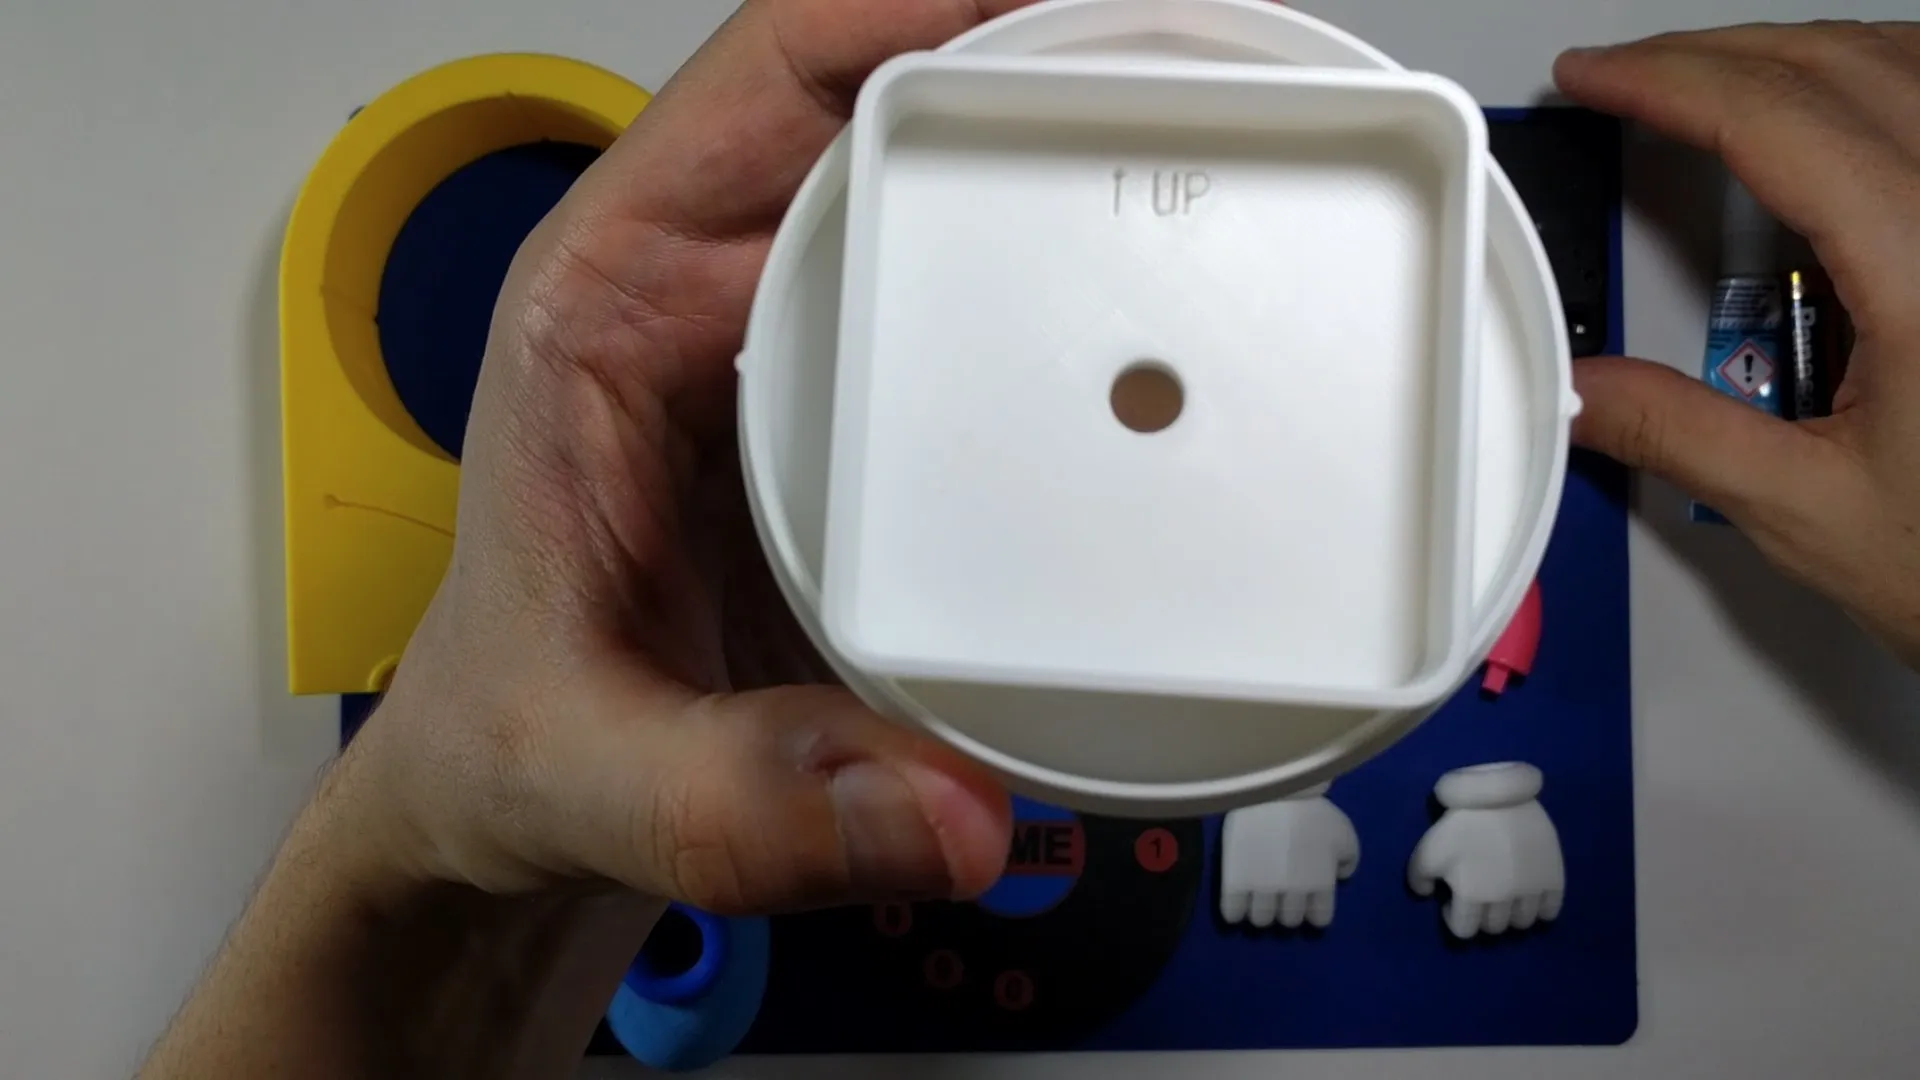
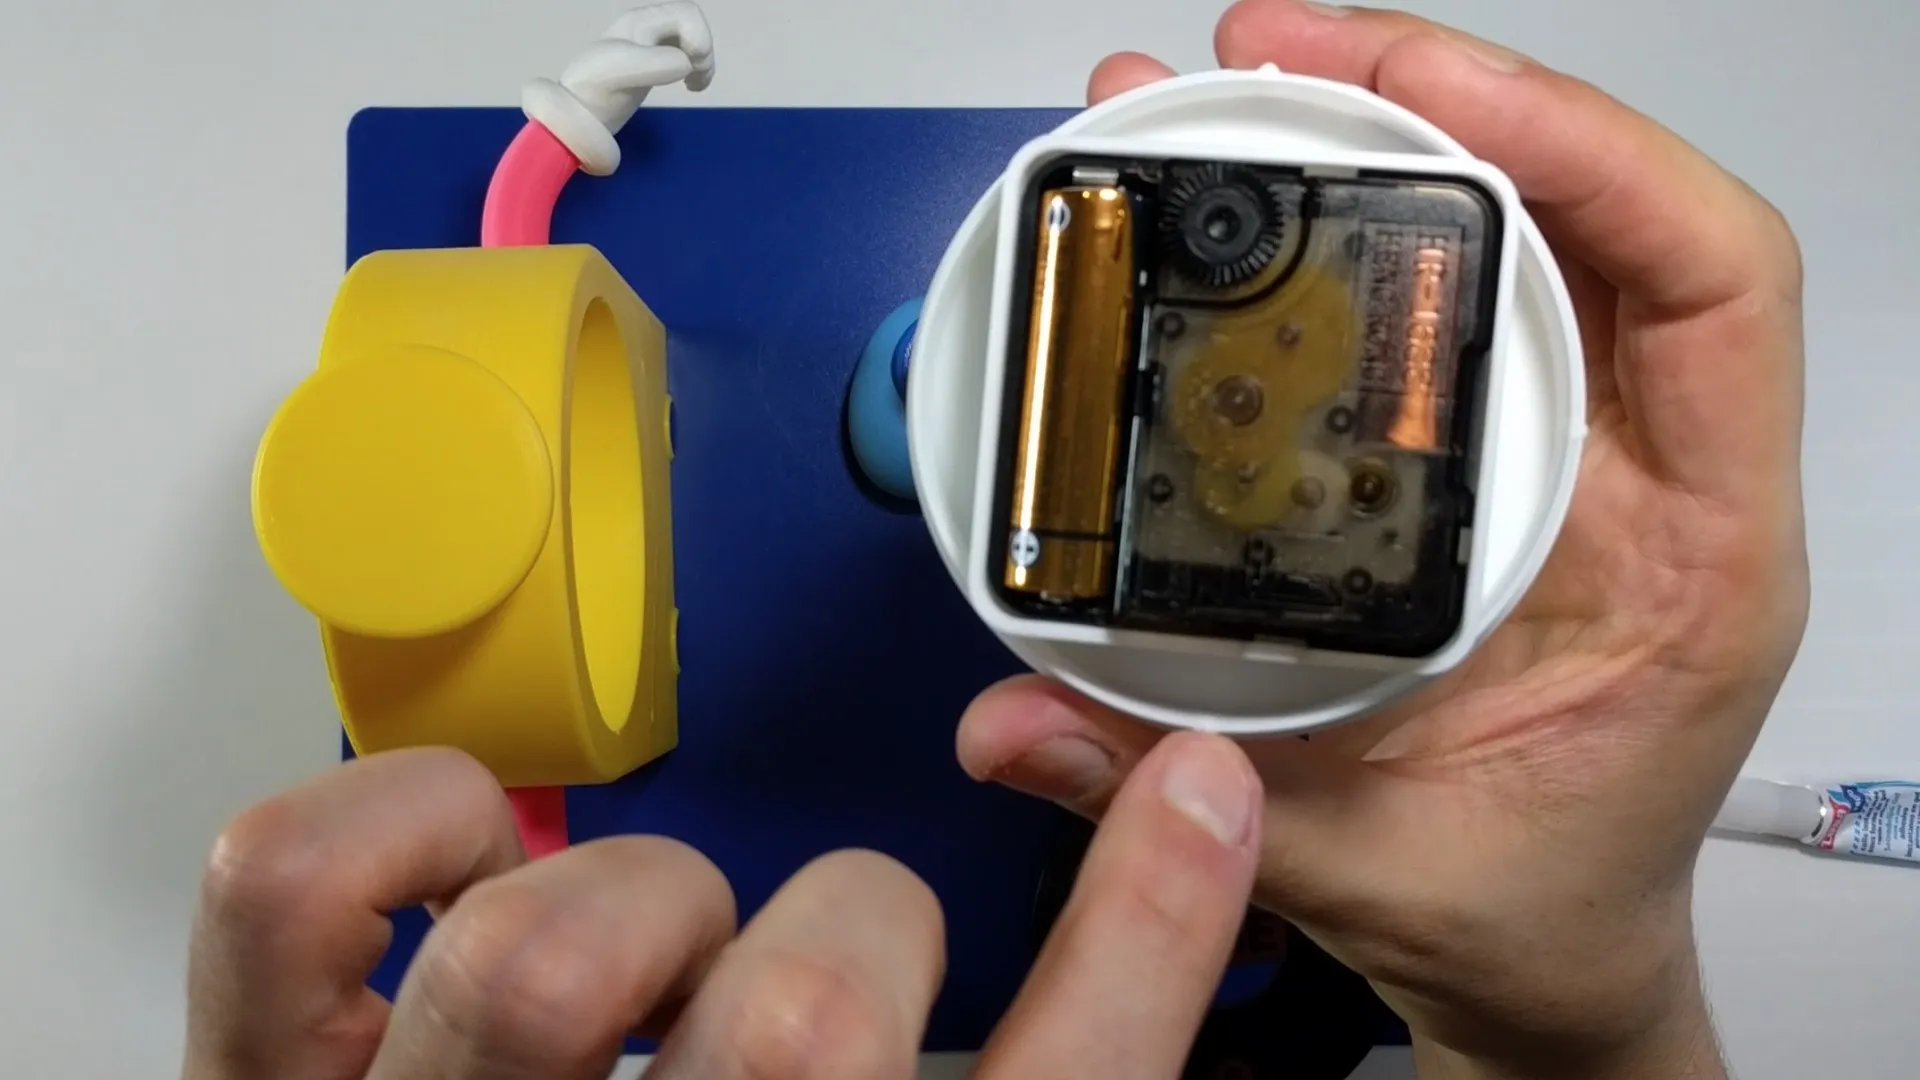
- Assemble the clock, ensuring the orientation matches the markings on the back of the clock face.
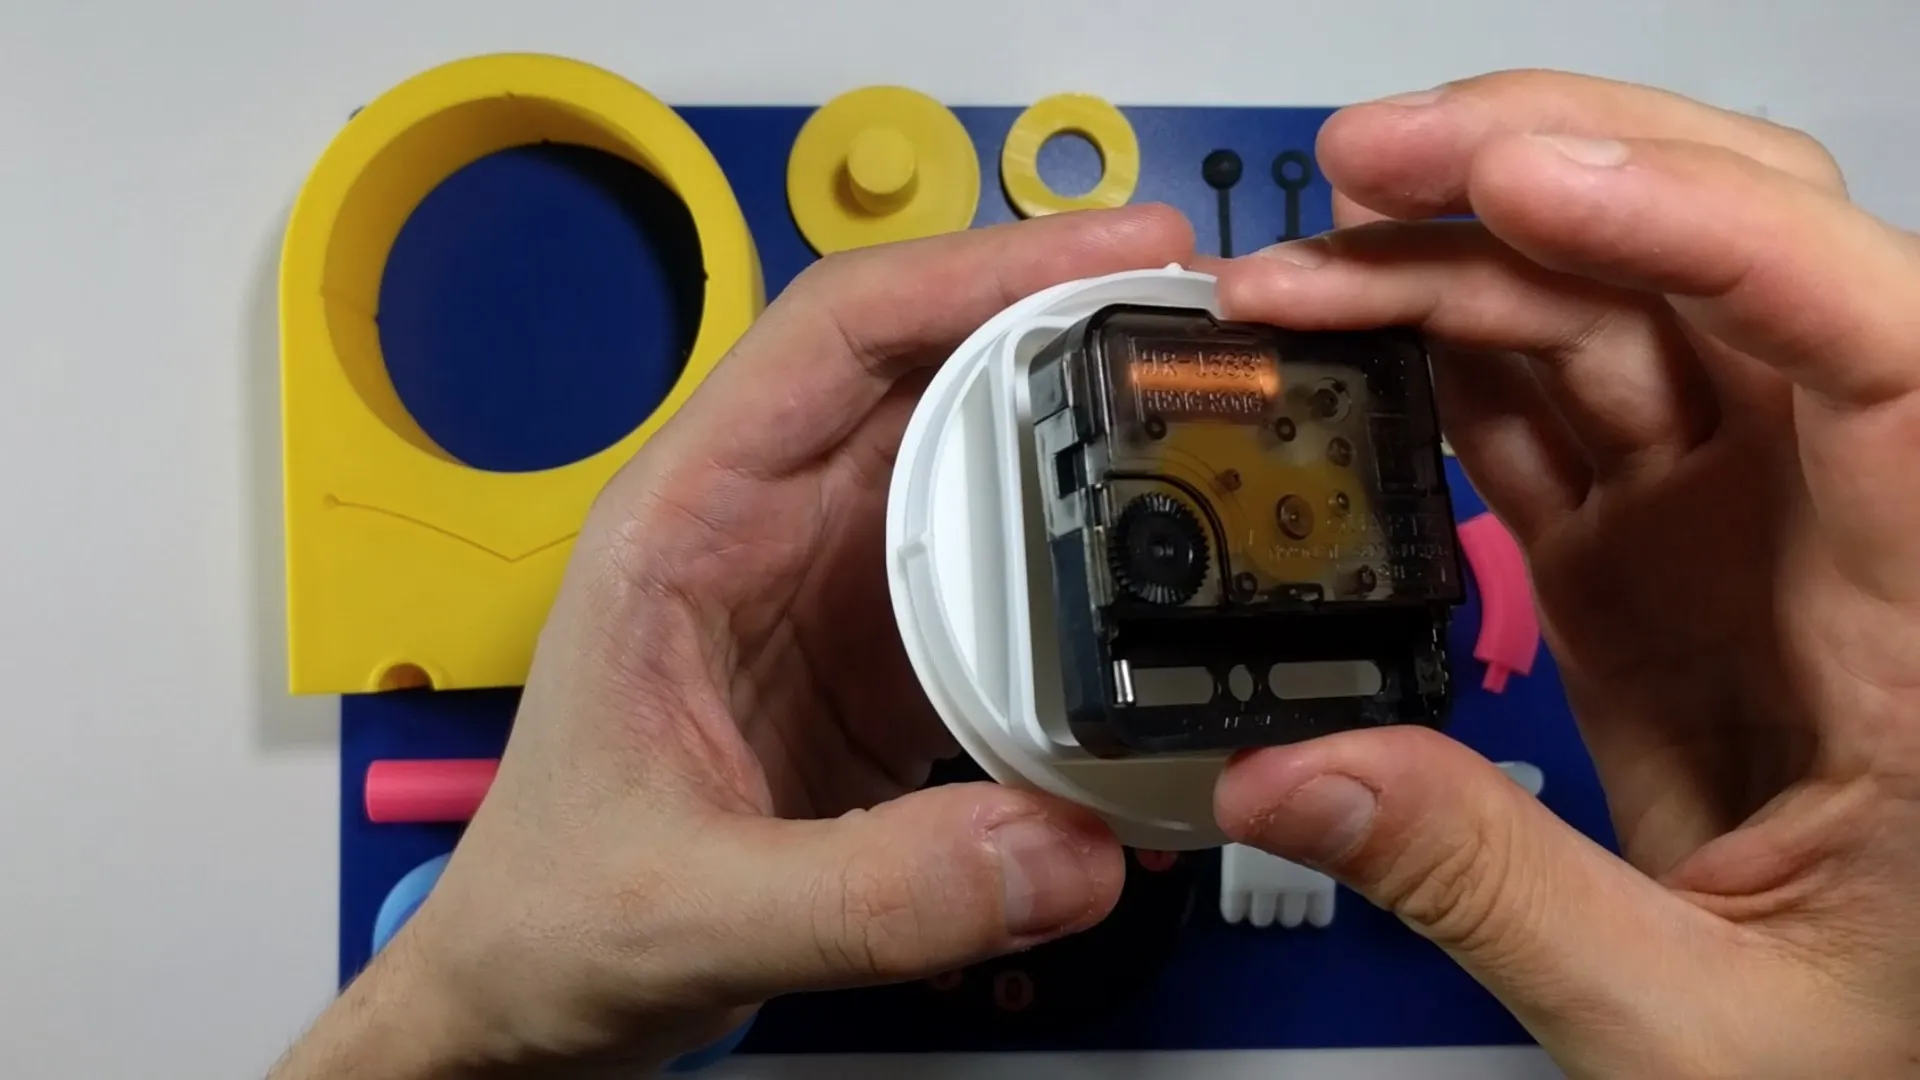
- Add the retaining cog (from the Maker's Supply kit) and attach the clock's hour and minute hands.
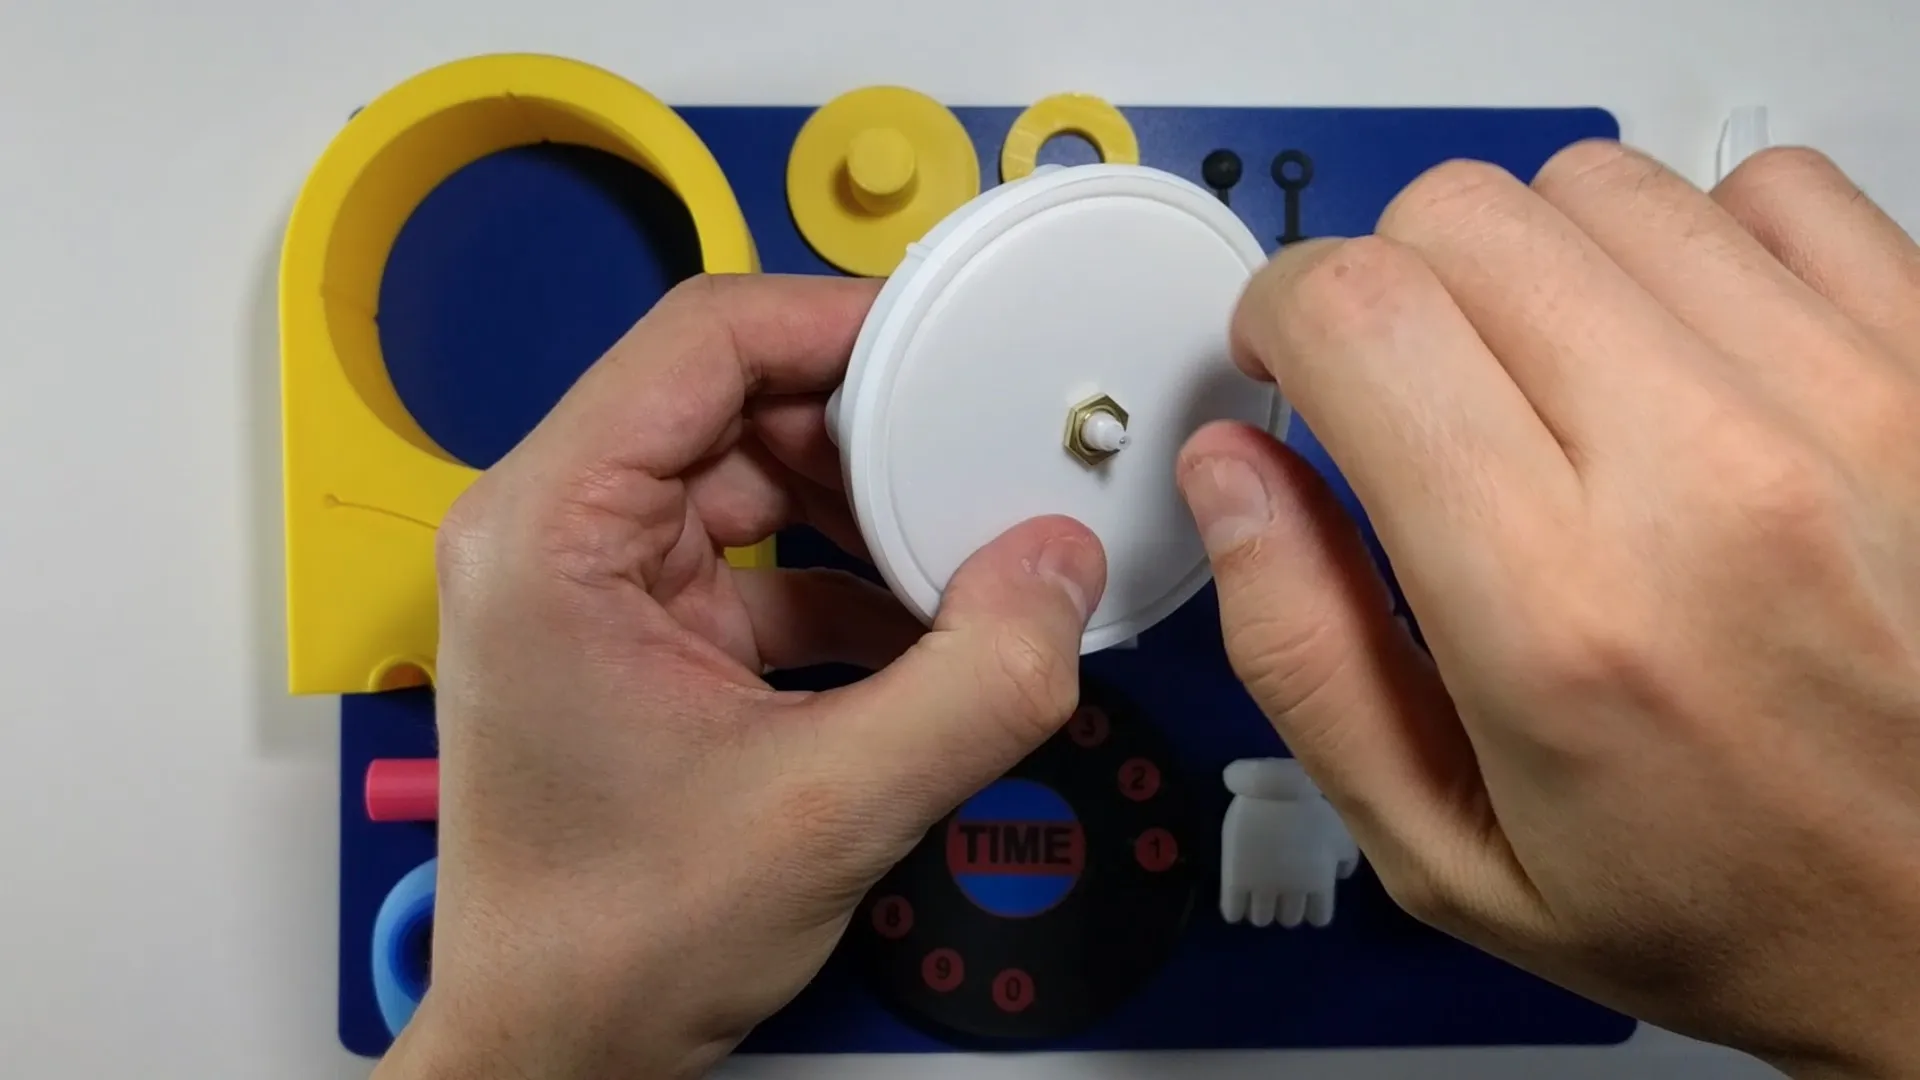
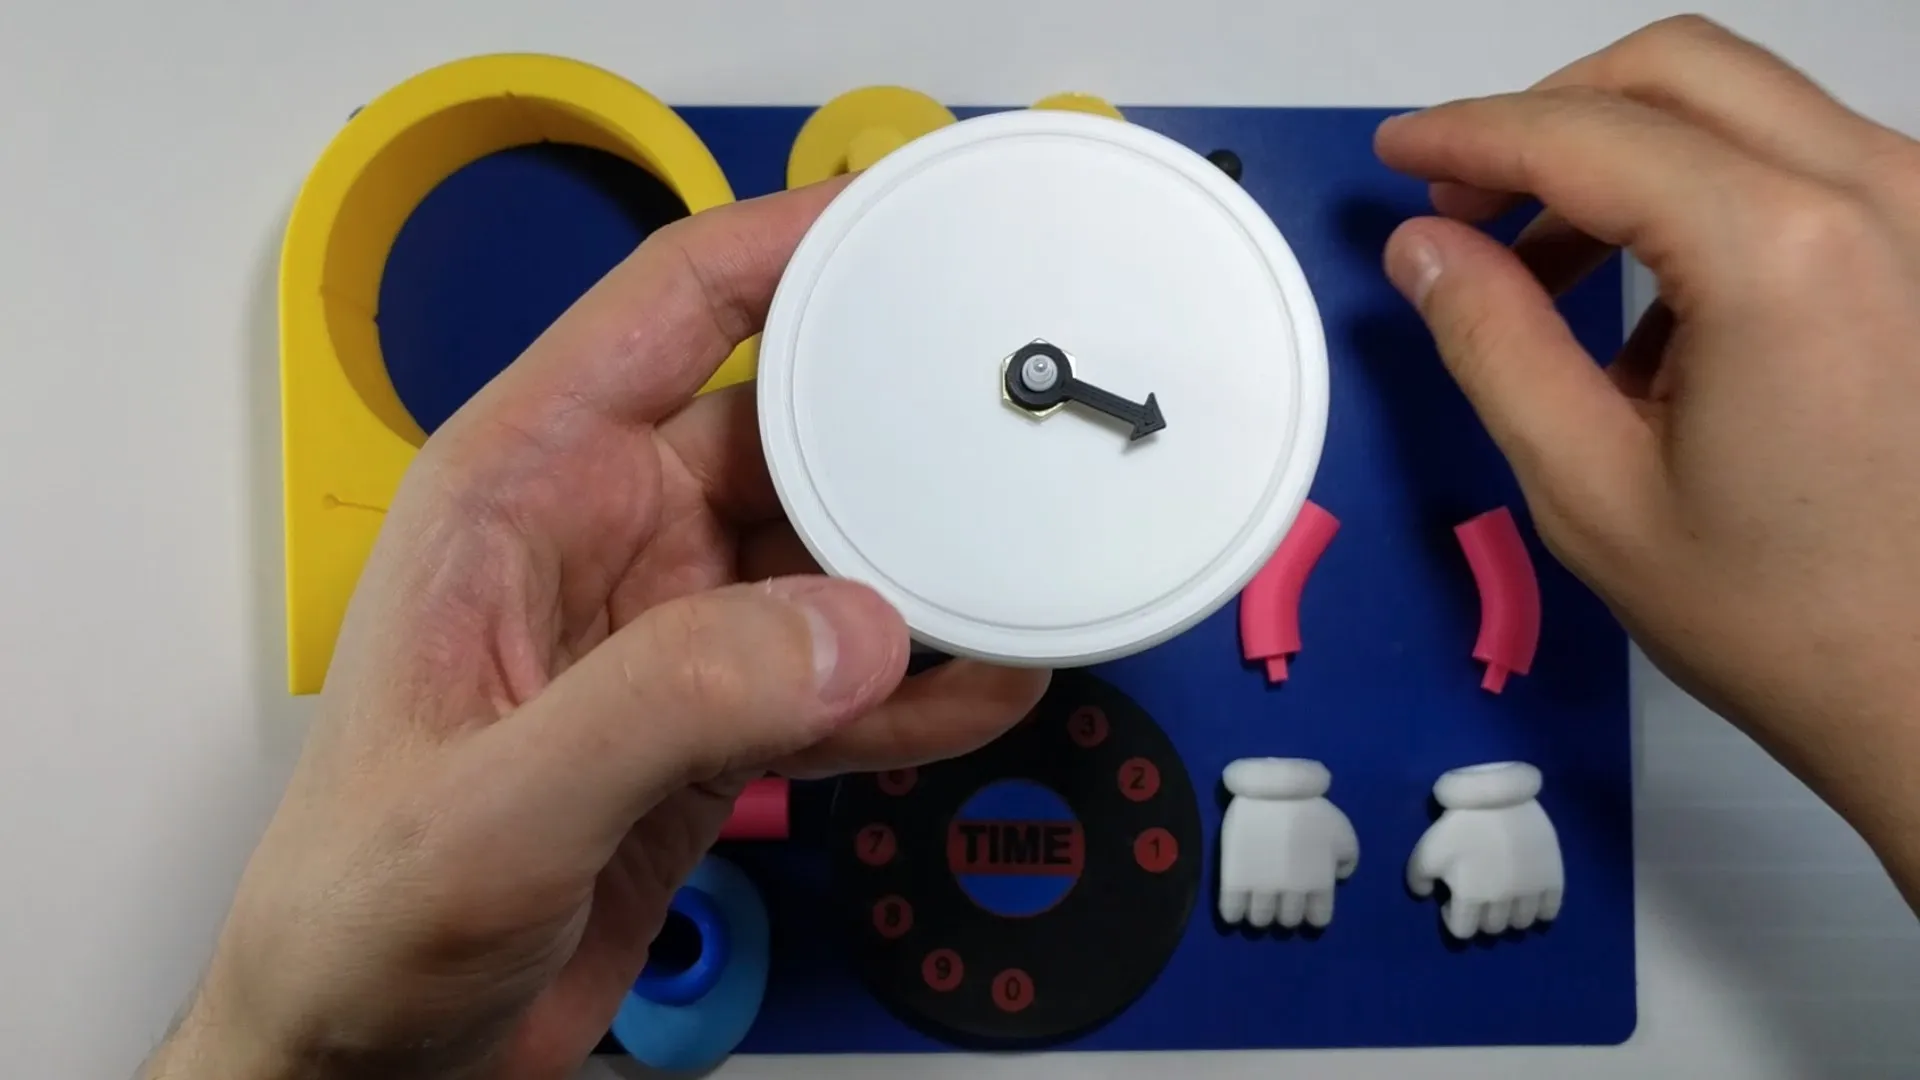
Glue the hands to the arms.
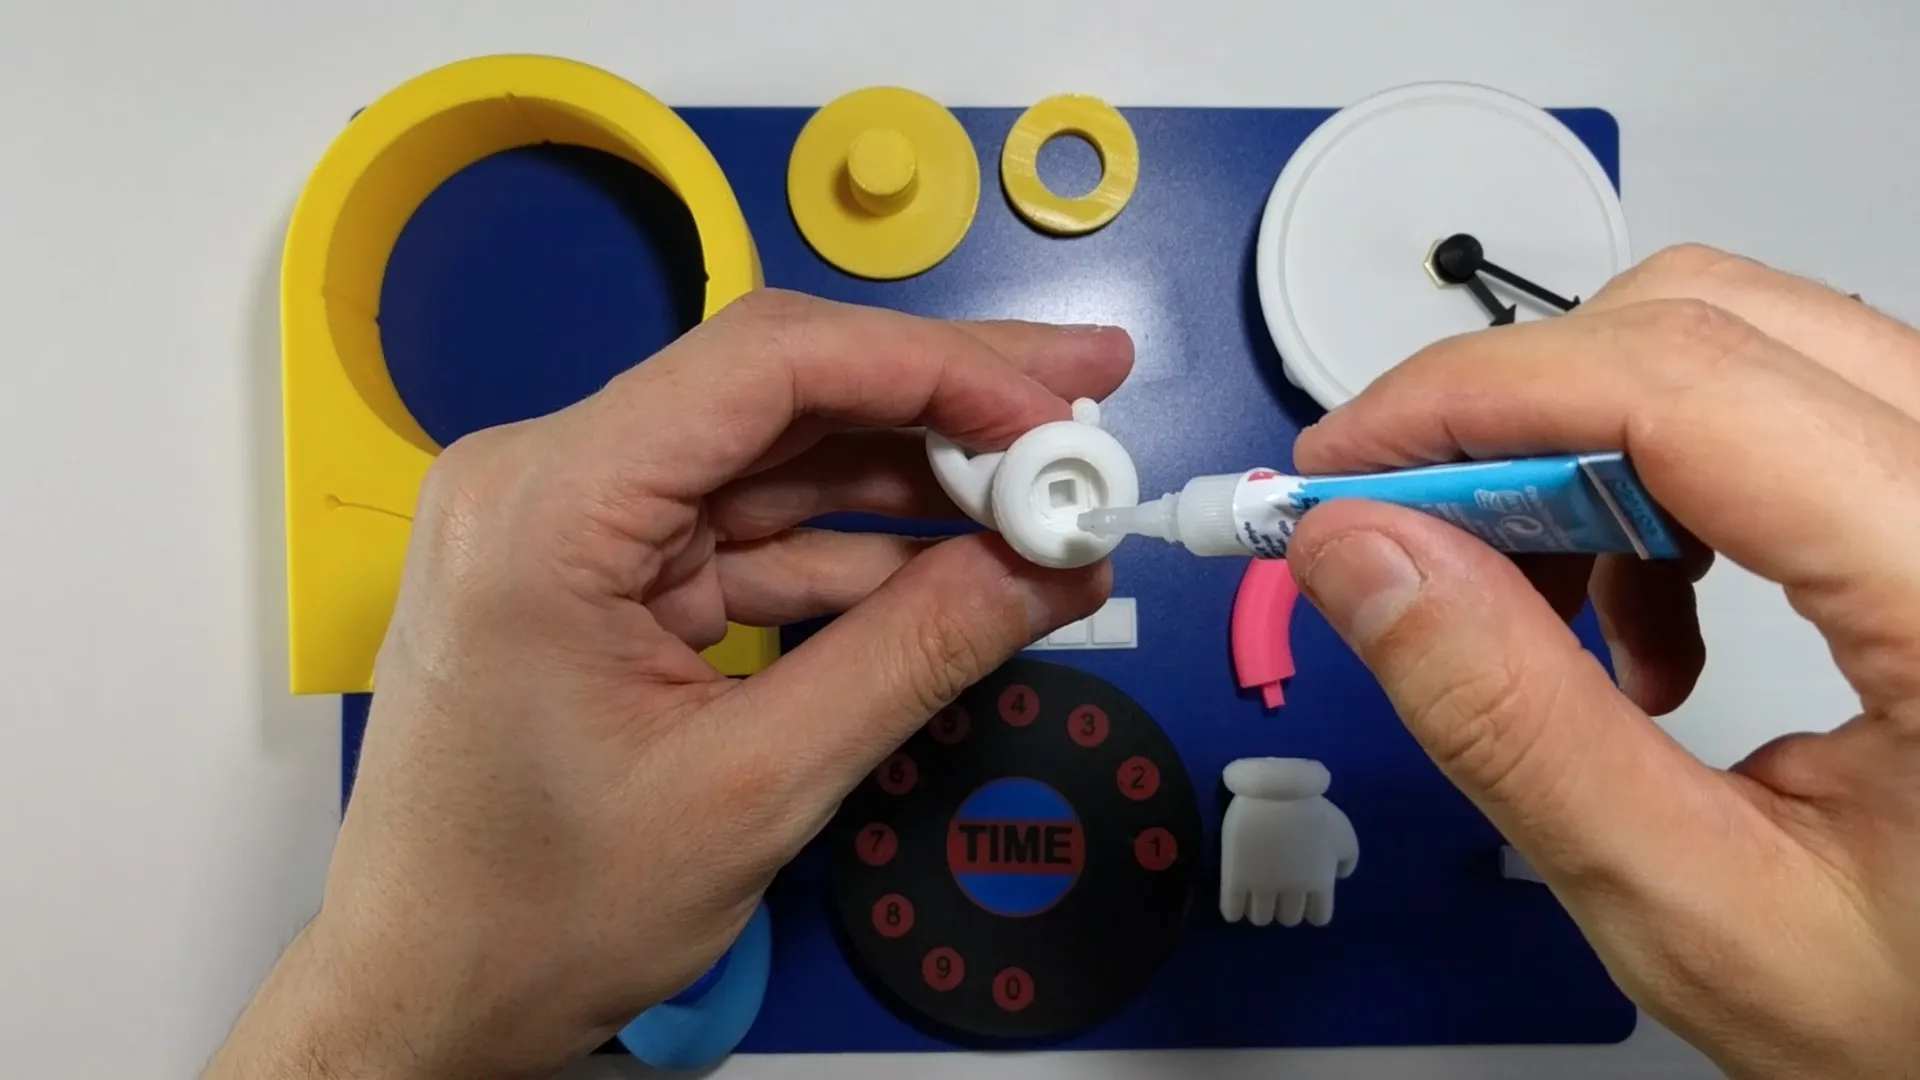
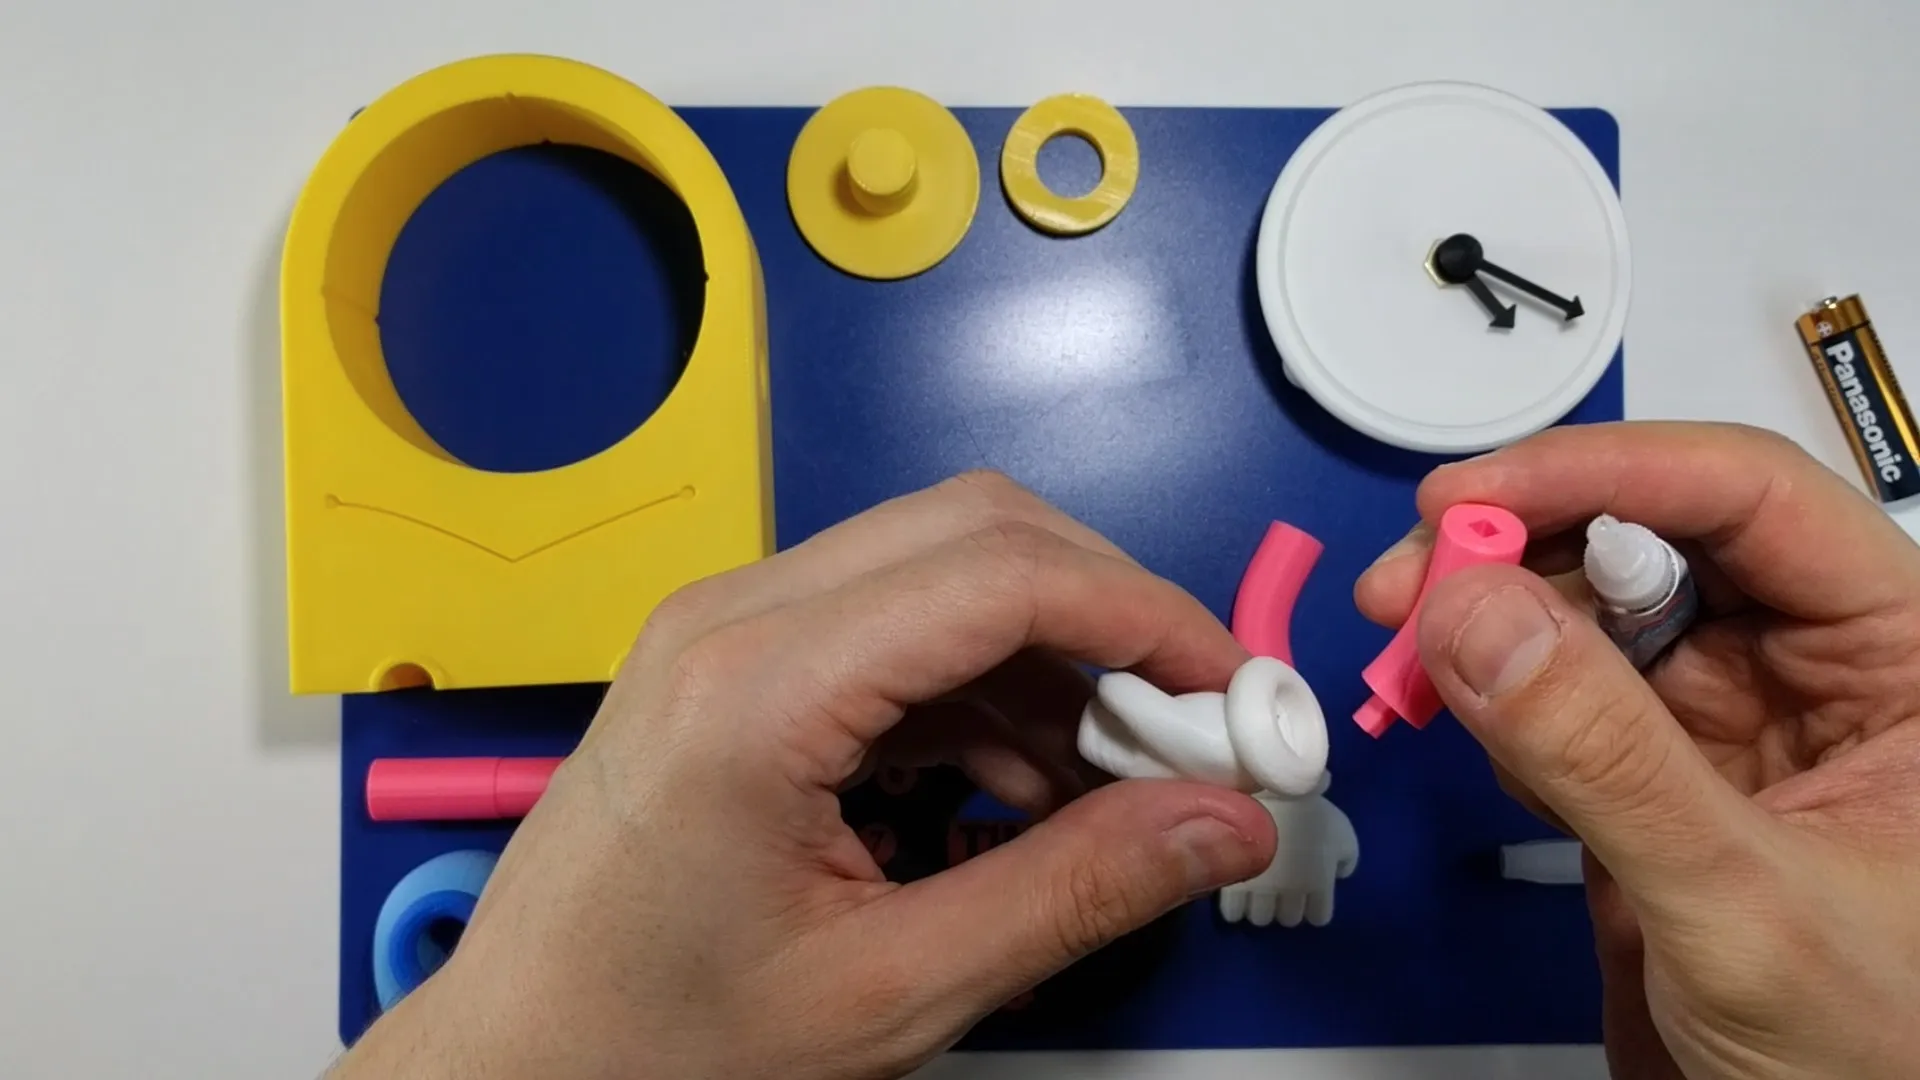
- Glue the legs to the feet.
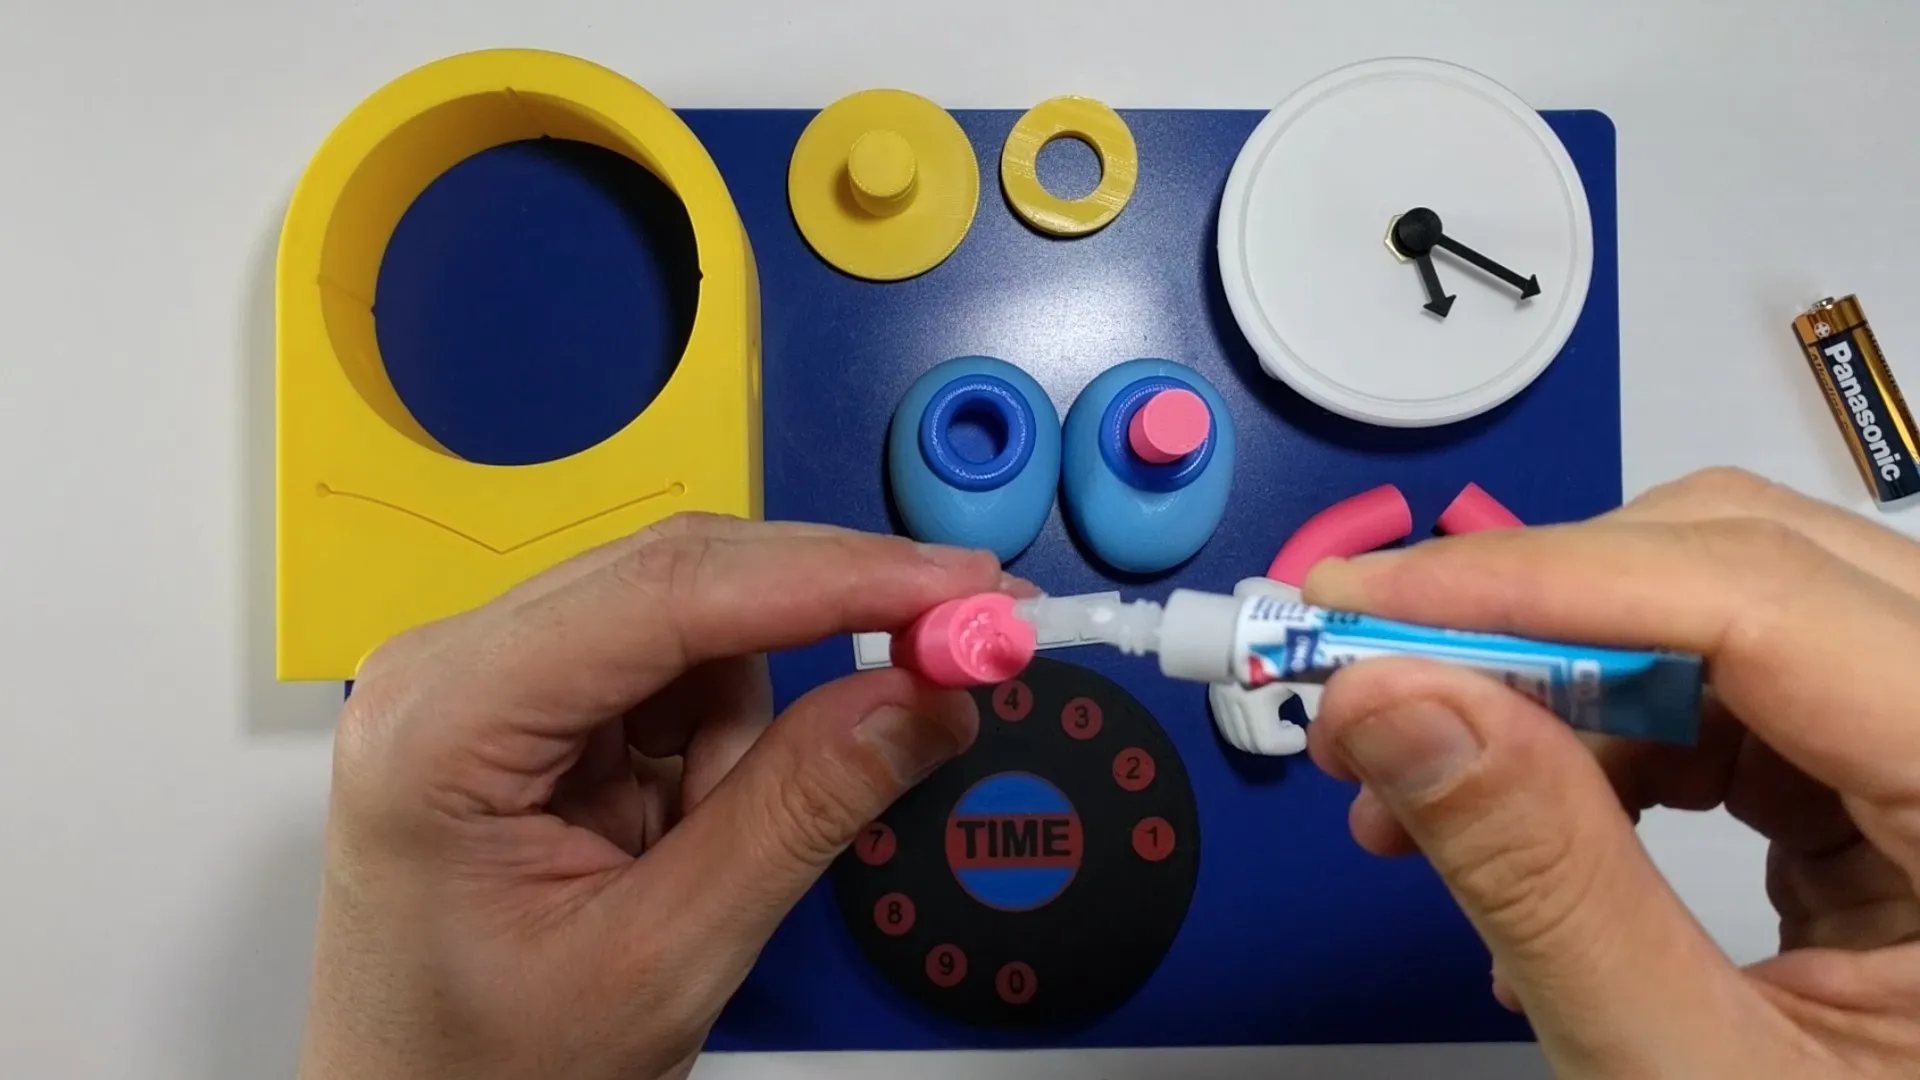
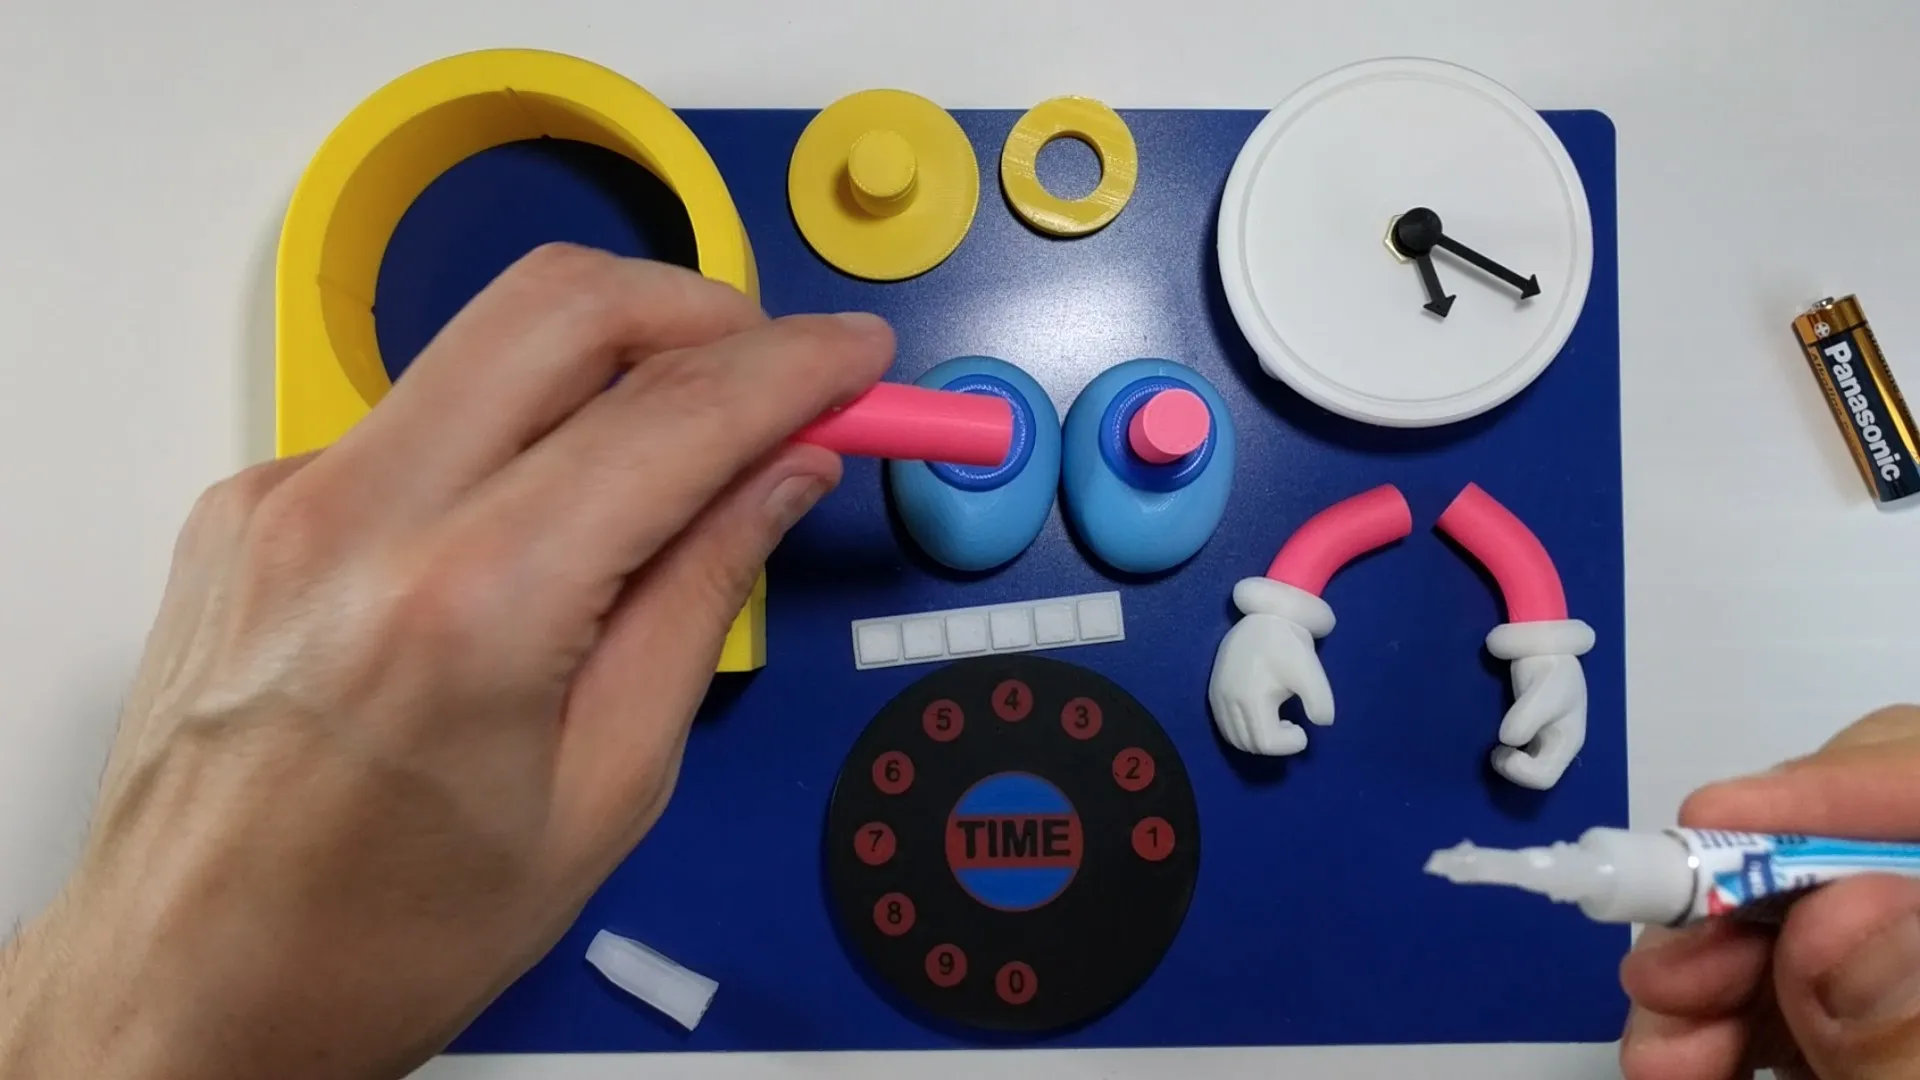
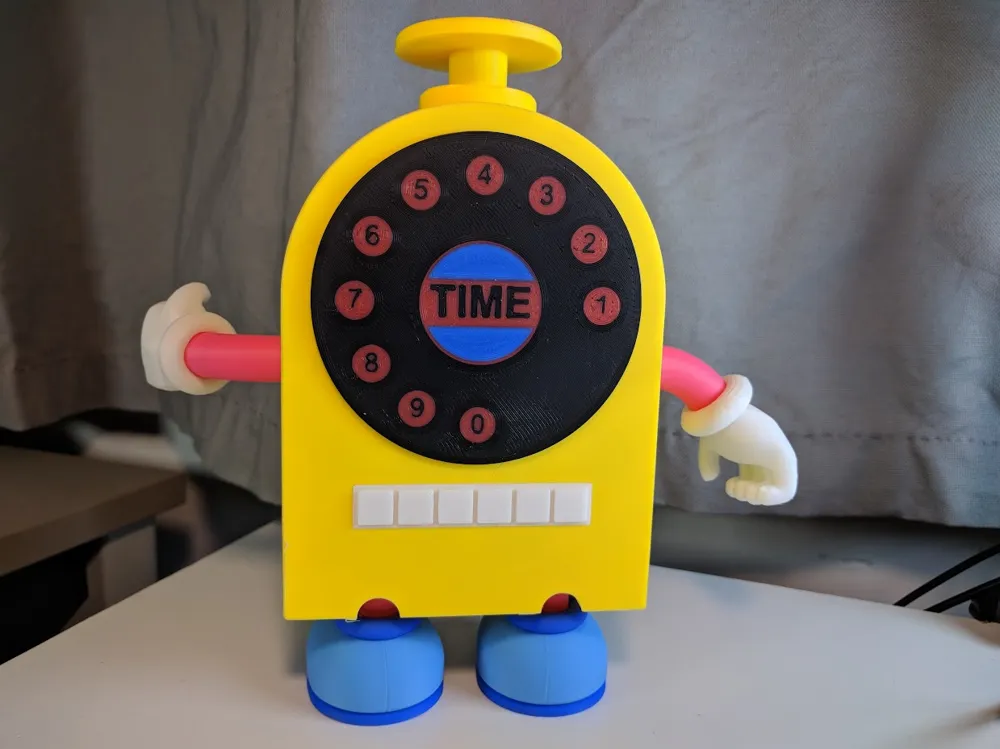
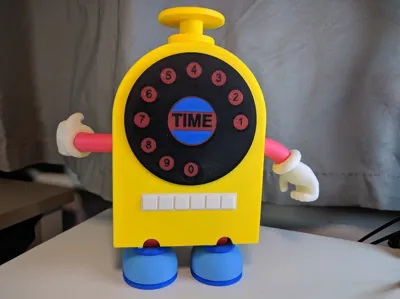
Glue the back decorative "Time Machine counter."
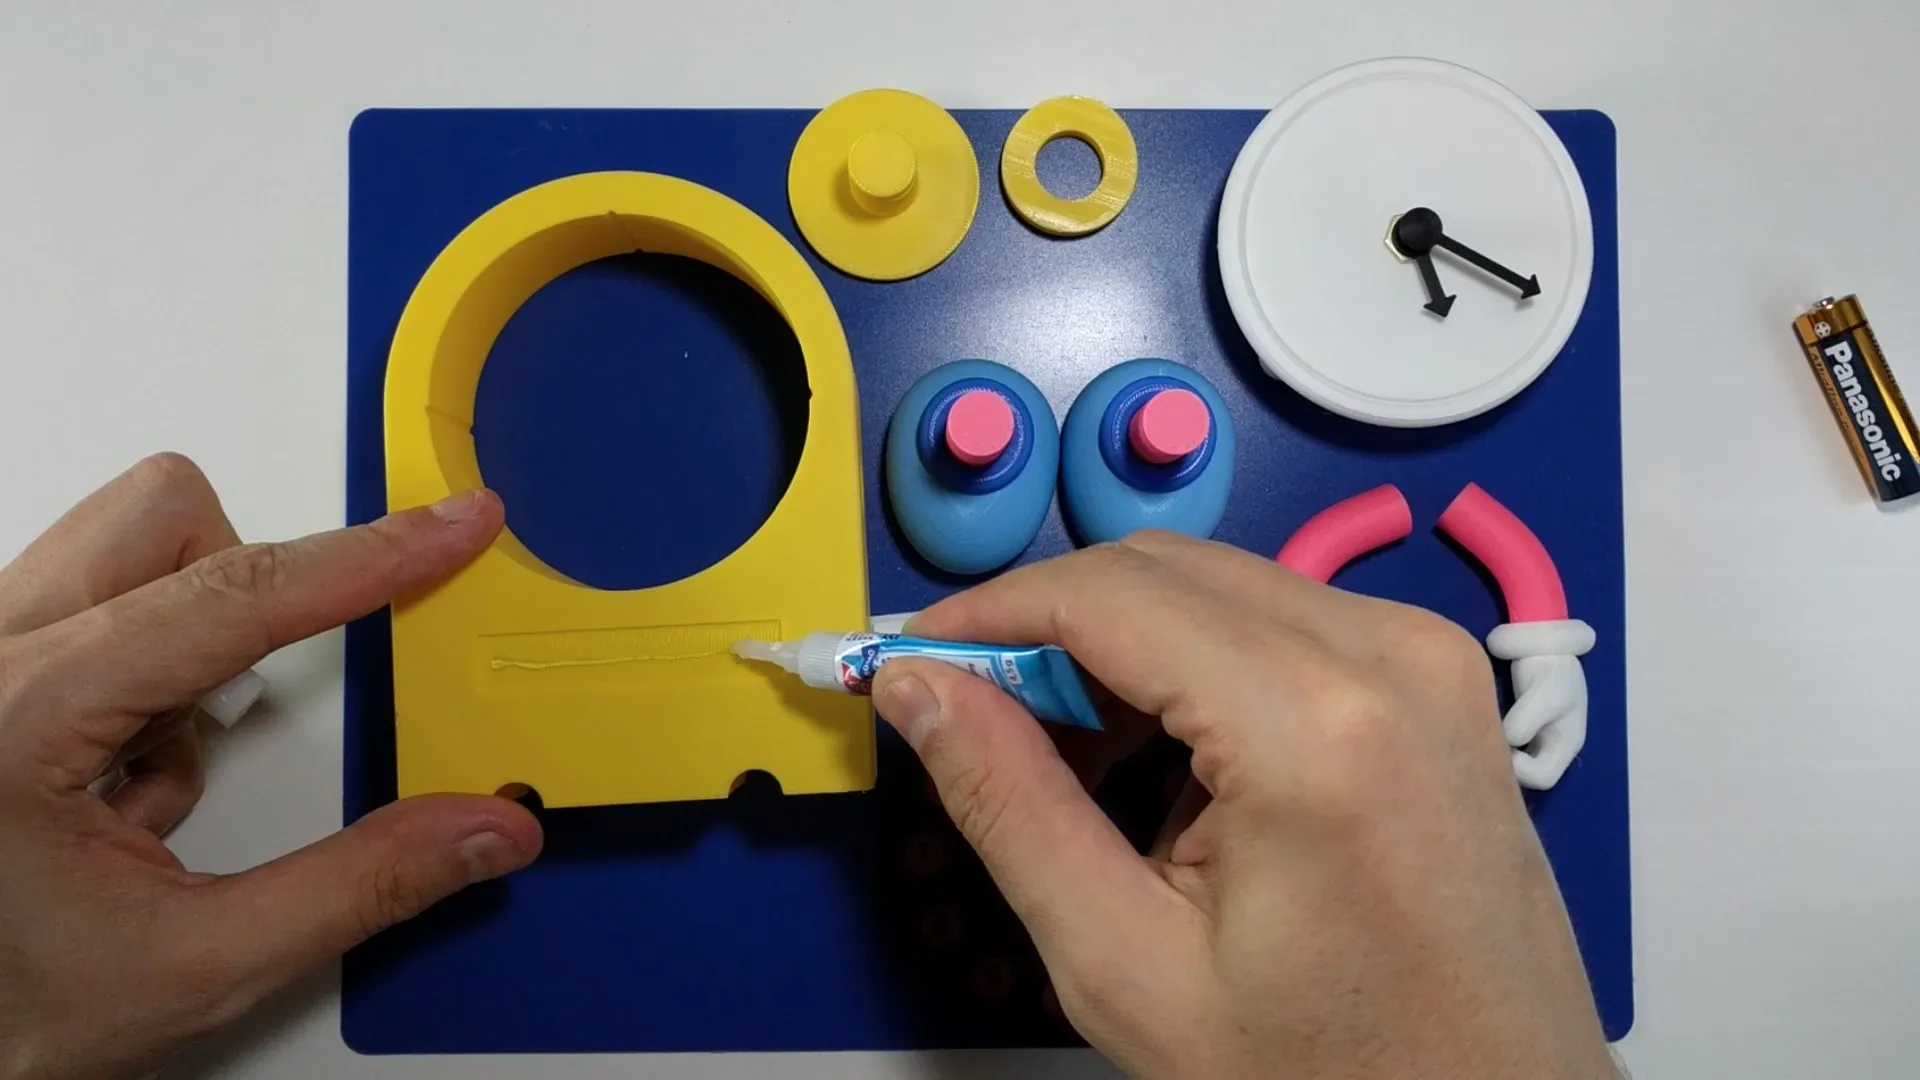
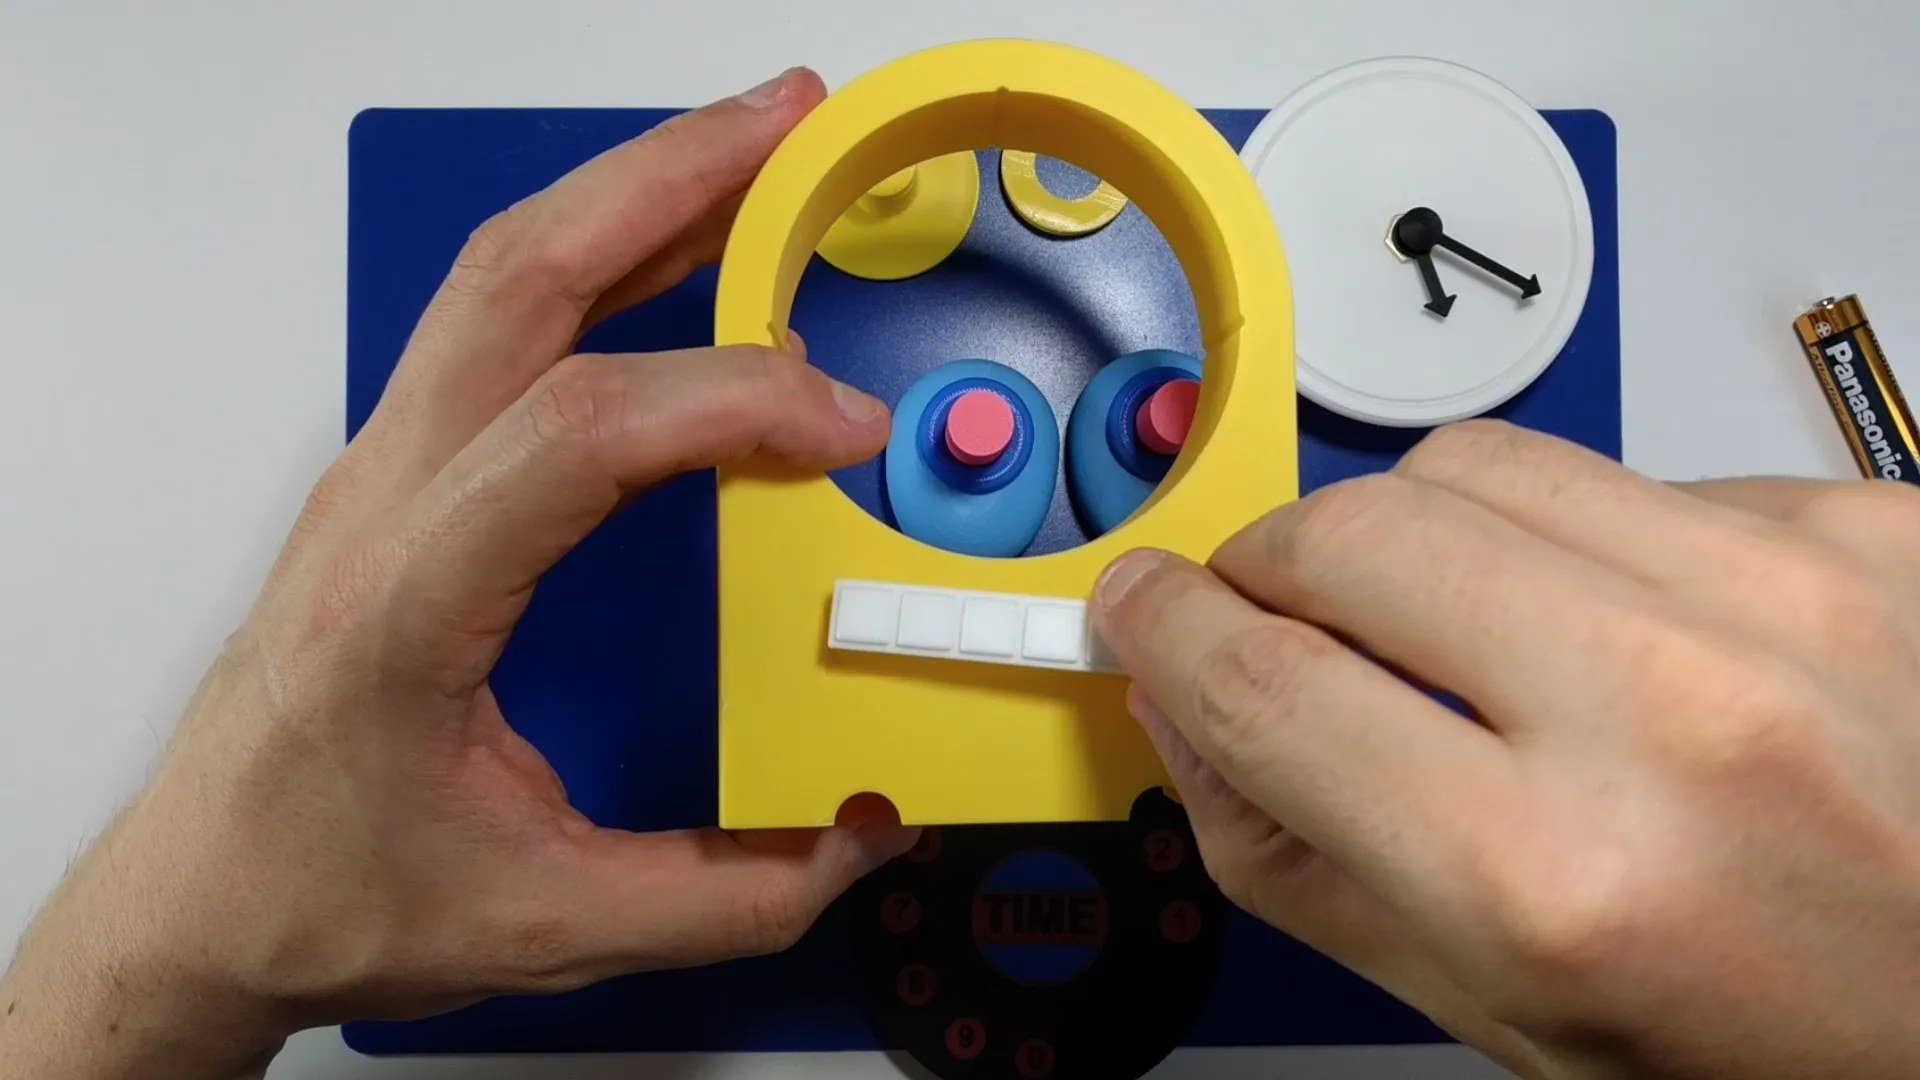
Glue the top decorative “Push button”
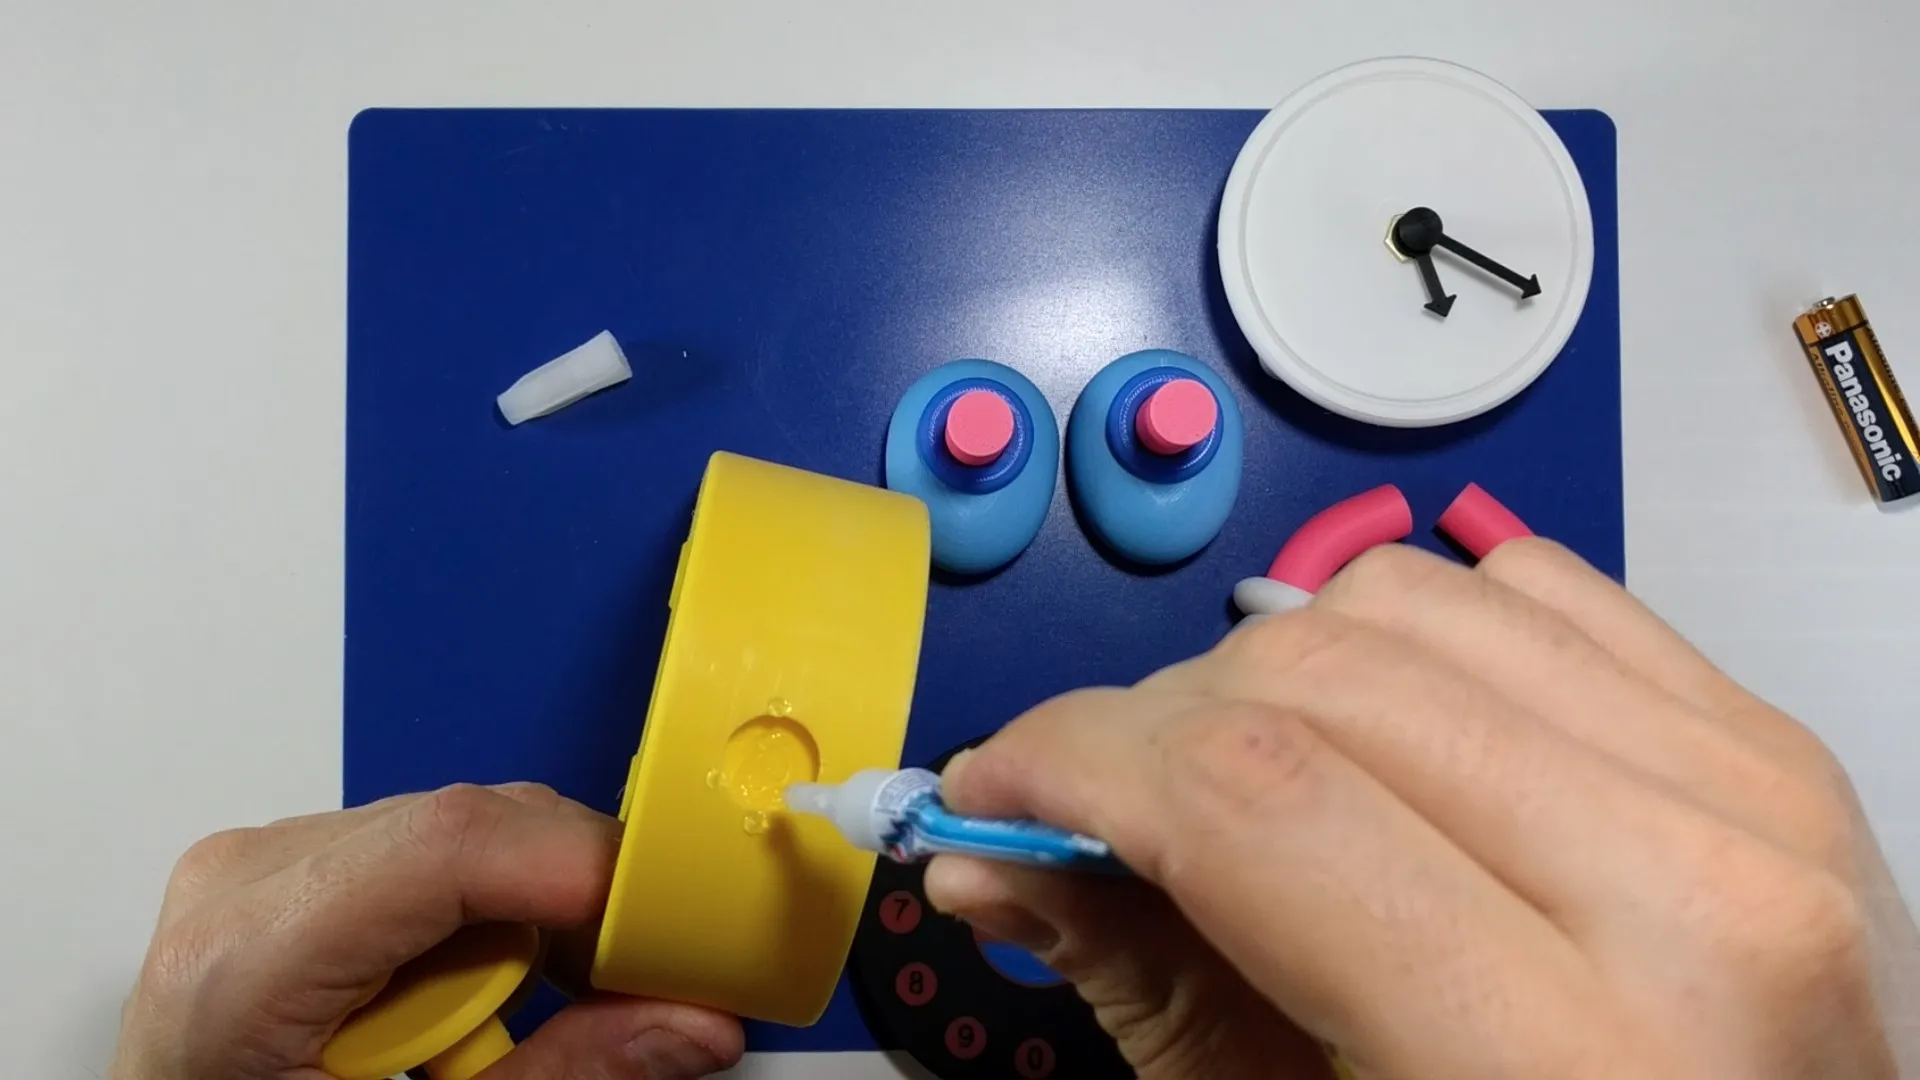
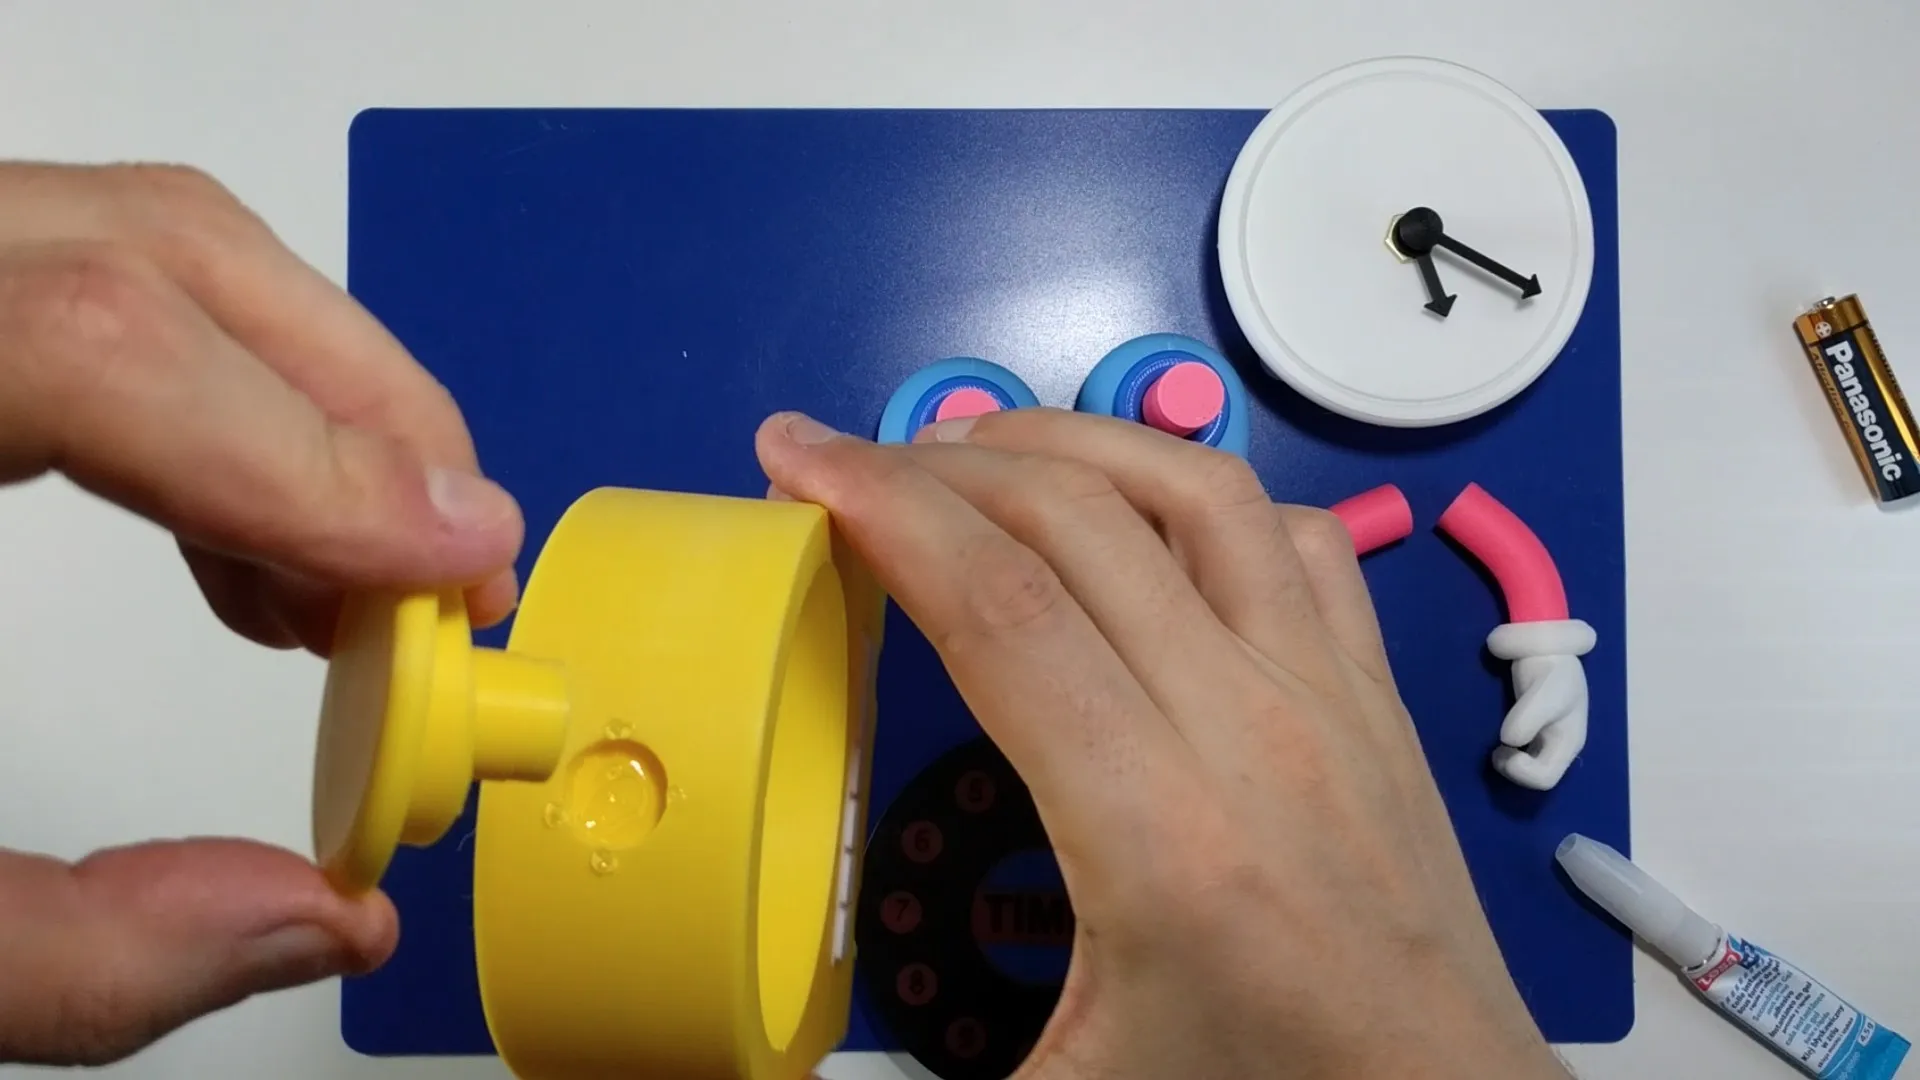
Glue the arms to the body
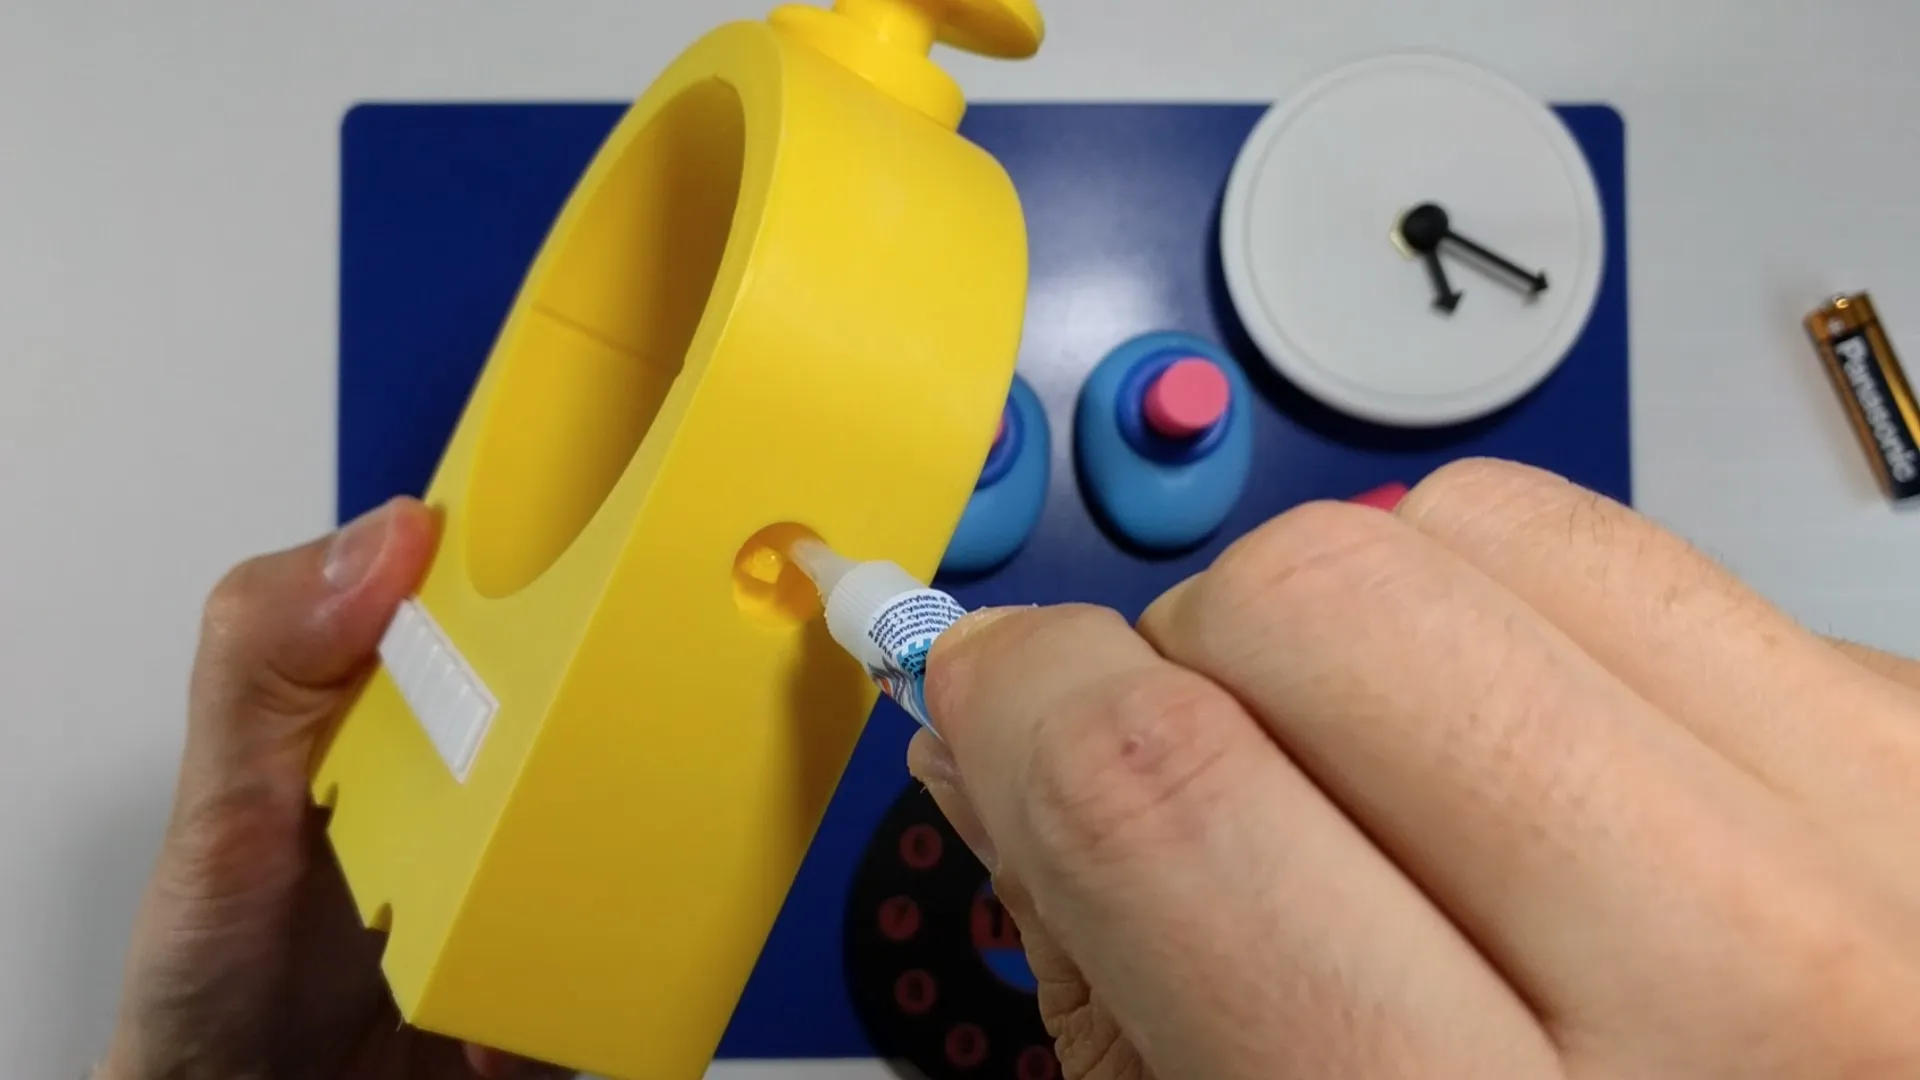
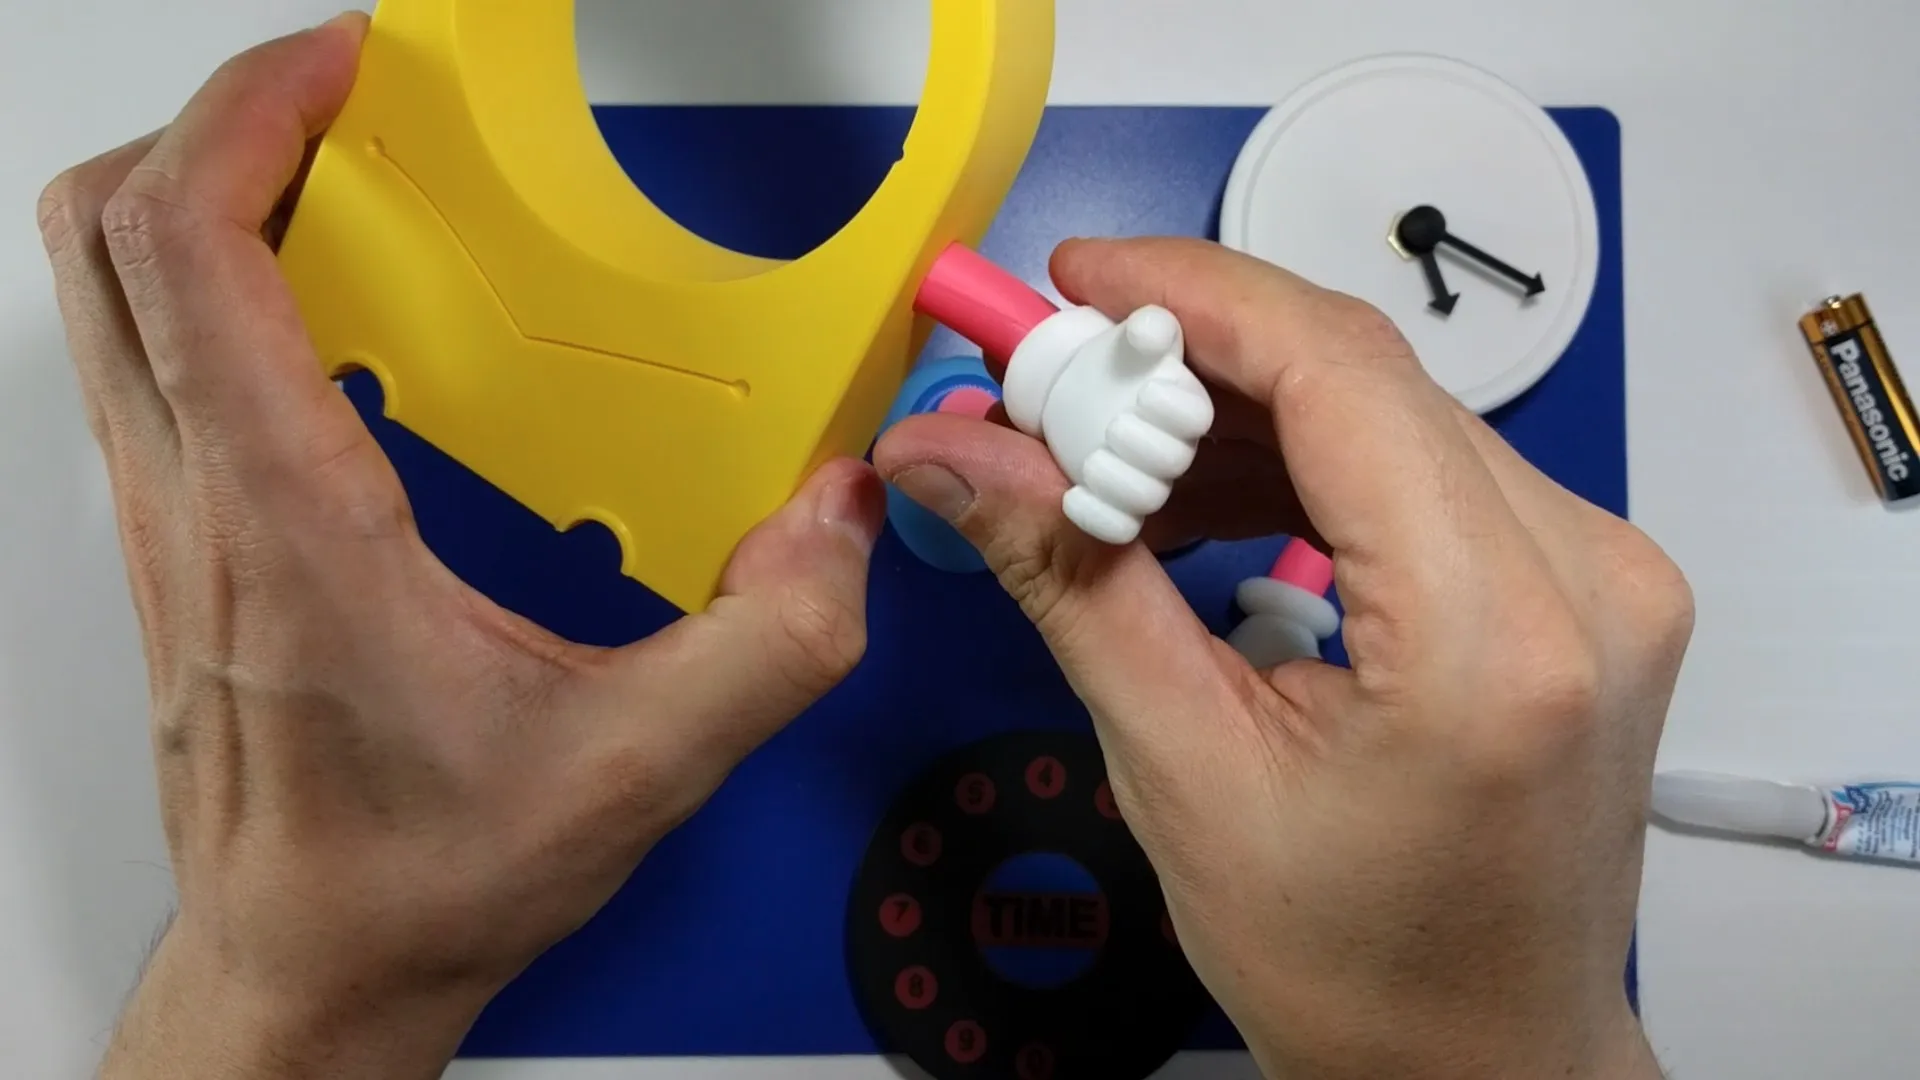
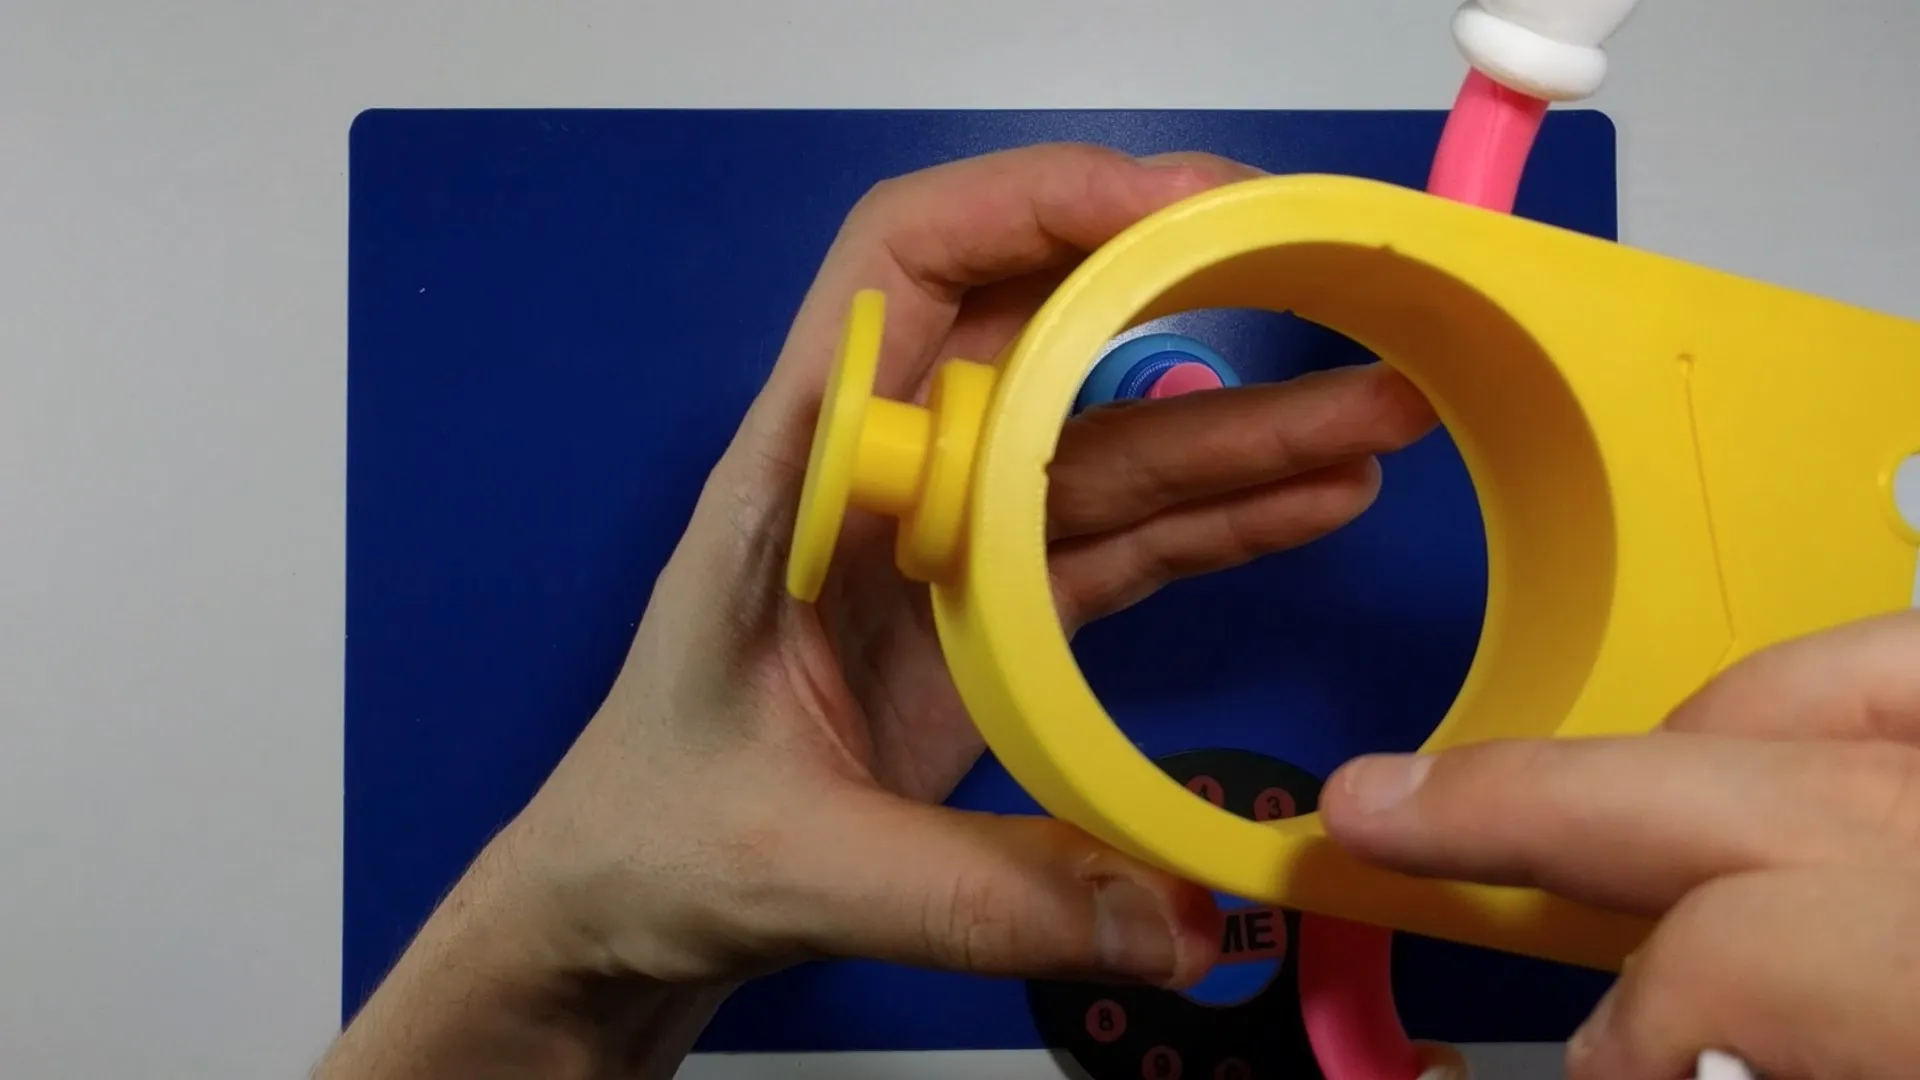
- Attach the clock face to the body, making sure it’s correctly oriented. The clock face has three guides to simplify assembly. The same procedure applies to the back “telephone dial” decoration.
Follow me on Instagram @buildbyte3d, bluesky.app @buildbyte3d.bsky.social or mastodon.social @BuildByte3d for more behind-the-scenes looks, progress updates, and new projects! 🚀✨
Support My Work on Patreon! consider subscribe to my Patreon. (Seller License tier)
Every little bit helps keep the creativity brewing! ☕🙏 |
License

You shall not share, sub-license, sell, rent, host, transfer, or distribute in any way the digital or 3D printed versions of this object, nor any other derivative work of this object in its digital or physical format (including - but not limited to - remixes of this object, and hosting on other digital platforms). The objects may not be used without permission in any way whatsoever in which you charge money, or collect fees.


Comment & Rating (15)