
The Count
Print Profile(1)

Description
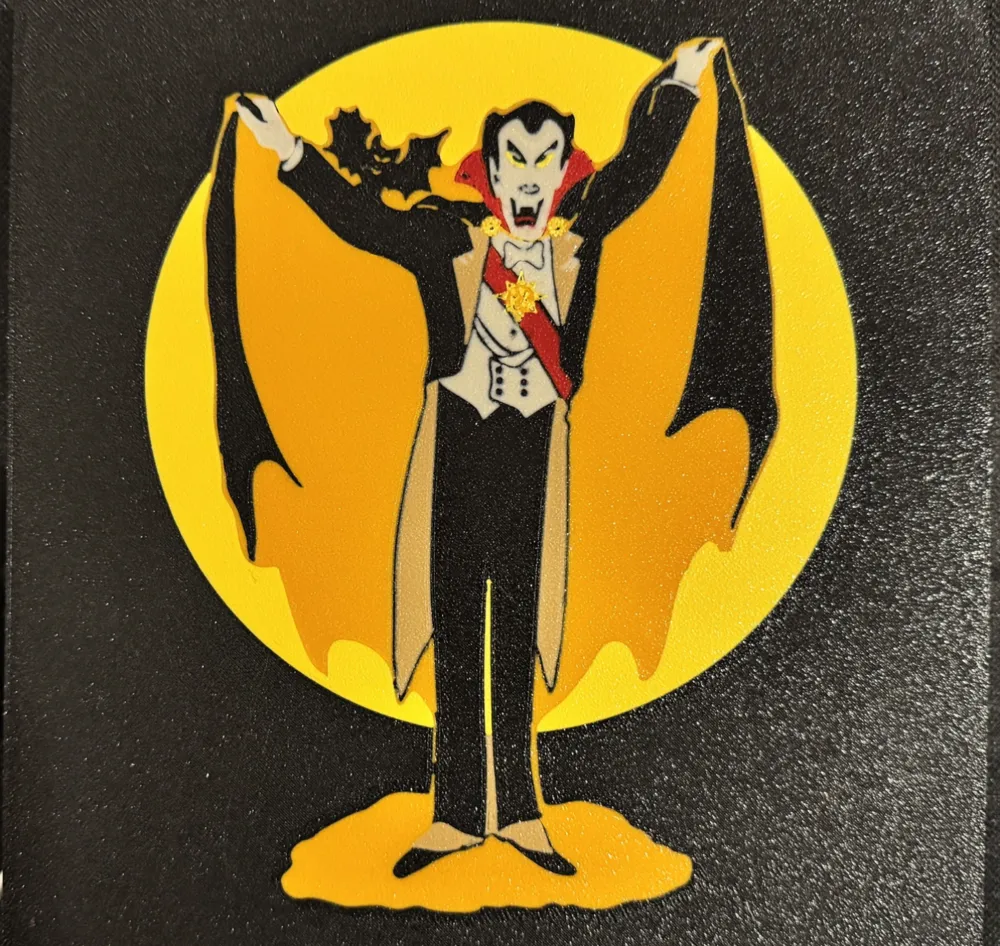
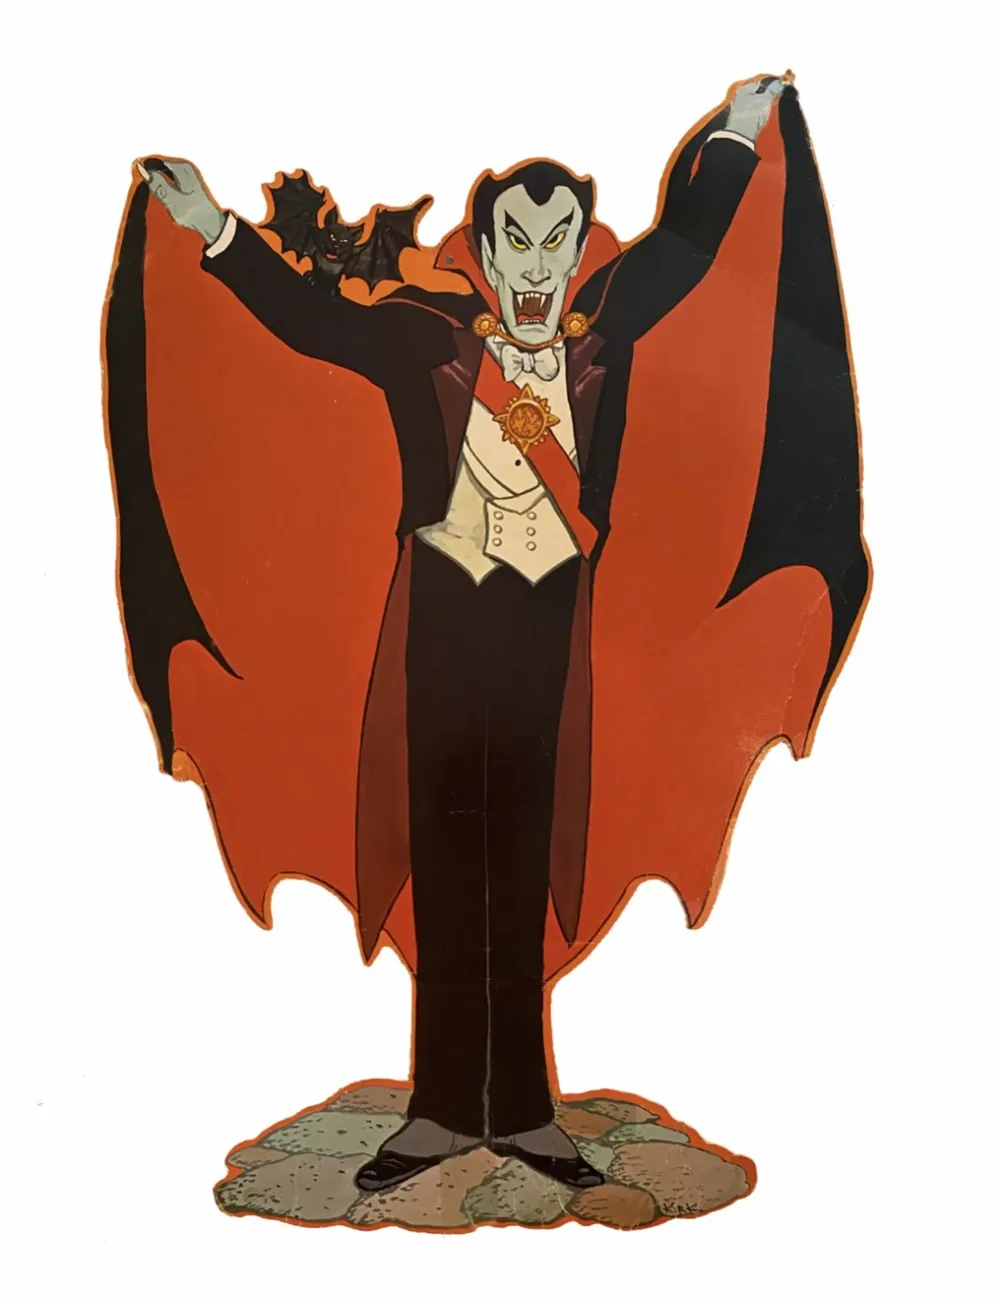
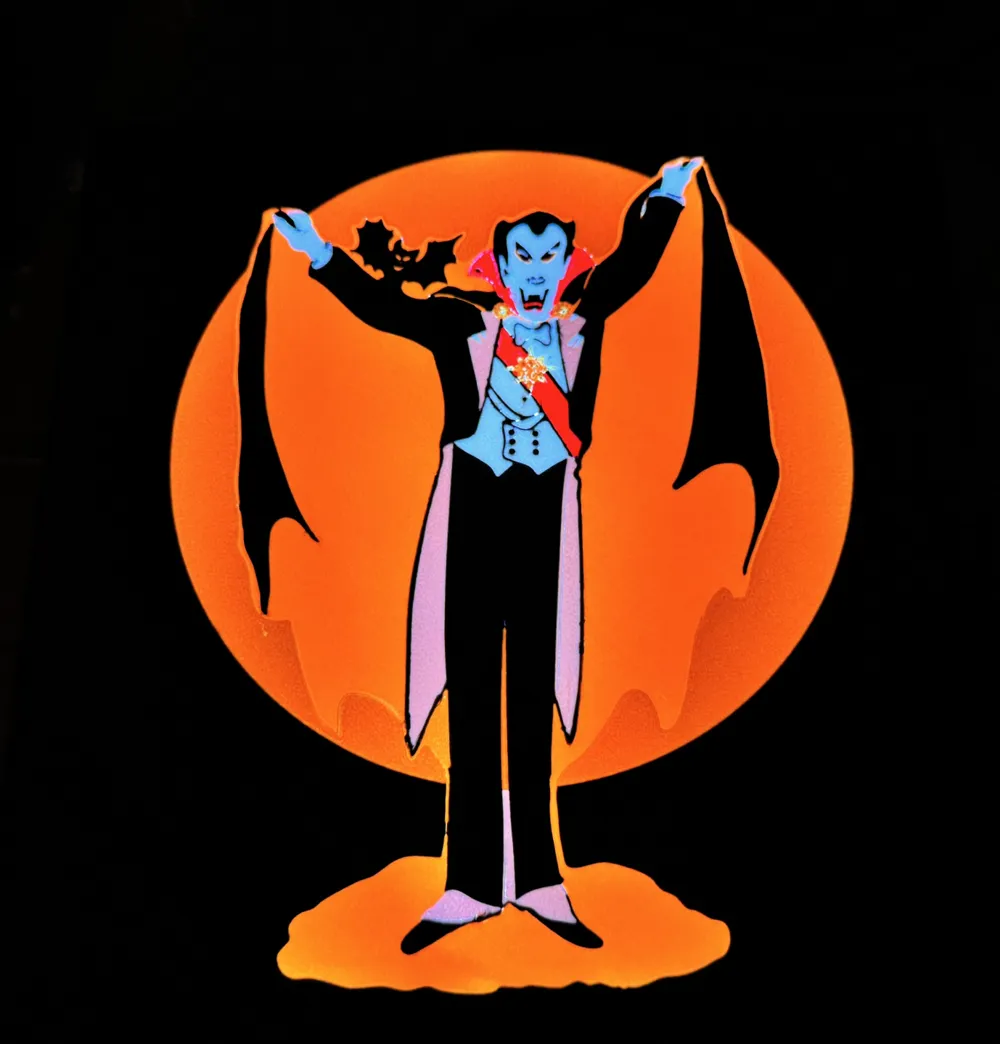
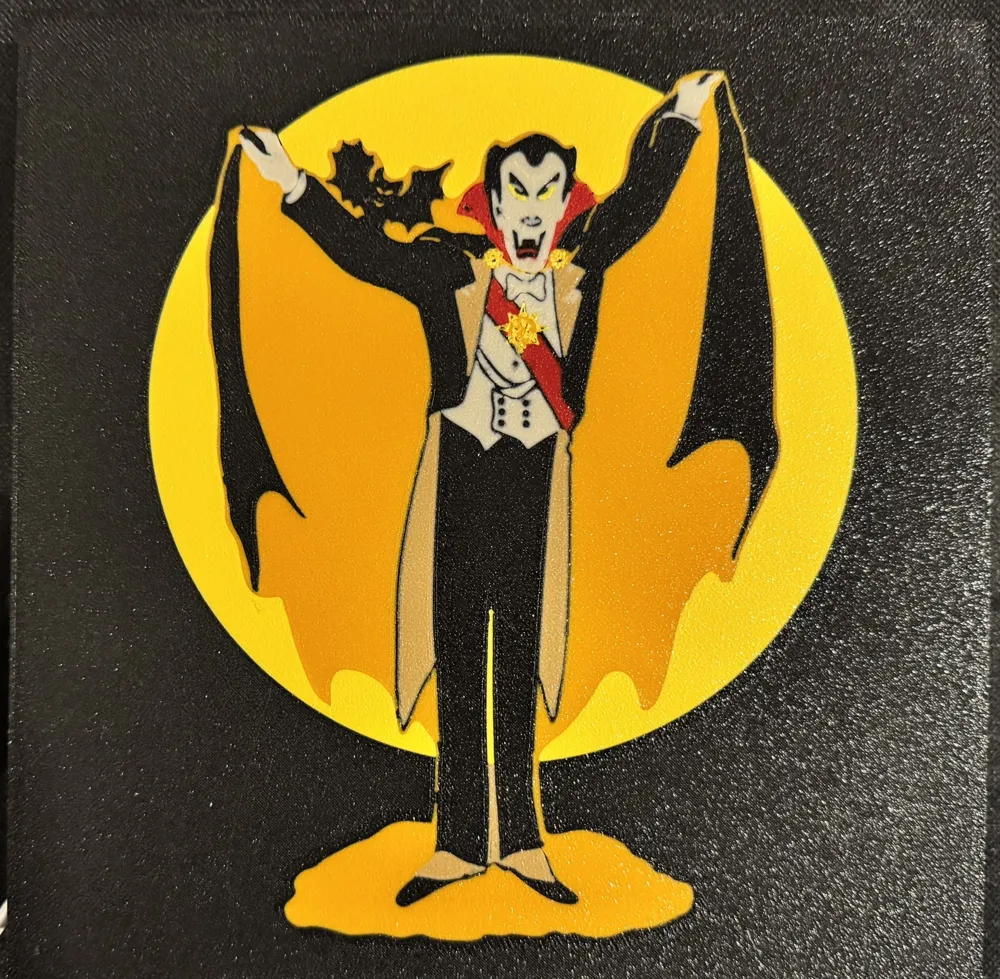
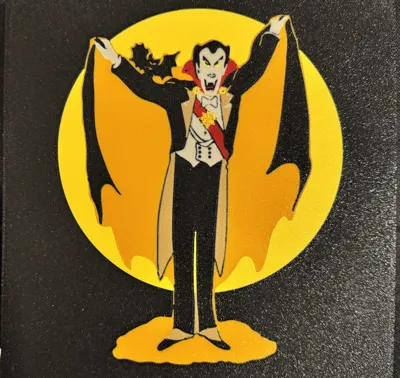
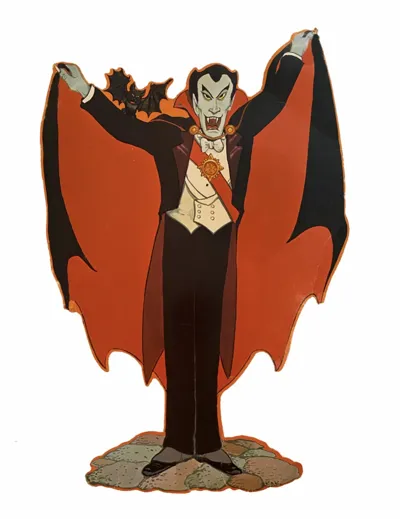
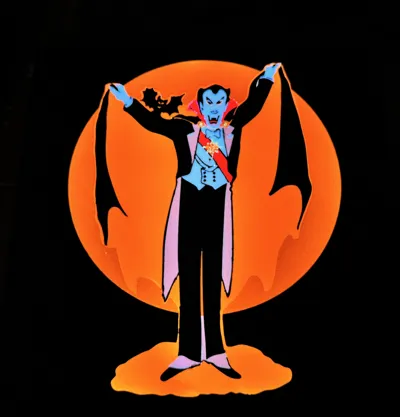
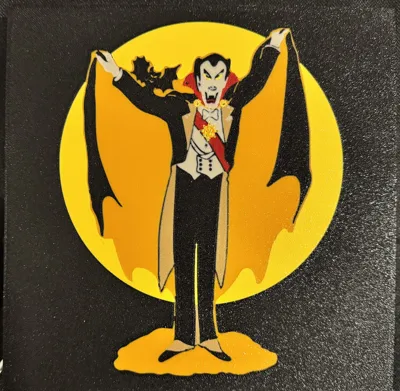
Welcome and Thank You for your interest in The Count. I was asked to make this by a friend of mine. He had a cardboard cutout of The Count growing up in the 80's and wanted a lightbox of him! So after a little (OK ALOT) of time working in Fusion, attempting to recreate him…. Here he is! He is not perfect, the initial drawing had a lot of sharp edges which does not translate well to 3D printing, so there are a few spots where light shines through, however the overall effect is not diminished as a result. This is my first multi-color ( more than 4 color) print, so please let me know where i can make any improvements. I have printed The Count 3x now with these instructions. If your new to multicolor printing i hope this helps, if your a vet ignore my ramblings. If you have more than one AMS, I am jealous. Filament Colors are as Follows:
1- Bone White
2- Yellow
3-Gold
4-Orange
5-Brown
6-Red
7-Black
I did not add Pauses. If you only have one AMS you will need to leave one color un-loaded at all times. For example, leave Orange un-loaded for the first run. When the printer pauses for filament runout, remove the White, Yellow, and Gold Filament and Load the Brown, Red. Hold off loading the Black Filament. Now load the Orange filament (in slot 4) and resume. The printer will pause at Black. When it pauses at Black, remove Brown, Red and replace with White and Yellow. Load the White but not the Yellow. When it pauses at Yellow, Load the Gold and unload the White. Now start the whole process over again. It takes awhile, but its worth it!
The lights i used in the lightbox:
License



Comment & Rating (0)