
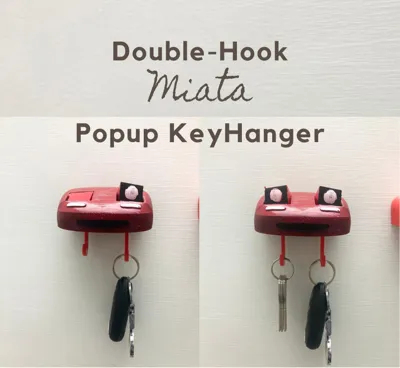
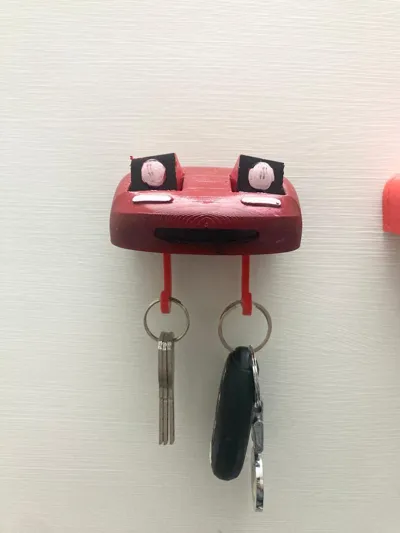
DOUBLE HOOK- Miata POPUP Headlights Keyhanger

Print Profile(1)

Description
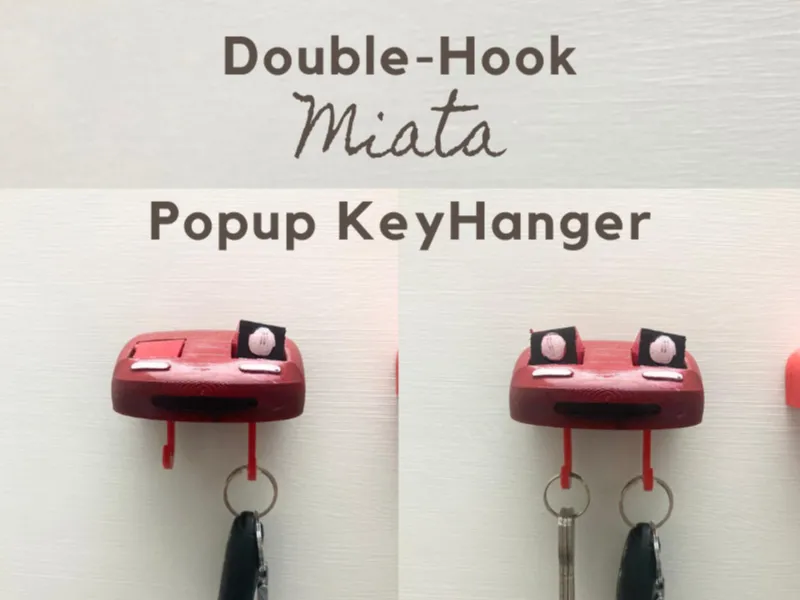
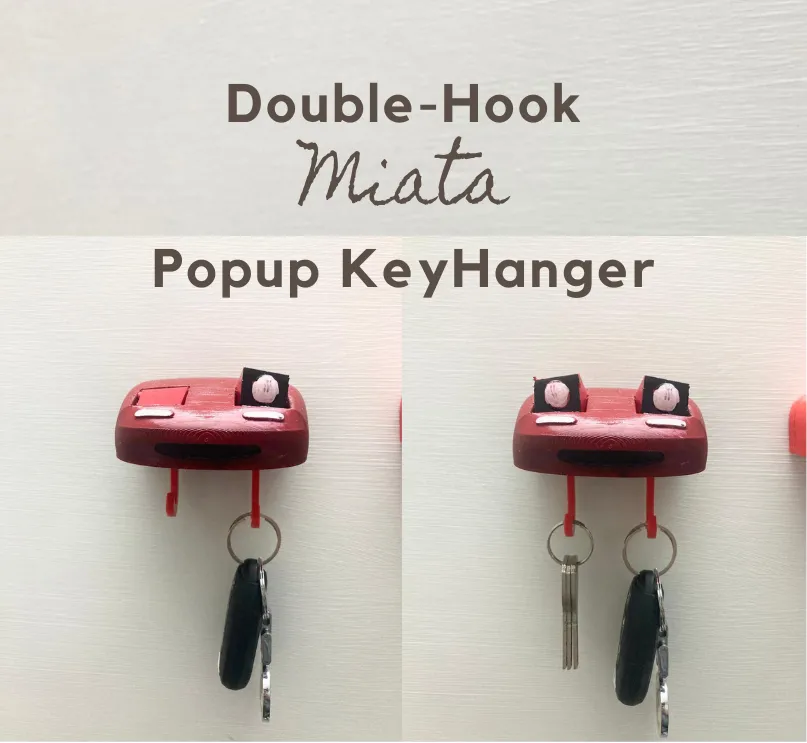
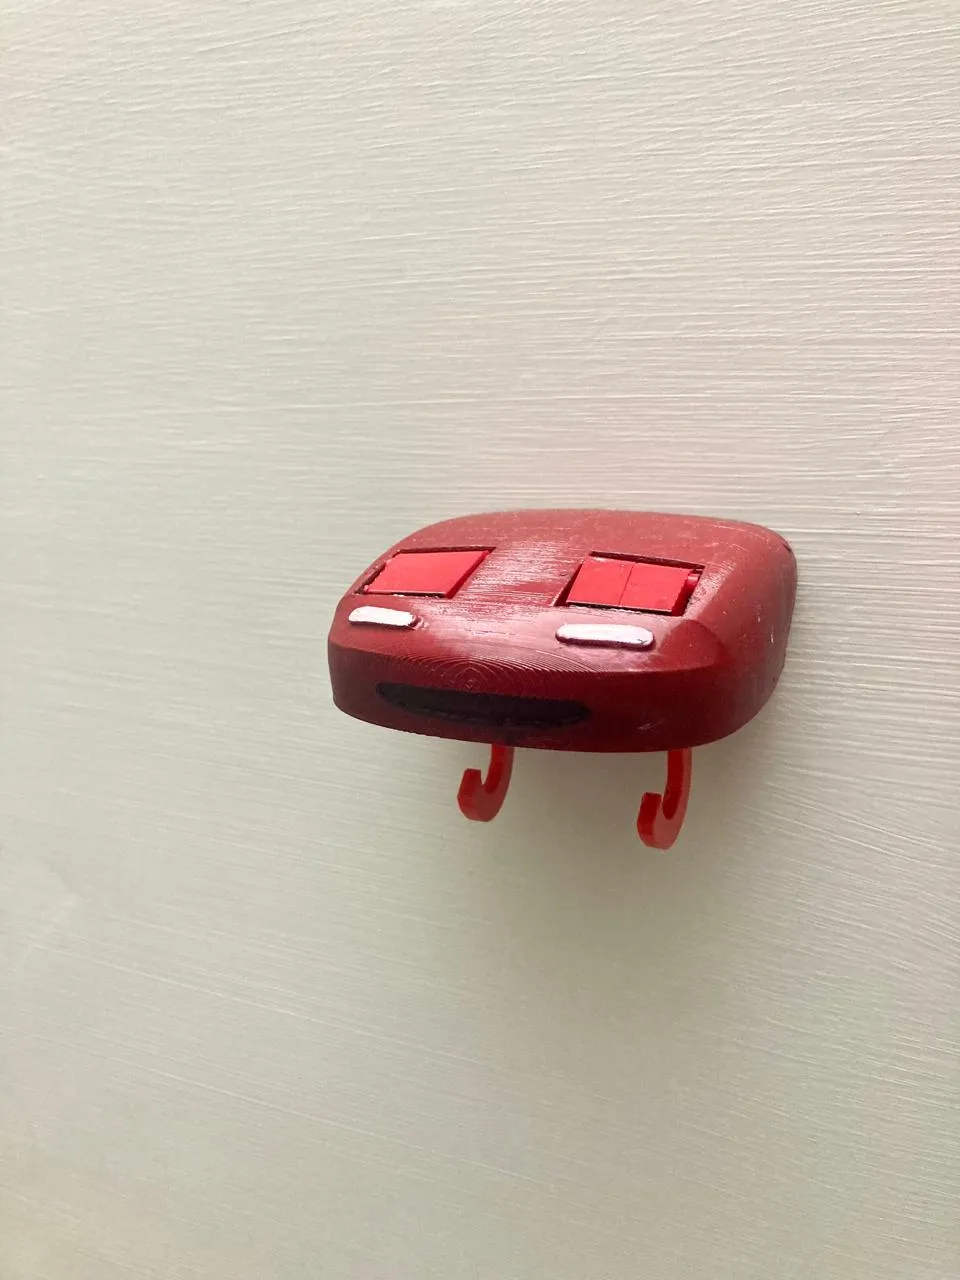
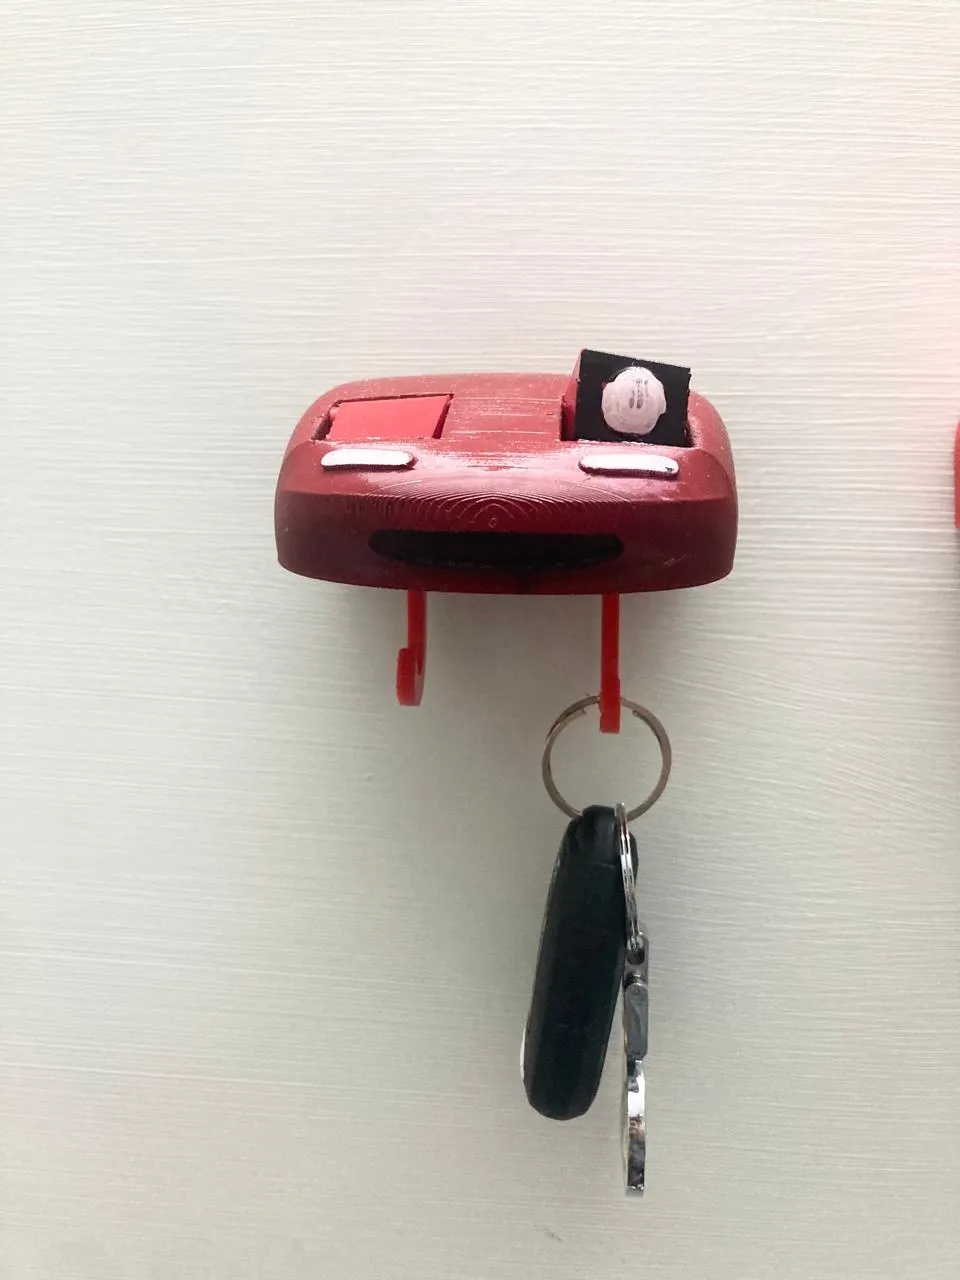
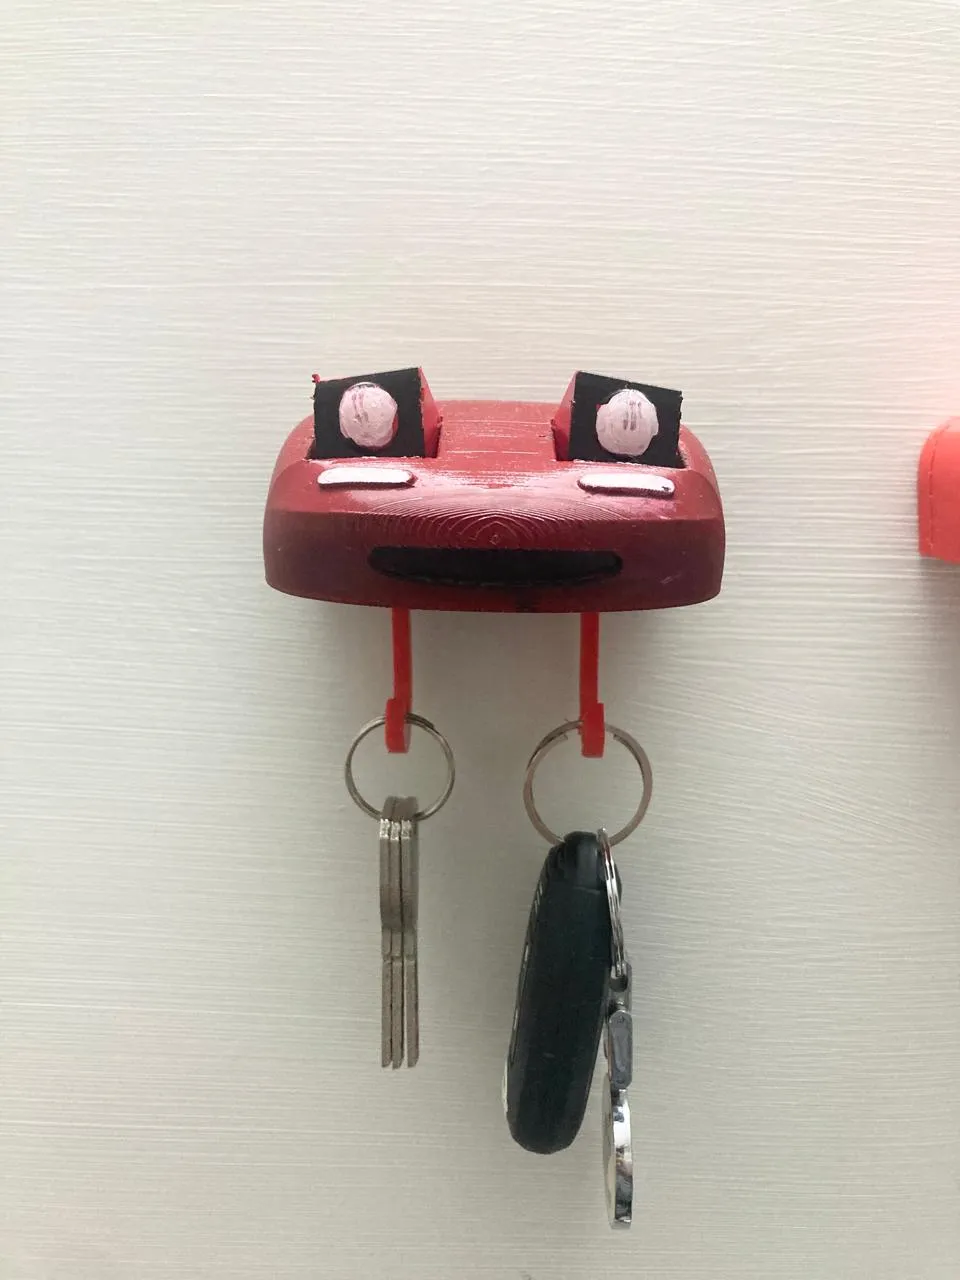
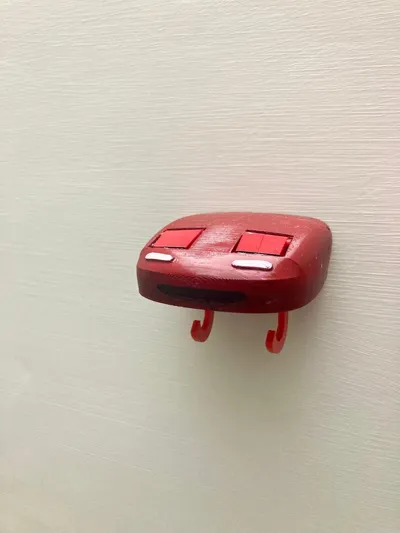
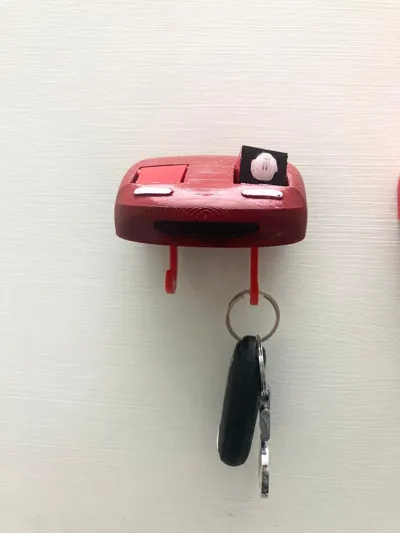
Double-hook version of Miata popup keyholder. I made this version in a way that each headlight is operated individually by each hook. You can download the single version here:
https://makerworld.com/en/models/630283
Parts to Print:
- Backplate - 1
- Main_body - 1
- lifter_Right - 1
- lifter_Left - 1
- Pin - 2
- light_Right - 1
- light_Left - 1
Print Settings:
- Backplate: 15% Gyroid Infill, No supports
- Main_Body: 15% Gyroid Infill, Supports Everywhere, Set “Top Contact Z Distance” to 0.3mm. After the part has been printed remove supports gently and carefully.
- hook: 15% Gyroid Infill
- lifter_Right/liifter_Left: 15% Gyroid infill and set the supports to "Supports on Buildplate Only" (do not use tree supports). After printing, ensure that the hinge can rotate freely, moving under the force of gravity alone. To check this, rotate the hinge a few times. If it still feels stiff or doesn’t move smoothly, gently bend the hinge in both directions perpendicular to the direction of rotation. This will help clear any overhangs that might be obstructing the movement.
- Pin, light_Right, light_Left: 15% Gyroid infill, Supports on Build Plate only
Assembley Instructions:
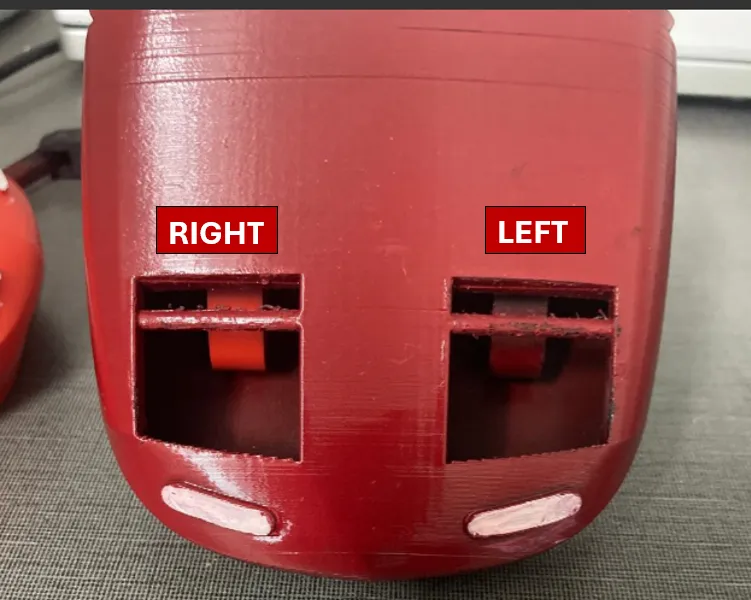
- For this build we would consider left and right as seen in the picture below:
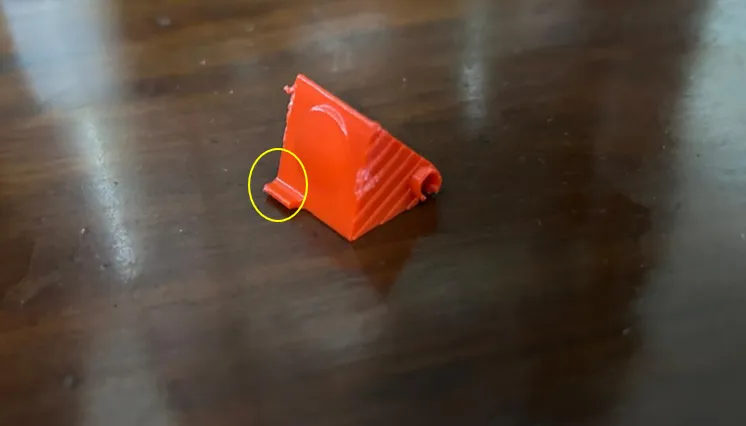
- Now take the left light and place it such that extrusion marked in yellow is inside the slot, as shown in below two pictures:
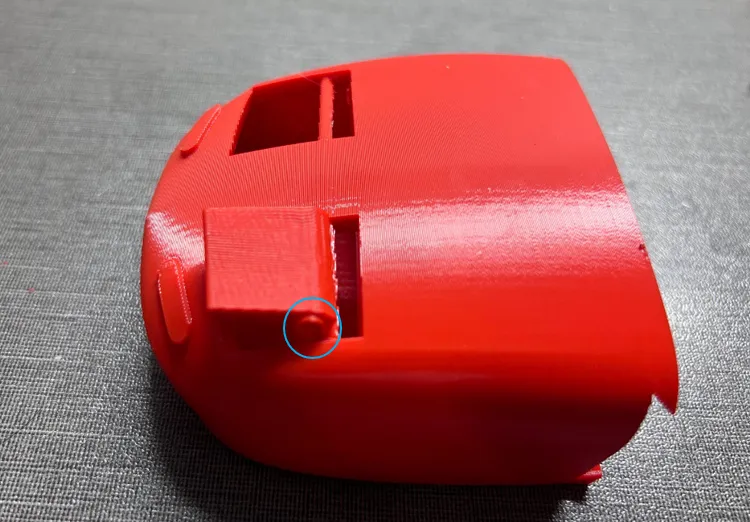
- Make sure the extrusion in blue is facing the direction as shown in picture. Now press the light onto the shaft and make sure it rotates freely.
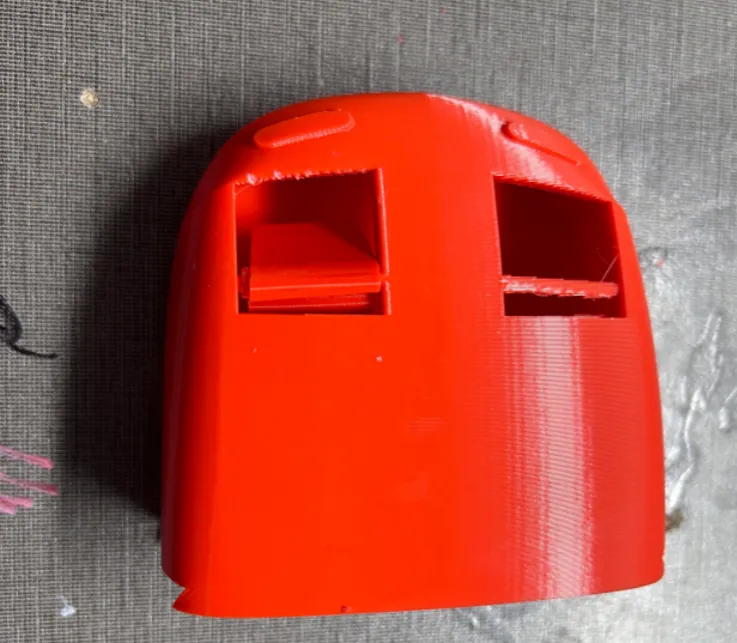
Do the same with right light.
Now take the lifter_Left and tighten M3*8 screw in the hole(not shown in picture but can be easily found). After that, insert it in the left bottom slot in the direction shown:
Note: If you doent have M3*8 screw, you can use drywall screw or some other easily available screw, since this is there to only add weight.
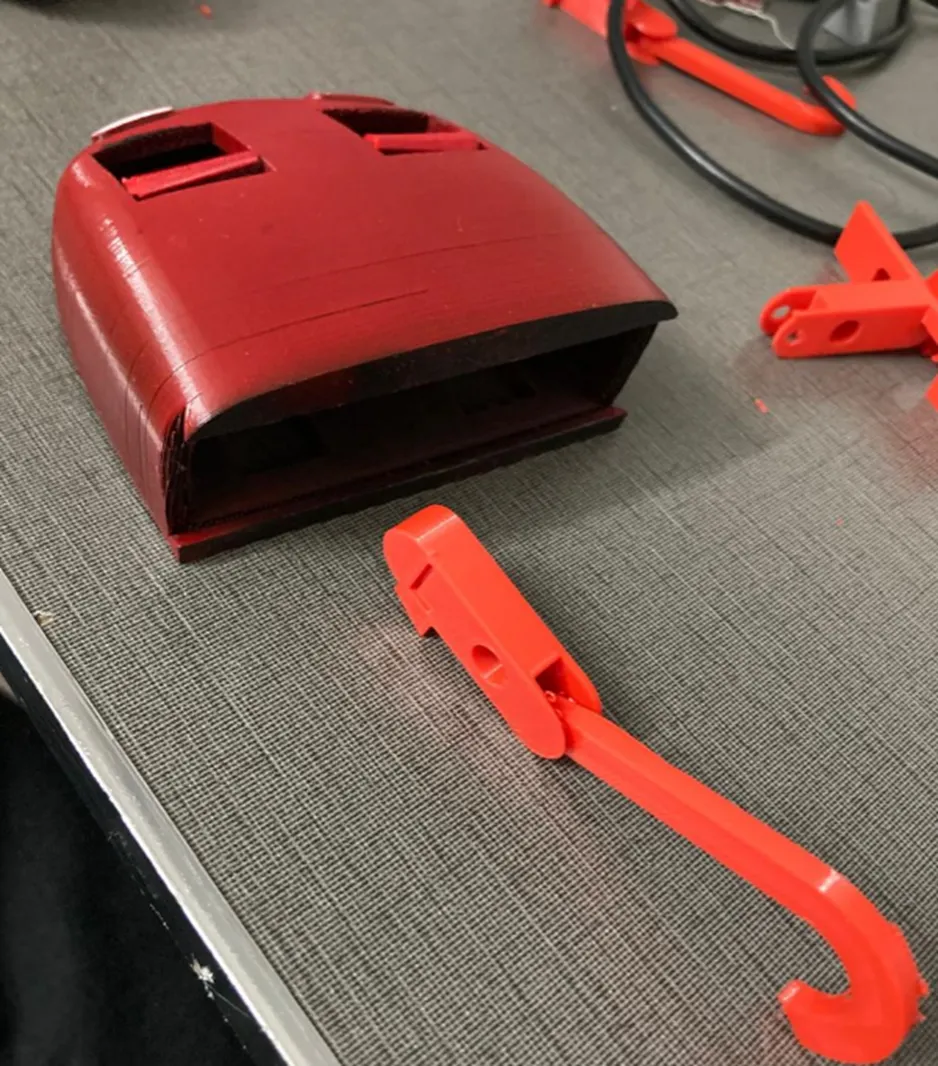
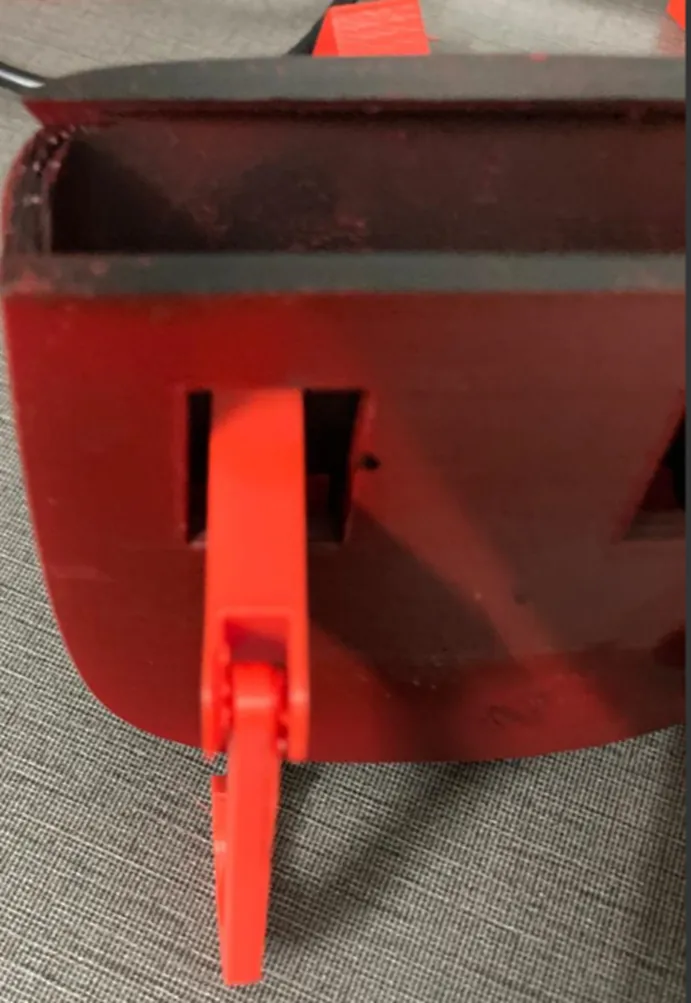
- Now align the left_lifter with the holes in the inside left of the model and push Pin.stl through three holes as shown in the pictures below. Then do the same with lifter_Rightz
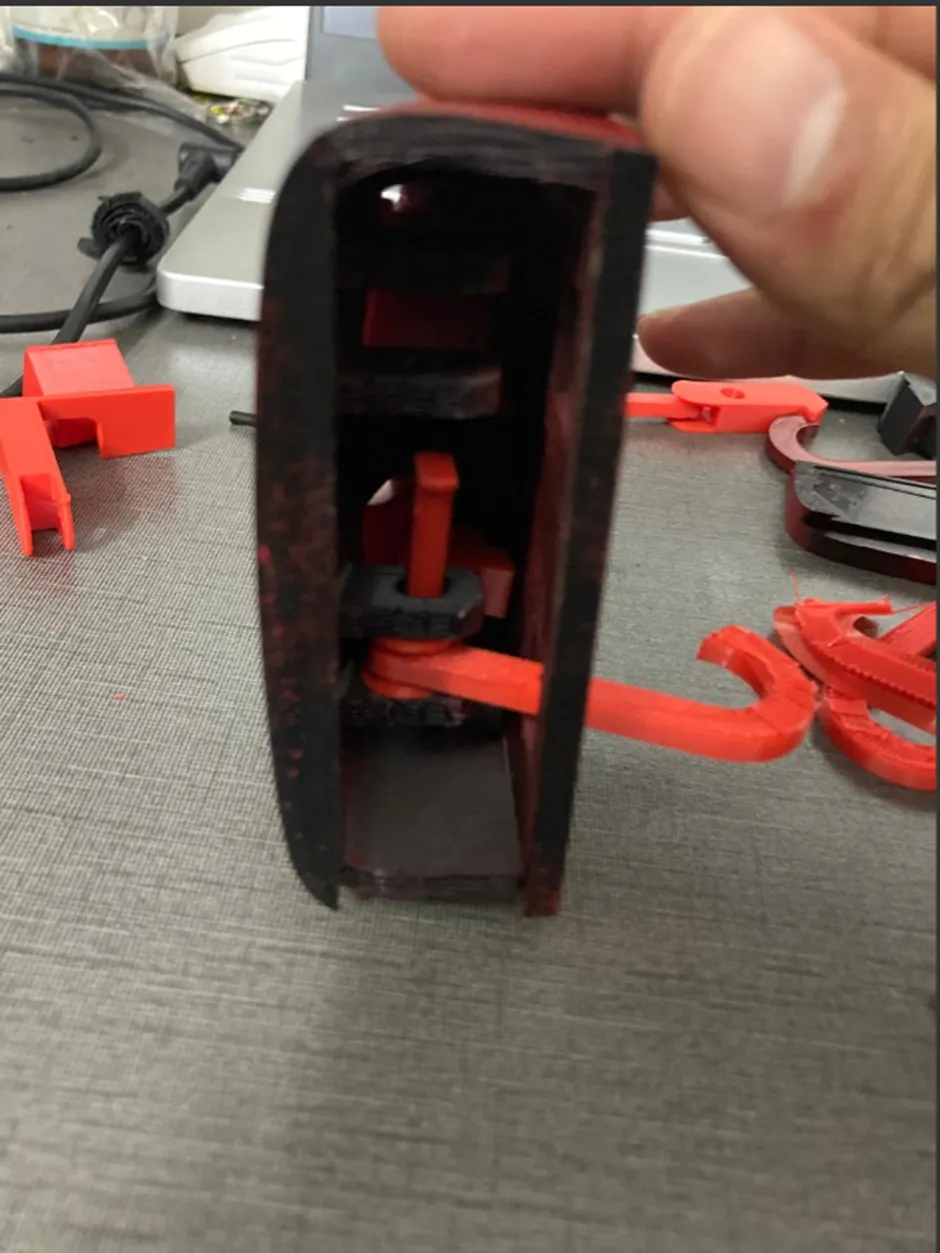
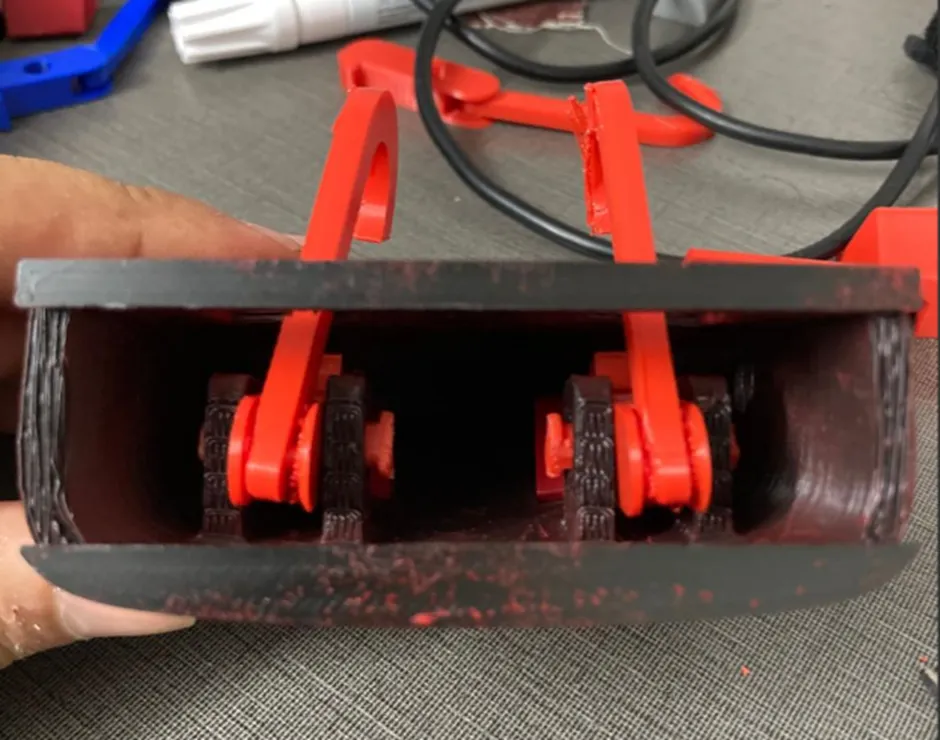
- Now slide the backward plate in, put double tap and enjoy yout model.
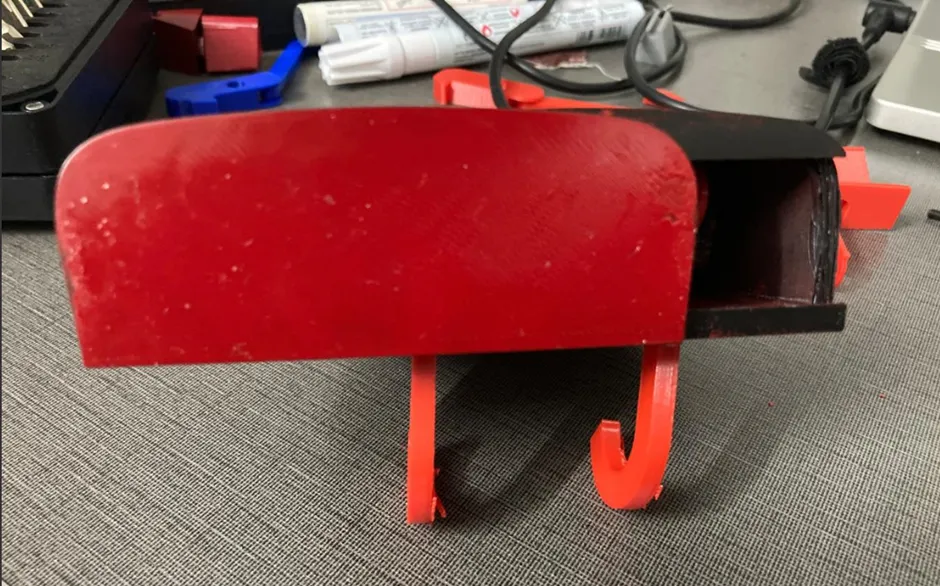
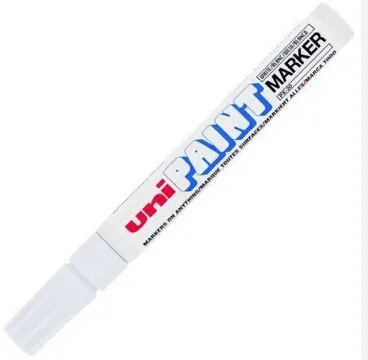
Note: You can paint the popeyes and bumpers using paint markers similiar to shown in the picture below. I have added painting tool.stl to so you can easily paint the circular section of the popeye.
License

You shall not share, sub-license, sell, rent, host, transfer, or distribute in any way the digital or 3D printed versions of this object, nor any other derivative work of this object in its digital or physical format (including - but not limited to - remixes of this object, and hosting on other digital platforms). The objects may not be used without permission in any way whatsoever in which you charge money, or collect fees.


Comment & Rating (23)