
Nutdriver Holder
Print Profile(1)

Description
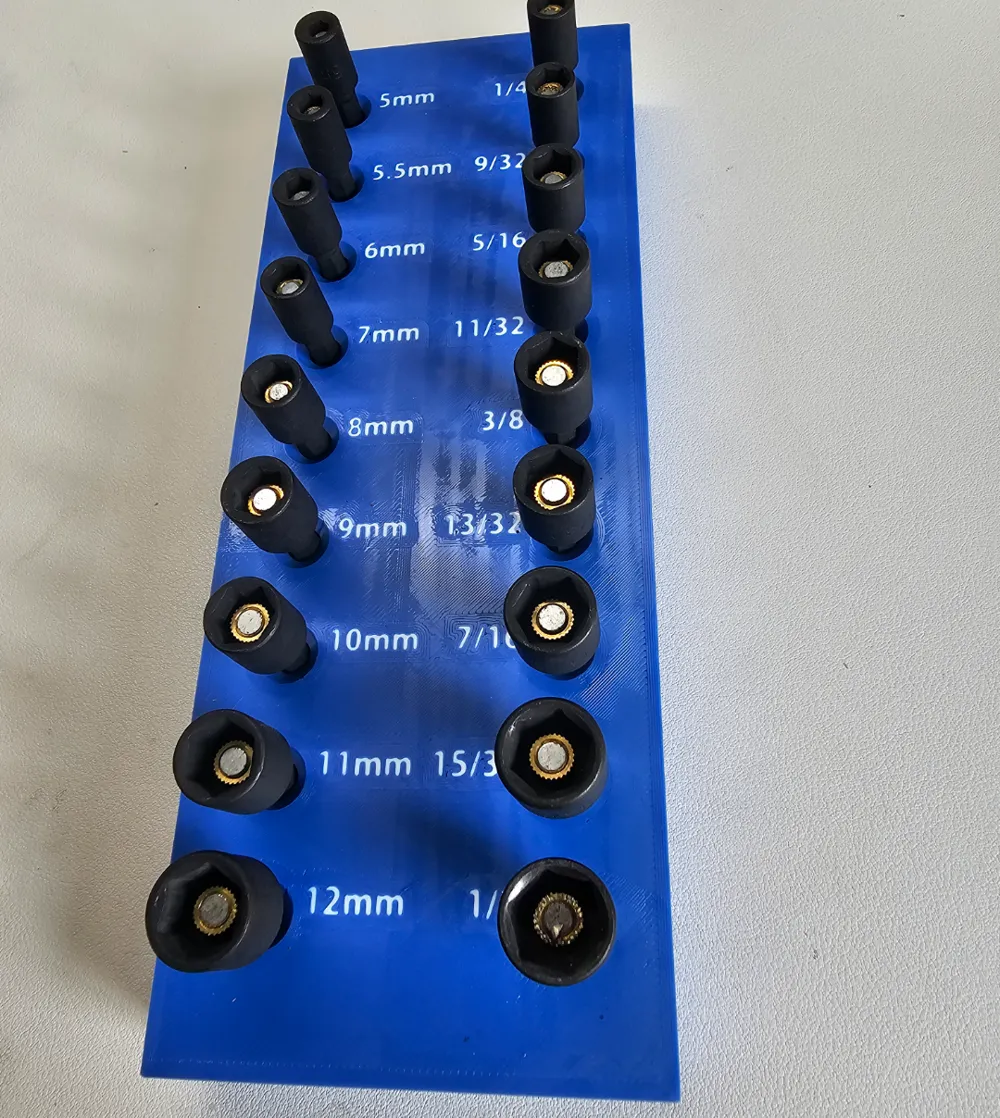
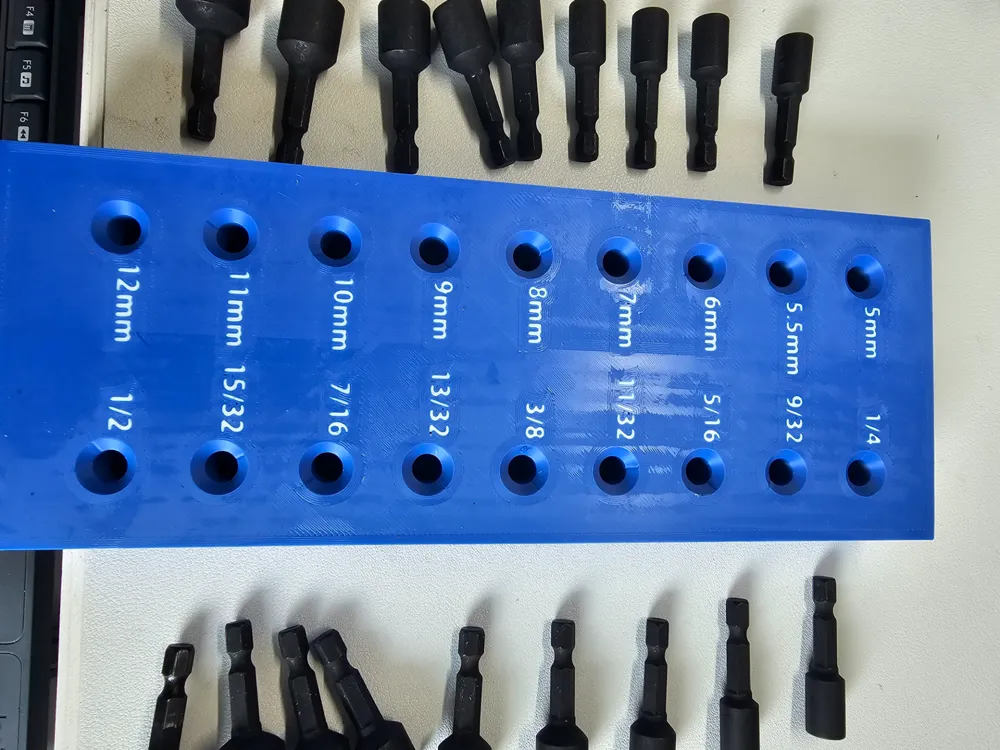
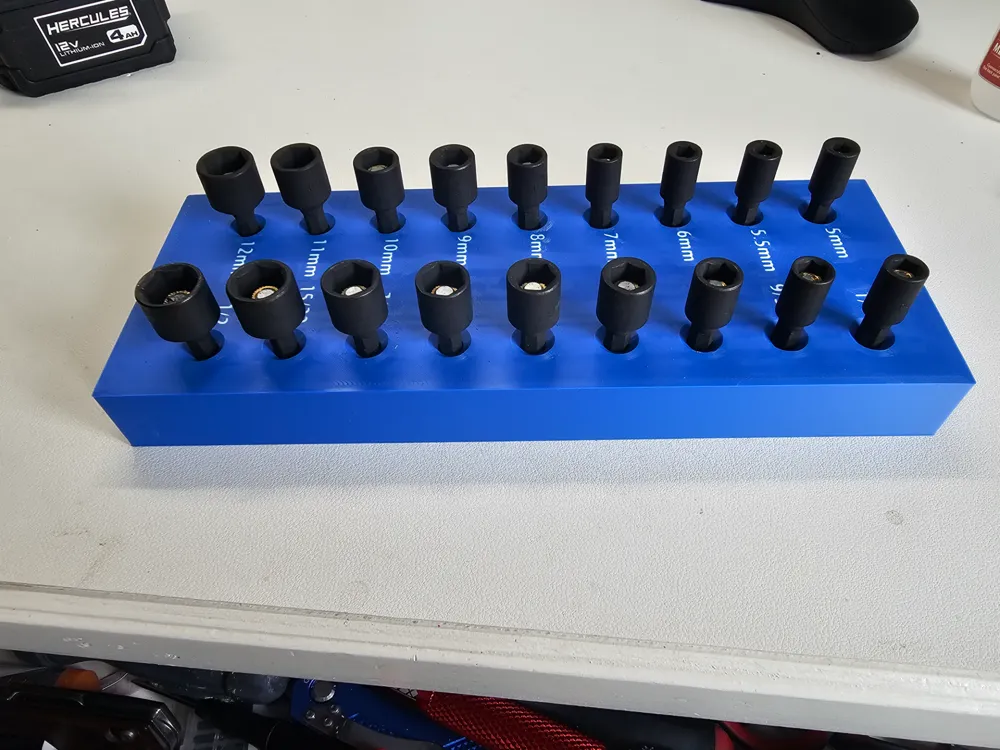
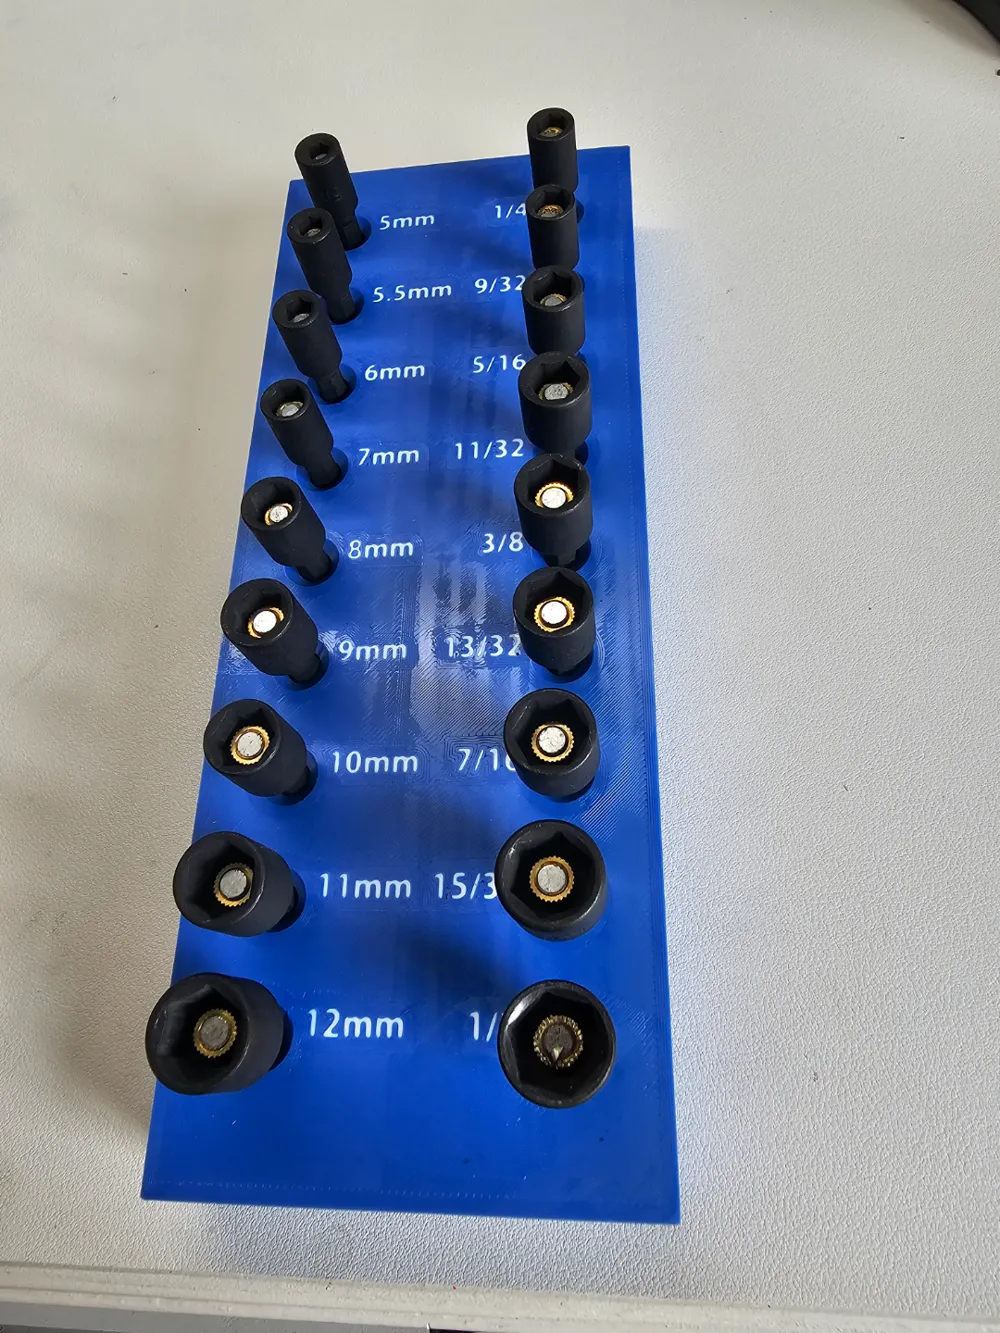
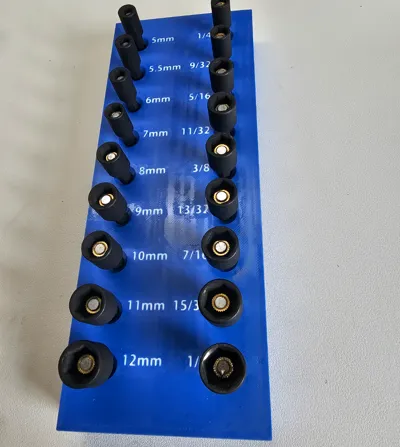
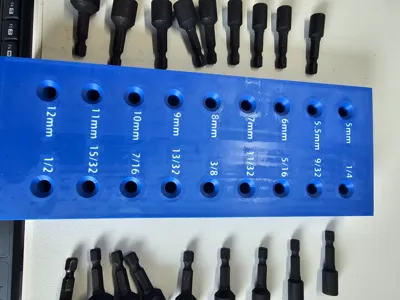
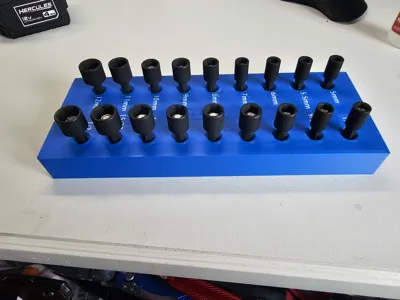
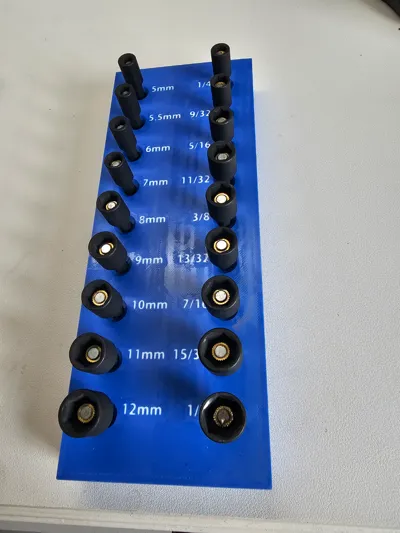
This is a holder to organize my two sets of magnetic nut drivers. I'm old, and can't read the size on the drivers themselves without reading glasses, so I incorporated the size into the base. By splitting the STL file into separate objects for the base and the text, you can assign a different filament to the text, thereby printing it in a different color. Or, you can leave it all the same and use it for some other type of hex-drive bits, and hand write the size on the base, if you want.
Here's more specifics on the colored print... Once the STL is imported, orient it so that the printed side is lying on the print bed. Next, change the color of the whole thing to the color you want to use for the text! Then, right click the object, and split it into separate objects.
So at this point, you've imported the STL, laid it face down, changed its color to the text color, and finally, split it into separate objects. There will be an object for the base, and then another object for EACH text character…68 of them. So, 69 objects…but only ONE, the base, is the wrong color! That's why I said change the color to the text color BEFORE splitting it! Since you changed them all to the text color by doing it before the split, all those text objects are the right color already, and only one, the base, has to be changed back to the color/filament that you want for the base!
I printed this in PLA, both for the base and the text. I think I used 3 walls, 4 top and bottom layers, and tree supports (because it's printing upside down and the bottoms of the holes are unsupported). If you print with a .2mm layer height, the text will be three layers thick, so there'll be 5 filament changes in all.
License



Comment & Rating (1)