
A-10 Warthog Snap Together Model
Print Profile(1)


Description
Membership
Want to sell this print? Support the creator and get redistribution rights by becoming a commercial license member
Boost Me (for free)
Love this model?
Give it a Boost on MakerWorld to show support and help others discover it!
Your support helps me keep creating awesome designs. 🙌
Summary
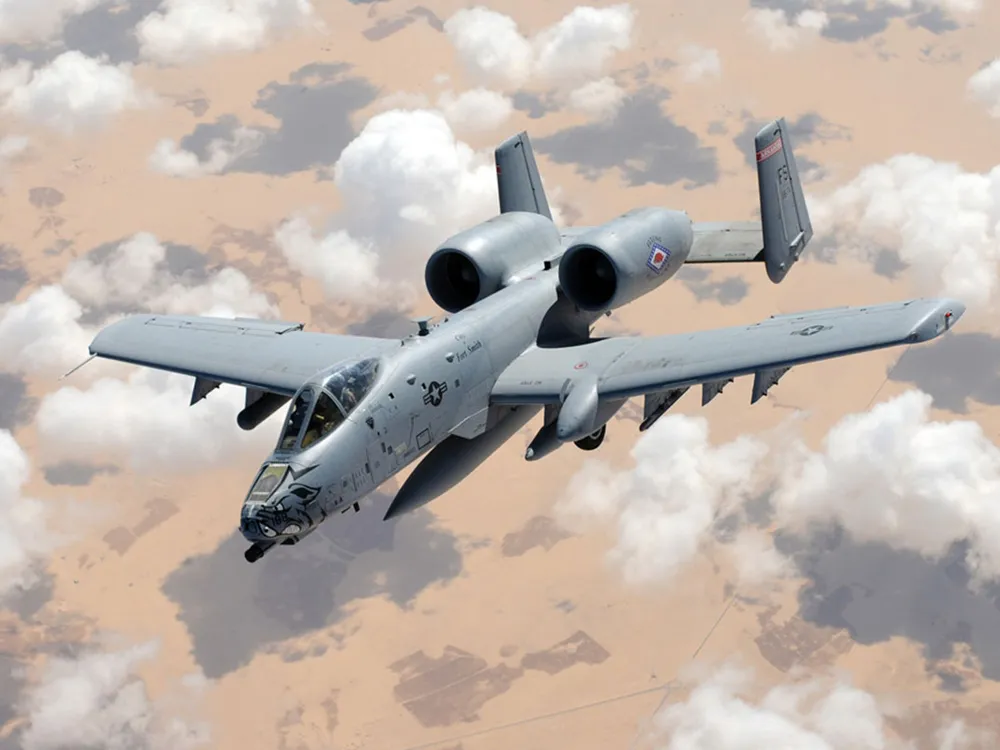
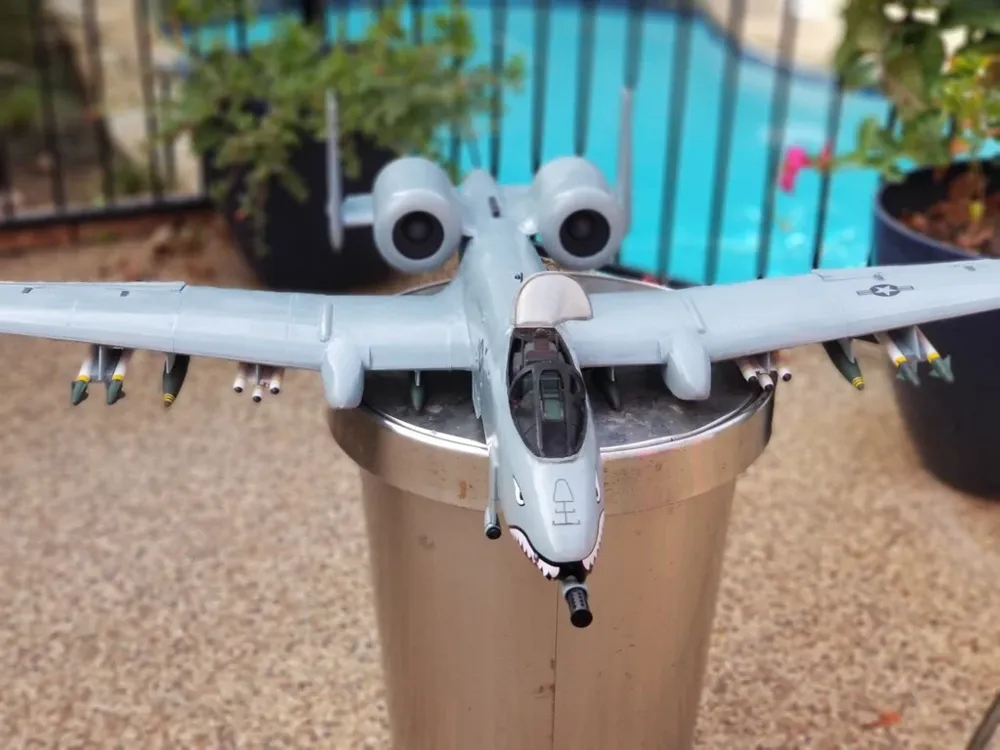
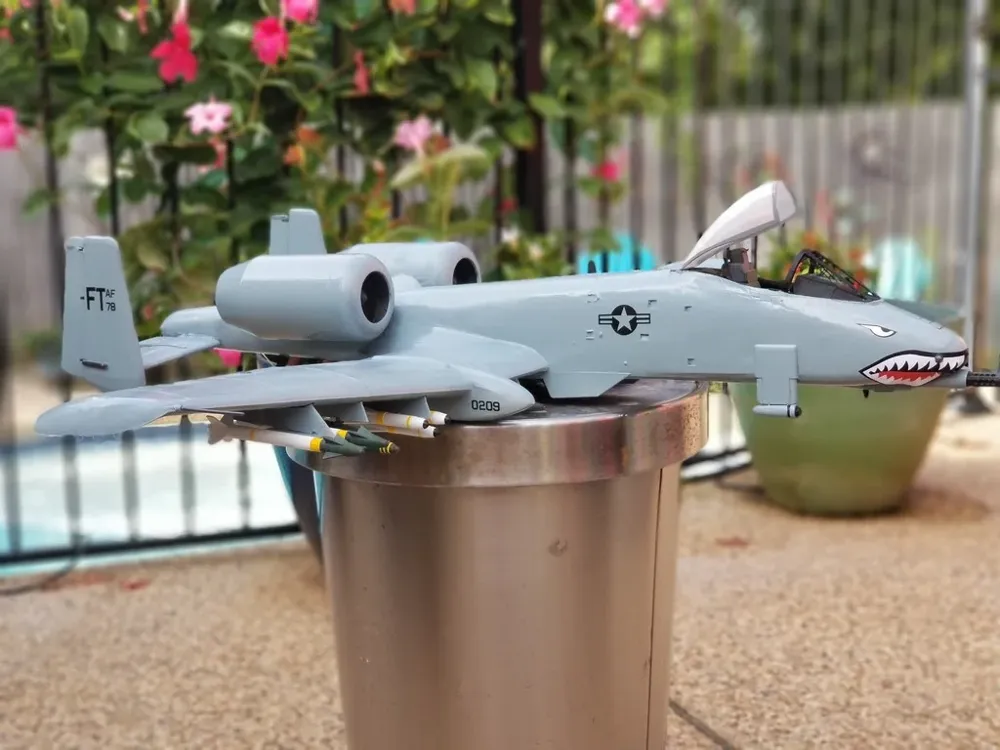
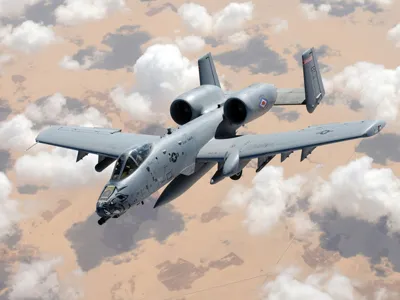
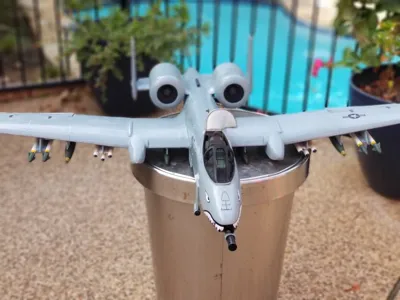
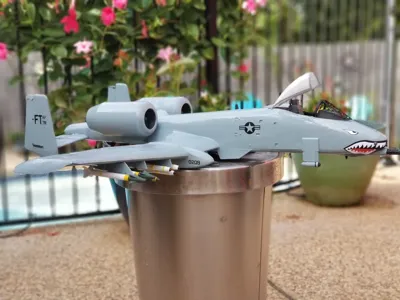
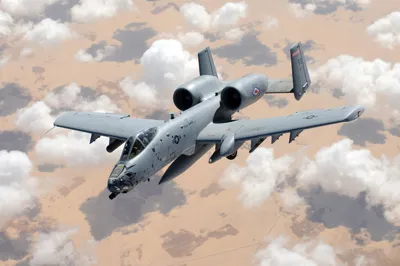
The A-10 has always been my favorite fighter jet and I knew it had to be next on my modeling/printing list. This model is really big - 45" x 40" but actually pretty easy to print and a lot of fun to put together. The wings and fuselage clip together while the back fins and engine attach via posts. I also used glue on mine for added strength. You'll need 38 clips for both wings and 16 for the fuselage. The largest part is Fuselage 3 at 172mm across. I modeled this in Sketchup.
If you want to download it and edit it, go here:
https://3dwarehouse.sketchup.com/model/01b49bd0-c8ac-44de-8222-3dcd56bd013f/A10-Warthog-Snap-Together-3D-Printer-Ready-Model
I really like the clips If you want to integrate them in to your next model check them out here:
https://www.thingiverse.com/thing:3047972
If you plan on printing this, here are some tips:
- Print the cockpit at a higher resolution. Take most of your time fitting the cockpit to the fuselage at the edges where they meet. This will save a lot of time during sanding, priming and painting. You can see on my photos that I used a lot of filler and didn't do a great job of sanding it smooth. If I had it to do all over, I would make sure the cockpit and fuselage fit together more seamlessly.
- For the best fit possible with the clips, your bed needs to be as level as possible. I'd suggest printing the first two parts of the wing and two clips to see how close the snapped together parts are. If your bed isn't fully level, you'll have gaps in between the parts even though they're snapped together. Even so, you can fill in those gaps with filler and prime over them if needed.
- Some of the shroud pieces that extend off of the fuselage in parts 2 and 3 are a bit thin. I didn't take the time to get those fixed when I printed mine. I would suggest finer printing or supports on fuselage 2 and 3 for those parts to print properly. Or if they don't turn out they should be sanded off.
- I have two options for the cockpit included. One is split in half for easier printing and size. I also uploaded the full model in case you'd like to print it at one piece. Just check to make sure it will fit on your bed.
License

You shall not share, sub-license, sell, rent, host, transfer, or distribute in any way the digital or 3D printed versions of this object, nor any other derivative work of this object in its digital or physical format (including - but not limited to - remixes of this object, and hosting on other digital platforms). The objects may not be used without permission in any way whatsoever in which you charge money, or collect fees.


Comment & Rating (31)