
CPG Display Case
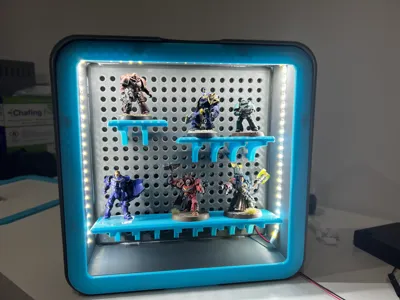
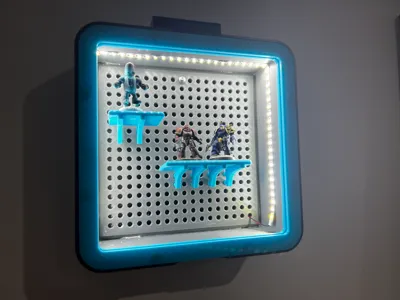
Print Profile(2)


Bill of Materials

- Perspex Extruded Clear sheet x 1: 188mm x 188mm and 2mm thick
Description
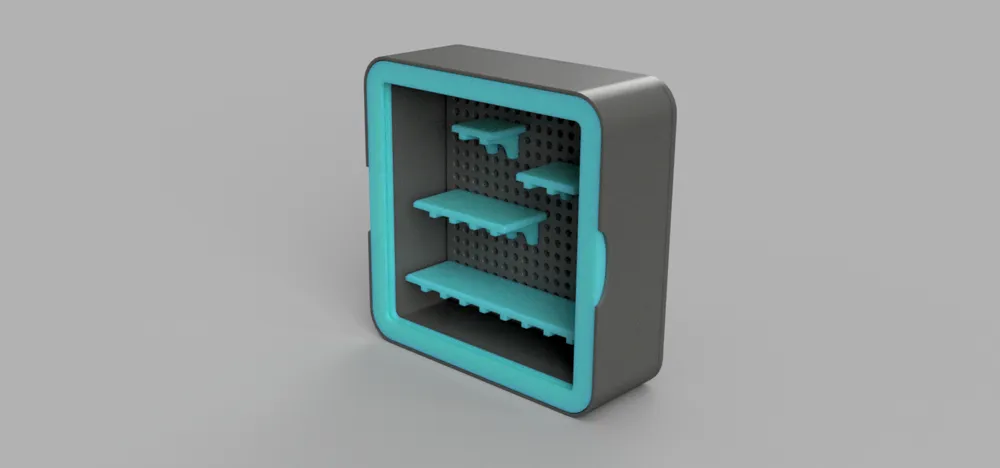
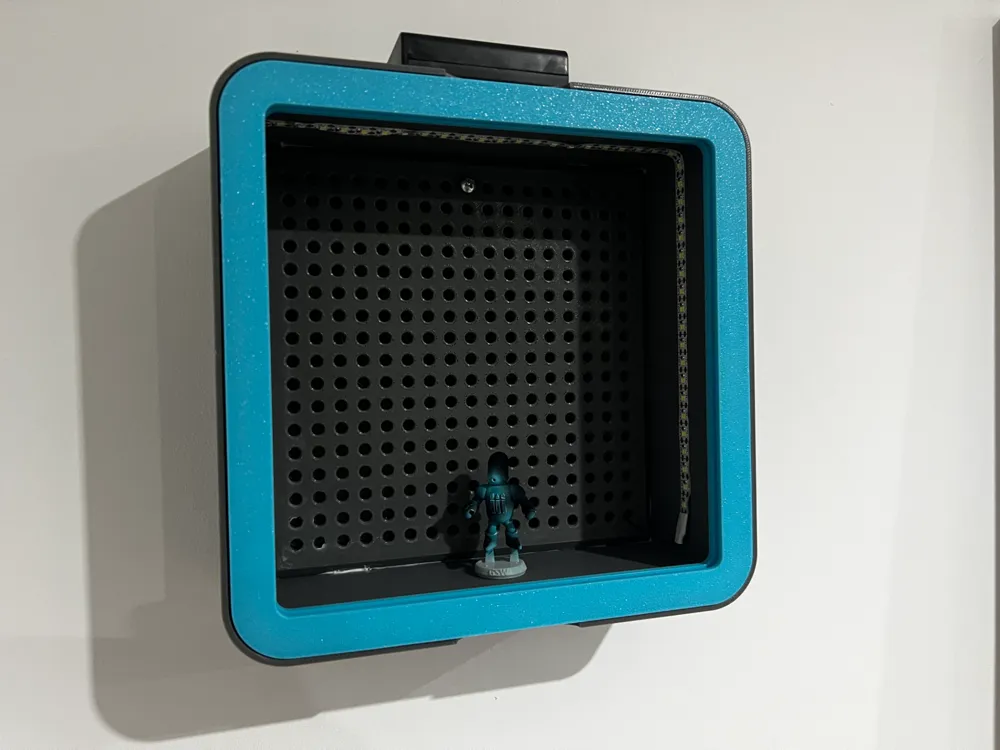
This is the first iteration and release of my design for a display case for models and miniatures, I plan to expand this to allow for the display of other items such as medals, coins, or any other small items - please do suggest in the comments.
An AMS is not required for this as each build plate is in 1 colour, and construction is relatively straight forward and apart from glue you will need 8 5mmx2mm magnets to hold the door in place, a clear Perspex sheet 2mm thick and 188 mm square.
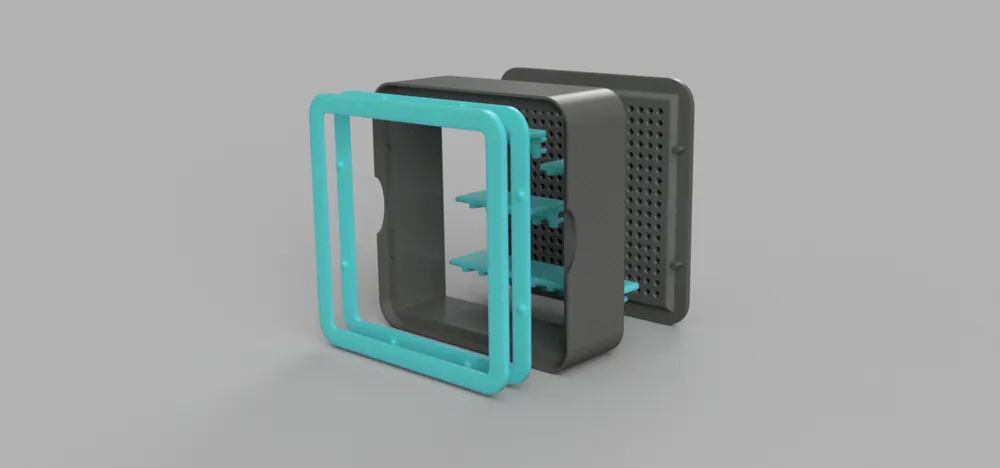
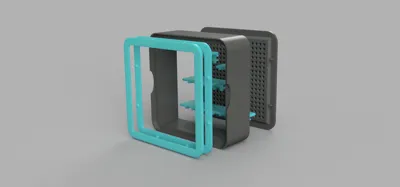
The parts go together as per the below diagram:
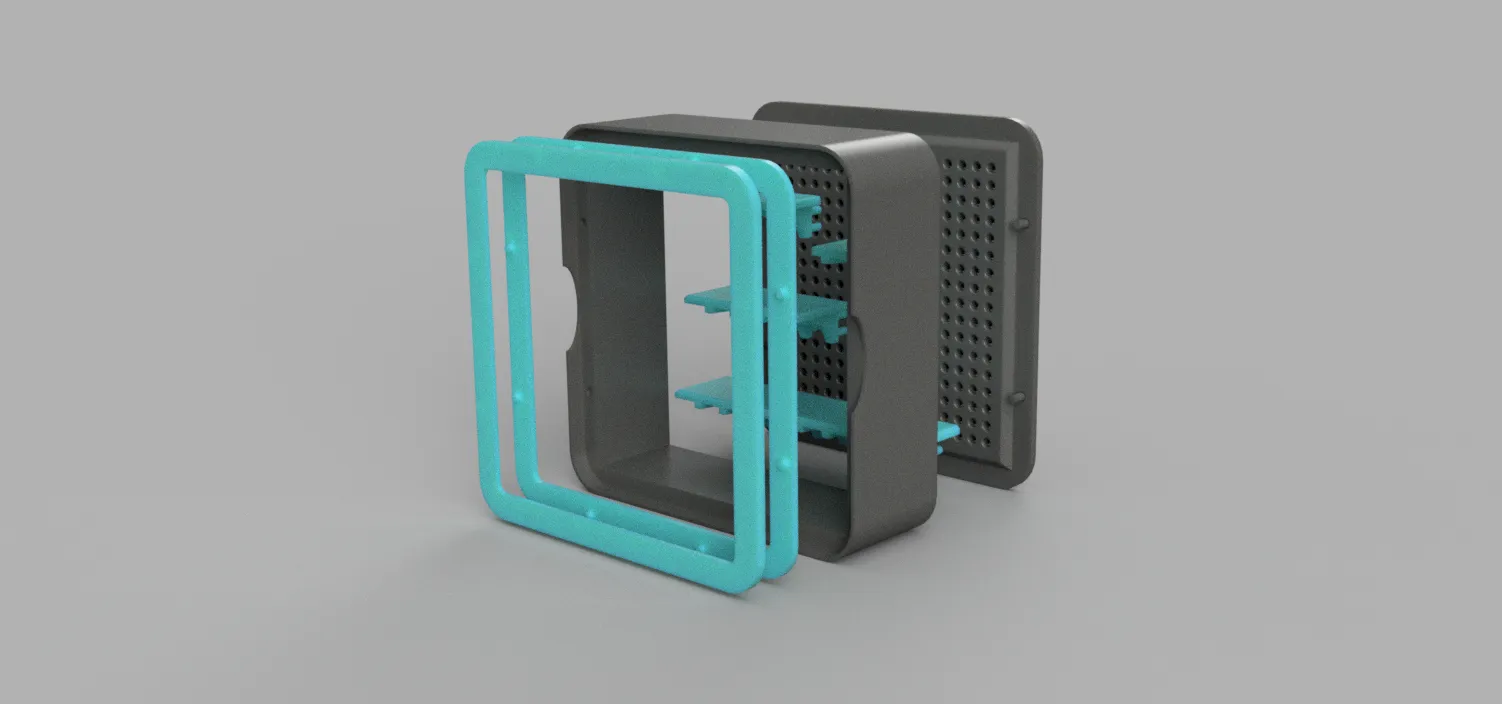
- The front of the cover has a lip to hold the Perspex window, the back of the cover has 8 pins for alignment, simply glue in place holding the sheet of acrylic.
- There are 4 magnet holes on the back of the front cover - I have found the a bit of gentle force and friction will hold the magnets in place, similarly the main body has matching holes for magnets, again friction will hold these, just make sure to get the polarity correct so that the front cover does stick to the body
- The back again has aligning pegs, I used some "No More Nails" and a couple of clamps to permanently attach the back to the body, I would recommend a strong glue that you are happy with, particularly if you are mounting to the wall
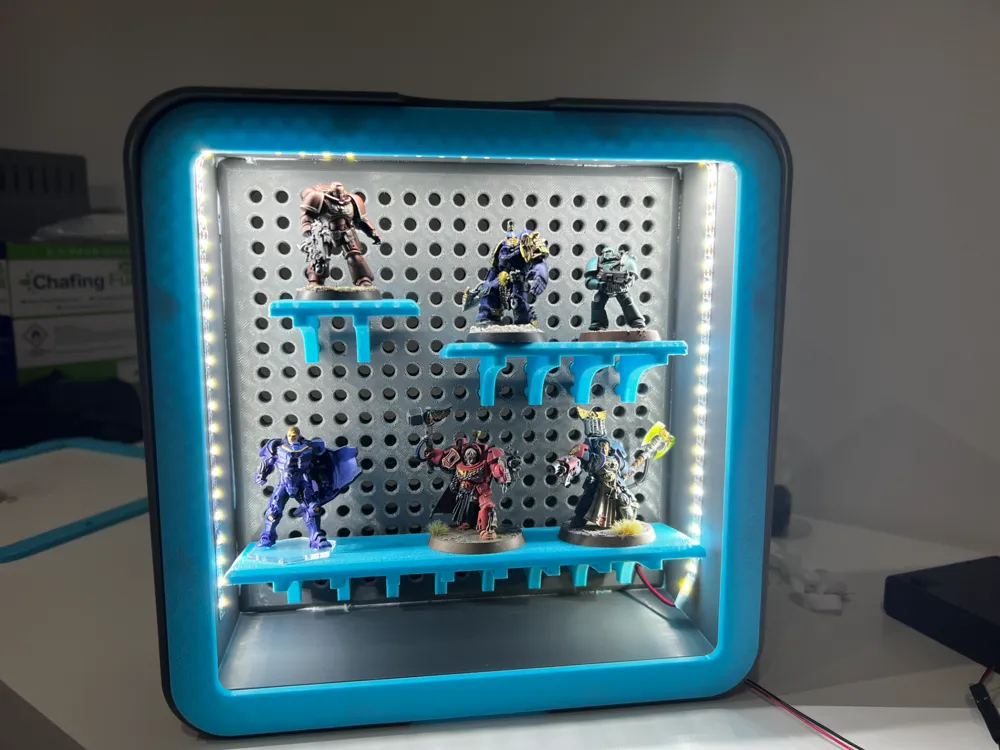
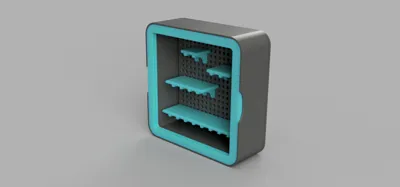
- Print and insert the shelves you want - these are tight by design but should also be removable for re-arranging or changing as I intend to create more internal attachments as I go on (Please feel free to suggest ones you would like to see in the comments)
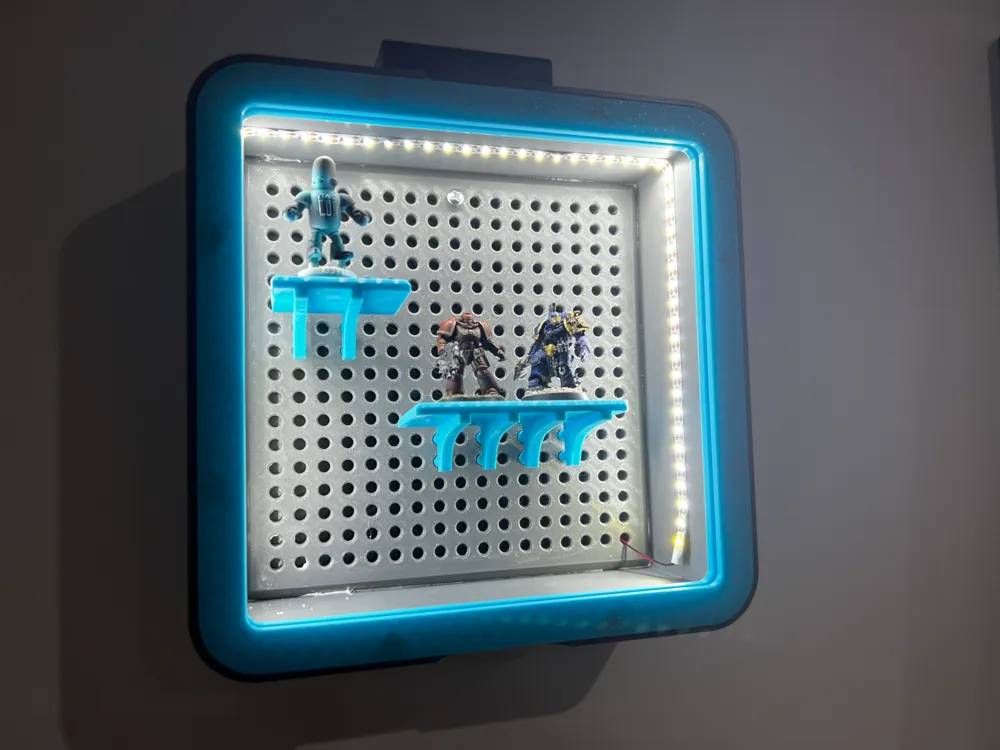
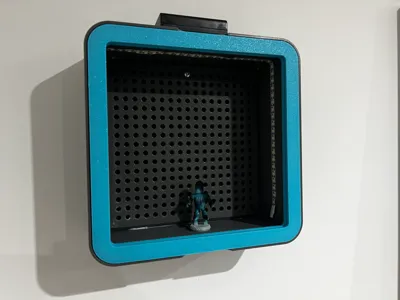
To attach to the wall I used 1 screw passing through a hole in the back, use as many as you are comfortable with (and can get permission from the wife to put holes in the wall)
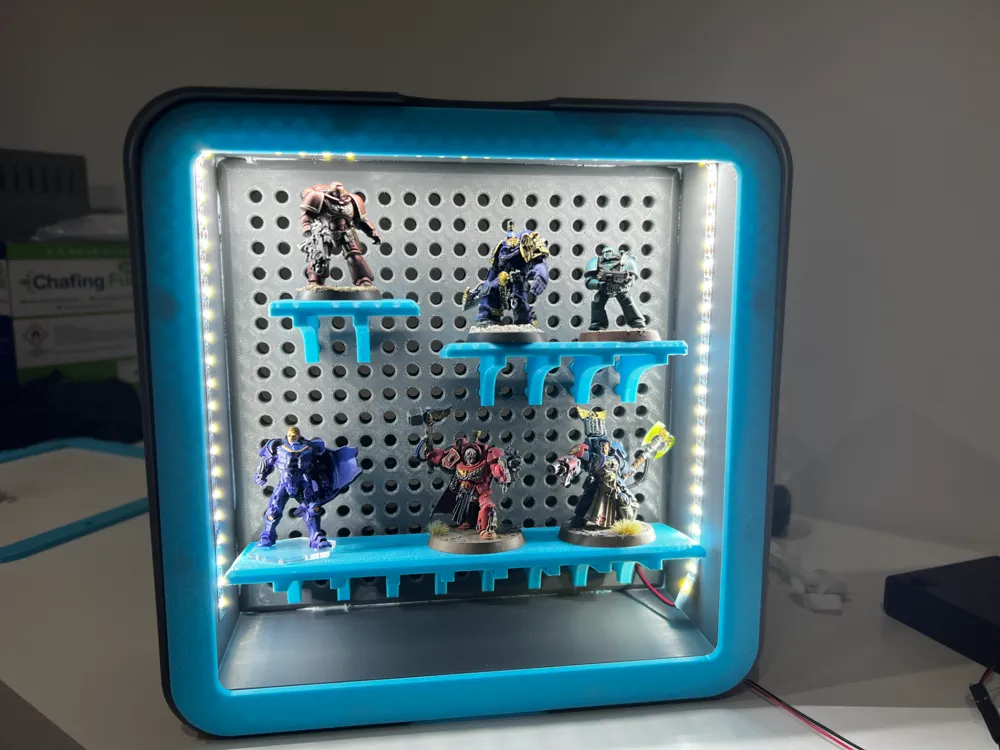
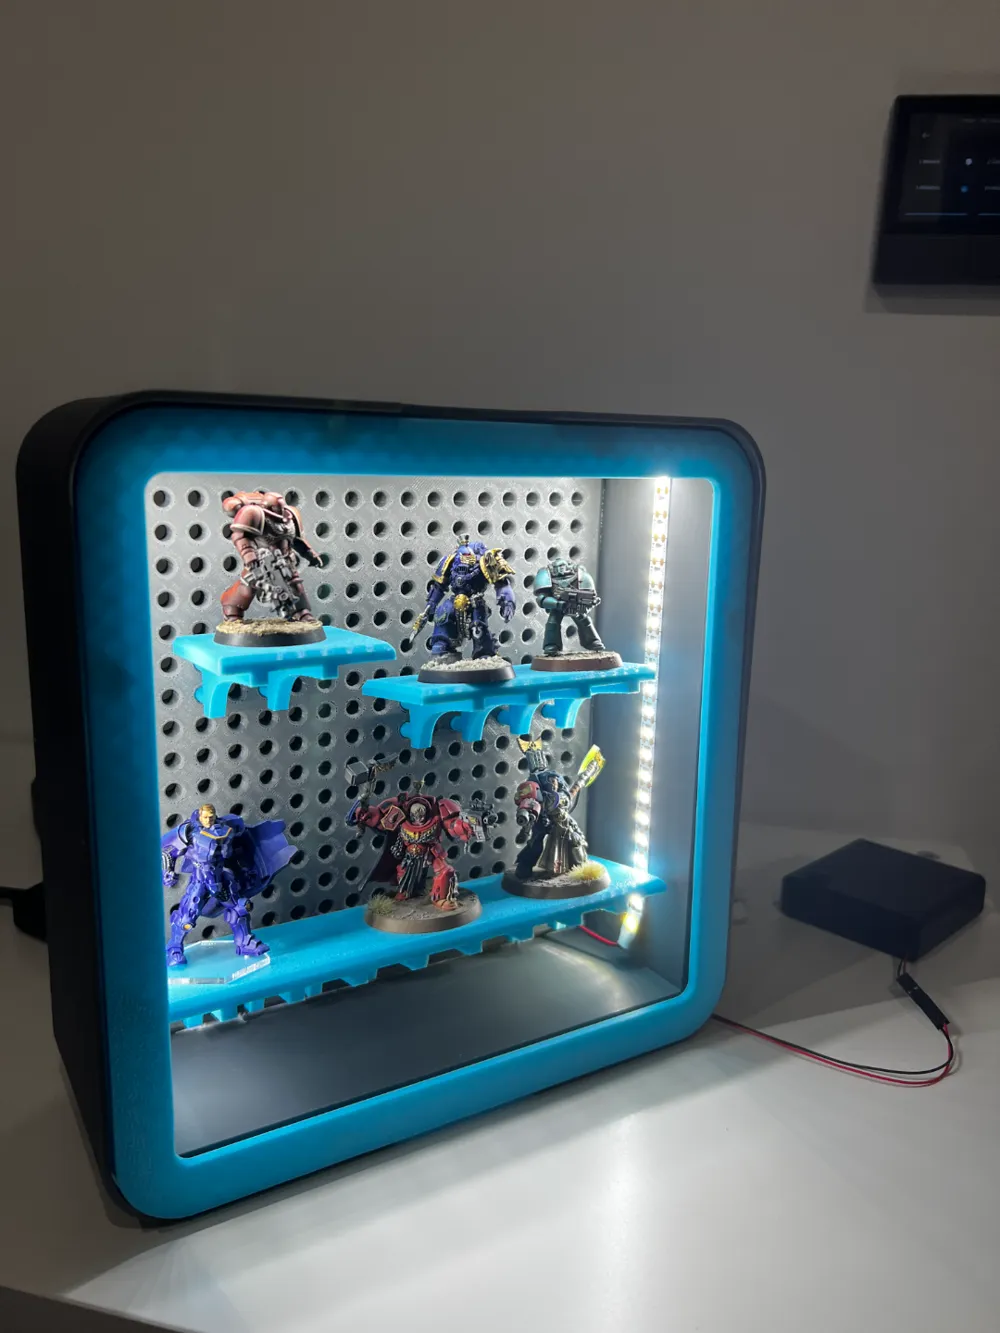
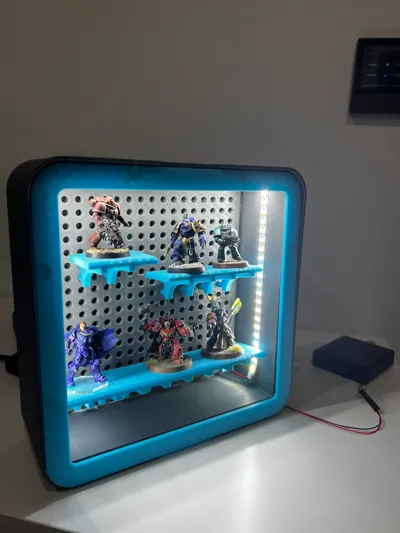
If this does well enough I intend to work on making deeper versions as well as modular size, my aim is to keep this as simple as possible and to minimise the hardware required - The case in pictures I have added an LED strip around, I haven't included this as a requirement as this was not designed for the LED strip and I may look to incorporate in future designs if there is enough interest
Boost Me (for free)
Want to see this expanded and further developed, with more improvements let me know you appreciated the model and what else you would like to see
I have just added a hook to hang this on a Skadis Peg Board - Skadis Hook for CPG Display Case
License

You shall not share, sub-license, sell, rent, host, transfer, or distribute in any way the digital or 3D printed versions of this object, nor any other derivative work of this object in its digital or physical format (including - but not limited to - remixes of this object, and hosting on other digital platforms). The objects may not be used without permission in any way whatsoever in which you charge money, or collect fees.


Comment & Rating (15)