
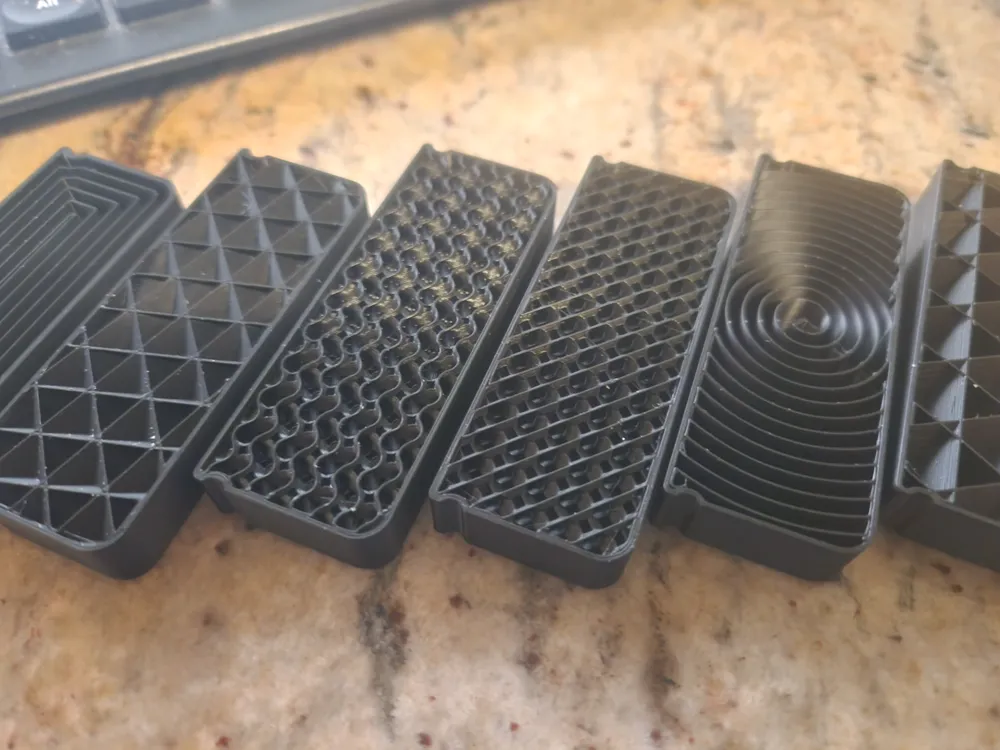
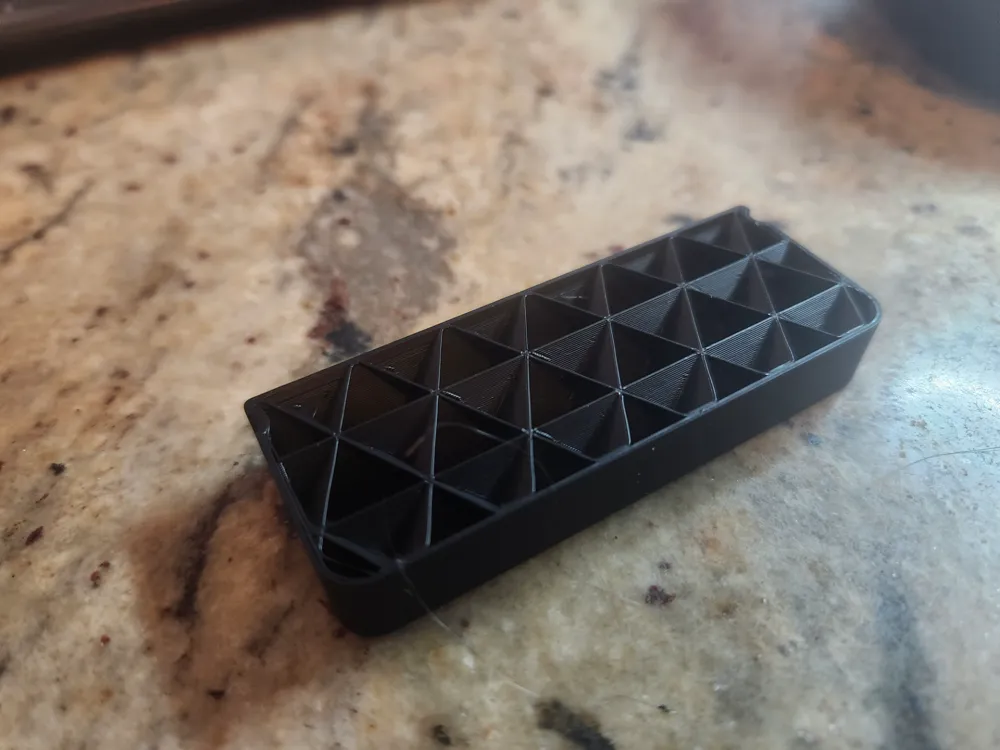
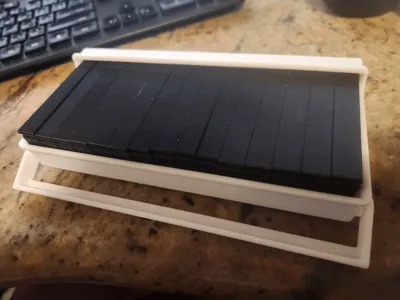
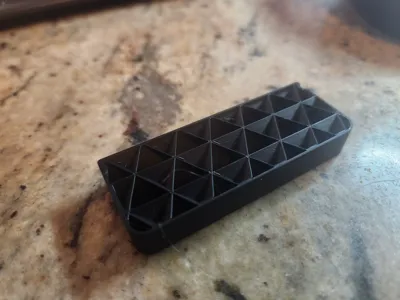
infil samples same size as swatch
Print Profile(1)

Description
I chose to make one that can be edited directly in Bambu Studio. There are a few tricks to this. Have not tried it, but it should work in Orca slicer. Some of the work arounds might change with future versions of B Studio.
The Text is directly within B Studio. So it is easier to edit. To edit the text:
I made a video showing how to edit the text for the filament swatches, a similar edit.
You might choose to print using a clear-ish filament. That way you can easily see inside. The top layer is set to 0 to allow you to see inside also.
- Switch from “Global” to “Object” mode.
- Pick the swatch you want to edit.
- Under the swatch is a text object.
- Right mouse click on it, and select “Edit text” at the bottom of the window that pops up, change the text. Be careful to not make the txt to small to be print legible. Might look fine on screen, but the print depends on your printer. This is a good use for slice “preview” before you print.
- To move the text grab the text by dragging the cube in the middle of the text. My system has a pink cube, yours might be different.
- After the text is edited. Right click on the text, and change the type from “part” to “Negative”.
- If you have more edits after you set it from “Negative” to “Part” before you can edit the text.
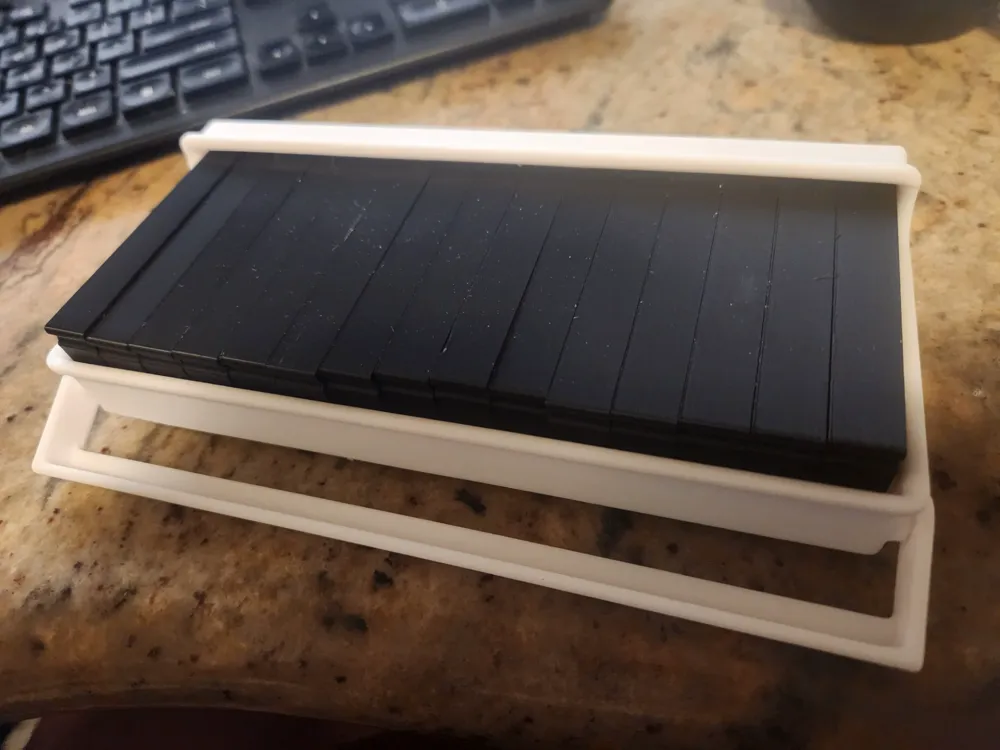
I chose to make my own infill samples that are thicker than the others I have seen. They are the same size as the filament swatches to go in the same box. The other change is using the Bambu Studio text. To edit the above method is needed.
The step file is a blank file that does not have any text.
The link to the filament swatch:
https://makerworld.com/en/models/614098#profileId-537441
The link to the box:
https://makerworld.com/en/models/614151#profileId-537503
License



Comment & Rating (0)