
Print Profile(10)


Description
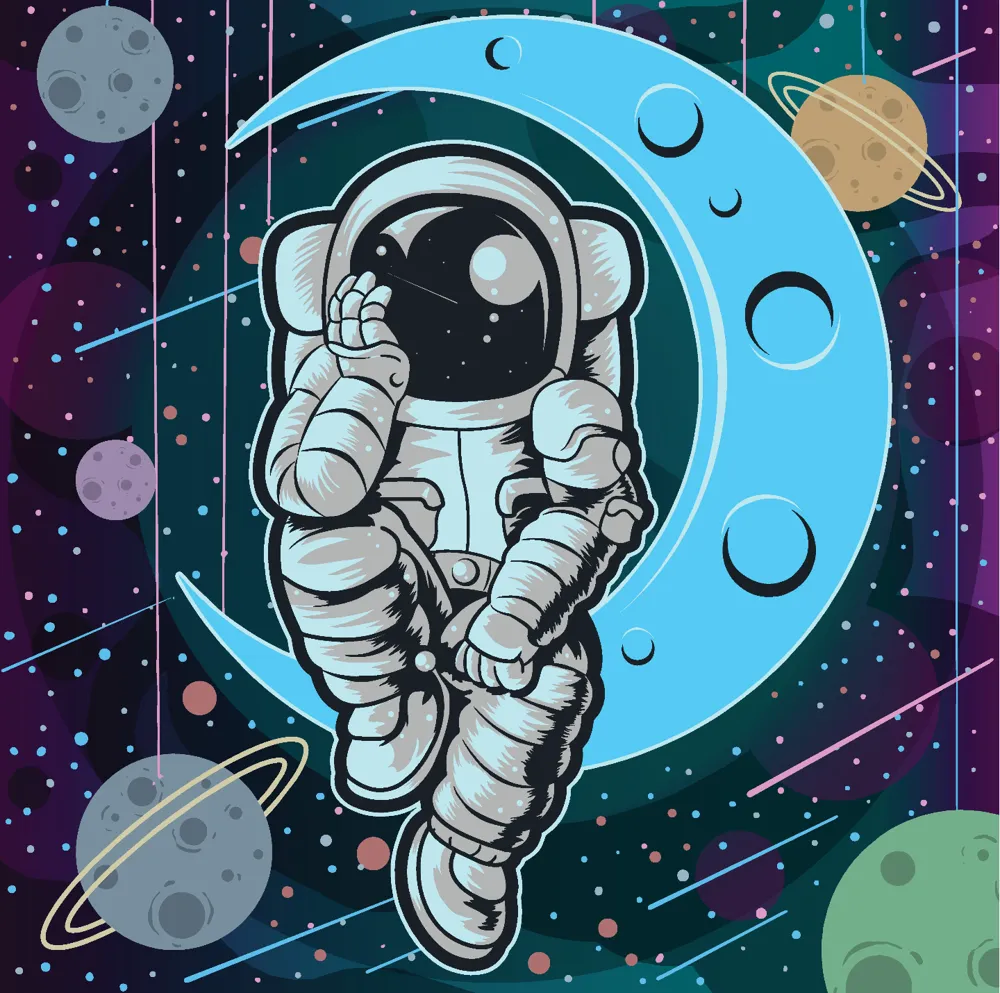
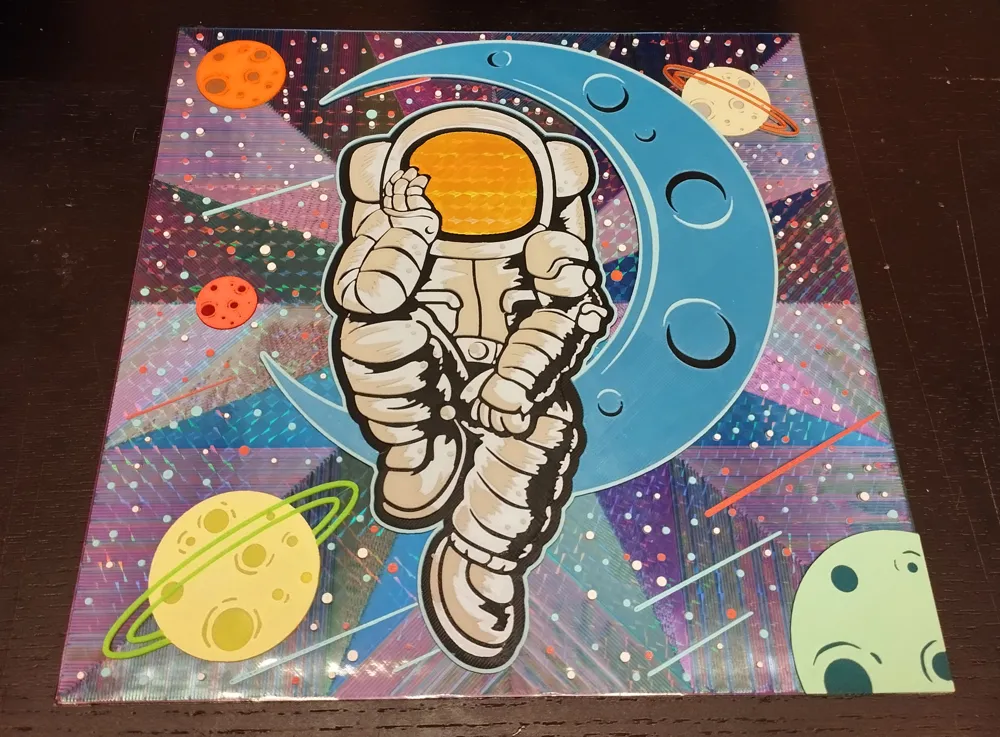
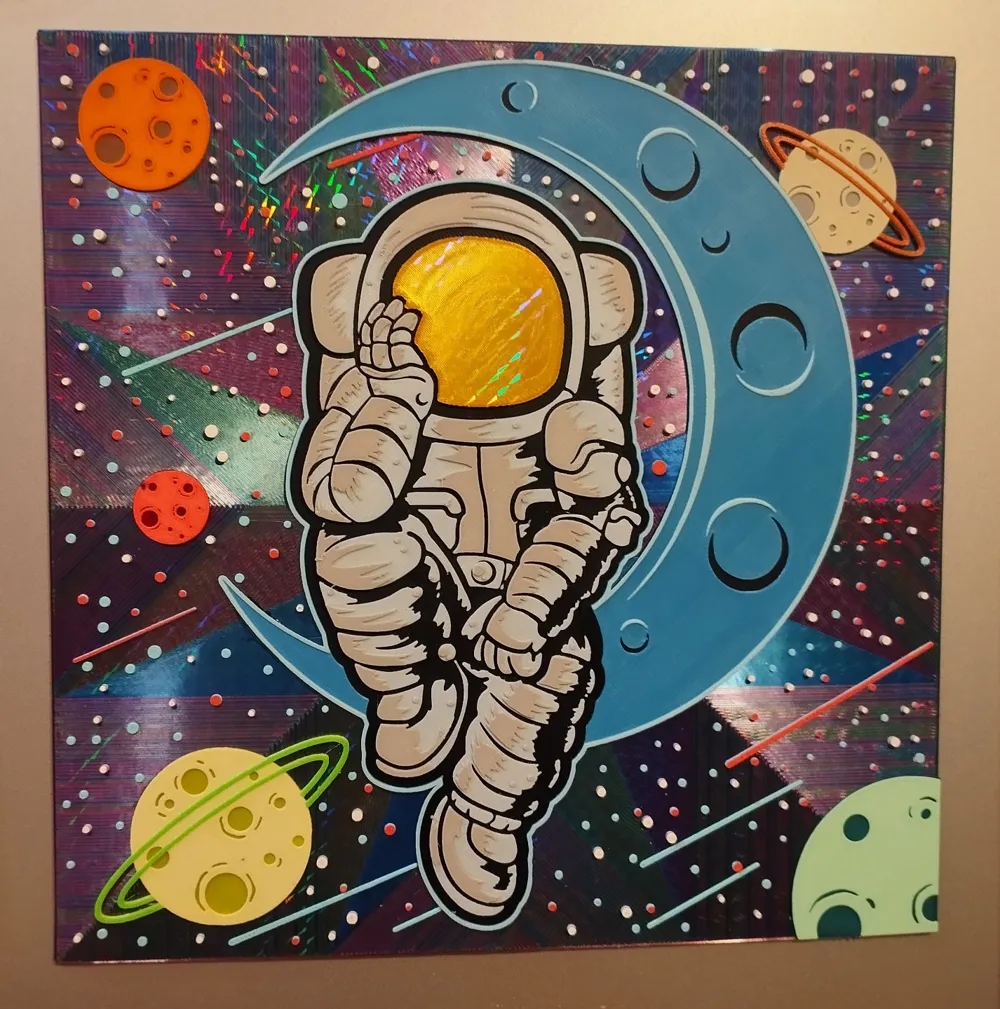
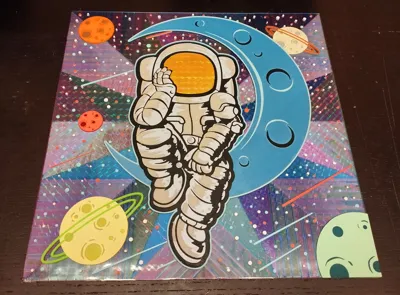
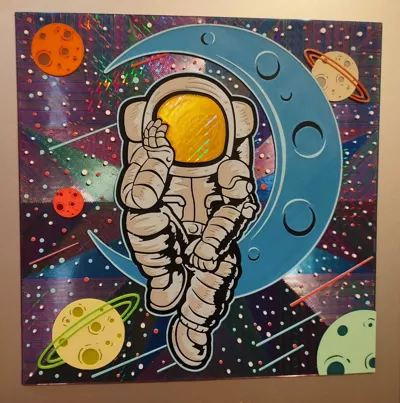
The painting consists of 10 separate parts. The finished printed elements are successively superimposed on each other and glued together. Breaking the painting down into individual elements allows you to achieve stunning results with an unlimited number of color variations. Which is impossible to achieve without breaking the painting down into individual elements, as HueForge creates a 4-bit image. The painting uses 21 different colors.
The most complex element of the picture is the background. To create it, Silk three-color thread is used, with Bottom Surface Fill Pattern - Spiral Octogram. This fill will allow you to evenly fill the entire printing plate with a gradient of three colors. To add even more shine, you need to use smoorth PES/H1H/PEK table plate.
The next step is to fix the background on the printer bed with the shiny side up, so that later it can be used as a table plate for printing stars. For this, I use a flexible magnet of A4 format with an adhesive layer. Which I stick on the front side of the background (the shiny side is the back/base). This allows you to secure the background to the printer table as if it were a PEI table plate. The table calibration will be done on a shiny background, so in the printer's starting G-code, you will need to reduce the nozzle temperature for the calibration stage from 140 to 60 degrees. Otherwise, traces from the hot nozzle will remain on the background print during calibration.
To get the shiny/shimmery astronaut visor, you need to use a PES/H1H/PEK table plate. The visor image is already mirrored, so it is glued with the base layer facing up.
The planet models are small in size and have small details, so a 0.2mm nozzle is used to print them.
First table: background
Print Details:
- Size on plate: 254x254x0,94 mm
- Print Settings: 100% infill, wall loops of 1, layer height of 0.2mm, base layer of 0.14mm, nozzle 0,4mm
- H1H Phantom plate
- Bottom Surface Fill Pattern - Spiral Octogram
Swap Instructions:
- Start with Silk Kingroon red & green & blue (tricolor filament)
- At layer #2 swap to Black
-----------------------------
Second table: Stars
Print Details:
- Size on plate: 249,96x249,96x1,58 mm
- Print Settings: 100% infill, wall loops of 1, layer height of 0.08mm, base layer of 0.14mm, nozzle 0,4mm
- Back side of background print
- Changes in printer startup G-code: nozzle temperature during table calibration is 60 degrees (instead of 140). Correct code line M109 S140 to M109 S60 (for A1 printer)
Swap Instructions:
- Start with Blue
- At layer #7 swap to Pink
- At layer #13 swap to White
---------------------------
Third plate: Moon
Print Details:
- Size on plate: 249,96x249,96x1,26 mm
- Print Settings: 100% infill, wall loops of 1, layer height of 0.08mm, base layer of 0.14mm, nozzle 0,4mm
- PEI Textured plate
Swap Instructions:
- Start with Black
- At layer #5 swap to Blue
- At layer #10 swap to Light sky blue
------------------------------------
Fourth plate: Astronaut
Print Details:
- Size on plate: 249,96x249,96x1,58 mm
- Print Settings: 100% infill, wall loops of 1, layer height of 0.08mm, base layer of 0.14mm, nozzle 0,4mm
- PEI Textured plate
Swap Instructions:
- Start with Black
- At layer #5 swap to White
- At layer #13 swap to Light Grey
--------------------------
Fifth plate: Visor
Print Details:
- Size on plate: 250x250x1,02 mm
- Print Settings: 100% infill, wall loops of 1, layer height of 0.08mm, base layer of 0.14mm, nozzle 0,4mm
- H1H Phantom plate
- Silk Gold Filament
-------------------------------
Sixth plate: Planet 1
Print Details:
- Size on plate: 249,96x249,96x1,56 mm
- Print Settings: 100% infill, wall loops of 1, layer height of 0.06mm, base layer of 0.06mm, nozzle 0,2mm
- PEI Textured plate
Swap Instructions:
- Start with Yellow
- At layer #11 swap to Light Yellow (matte)
- At layer #19 swap to Green
------------------------------------
Seventh plate: Planet 2
Print Details:
- Size on plate: 249,96x249,96x0,96 mm
- Print Settings: 100% infill, wall loops of 1, layer height of 0.06mm, base layer of 0.06mm, nozzle 0,2mm
- PEI Textured plate
Swap Instructions:
- Start with Dark Red
- At layer #7 swap to Strawberry red
-----------------------------------
Eighth plate: Planet 3
Print Details:
- Size on plate: 249,96x249,96x1,25 mm
- Print Settings: 100% infill, wall loops of 1, layer height of 0.06mm, base layer of 0.06mm, nozzle 0,2mm
- PEI Textured plate
Swap Instructions:
- Start with Brown
- At layer #7 swap to Tangerine
-----------------------------------
Ninth plate: Planet 4
Print Details:
- Size on plate: 249,96x249,96x1,56 mm
- Print Settings: 100% infill, wall loops of 1, layer height of 0.06mm, base layer of 0.06mm, nozzle 0,2mm
- PEI Textured plate
Swap Instructions:
- Start with Grey
- At layer #11 swap to Light Khaki
- At layer #19 swap to Bronze
Tenth plate: Planet 5
Print Details:
- Size on plate: 249,96x249,96x0,83 mm
- Print Settings: 100% infill, wall loops of 1, layer height of 0.08mm, base layer of 0.14mm, nozzle 0,4mm
- PEI Textured plate
Swap Instructions:
- Start with Dark Green (Olive)
- At layer #5 swap to Mint
License

You shall not share, sub-license, sell, rent, host, transfer, or distribute in any way the digital or 3D printed versions of this object, nor any other derivative work of this object in its digital or physical format (including - but not limited to - remixes of this object, and hosting on other digital platforms). The objects may not be used without permission in any way whatsoever in which you charge money, or collect fees.
Comment & Rating (0)