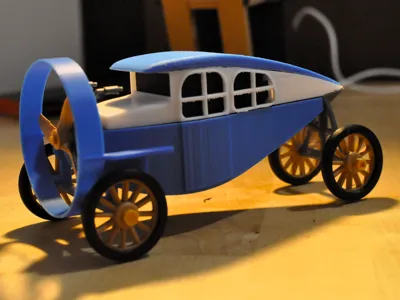
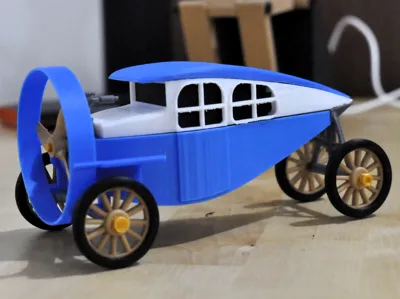
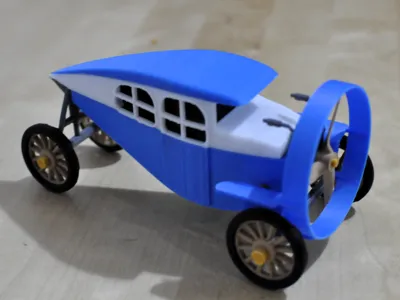
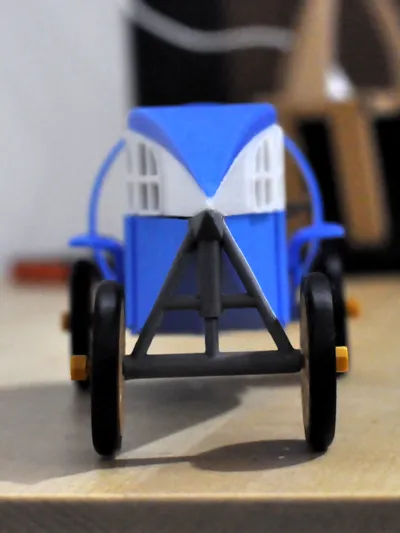
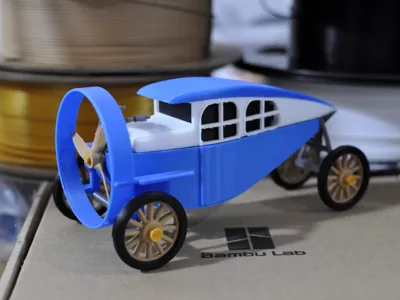
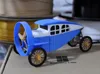
1919 Leyat Helica model


Print Profile(1)
Description

1919 Leyat Helica replica
this is a 3d printed replica of the 1919 Leyat Helica, better known as "The plane without wings"
here is the wikipedia link if you want to know more https://en.wikipedia.org/wiki/Leyat
On the web you can find photos of different models that change due to small details. I tried to capture the important aspects of the machine for its originality
check out the “roadster” version
the print plates are divided based on my choice of colors (I don't have an ams)
for some parts (window shading, wheel axles) it is essential to have excellent quality filament.
arm yourself with patience when removing print supports
if you like it download it
Boost Me (for free)
working on the "roadster" version, please support me
Assembly guide

N.B. some photos were taken during the assembly of the first version of the model so you will see the frame slightly different and divided into several parts. don't mind, the parts with the new frame have been redone to fit the one-piece frame version
assemble the lower part of the bodywork by aligning the pegs with the holes.

now install the propeller shaft and if you want an elastic fixing it to the frame pegs.
the rubber band could bring the propeller shaft out of place. screw the propeller onto the axle just enough to lock everything in place (it will need to be dismantled later and you will have to hold the axle in place with your finger but for now it will make it easier to install the rest of the pieces)


install the pegs as you see in the photo. the shorter one goes to the back of the frame. this peg is cut diagonally at the top. position it with the highest part towards the propeller

install the window part of the bodywork by fitting it onto the newly installed pegs. insert the motor into the appropriate slot. you may need to remove the propeller and hold the shaft with your finger during this step. then you can reinstall the propeller

install the window shield (the piece is elastic and holds itself in place) and the upper part of the bodywork which will attach to the rear peg connected to the frame and the two small pins in the central part of the bodywork


you can now install the mudguard by slightly tightening the structure to connect it to the frame peg


prepare the wheels by gluing the tire to the rim

you can now attach the wheels to the model by screwing the axles to the frame. the longer screws are for the front of the car and you need to insert the small spacer before inserting it into the hole in the fender and connecting it to the frame


- finished assembly!

Comment & Rating (9)