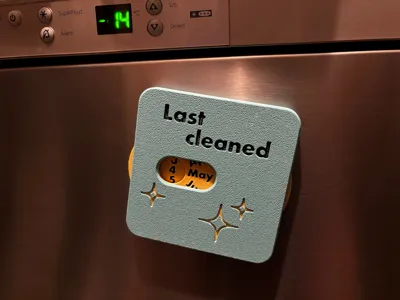
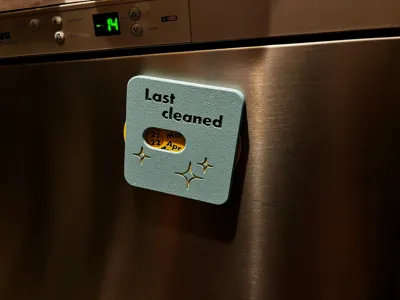
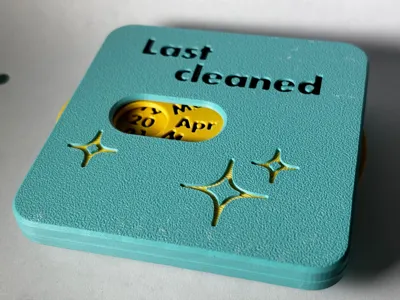
Last Cleaned Fridge Magnet


Print Profile(5)


Description
This fridge magnet makes it easy to record the last time you cleaned your fridge.
It is ideal for …
- People who always need an extra nudge to clean (yes, that's the category I'm falling in),
- shared flats,
- families with shared chores,
- kitchens with an increased need for hygiene
- and also everything else that needs to be cleaned and is magnetic.
Note: For the US version (with month first, then days) see this model.
Print Parameters
Note: Due to the details in the lettering, especially the small counters in the E, the bed adhesion should be on point.
- Supports: No
- Filament: PLA
- Walls, top and bottom layers: Only as much as needed, to keep it lightweight. I used 2 perimeters and 3 top and bottom layers.
- Infill: Same. Only as much as needed. It doesn't need to be strong. Grid infill works great.
For the multicolor print on the cover I used Modifiers, as simply filling the letters in wouldn't have worked when printing it upside down. Simply create rectangular modifiers of about .6mm height and place them about .8 to .9mm atop the bed. The lettering is inset 1mm.
Or you could also just use my uploaded profile. ;-)
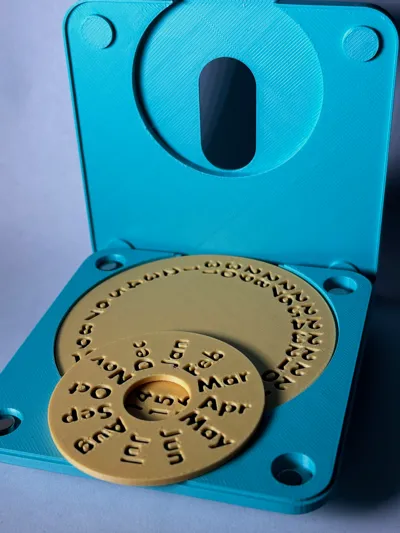
Assembly
The assembly is very simple. For this also have a look at the gallery.
First put up to four magnets in the holes on the edges of the bottom piece. It fits magnet up to (but not including) about 10mm diameter and 3mm height. I use strong (N52 I believe) 6mm x 2.75mm magnets. The fact that the holes are larger than my own magnets was a conscious decision. This way, the model is not too restricted to exactly one size, making it easier for you to find fitting ones.
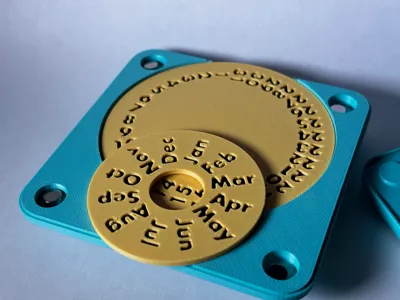
Secondly put in the wheels on their right spots. The larger one goes in first, then the smaller one to its left.
Thirdly put the cover on. Done.
Comment & Rating (40)