
The Squeaker! - The Fully 3D Printable Squeaky Toy
Print Profile(2)


Bill of Materials


Description
The Squeaker! - The Fully 3D Printable Squeaky Toy | Make Your TPU Model Into A Squeaky Toy!
Boost Me (for free)
If you love it, give it a boost!
Highlighted Supported Models
Reach out if you make something you would like to see highlighted!
About
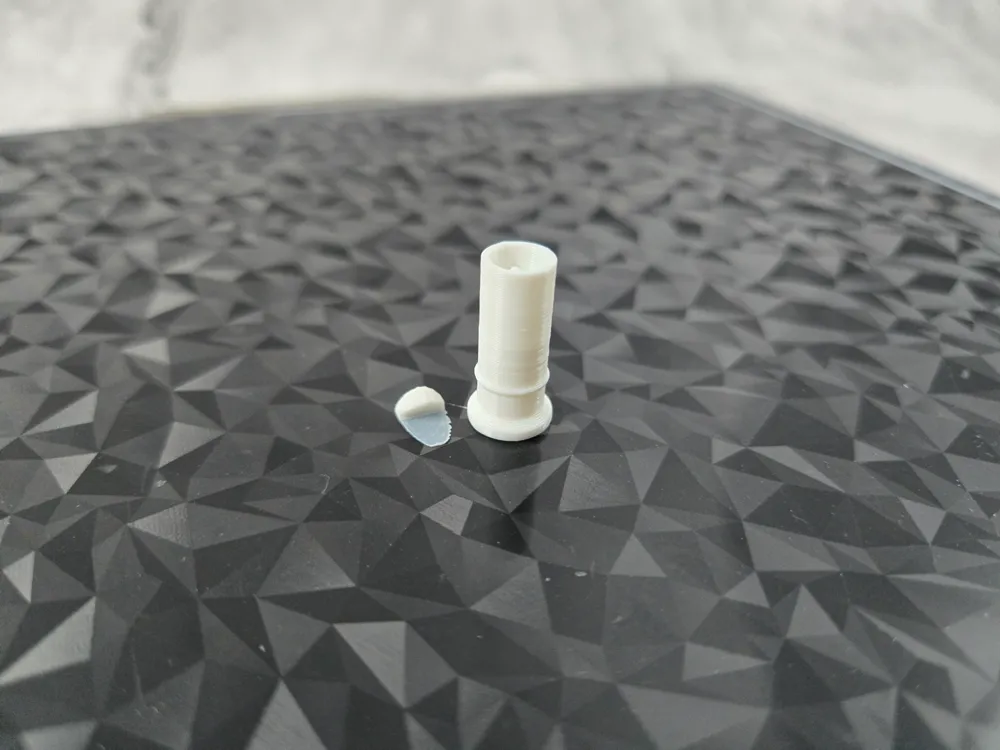
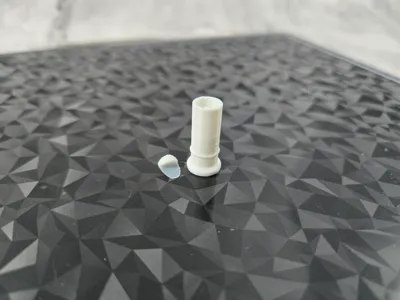
The Squeaker Tube and Reed are a 15-minute print! (7 on the X1C!).
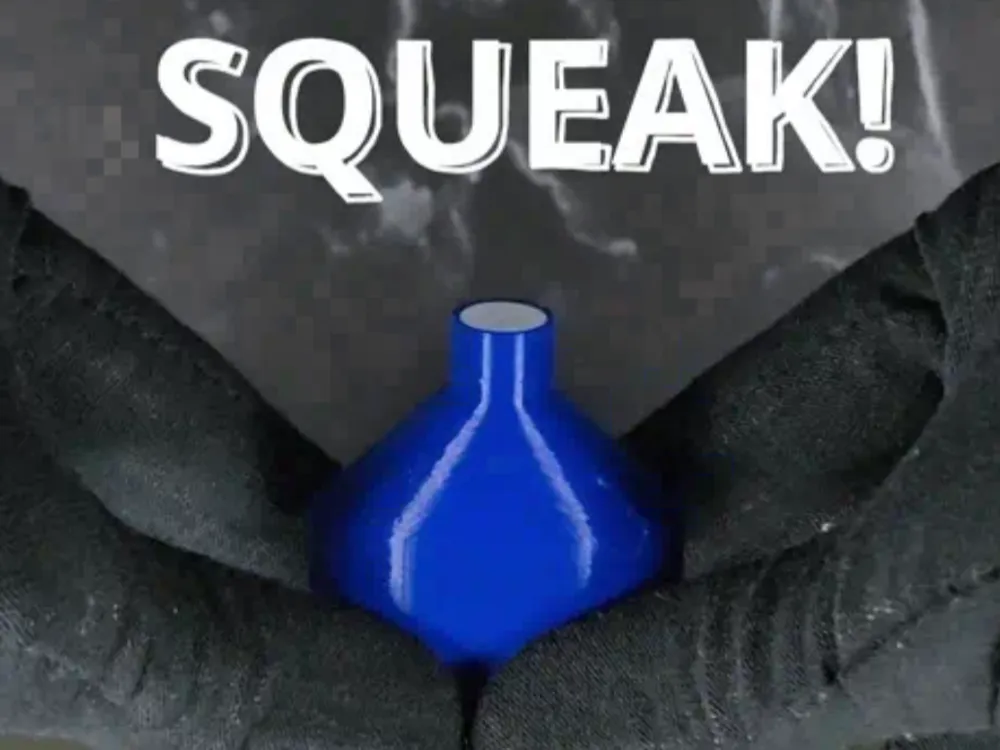
This is a fully 3D printable squeaker! With TPU prints becoming more popular, I set out to create this fun little device that you can put into your 3D models to make noise!
I am excited to see what you all can do with it, but please make sure to link back to my model instead of including the file in your own (see license).
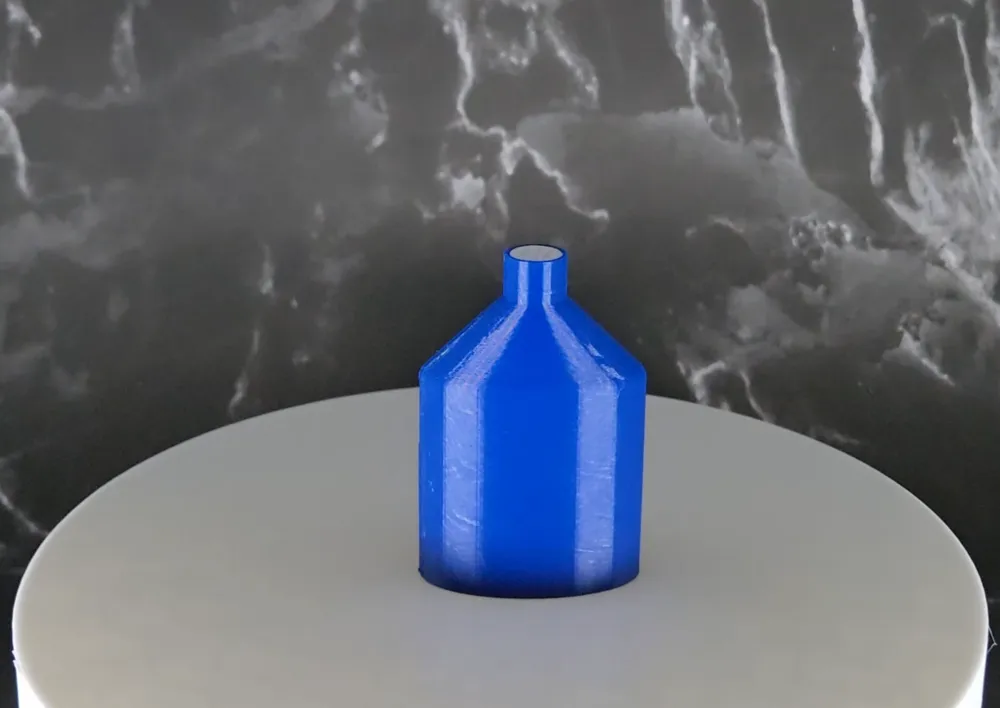
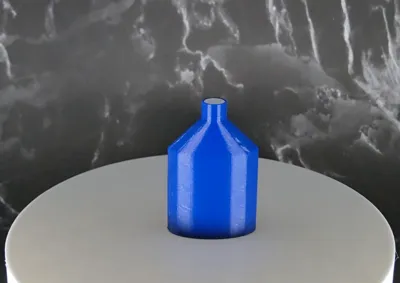
I have included a simple test diaphragm that you can print (TPU), as well as a noise maker (PLA) in case you do not have TPU or a printer that supports it.
One piece of this model must be printed at a 0.08mm layer height, so please ensure your machine can handle that before you print it.
Printing Instructions
Please follow the printing instructions carefully! This is a very detailed print and only works if you follow the instructions exactly.
The Squeaker Tube, Reed, and Noise Maker can all be printed together, but you must use the Reed settings.
Nozzle Size: 0.4mm
Reed - READ CAREFULLY
- Material: PLA
- Layer Height: 0.2mm
- Initial Layer Height: 0.08mm (very important! Will not work otherwise; make sure your printer is tuned properly so it does not scrape the bed)
- Ironing Type: All Solid Layers (very important!)
- When removing the reed, use a scraper or blade; the reed needs to remain completely flat coming off the print bed. Do not peel it off.
Squeaker Tube
- Material: PLA
- Layer Height: 0.2mm
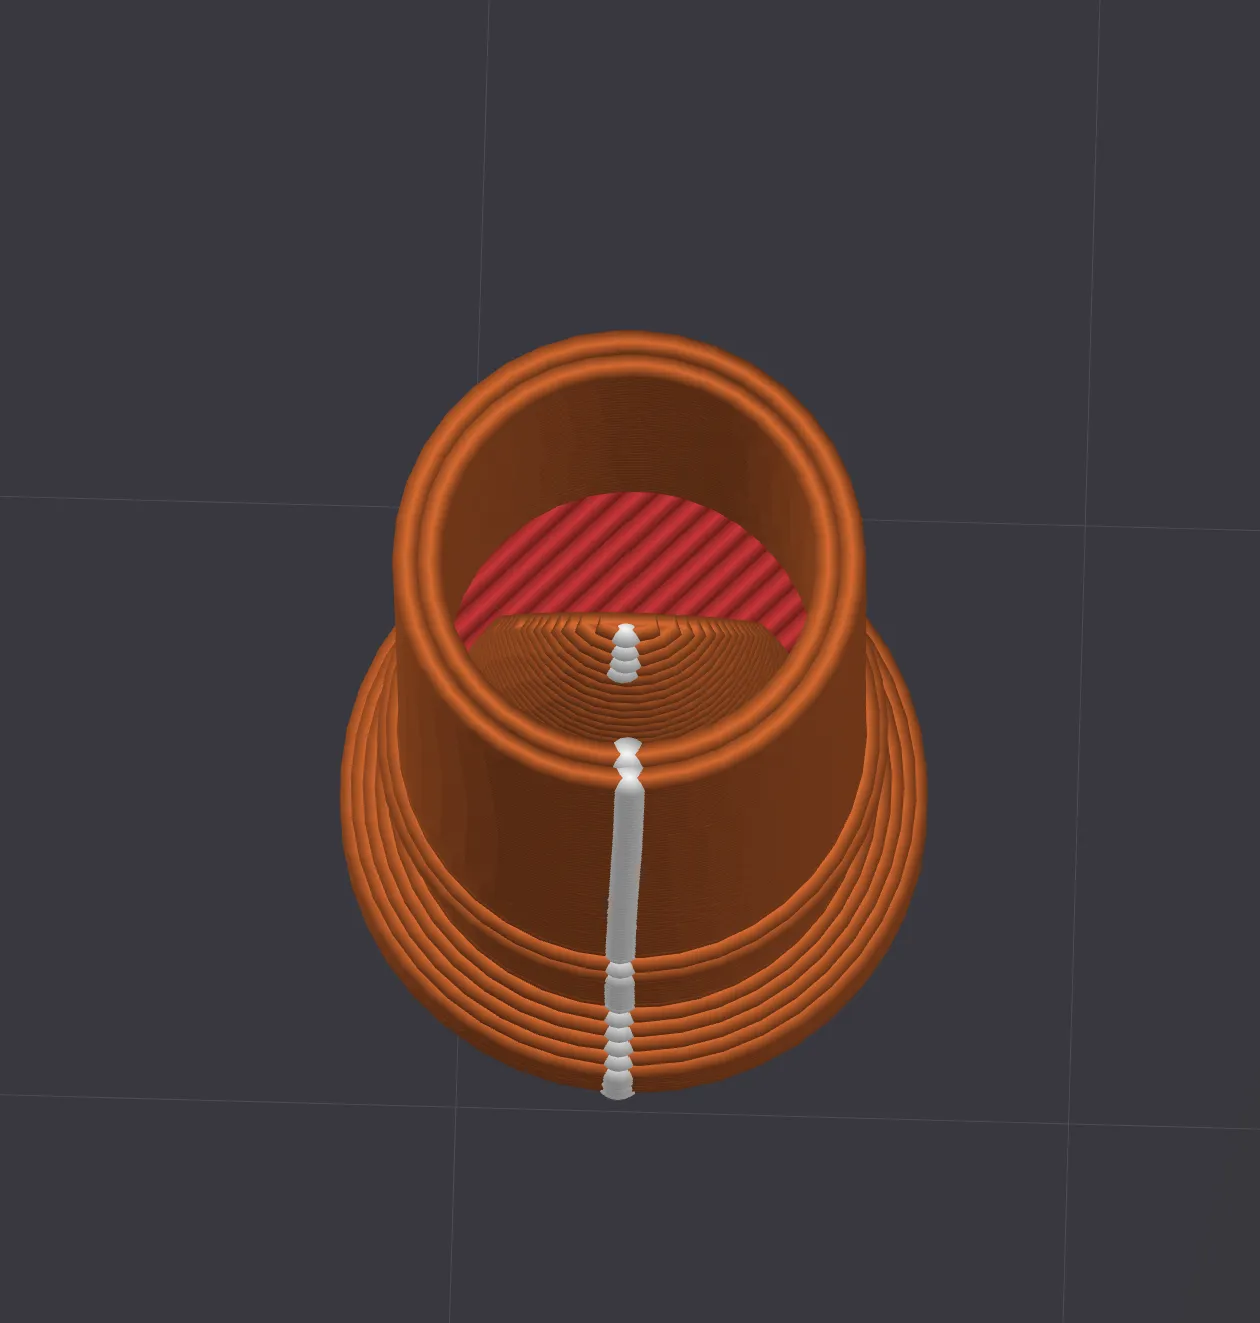
- Seam: Back - This is very important; the seam must be in the correct spot below the inside curved piece. Otherwise, there may be stringing that restricts the reed movement.
Diaphragm
- Material: TPU
- Layer Height: 0.2mm
- Sparse Infill Density: 100%
- Sparse Infill Pattern: Rectilinear
- Seam Position: Back
- I recommend not using timelapse, as it can cause stringing that may cause the model to not become airtight.
Noise Maker
- Material: PLA
- Layer Height: 0.2mm
Assembly

Slide the thick part of the Reed into the top half of the open side of the Squeaker Tube. I usually use one of the printer's Allen wrenches to push it into place (be careful not to hit the thin part of the reed). Though the reed will stay in place on its own, it can become dislodged if the Squeaker is dropped, so I recommend putting a dab of super glue on it before inserting the reed into the squeaker.
If you are using the Noise Maker, push the Squeaker Tube into the cone until it clicks. Once the Squeaker Tube is in the Noise Maker, you will not be able to get it back out.
Testing
Blow into the open side of the tube. The sound should come out easily and should not require much air. If you have to blow hard to get a sound, or no sound comes out, something has gone wrong. Double-check the print instructions above and ensure the reed is flat and not bent upwards.
Using this in your models
After a lot of testing, I found that TPU becomes airtight after 3 wall loops. This leaves the TPU flexible enough to squeeze. This means your model needs to plan on having that built into it.
I have included the Negative STL so that you can use it to hollow out your model so the Squeaker will fit.
The best way I have found to include it in your models is the following method (though it may not work on all models):
Bambu Slicer
- Layer Height: 0.2mm
- Wall Loops: 3
- Bottom Shell Layers: 3
- Sparse Infill Density: 0-15% (the more you use, the harder it is to squeeze)
- Sparse Infill Pattern: Lightning
- Import your model into the slicer.
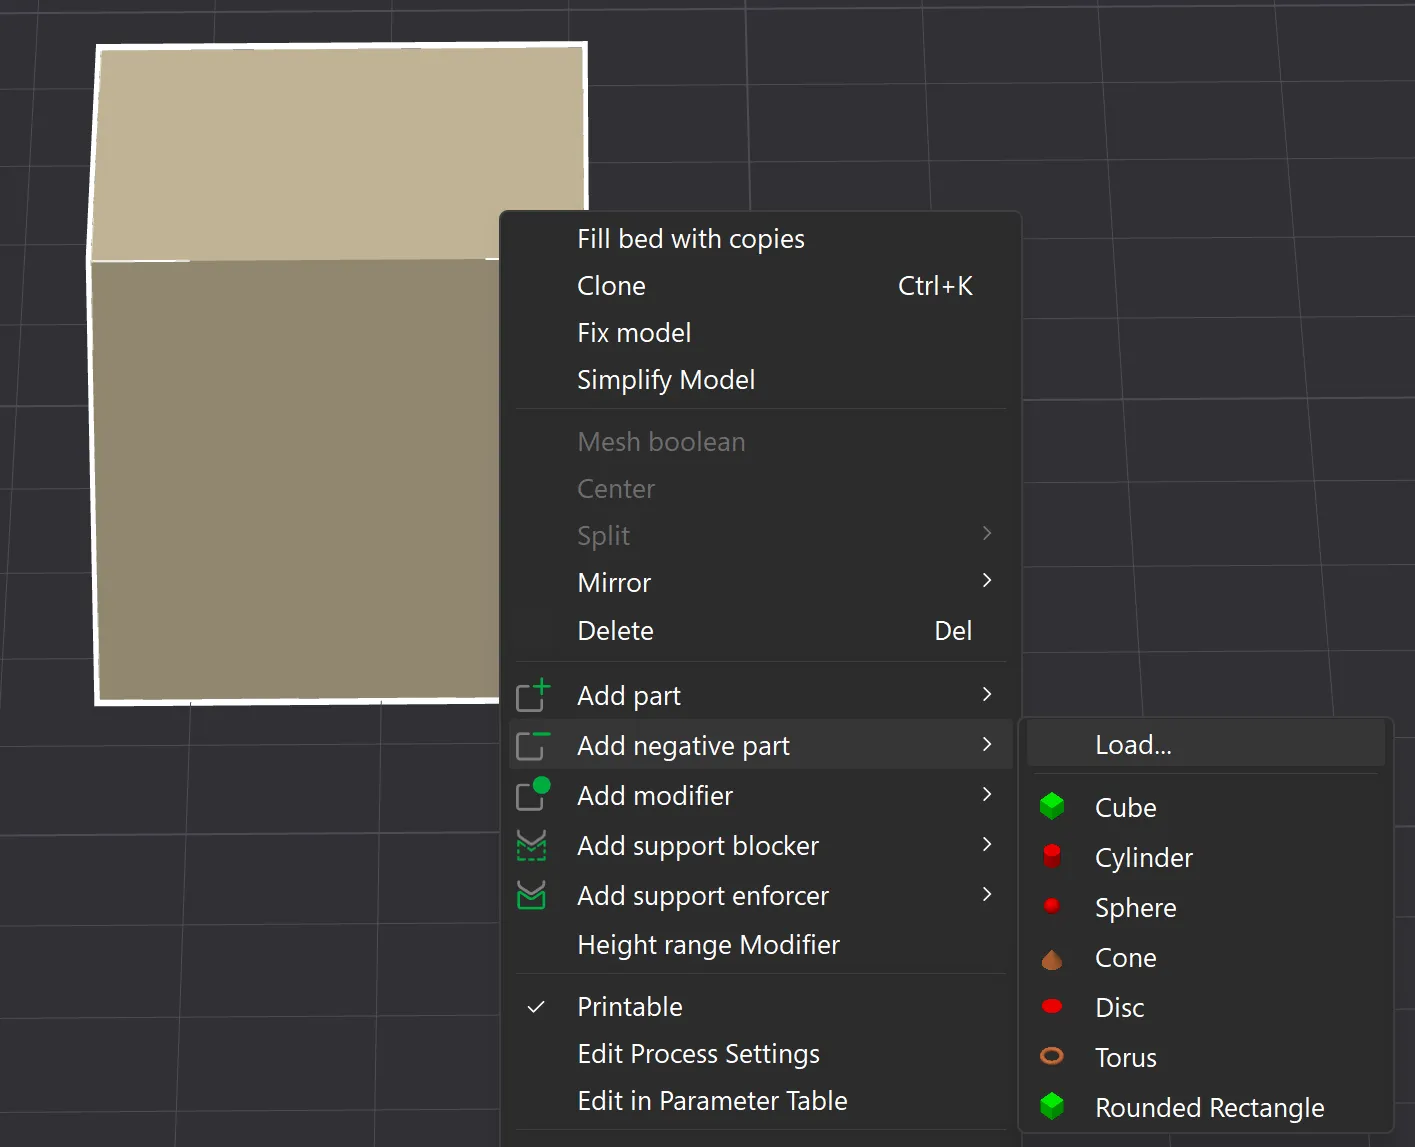
- Right click -> Add Negative Part -> Load... -> Negative.stl
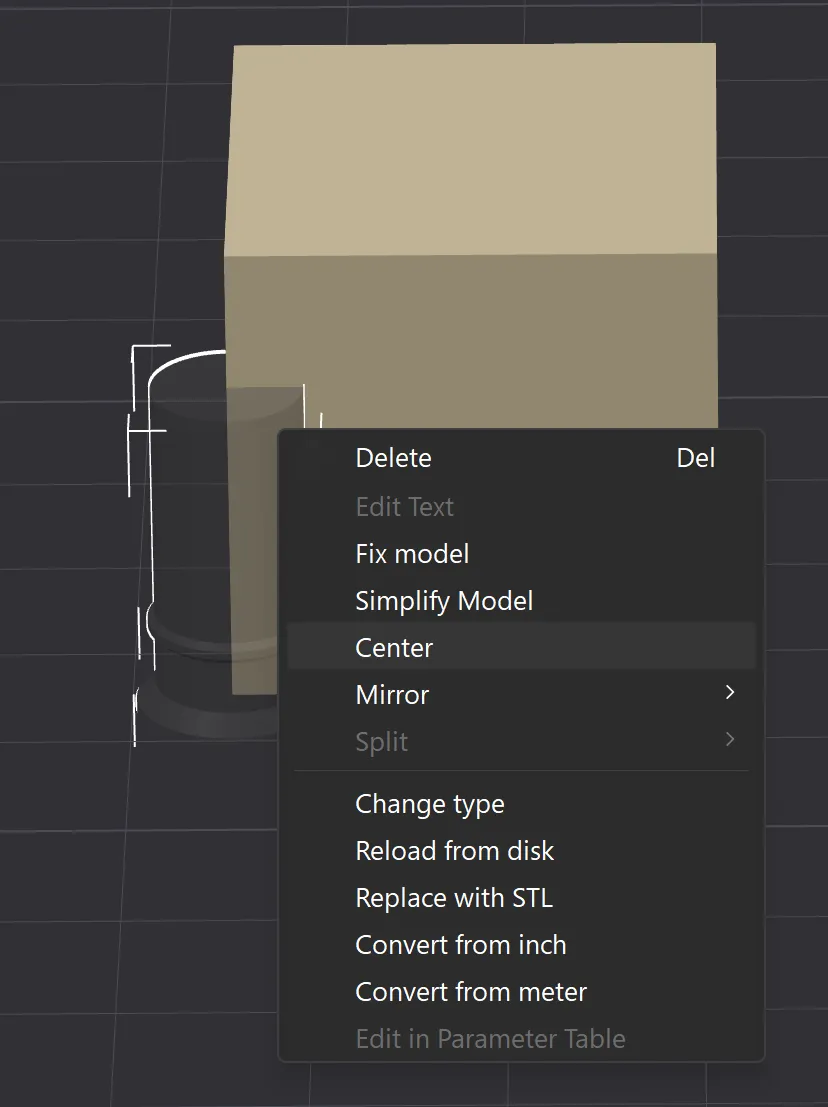
- Position the Negative so that it is not clipping outside of your model (scale model if needed) and it is sitting on the build plate. Right click and "Center" if necessary.
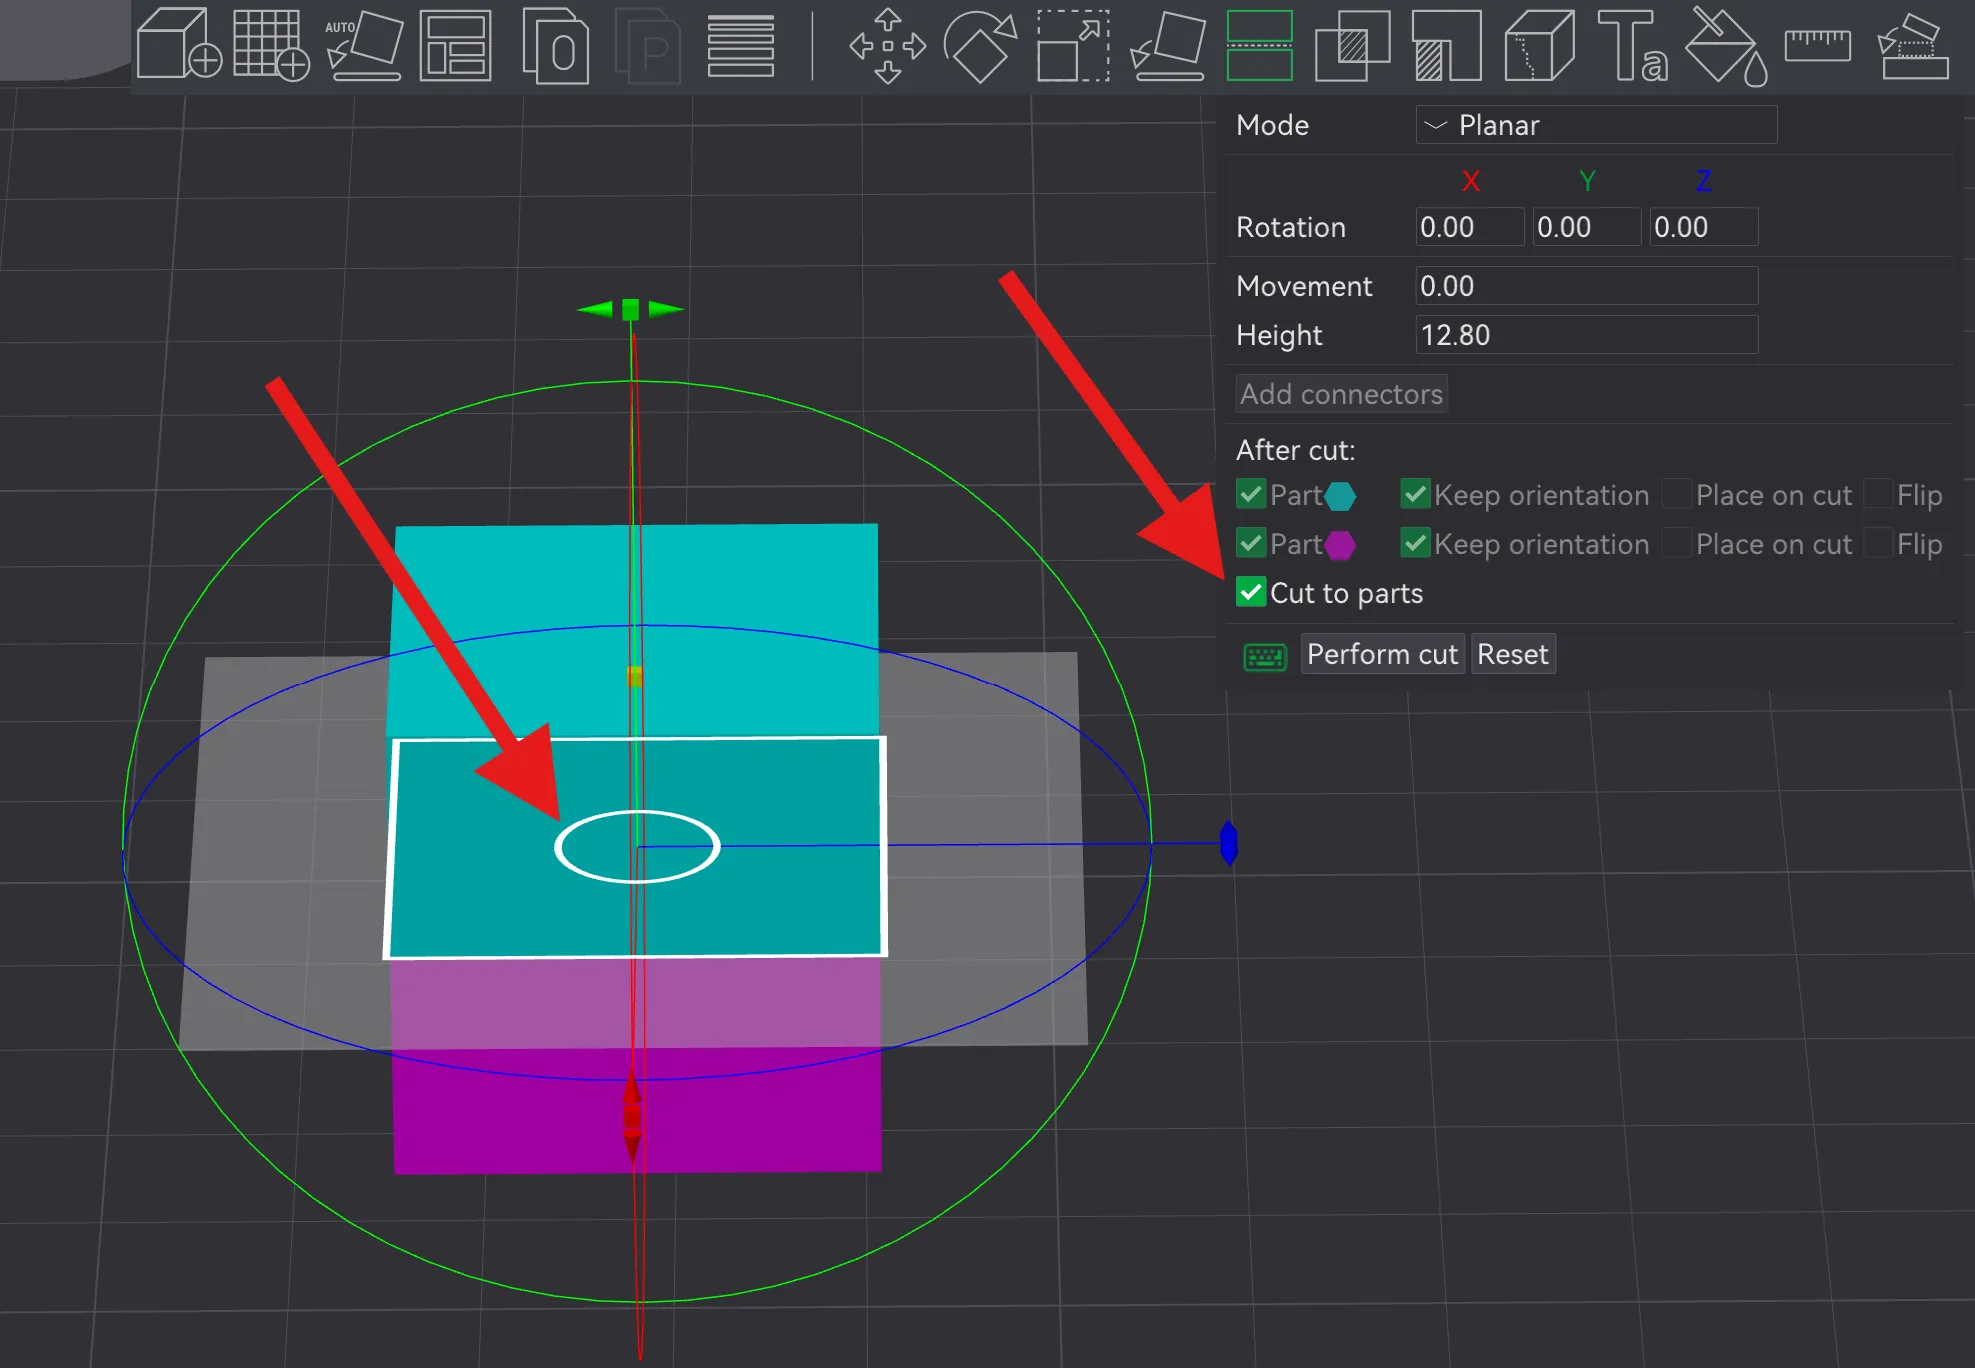
- Select "Cut" at the top (or press 'c'), and make a cut so that it is going through the Negative (I recommend just using Height: 0.6, but it may depend on your model). Select "Cut to parts". Perform the cut.
- Objects -> Select the top cut (usually A) -> Strength -> Bottom Shell Layers: 0
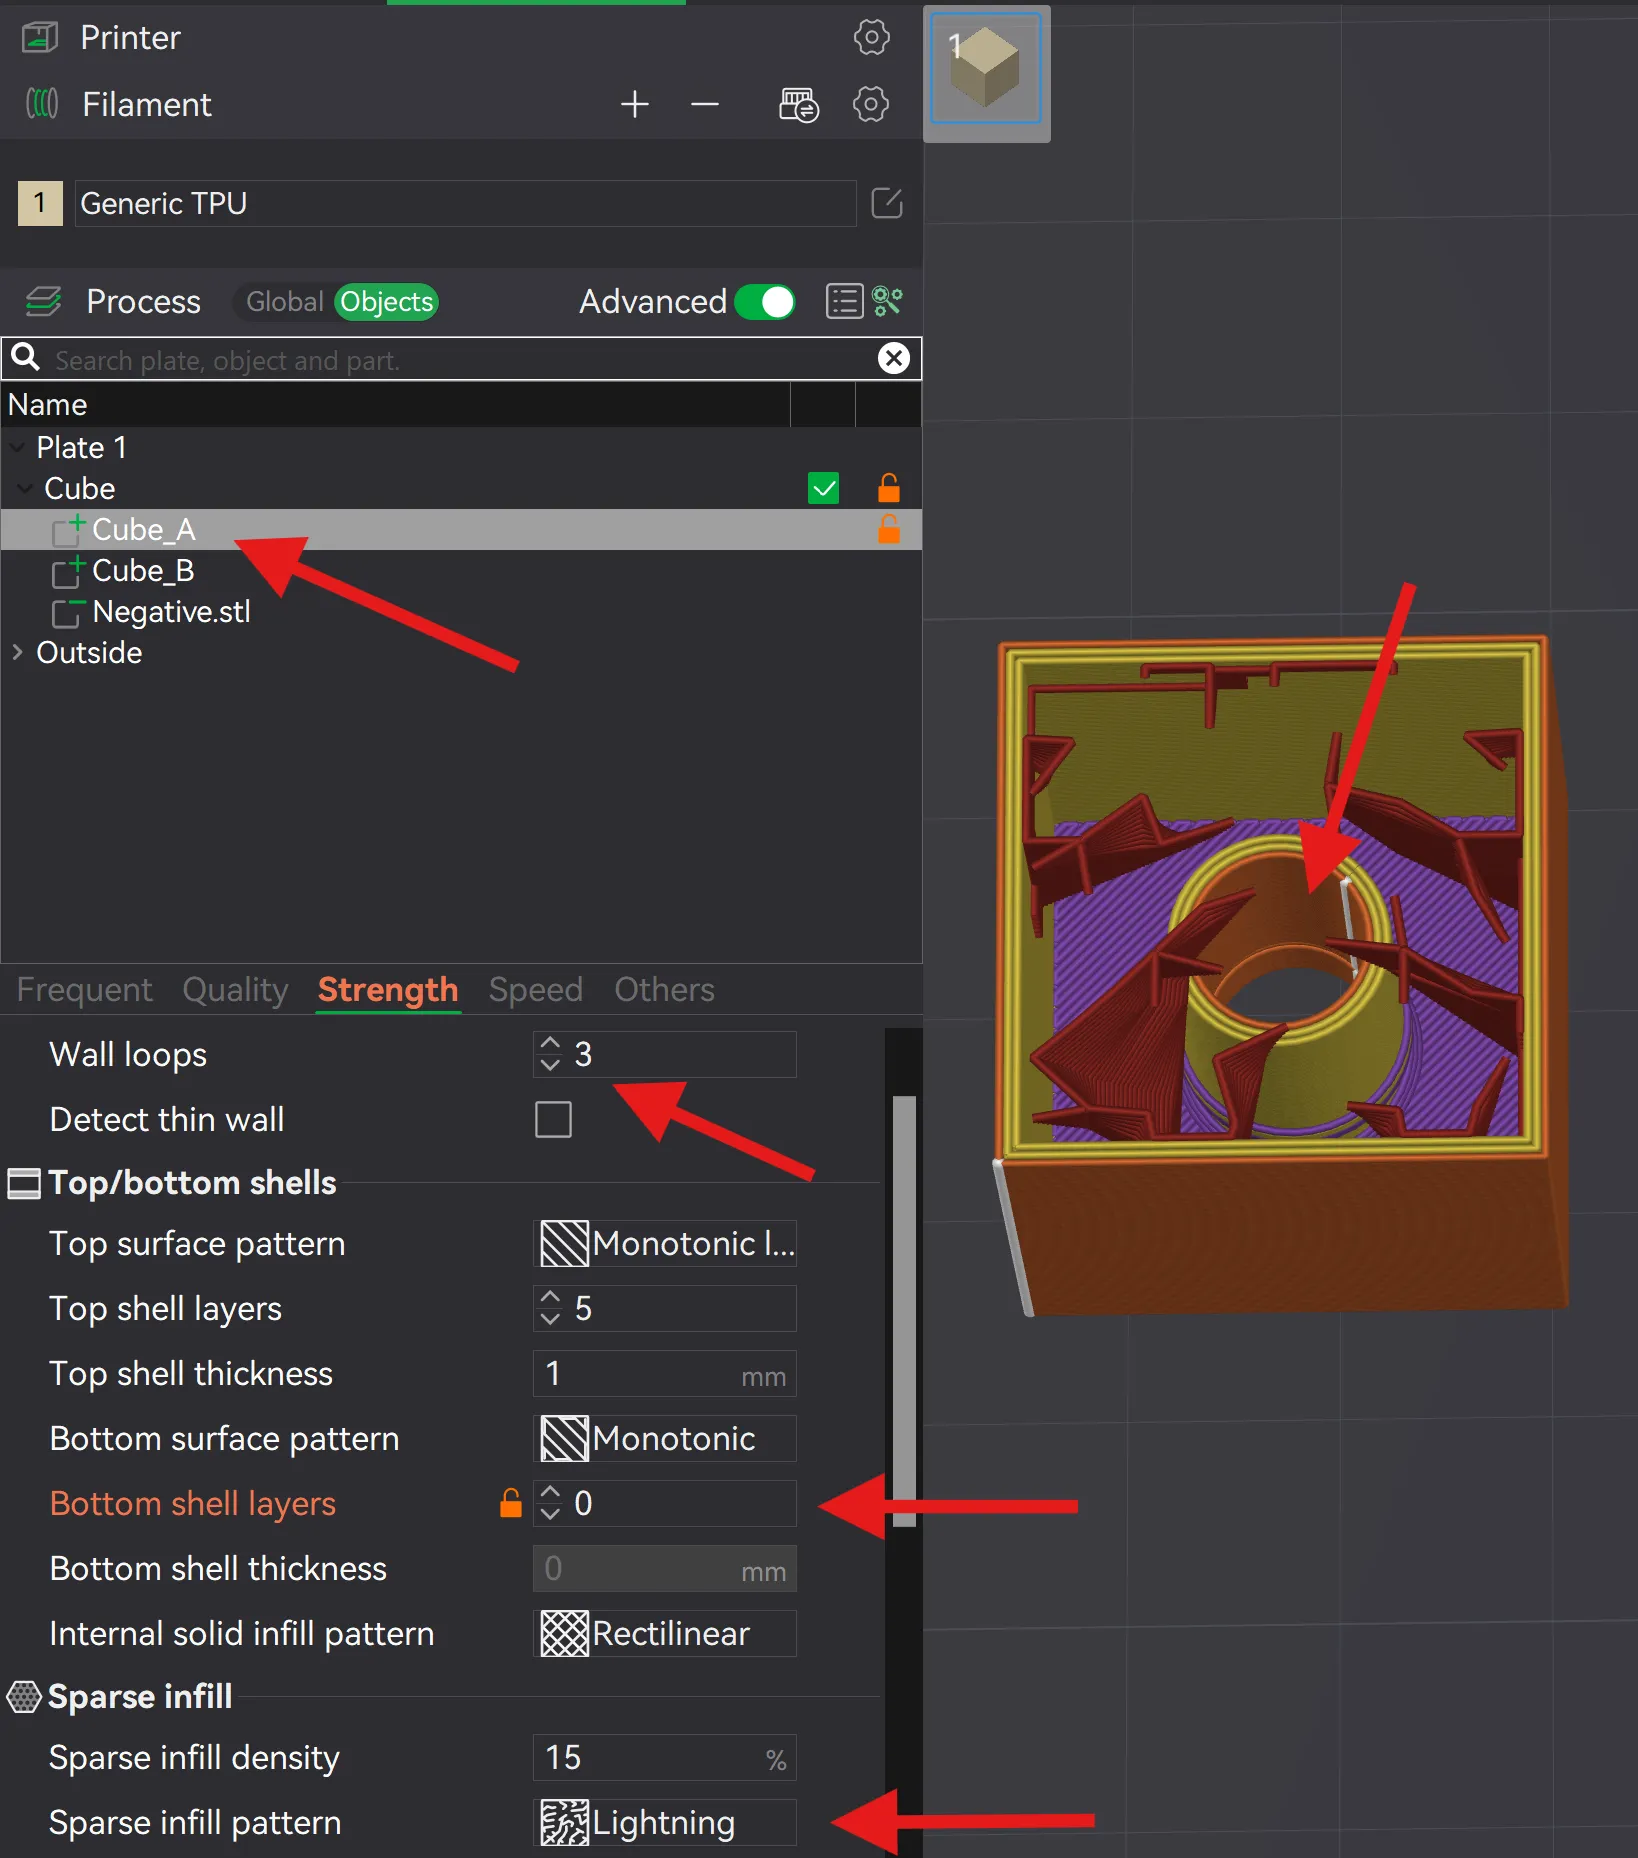
- Slice and Print.
The end result should have the model with the negative cut out, but there should be a hole all the way through into the inside of the model.
If you have any questions or issues, feel free to reach out! I will do my best to address them. I worked on this for the better part of a month to make sure that it works as consistently as possible, but every printer is different. I have tested this on both the Bambu Lab X1C and the A1 mini.
I genuinely appreciate your support and interest in my 3D models. Boosting and liking my models, as well as following my profile, not only brightens my day but also helps me grow and create more of what you love in the world of 3D modeling. Thank you—your support means everything to me!
Also check out my other regularly published models.
Membership
Want a commercial license? Sign up for my membership!
License

You shall not share, sub-license, sell, rent, host, transfer, or distribute in any way the digital or 3D printed versions of this object, nor any other derivative work of this object in its digital or physical format (including - but not limited to - remixes of this object, and hosting on other digital platforms). The objects may not be used without permission in any way whatsoever in which you charge money, or collect fees.


Comment & Rating (255)