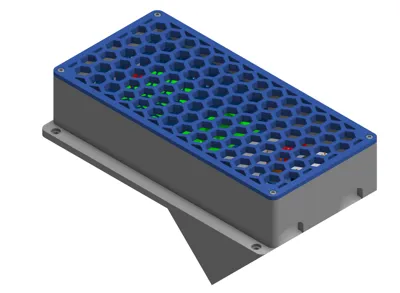
Dig-Uno and Mean well LRS-50 enclosure


Print Profile(2)


Bill of Materials


- M2x2x3.2HeatSetInsert x 4:
- M2.5x2.5x3.5HeatSetInsert x 4:
- LRS-50-5 x 1:
- Dig-Uno x 1:
Description
I needed an enclosure for a Dig-Uno and a Mean well LRS-50-5, and wasn't happy with what else I saw out there. So I made this one.
Prints at a 45° angle, for extra strength and less notable layer lines. Support for this printing is baked into the model. Removing the support can be done by hand, although I recommend a pass with a random-orbit sander, to remove leftover support attachments.
Additional support is beneficial, but not required, around the two openings for cables.
You will need a few additional components:
- 4 M2x2x3.2 heat set inserts, to mount the Dig-Uno (You could probably make do with 2 diagonally
- 4 M2.5x2.5x3.5 heat set inserts, to attach the lid to the box
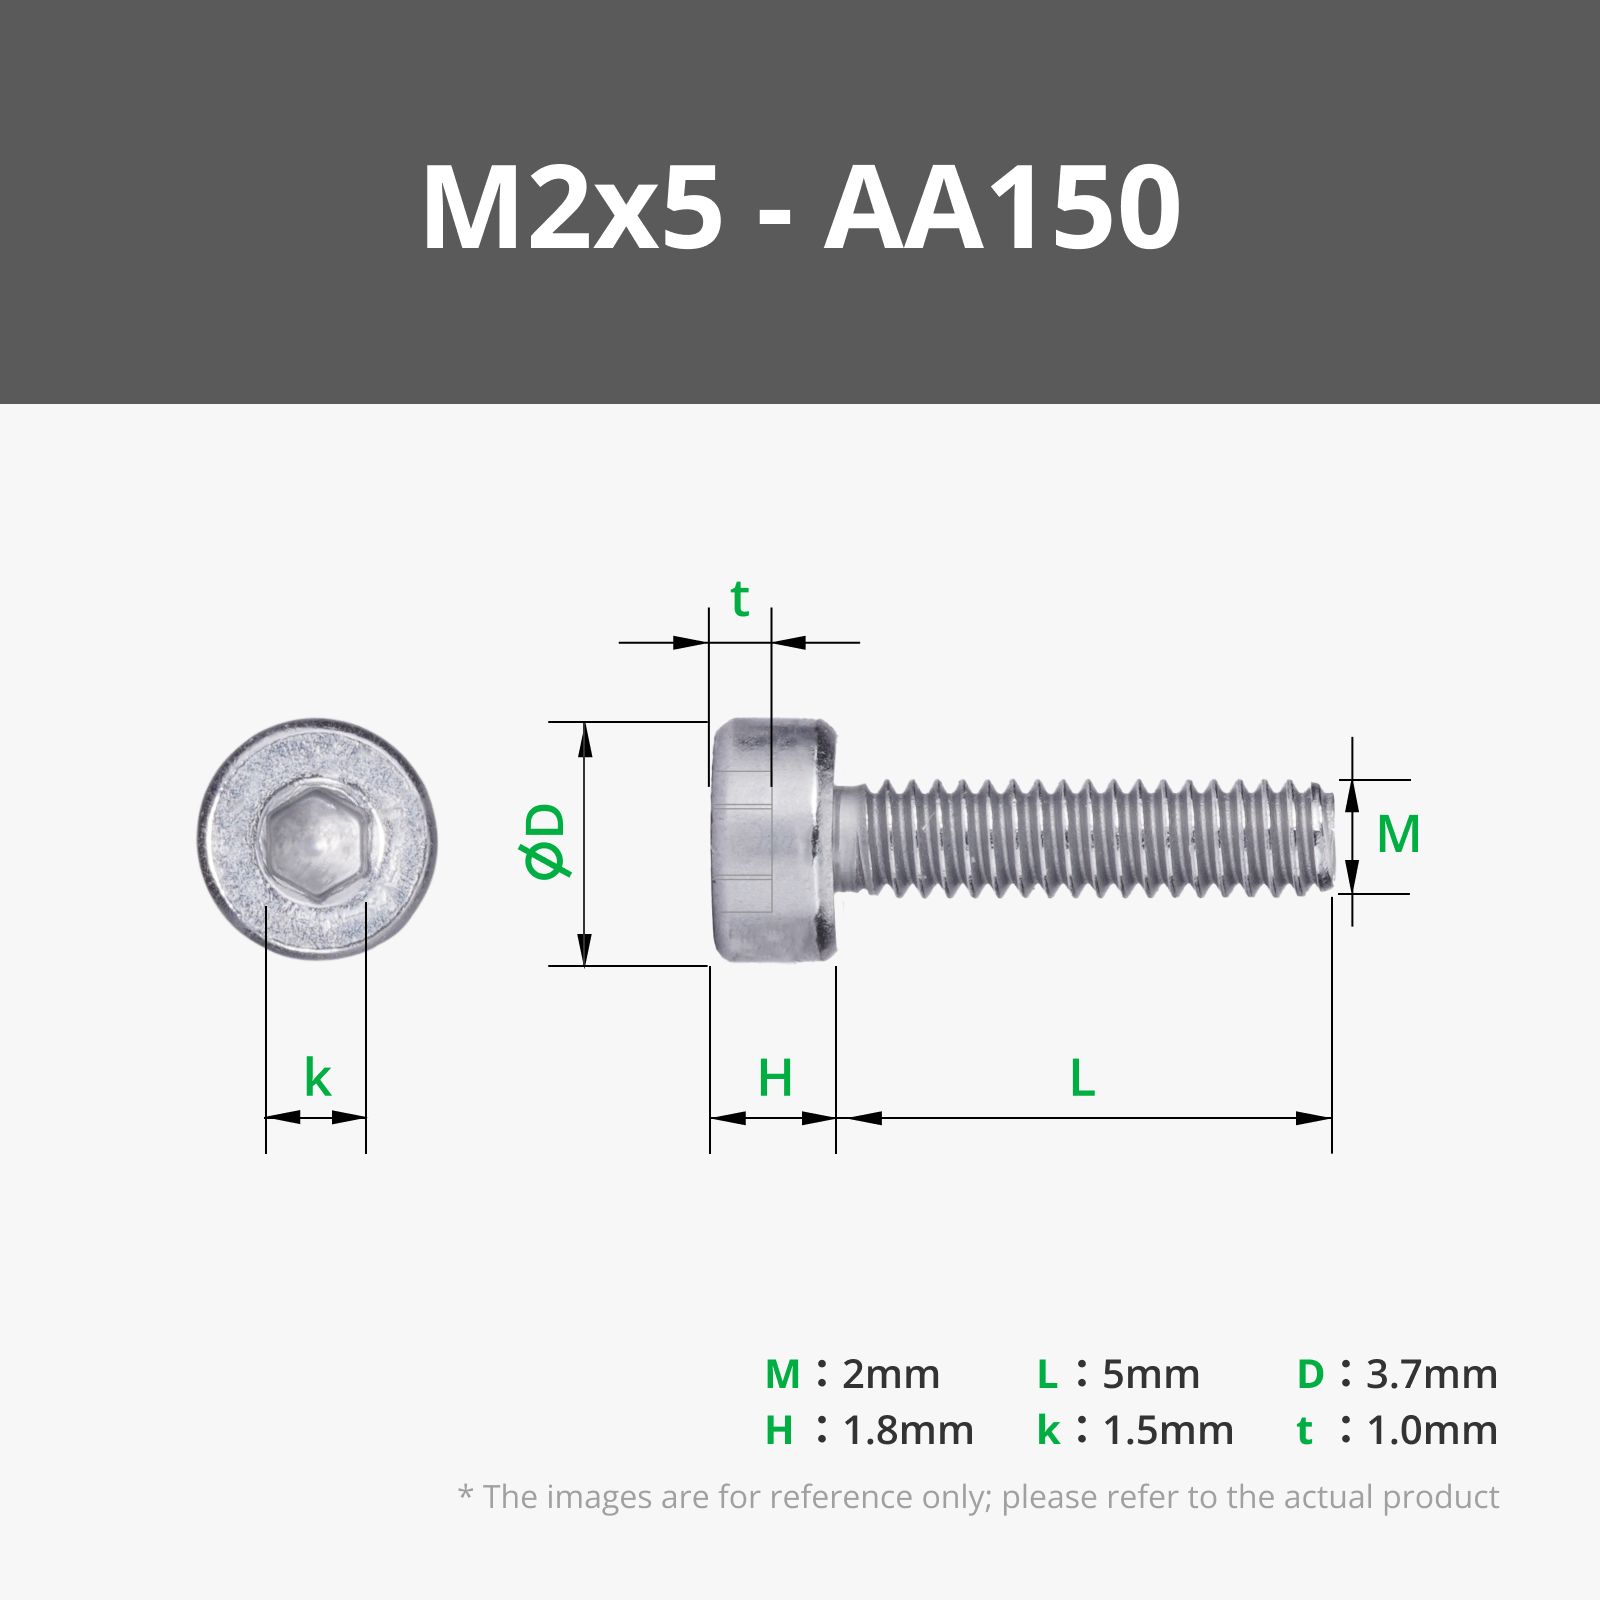
- 4 M2.5x6 screws, for the lid
- 2 M3x6 screws, to attach the LRS-50 to the bottom of the box
Assembly is fairly self, explanatory, and there are hints embossed into the inside of the bin. Just make sure you orient the Dig-Uno the right way.
This works with all PSUs in the LRS-50 line, not just the 5v one
Check out the more compact version if you need something a bit more portable
Comment & Rating (3)