
Hexagonal Platform V2
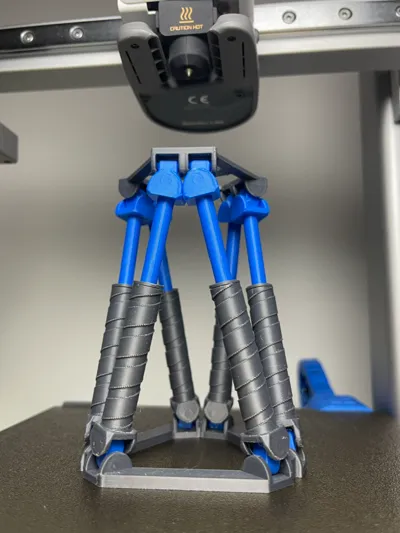
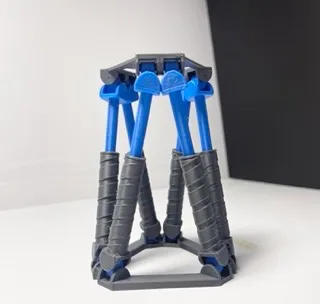
Print Profile(1)

Description
Hello, Glad you're here!
The Hexagonal Platform V2 has undergone extensive prototyping to give you the best experience possible while printing
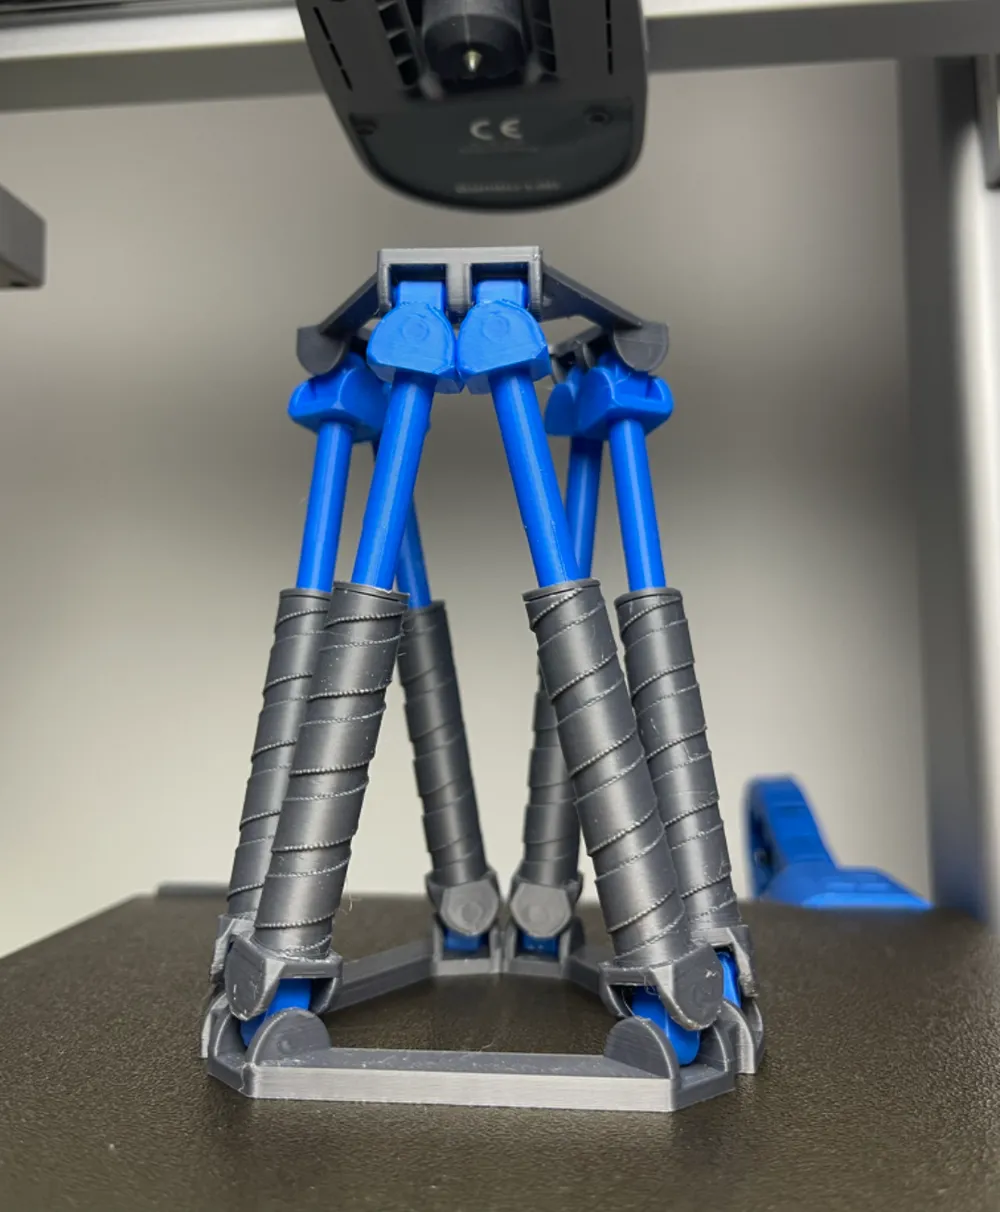
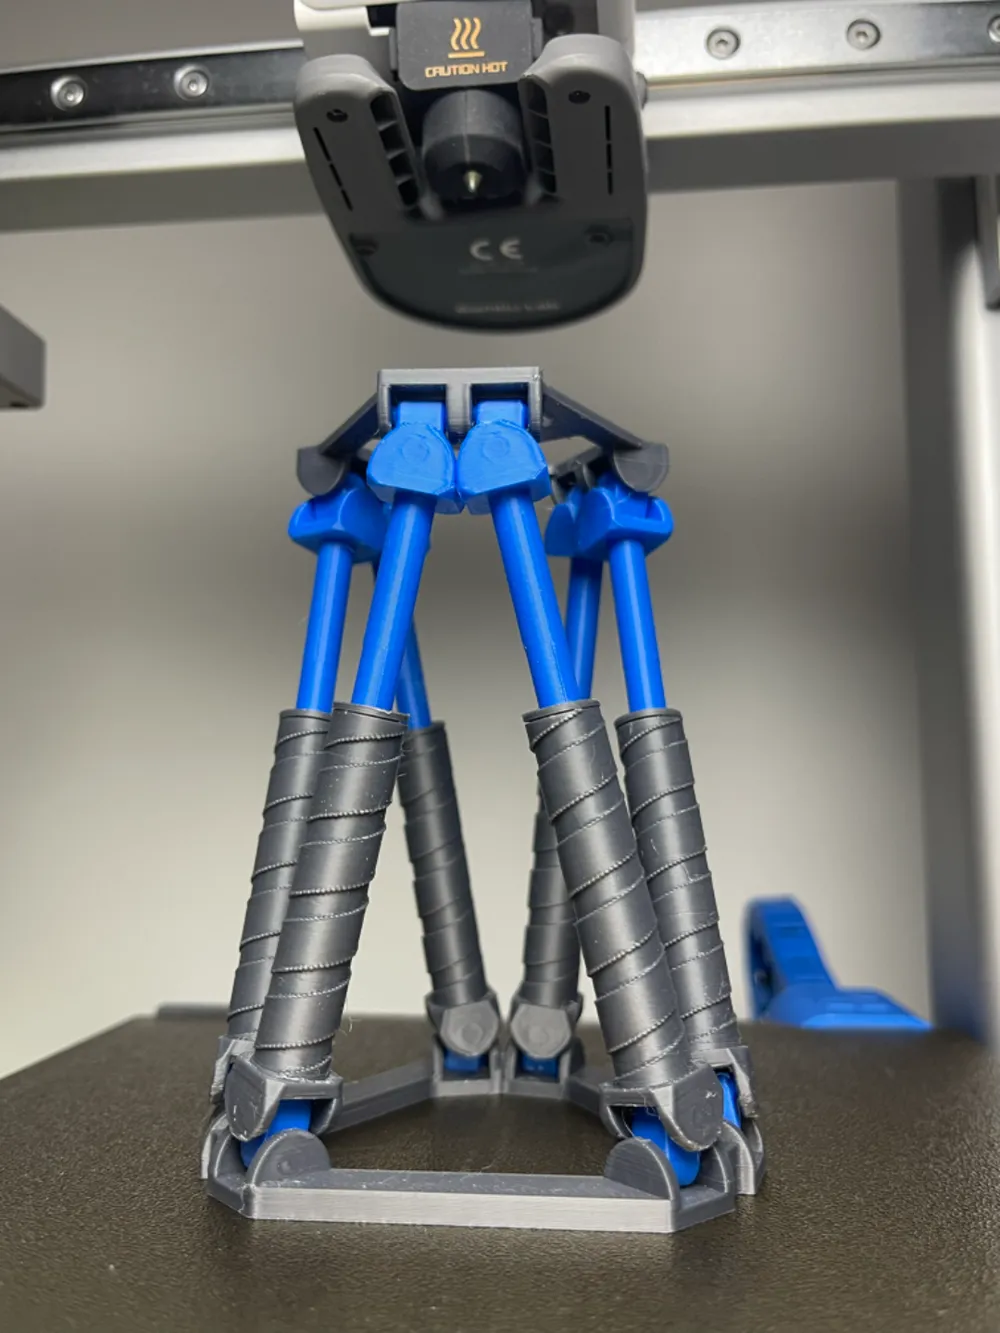
Today i present to you the Hexagonal Platform V2. The Hexagonal Platform V2 mimics its real life counterpart and acts like it. The Hexagonal Platform V2 is compact and small in size which means It can be moved around with such a sturdy design that you don't need to worry about the Hexagonal Platform V2 falling apart. The best part is that it doesn't require any tools to assemble!
The Hexagonal Platform V2 is a newer version of the Hexagonal Platform which has improved dynamics and is easier to build. The Hexagonal Platform V2 also has a new hydraulic design which has many features such as dampening and many more!
Overview
The 3D printed parts are as of the following :
- 6 Hydraulics Cover, Cylinder, Cap, Limiter, Spring. There are 6 hydraulic cover, 6 hydraulic cylinders, 6 hydraulic caps, 6 hydraulic cylinder limiter, 6 hydraulic spring
- 1 Hydraulic Base. The hydraulic base is to be connected the lower bottom half of the hydraulics cover.
- 1 Hydraulic Top. The hydraulic Top is to be connected to the upper part of the hydraulic cylinder.
12 Joint Connector. The joint connectors are used to connect the hydraulics to the base and the top.
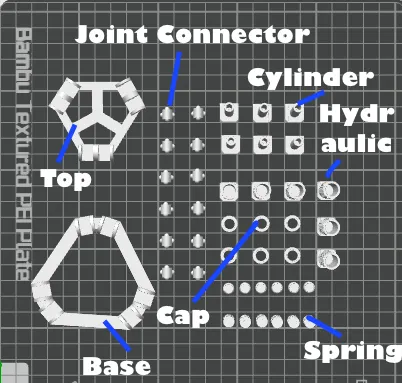
Assembly
- Grab the cylinder and insert the cap first following with the limiter.
- Then put the spring inside the hydraulic casing following with the cylinder and tightly push the cap making sure it is tightly secured. Repeat this process five more times.
- Then insert all the joint connectors to the top of the cylinder and to the bottom of the hydraulic casing.
- After attach all the hydraulic casing to the base and make sure that the joint connectors are securely locked in place.
Then attach all the cylinders to the top and make sure that the joint connectors are clearly locked in place.
Prototyping

The Hexagonal Platform V2 has underwent testing for more than 120 variations and. It also has a new feature that has not been included in the old platform version one. Find out more by printing your own Hexagonal Platform V2 today.
Thank you
As always, thank you for putting my models and supporting me. I hope I can continue to inspire people for generations to come.
You're interest in my project helps me to keep growing!
Boost Me (for free)
Every boost counts, thanks for Yours!
Documentation (1)
License

You shall not share, sub-license, sell, rent, host, transfer, or distribute in any way the digital or 3D printed versions of this object, nor any other derivative work of this object in its digital or physical format (including - but not limited to - remixes of this object, and hosting on other digital platforms). The objects may not be used without permission in any way whatsoever in which you charge money, or collect fees.


Comment & Rating (22)