
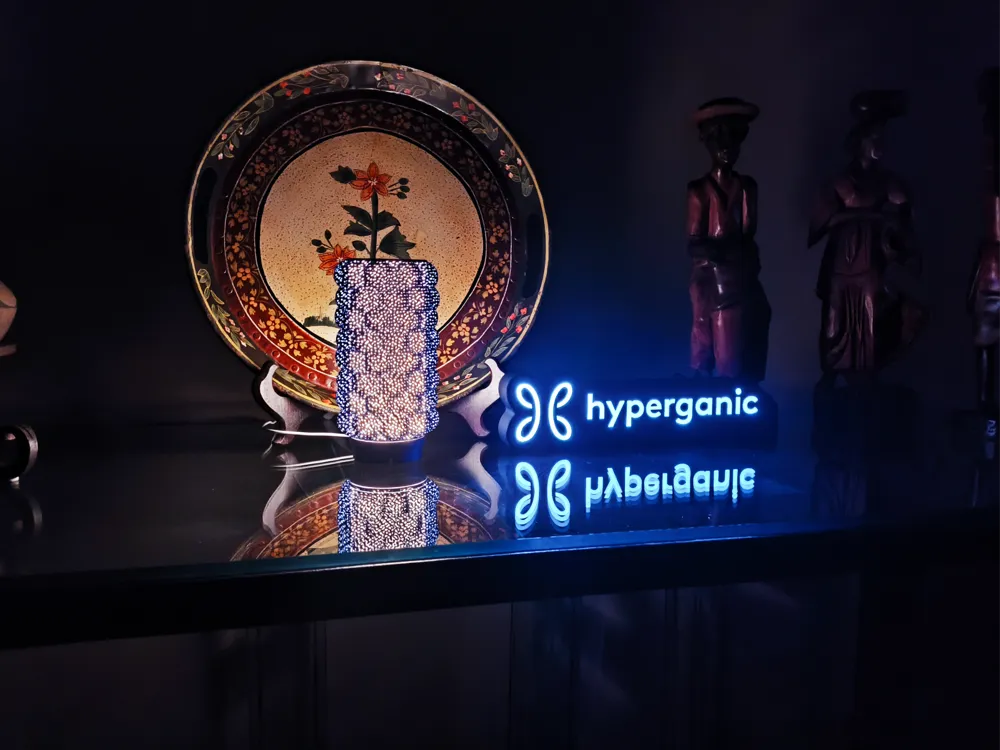
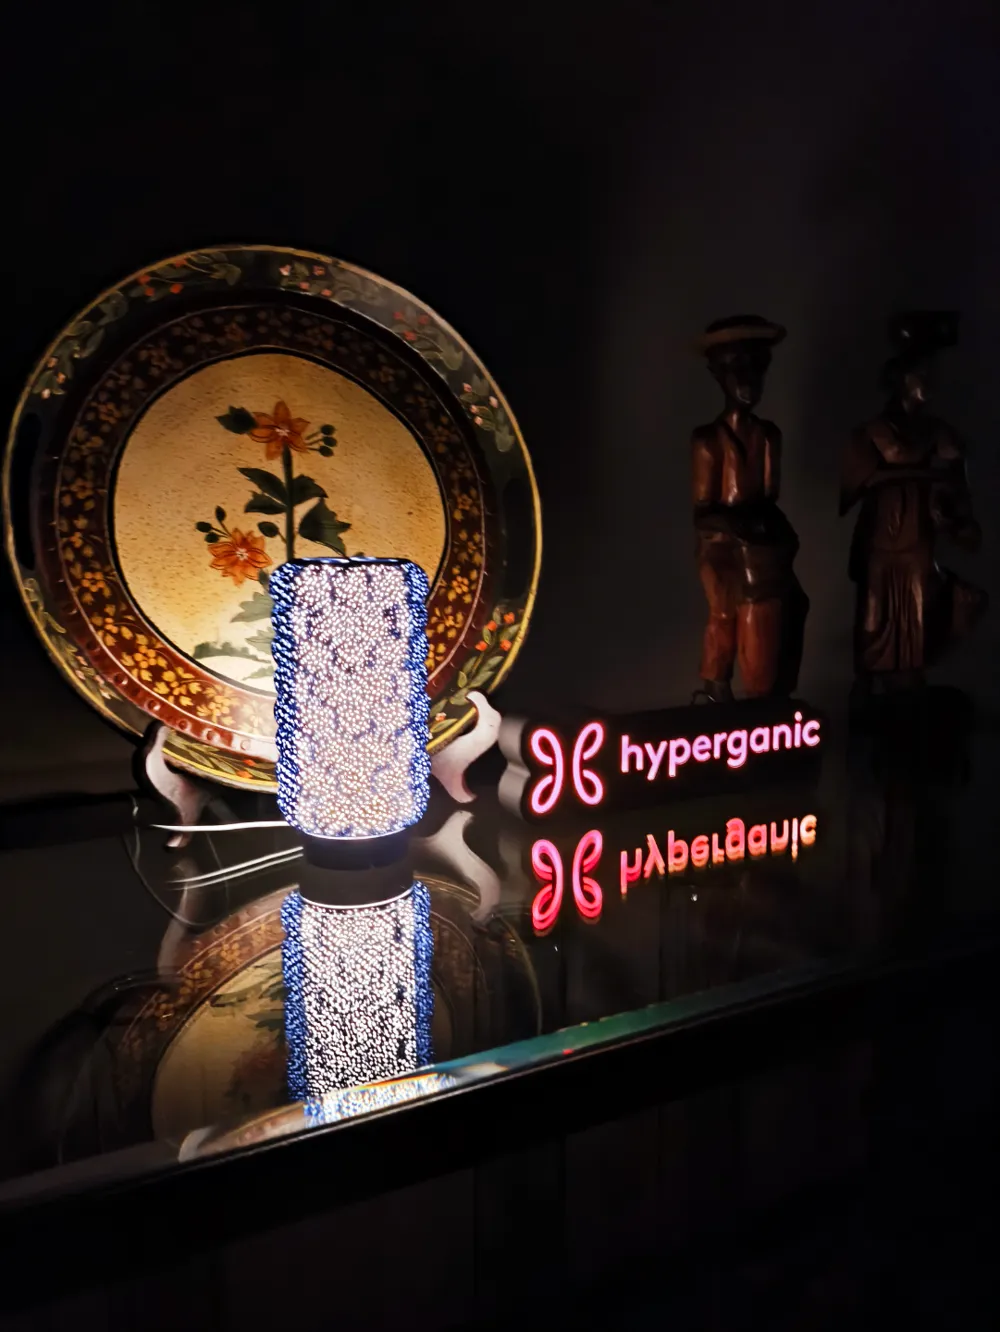
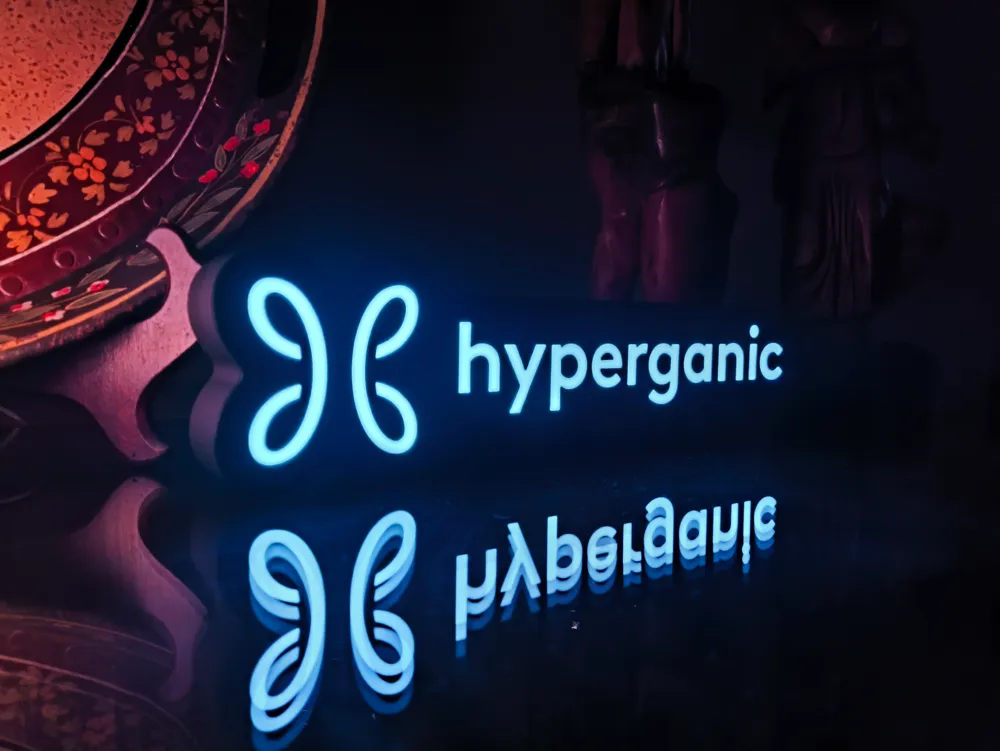
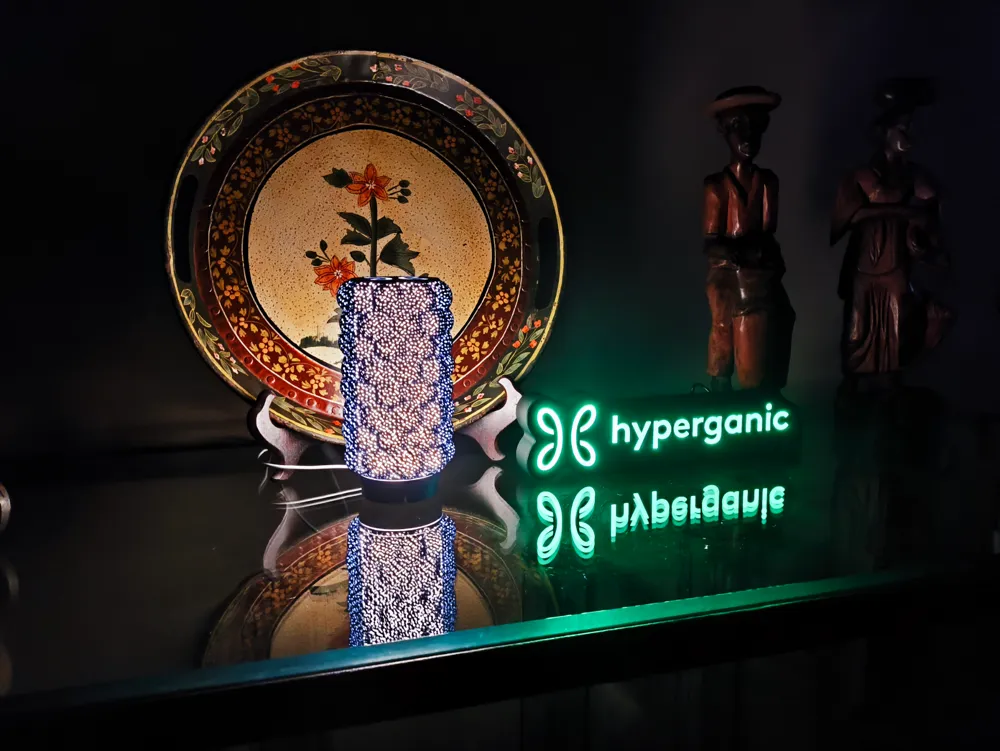
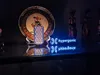
Hyperganic Logo Lightbox
Print Profile(1)
Description
Membership
Become a member and support more creations!
Boost Me (for free)
A BOOST a day keeps the bad prints away!
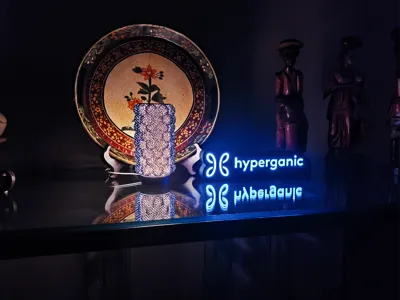
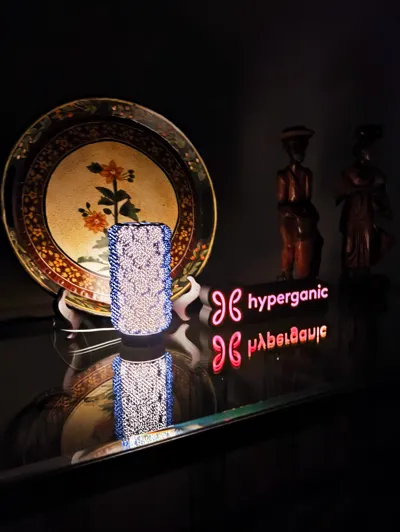
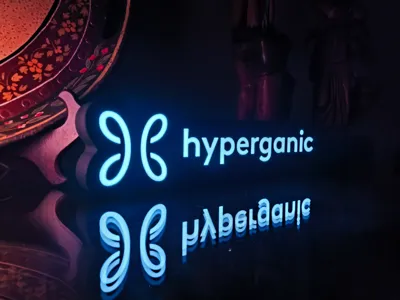
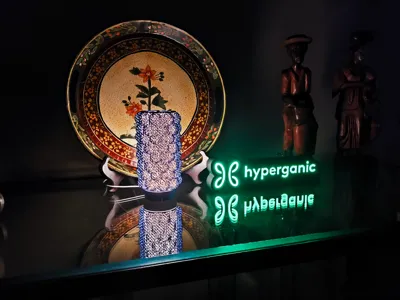
Introducing the Hyperganic Logo Lightbox, a beautifully designed piece that captures the essence of Hyperganic's innovative spirit. This lightbox features the distinct Hyperganic logo, making it a perfect addition to any space. Whether you're a fan of cutting-edge technology or simply appreciate sleek, modern design, this lightbox is sure to impress.
If you don't have or don't want to install LED's you can just glue the parts together and have an awesome sign!
Check out my YouTube video where I delve into the design process using HyDesign and how to create intricate TPMS structures.
WARNING!
- remove purge line at the beginning of the print, it may interfere, specially with bigger prints!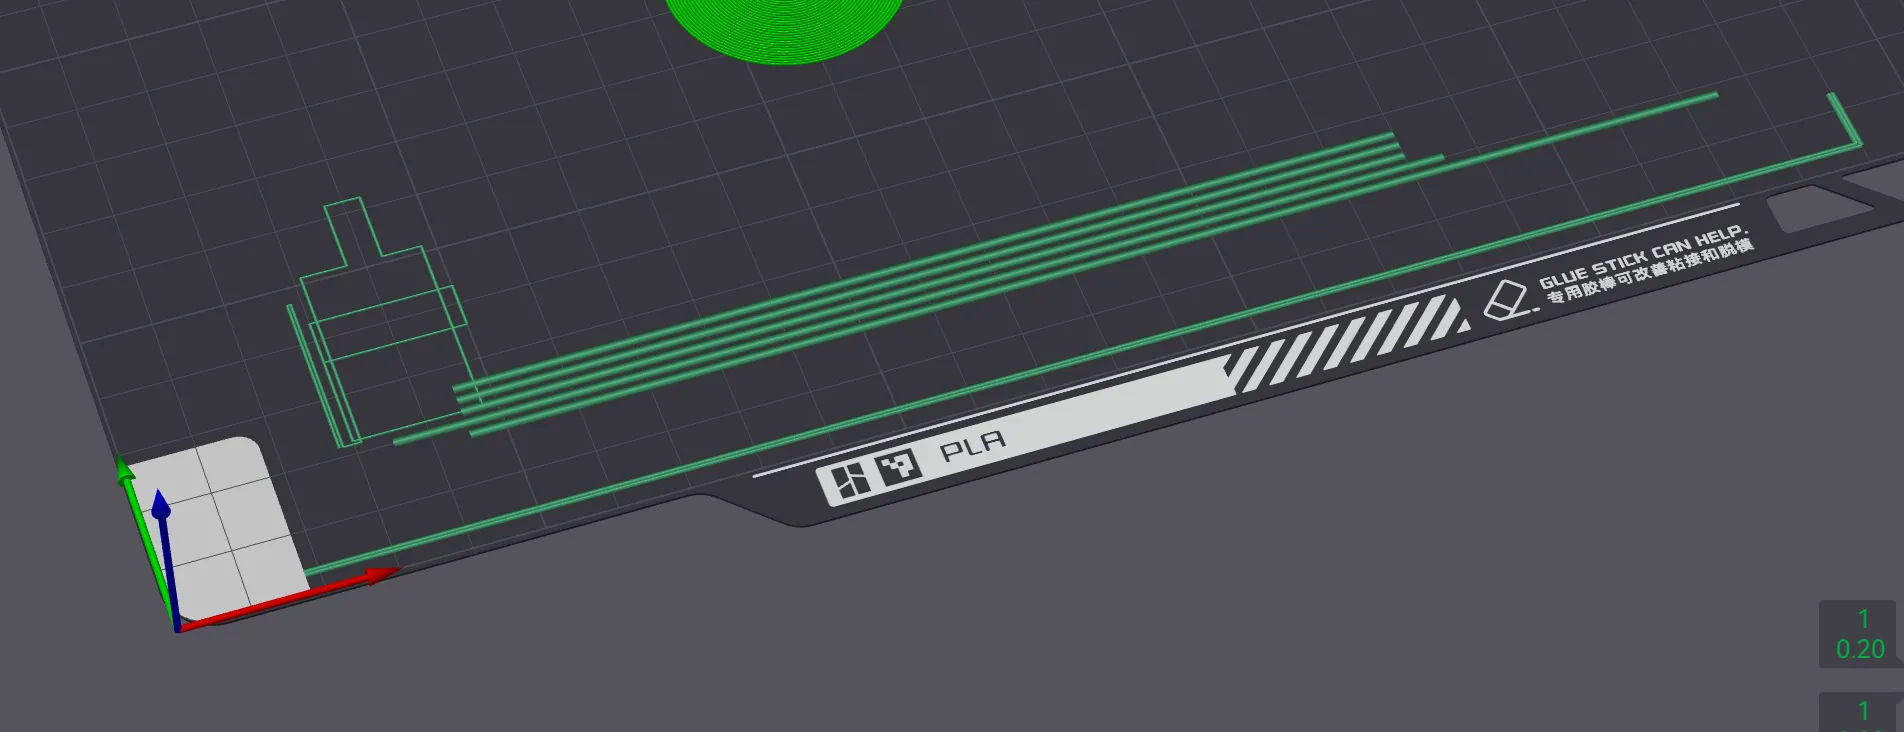
Materials and tools:
- glue gun
- aluminum tape
- led strip (here is the one I use): simple 1m white led USB
- soldering iron (optional)
RECOMMENDATIONS
- use a textured PEI sheet
- remove purge line at the beginning of the print!
- use the print profile, it has quite a few setting changes that help achieve the best results
- make a hole for the USB strip wherever you like it best with a soldering iron, drill or in the slicer
- use the aluminum tape on the inside of the backplate to help with light diffusion
- glue the LED's the further away from the colored design possible; placing them too close ruins the diffusion and the individual LED's become visible
Bambu Studio Settings:
I always recommend using the print profile I provided since it has settings with which I've been able to get the best results.
If you choose not to here are the main slicer settings I recommend:
- preferences (ctrl + P) → activate developer settings → Quality →Advanced → First Layer Flow Ratio: 1.04 to 1.08
- Quality → Wall generator → Arachne
- Quality → Wall transitioning threshold angle → 30º to 50º
- Strength → Advanced → Infill/wall overlap → 20% to 25%
- Increasing retraction / reducing temperature can help reducing wisps
- Order color printing from lightest to darkest color
How to make a hole in Bambu Studio:
Assembly video:
How to print without AMS:
Some models are fanart and are shared as artistic tributes, you may not sell, share, or profit from them. For original designs, a commercial license is required to sell physical prints (available on Maker World or Patreon).
License



Comment & Rating (0)