
3D Printer Progress LED Bar
Print Profile(4)


Description
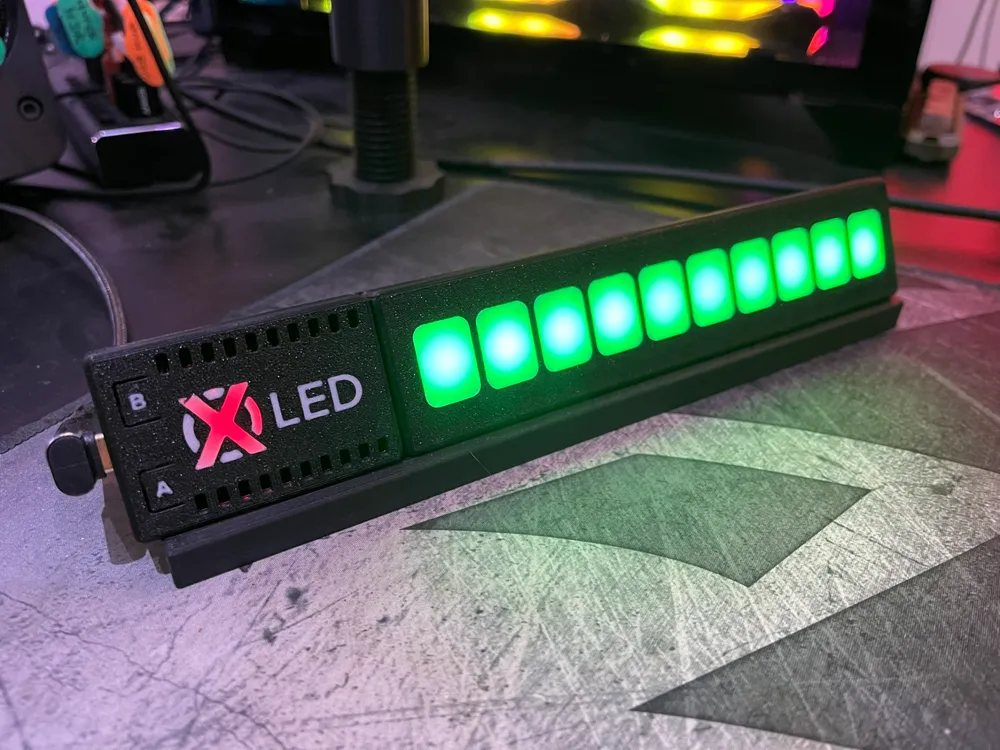
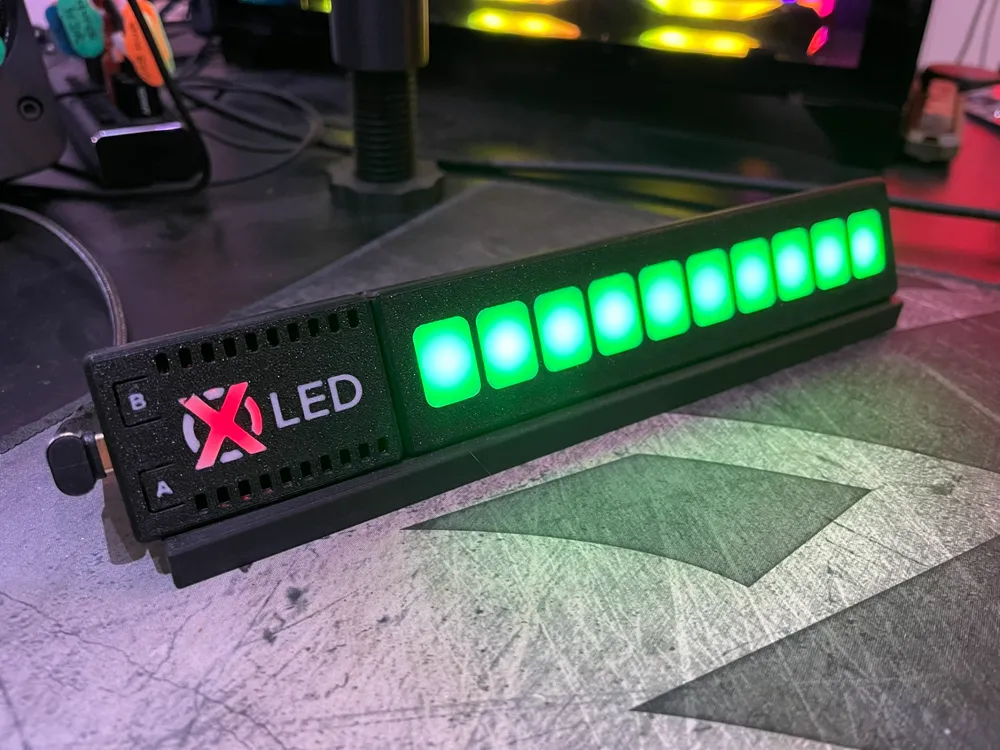
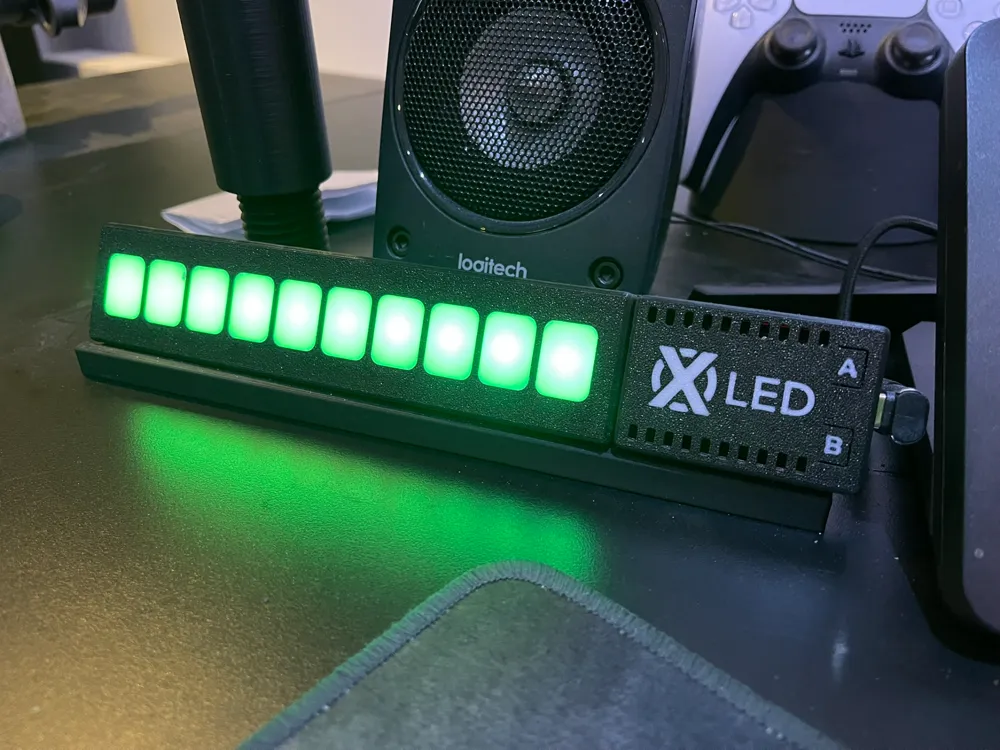
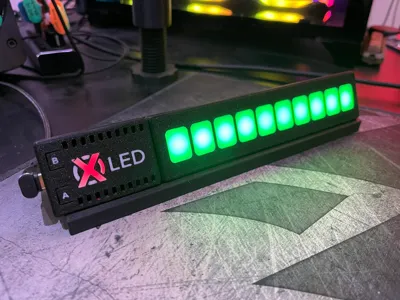
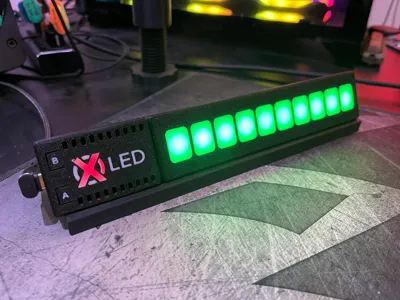
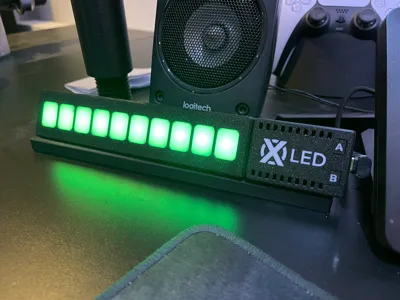
Bambu Lab 3d Printer Progress LED Light Bar
V1.1
Added desk stand, and adjusted design for better mounting.
V1.0
Features
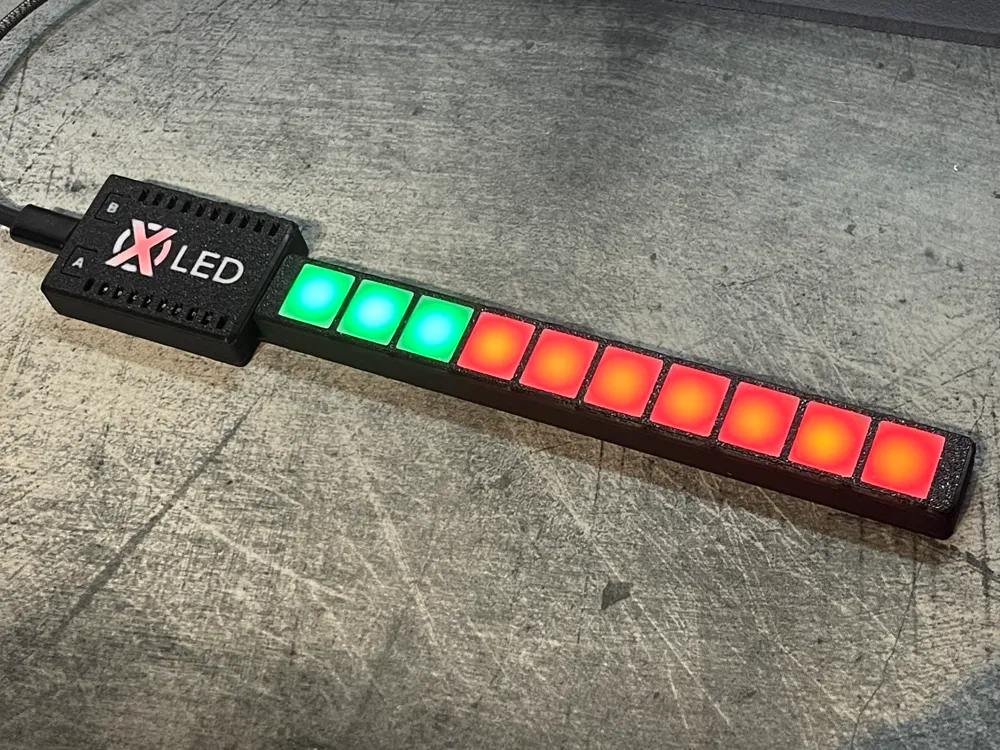
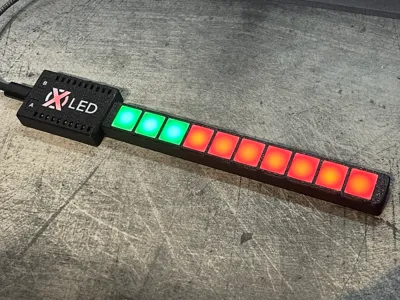
Connects to Bambu Lab 3D Printer and displays progress in 10% segments
Shows finish and error / cancel
Hardware Requirements
- 1 x ESP-32
https://www.aliexpress.com/item/1005006476900011.html (avoid terminal adapter)
- 1 x strip of 10 LEDs (60/m 5V IP30)
https://www.aliexpress.com/item/1005006047094128.html
- Soldering Iron
- Red / Black / White Wires (1 or 2 inches is more than adequate)
- 1 x 3D Bambu Lab Printer
- Filament (both Black and White)
Print / Build
- Open the .3mf
- Choose orientation of device (Left to right or right to left)
(1-base and 2-cover lights are compatible with both orientations)
- Print the 1-base with black PLA
- Print 2-cover lights with black and white PLA
- Print the chosen orientation of 3-cover esp32 with black and white PLA
- Solder the following connections (make sure to consider the wire length needed)
ESP VIN → + LED
ESP GND → - LED
LED D14 → DATA LED
- Place the ESP and LED strip into base and click covers on.
Provide power via a USB-C cable
Installation
- Visit : https://michaelowens.github.io/XOLED/
- Follow on-screen instructions.
- When installed, you will need the following info to connect to your Bambu printer :
A - IP Address
B - Access Code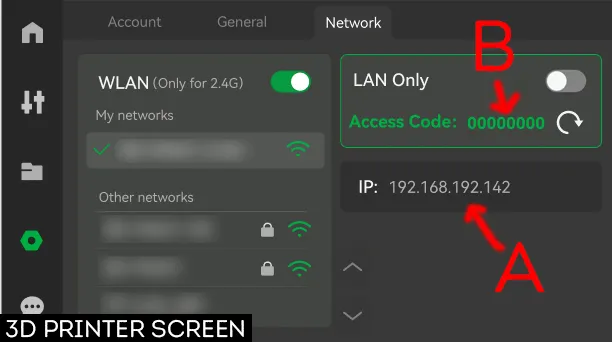
C - Serial Number
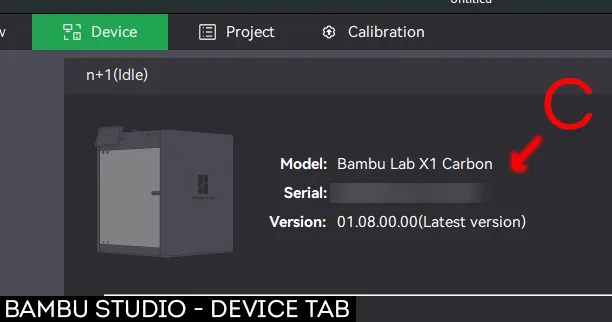
a1 series :
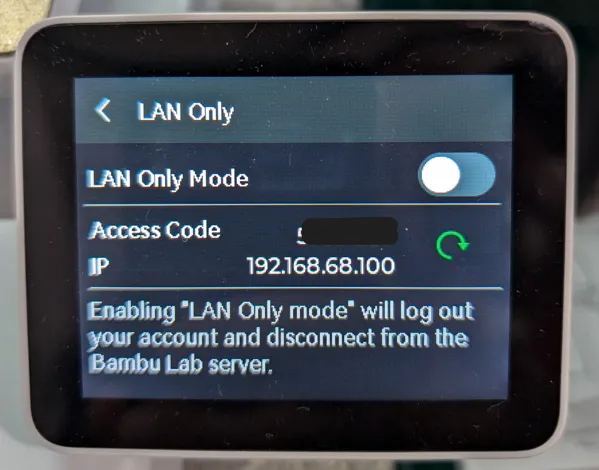
p1 series :
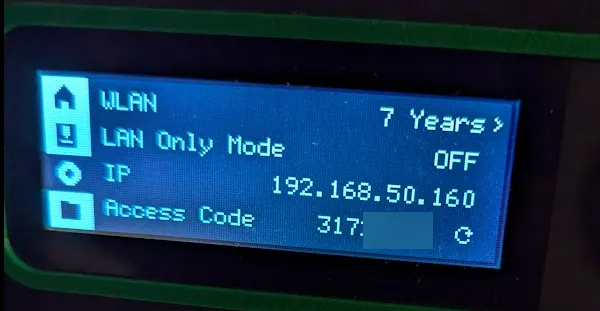
Enter details and press Save.
Once saved, it will connect automatically and display the current status of the printer.
Notes
- To access the settings page, visit IPADDRESS/settings.html
- The wifi password is blank but you don't need to enter it again (providing the password stays the same).
- If the device freezes, press B once to reset device, and wait a few seconds for the device to reconnect.
ADD-ONS
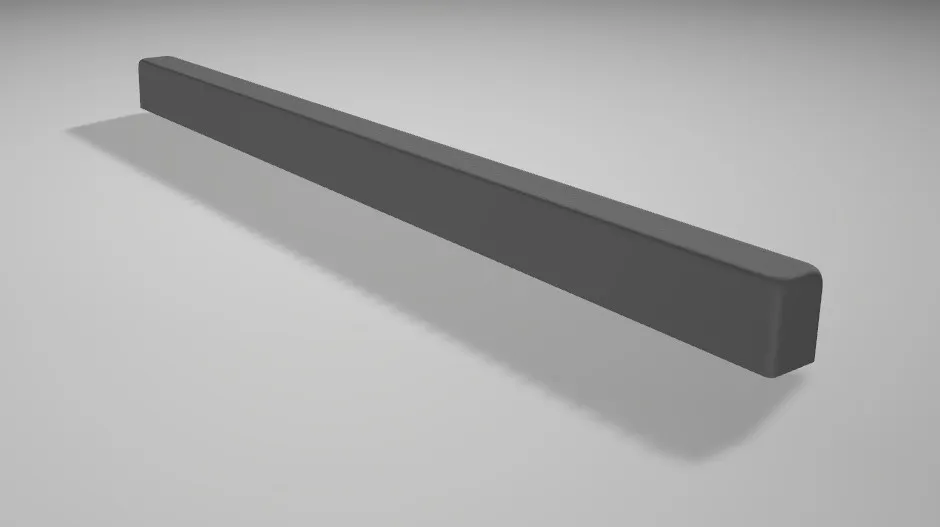
A model to help mount the device on a monitor is available under STLs.
License

You shall not share, sub-license, sell, rent, host, transfer, or distribute in any way the digital or 3D printed versions of this object, nor any other derivative work of this object in its digital or physical format (including - but not limited to - remixes of this object, and hosting on other digital platforms). The objects may not be used without permission in any way whatsoever in which you charge money, or collect fees.


Comment & Rating (61)