
Low Friction Adjustable Spool Holder for A1 mini

Print Profile(13)


Description
*** Freestanding and wall-mount versions available here ***
*** This spool holder DOES NOT fit the A1. It is designed for the A1 Mini ***
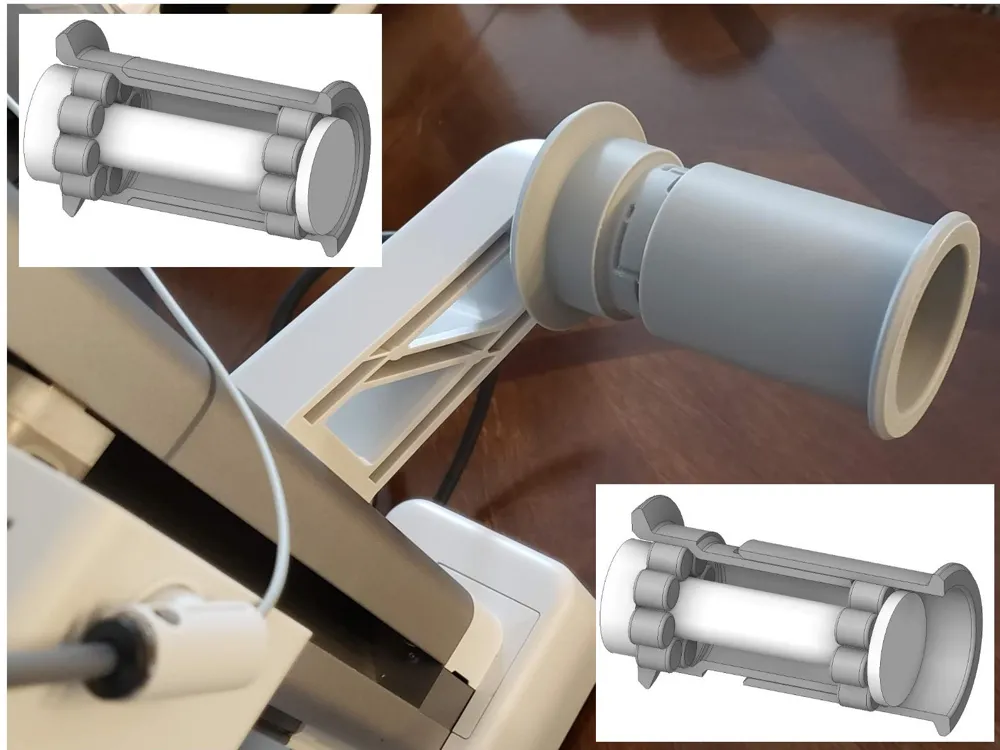
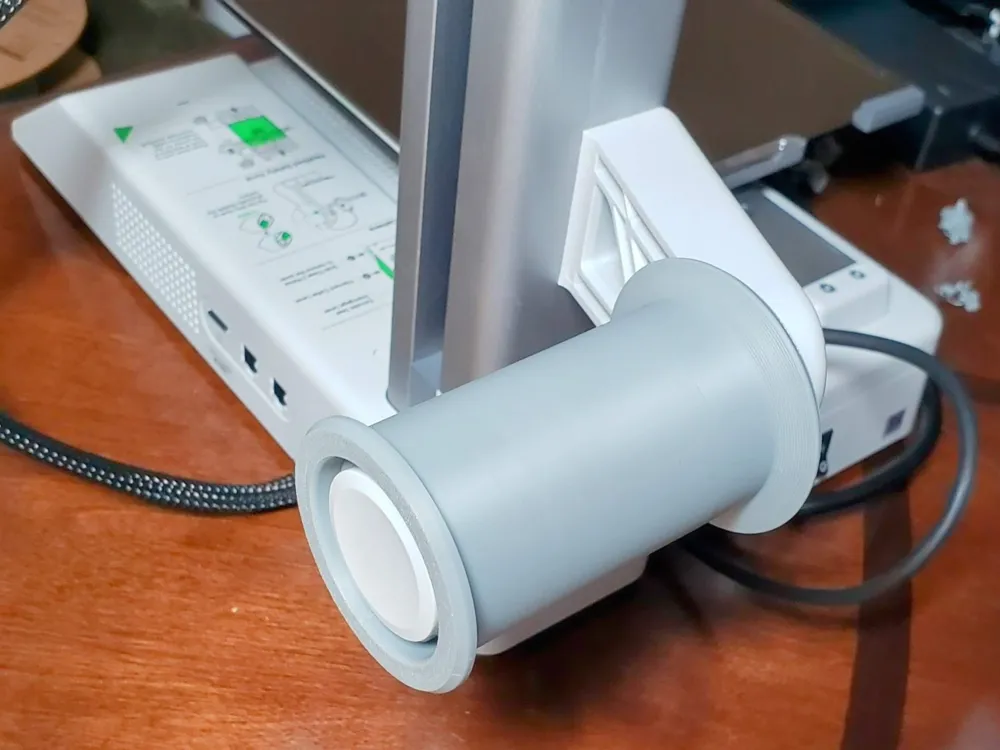
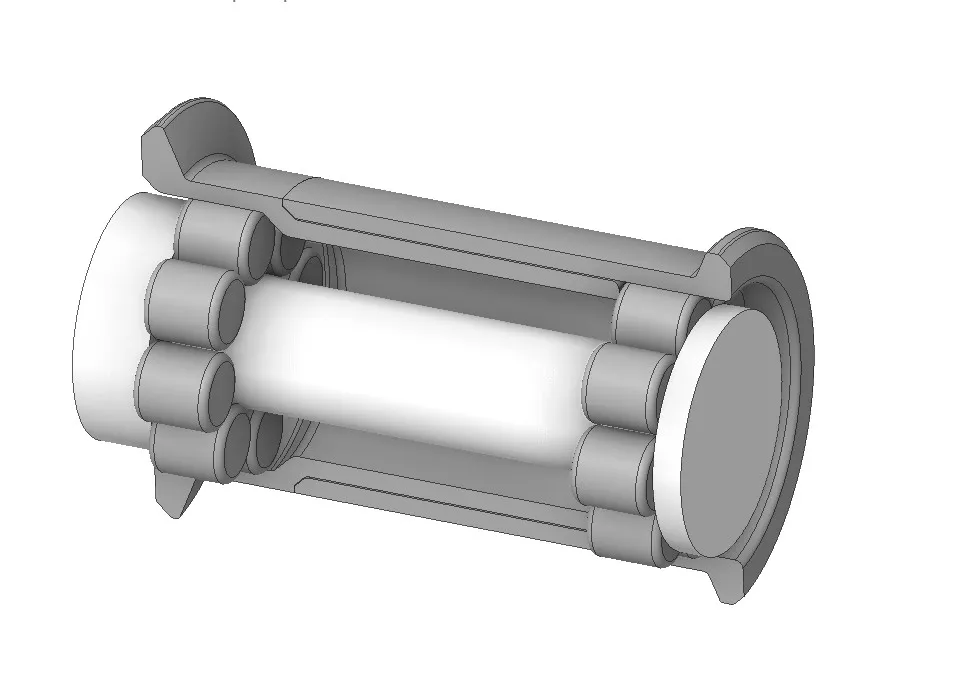
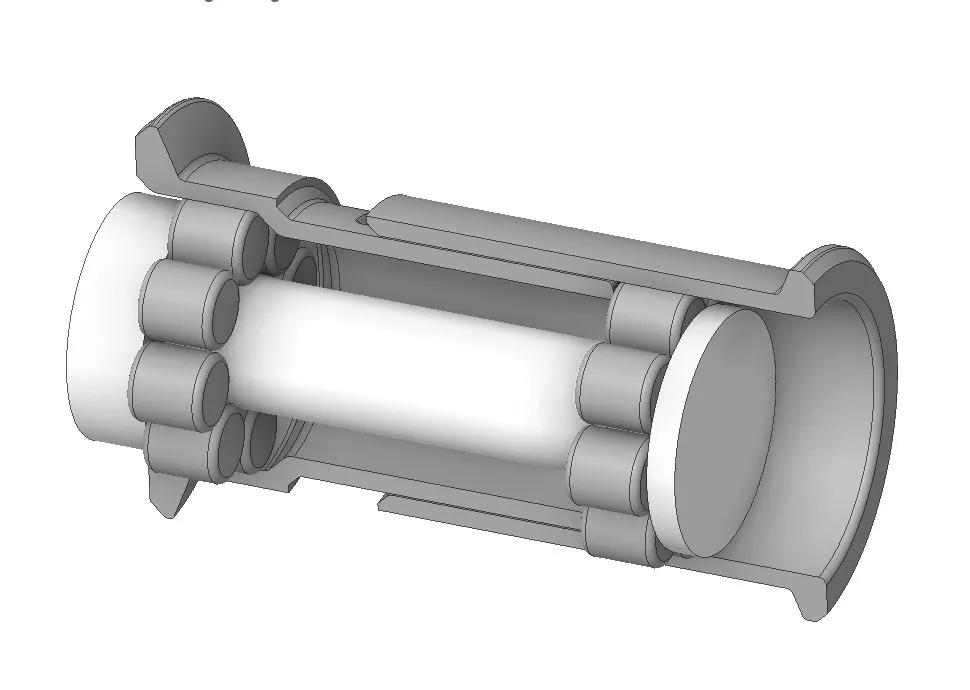
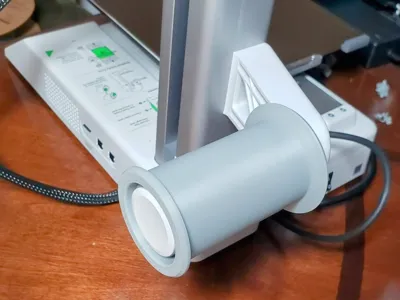
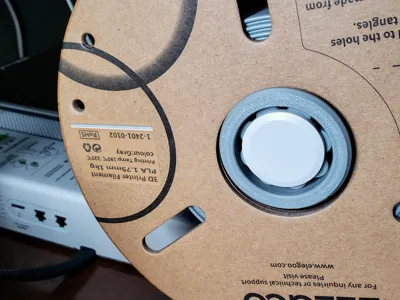
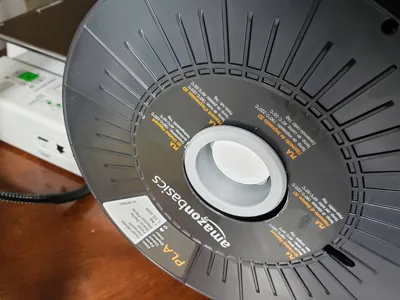
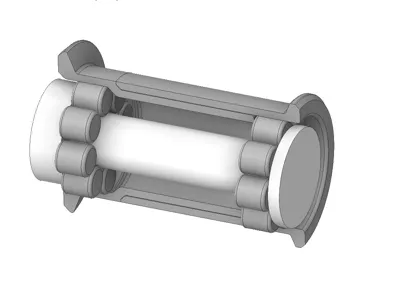
This is a very easy-to-print spool holder for the Bambu Lab A1 mini 3d printer ( no AMS ). The low friction and wider tube improve the stability of the spool, eliminate drag from the original spool holder, and eliminate possible jams from cardboard spools.
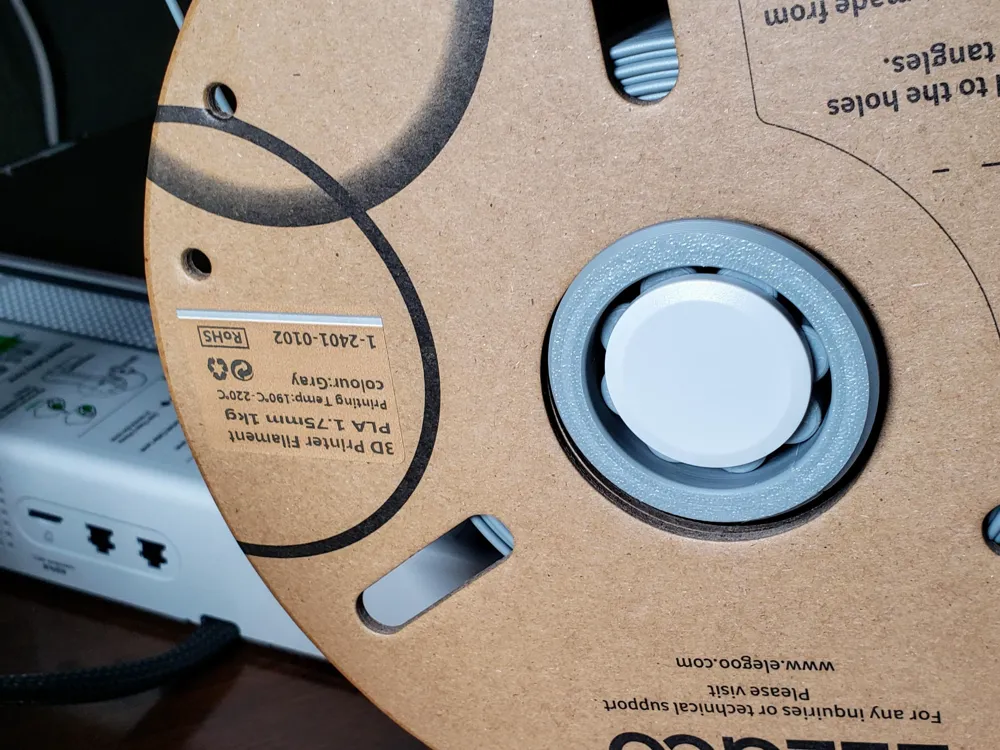
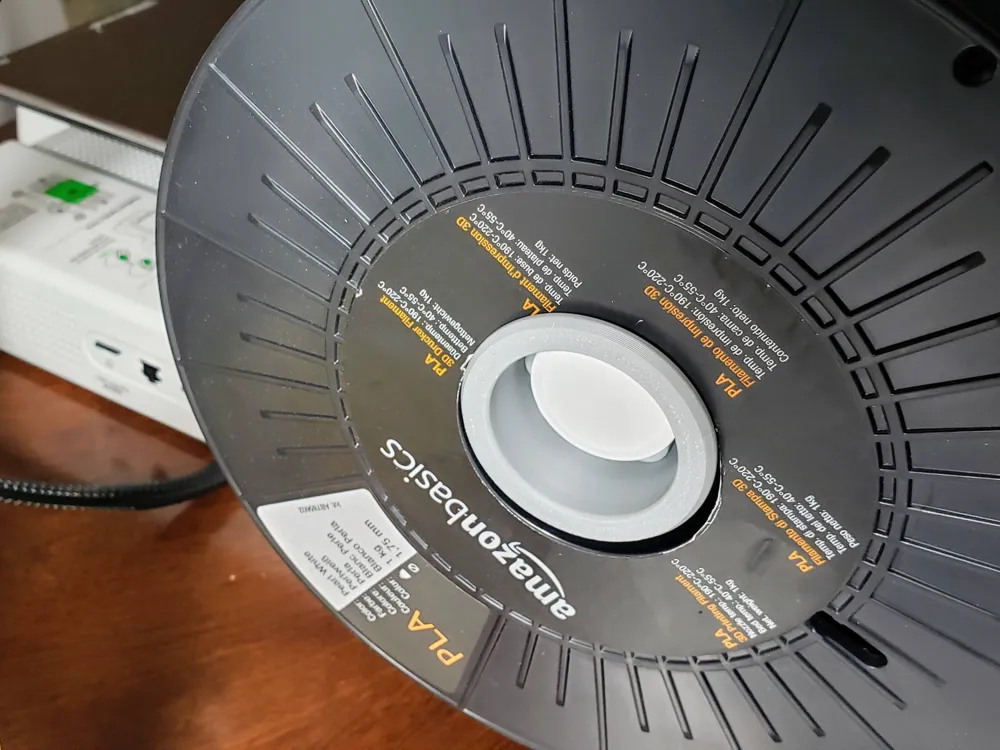
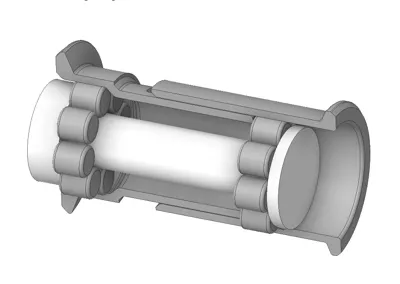
This low-friction adjustable spool holder is a variation of my first low friction spool holder design for the A1 Mini. The biggest change and main feature is that this spool holder is adjustable between 68mm and 80mm to accommodate wider spools. The main tube is now in two parts, and the bearings are completely locked in place after assembly. The overall dimensions have a small increase in size, including the bearings. The bearings now have a shorter length, which minimises the clicking sound that some users experience with the previous design when a bearing rolls over the shaft to the trailing side. The assembly can be a fun challenge, so, I've uploaded a simple assembly video instead of writing a long list of steps. Of course, you must remove the original spool holder from the A1 mini for easier assembly.
Parts needed:
1) 3d printed Main Tube
16) 3d printed Bearings ( print x16 if printing STL file )
Assembly video:
Some helpful tips for easier assembly:
Inspect the main tube and assemble and disassemble the two parts to ensure that the four points on the outer section slide in the channels of the inner section without resistance and that they snap lock over the retaining tabs in the channels.
Assemble the spool holder over a towel or small blanket. This will keep the components from bouncing or rolling off your work area.
Please post your makes. Enjoy
License

You shall not share, sub-license, sell, rent, host, transfer, or distribute in any way the digital or 3D printed versions of this object, nor any other derivative work of this object in its digital or physical format (including - but not limited to - remixes of this object, and hosting on other digital platforms). The objects may not be used without permission in any way whatsoever in which you charge money, or collect fees.


Comment & Rating (4851)