
Tiered Storage Box
Print Profile(3)



Description
"A world without a box is chaos!"
(Rudolf Schmantz *)
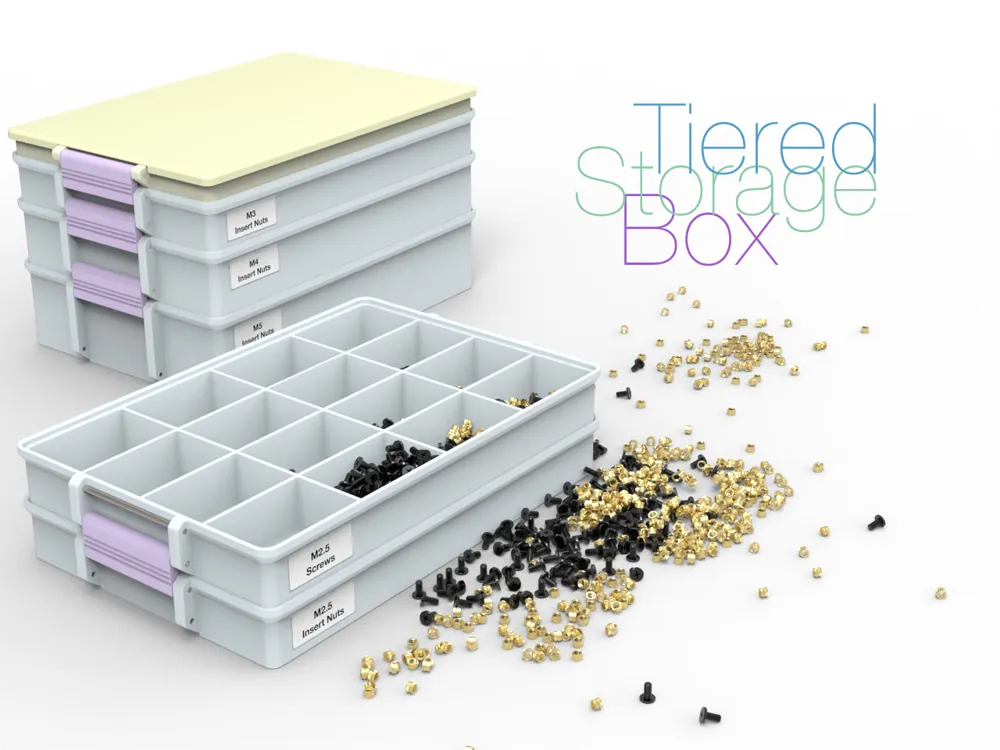
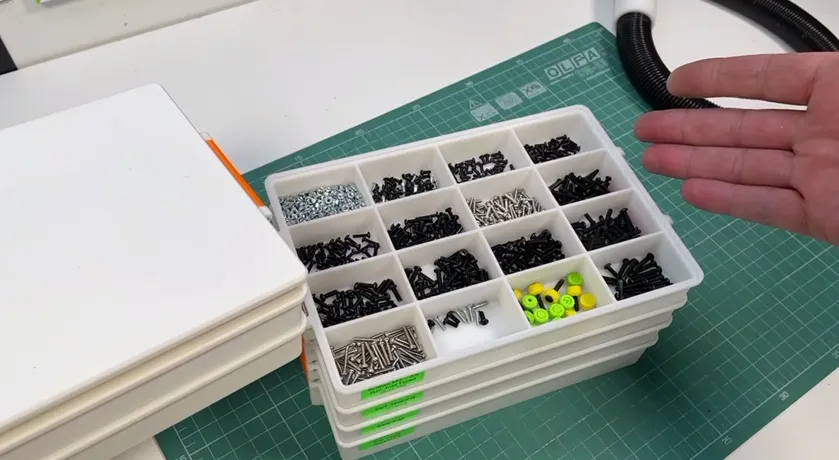
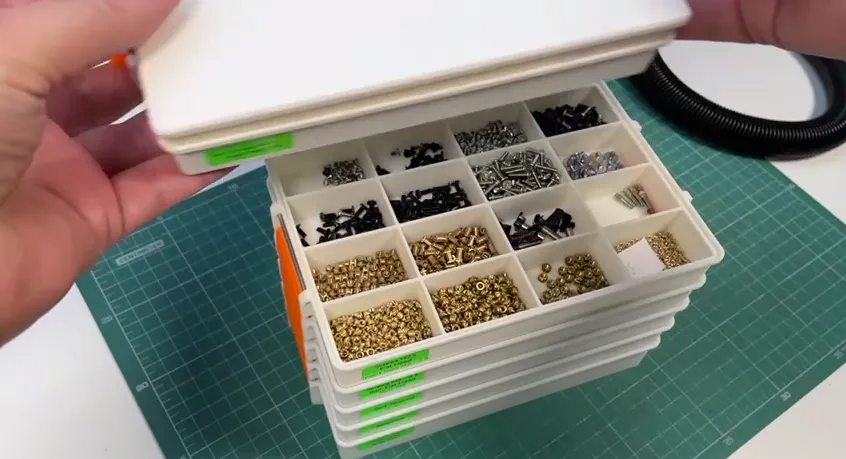
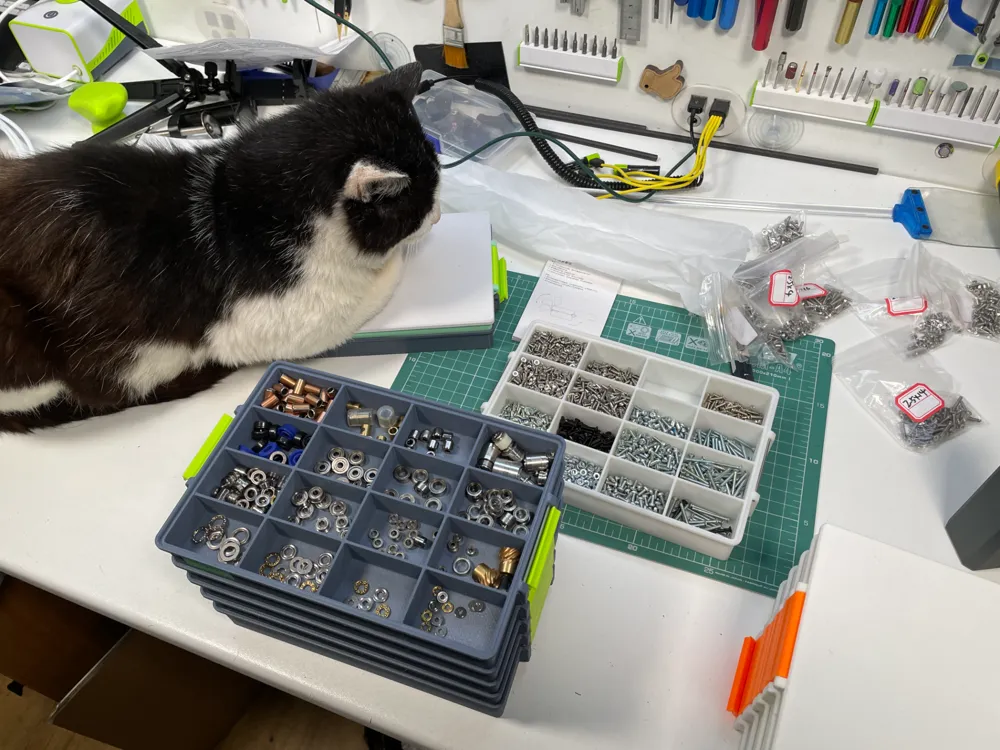
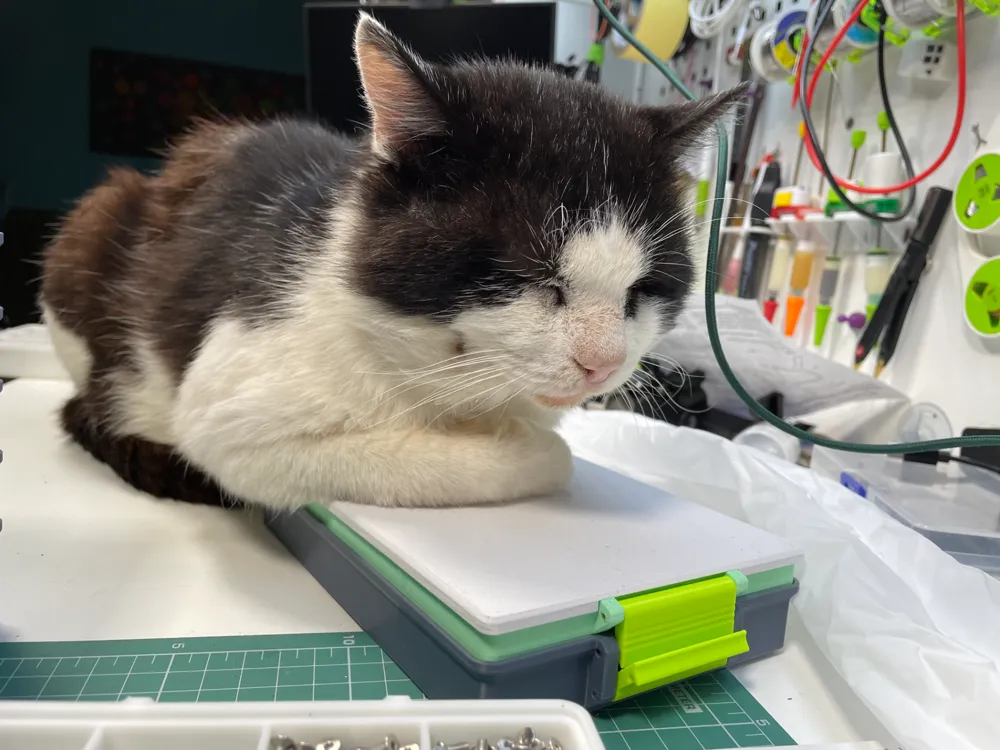
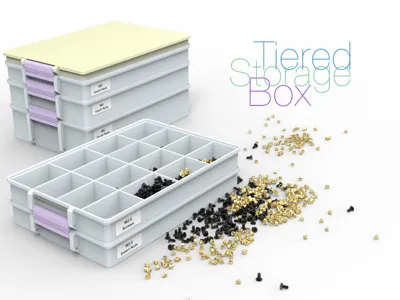
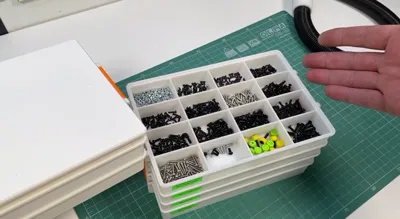
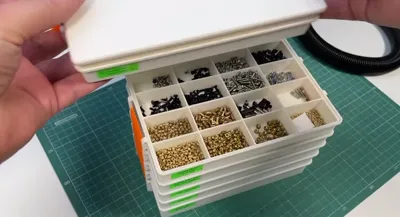
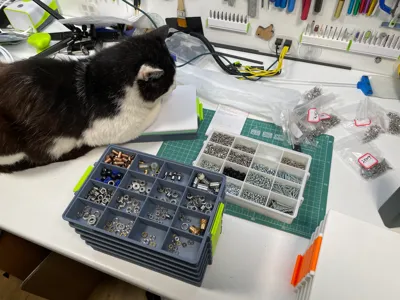
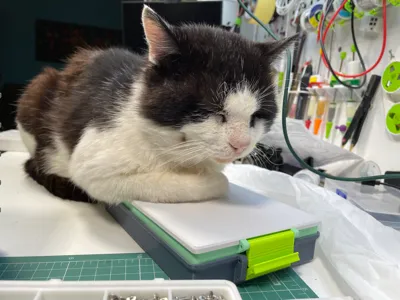
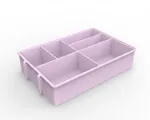
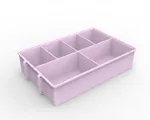
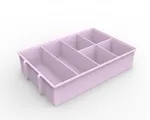
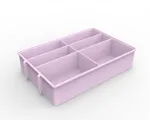
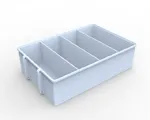
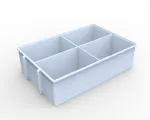
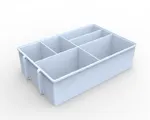
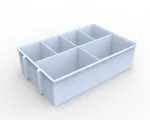
I have long contemplated designing this 3D model of a box intended for conveniently storing various small items like screws, electronic components, jewelry, and other similar materials. Only now have I gotten around to it, as the recent influx of tiny screws had nowhere else to be stored. The model features a multi-tier structure, distinguished by its multifunctionality and adaptability. I created over fifty variants of compartments and section heights, including solid sections without compartments. Each section serves as a lid for the section below. The top compartment has a simple lid designed for sorting and quickly picking out parts or whatever you store there...
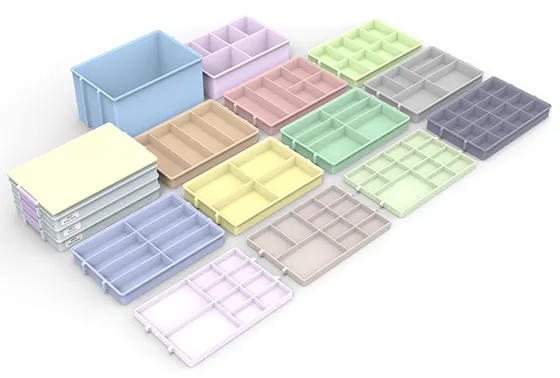
The main advantage of this model is its modular structure, which allows for a multitude of section combination options, enabling the most efficient use of space inside the box according to individual needs. This storage system not only simplifies the organization of small components but also ensures easy access to them, making it an ideal solution for workshops, labs, or home use.
Each section's side surfaces feature a subtle indentation for labels, helping to identify what's stored where. The indentation is minimal, which in turn does not cause "echoing" when printing at high speeds. Since everyone's printers and experience levels vary, this feature ensures that even 3D printing novices with minimal printer setting knowledge can print successfully.
I printed using PLA because durability is crucial for this model. For instance, four sections filled with screws weigh 6 kg. The model generally requires no post-processing. As they say, "Print in place," a method in 3D printing that refers to objects being ready to use immediately after printing, without the need for additional assembly or finishing. Well, almost... :) You just need to insert cut pins for locks or buy ready-made ones. I used bicycle spokes, which I had left over from my previous hobby :)
I recommend printing in light or white plastics because dark or overly bright colors can strain your eyes when you're picking out small items from your storage (experience verified). But feel free to ignore this advice. It's also convenient to print handles in one color for different groups of sectional assemblies. This way, you can immediately identify where everything is...
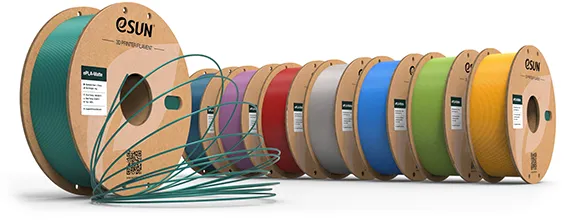
I didn't have such a palette of materials to work with creatively in technical design before, mostly only bright shades of plastic were available for sale. I printed my first box assembly in white PLA but then noticed the pastel tones of matte plastic from eSUN and enjoyed combining them. Thus began a series of boxes and a variety of sections. I'm sure you'll also enjoy using these multi-tiered boxes.
Boost Me (for free)
If you enjoyed my work and would like to support the development of future projects, you can do so through boosts. It helps me move forward, develop new ideas, and share them with you. Every boost is a contribution toward future models that may bring you even more satisfaction.
A few words about pastel colors:
Pastel colors are soft, unsaturated shades that lend an air of lightness and airiness to a space or image. These colors are achieved by adding significant amounts of white to brighter and purer colors, making them subtle and refined. The pastel palette includes light blue, soft pink, gentle lavender, pale green, beige, and other similar shades.
Combining pastel colors can produce various visual effects depending on the chosen shades. For instance, mixing cold and warm pastel tones can create a pleasant contrast while maintaining an overall delicacy of the image. Combining different shades of one color, such as light blue and soft blue, adds depth and sophistication to an interior or artistic work.
When combining pastel colors, it's important to consider balance and harmony. Pastel tones are perfect for creating a relaxing and soothing atmosphere thanks to their ability to soften space without overt intensity and brightness. These colors are often used in interior design, fashion, graphic design, and illustration, where it's important to emphasize lightness and ease. Now, 3D design also offers opportunities for bold experiments, even if it's just a box in this case.
* Rudolf Schmantz is of course a fictional character, but I thought it was funny :).
See the video for details:
 |
If you liked this thing - let me know by putting like!
Parts links below:
- eSUN Upgraded ePLA-Matte
- Bicycle Spokes
- Metal rods D2x55mm
- Stainles Steel Solid Round Rod
- Carbon Fiber Rod
- Glass fiber rod
- Cylindrical Pin
- Universal Glue Quick-drying
- Super Glue 502
- Glue 242
- UV Glue
Links to used tools:
- Niimbot D110 Label Maker Printer
- Niimbot Color Label
- Angle grinder
- NOGA deburring tool and Blades
- Carbide Machine Reamer
- UV Glue Repair Lamp
I've posted all the files in STEP format here, and you can easily modify the dimensions if necessary. However, for a small donation (at your discretion), I am also willing to customize the dimensions and cell configuration according to your specific requirements.
As a reminder, you will need two locks and four bars for each section. For the last (bottom) section, only two rods, no locks are needed. It's up to you to decide which one to consider as the bottom one. The rods can be bought ready-made, but I make them from bicycle spokes. Diameter 2 mm length 55 mm
Thank you for every tip or donation,
it means great recognition for me and helps a lot to keep going!
 |
| https://ko-fi.com/perinski |
| BTC:bc1qplpzq36ghw84hty4nn2zzu4ps4sdh4th0v93j8 |
| ETH:0xc766ebbeAa76aaf629788c8F99C33A8d80d48977 |
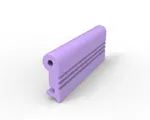
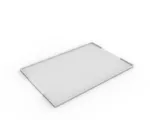
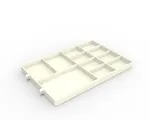
Lock, lid and tray
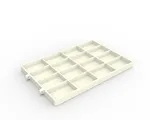
Section height 22 mm
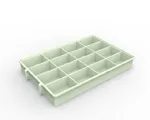
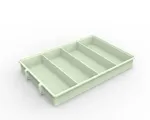
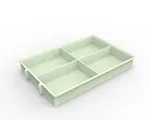
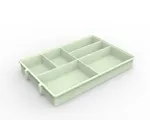
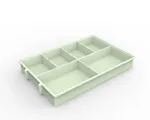
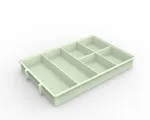
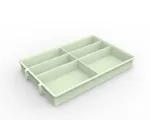
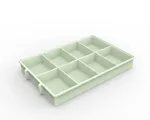
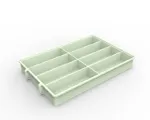
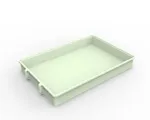
Section height 30 mm
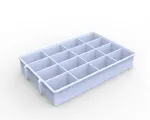
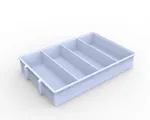
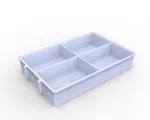
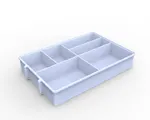
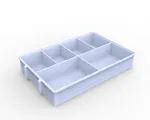
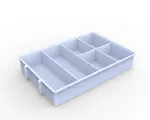
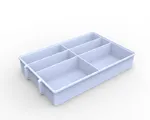
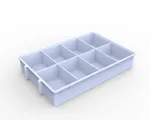
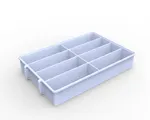
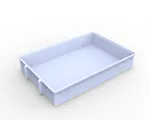
Section height 40 mm
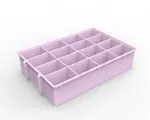
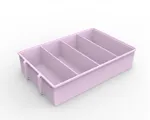
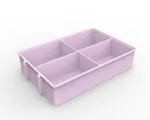
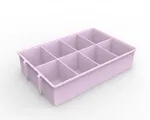
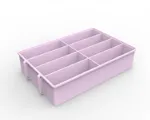
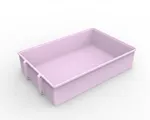
Section height 50 mm
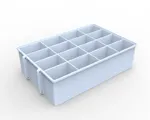
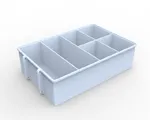
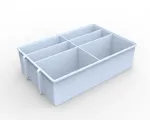
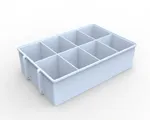
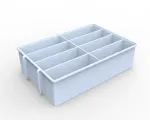
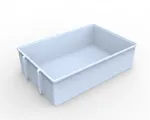
Section height 60 mm
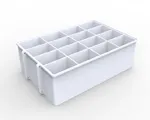
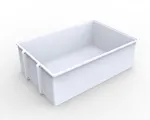
Section height 70 mm
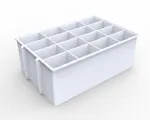
 |
Update
I made this little scoop quite a while ago — barely managed to find it. I kept forgetting to publish it.
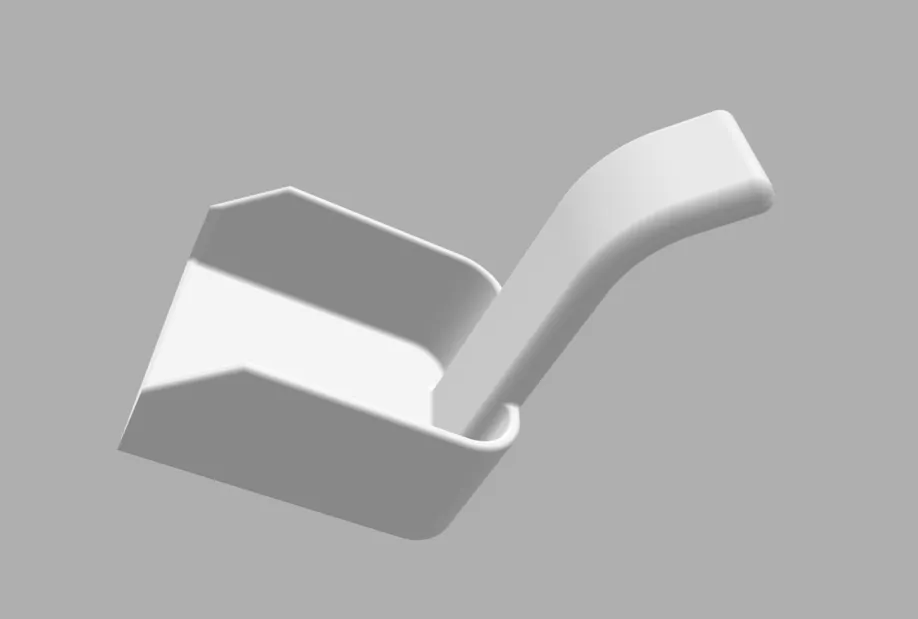
I originally needed it when I was transferring components from one section set to another. For some of the screws, I used a magnet — which works great for steel. But I also had stainless steel and brass screws, and those obviously don’t stick to magnets.
So I made this small scoop, and it turned out to be really handy for the job. Simple, but it works great.
I’ve been meaning to share it for a long time, and someone finally reminded me. So here it is. You can see it in action in the video at 6 minutes and 10 seconds.



Comment & Rating (198)