
Spiral Lampshade for IKEA TÅGARP
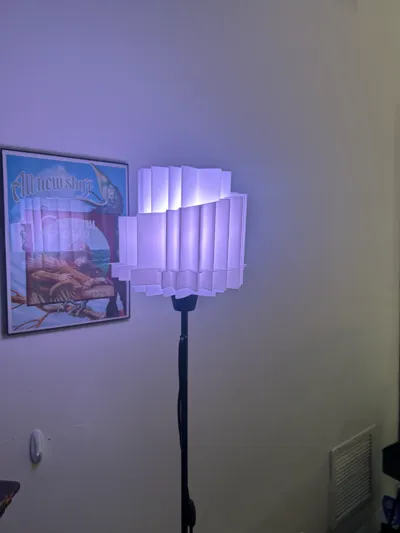
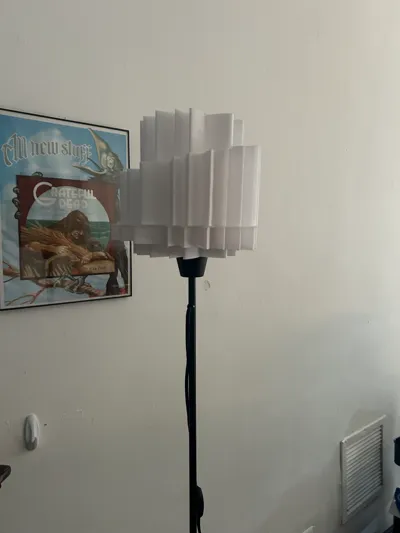
Print Profile(2)


Description
***UPDATED PRINT PROFILES TO INCLUDE ALL BAMBU PRINTERS****
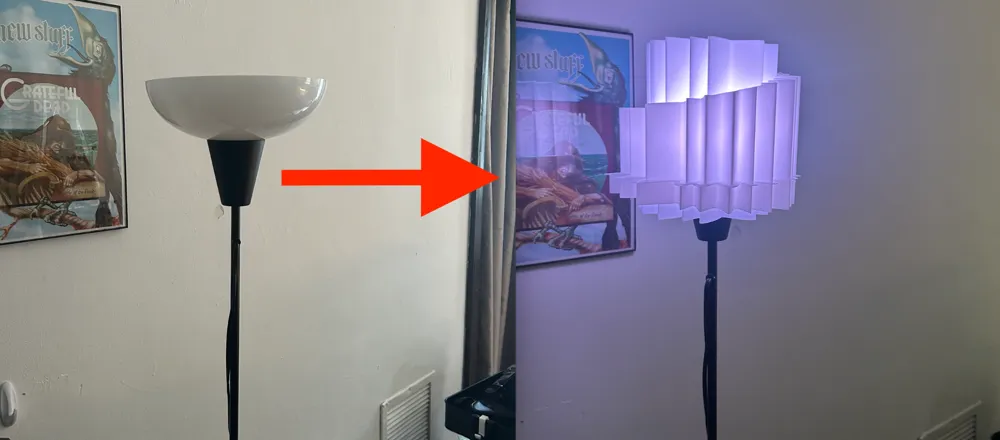
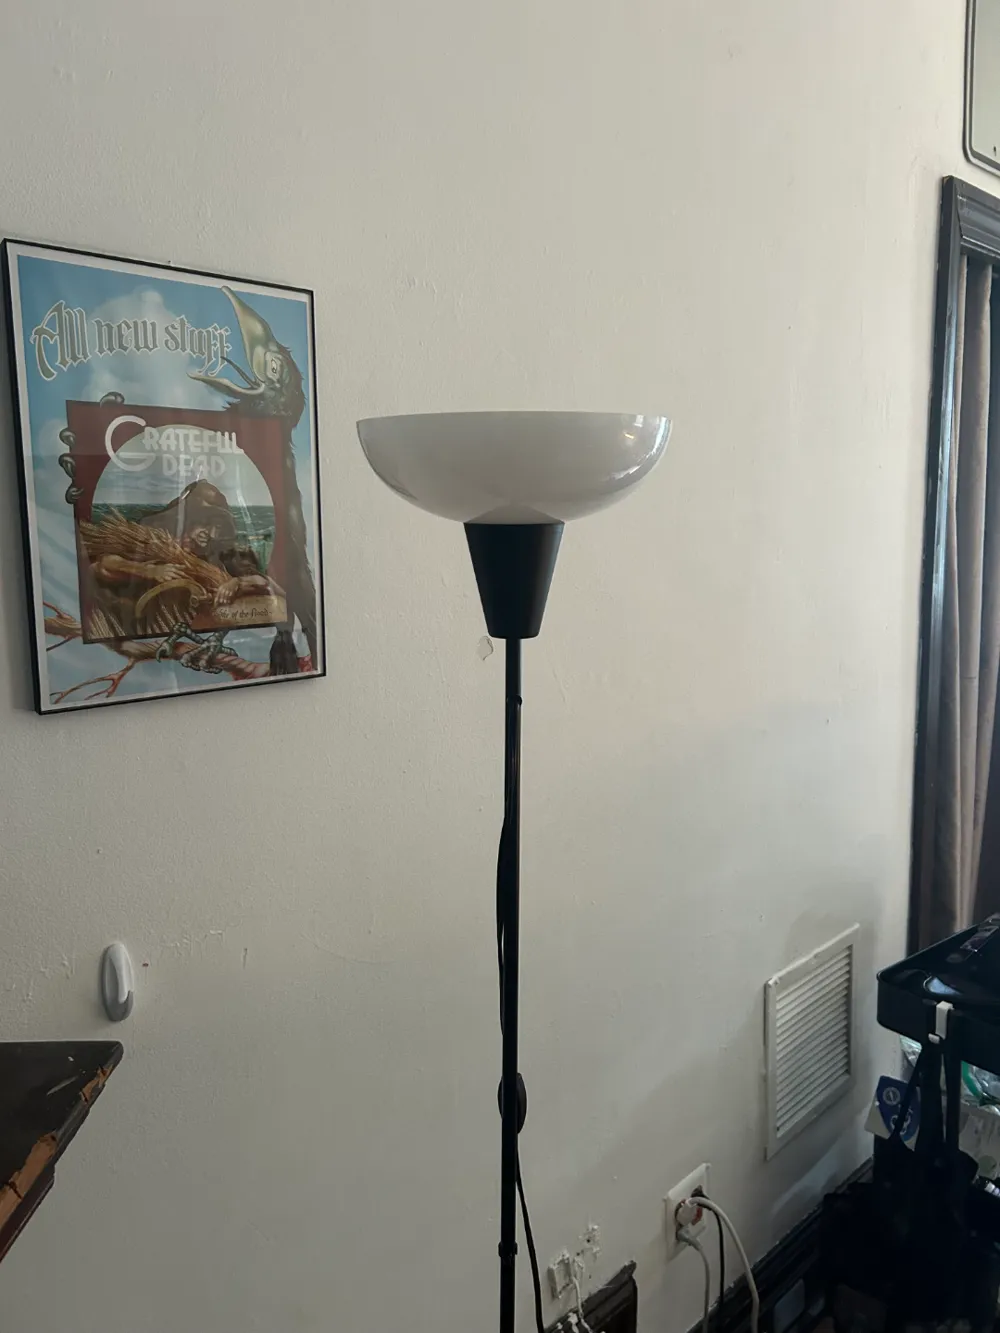
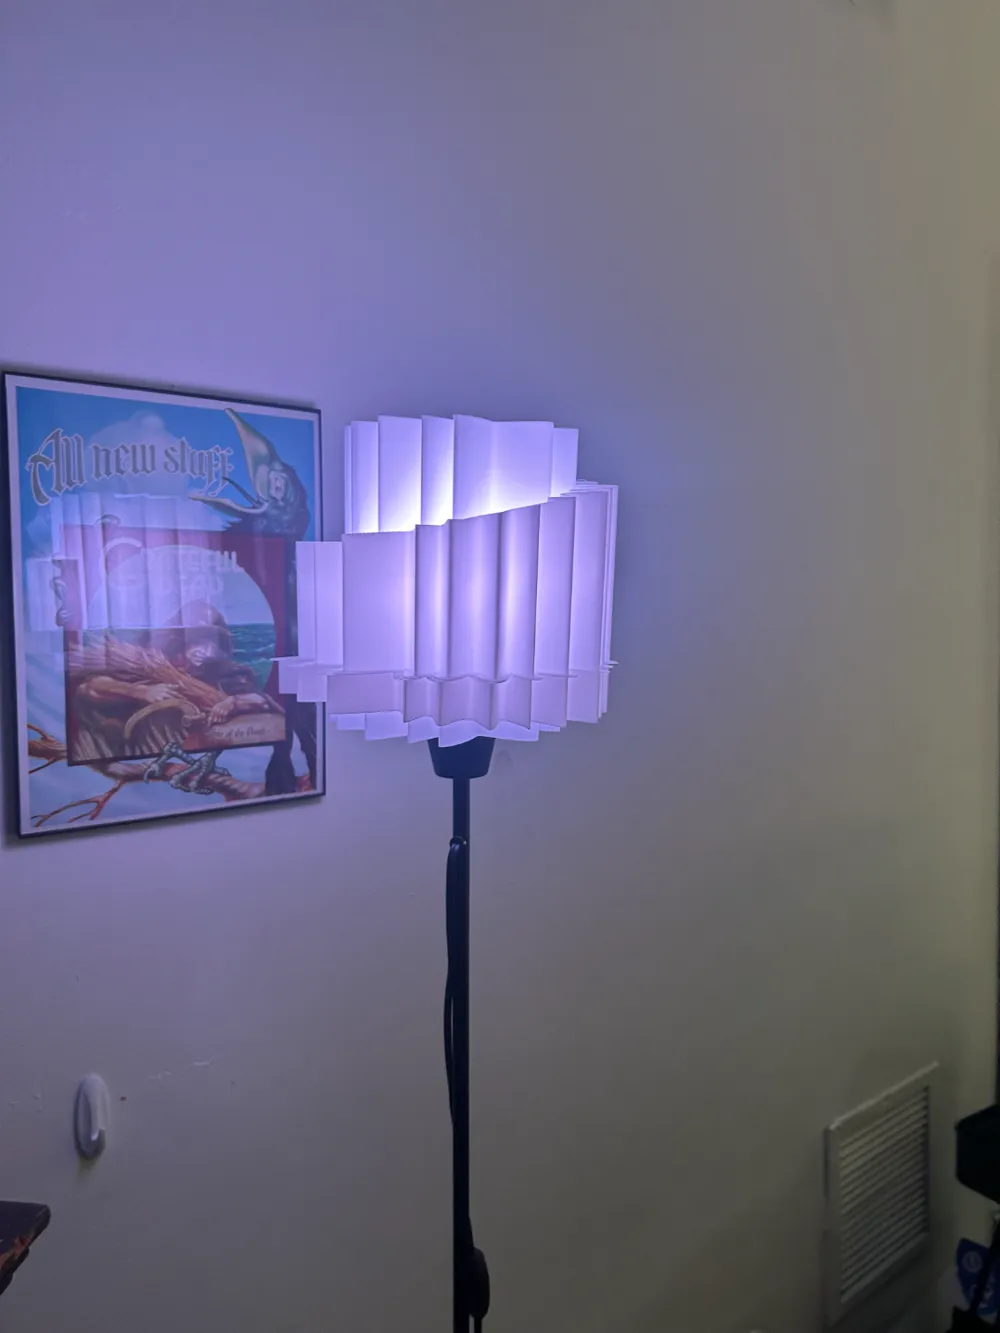
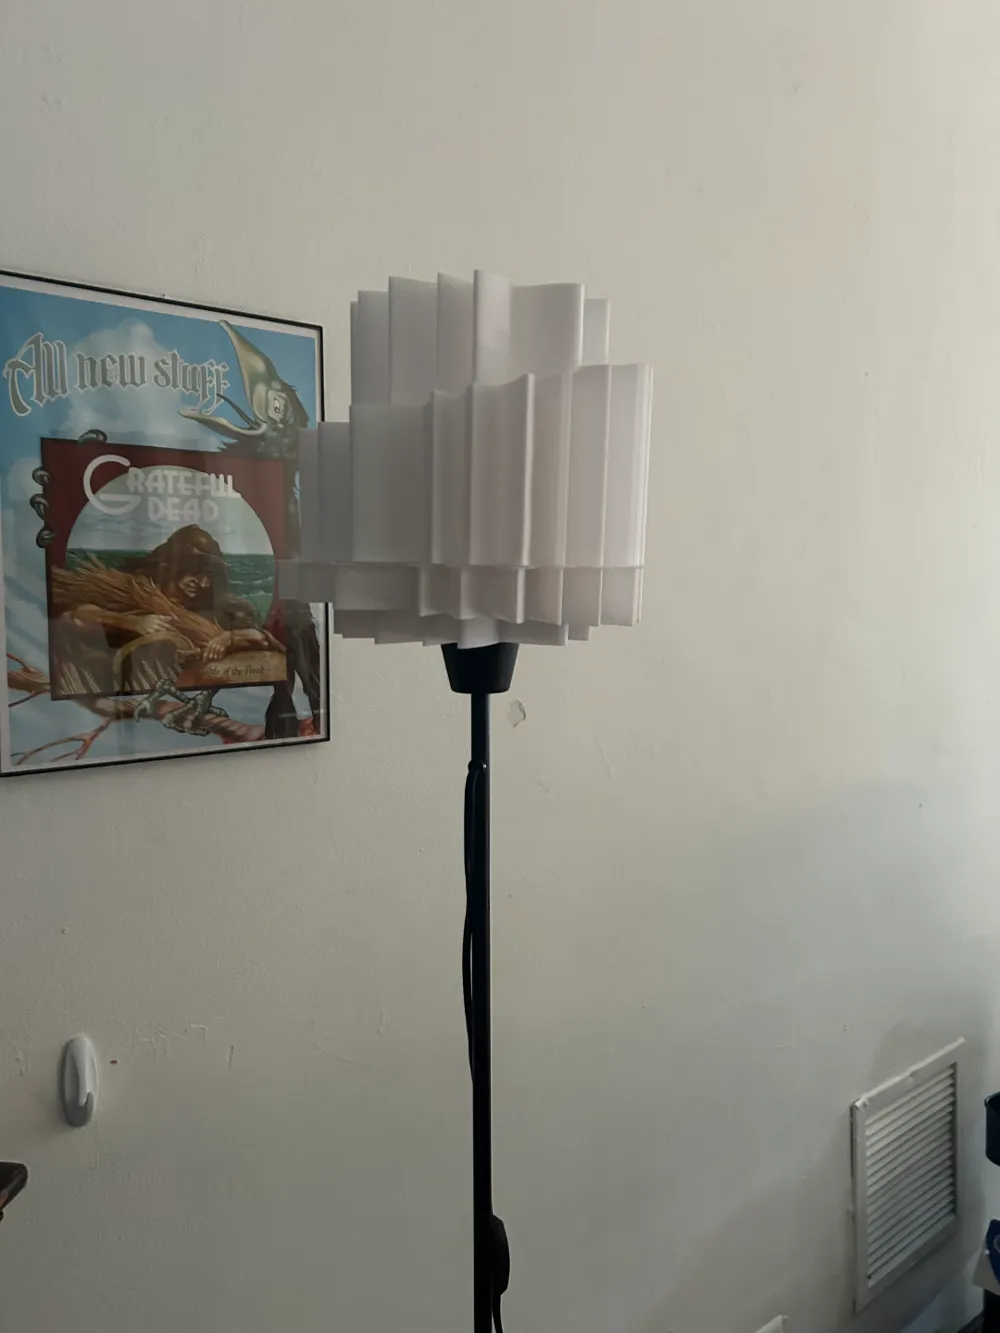
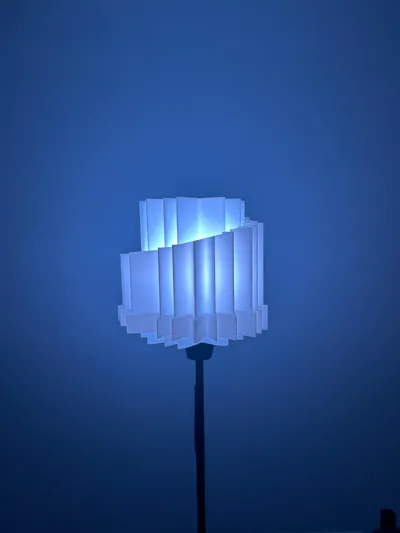
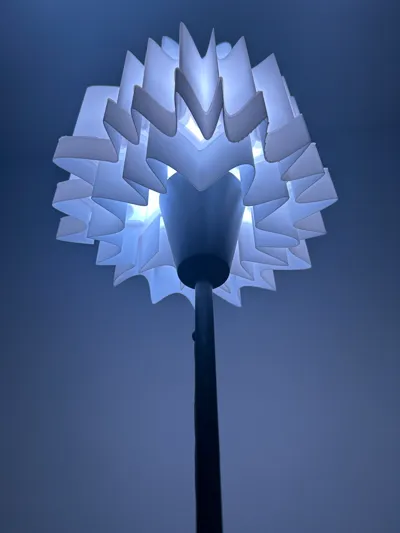
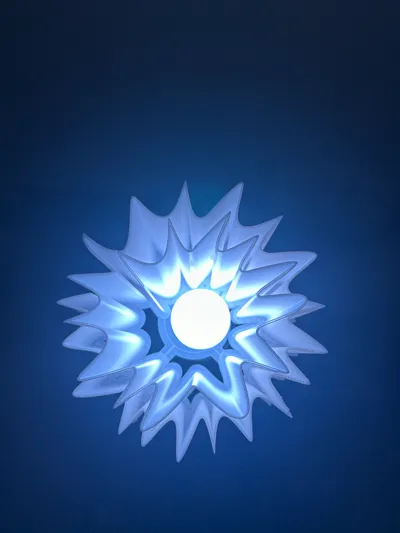
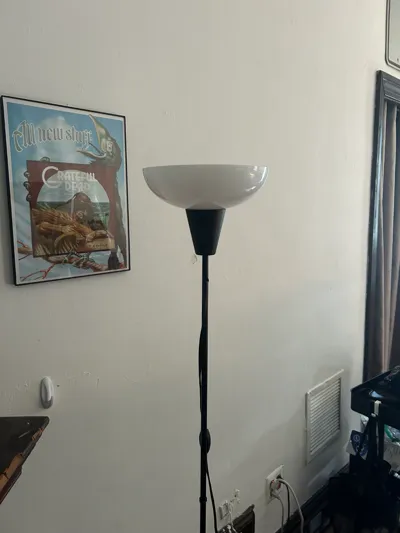
This is a lampshade that made to make my basic cheap IKEA lamp look good. This is a IKEA TAGARP lamp.
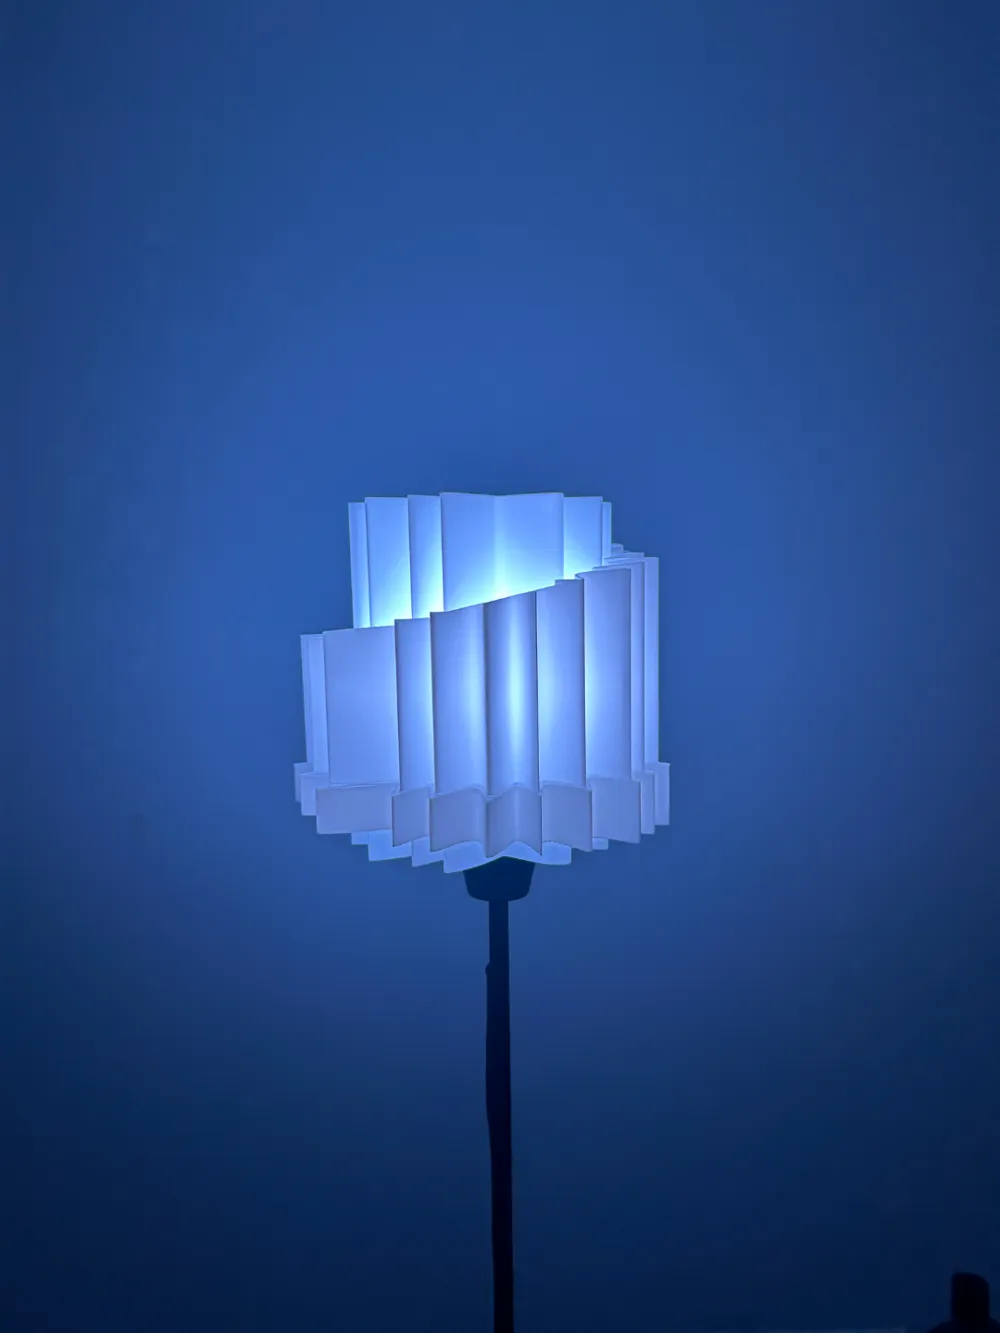
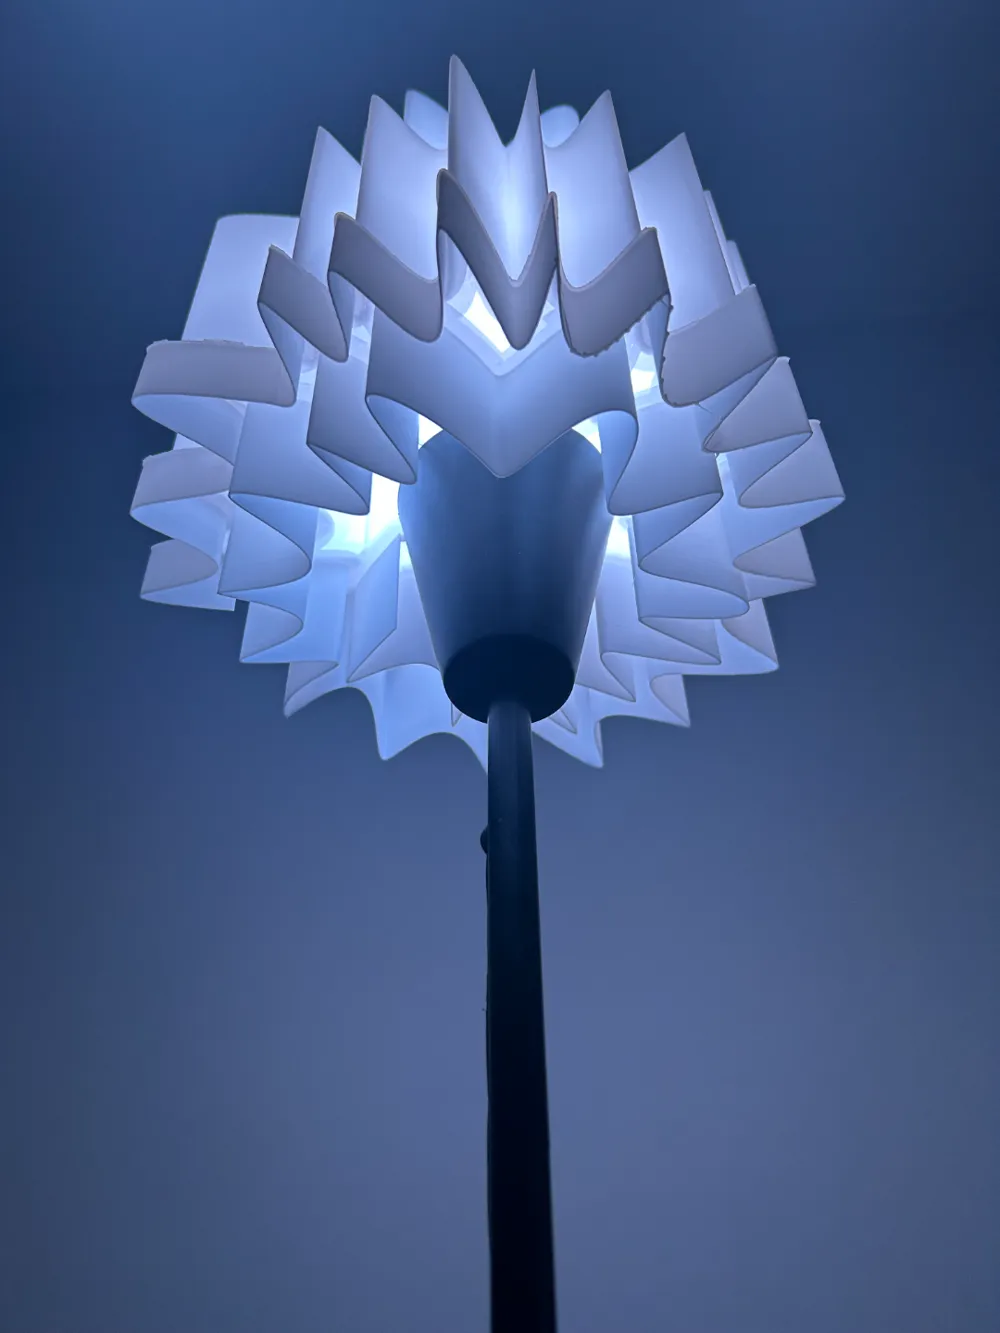
Model contains 2 objects that sit on top of each other on the lamp. The bottom portion of the lamp is slightly largers to provide a better base for the top part to sit on.
Scale up or down the Z-axis of each plate to your liking to achieve different heights on the lampshade and to save filament if you want.
Some post-processings is required.
.3MF FILE DIRECTIONS:
Download the .3mf file containing the geometry data and make sure the print settings are as follows.
-Vase Mode (Smooth)
- Inner and outer brim, 7mm, 0mm spacing
-Arachne wall generator
-Scale the z-axis of each object as wanted!!!
STEP FILE DIRECTIONS:
Download the step file and import it into your slicer. Apply a uniform scale on both objects until the model fits your print area. After this you can scale the Z-axis up or down to your liking.
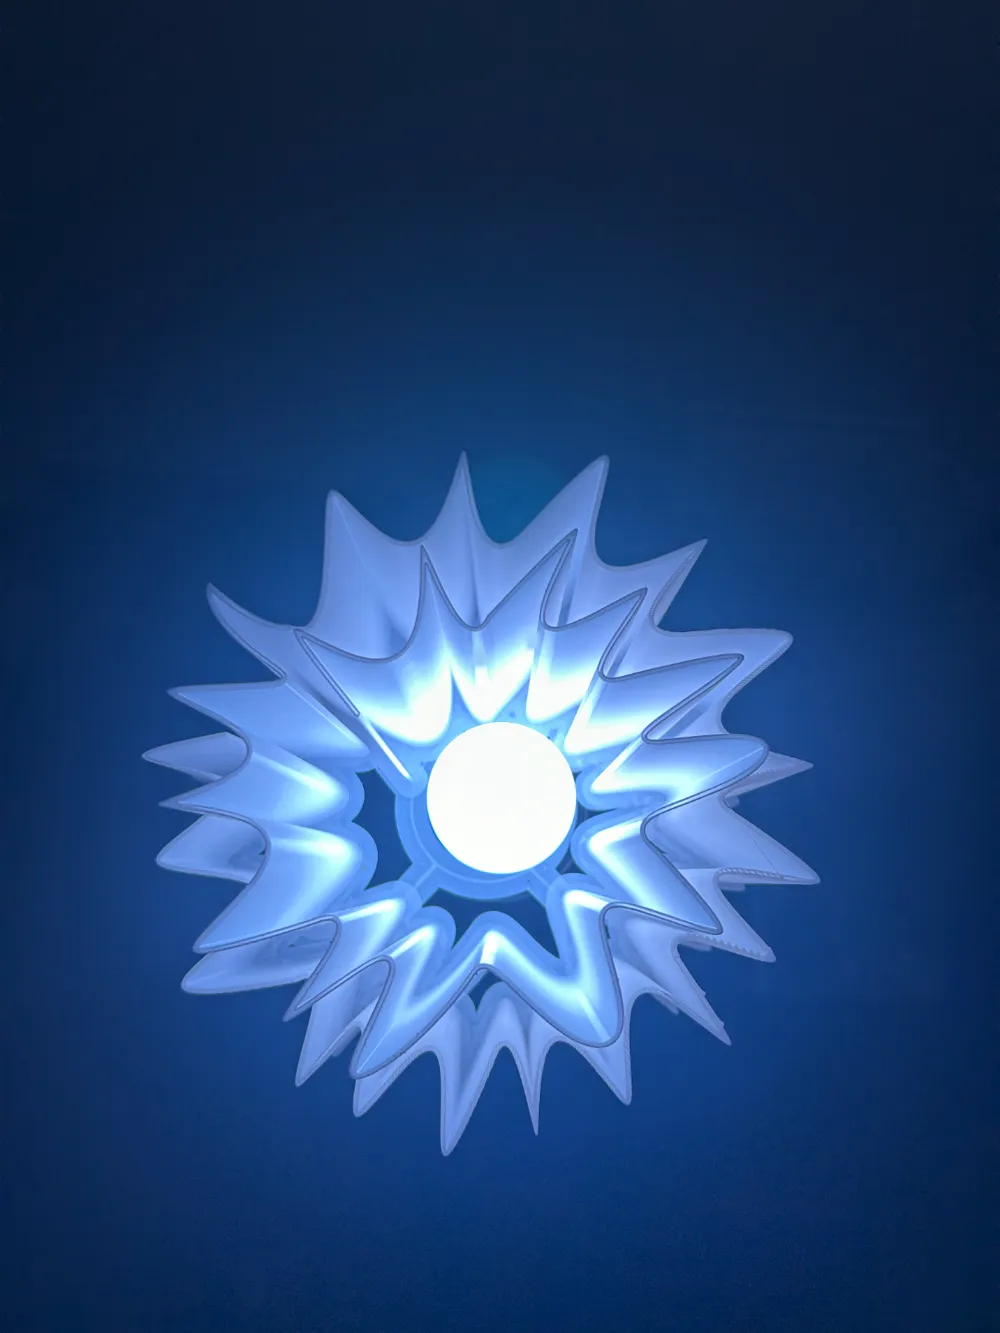
You will need to add a generic cylinder to each model. Center the object, add a generic cylider, center the cylinder, scale it to 150mm in the x and y axis, and 0.4mm in the z-axis. Add another generic cylinder. Center it and scale it to 80mm in all axises. Make this cylinder a negative part. This will be the cutout for the lightbulb to go into. Align the cylinders and move them around until the fit flush in the center of the model without the negative part cylinder touching any of the walls of the model.
Make sure the print settings are as follows:
-Vase Mode (Smooth)
- Inner and outer brim, 7mm, 0mm spacing
-Arachne wall generator
ASSEMBLY INSTRUCTIONS:
-Remove the model carefully from the bed of the printer as it is flimsy and can easily break
-Remove the outer brim of each part
-DO NOT remove the inner brim of the first wall or any of the brims after the outermost layer of walls as the inside brims also provide some structural integrity to the object
-Remove your lightbulb from the lamp
-Place the bottom part of the shade upside down on the lamp
-Place the top part on top
-With both parts sitting on top of each other place and screw in the lightbulb
-Gluing the brims of both objects together will achieve a studier lampshade
License



Comment & Rating (1)