
Glow Coaster
Print Profile(1)

Description
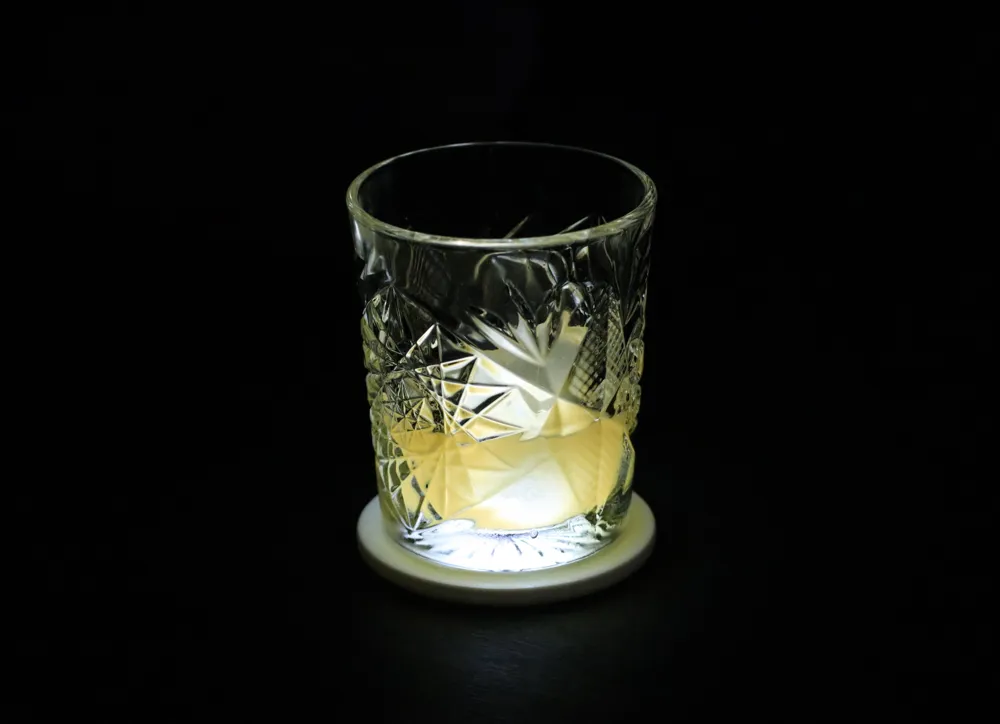
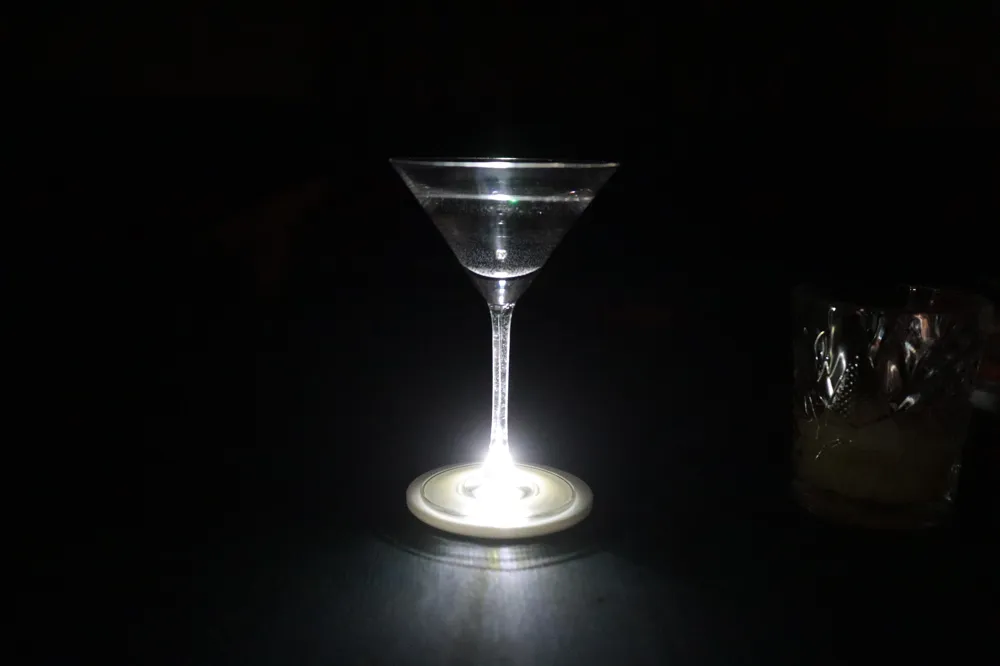
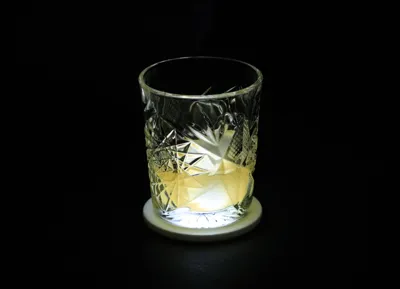
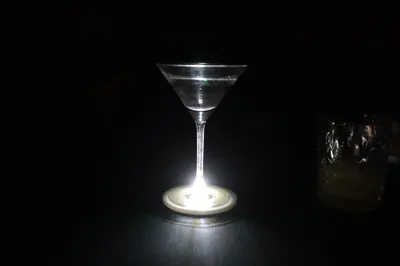
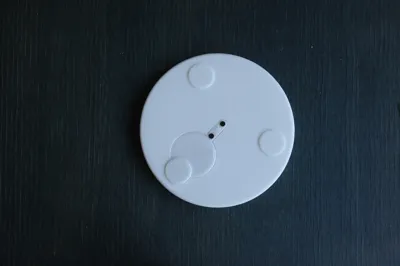
This coaster lights up when you place your glass on it.

Parts and Assembly
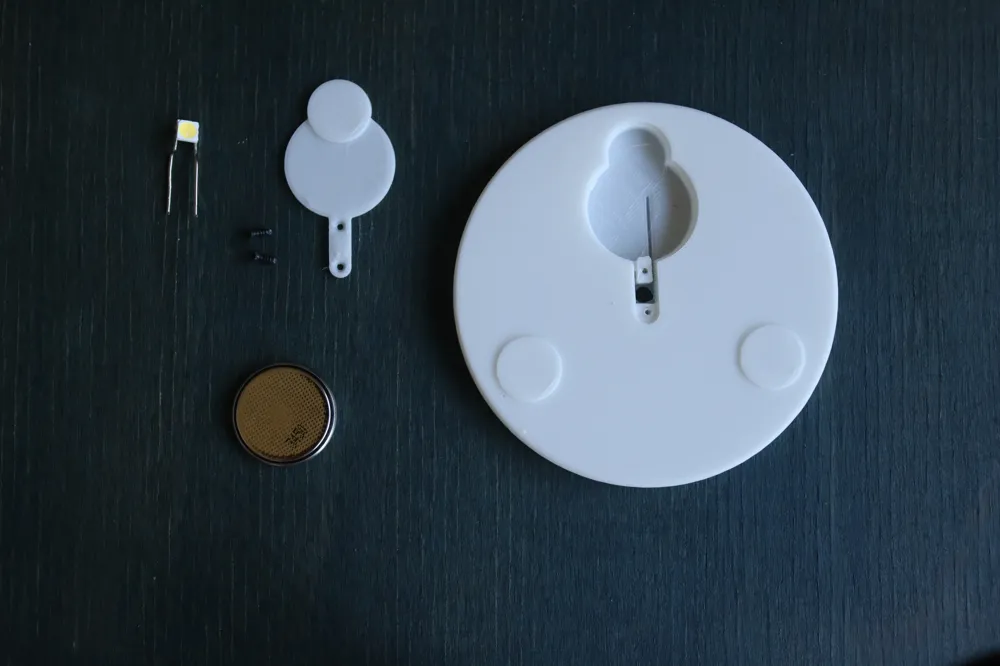
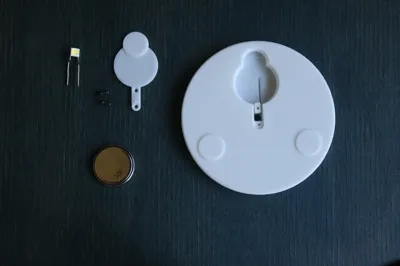
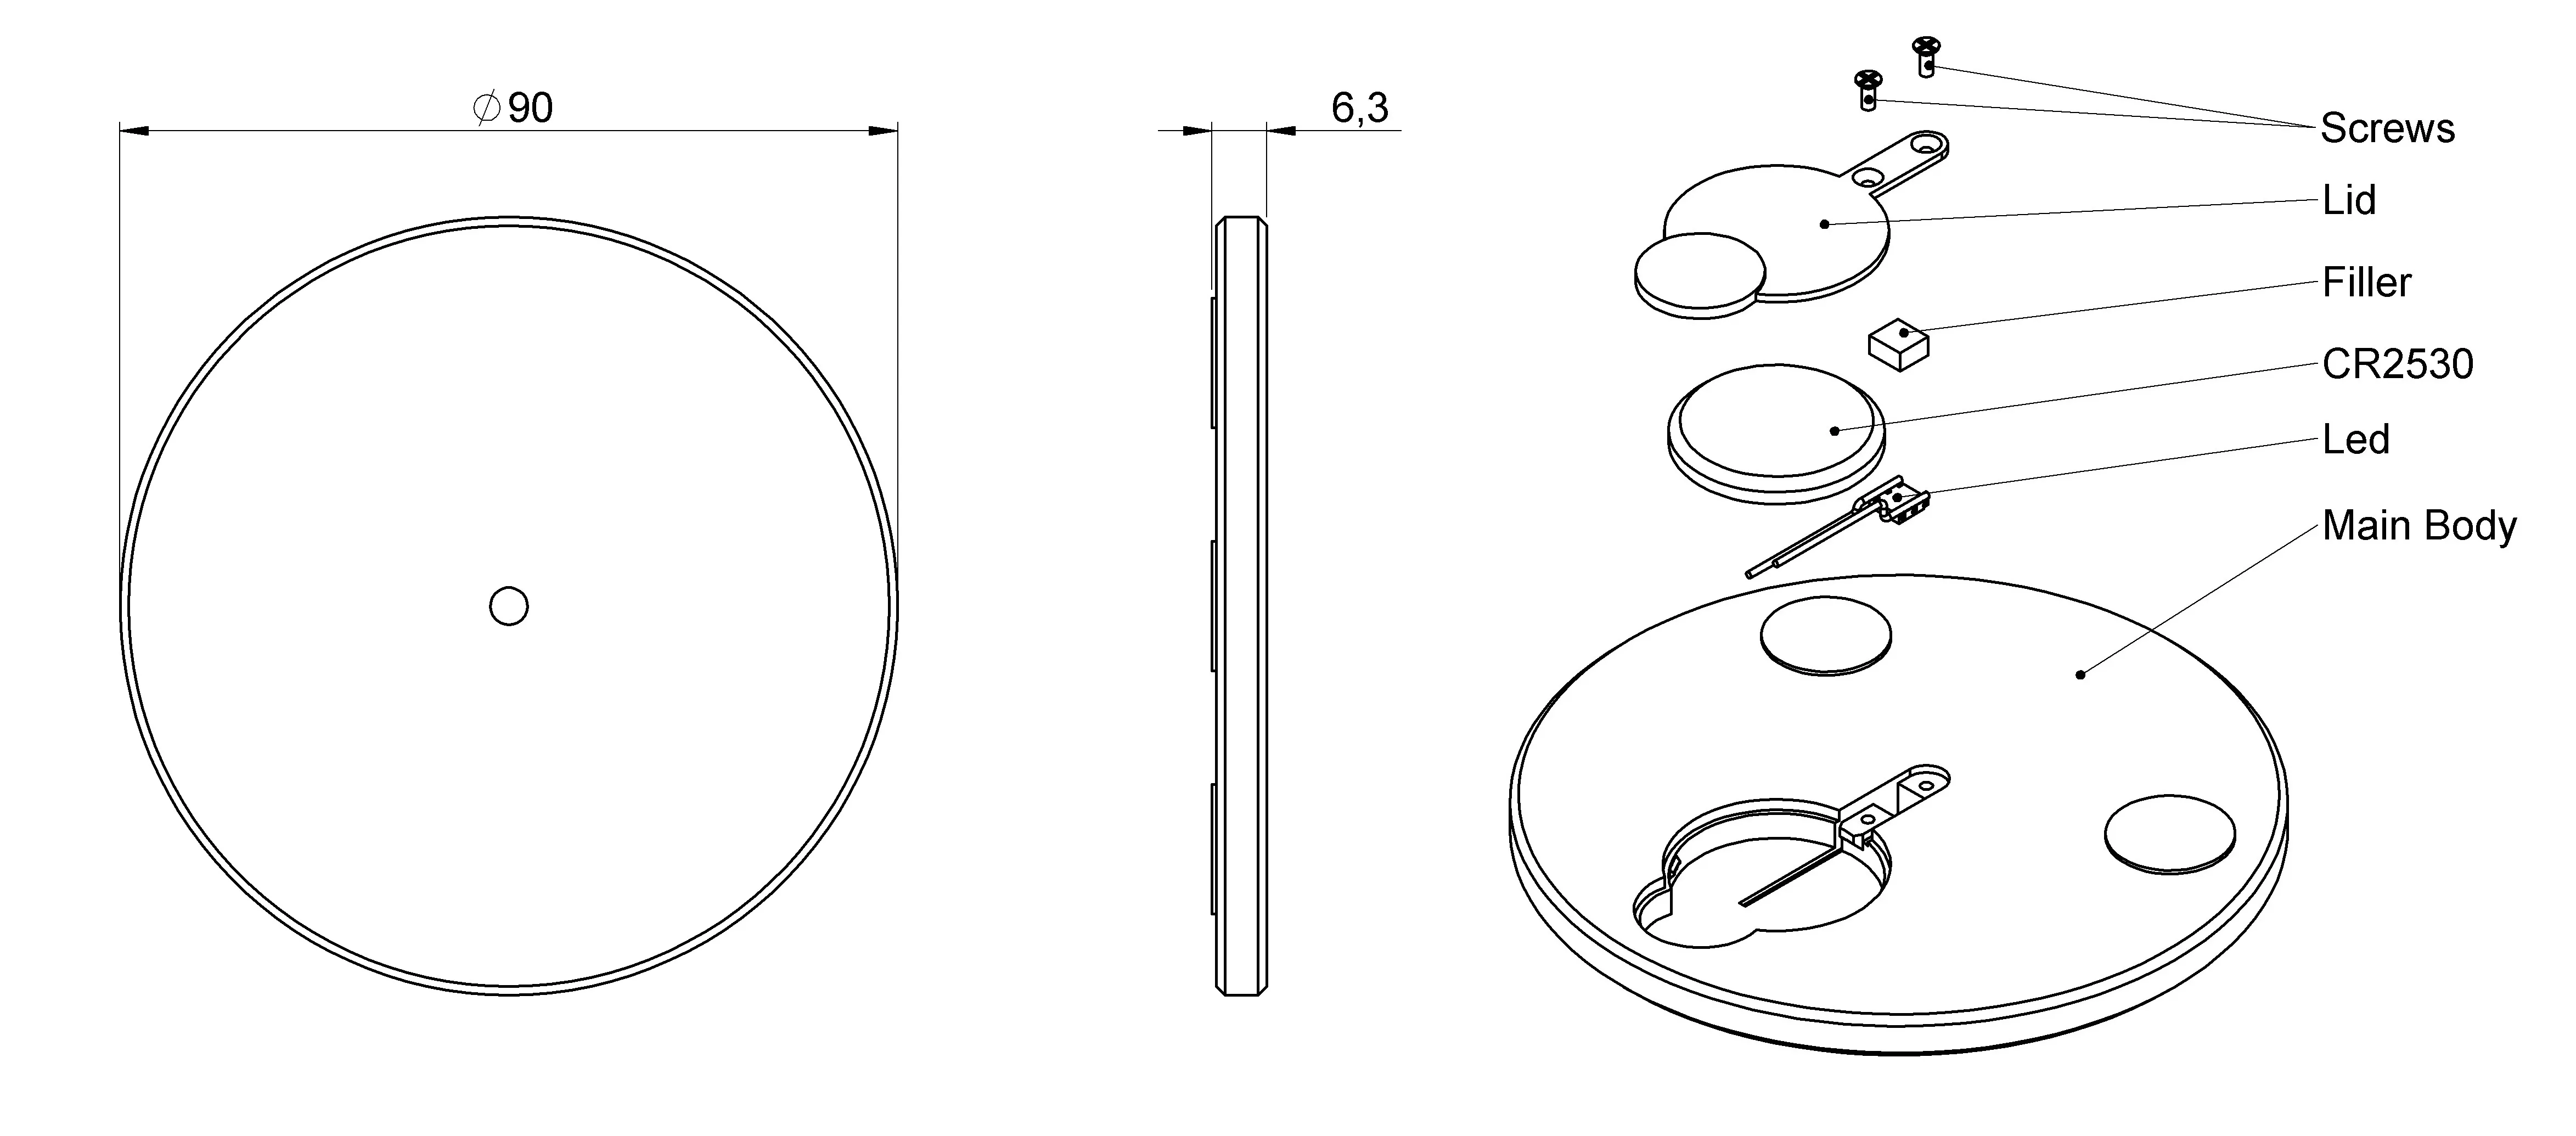
The piece consists of 3d Printed parts as well as a few things everybody should find in their house.
The two Screws I found in a box of old dissassemblied electronics. The size is roughly 4 mm long and 1.5 mm in diameter.
The filler is mainly here for pushing the LED assembly in place. I ended up not putting it in the final build because it was slightly to high.
LED Assembly
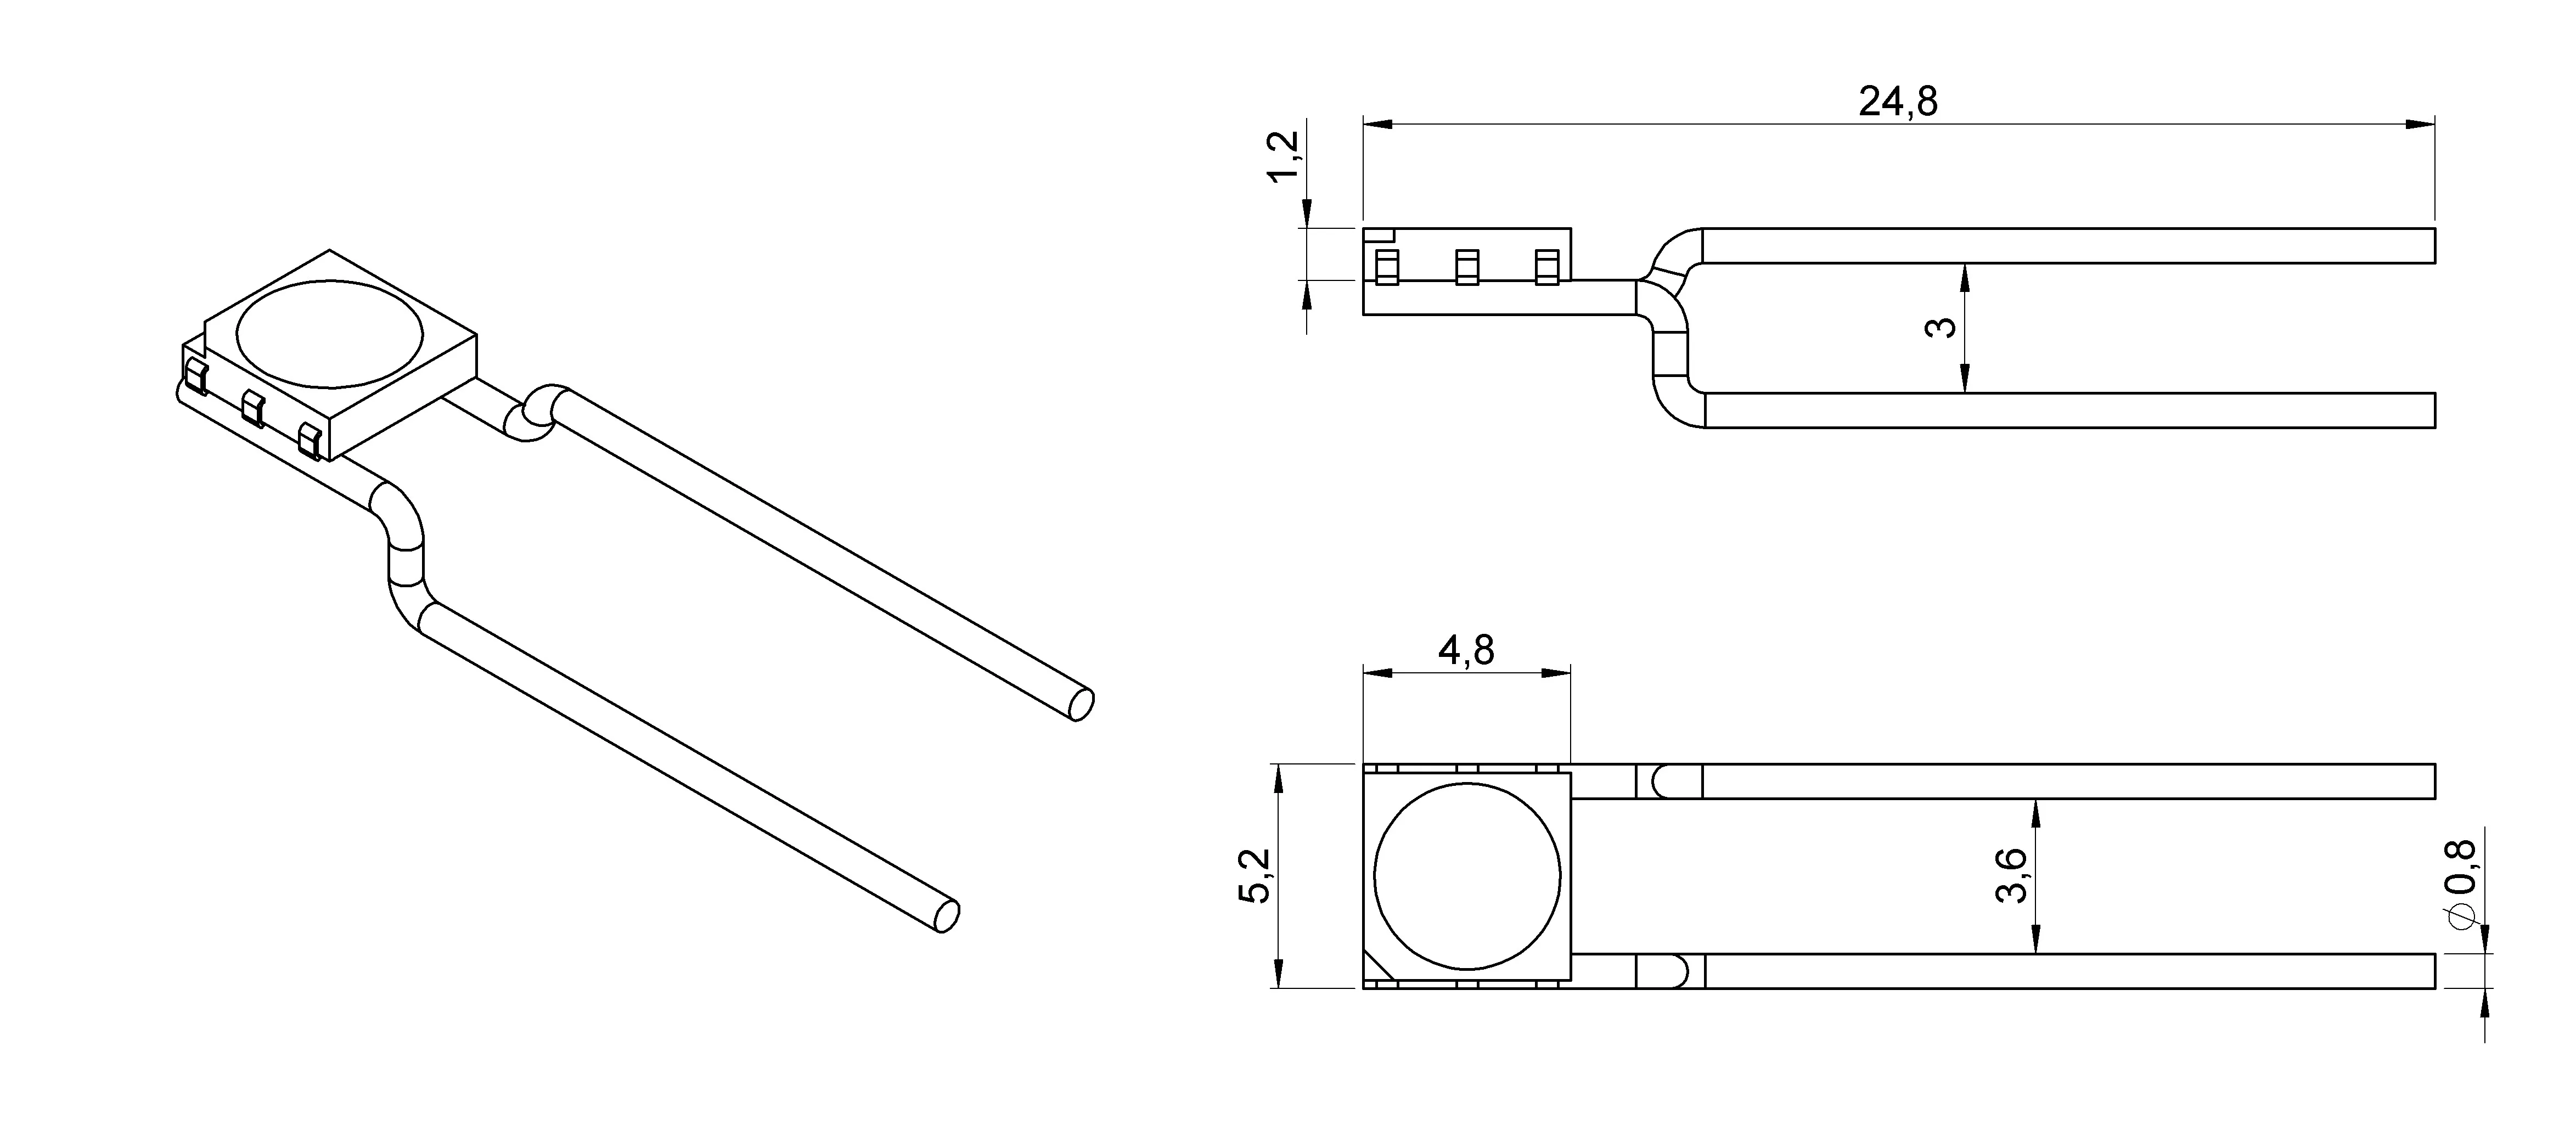
The LED is from a standard 5050 LED strip. I desoldered it from a piece I had laying around. Then I took a paperclip and straightened it with pliers, I then soldered the wire paperclip to the led and made bends according to the following sketch.
Note: The 5050 LED actually houses 3 individual LEDs thats why there is 3 soldering points. To lower the brightness and energy consumption you could just solder 1 or 2 solderpoints to the wire.
Assembly
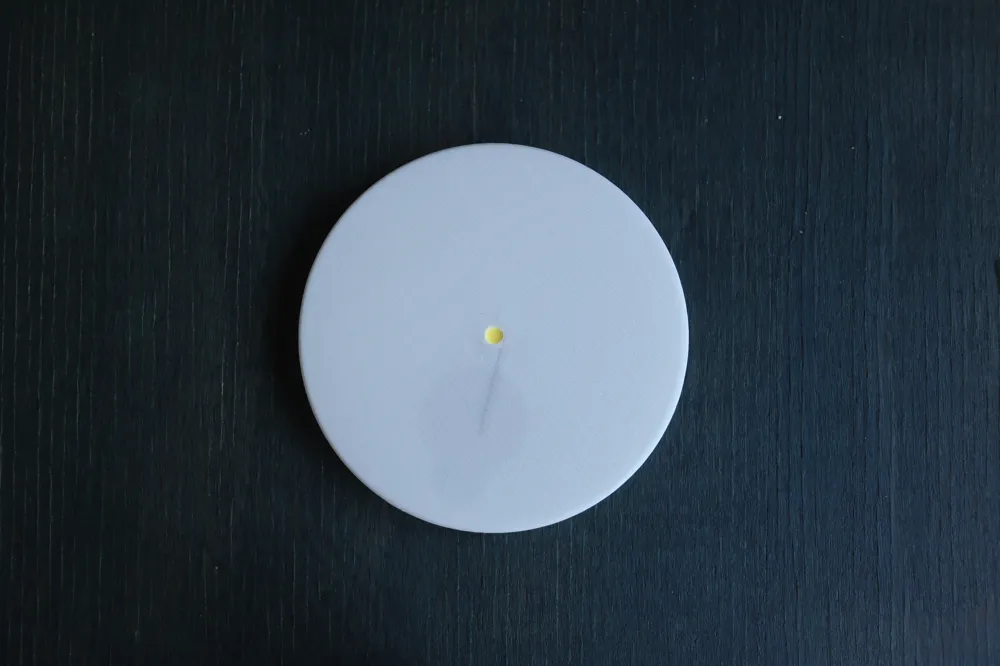
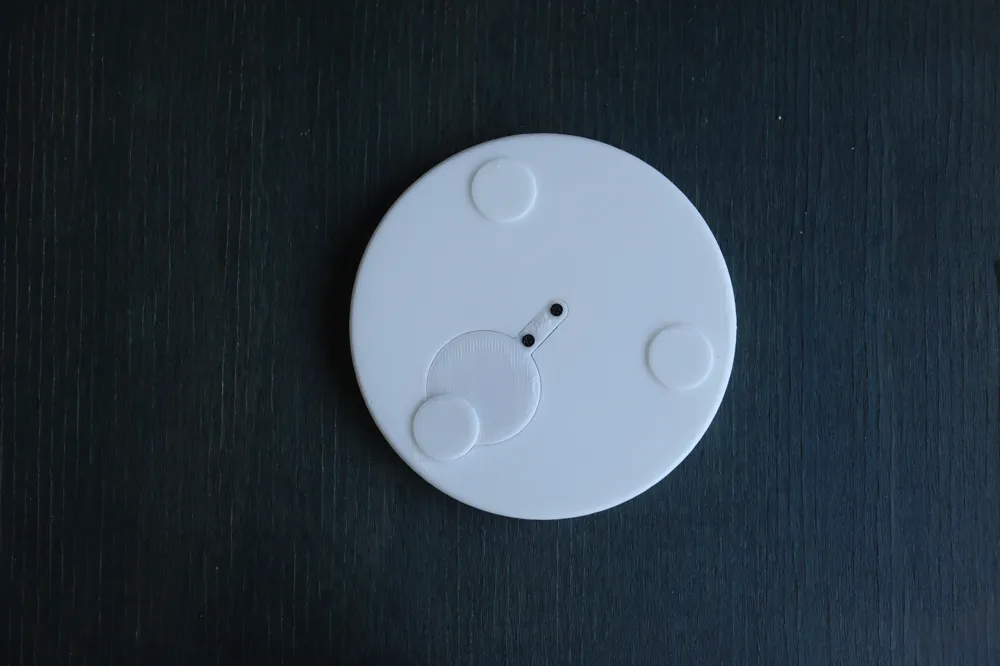
Start by pushing the LED Assembly in the Main Body. Use the filler cube to make shure you push it in all the way. Also make sure the wire goes in the channel. Then take the battery and slide it in from the side like this:
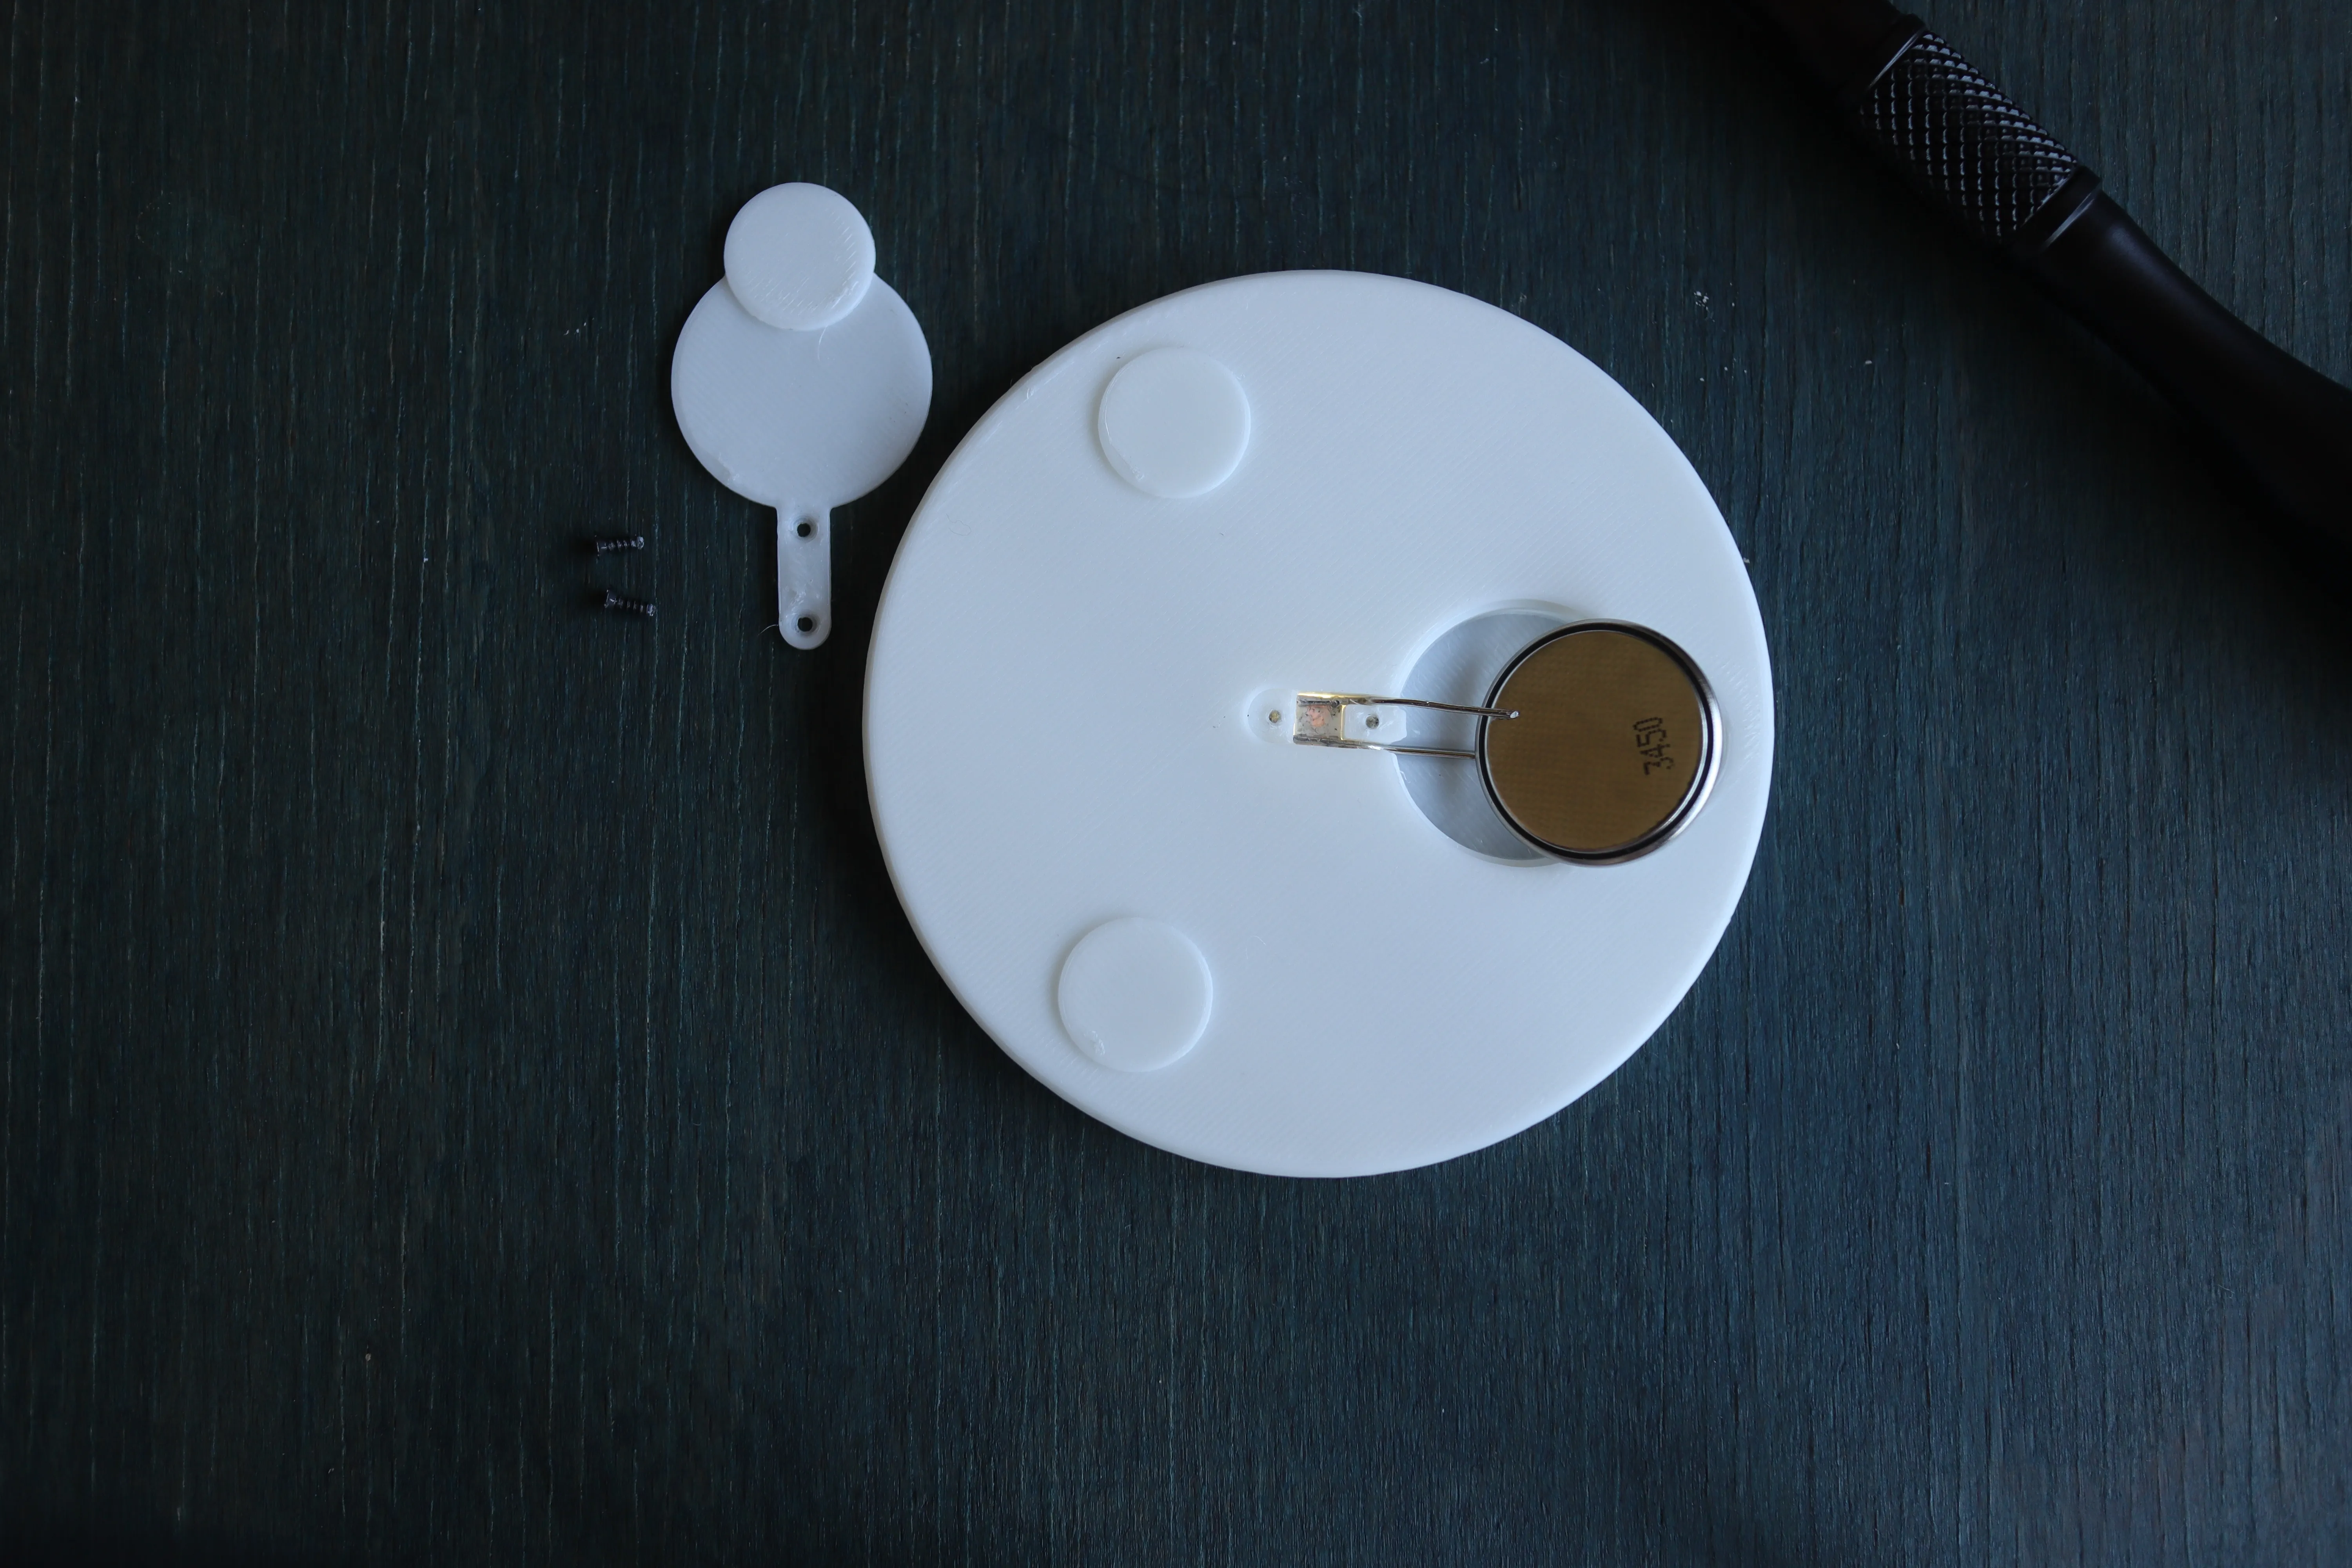
There will be a small resistance but then the battery should snap in place.
Next make sure the top wire doesen't touch the battery. If nessesary bend it a little bit open like so:
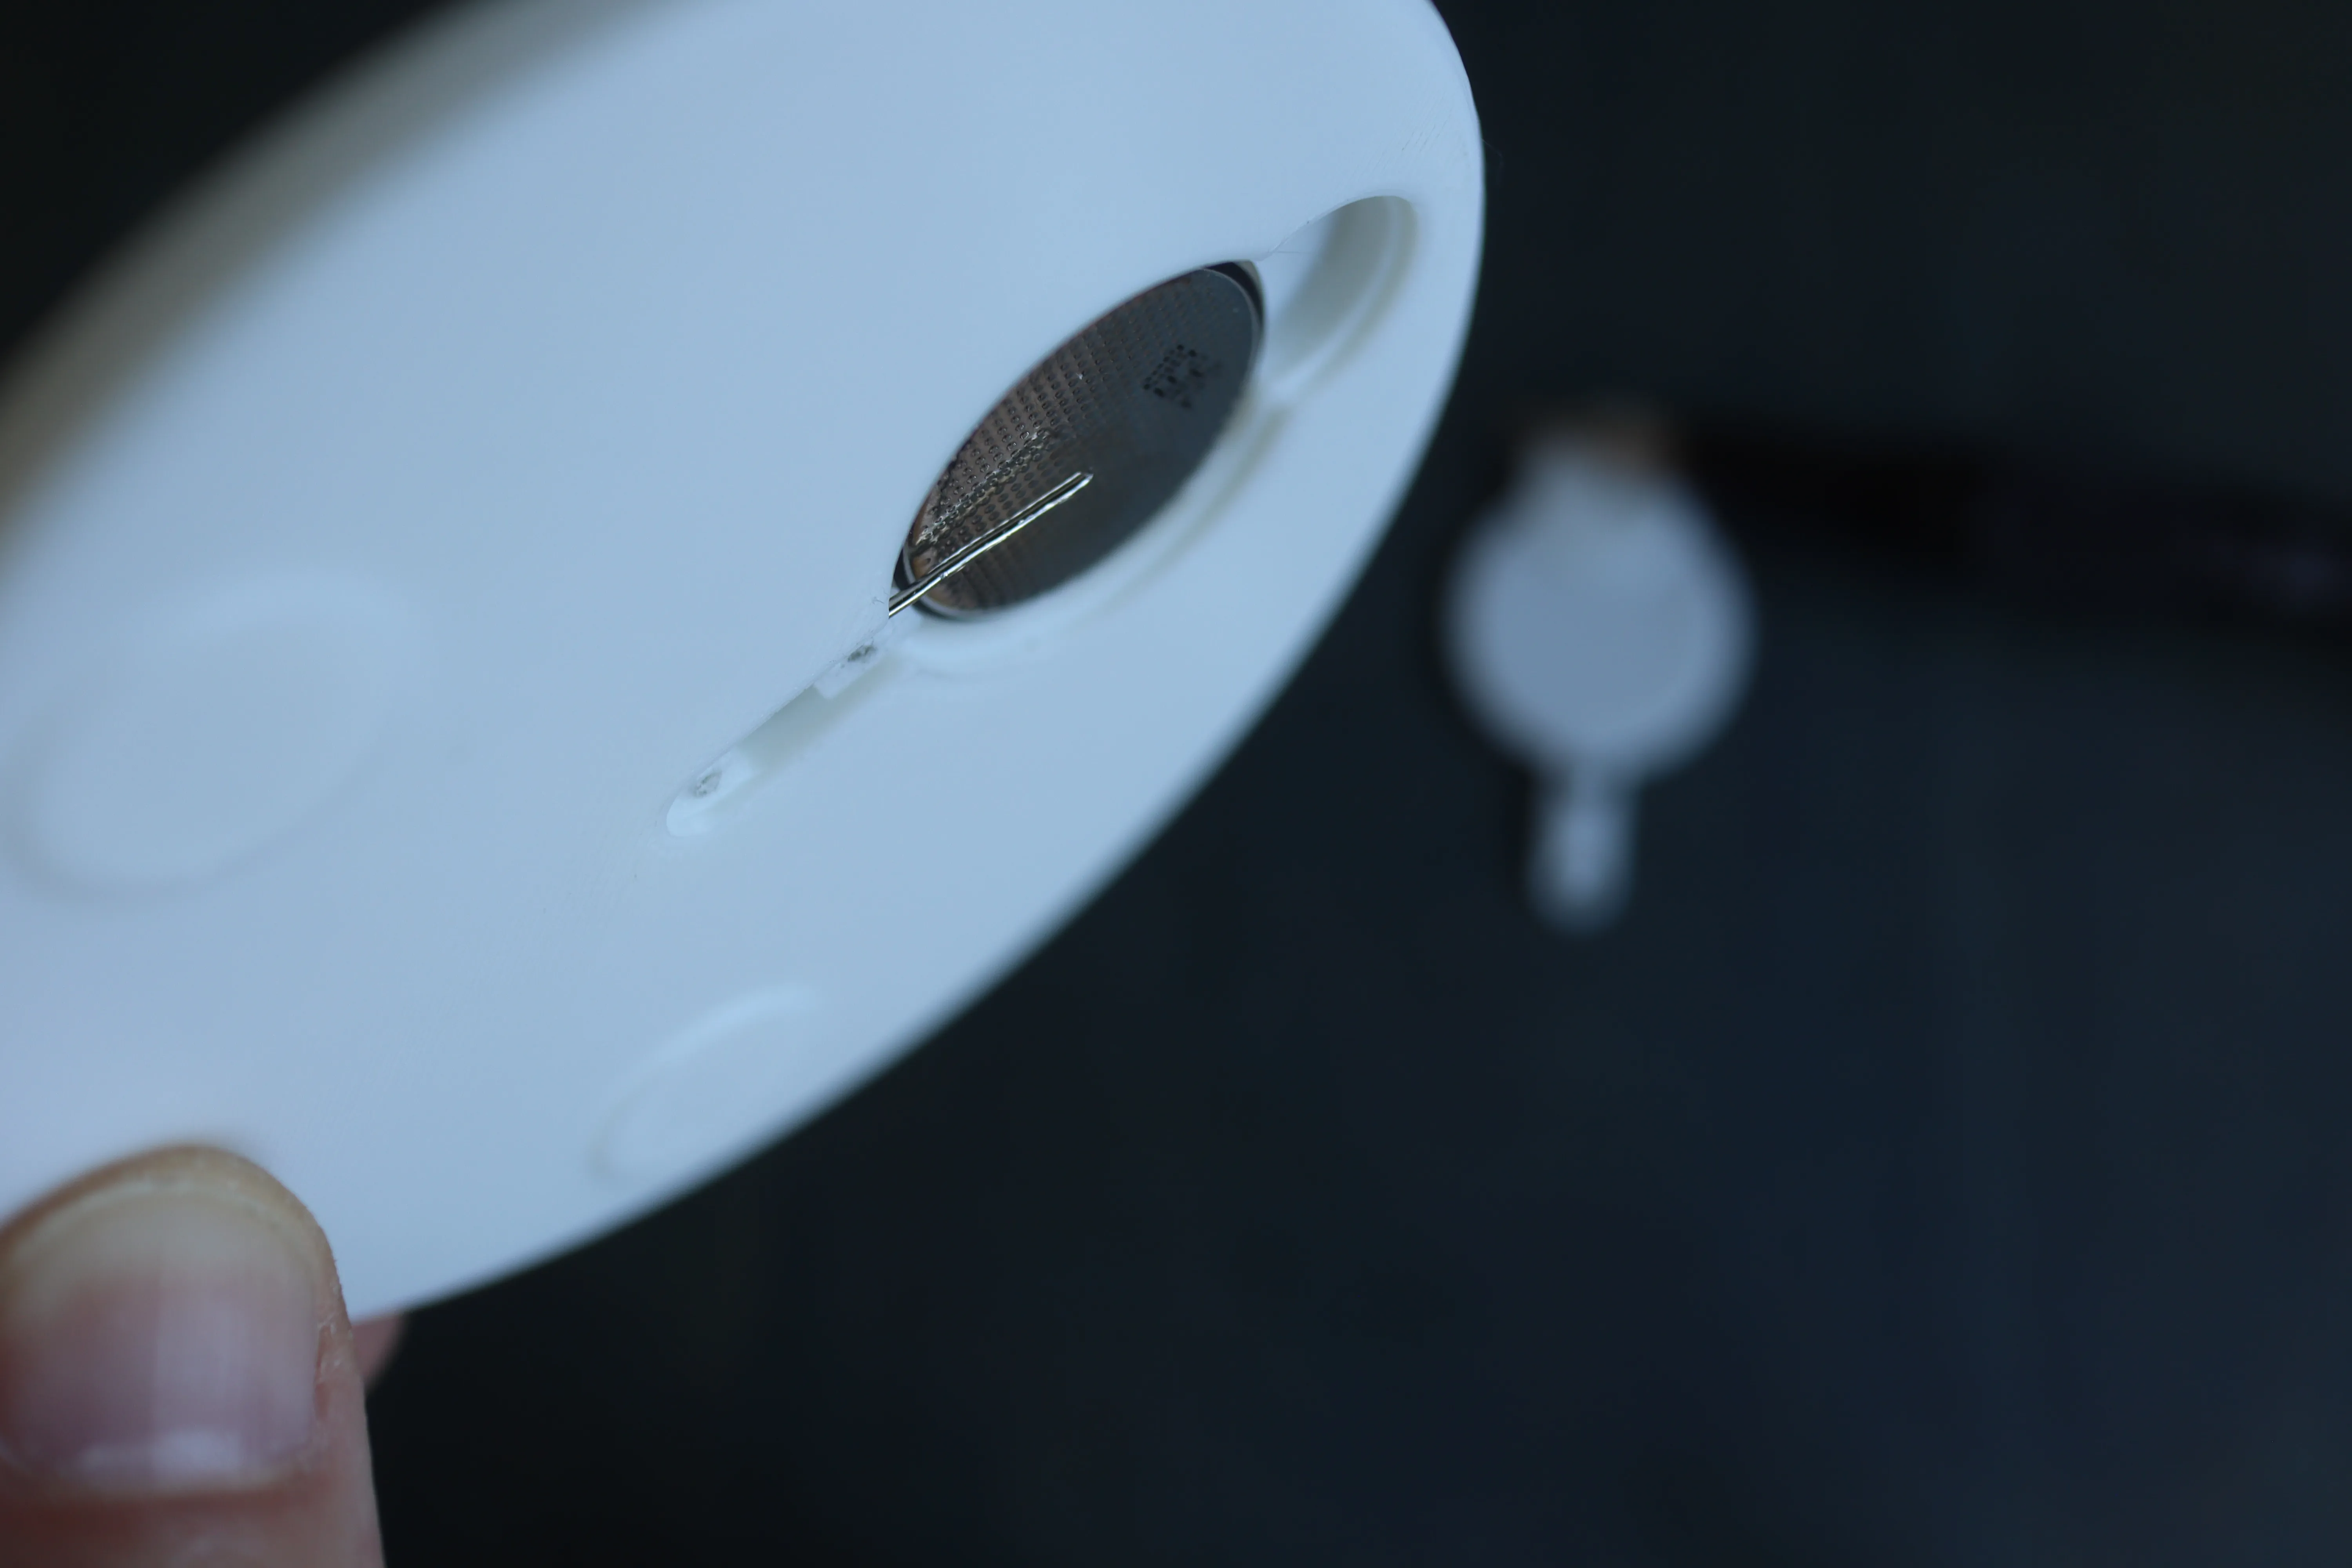
This will also determine how much force is requiered to activate the LED. You probably want to play around with this a little bit to find the optimum bend.
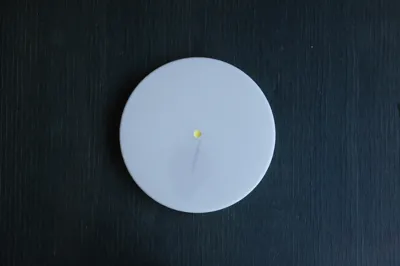
Finally screw the lid in place.
Print instructions
straight forward no support. I used PLA at a 0.2 layer height.
Happy printing!
License



Comment & Rating (3)