
Galaxis

Print Profile(0)
Description
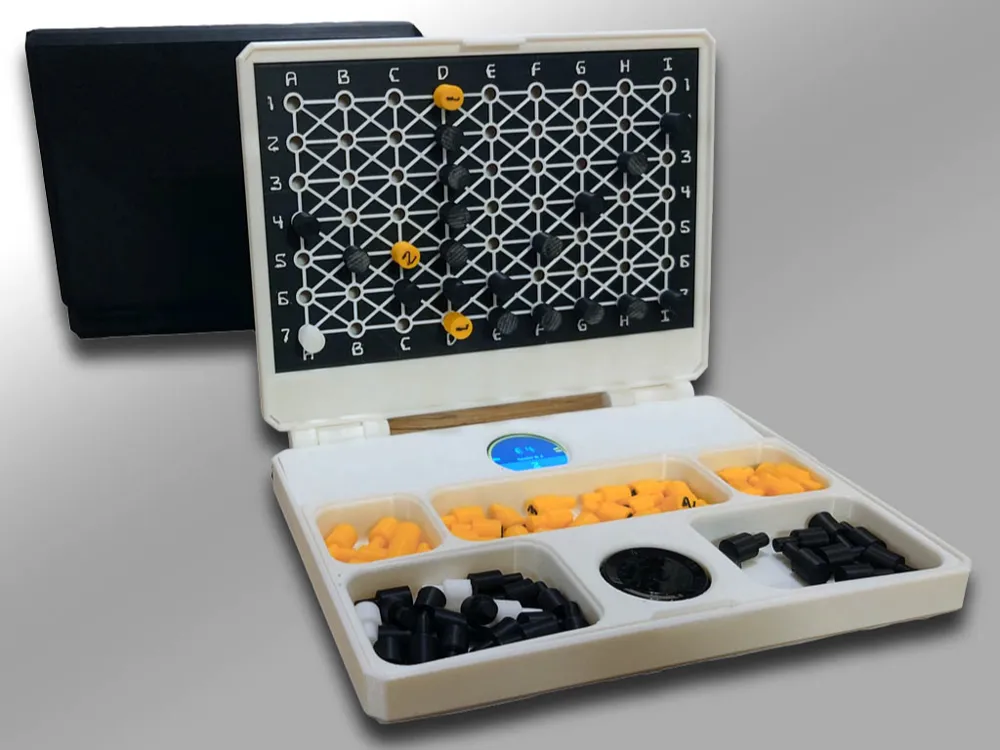
A tribute to Galaxis, an electronic game by Ravensburger from 1980, I loved to play as a child.
This version of the game runs on a ESP32-C3 or ESP32-S3 and makes use of Bluetooth LE to connect up to four players.
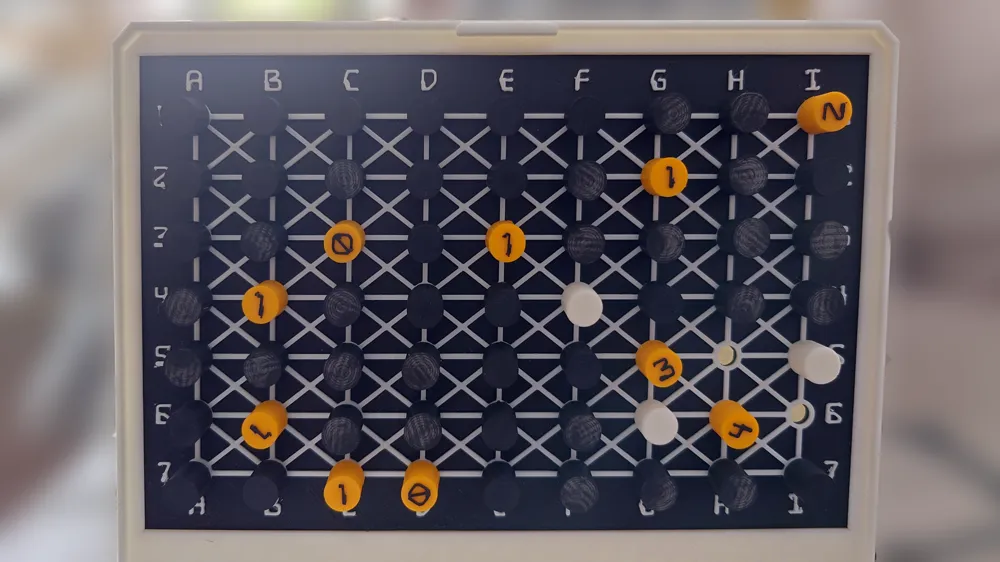
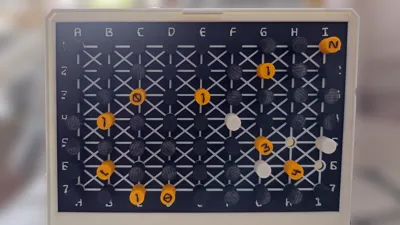
This game is a kind of deductive boardgame like Mastermind for one to two players. The goal of the game is to discover missing space ships, lost in space. These ships can be found if you enter coordinates into the board computer. Then the computer answers with the number of ships which can be seen in horizontally, vertically or diagonal in a direct line.
Who will find the missing spaceships first?
Rules
Alarm at headquarters. Four spaceships are missing. By sending out radio signals in the different
directions, how many of the spaceships are seen from a certain point is reported back.
- Player A starts a new game by turning the dial until "New" appears on the display and confirming by pressing the
middle button to confirm - Up to 3 players can joins a game by pressing "Join".
- A yellow ring on the screen indicates the active player
- The player sets a coordinate and presses the middle button.
- The search begins, a radio beam is emitted. Either a number appears on the screen, or a star if one of the ships has
been found.- The number indicates how many of the spaceships can be seen in a horizontal, vertical or diagonal direction. The
player plugs one of the yellow number pins into the coordinate on the coordinate system. - However, it should be noted that spaceships can lie in the radio shadow. This means that spaceships that
in a direct line behind another spaceship are obscured by the first one and therefore cannot be seen.
be seen.
Example: Assume there are two spaceships at points C1 and C4. Then the radio beam from coordinate
C7 only sees one spaceship (C4). The spaceship C1 is obscured. From position C3, however, two spaceships can be
seen. - The black pins can be used to turn off coordinates where no more spaceships can be anymore.
- If a spaceship has been found, this is indicated by '*' and the player has another turn
- If there is a number, it is the next player's turn
- While the game goes further, the players draw their conclusions from the coordinates entered and continue searching at the intersections.
- The number indicates how many of the spaceships can be seen in a horizontal, vertical or diagonal direction. The
- The first player to find all four spaceships wins the game.
- Press the middle button to start a new game.
Translated with www.DeepL.com/Translator (free version)
The original rules from 1980 (in german language)
Deploy on device
To help you to deploy the firmware on a device, connect your ESP32 to the USB port on your computer and vist https://jrmrtns.github.io/galaxis/
Sourcecode
3D Files
Even if there is a single player version, I recommend to print the deck minimum twice. The hardware can connect up to four decks.
To assemble one deck, you need to print all the following parts:
- 1 x Boden (Bottom of the case)
- 1 x Deckel (lid of the case)
- 1 x Inlay
- 1 x Display (cover for the display)
- 1 x Platte (game board)
- 50 x BlackPins
- 5 x Pin-0
- 10 x Pin-1
- 10 x Pin-2
- 10 x Pin-3
- 5 x Pin-4
- 4 x Pins with Spaceships (coming soon, in the meanwhile I use the black pins printed with white filament)
BOM
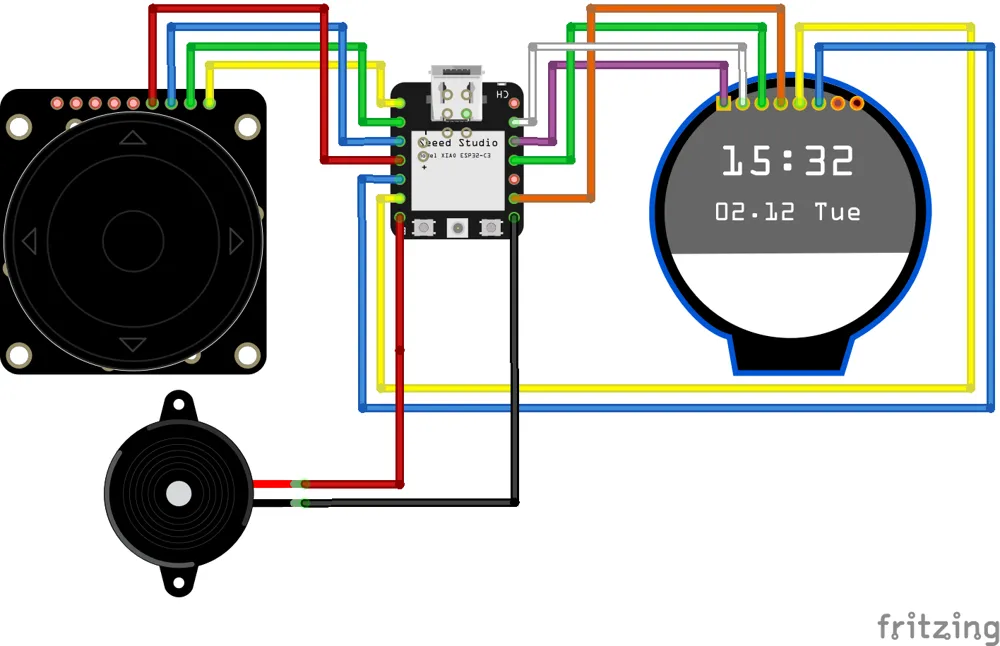
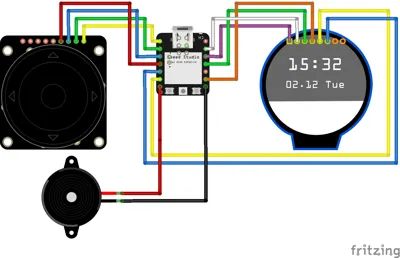
- Display Waveshare 1.28 Round
- Seeed XIAO ESP32-C3 or Seeed XIAO ESP32-S3
- Adafruit ANO Rotary Encoder
- PCB for Adafruit ANO Rotary Encoder
- Speaker (optional)
Assembly
Step 1
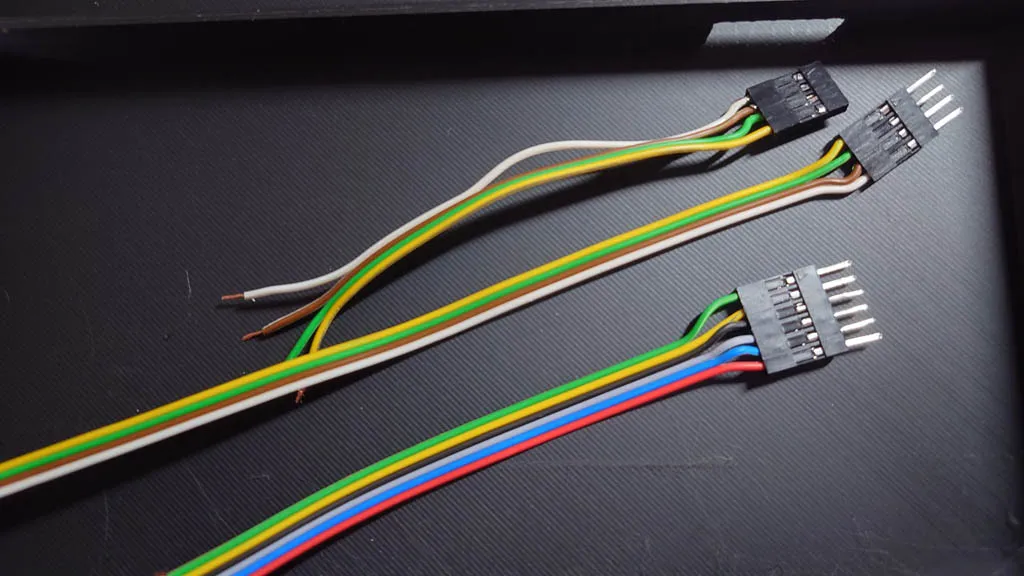
Prepare some cables. This is optional, you can as well solder cables directly to the board. If you have a possibility to crimp
some connectors to cables, its getting easier to assemble. Otherwise you can use Dupont Cables and remove one end.
Step 2
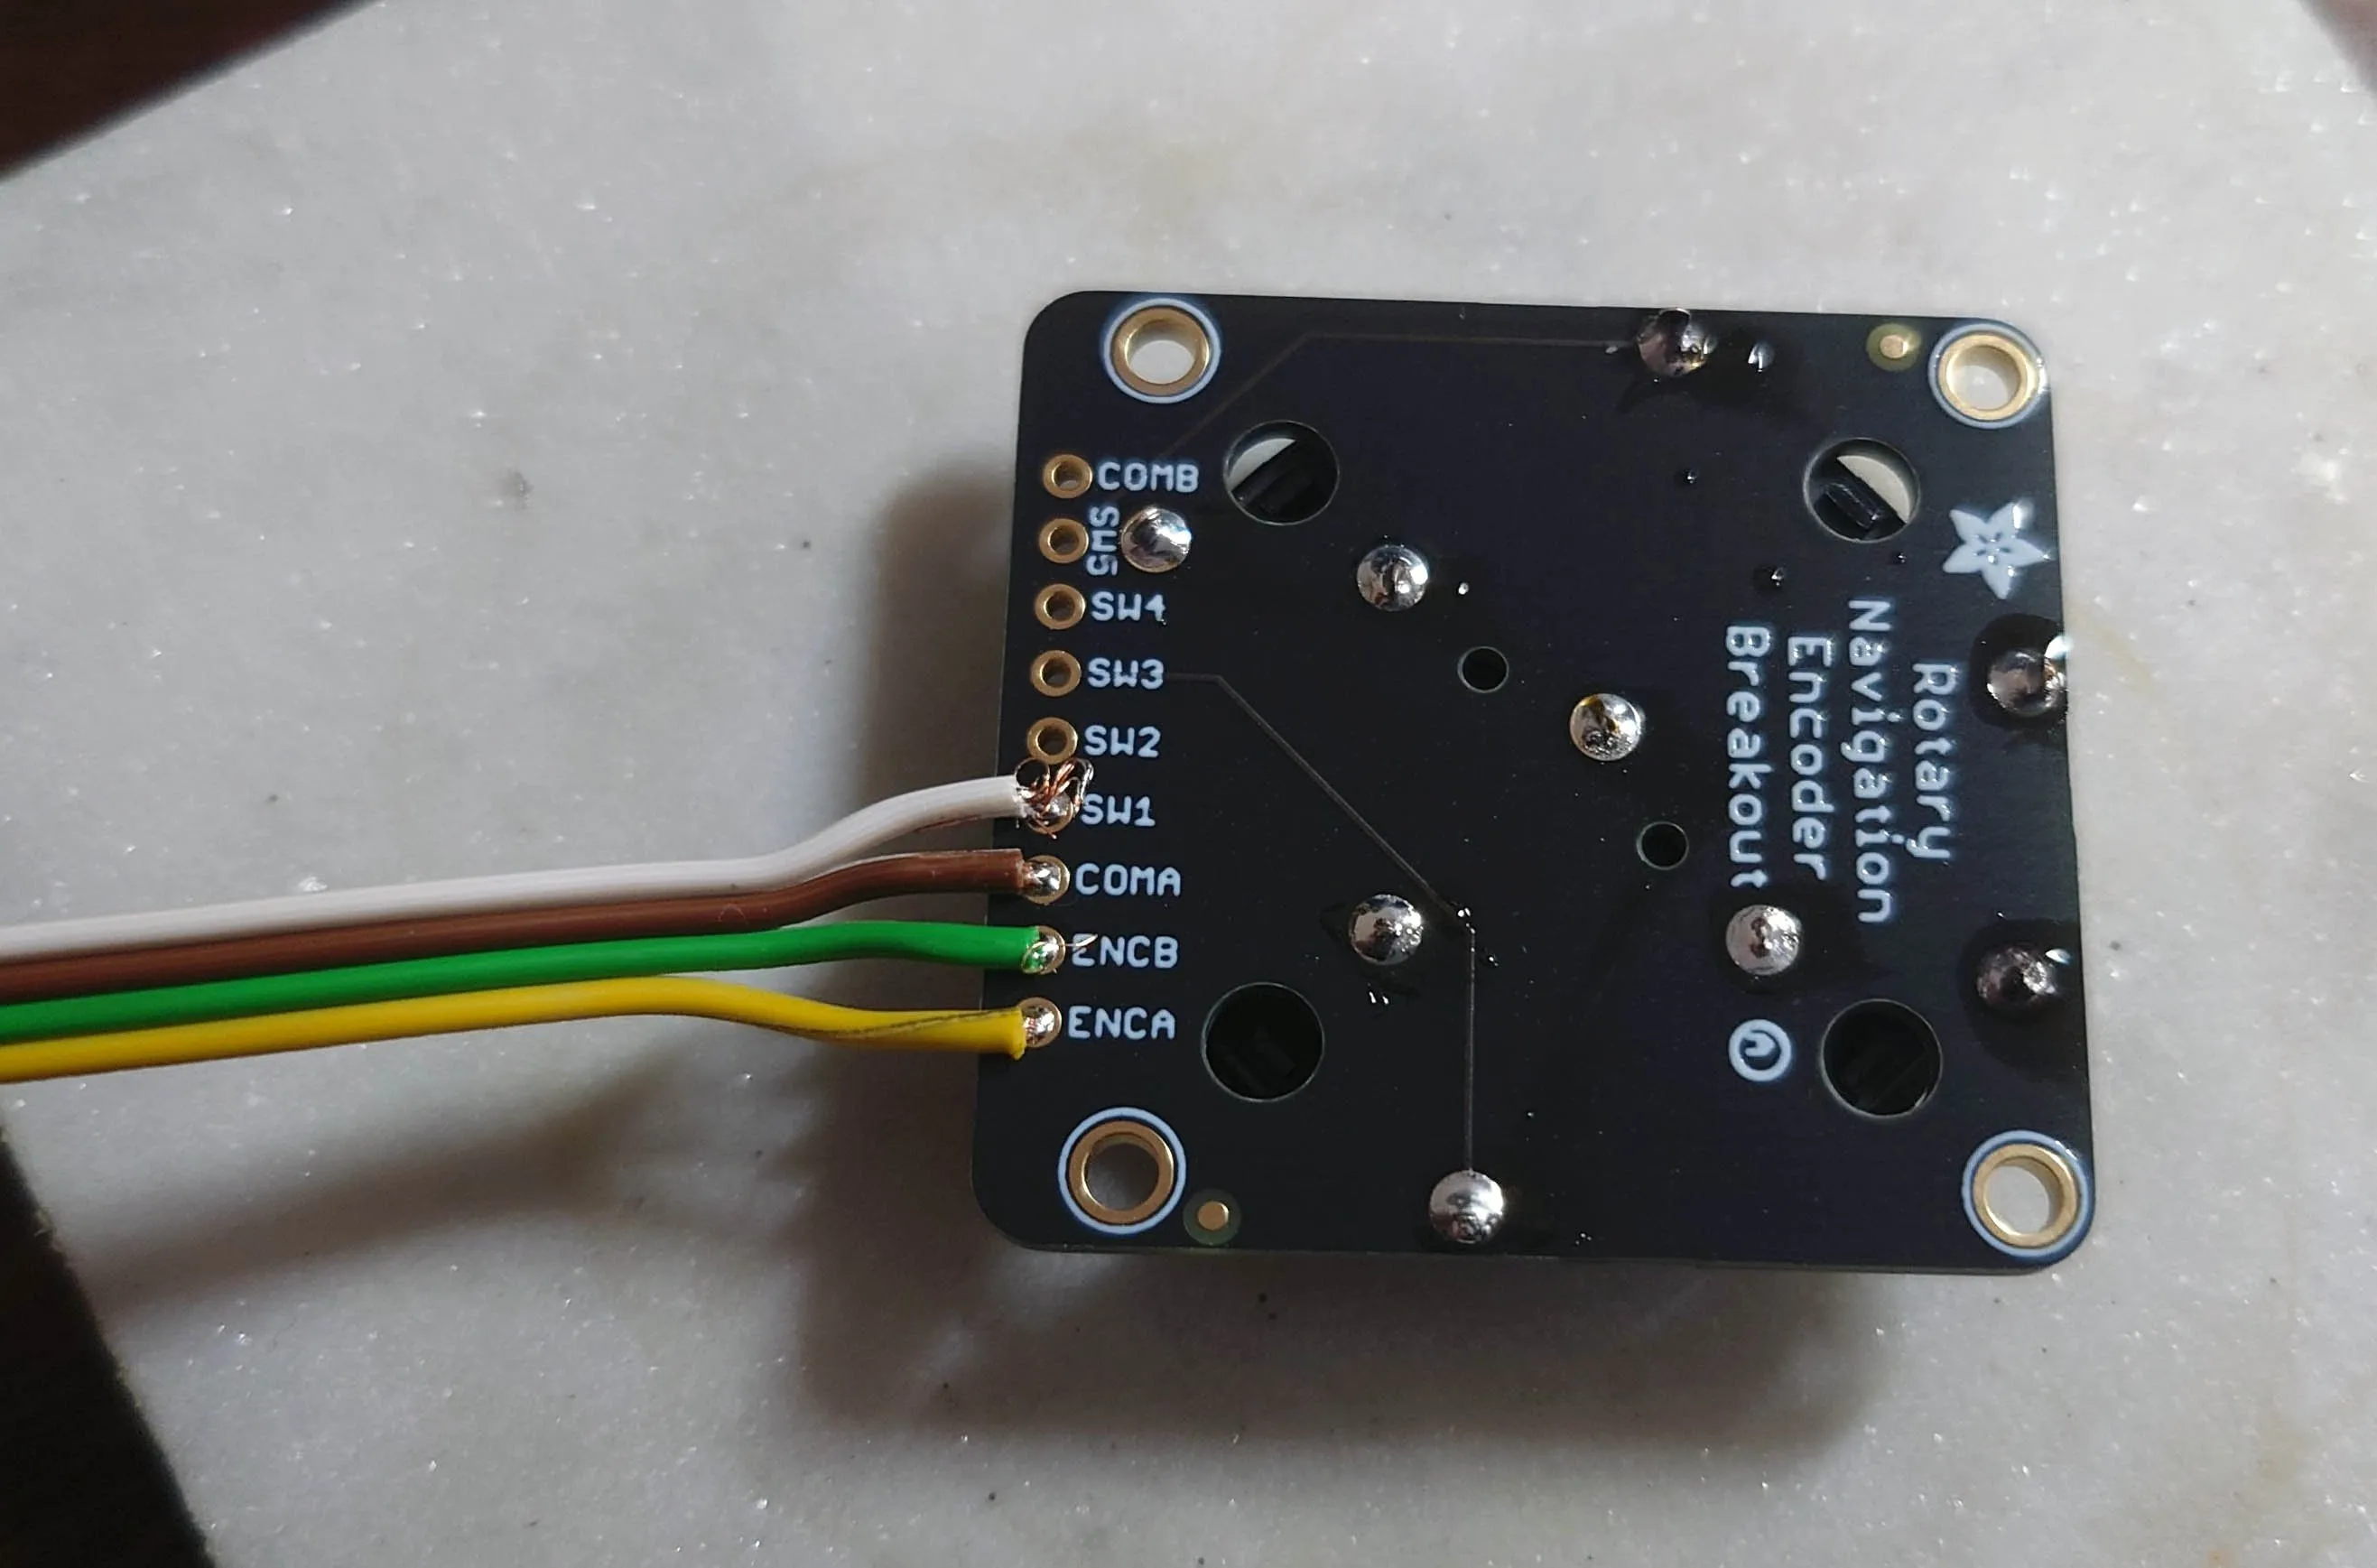
Solder the cable in the middle (from image of step 1 above) to the rotatry encoder
Step 3
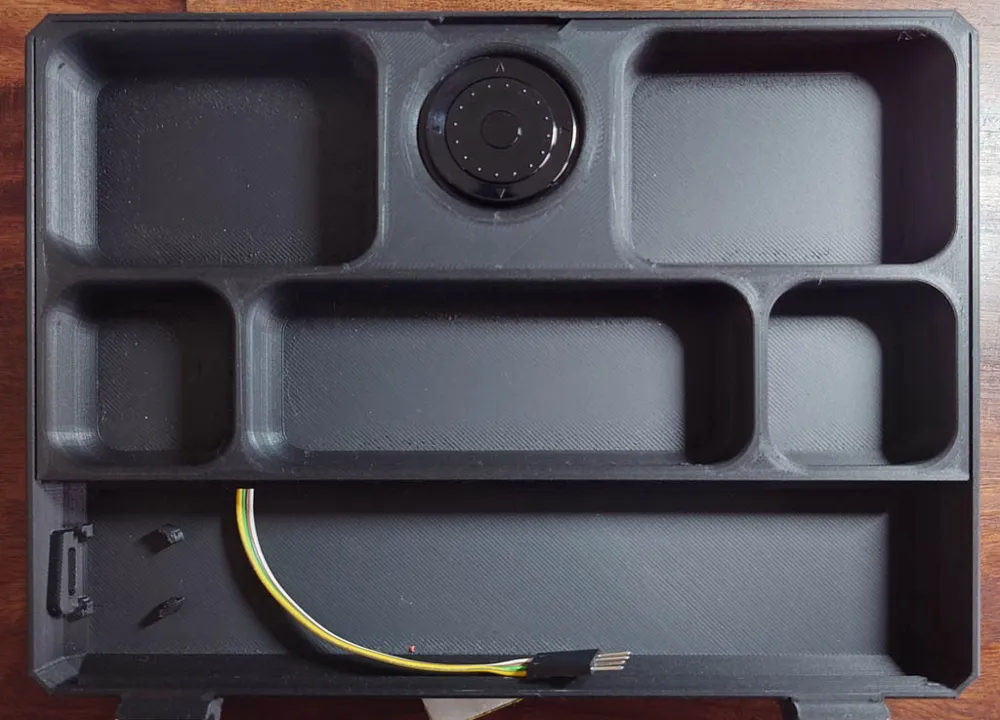
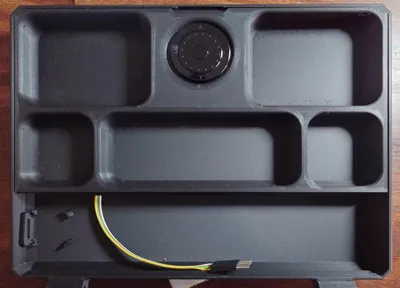
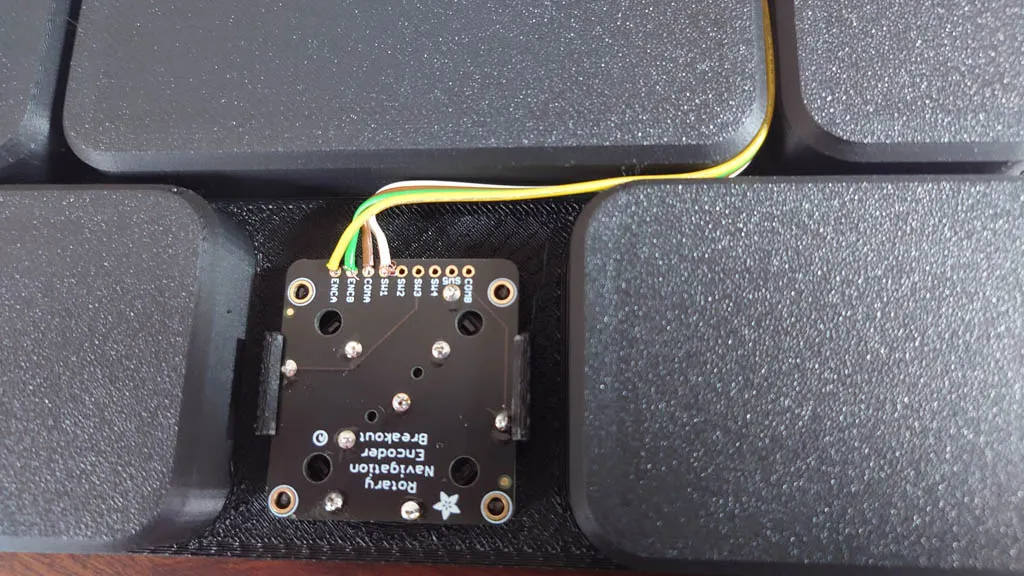
Place the cable between the gap of the bottom side of Inlay.stl.
Step 4
Insert the inlay into the bottom of the case.
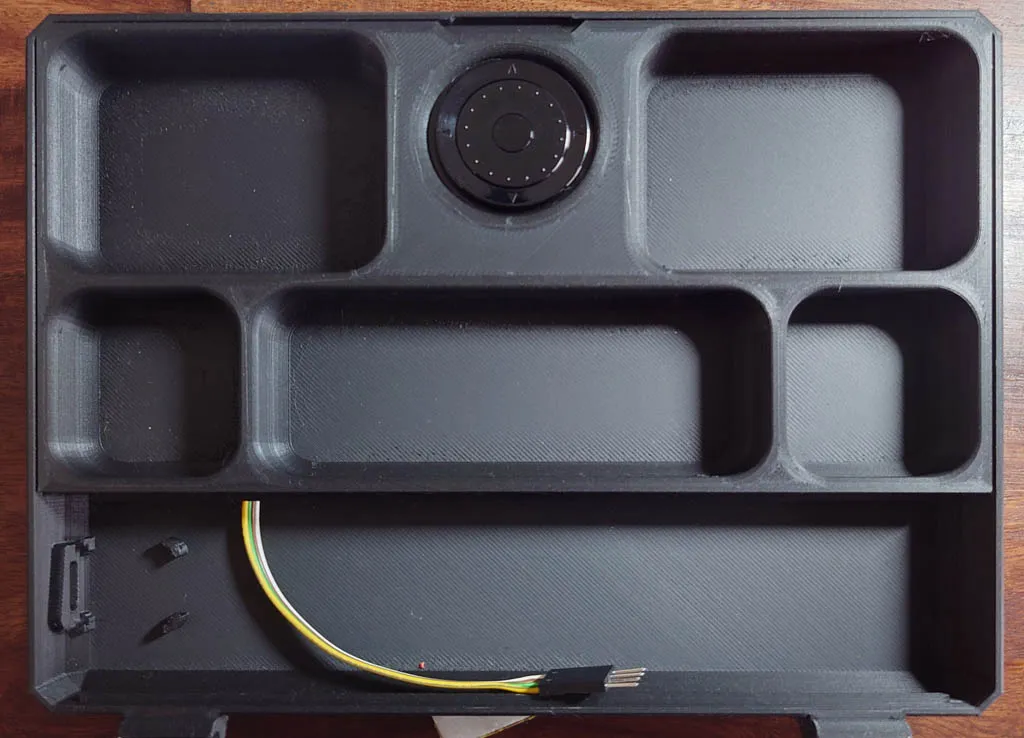
Step 5
Solder the remaining two cables directly to the pads of the board.
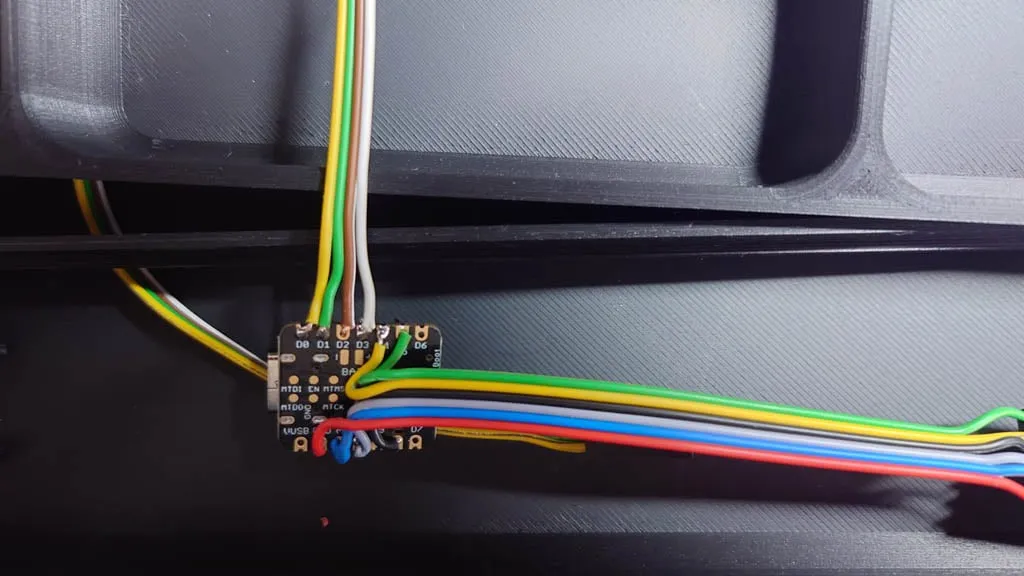
Step 6
Let the board snap into the case. It can be helpfull to fix the board with some drops of superglue.
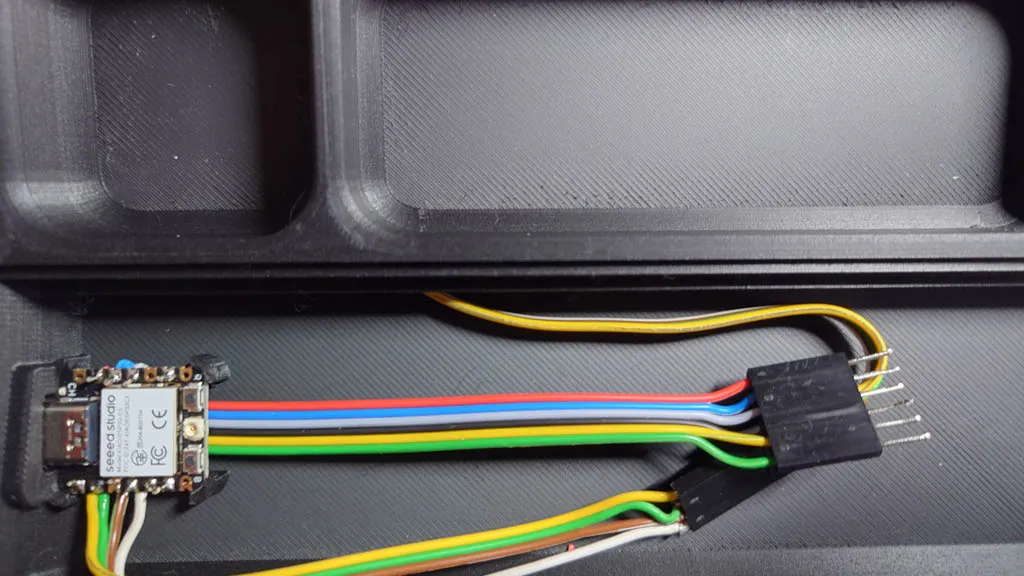
Step 7
Connect the display and snap the display into Display.stl
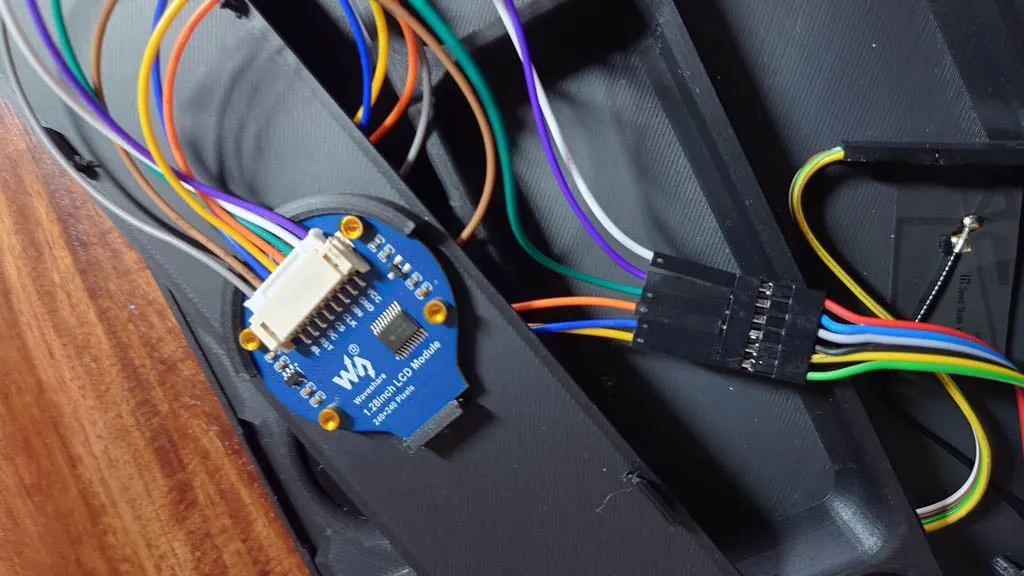
Step 8
Build and upload the software to the chip, snap the Display.stl into the case and connect power to USB-C
Credits
License



Comment & Rating (0)