

Print Profile(2)


Bill of Materials


Description
Boost Me (for free)
These models can be a lot of work, so please consider giving a boost to help further the development of models like this, and many more! Also, don't forget to follow me for more work like this too!
[Introduction]
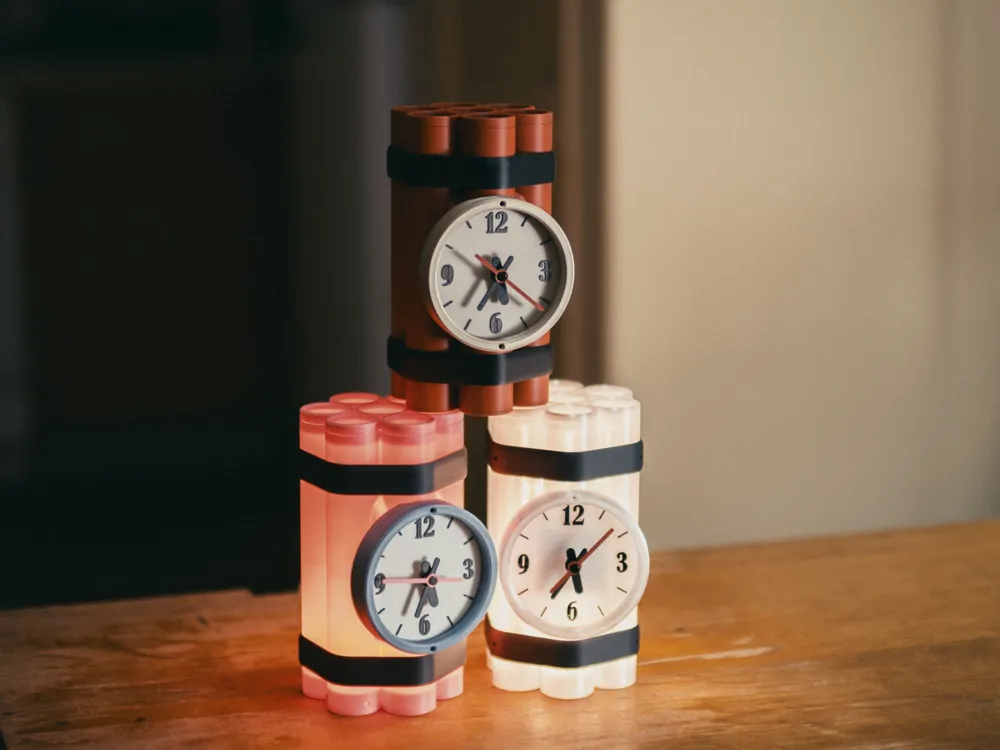
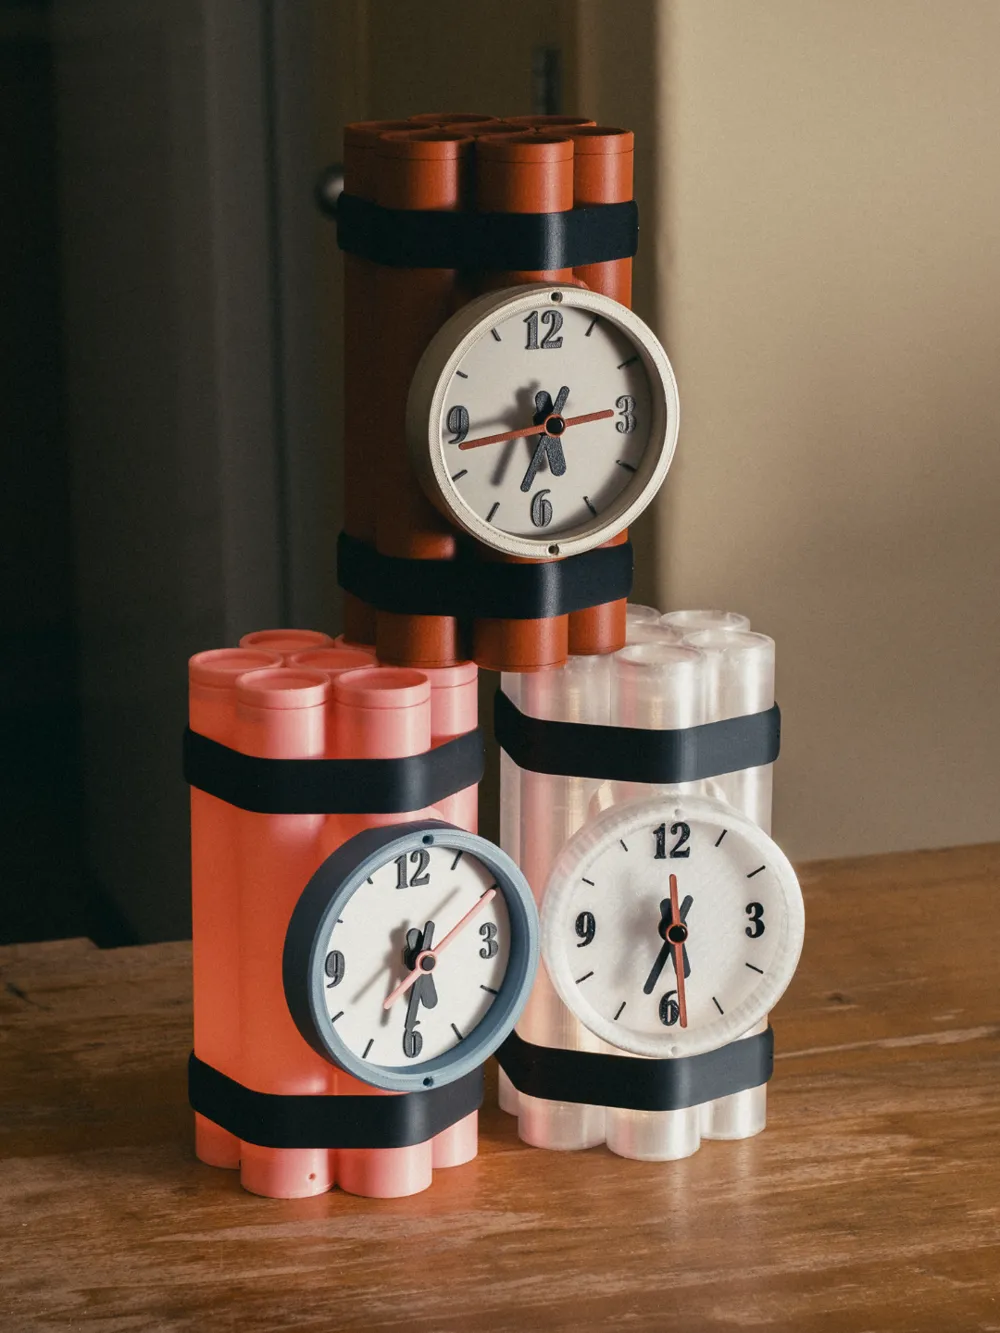
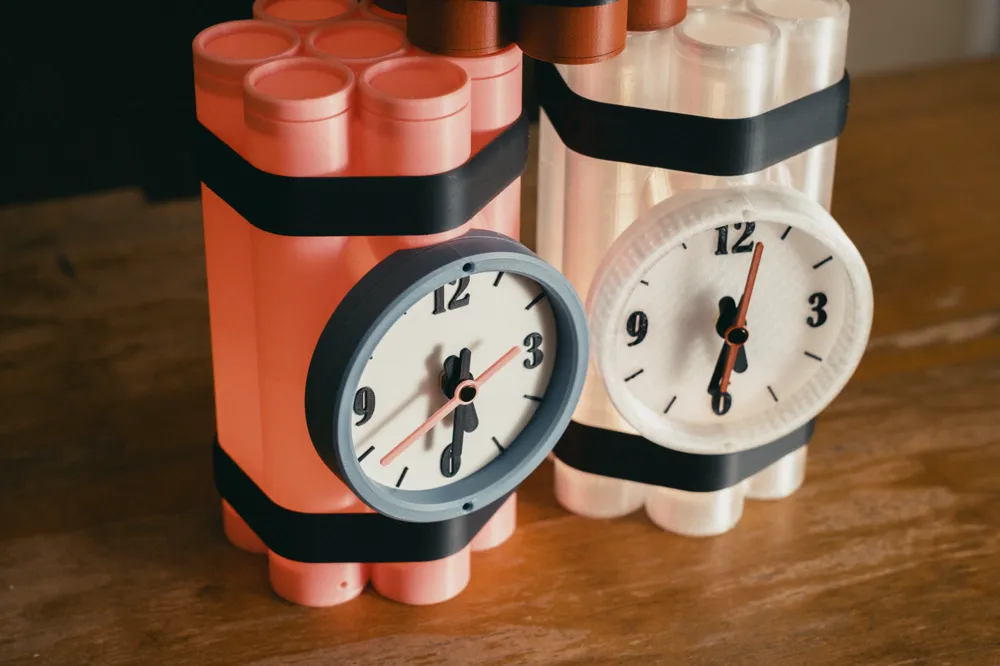
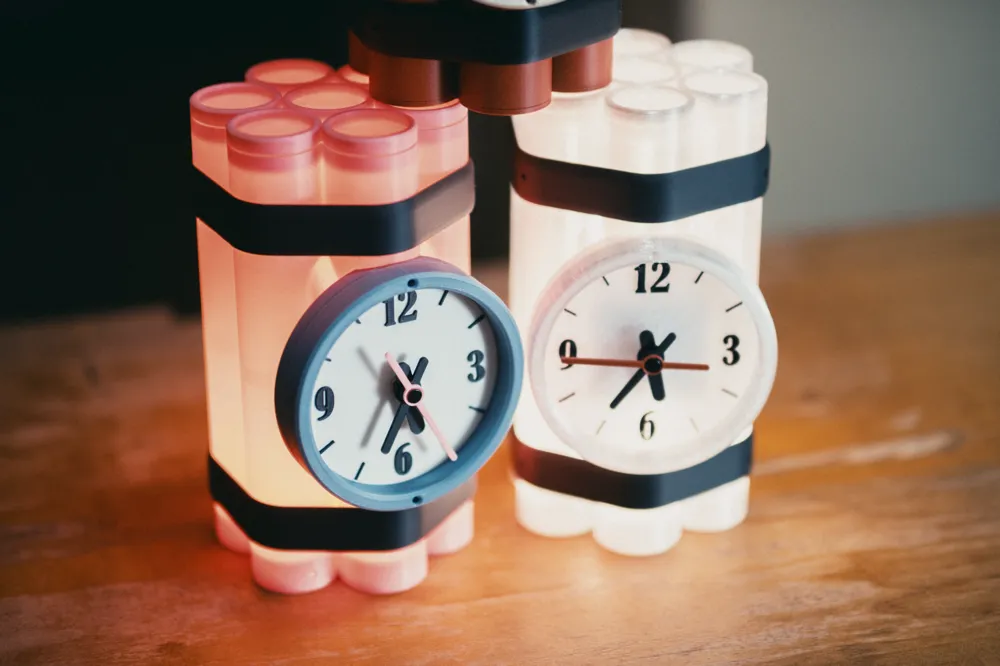
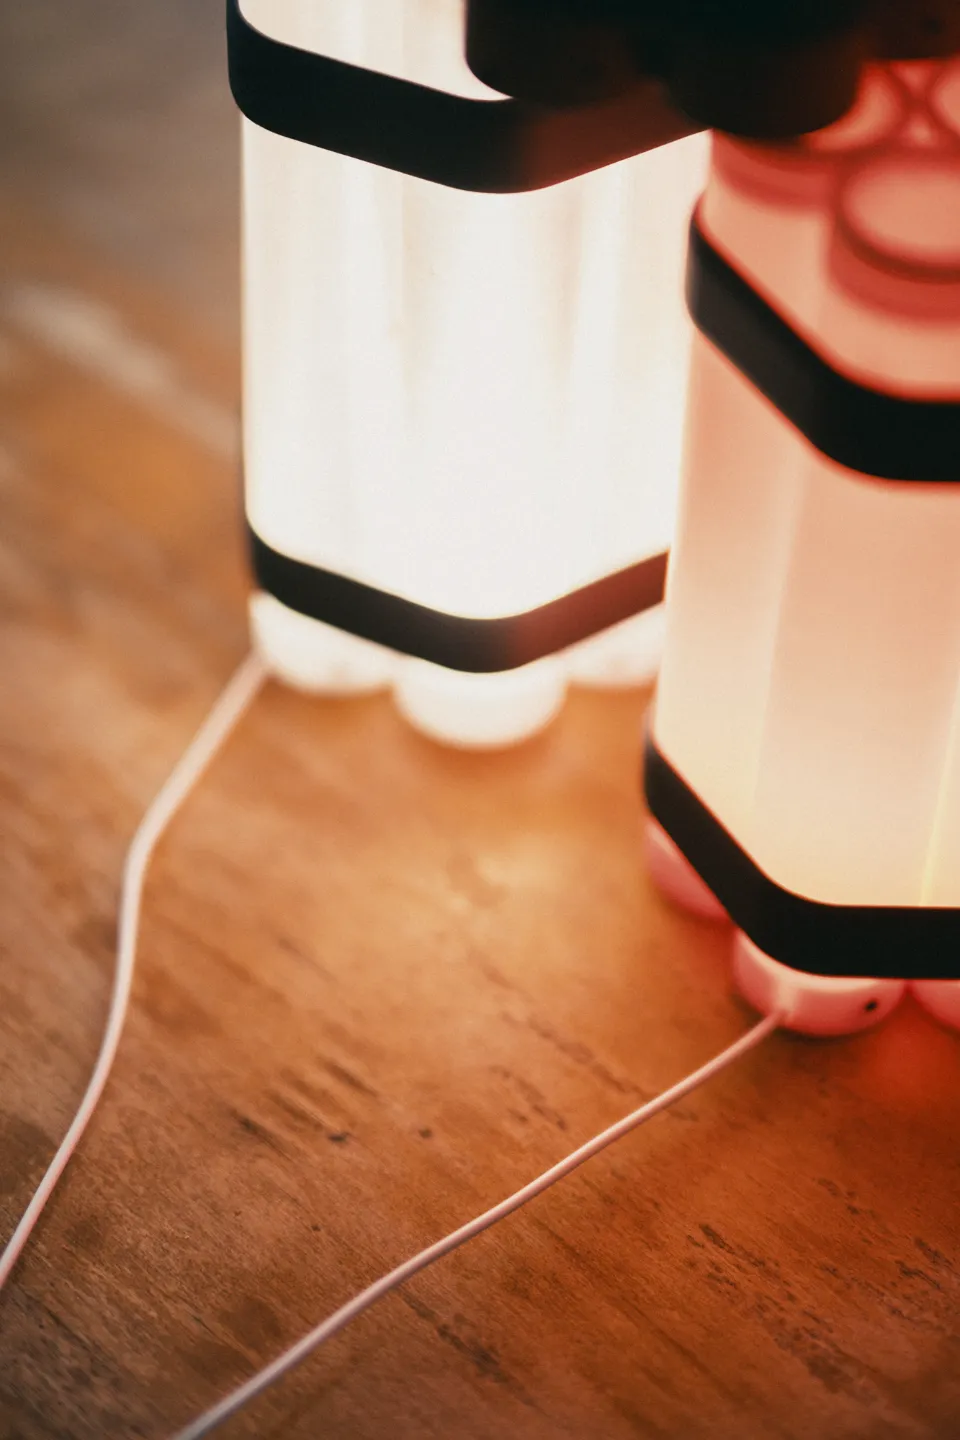
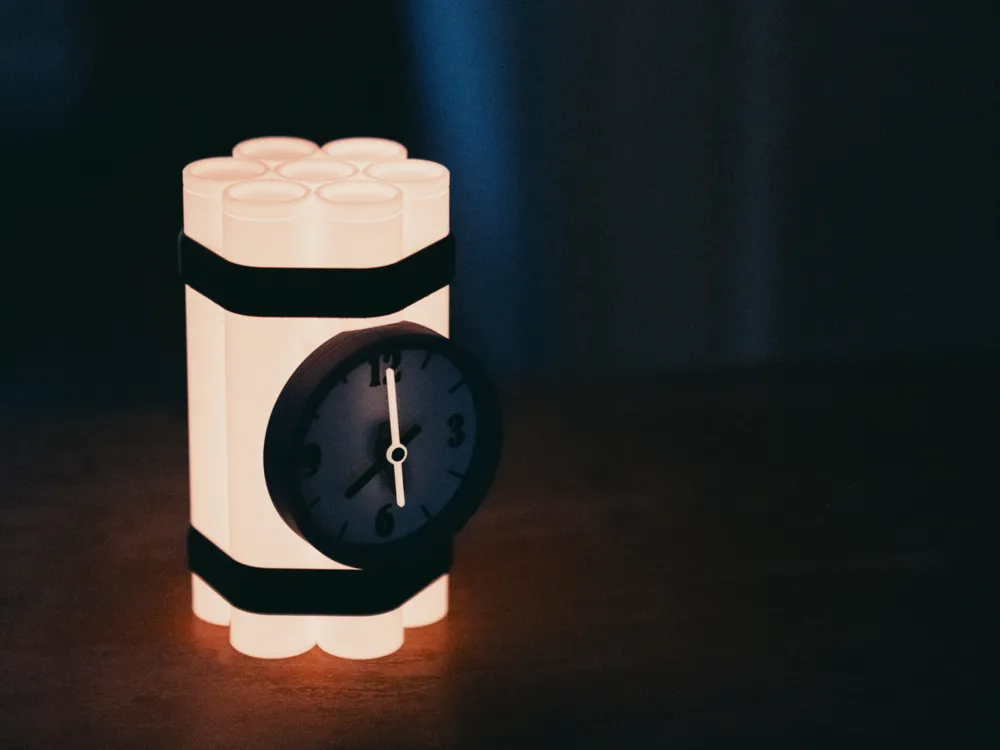
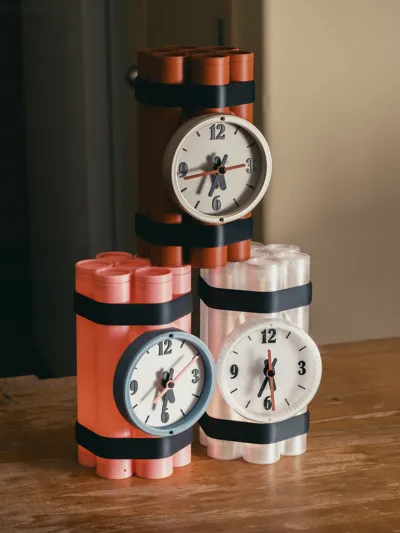
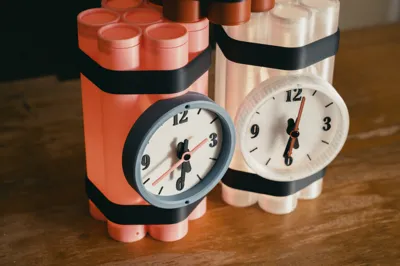
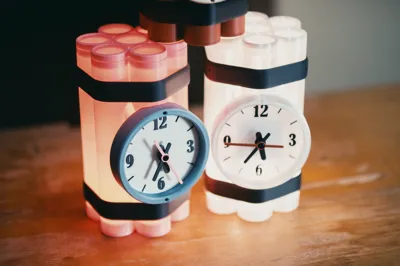
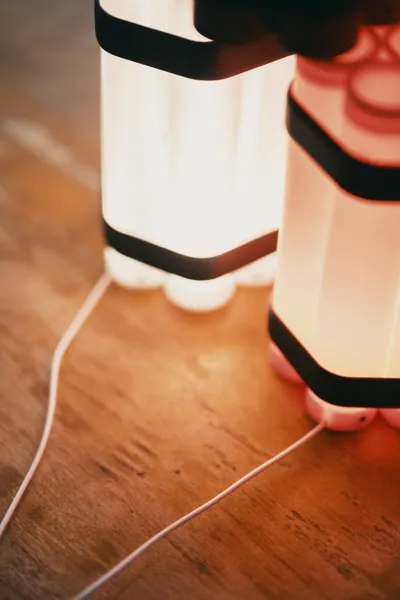
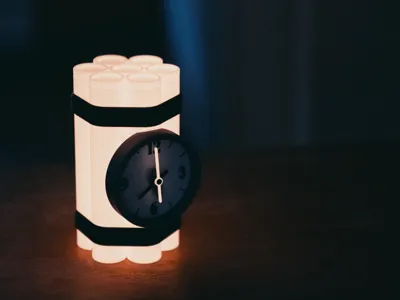
Well, what can I say? It's a clock shaped like a bundle of dynamite! This makes use of the clock kit, and optionally, the lamp kit. You can print it solid for a straight forward clock, or print it using transparent petg or glow pla for a little extra fun.
[Hardware & Filament]
Hardware Required:
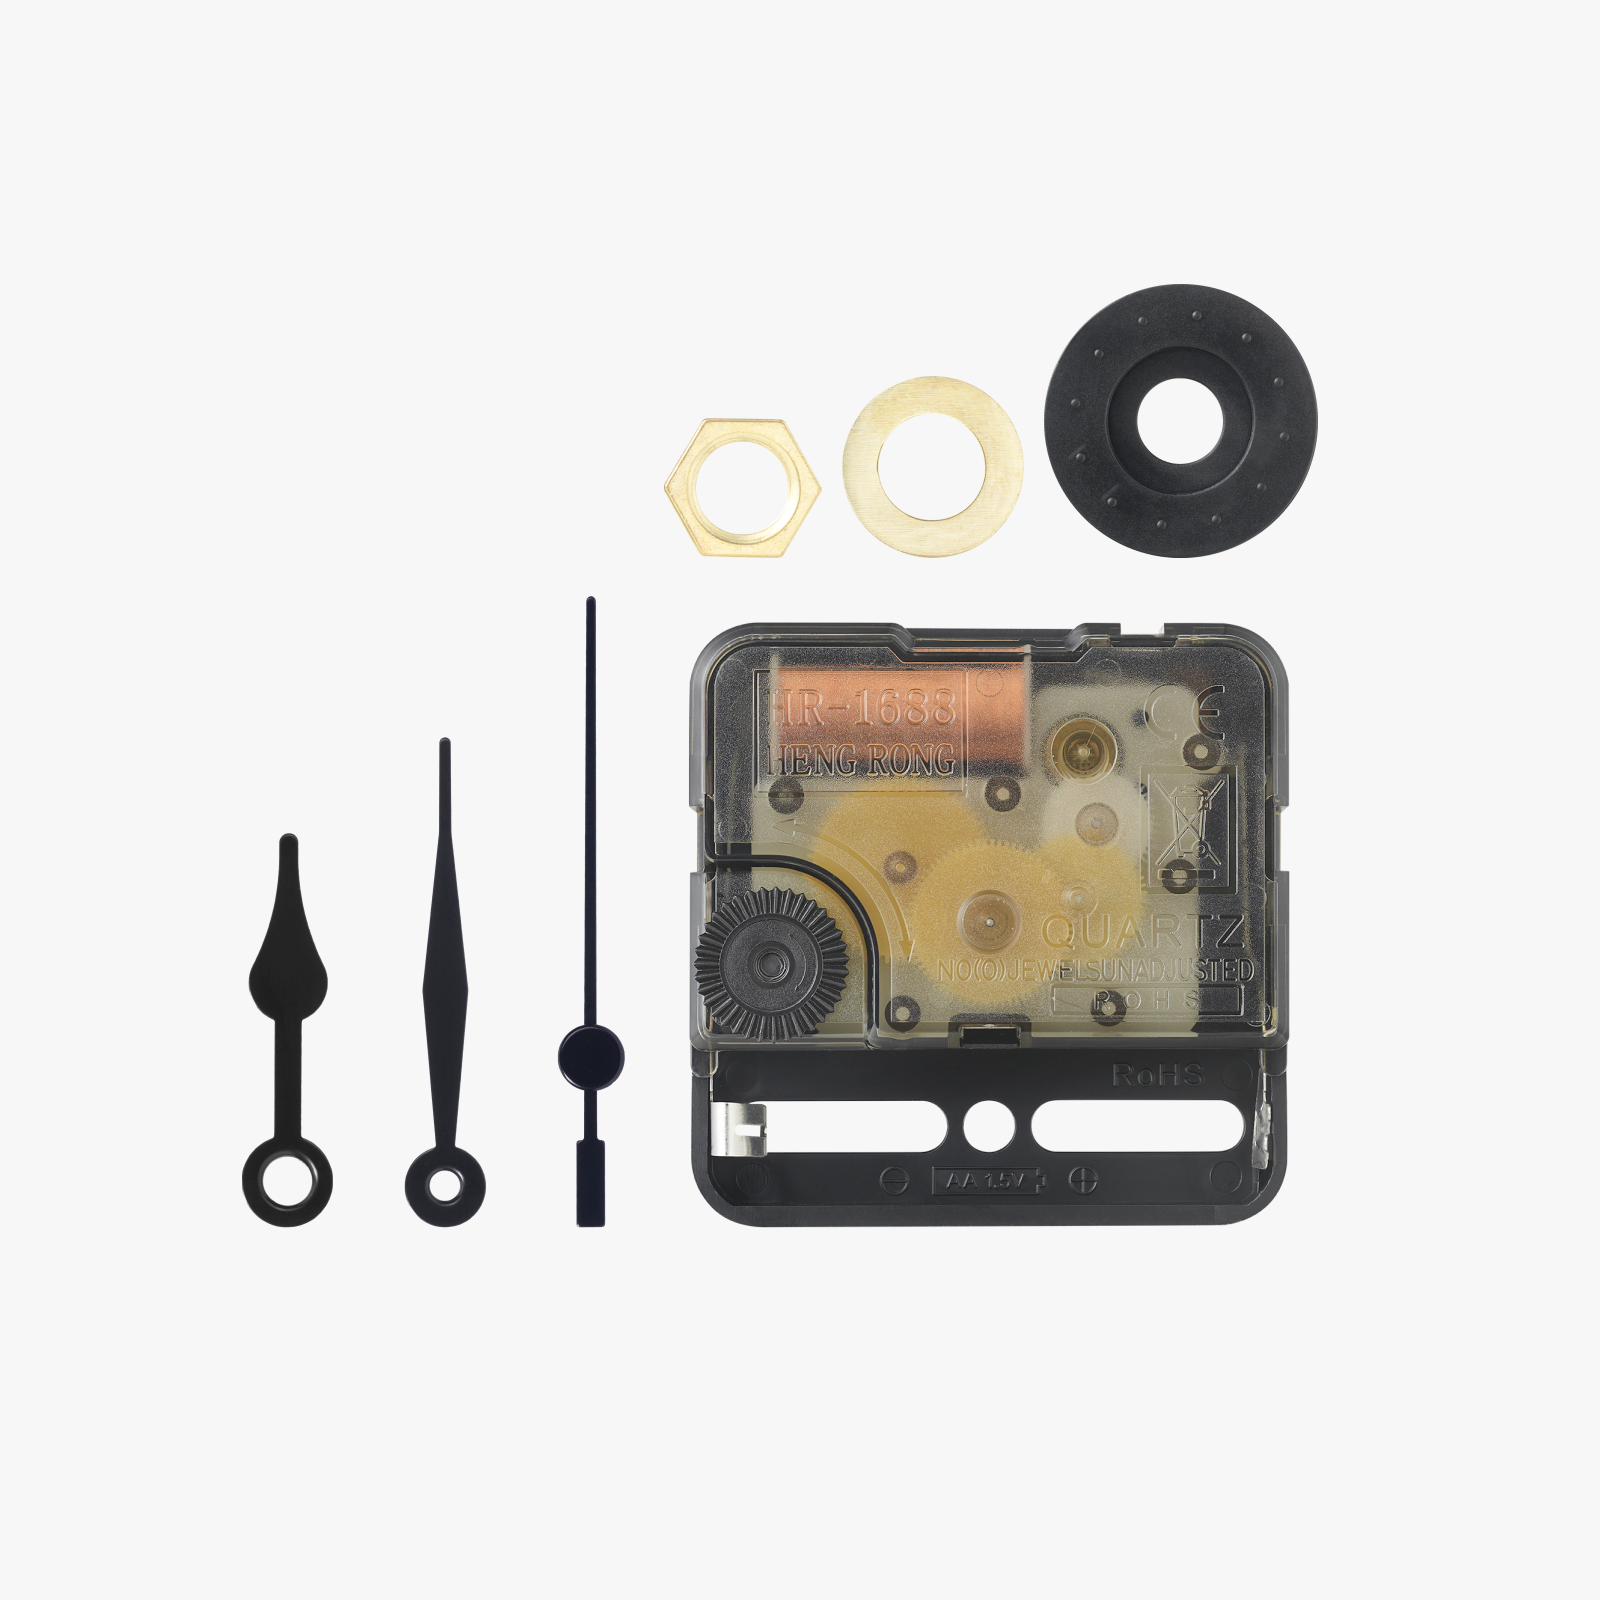
1 Clock Components Kit 011 (Sold on the Bambu Store)
1 LED Lamp Kit 001 (Optional) (Sold on the Bambu Store)
11 - BT2x8mm Self Tapping Screws (Sold on the Bambu Store)
Featured Filaments:
Bambu PETG-CF Brick Red
Bambu PETG-CF Black
Bambu PLA Metallic Iridium Gold
Bambu PLA Metallic Iron Gray
Polymaker Polyterra Muted White
Bambu PETG Translucent Clear
Bambu PETG Basic Black
Bambu PETG-CF Brick Red
Bambu PLA Glow Pink
Bambu PLA Basic Blue Gray
Bambu PLA Matte Black
Bambu PLA Matte Ivory White
[Assembly]
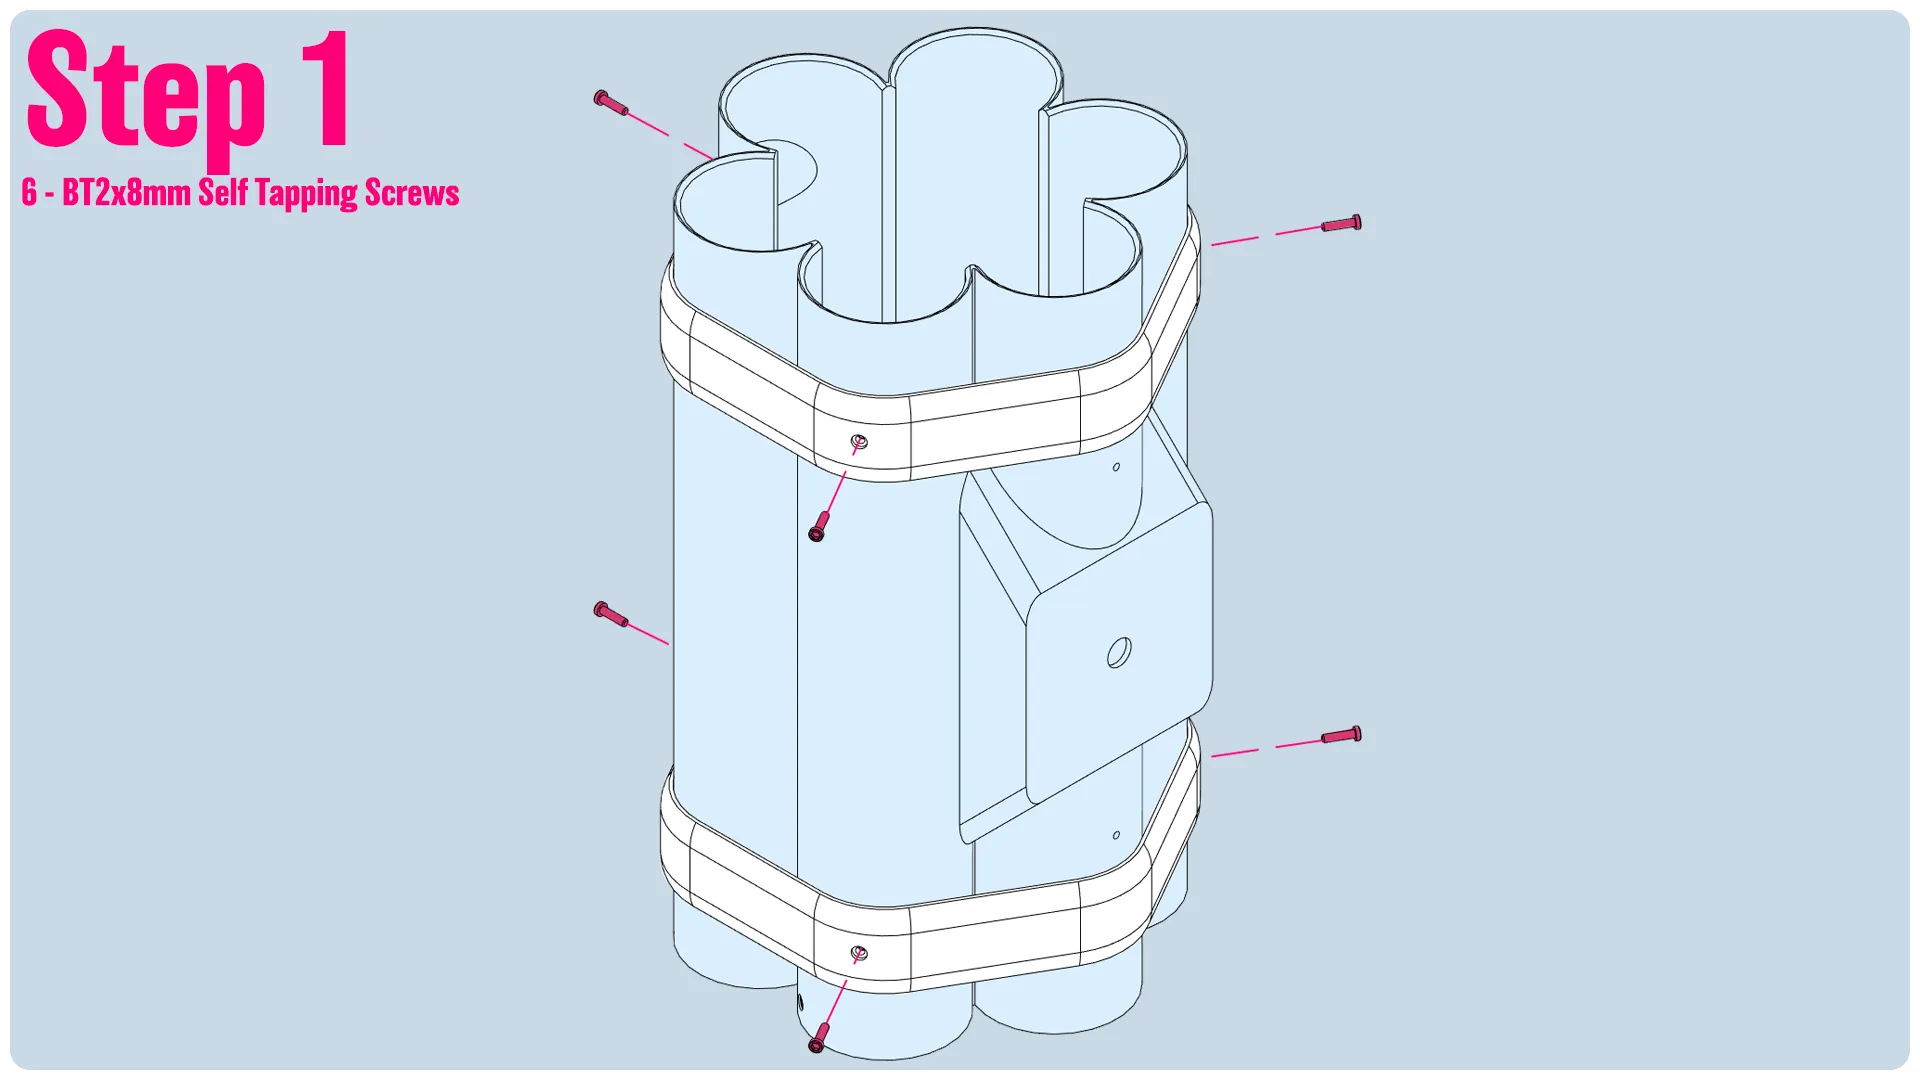
Step1: Install the 2 bands, and then insert the 6 screws to secure the bands in place.
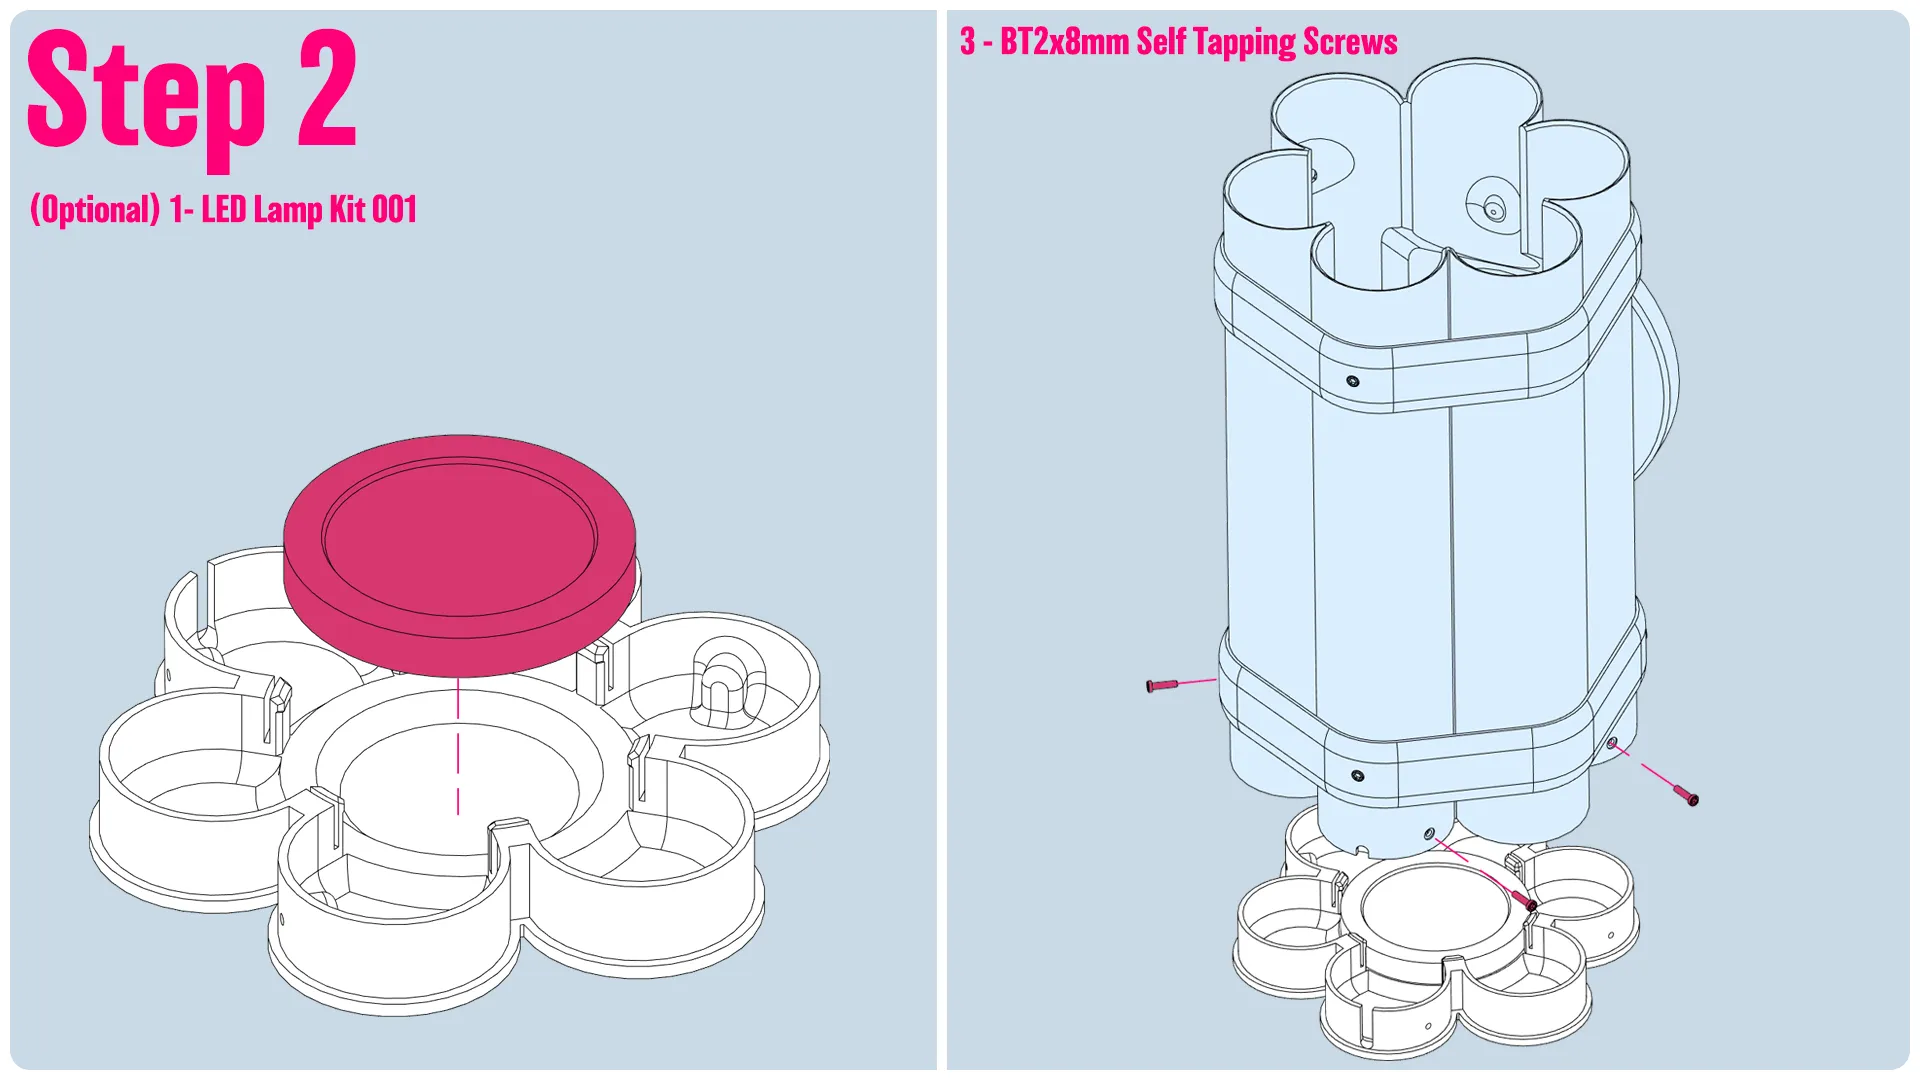
Step2:
- Install the lamp kit, if you choose to. Route the wire out the back.
- Install the base onto the main body, and insert the 3 screws to secure it in place.
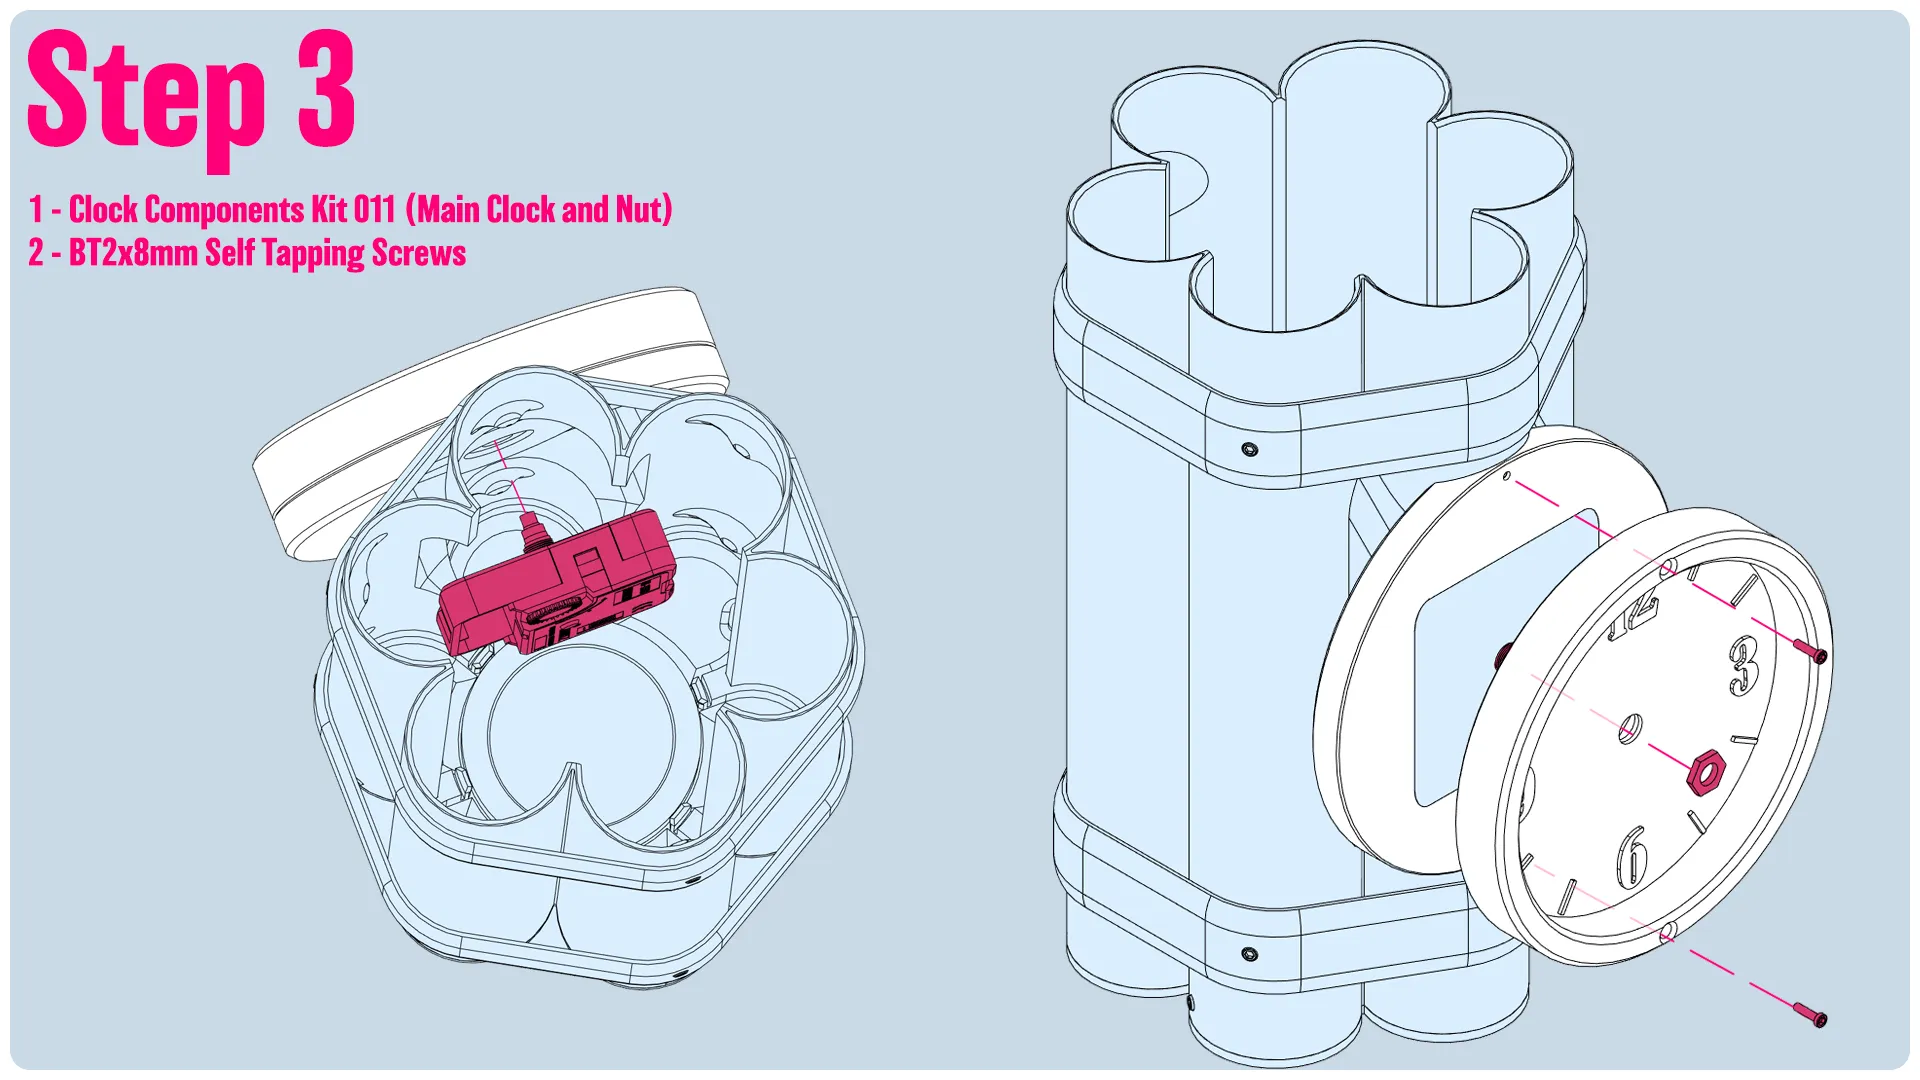
Step3:
- Insert the clock component through the main body of the dynamite sticks. Make sure it's orienated so the dial set is on the top. This will make it easier to access later on when we want to set the time or change the battery.
- Install the two front faces and screw them in place, then install the nut included with the clock kit to secure everything in place.
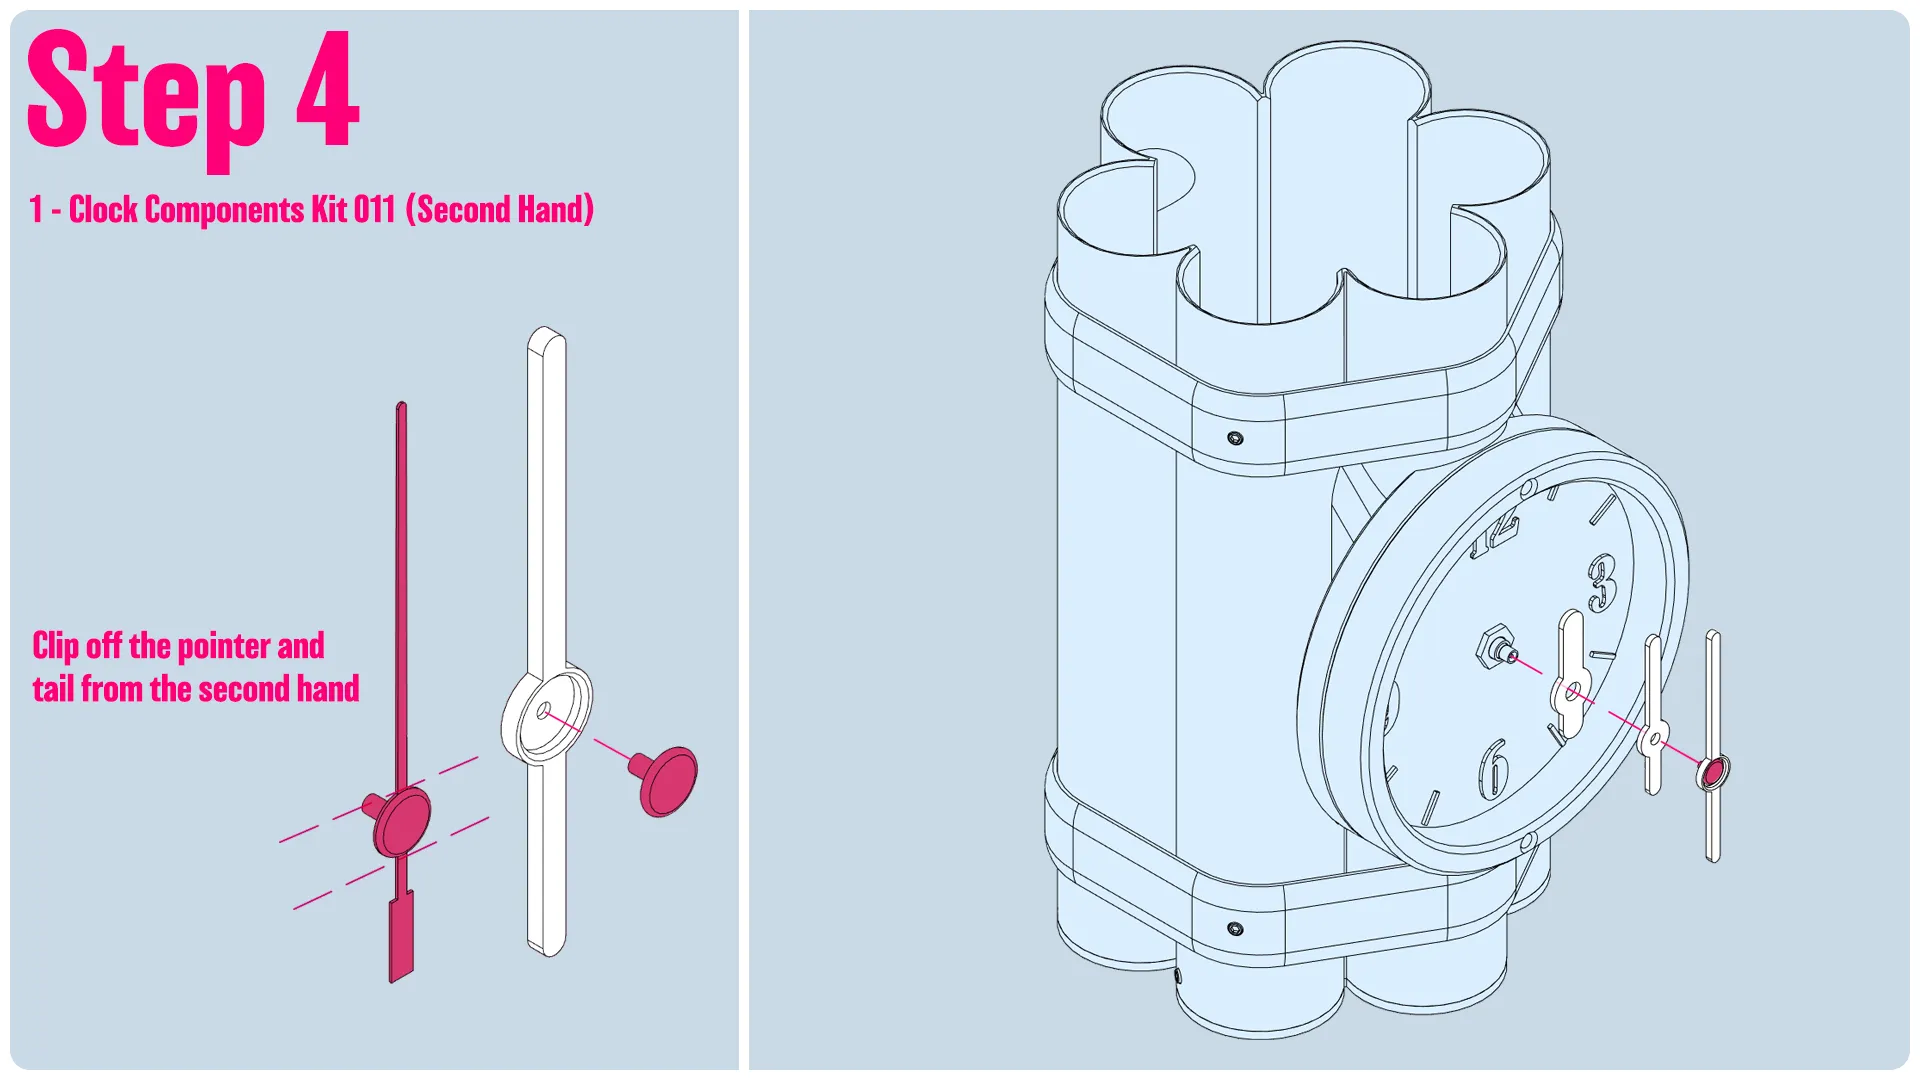
Step4:
- For the second hand, we want to use the base pin that came with the clock kit. We'll snip the ends off, leaving us just the pin. We'll insert it into our 3d printed second hand
- Install the Hour hand, Minute hand, and Second hand. I recommend installing them at 12:00, and then using the dial to set the time.
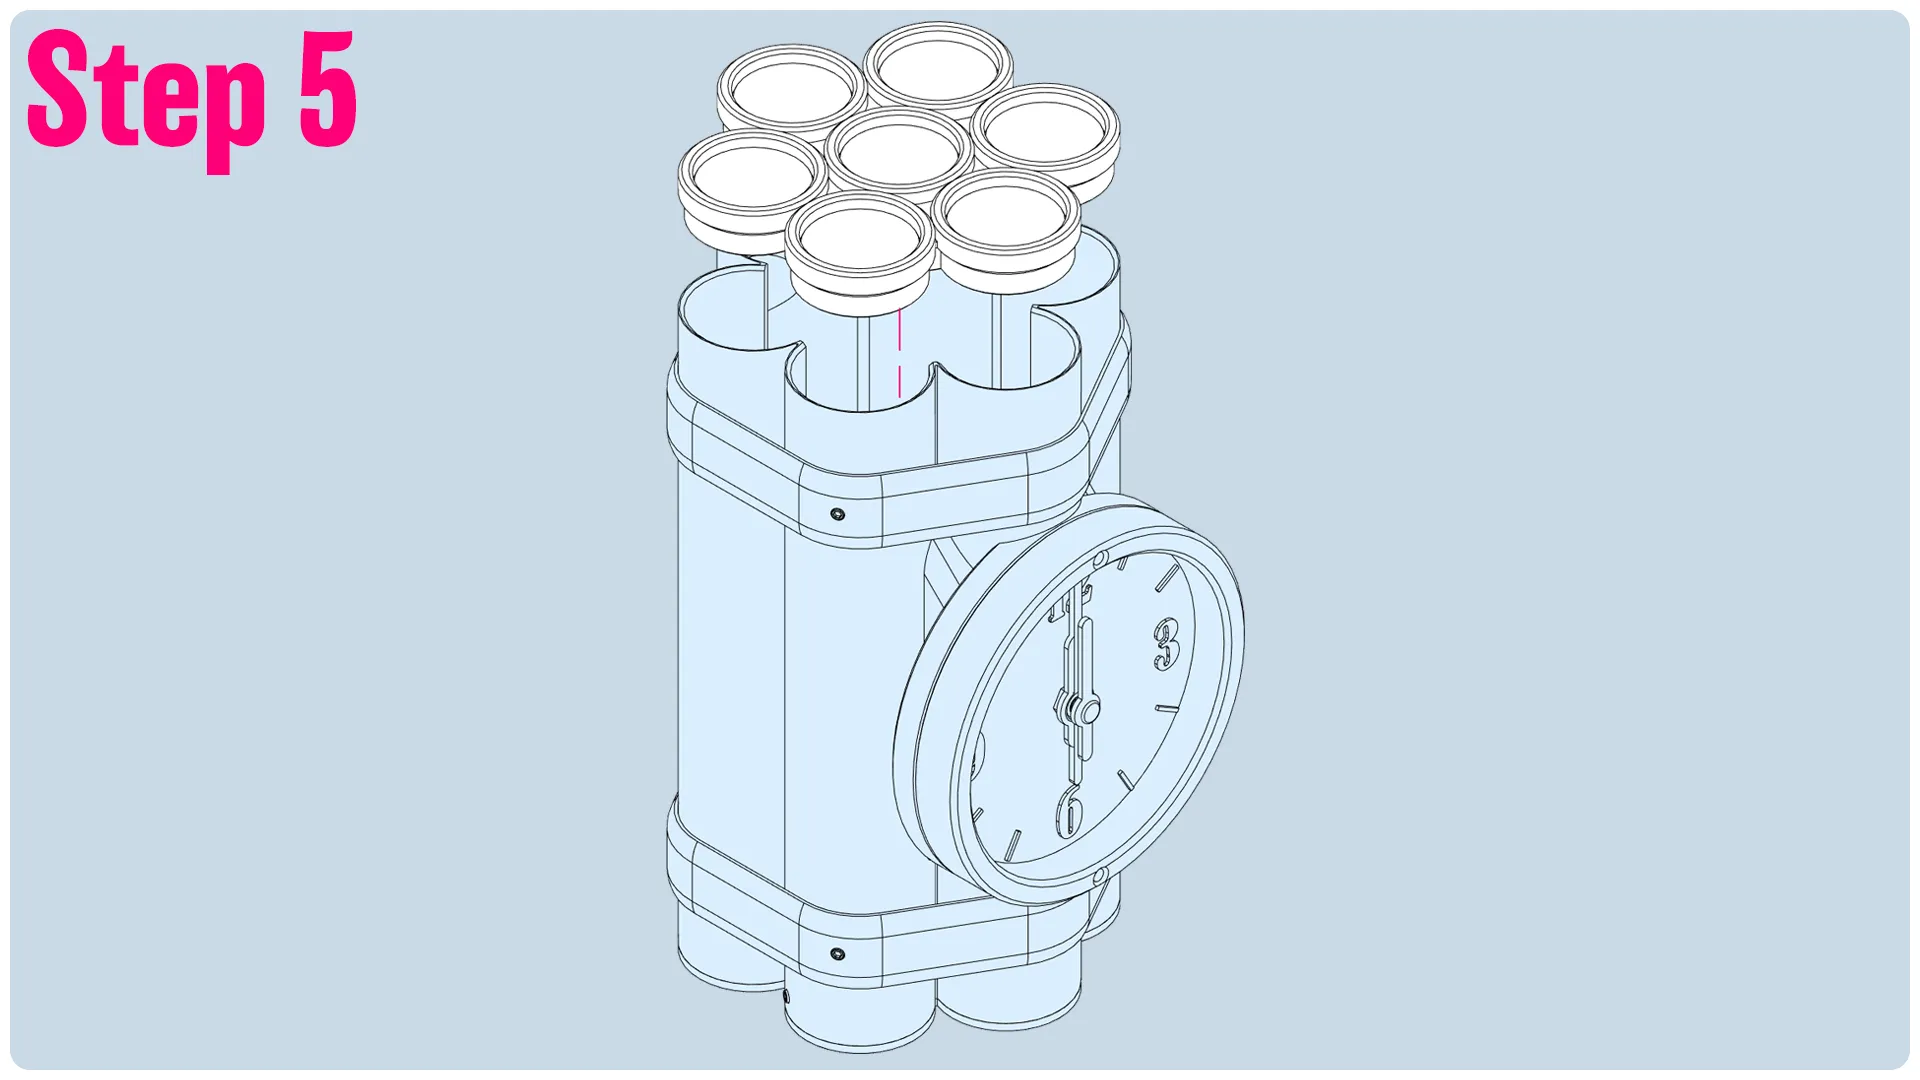
Step5: Put the lid on!
-------
If you like my work, consider showing your love by Buying me a coffee. Additionally, if you're looking to sell prints of my design, please check out my Patreon page for more information. Additionally, you can follow me on Youtube for videos covering some of my models, and Instagram.
License

You shall not share, sub-license, sell, rent, host, transfer, or distribute in any way the digital or 3D printed versions of this object, nor any other derivative work of this object in its digital or physical format (including - but not limited to - remixes of this object, and hosting on other digital platforms). The objects may not be used without permission in any way whatsoever in which you charge money, or collect fees.


Comment & Rating (49)