
Working wand
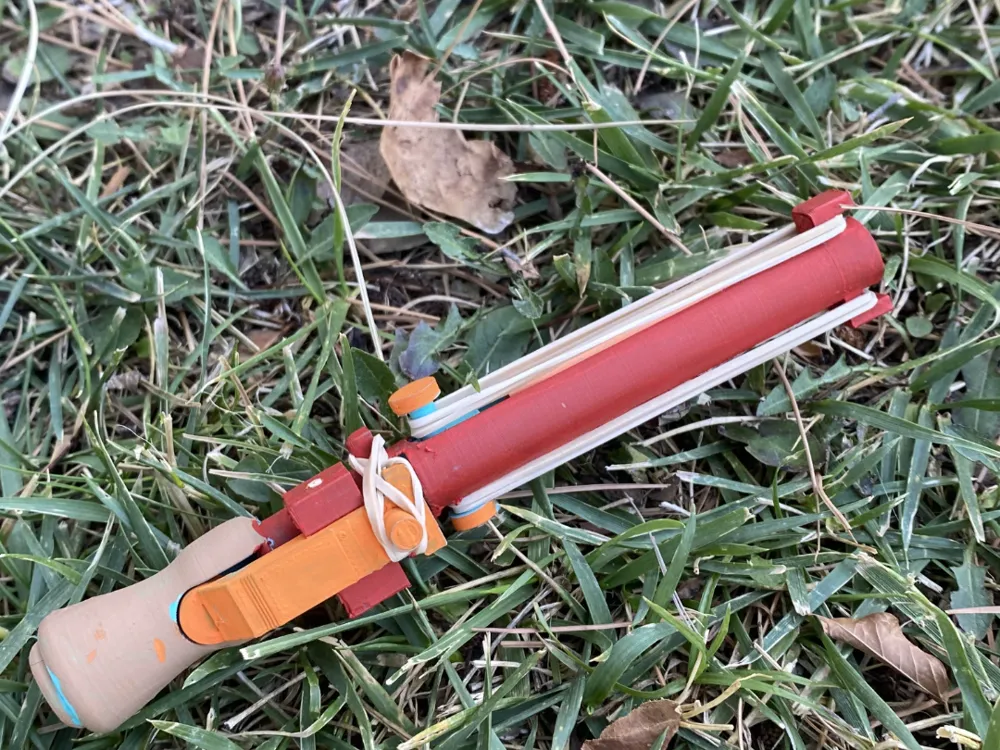


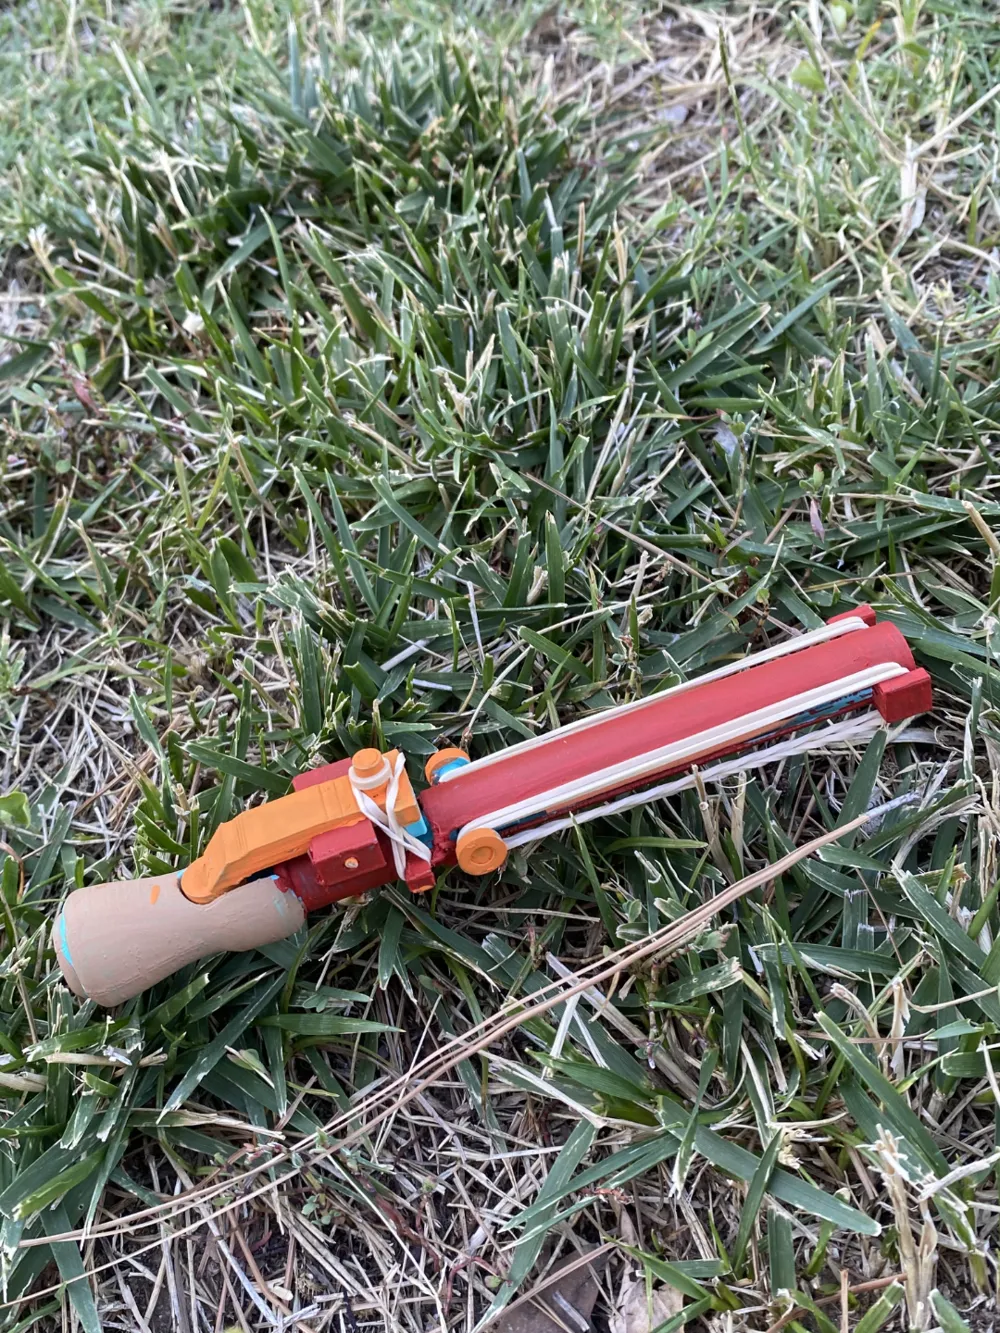

Print Profile(1)

Bill of Materials

Description
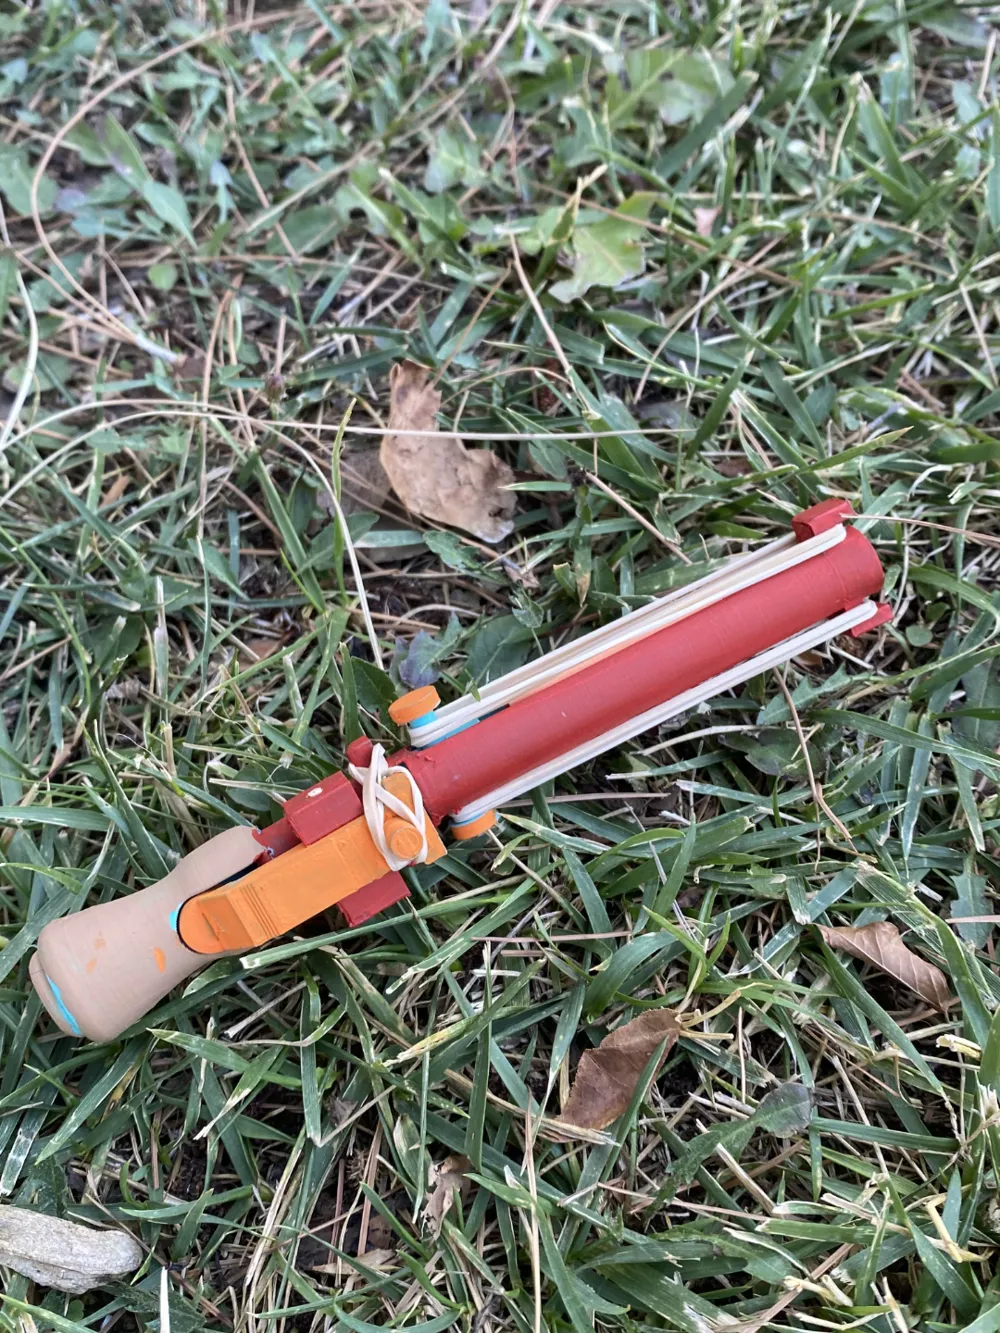
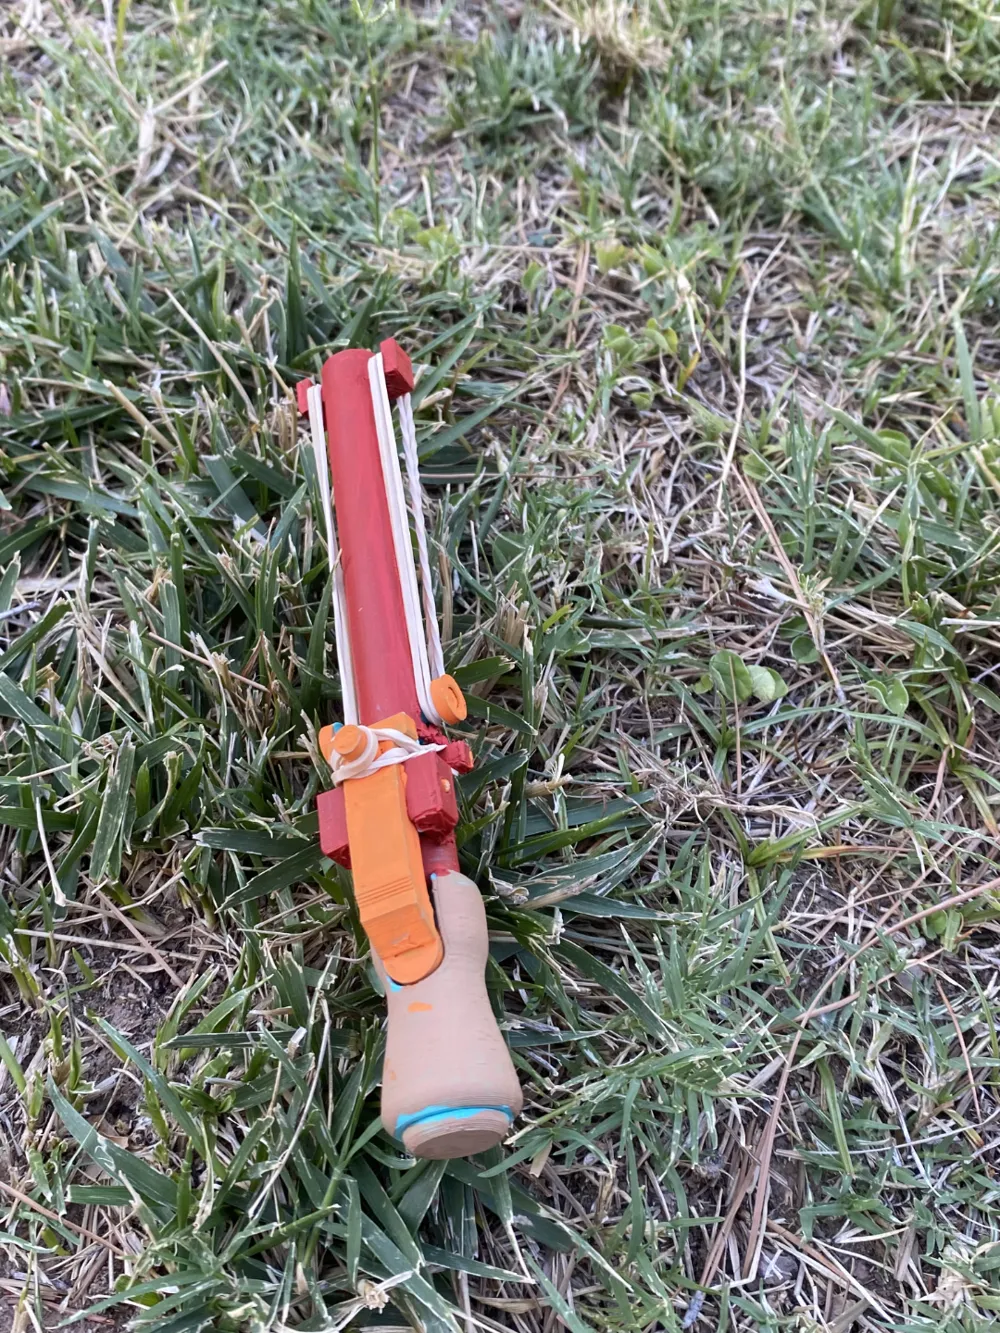
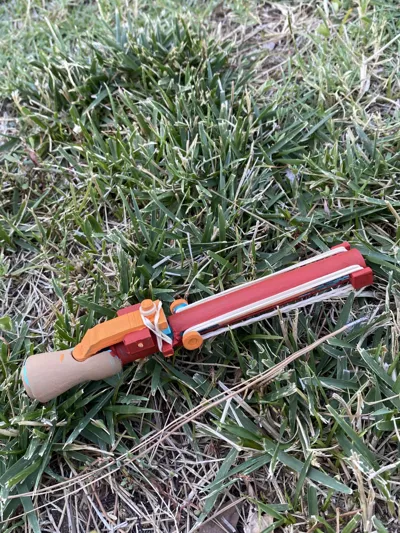
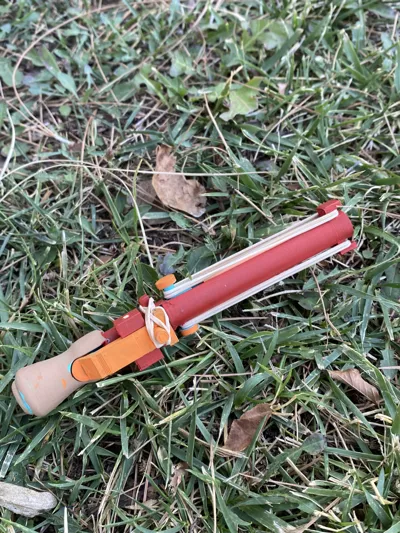
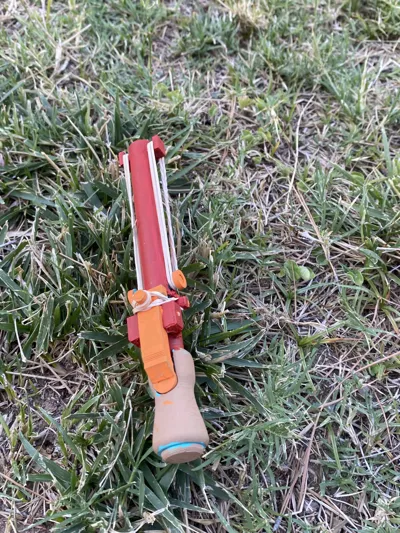
This is a working magic wand! This wand can shoot confetti foam, paper, and anything else you can think of!
You will need 3 rubber bands, but any rubber bands will work
printing:
I printed this model in Pla with 20% infill, I recommend not going bellow 20%
For the “wand body” I made sure to print it vertically with tree supports
Assembly
I am going to refer to the parts from now on as they are listed in the downloads
If you are going to paint the wand do it before the assembly :)
- To start the assembly place the "firing mechanism rev 3" into its slot in the “wand body” as shown in the images. Now place a REAL toothpick through that hole and clip the ends. ( if you do not have a real toothpick use the “toothpick fake” file)
- Next place a rubber band onto the extrusions “firing mechanism rev 3” on the “wand body” figure eight the rubber band on place it onto the cylinder on top of “firing mechanism rev 3” now figure eight again and place the rubber band on the extrusion on the other side of the “wand body”. Do this process until the rubber band is taught.
- Now place the “flinger” into the front of the “wand body's" barrel ensure that the longer side is at the front of the barrel and the slit is open towards the “firing mechanism rev 3”
- now place the “rubber band holder “through the hole in the “flingers” side, now press the "rubber band holder cap” onto the "rubber band holder"( if the fit is loose use a little glue)
- Next place the “end cap” onto the bottom of the handle of “wand body” if the fit is loose use some glue ( I recommend hot glue)
- Finally place a rubber band on either side of rubber band holder and onto the extrusions on the front of the “wand body”( double up the rubber bands if necessary.
how to use:
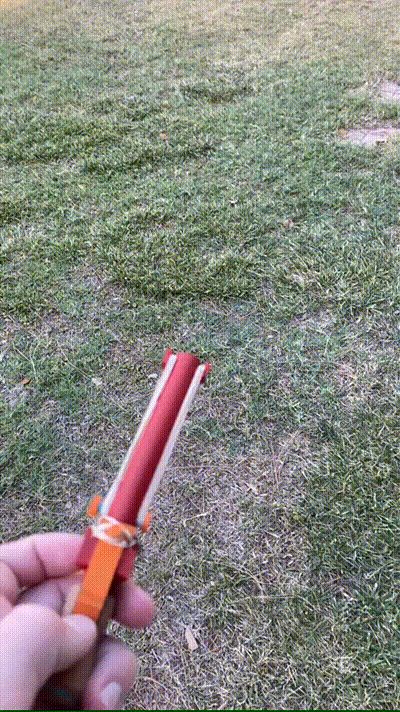
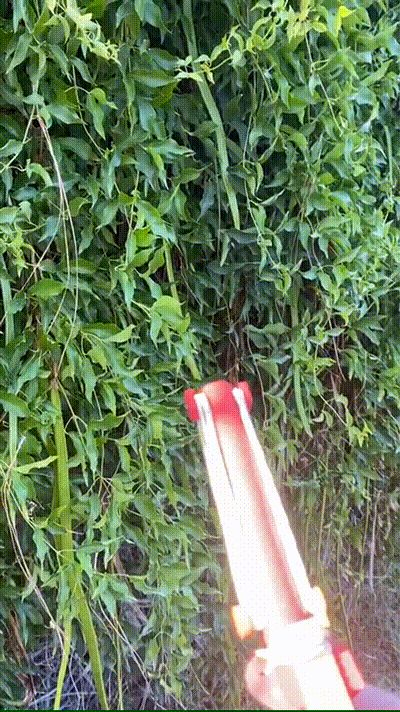
Pull the flinger and rubber band holder back until it clicks(you may need to press the trigger to help this process the first few times)
now load in you ammunition and fire!
If you have and questions or concerns please comment them :)
License

You shall not share, sub-license, sell, rent, host, transfer, or distribute in any way the digital or 3D printed versions of this object, nor any other derivative work of this object in its digital or physical format (including - but not limited to - remixes of this object, and hosting on other digital platforms). The objects may not be used without permission in any way whatsoever in which you charge money, or collect fees.


Comment & Rating (4)