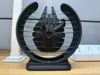
A long time ago in a galaxy far, far away....


Print Profile(8)


Description
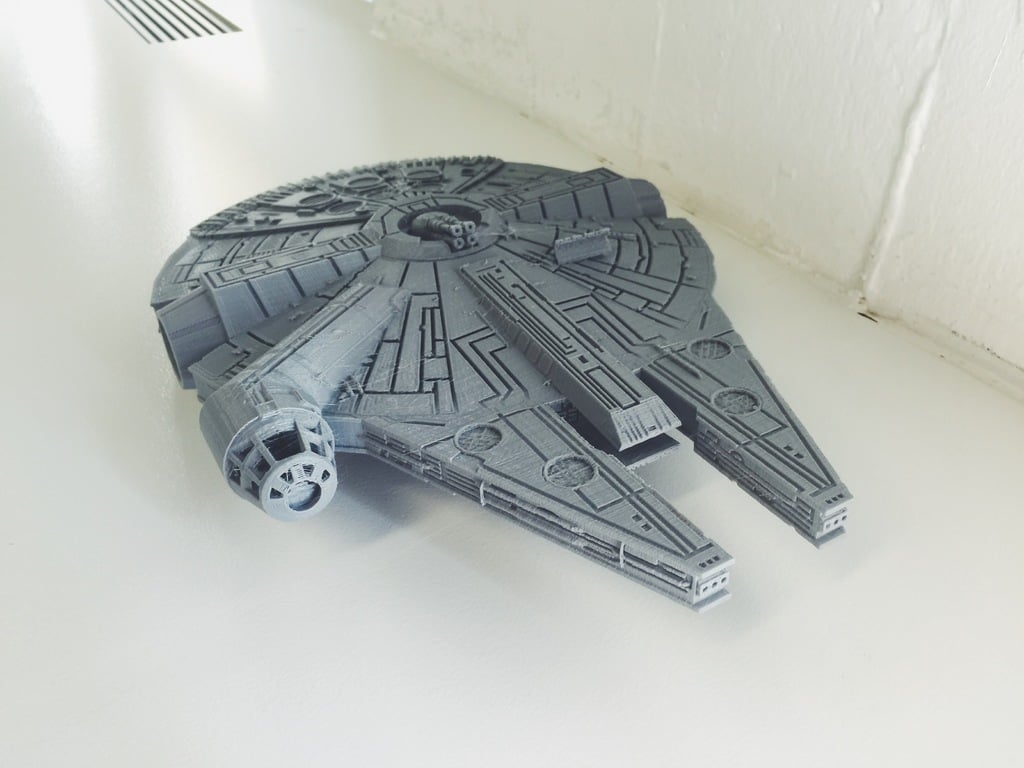
Started with designing a “ship in a bottle”. Ended up with this.
Updates:
- 3/14/2025: Updated support design to make it easier to remove!
- 1/20/2024: Updated model to double the strength of the webs. Check out the “V2” profiles.
- 1/16/2024: Uploaded a few tweaks to the Designer Profile which enhance small details on the ship and improve print reliability
- 12/26/2023: Added “Optional Uplighting Kit" profile. It's a fast print, compatible with a variety of LED's and fits nicely. Makes the base of the model more significant so also a nice upgrade to add a contrasting portion to the base. Pick plate one or plate two depending on your preferred LED's:
- Plate 1: Fits the LED puck from the Bambu Labs LED Lamp kit.
- Plate 2: Allows the installation of a length of LED light strip (or fairy lights) of various types. If you're just getting started with custom LED installs check this video out.
- Plate 3: Includes a lens that fits in the model base to diffuse the light from the LED's. The Bambu LED is very bright so I prefer printing the lens in white or colored PLA rather than translucent.
Suggestions on removing support material if it does not just pop off initially:
When removing the support don't be in a hurry. It will come off.
Hold the ship portion of the model firmly with one hand, with the other hand use the biggest needle nose pliers you can to grab the support chunk from the bottom where it was attached to the build plate. Make sure you have a firm grip and twist the pliers clockwise/counter-clockwise then pull straight out. Take your time. Don't expect it to pop off in one go. You're just hoping to cause some cracking noises. Then move the pliers to a different spot and repeat the twist/pull to hopefully create some more cracking noises. You're trying to achieve the same effect as when you bend a paperclip back and forth until it breaks. Eventually the support will come loose, just be patient.
Enjoy!
Comment & Rating (1034)