
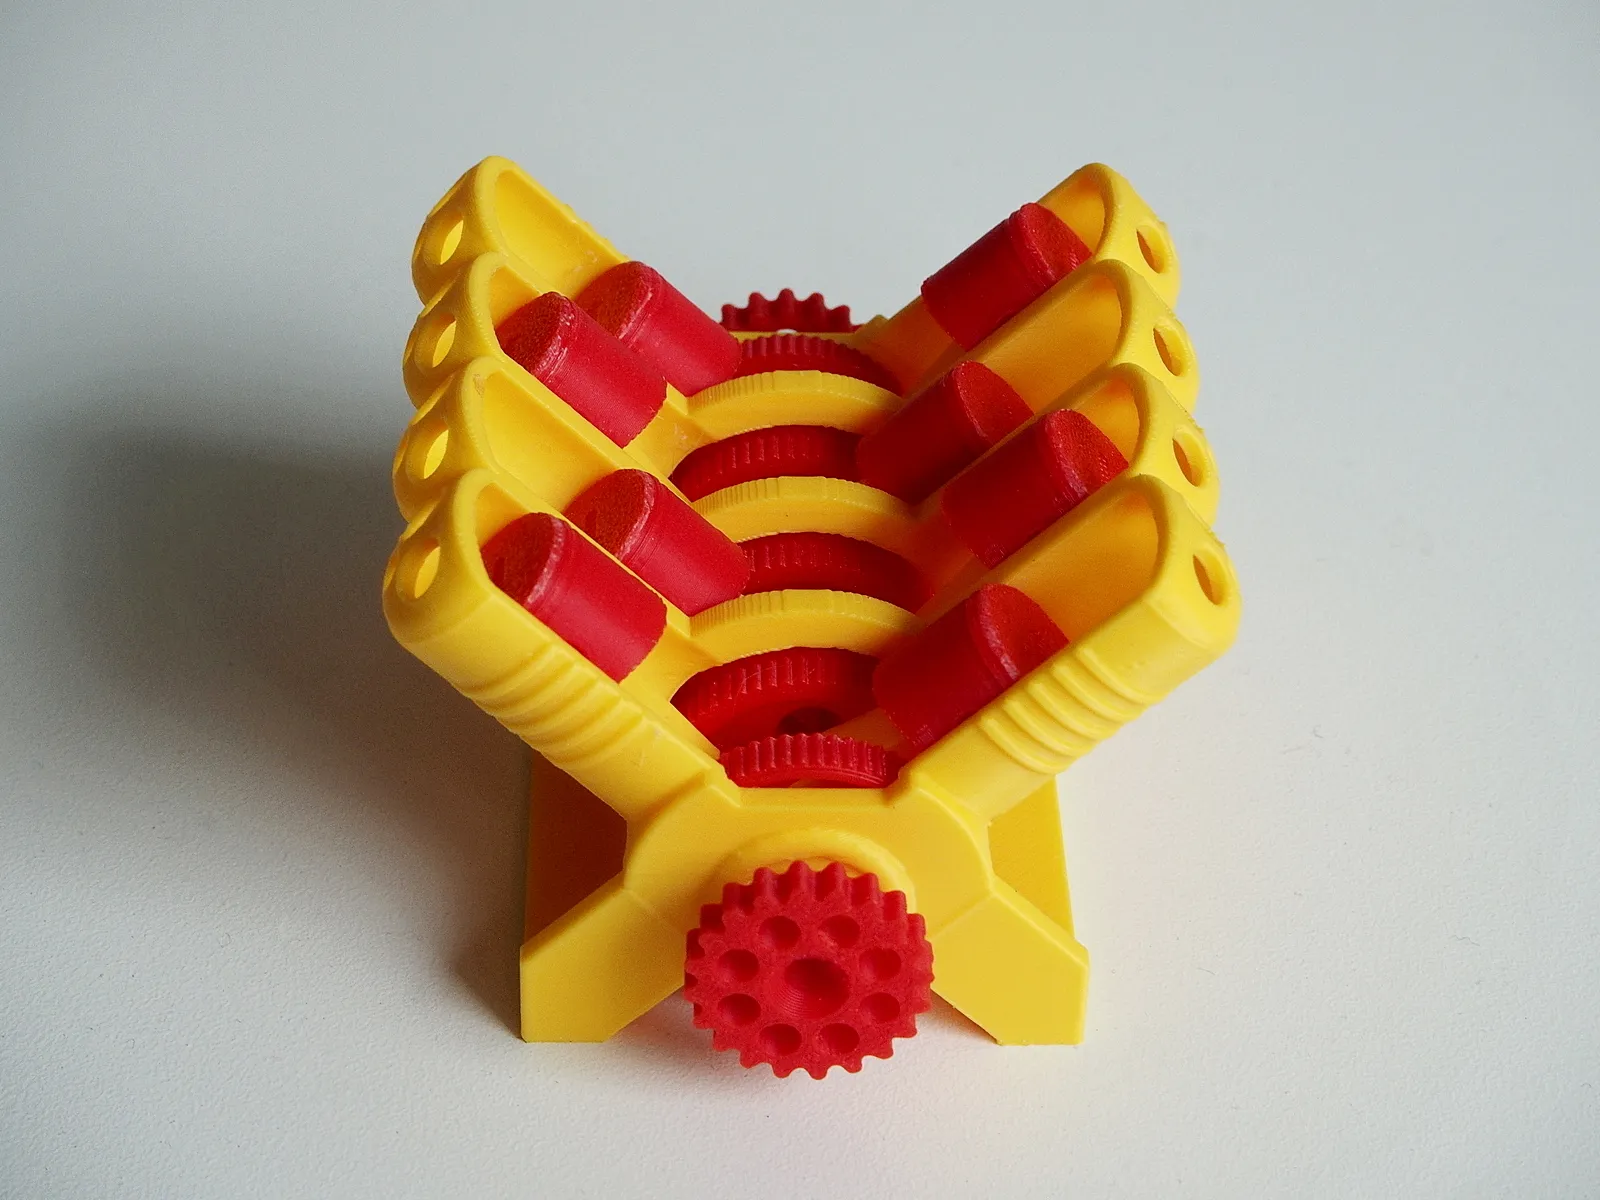
V8 Engine Fidget 1.0 (obsolete)


Print Profile(3)


Description
New version 2.0
https://makerworld.com/en/models/2508034-v8-engine-fidget-2-0
Printing
The crankcase is printed with support on build plate.
Print the piston pins with brim.
I printed with PLA+, layer height 0.16 mm.
Dimensions 70 x 68 x 50 mm.
Weight 0.050 kg.
Assembly
- Build the crankshaft using the crankshaft alignment tool.
Apply glue. I use Loctite Super Glue-3 Power Gel.
- Lay the crankcase upside down on the table.
- Click the assembled crankshaft in the crankcase, the piston rods pointing downwards.
- Mount the 8 pistons to the 8 piston rods using the 8 piston pins.
- Click the pistons in the cylinders.
- Place or glue the stand to the crankcase.
- Click the 2 Cranked Handle parts together and place or glue it in one of the hexagonal holes of the crankshaft.
Operation
Use the cranked handle, or put your finger on one of the crankshaft cheeks to turn the crankshaft.
License

You shall not share, sub-license, sell, rent, host, transfer, or distribute in any way the digital or 3D printed versions of this object, nor any other derivative work of this object in its digital or physical format (including - but not limited to - remixes of this object, and hosting on other digital platforms). The objects may not be used without permission in any way whatsoever in which you charge money, or collect fees.


Comment & Rating (285)