Over Ear Headphone Conversion for Koss KSC75
Remixed by
Boost
0
0
0


Print Profile(1)

0.2mm layer, 3 walls, 15% infill
Designer
4.5 h
7 plates
Open in Bambu Studio
Boost
0
0
0
0
0
0
Released
Description
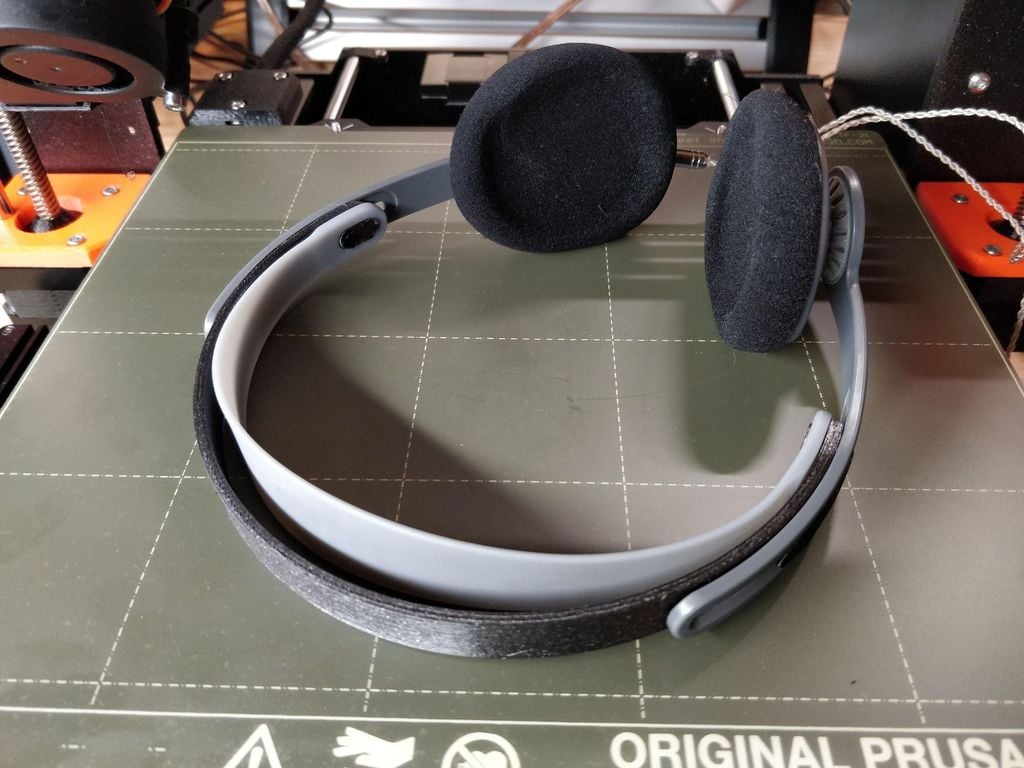
After trying out some existing (on-ear) mods I wanted to turn my Koss KSC75s into Over Ear Headphones. I'm pleasently surprised with the results. I like the sound and they're super light and comfortable to wear.
Overview
- Headband and earcups fully printed.
- Everything but the Headband prints without supports.
- Swappable baffles allow switching between open back and closed back design.
- You have to bend the Headband mounts into form after printing. Works great with PETG but be careful not to snap the part in half when using PLA. (Heat is your friend)
What you need
- 3D Printer
- 2 Earpads (round, 100mm diameter - I used spare Beyerdynamic pads)
- Some cotton wool or similar for padding
- Sticky putty for the end caps. (You can also glue the caps to the earcups but then you lose the option to change between open and closed design later. Also only glue the caps once you're sure you like the sound!)
Printing (1 Pair):
- 1 Headband - Regular size should fit most people. Large is really large
- 2 Headband mounts
- 2 Earcups
- 2 End caps (open or closed back, your choice)
Assembly:
- Press fit the KSC75s into the Earcups and put the cable in the designated slot.
- Put your Earpads on the Earcups.
- Pad the insides of the Earcups with cotton wool. (you can add or remove wool later to adjust the sound)
- Put the End Caps on the Earcups
- Bend the headband mounts into shape until they match the headband curve. Heat is your friend, just don't overdo it. (Bottom of the print goes toward the headband)
- Now we can attach the Earcups to the Headband mounts. Just press the mount into the Earcup from both sides.
- Snap the assembled Mounts onto the Headband and you're done.
- Now you can start testing the sound and remove/add wool as preferred.
Remix Info:
I used r15ch13's headband model as a starting point since I couldn'´t think of a better mounting solution.
Only the mounts are copied from r15ch13's model, everything else is my creation.
Comment & Rating (0)
All
No more
This remix is based on
License
This user content is licensed under a
Creative Commons Attribution-Noncommercial-Share Alike


© 2024 MakerWorld