
Retro Console Mouse


Print Profile(1)

Bill of Materials

Description
The Retro Console Mouse!
Inspired by classic gaming consoles, this mouse will make sure the kid in you makes a backflip!
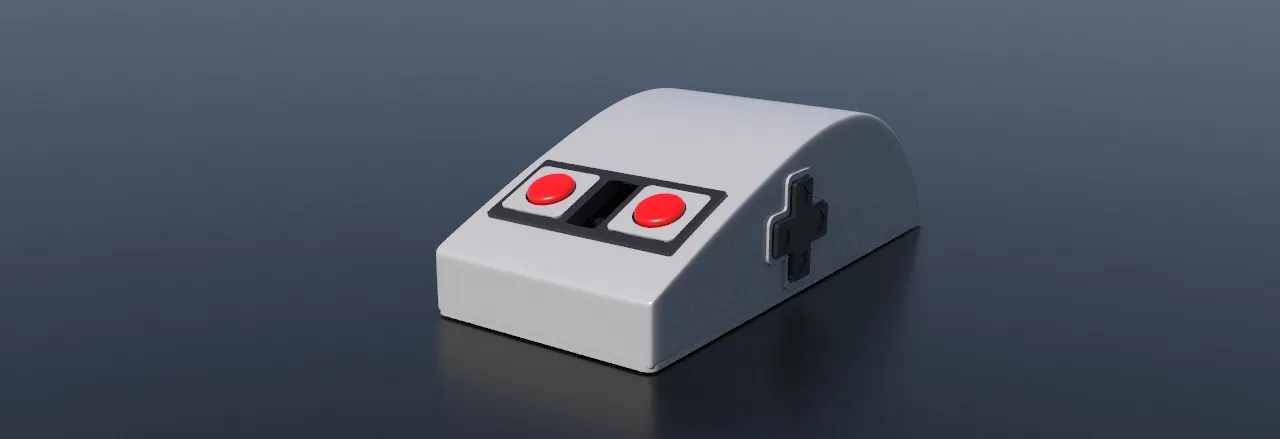
Original Mouse and idea:
While I was playing some old console games, holding my controller in my hand, I had the idea for a mouse matching my oldschool console. Therefore I started researching possible implementations for such a design and found two that appealed to me:
- Design by Tommy Muller from 2013
- Design by Daniel Jansson (approx. 2019)
I decided to go with those two designs and make them compatible for the Bambu Lab Mouse Kit 002. I have intentionally cut the DPI button to match the design.
Creation Process:
Although the shape and look were clear thanks to previous creators, it was still hard to finish the model. It needed to be:
- Smooth in the hand
- Look great
- Be easy to print
Therefore, I had to adjust a lot of thinks like the bottom half of the mouse to make it still look nice even with visible layer heights or the edges to be not too smooth, otherwise the print will suffer in the quality as supporting suh edges will be hard.
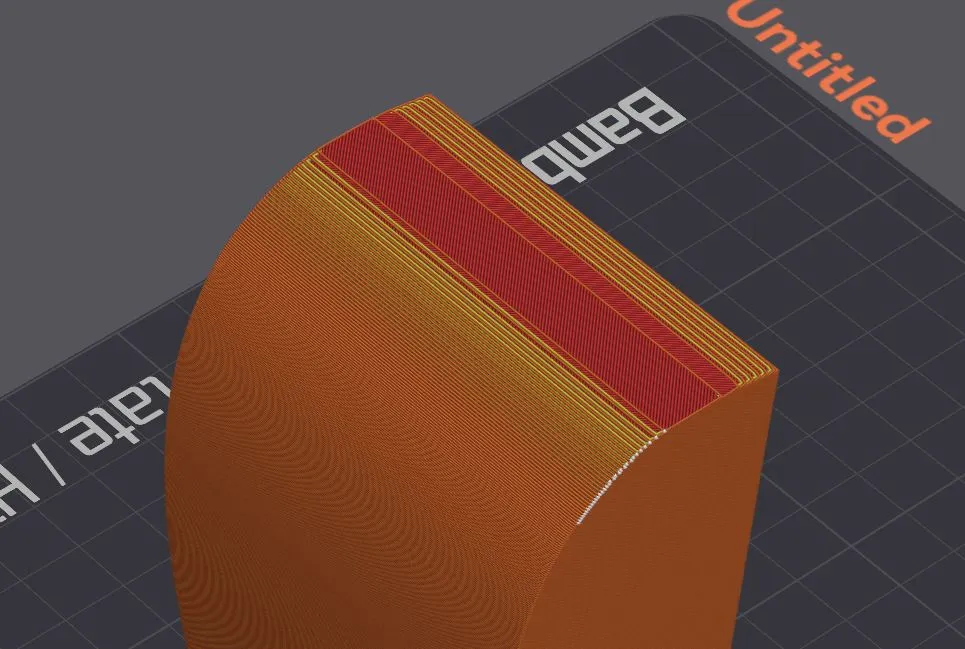 ----------->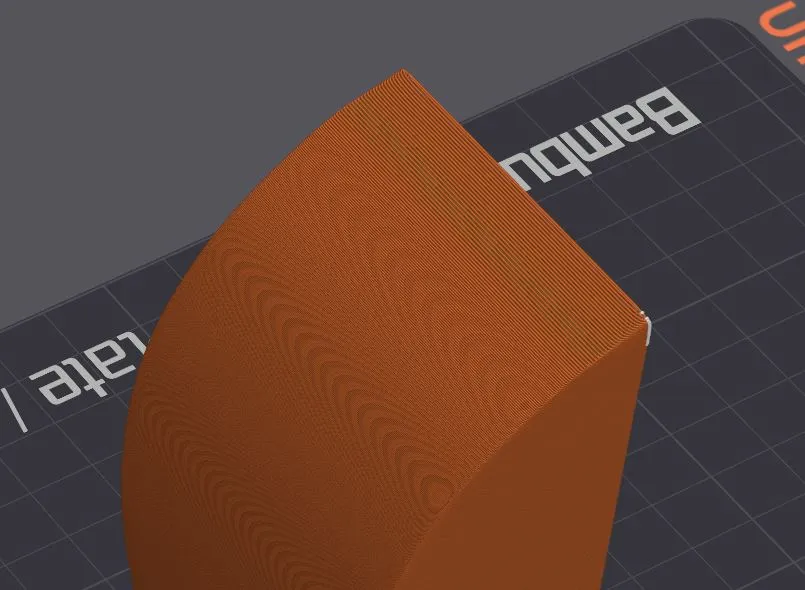
So this shape Become like this (with lower layer height!)
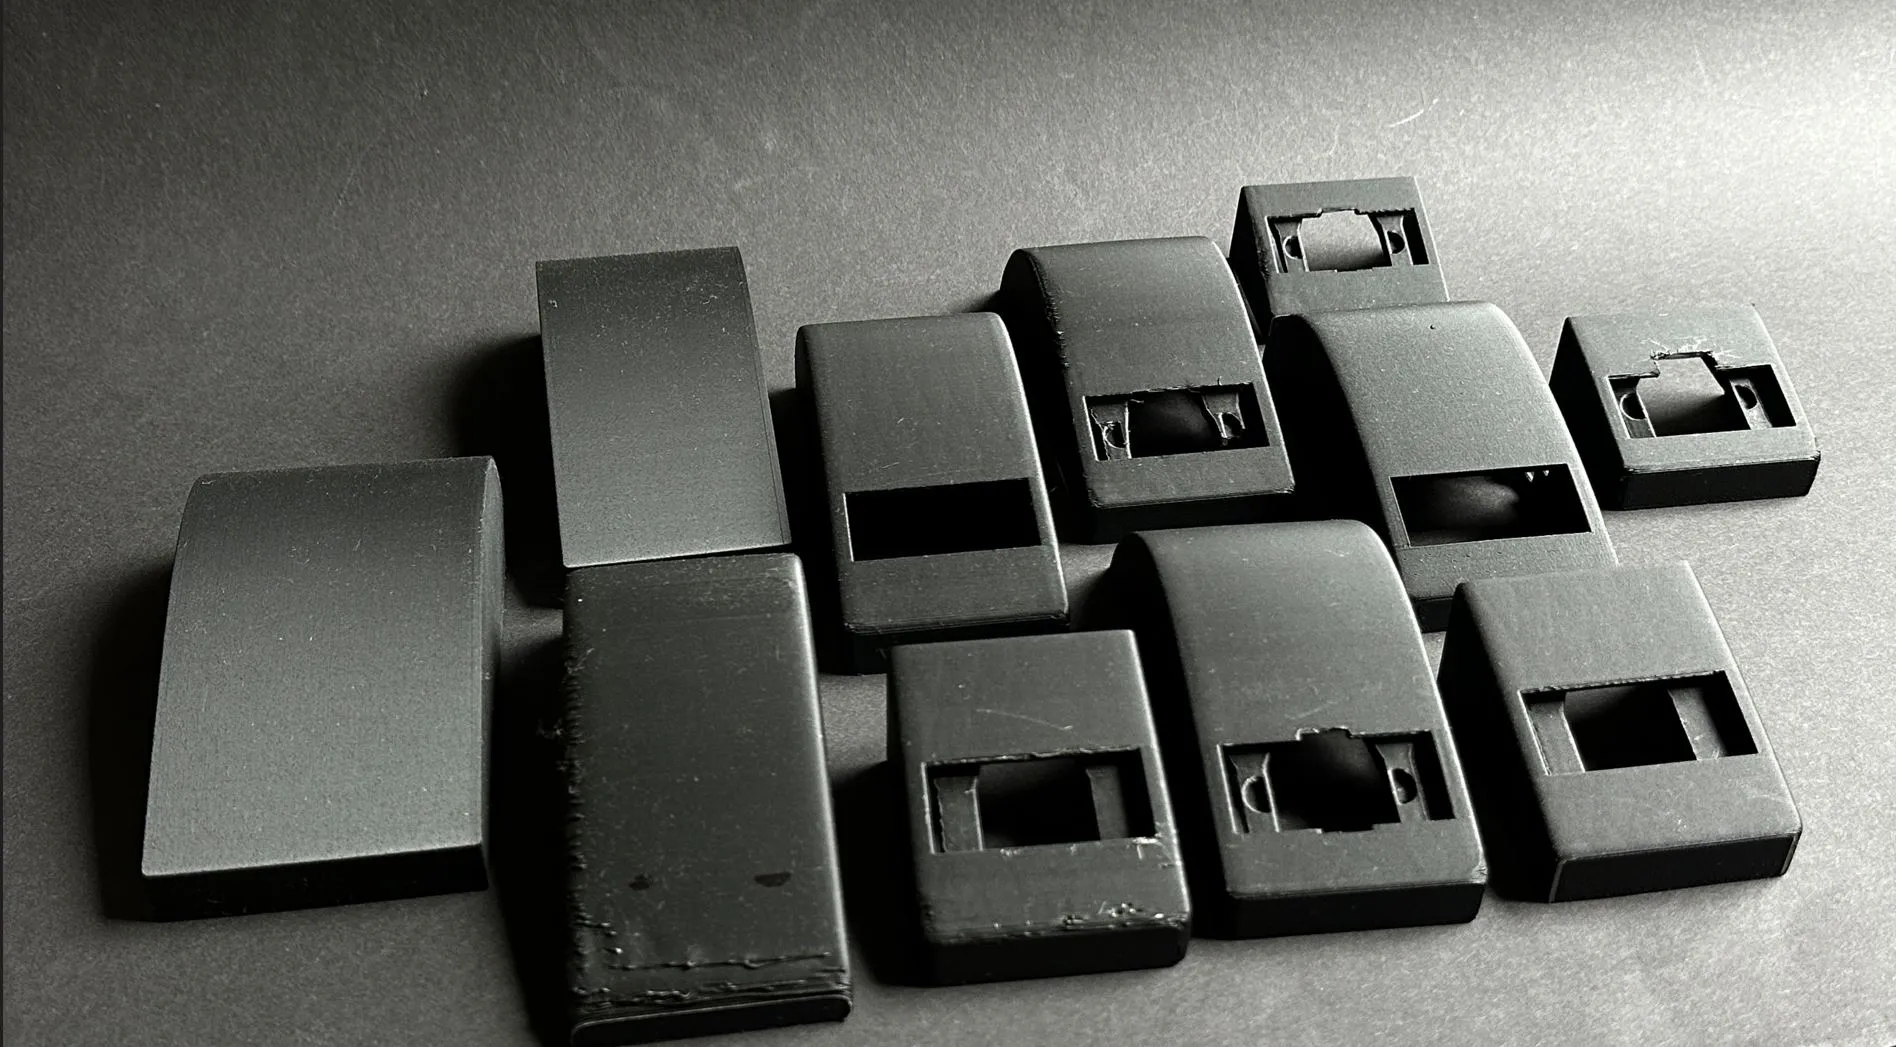
I had some “failures” recreating the correct shape and to find the best solution for the buttons to work, this is my little “mouse farm”
Printing instructions:
The print itself is very easy although depending on the orientation of the model and your plate, the top surface may get a different structure. I recommend to have a thought about it before printing.
Assembly:
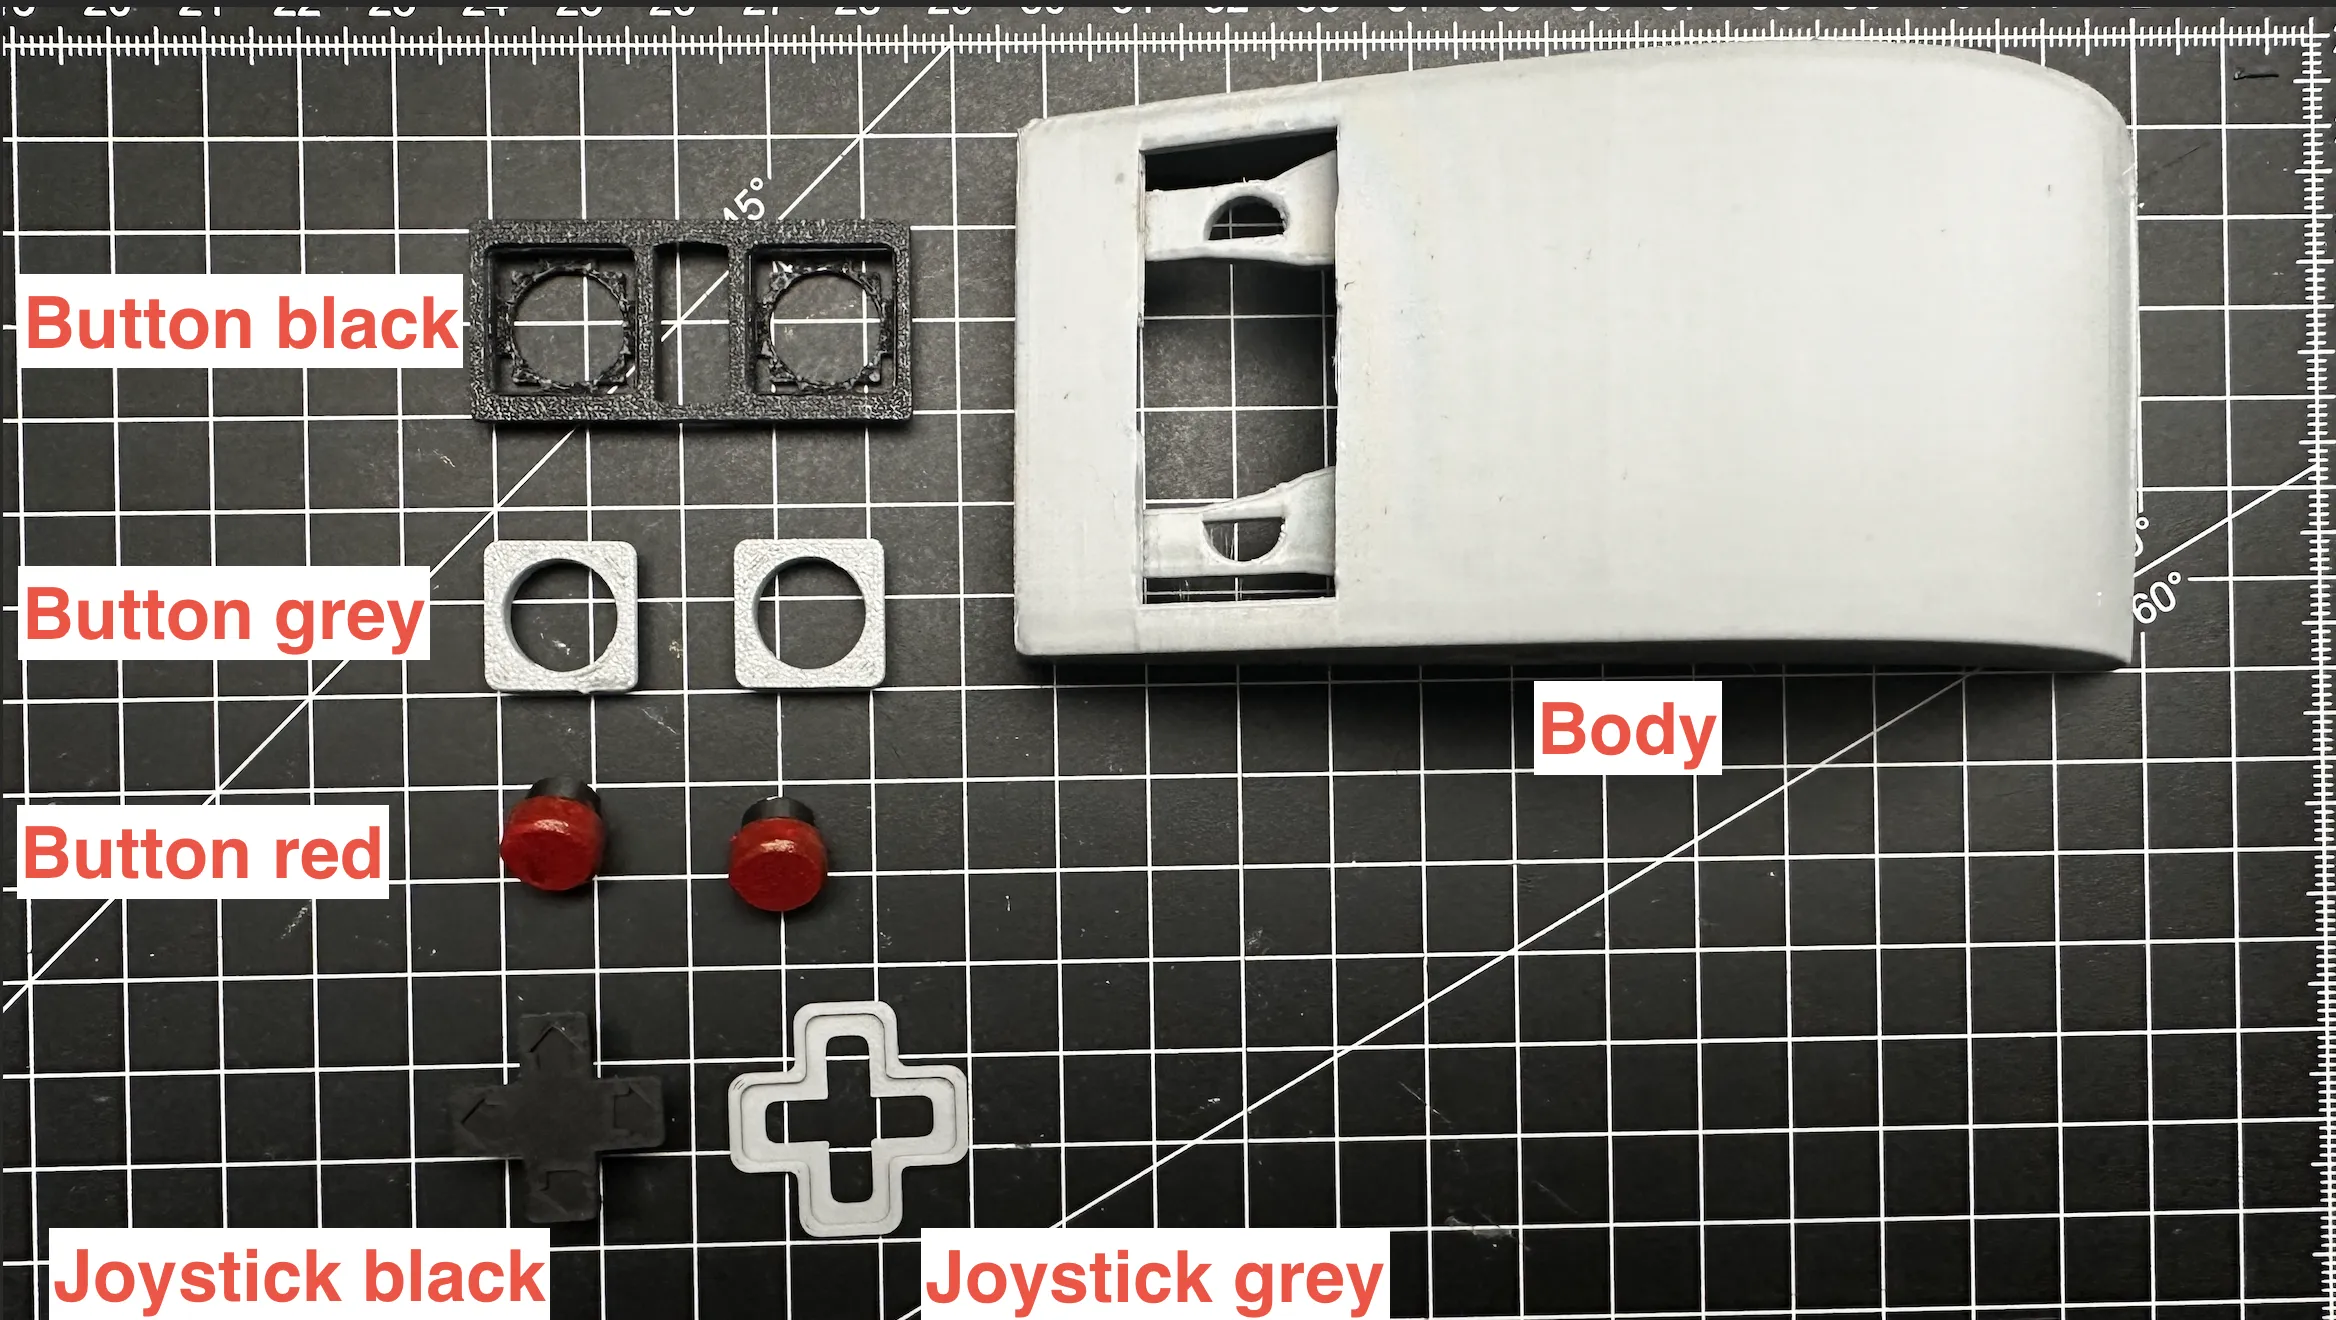
- Remove all the supports carefully
- Prepare the body and the button as well as joystick parts
- Press the red buttons in their corresponding places in the bodys “clicker” part. Be very careful not to break the clicker. Hold it from the other side with your fingers before pressing the red buttons in! ( I had to paint the buttons as I run out of red filament)
If the red buttons become lose while usage, you can add a drop of super glue here.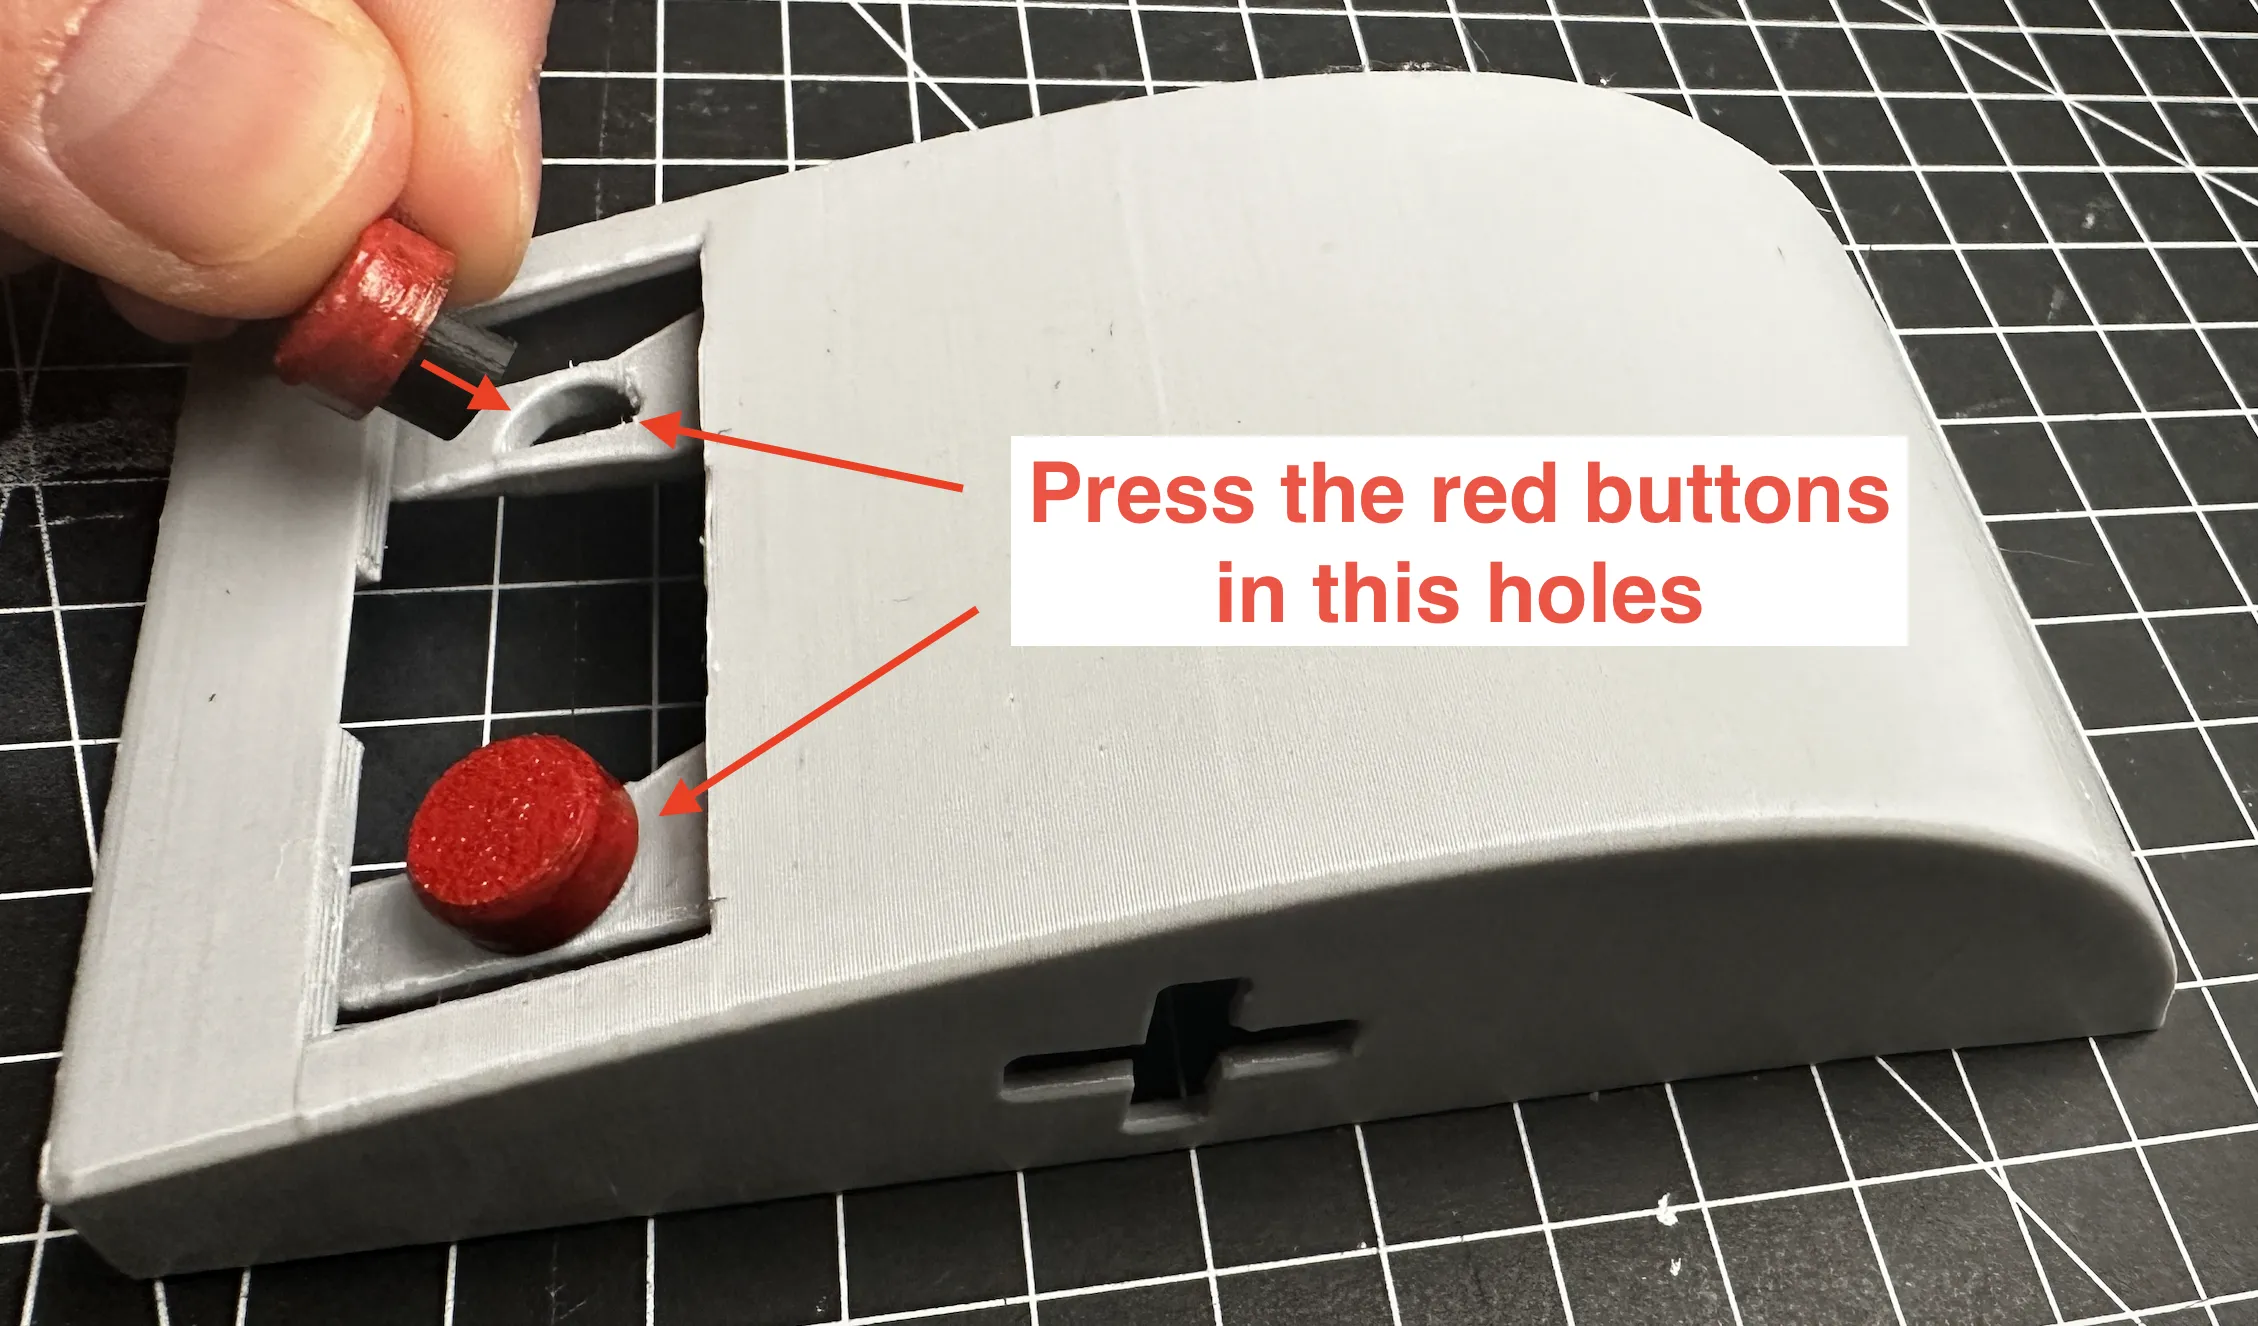
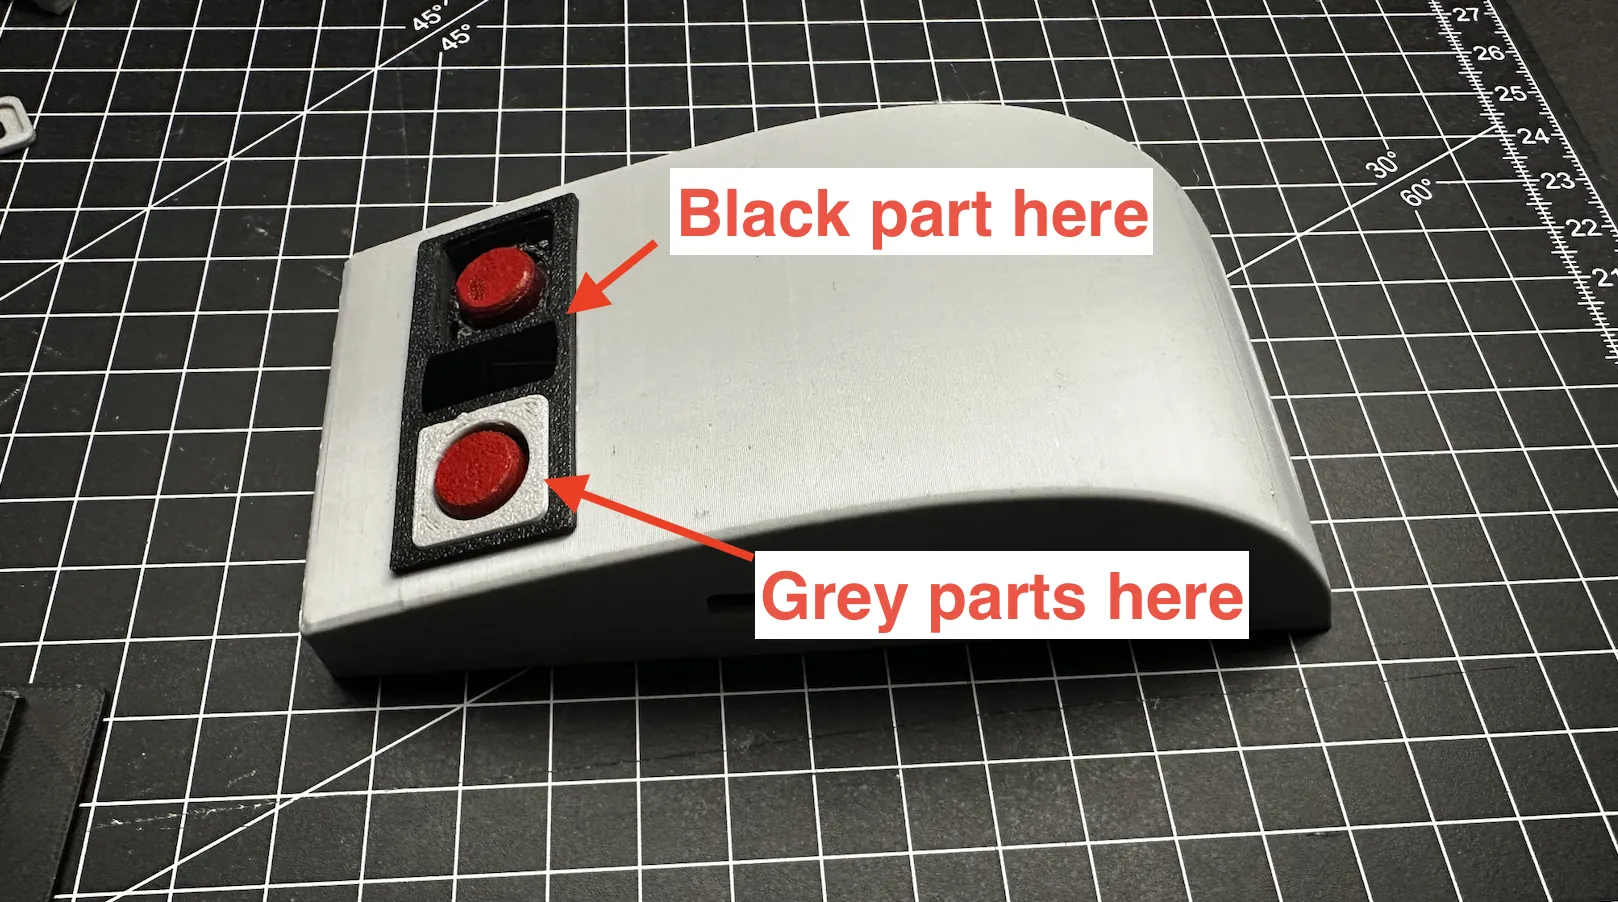
- Place the black part into the hole and the grey part into the black one. The tolerance is very tight so you may be need a little bit of force or sanding. This is so that under usage, they wont come lose. But please be careful not to break the parts!
- Put the grey button parts in the suqare hole in the black one.
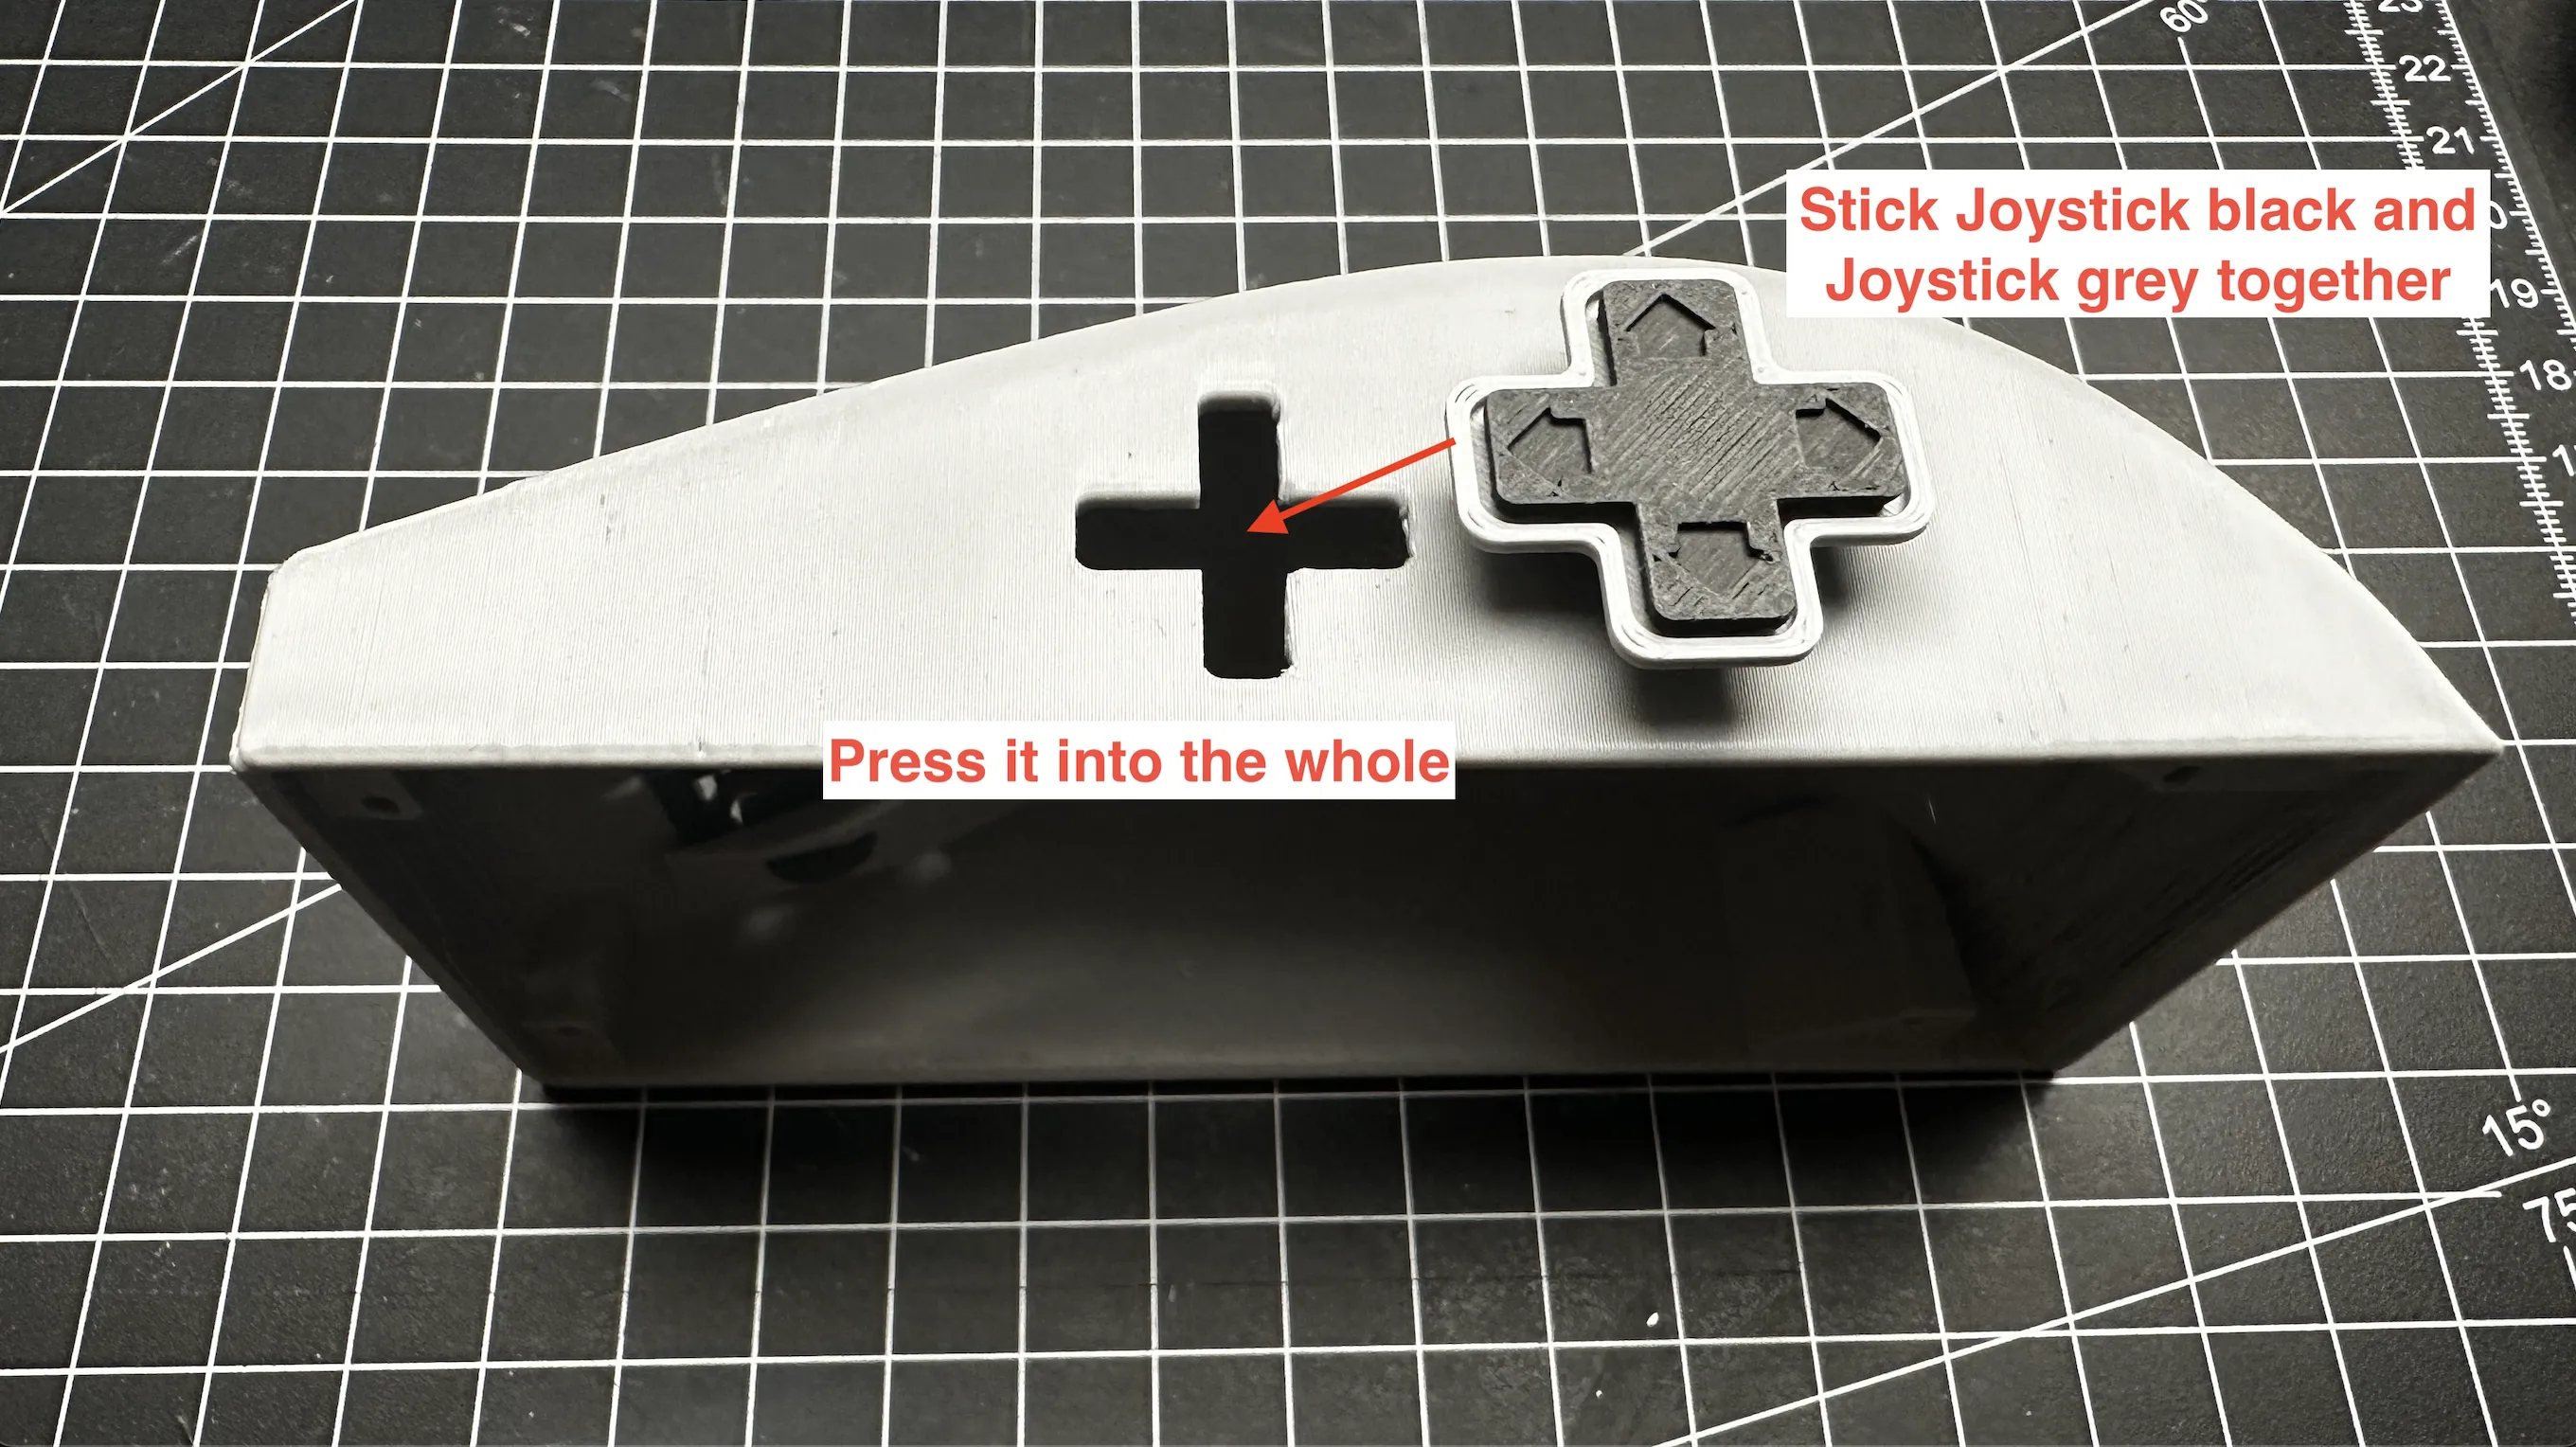
- Place the grey joystick part and the black joystick part on the side of the body and press it in
- Take the base and place the chip, sensores and other parts as seen in the official bambu video
- Slide the chipclips into their places to fixate the chip
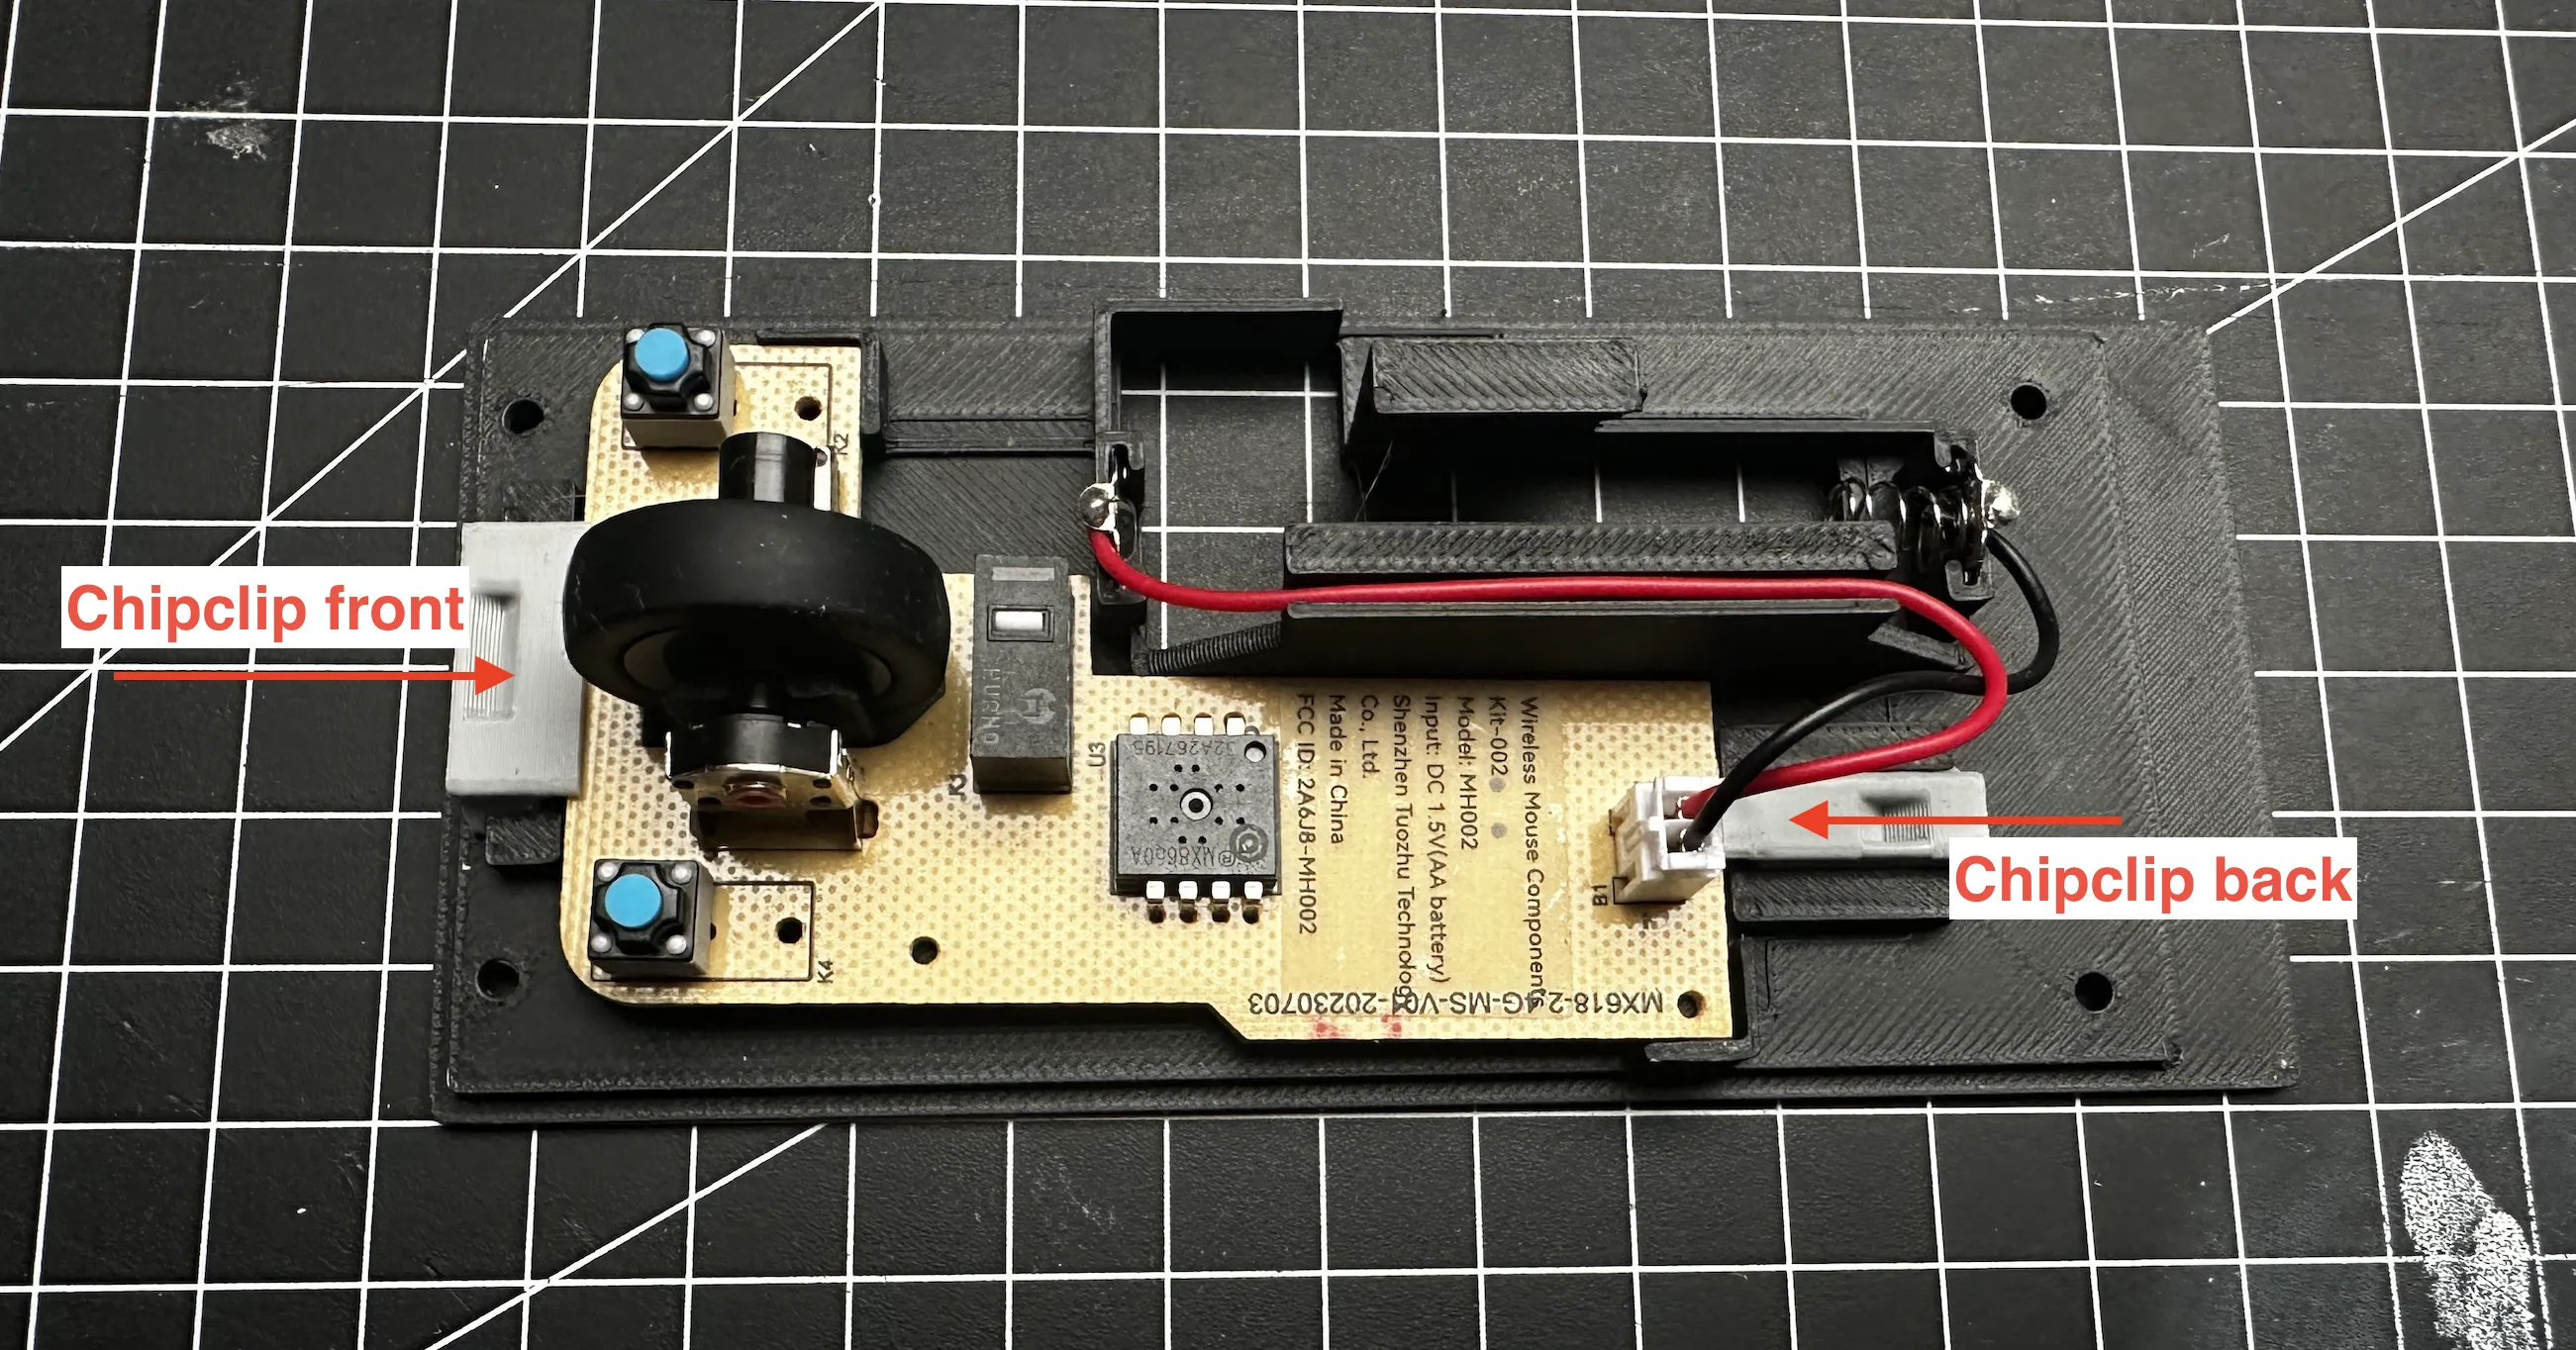
- Put the body on the base and use the screws to assemble
Conclusion
I hope you will have fun with this print and will make use of it. If you need any help with the assembly or have suggestions/questions regarding some parts, please let me know! I am happy to help you and adjust/optimize parts.
License

You shall not share, sub-license, sell, rent, host, transfer, or distribute in any way the digital or 3D printed versions of this object, nor any other derivative work of this object in its digital or physical format (including - but not limited to - remixes of this object, and hosting on other digital platforms). The objects may not be used without permission in any way whatsoever in which you charge money, or collect fees.


Comment & Rating (20)