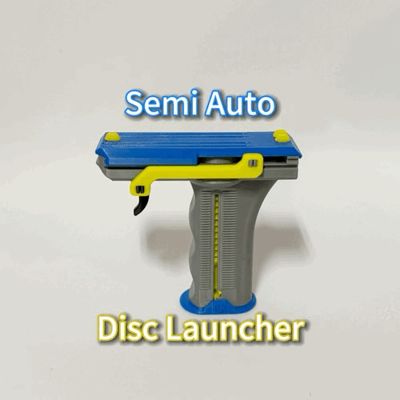
Disc Launcher Semi Auto Rapid Fire Print-in-Place


Print Profile(8)


Bill of Materials


Description
A fun toy gun that launches discs with a magazine for 15 discs of 20mm.
It shoots with great speed and accuracy at short distances.
- Completely printable design.
- No need for extra screws or glue.
- Just 2 elastic bands for the push mechanism of the magazine and the trigger striker.
- Use a pair of fine-tipped pliers to help you with the assembly of the rubber bands.
- Skills are required for assembling the mini gun.
- The design consists of multiple parts with very tight tolerances.
- Use PTFE(Teflon) grease for perfect operation and increase performance.
- Please perform a filament flow calibration!
- Use previously dehydrated and high-quality filaments.
Check the new Power pack to increase shooting distance and accuracy with reinforced toroidal bullets:
https://makerworld.com/en/models/486278#profileId-398995
You can print extra magazines and easily reload your disc launcher. Enjoy :P
Consider supporting my work with a "Boost"🚀 and a "Like"👍🏻 so I can continue creating refined designs to share for free with everyone.🤓
Assembly Videos: Enjoy :P
Disclaimer: This model is compatible with the Maker's Beginner Kit B-ZC002. The kit includes various non-printed parts to accommodate multiple popular models. As a result, some parts may not be necessary for this specific model. If you only need to purchase the non-printed parts required for this model, please uncheck the Kit option when making your purchase.

License
You shall not share, sub-license, sell, rent, host, transfer, or distribute in any way the digital or 3D printed versions of this object, nor any other derivative work of this object in its digital or physical format (including - but not limited to - remixes of this object, and hosting on other digital platforms). The objects may not be used without permission in any way whatsoever in which you charge money, or collect fees.
Comment & Rating (1280)